A few weeks ago I took a woodworking class to familiarize myself with some new power tools. The class involved making a simple wood cutting board, much like this one. I was so excited with how mine turned out, and with how quick it was to make! Since it’s the holidays and everyone could use a little help coming up with gift ideas, I’m sharing this DIY wood cutting board tutorial with you today. Keep reading to see how to make this thoughtful and special gift!
This project is great for beginners to woodworking as you really only need two power tools: a jig saw, and a drill. I’m also using an orbital sander, but sanding by hand is absolutely an option.
Materials
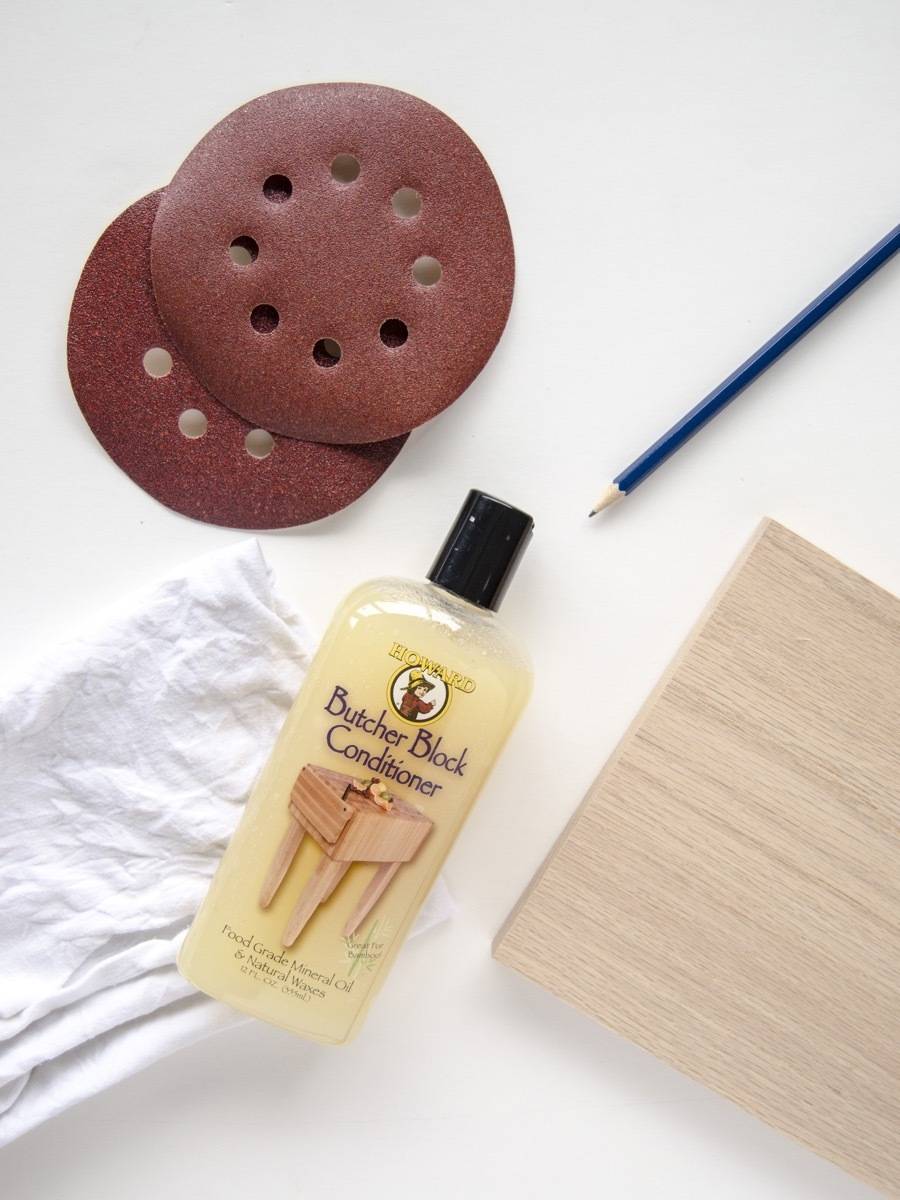
- 3/4″ wood board (I recommend walnut if you can find it, but you can also use oak, maple, or birch)
- Sandpaper in varying grains from 80-220; an orbital sander (optional)
- A finish, such as butcher block conditioner, or food-grade mineral oil
- A rag
- Clamps
- A jig saw
- A power drill with a large drill bit
Step
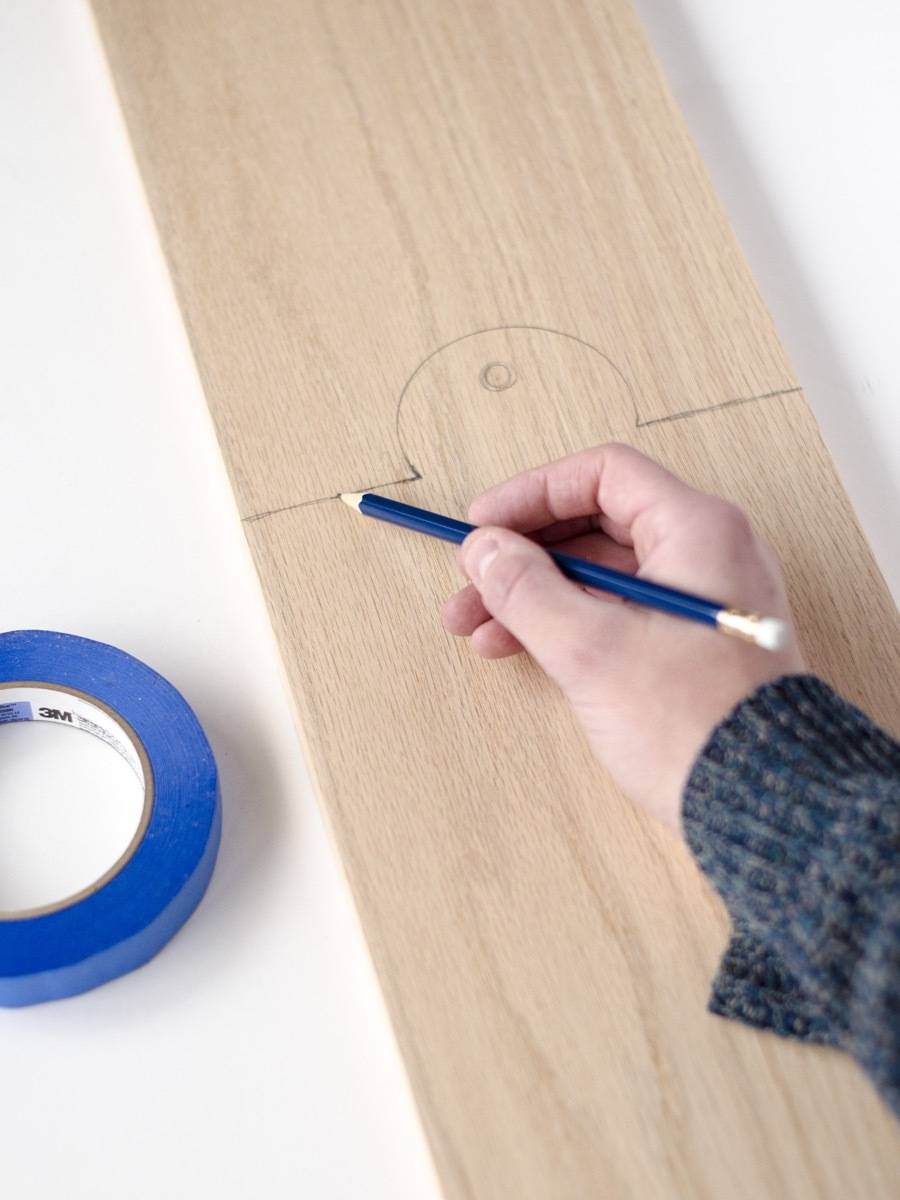
This project is easiest when you buy wood that is already planed and ready to go. The cost will be slightly higher than if you go to a lumberyard for your wood, but the work you’ll need to do – plus the power tools you’ll need to have – will be far less.
To start your DIY wood cutting board off, you have to pick a design! I chose to keep the handle of mine pretty classic. Use what you have around you to draw curves and lines (for instance, I used a ruler and a roll of painter’s tape).
Step
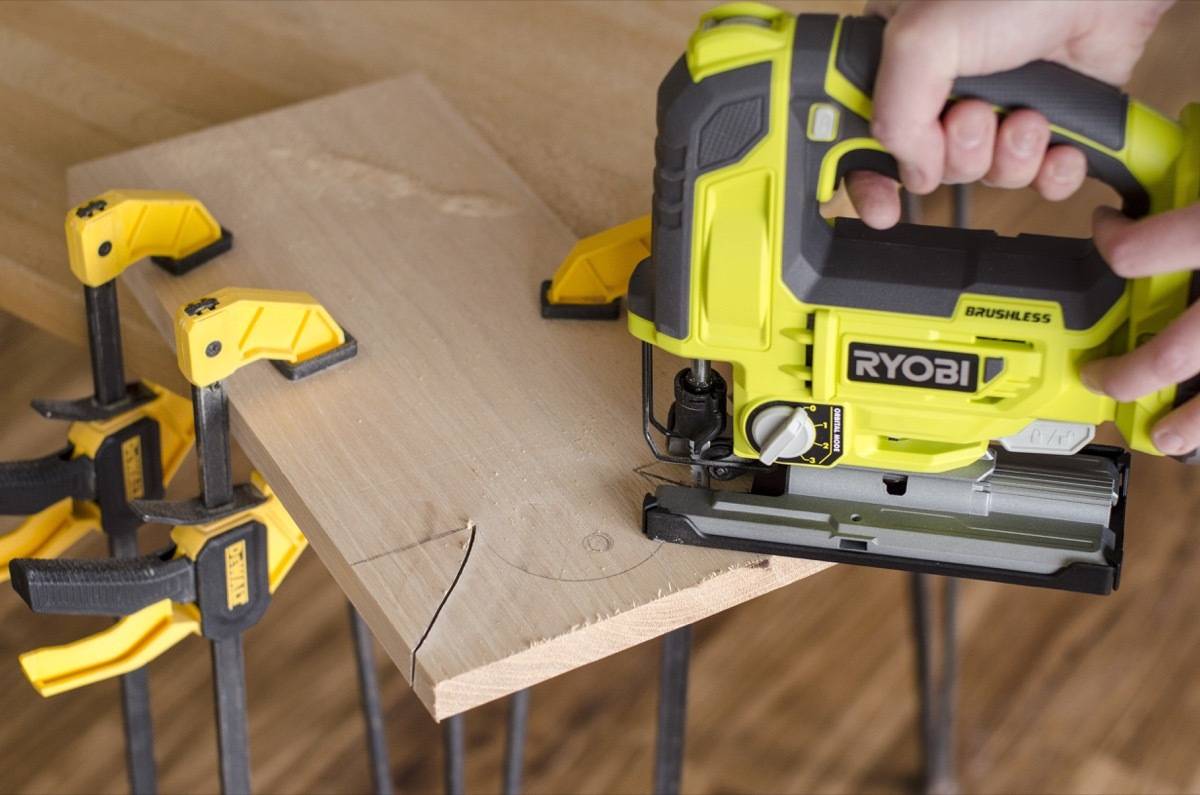
If your board is particularly long, you might find it easier to work with if you cut it down first. Before cutting, make sure your board is clamped securely in place. Then, cut straight across. It helps if you have someone on the other end to catch the board!
When you’re ready to start making your curved cuts, you’ll need to make some relief cuts first. These are cuts that will allow you to turn the blade more easily as you cut out your shape, and they’re important in tight areas, like the inward curves of my wood cutting board handle.
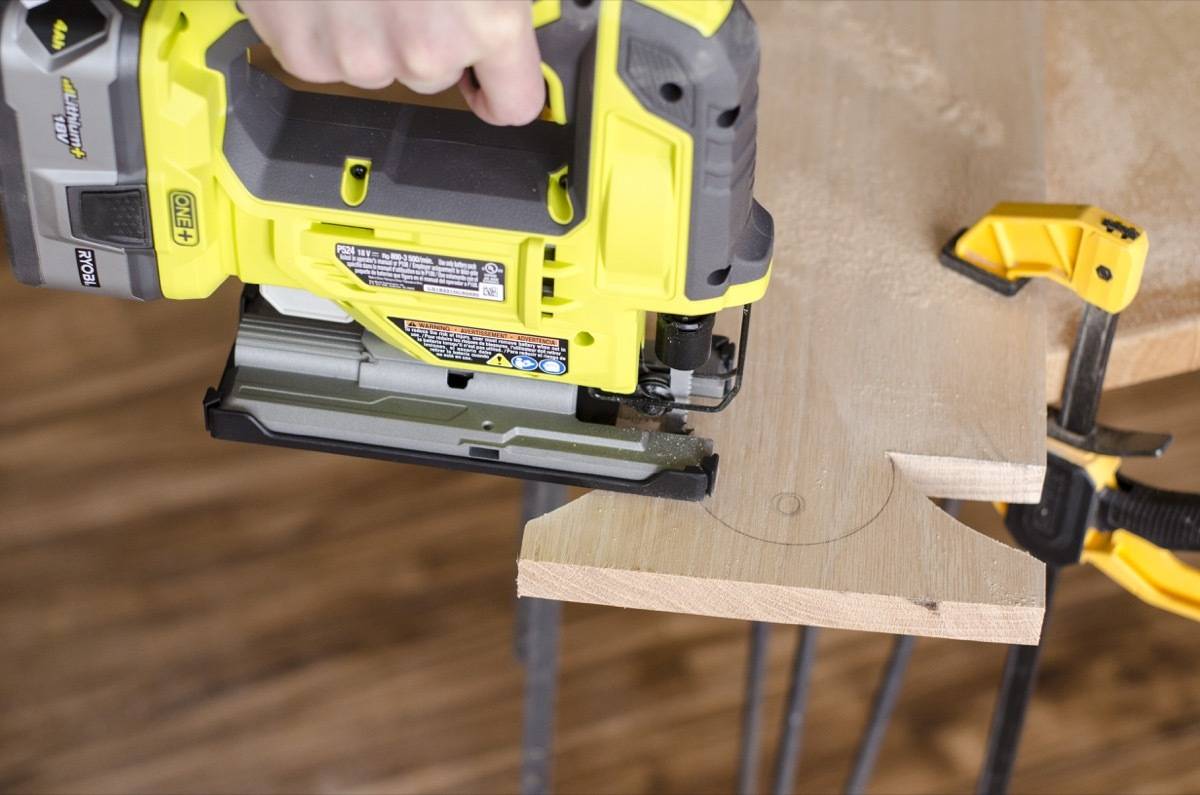
Next, cut out your shape! Take your time, and don’t forget that a lot can be forgiven with sanding.
If you’re new to the jig saw tool, welcome! It’s a really handy tool for organic shapes, and it’s also pretty affordable as far as power tools go. I just picked up a jig saw for the first time during my woodworking class, and I was pleasantly surprised at how easy it was to use. For this project, I’m using the Ryobi ONE+ cordless jig saw, which packs a pretty big punch for not needing to be plugged in. The speed is easily adjustable, depending on how hard your wood is. And the flat base made it really easy to keep the blade upright as I cut out my shape.
Step
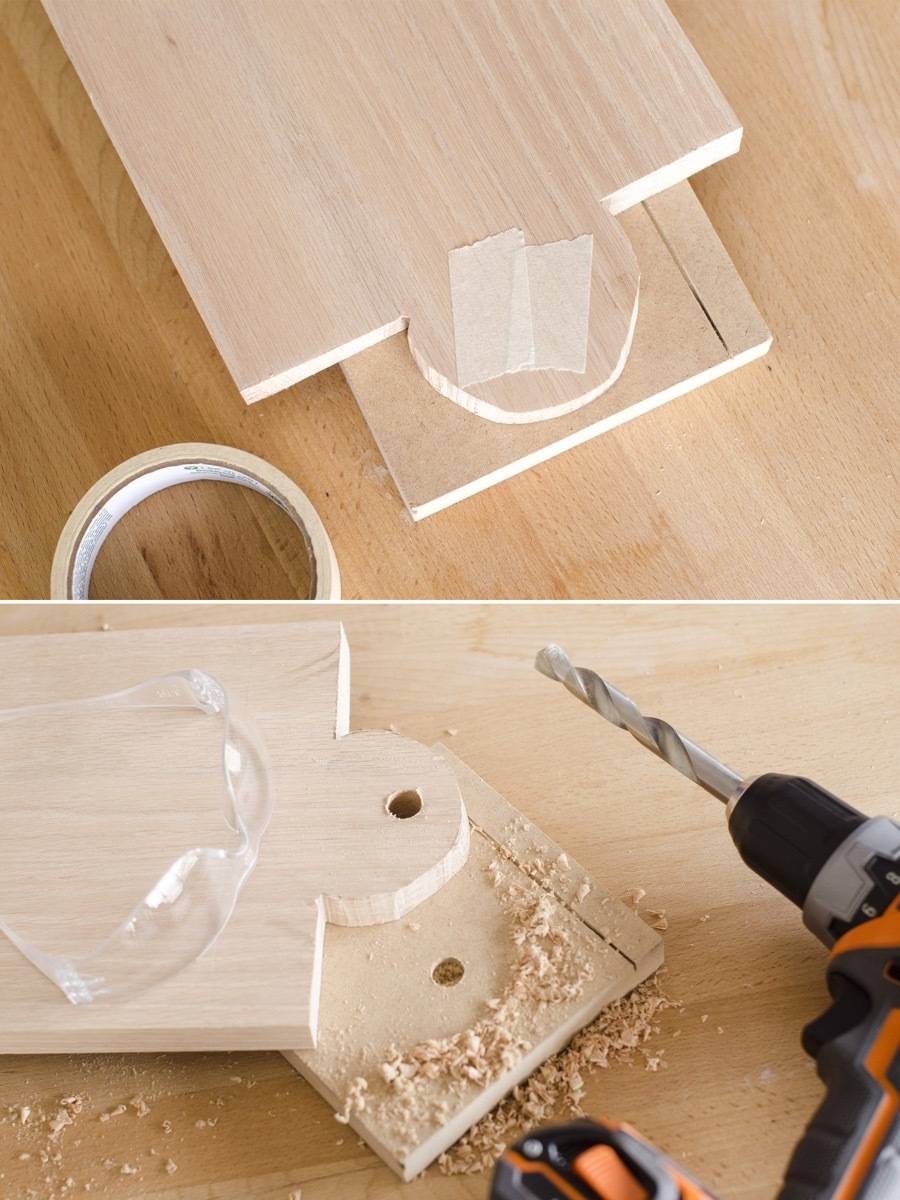
Now that your wood has been whittled down into a cutting board, it’s time to add a hole to hang it from. Put a piece of masking tape on the backside of your board, behind where the hole will go. This will prevent any splintering and tear-out. Next, clamp the board to a piece of scrap wood – this too will help with tear-out! Drill straight through your board, and into the scrap wood.
Step
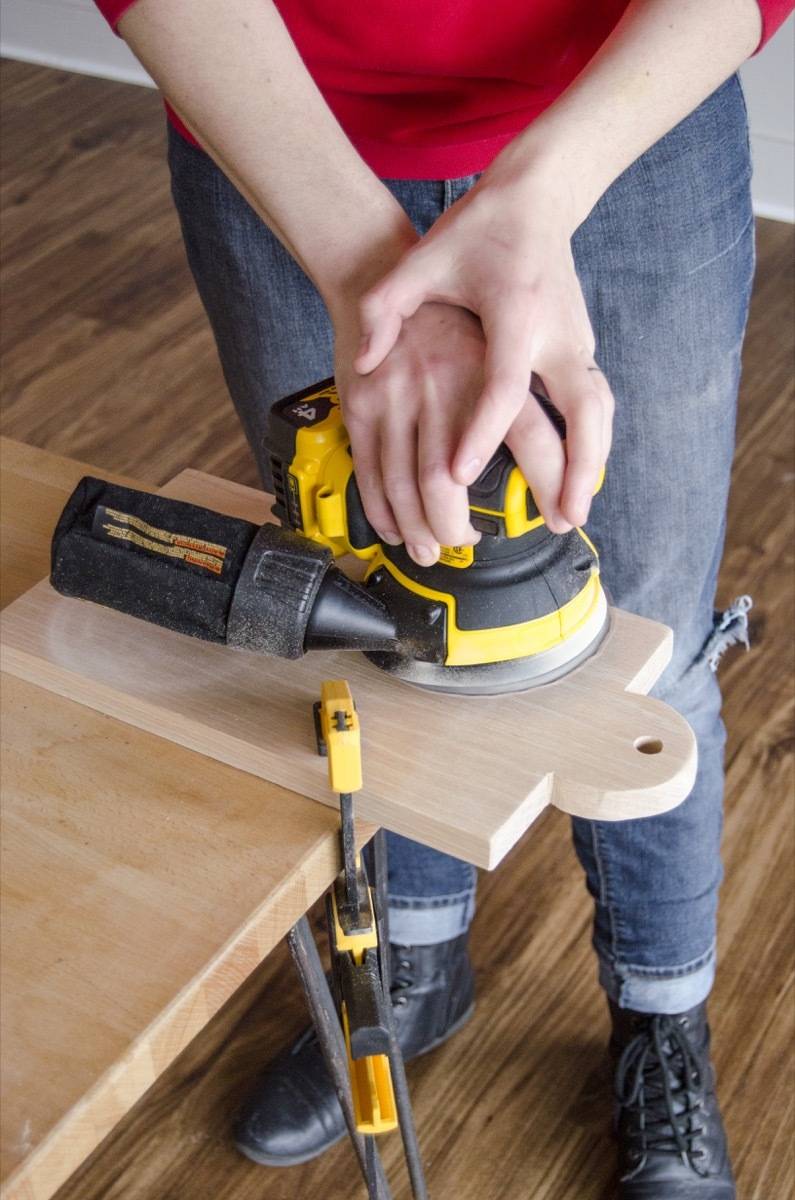
Start sanding your board into a softer shape, beginning with 80 grit sandpaper, and working up to a 120. Go over the sharp corners, the front and back, and the edges. A small piece of rolled-up sandpaper can fit inside the hanging hole to buff that out, too.
I’m using this cute little random orbital sander from Dewalt. It’s different from most sanders in that it has a brake built in. A.k.a., once you turn it off, it’s totally off – no slowing down to a stop. Plus, it’s super light-weight and compact, making it a handy addition to any tool box.
After you’ve sanded your wood cutting board with a 120 grit sandpaper, grab a damp rag and wipe down the board. This is called “raising the grain.” Once dry, sand the entire board again, this time with a fine 220 grit sandpaper.
Step

You’re almost done! Wipe your board clean, then apply a coat of finish. I’m using this butcher block conditioner, since it has both mineral oil and beeswax, which will really protect the wood and make it shine. After 20 minutes, wipe the excess finish away with a rag. Repeat this process 2-3 times. As you can see, I have my board propped up on skewers. This allows it to aerate underneath as it dries.
Let the wood cutting board dry for 24 hours before using.
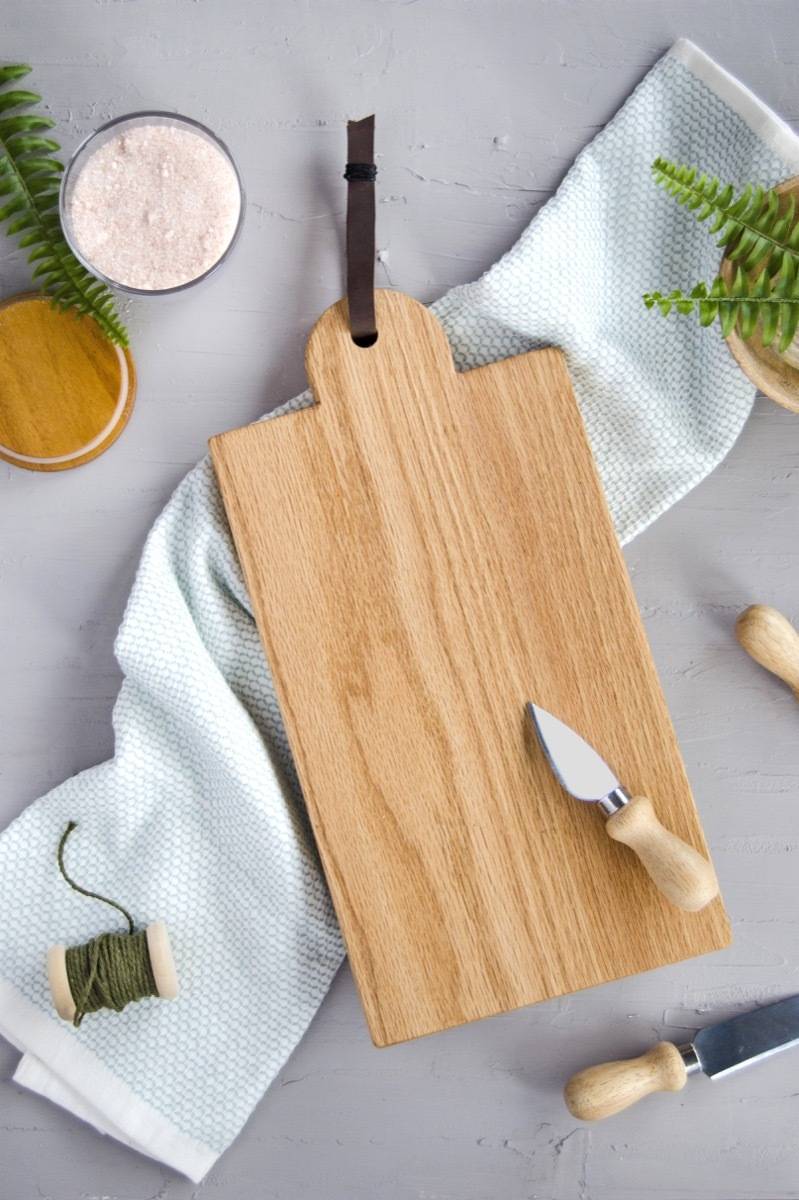
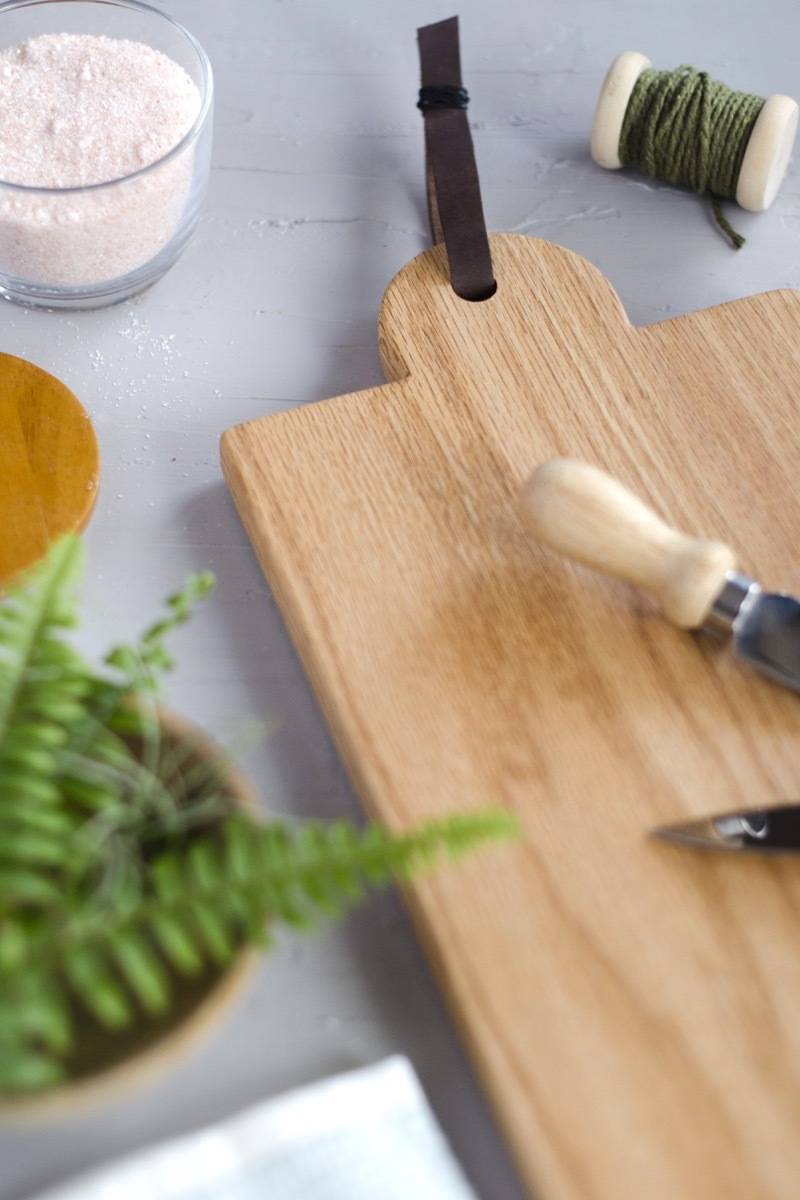
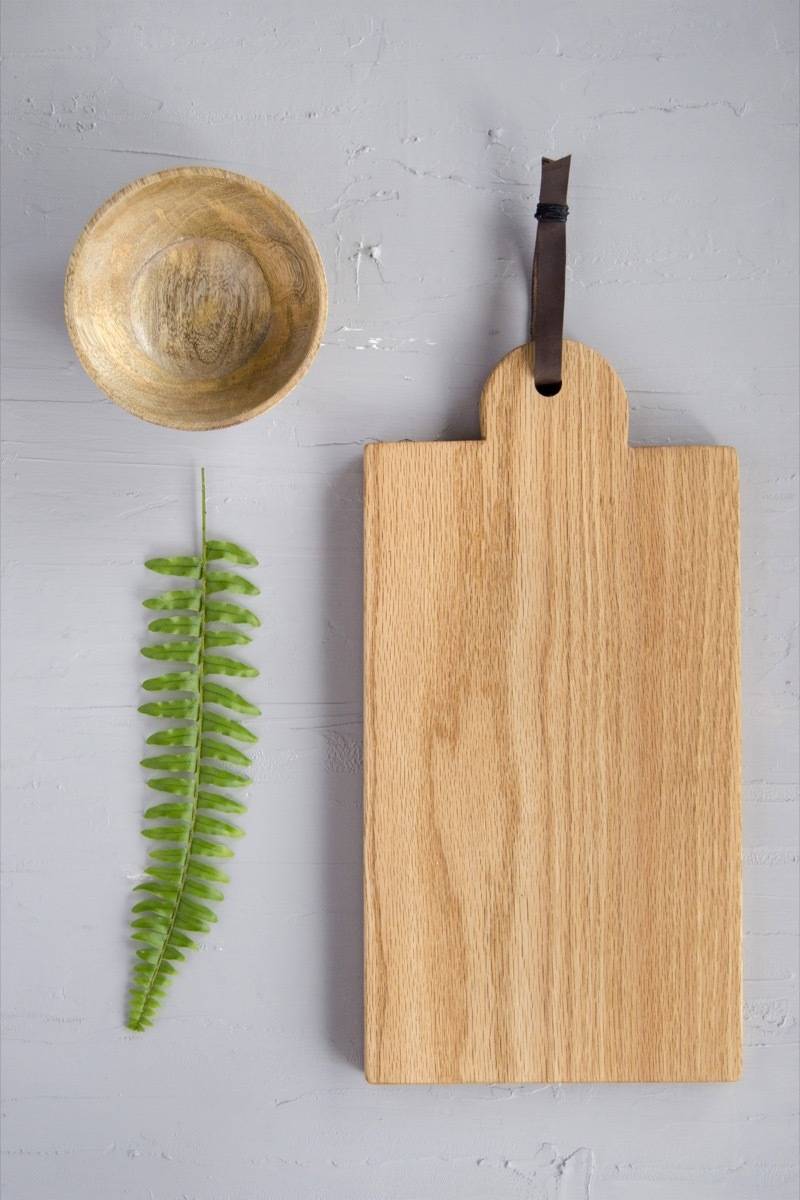
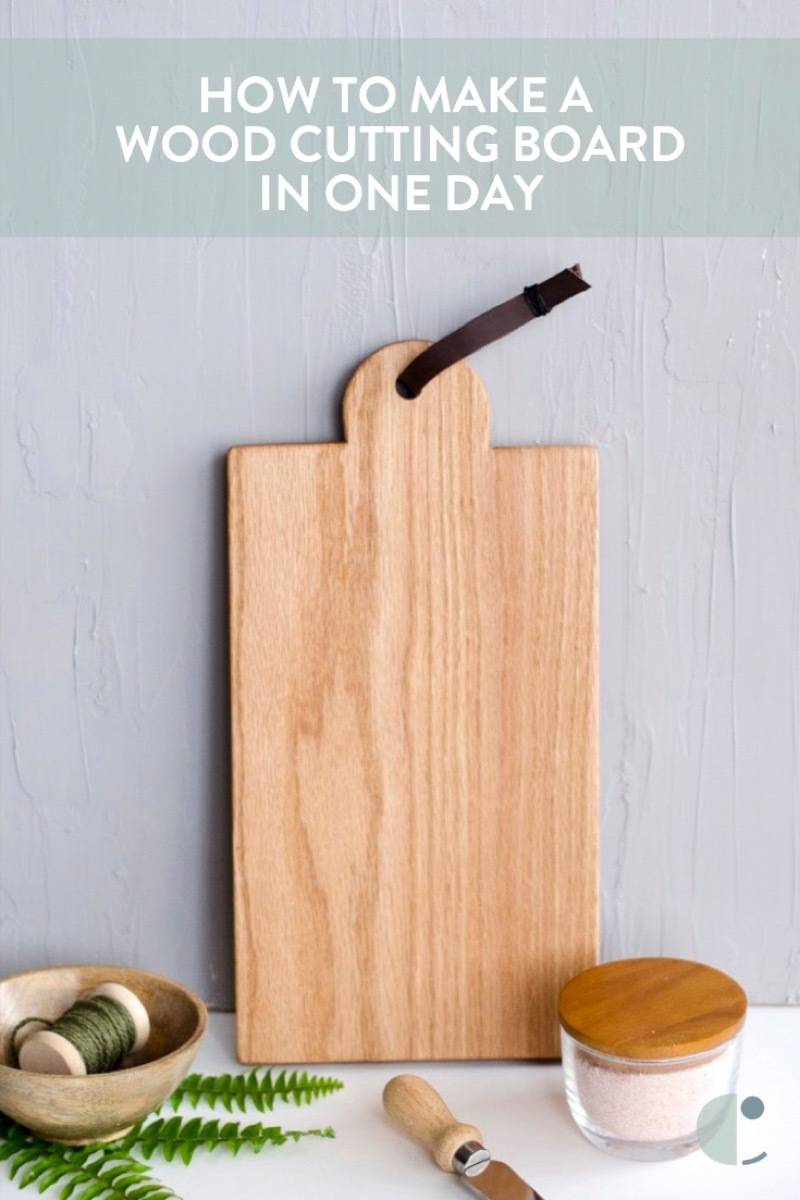
How easy was that?? This DIY wood cutting board can really be made in under a day, minus the drying time. And it’s so easy to jazz up and make it unique! Personalize it by etching or burning your gift recipient’s initials into the wood. Add a fun tassel or strap (mine is a piece of leather). Or, paint the handle with a pop of color.
This post is sponsored by The Home Depot. All opinions are mine alone. Thanks for reading, and for supporting the brands that make Curbly possible.
I acknowledge that The Home Depot is partnering with me to participate in the ProSpective2018 Campaign. As a part of the Program, I am receiving compensation in the form of products and services, for the purpose of promoting The Home Depot. All expressed opinions and experiences are my own words. My post complies with the Word Of Mouth Marketing Association (WOMMA) Ethics Code and applicable Federal Trade Commission guidelines.
