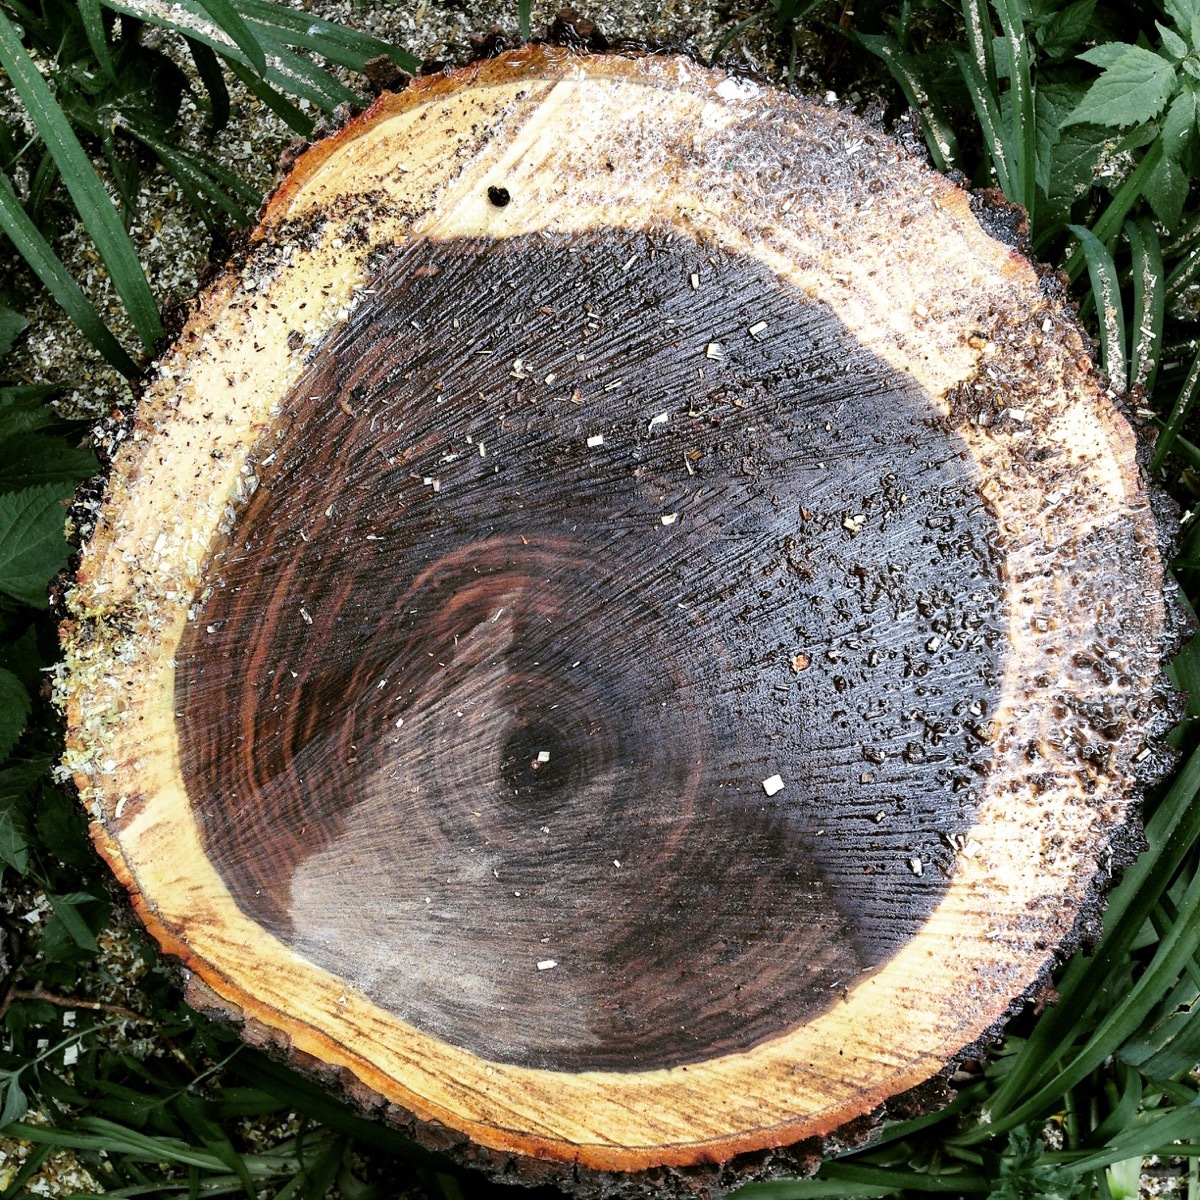
See that round thing staring at you? That’s the amputated heart of an old walnut tree that was in my backyard. It makes me sad to think about it, but two summers ago, we had to have this beauty cut down, even though it was healthy, because it was hanging dangerously over a neighbor’s garage. Here’s what it looks like when you chop up a perfectly good walnut tree:
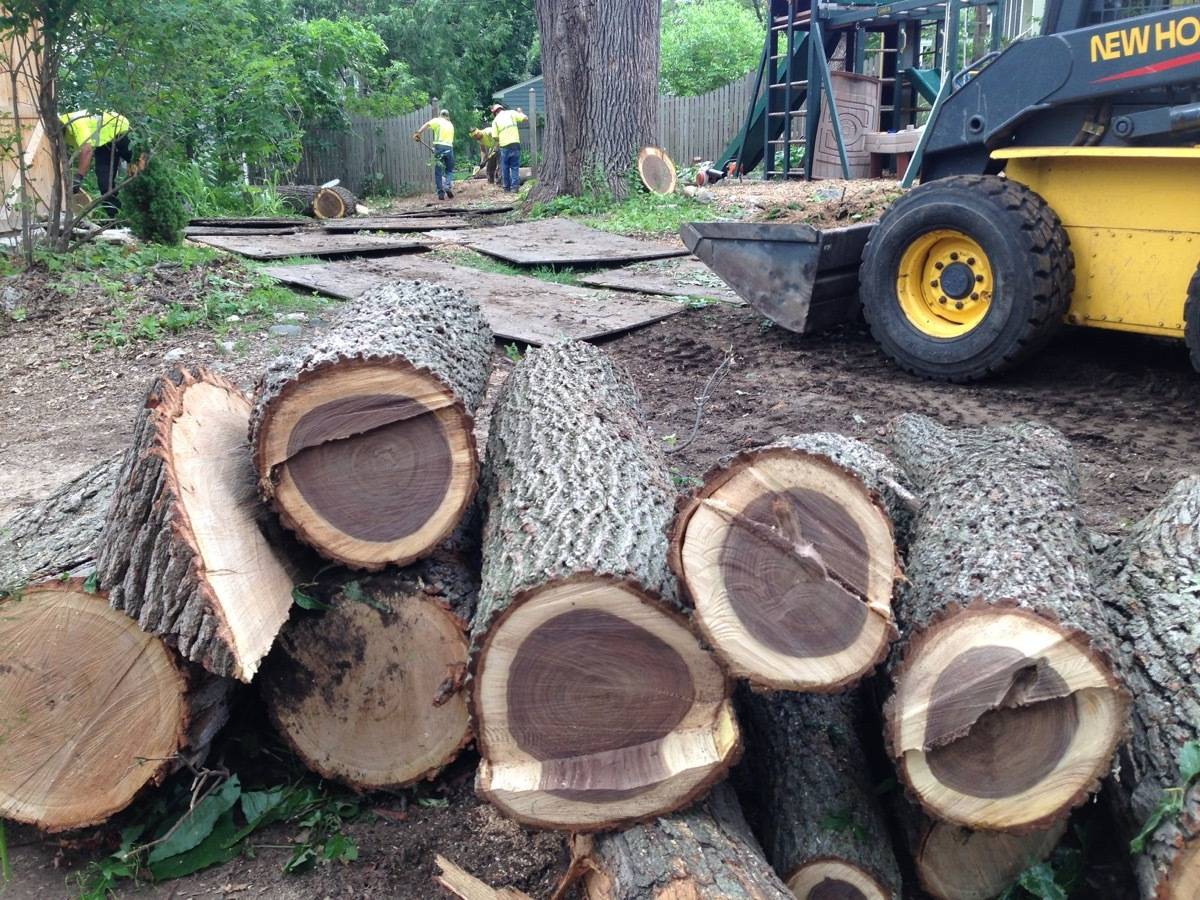
Look at the heartwood on this thing! Not a sign of rot or insects!
Anyway, as you can probably tell, I wasn’t too pleased about losing this tree, so I figured, as long as it had to be cut down, I should at least make the most of the wood. It was my obligation to the tree.
So, got out my chainsaw and milled most of these huge logs into slabs, which have been sitting in my basement ever since, drying out until I can put them to good use. But there was one little log that wasn’t even really long enough to be called a log; it was more of a tree stump.
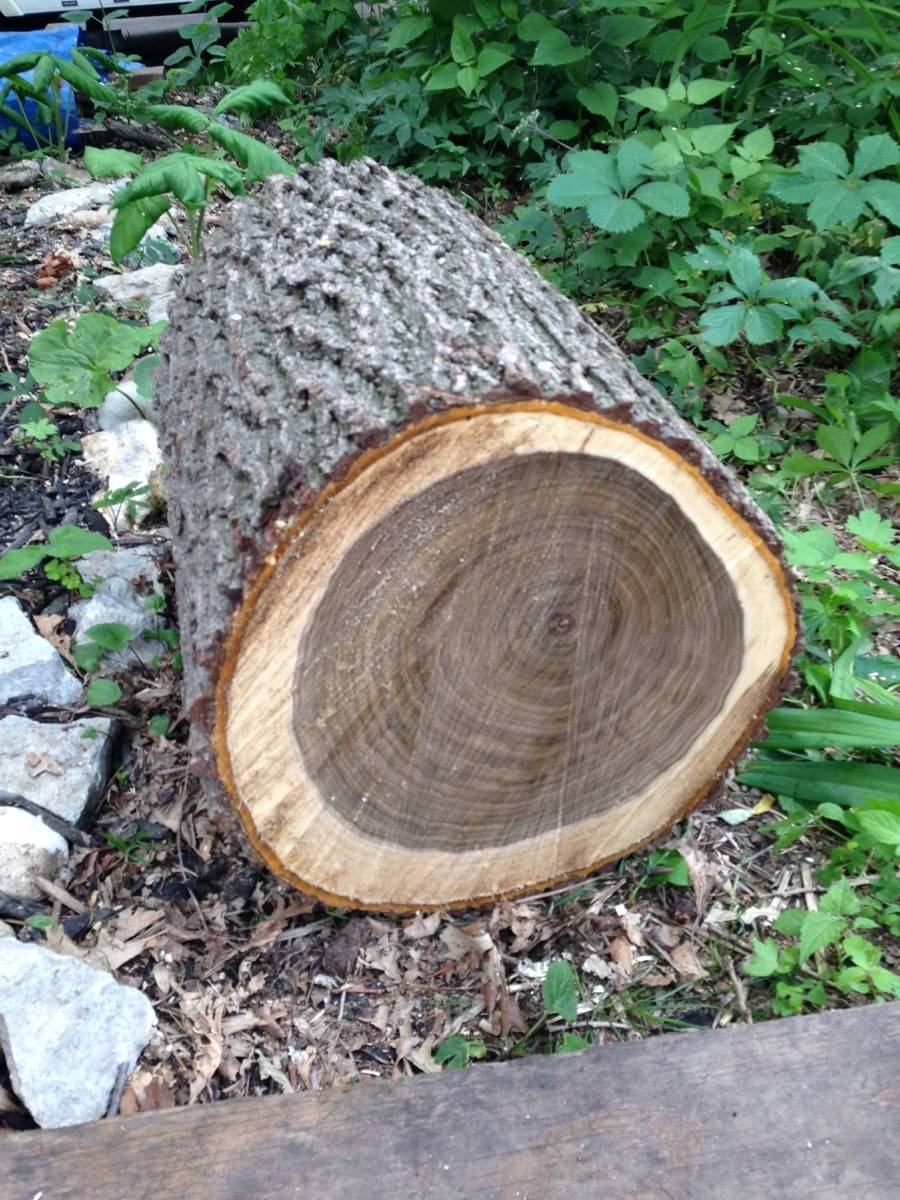
This guy has been sitting outside by my shed for two years, so last week I finally decided to make something out of it. What’s the simplest thing you can make with a big walnut stump (besides maybe a fire)? A side table! Just sand it down, throw on some casters, and you’re done!
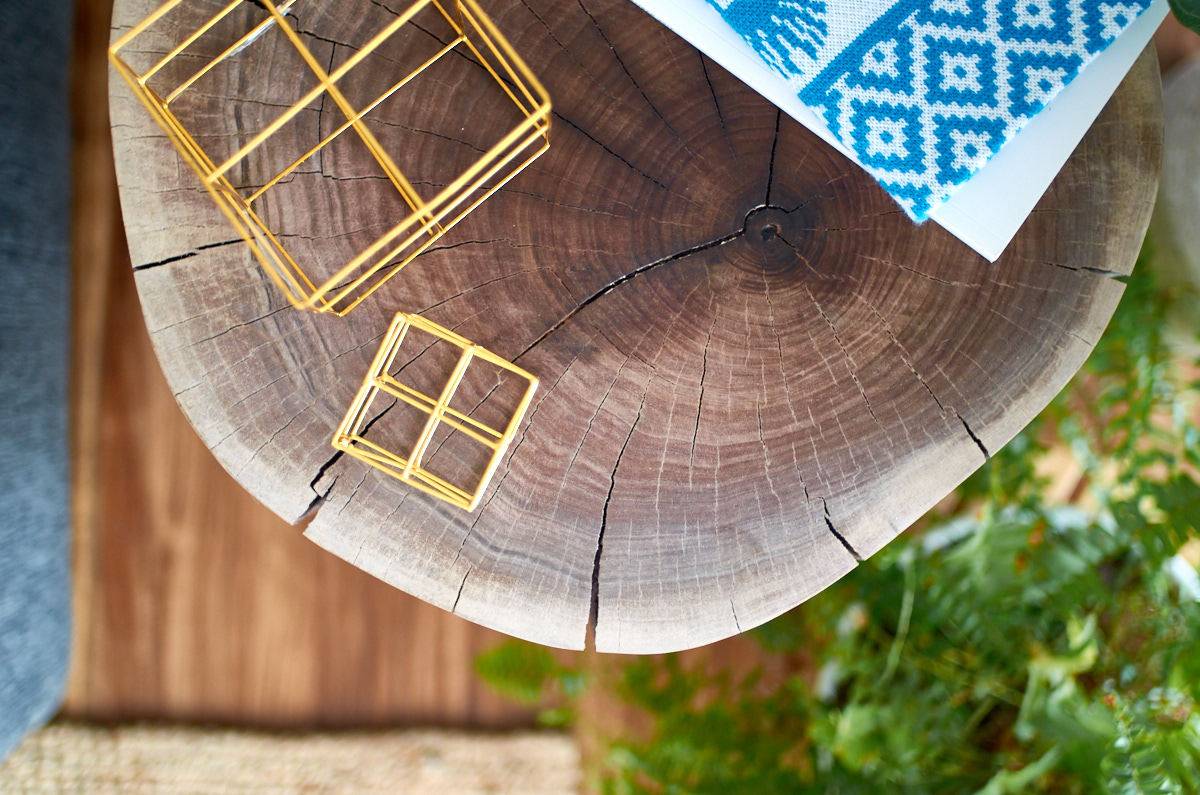
I think it turned out pretty amazing:

Here’s how I did it:

Step
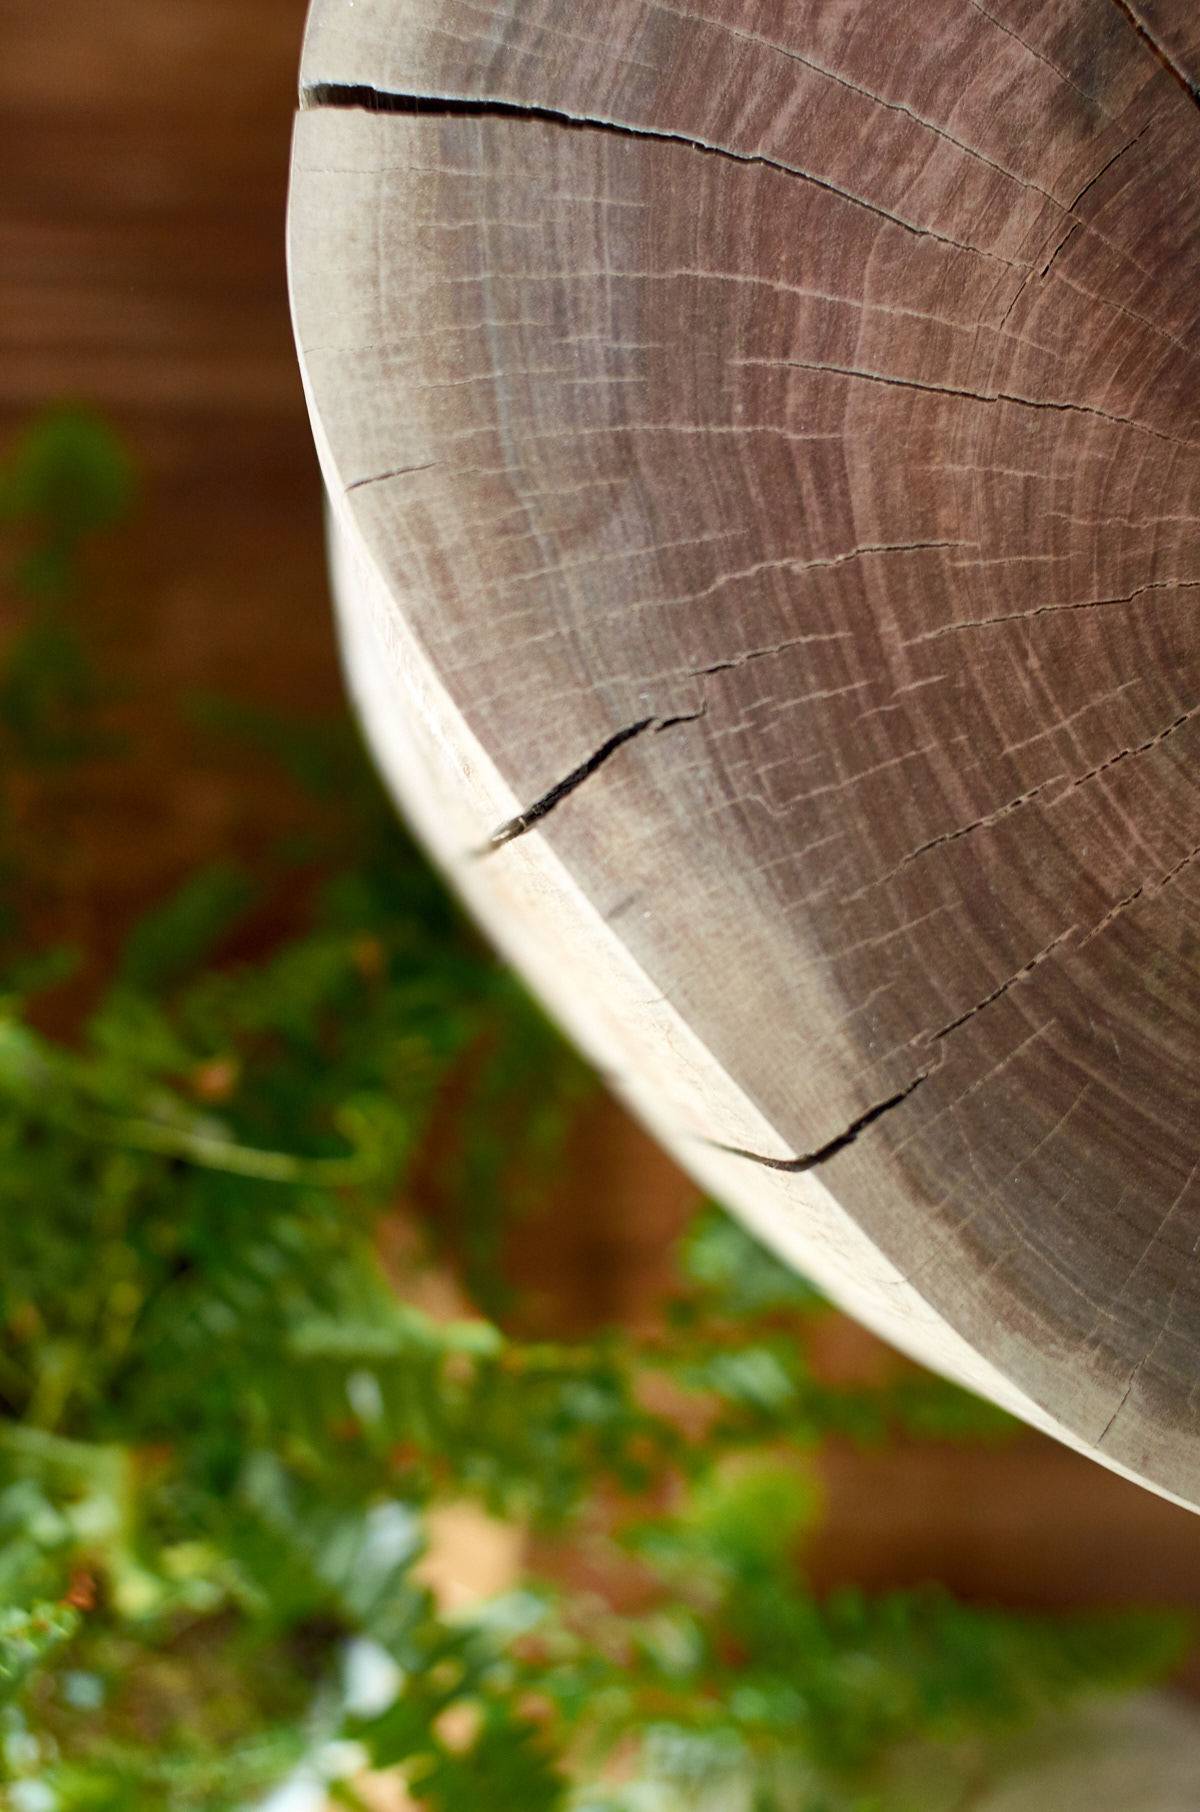
I actually did this step two years ago, right after the tree was cut: take off the bark, and paint the cut ends with a thick coat of latex to slow the moisture loss through the end grain. The faster the wood dries the higher likelihood of cracking. As you can see, my wood ‘checked’ quite a bit even with the ends painted. Imagine if I hadn’t done that! Of course the other smart thing would have been to store it indoors where the conditions wouldn’t vary as much, but I was too lazy (and it was too heavy). In any case, I kind of like how the checking looks!
Step
Remove any remaining bark fibers with a wire brush, paint scraper, or anything else that will work. You just don’t want that stuff gumming up your sander.
Step
Sand it! I used my Ryobi ONE+ cordless, brushless belt sander to sand the flat top and bottom section, starting with 40-grit sandpaper and moving higher. The cordless sander packs a surprising amount of power, and I was impressed at how it chewed through the thick layer of old latex coating the ends of the stump.
When it was time to sand the rounded sides, I switched over to my Makita 7.5-amp corded angle grinder with a sanding pad attachment. This worked great! The angle grinder has plenty of power, and is a little easier to maneuver on the curved wood than a belt sander.
One warning: don’t get carried away with the grinder! It’s pretty easy to mar or gauge the wood with that thing, and you’ll end up spending more time sanding out those mistakes. So, use it lightly!
Step
Once I had gone over the whole piece with 40, 120, and 220-grit sandpaper, it was time to attach the casters. Here’s my easy method for finding the center of the circle, and then dividing it into three equal parts, without using a protractor:
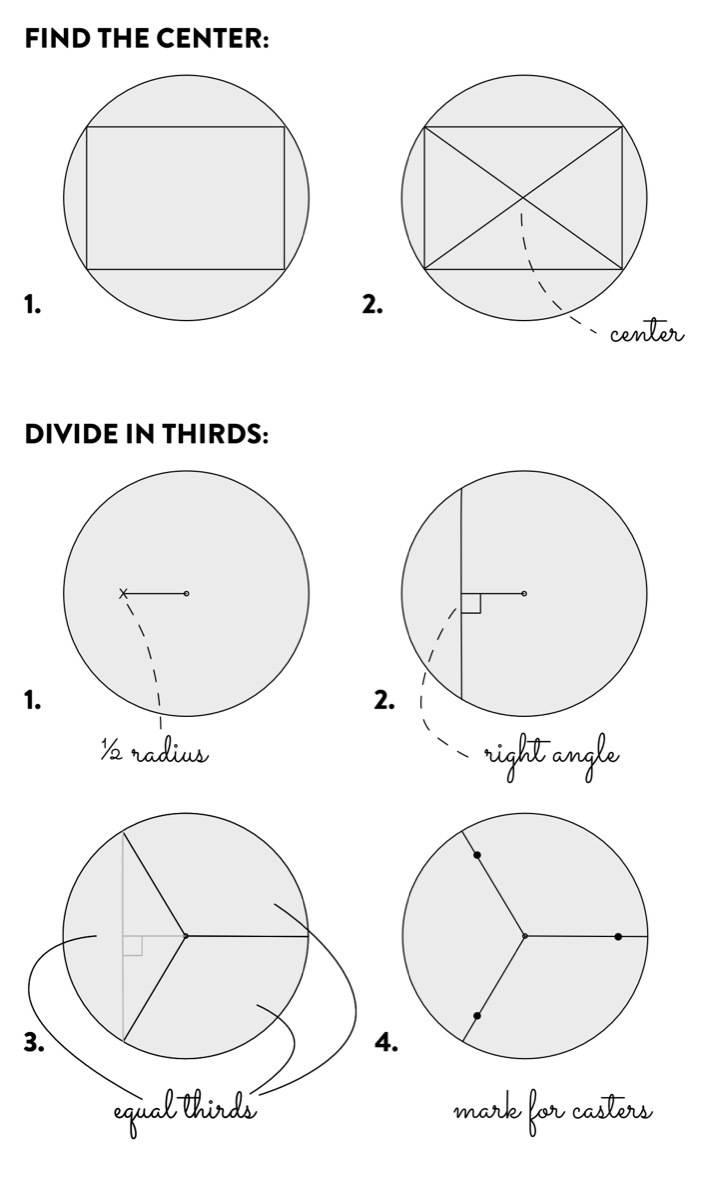
To put the casters on, just drill pilot holes into the wood, using the caster mounts as a template, and then fasten them on using wood screws.
Easy!




This post was sponsored by The Home Depot, but all opinions are mine alone. We love working with companies that support DIYers, and thank you for supporting the brands that help make Curbly possible! This post contains affiliate links; if you click on them and buy a product, we may get a commission from the sale.

What kind of latex did you use for the ends?
How do you cut a log so that it is perfectly level on top and bottom?