It’s almost Valentine’s Day! I love this holiday because: A. love is a lovely thing, B. exchanging cards or little gifts is always fun, and C. chocolate! What’s not to enjoy? You know what else I’m totally loving right now? Enamel pins (hello 90s fashion – it’s nice to see you again!). If you’re looking for a cute gift to give to your friends, coworkers, or gal-pals, these faux enamel pins are quick and easy to make.
Watch our video tutorial for the walkthrough, or follow the steps below. The fun part about this DIY project is that there is lots of room for creativity. You can personalize these Valentine’s pins any way you want, or you can use the printable template available below!
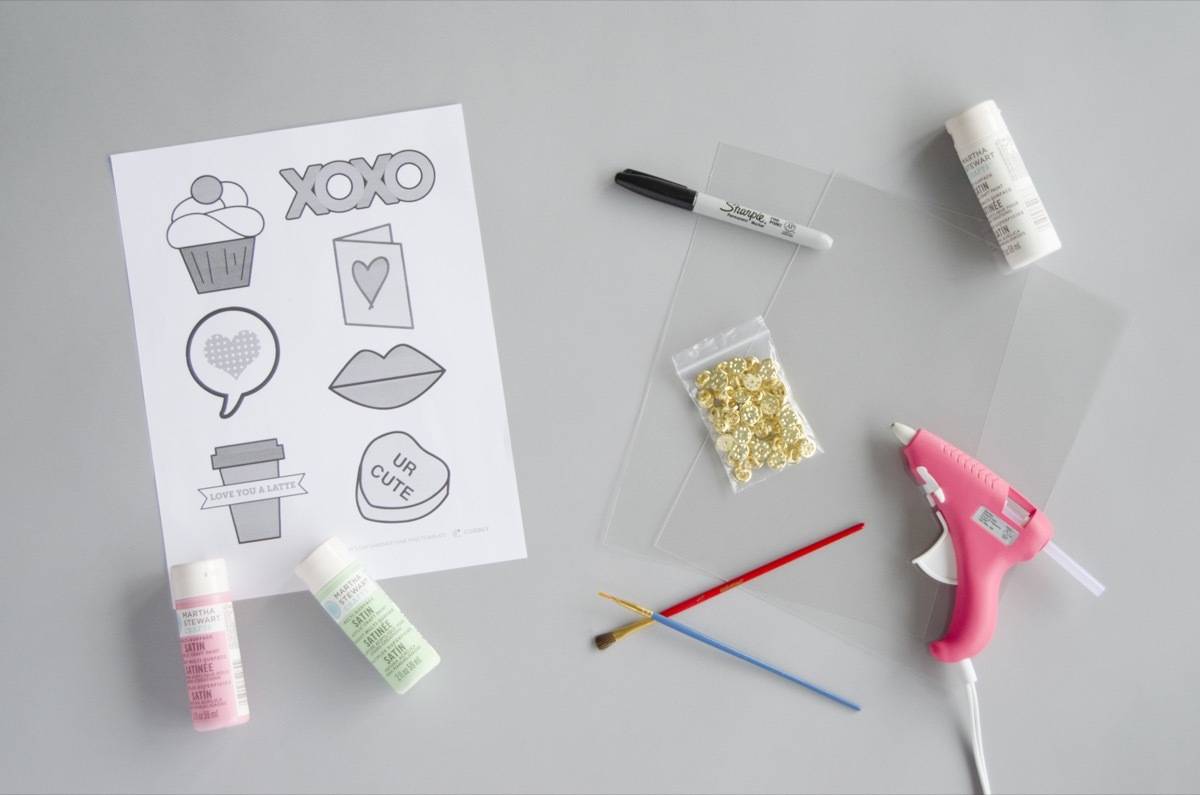
Materials
- Valentine’s Day pins template (download)
- Shrink paper
- Clutch back pins
- High quality acrylic paints
- Paint brushes
- Marker or pen
- Hot glue and glue gun
- An oven, cookie sheet, and aluminum foil
Step 1
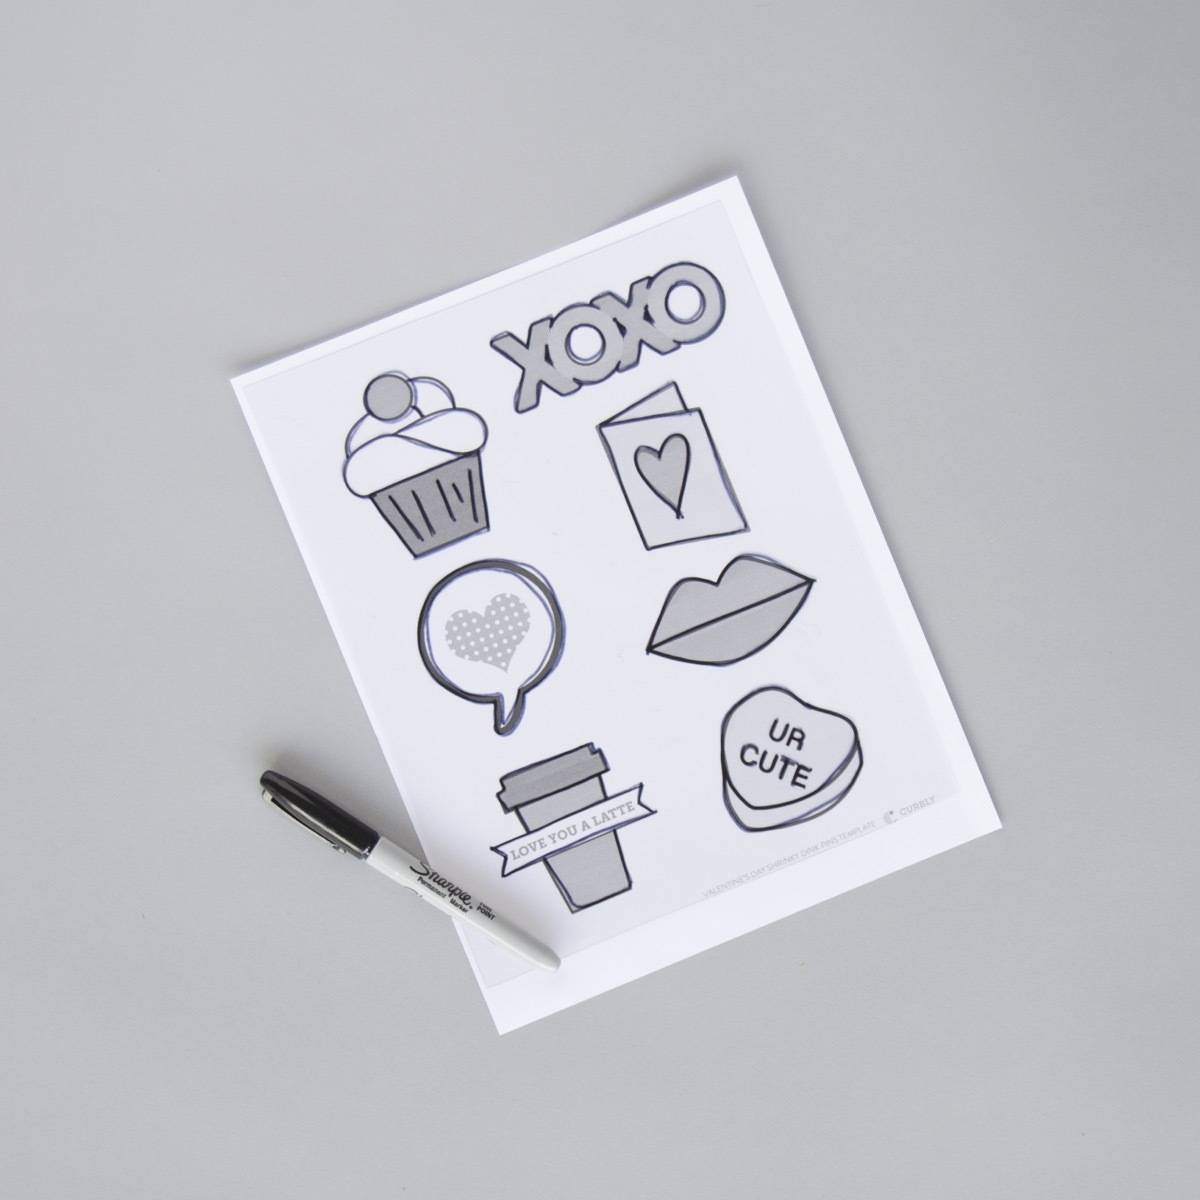
Print out the Valentine’s Day pins template. Lay a piece of shrink paper over the template, and with a marker, trace each shape onto the shrink paper.
Step 2
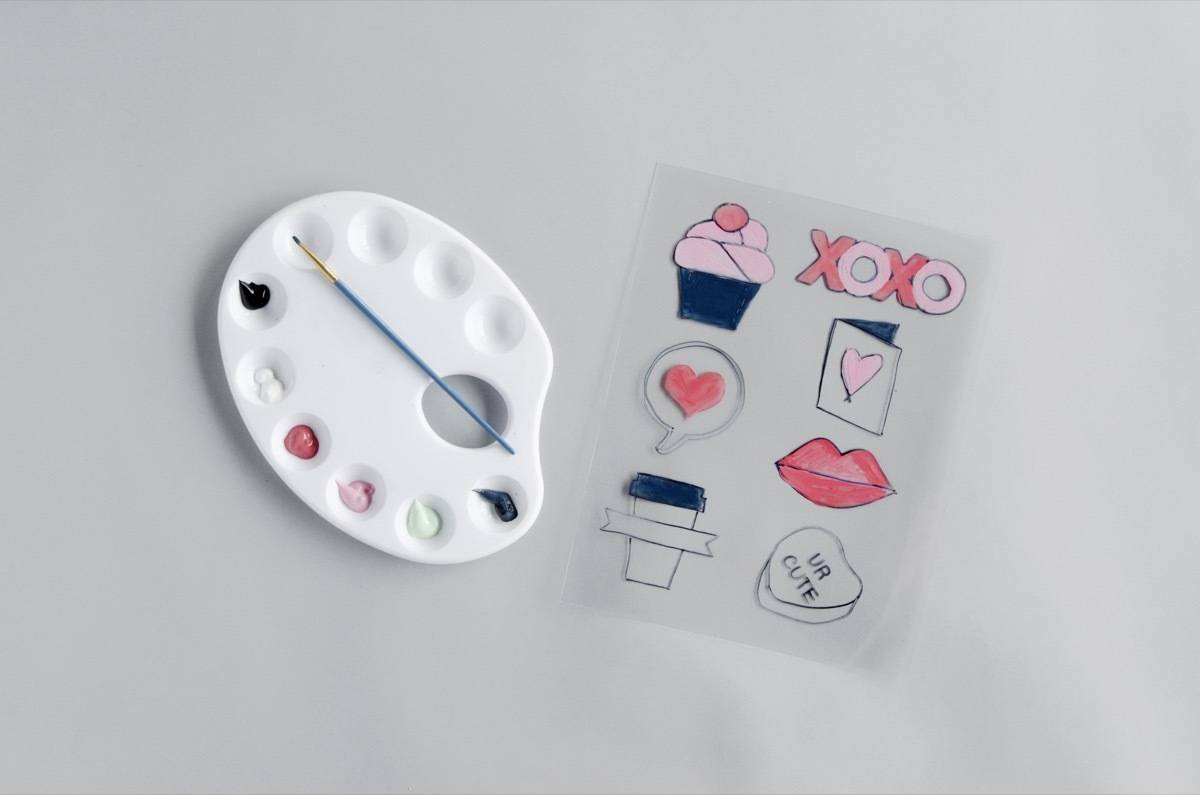
Fill in the designs with a thin layer of acrylic paint. The more paint you apply, the “rougher” the pins will look once they shrink, so keep it light. I recommend using high-quality paints, as cheaper paints require multiple layers to get richer color.
Step 3
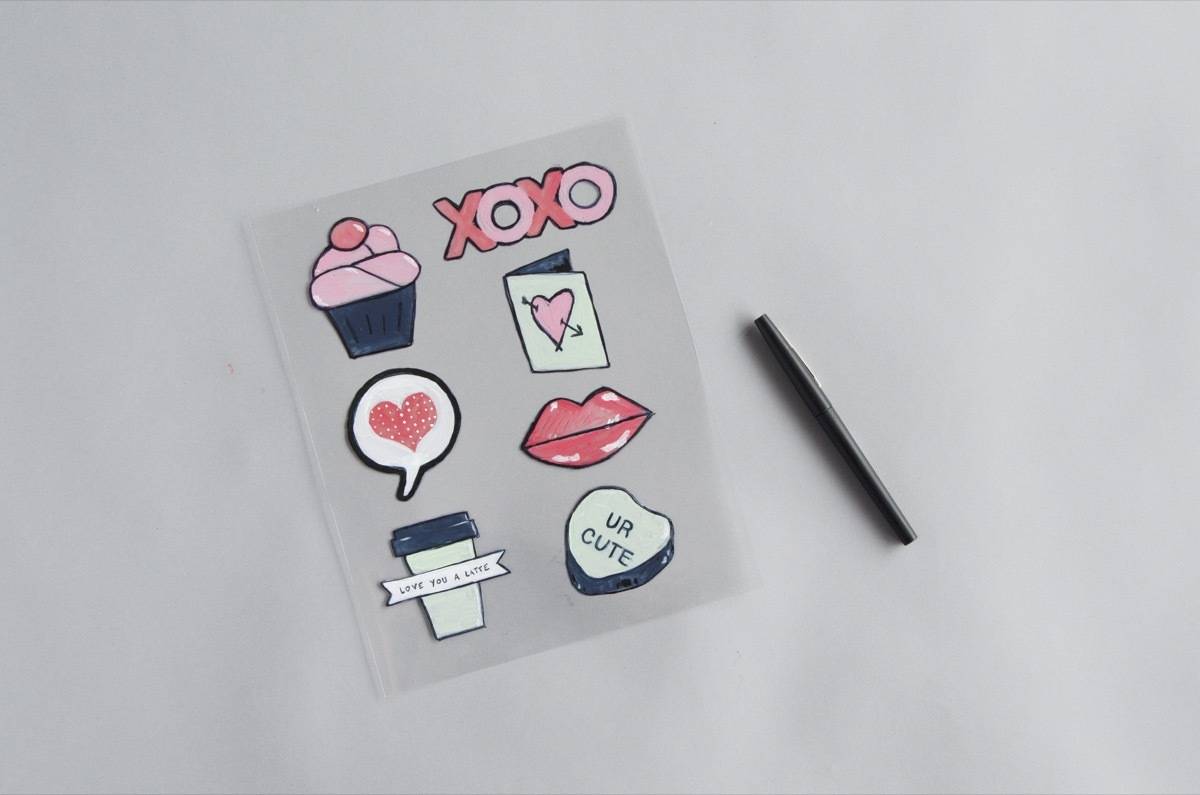
Once the paint has dried, go over the lines of the designs again to redefine any hard edges. Add any lettering over the paint.
Step 4
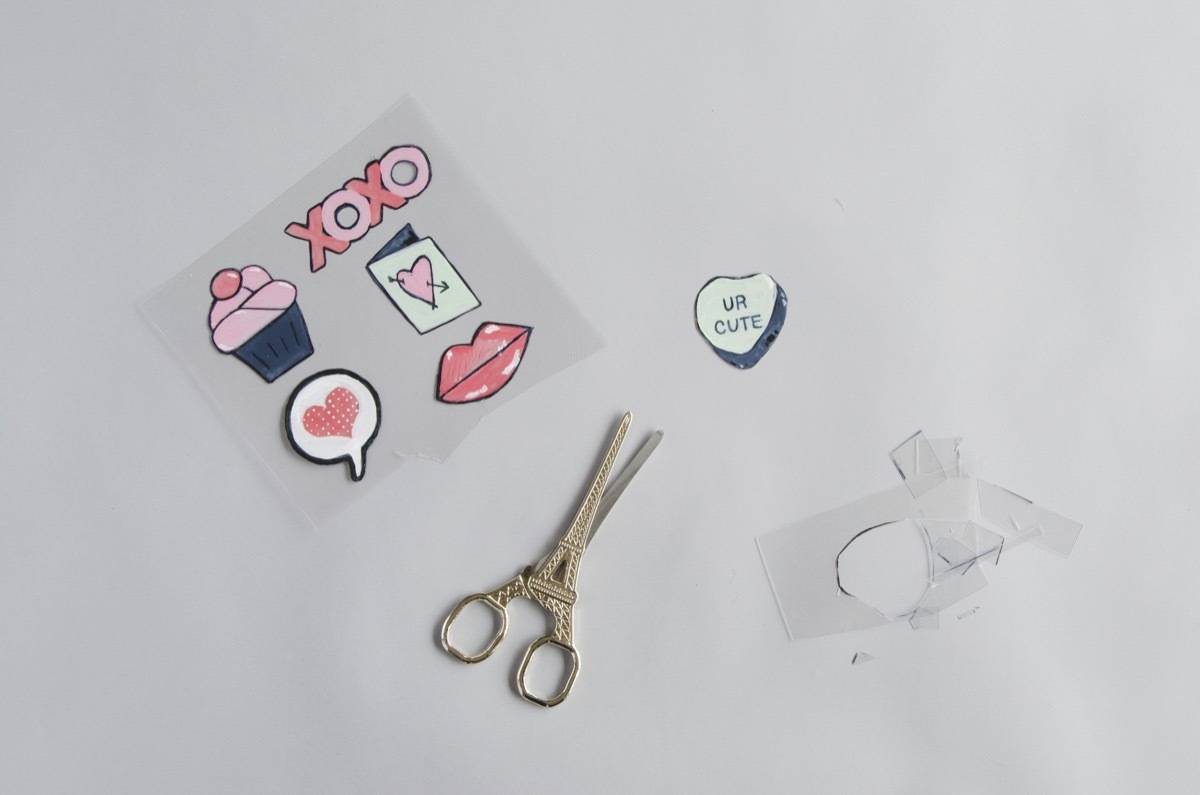
Cut out each design. Take your time with this step, as the shrink paper can rip easily.
Step 5
Preheat the oven to 325º F. Line a cookie sheet with aluminum foil. Lay the designs on the pan so they are not overlapping. Bake for 1-3 minutes. The shrink paper will initially curl while baking – once the paper has curled it will shrink to 1/3 its original size, and become remarkably thicker.
Step 6
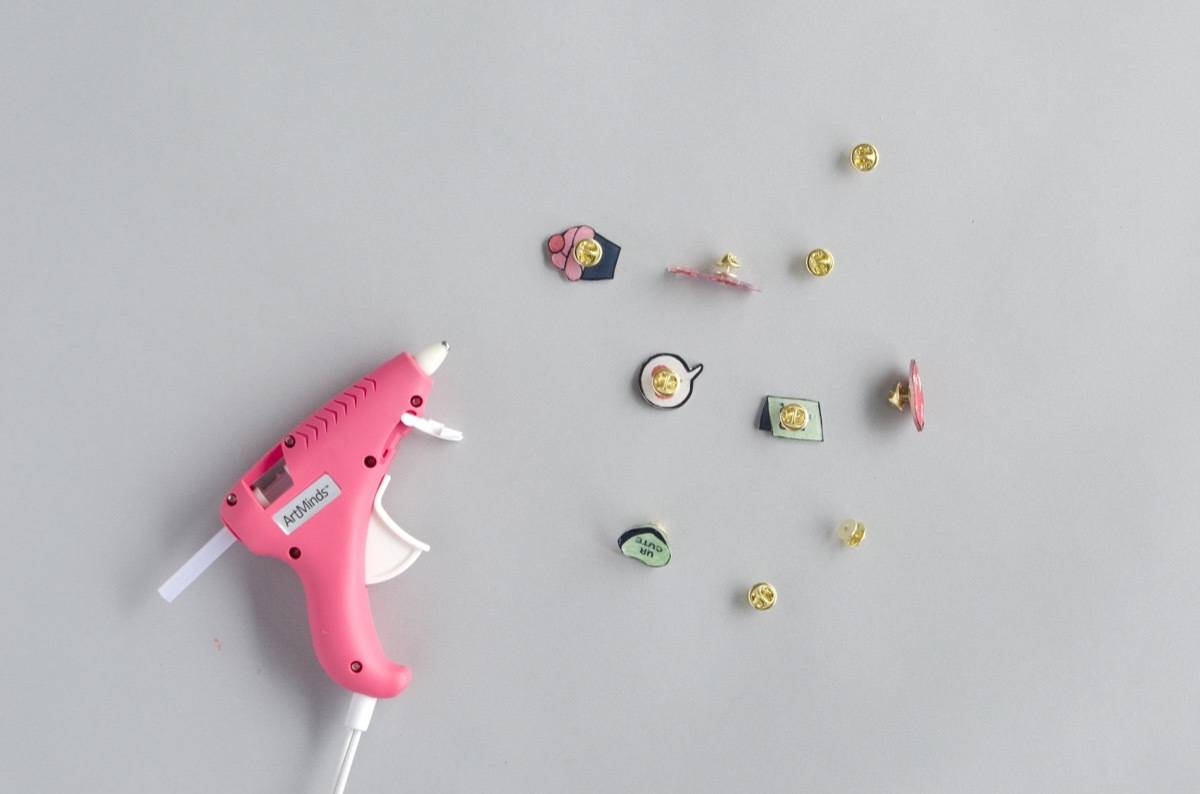
After the designs have cooled, use hot glue to apply the pin backs. If you want to give your pin designs some added protection, you can seal them with a finisher spray. Done!
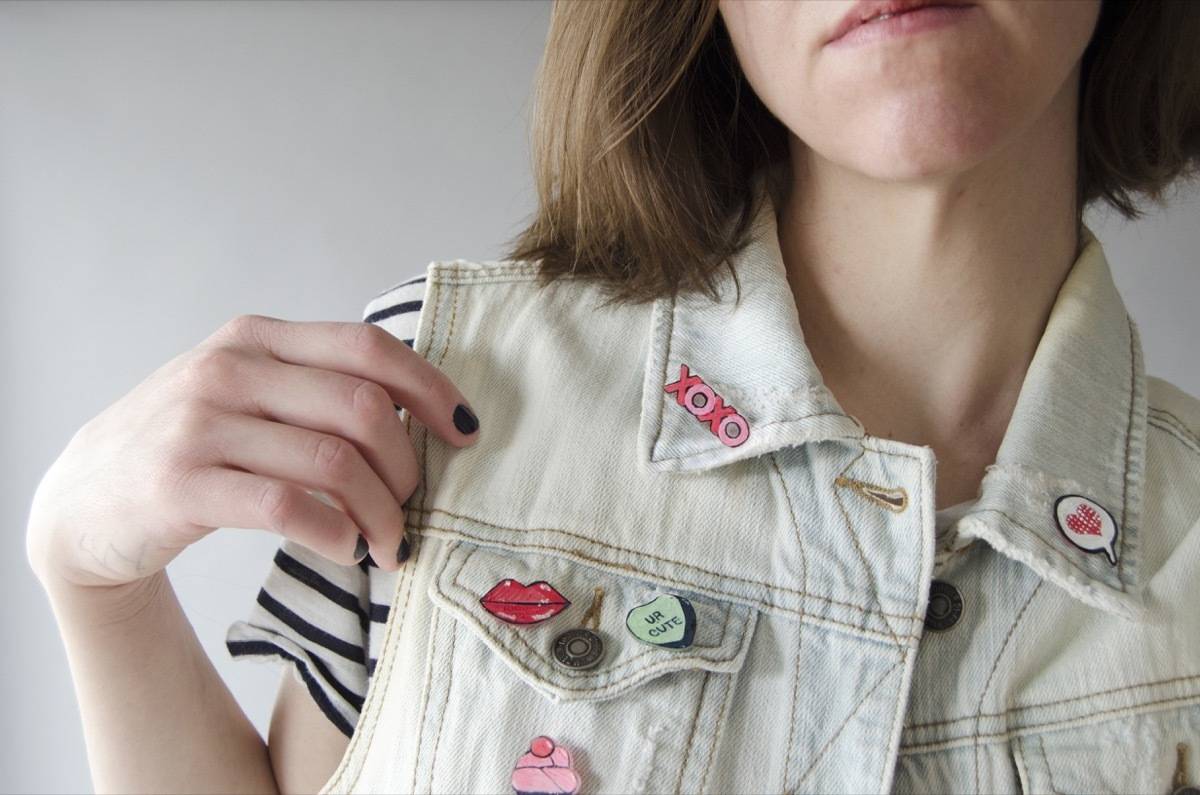
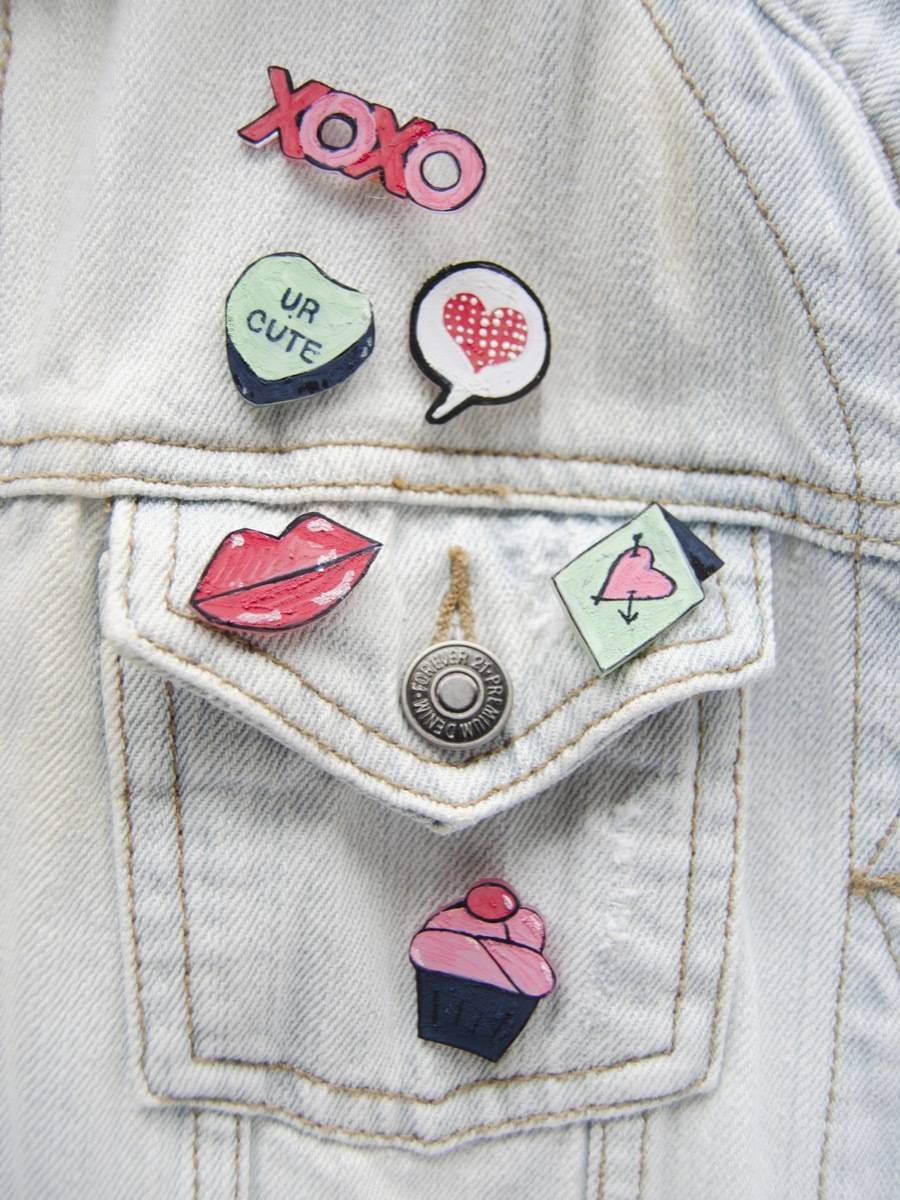

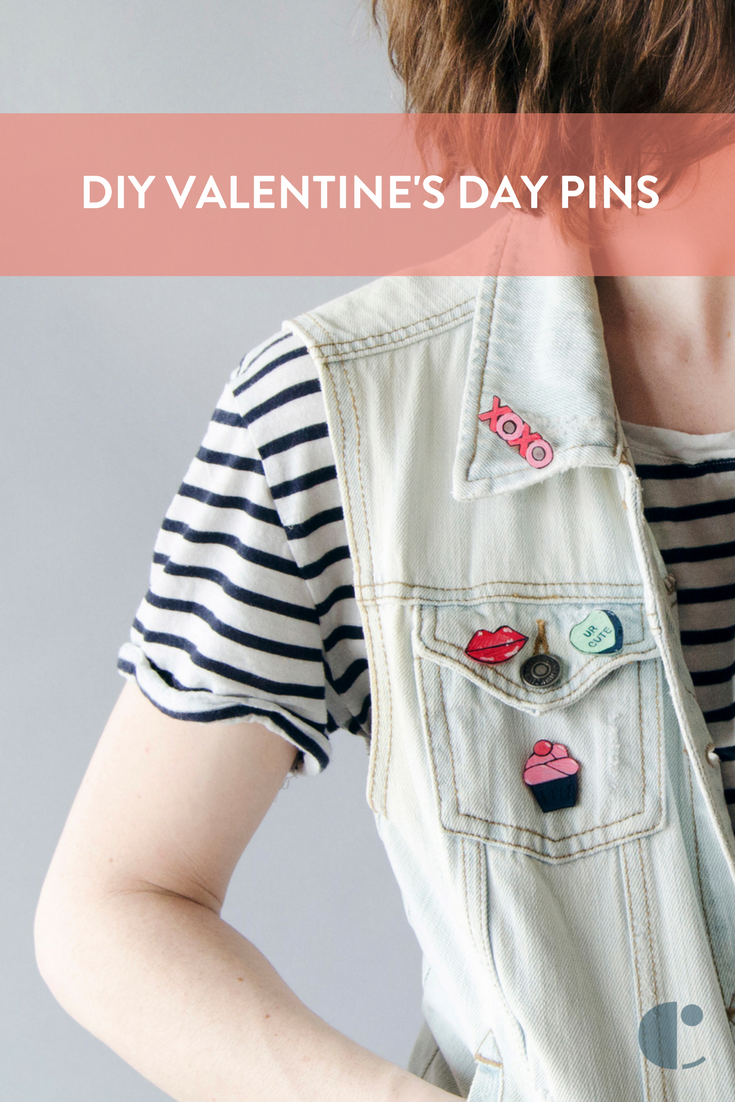
Side note: Like I said earlier, I love enamel pins. That being said, watching fashion come full circle and recognizing the decade this fad came from because I lived through it has me feeling super old! I’ll let it slide though, because 90s fashion really was the best (#DENIM4LIFE).
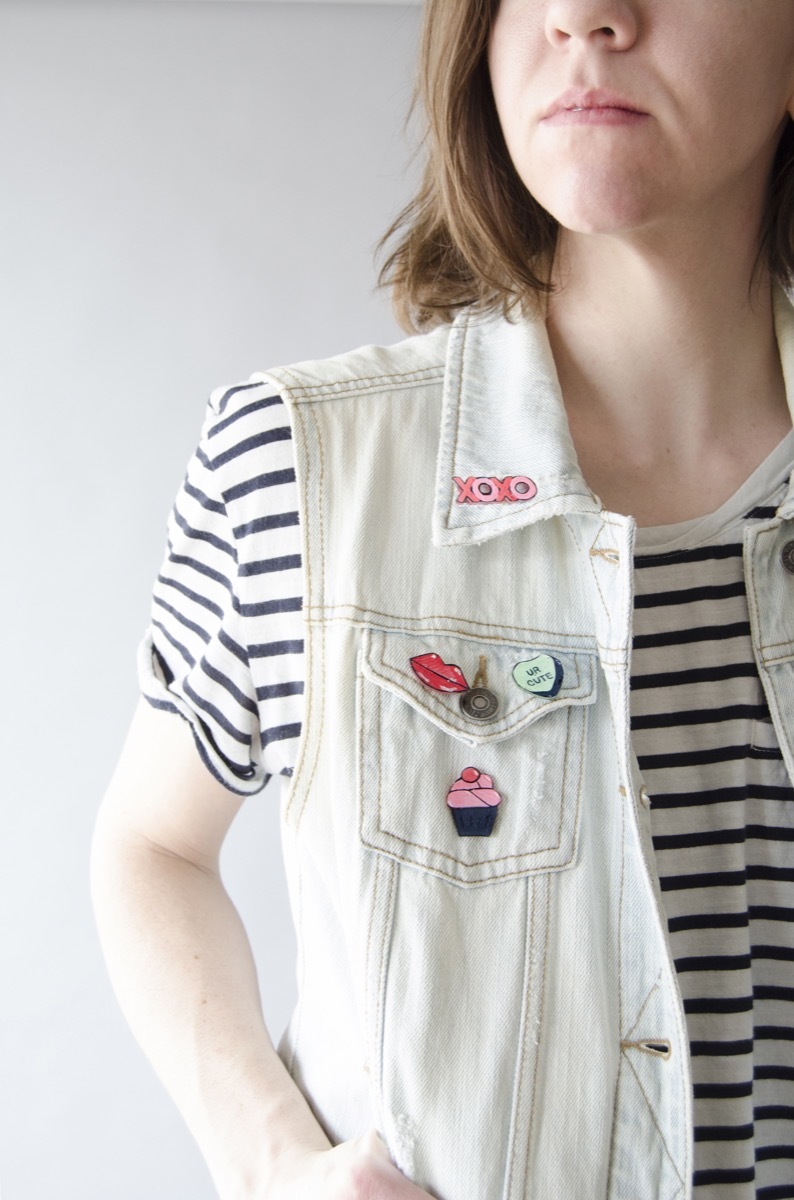

Love this idea and it’s simplicity. One question, should the pin be put on the paint side so it looks more like enameled? Awesome designs.
@Pris Great idea! If you want a glossier look, you could totally put the pin back on the painted side. You will have to draw and paint all your designs mirrored, and put any lettering and details down first as opposed to last. Craft on!
Can shrinky drinks be successfully baked in a microwave oven? You’d have to add a glass of water so you don’t kill the microwave, but would it work? (I’m probably going to try…)
@Jean please don’t put shrink paper in the microwave!!! That’s dangerous not only to your microwave but also to you! Please only use an oven or a toaster oven!
OK, thanks. Just curious, what could happen? A fire, I guess.
@Jean You could definitely start a fire that way, plus you’d be letting some nasty chemicals into the air. It only takes a moment for the plastic to shrink in the oven, so play it safe! Have fun crafting!