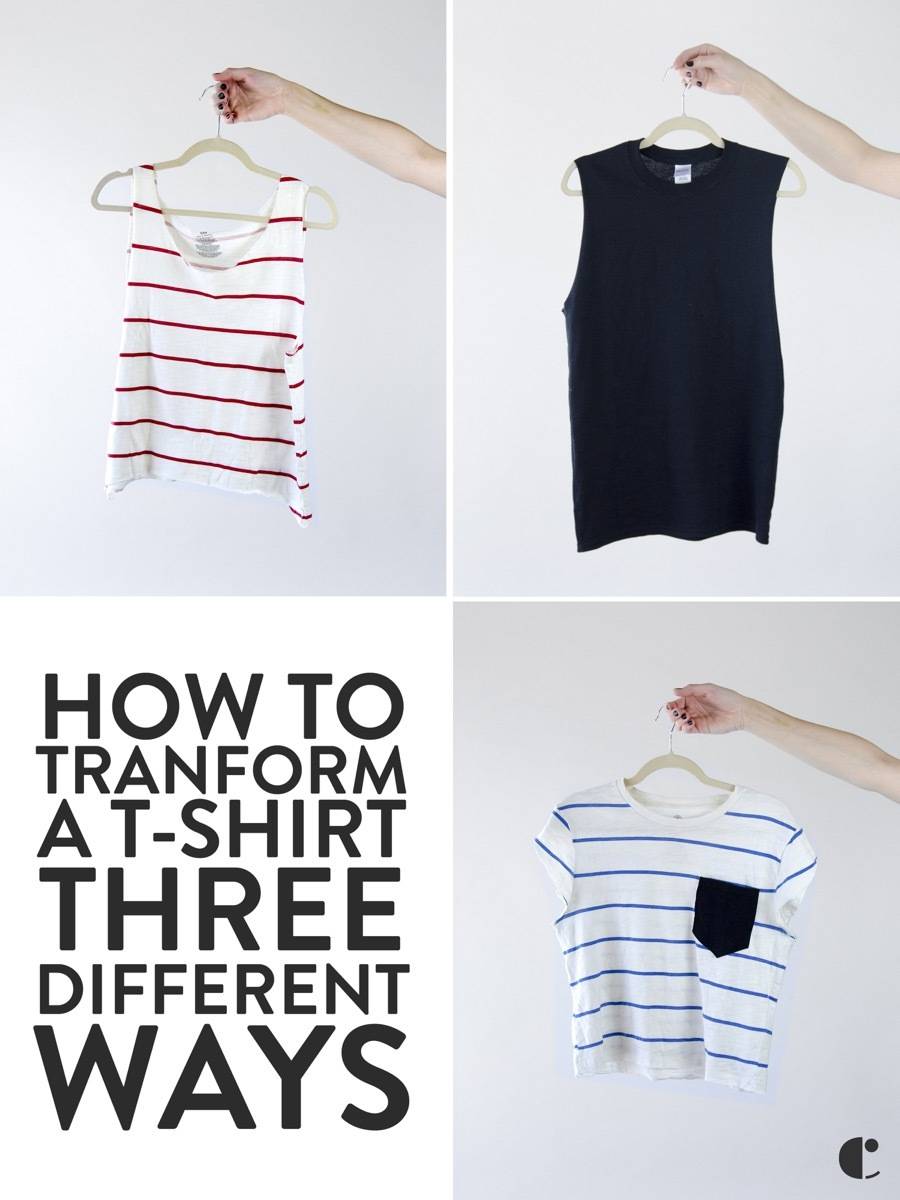
The moment the temperature outside starts reaching 90º is the same moment I start reaching for my scissors. Not a summer has passed where I haven’t cut the sleeves off a tee or turned jeans into jorts (isn’t that the best word ever?). With some scissors and a bit of thread, you can turn a boring tee that you may have otherwise thrown out into your new favorite top. There are a million ways to cut up and refashion a t-shirt – here are three of my favorite t-shirt DIY ideas.
Watch the video to see these t-shirt transformations in action (and some awkward modeling by yours truly), and keep reading for the full details.
T-Shirt DIY #1: The Scoop Neck
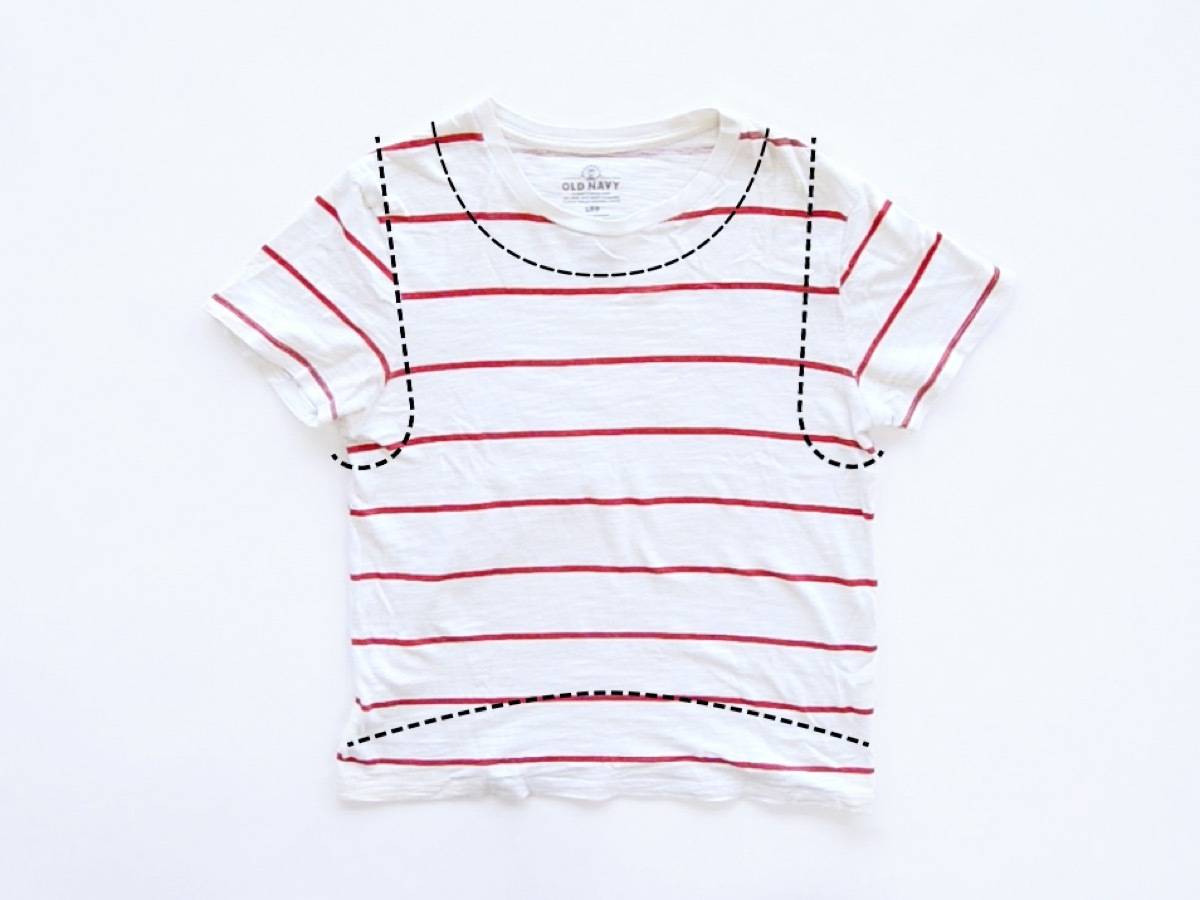
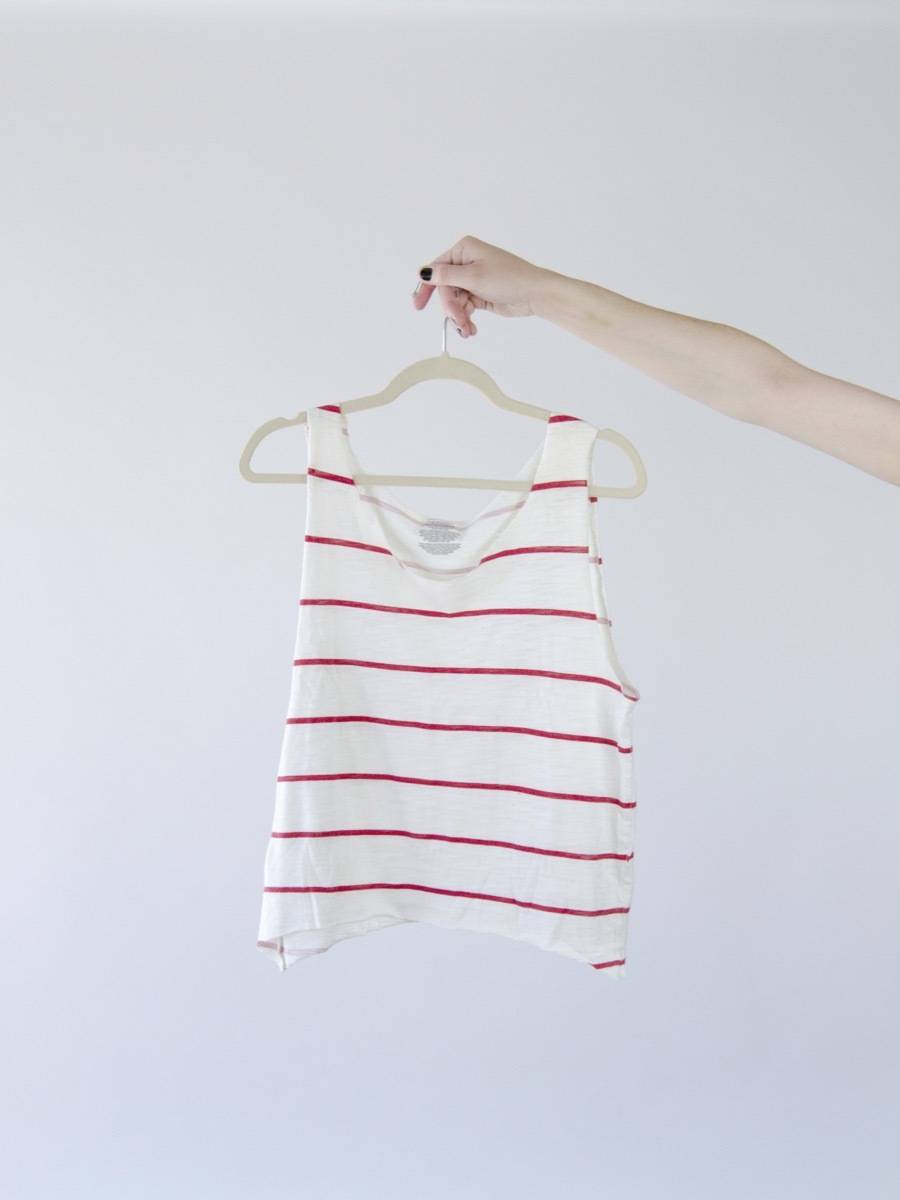
This first t-shirt DIY only requires cutting! Grab a good pair of scissors and cut the sleeves off, plus the bottom off in a curved fashion, as seen above. Cut out the collar on the front…
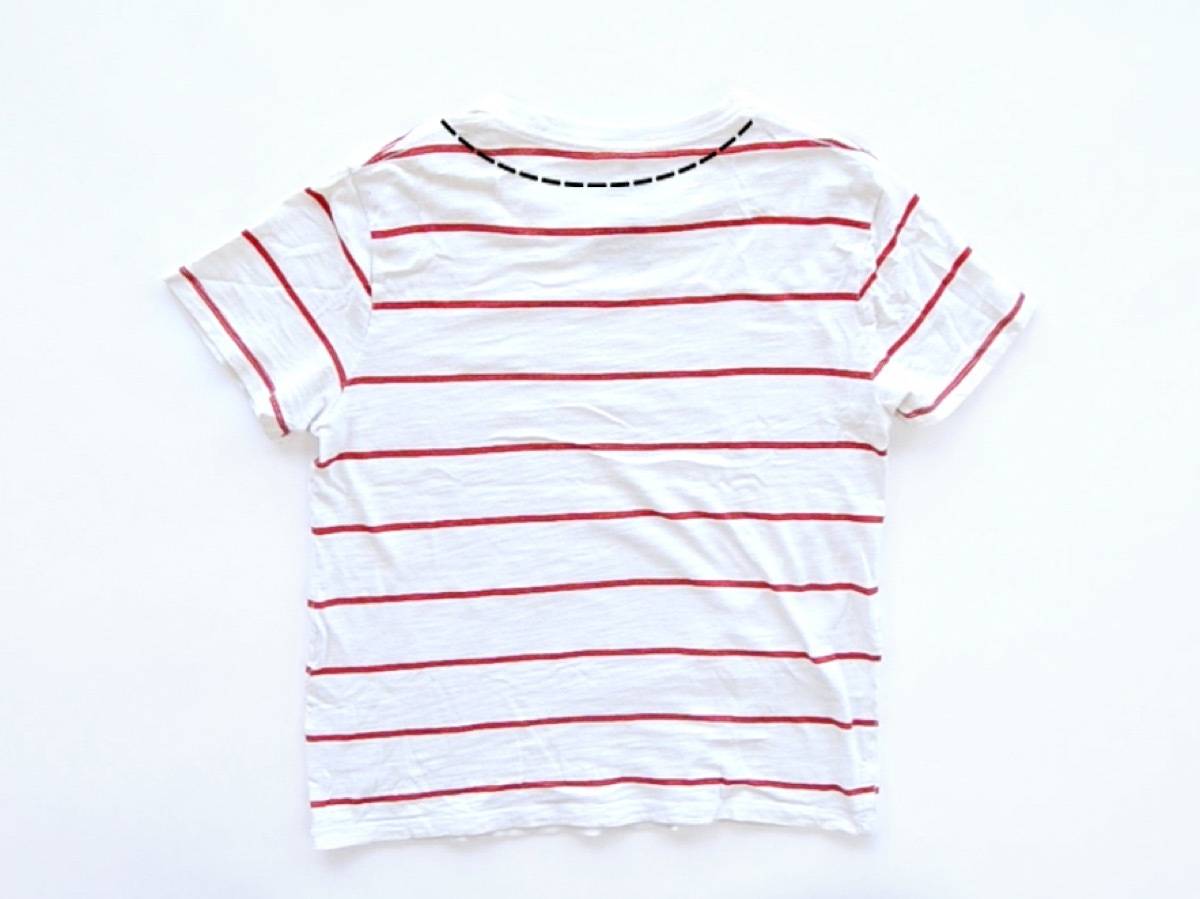
… and on the back. If it’s easier, sketch out the lines before you cut (make sure the shirt is inside-out first). I recommend cutting one layer at a time, rather than cutting both the front and the back at once, as your edges may end up jagged.
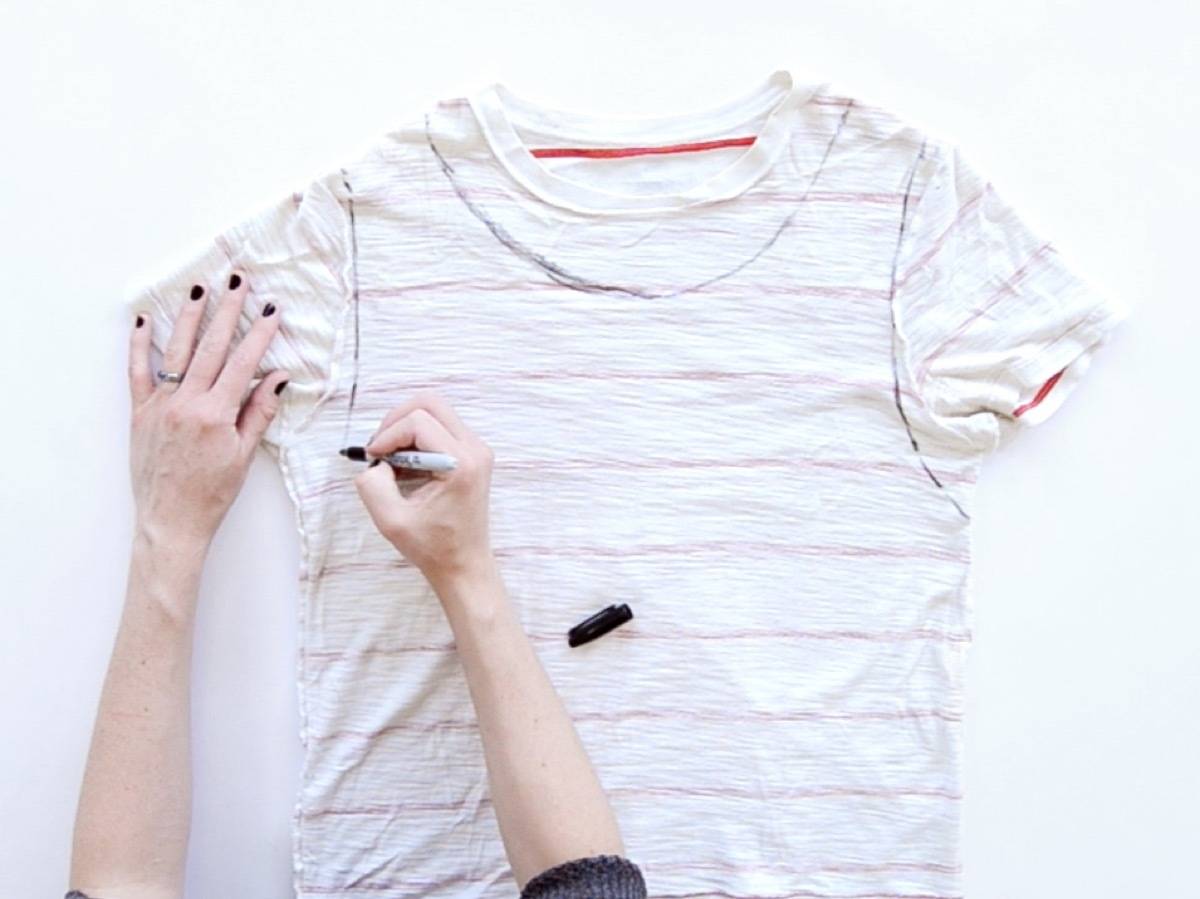
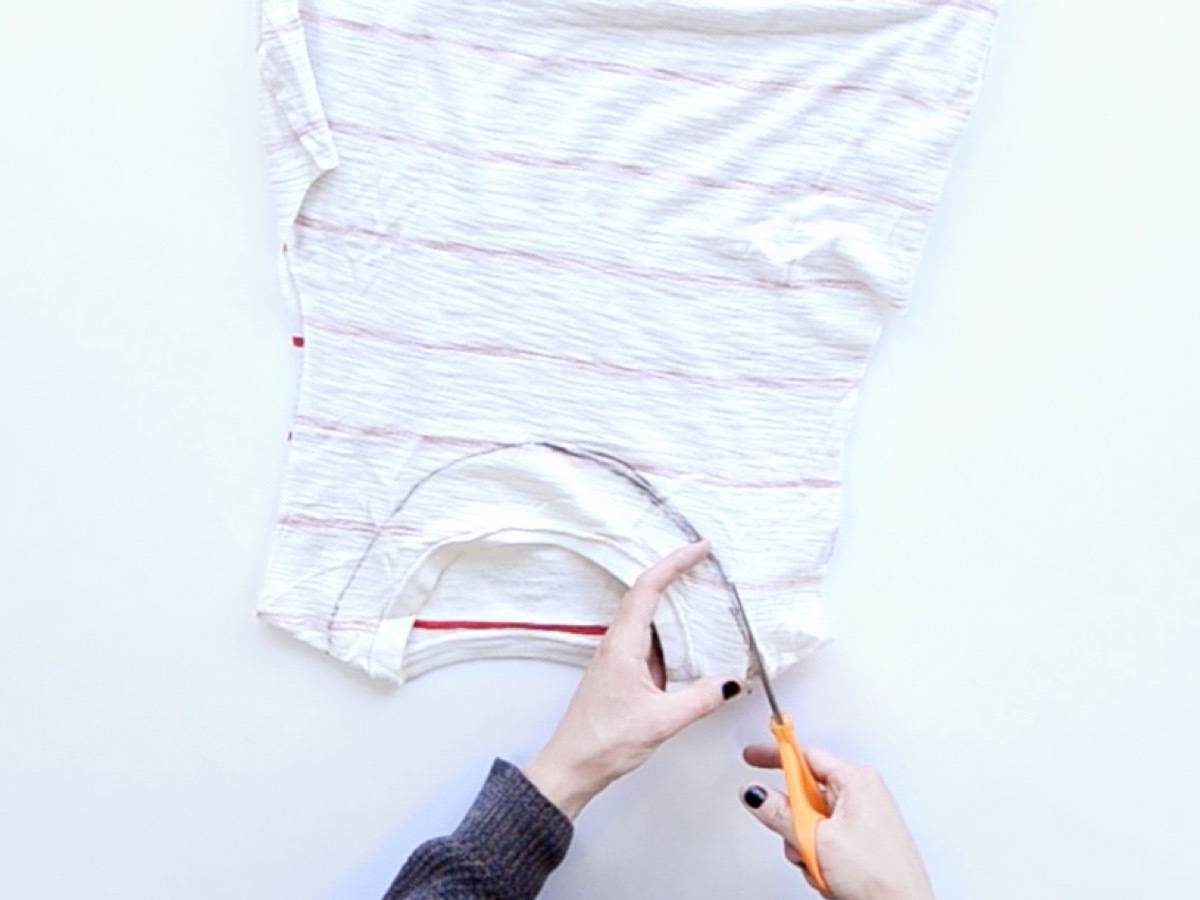
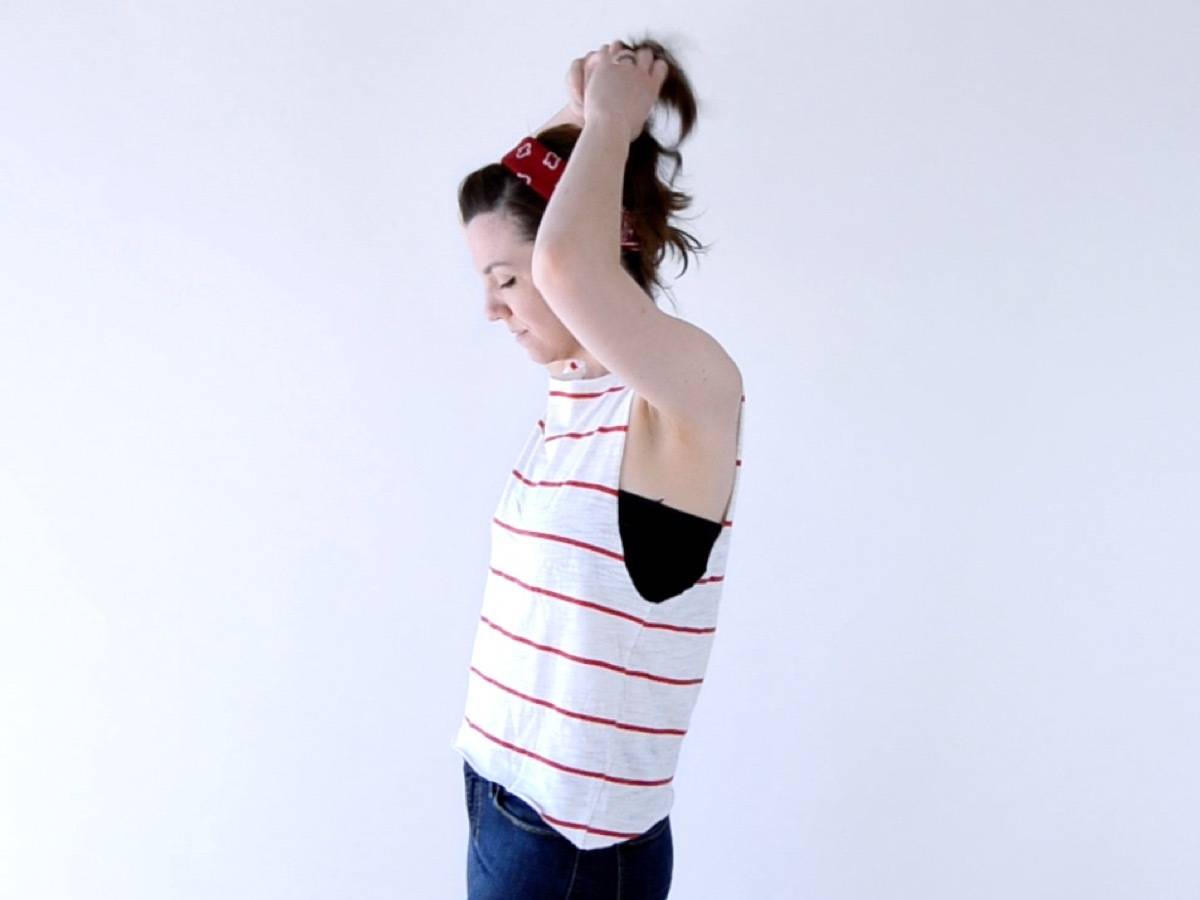
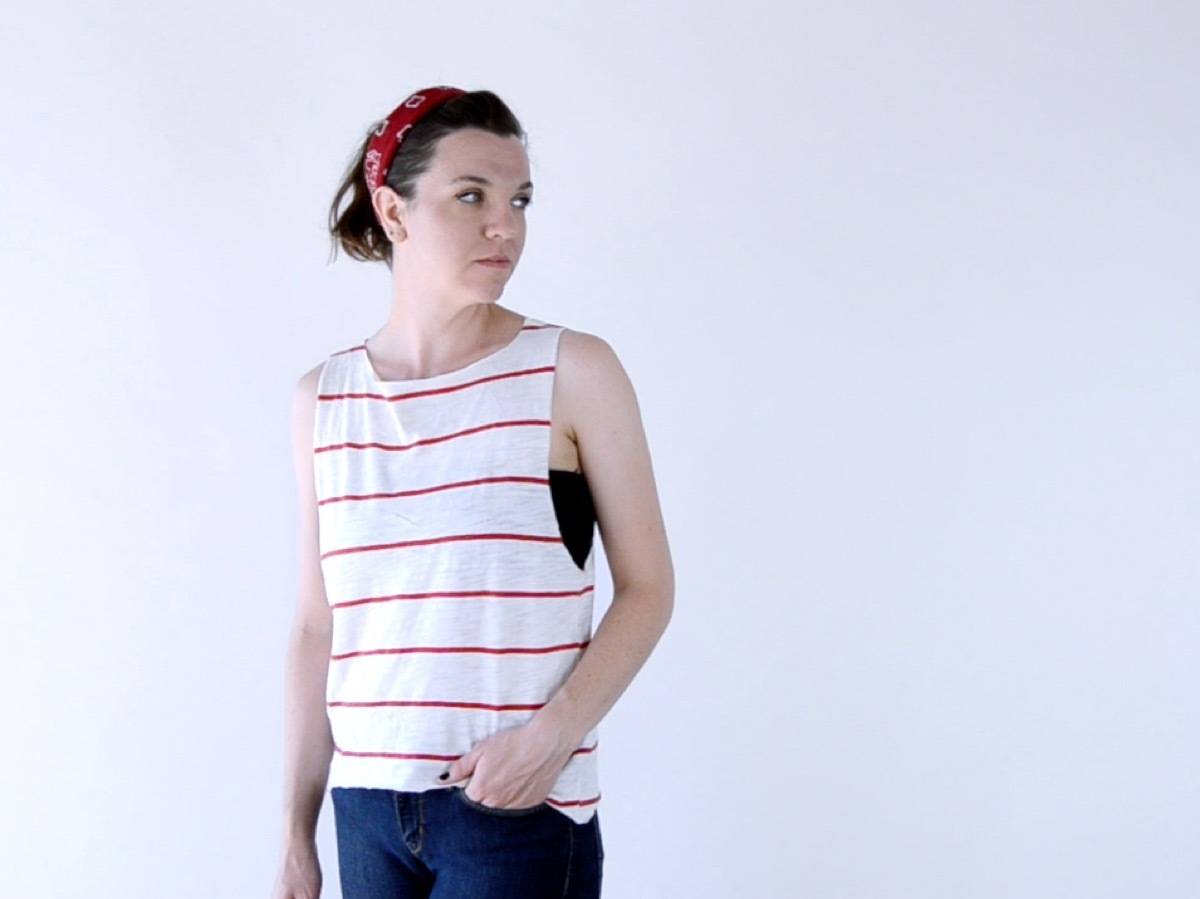
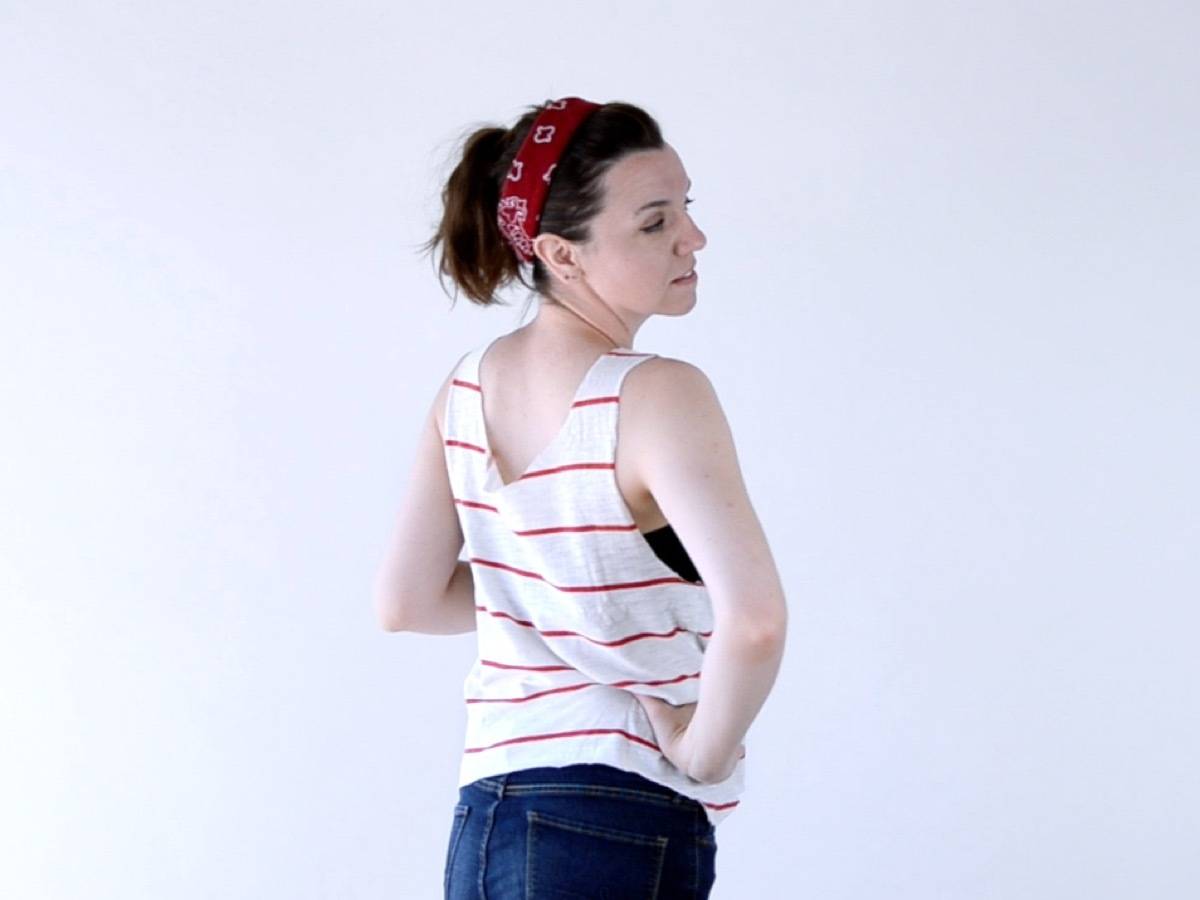
This shirt is worn with the deeper neckline in the back. As in, what used to be the front of the shirt is now the back, and the neckline scoops lower in the back than the front.
T-Shirt DIY #2: The Muscle Tee
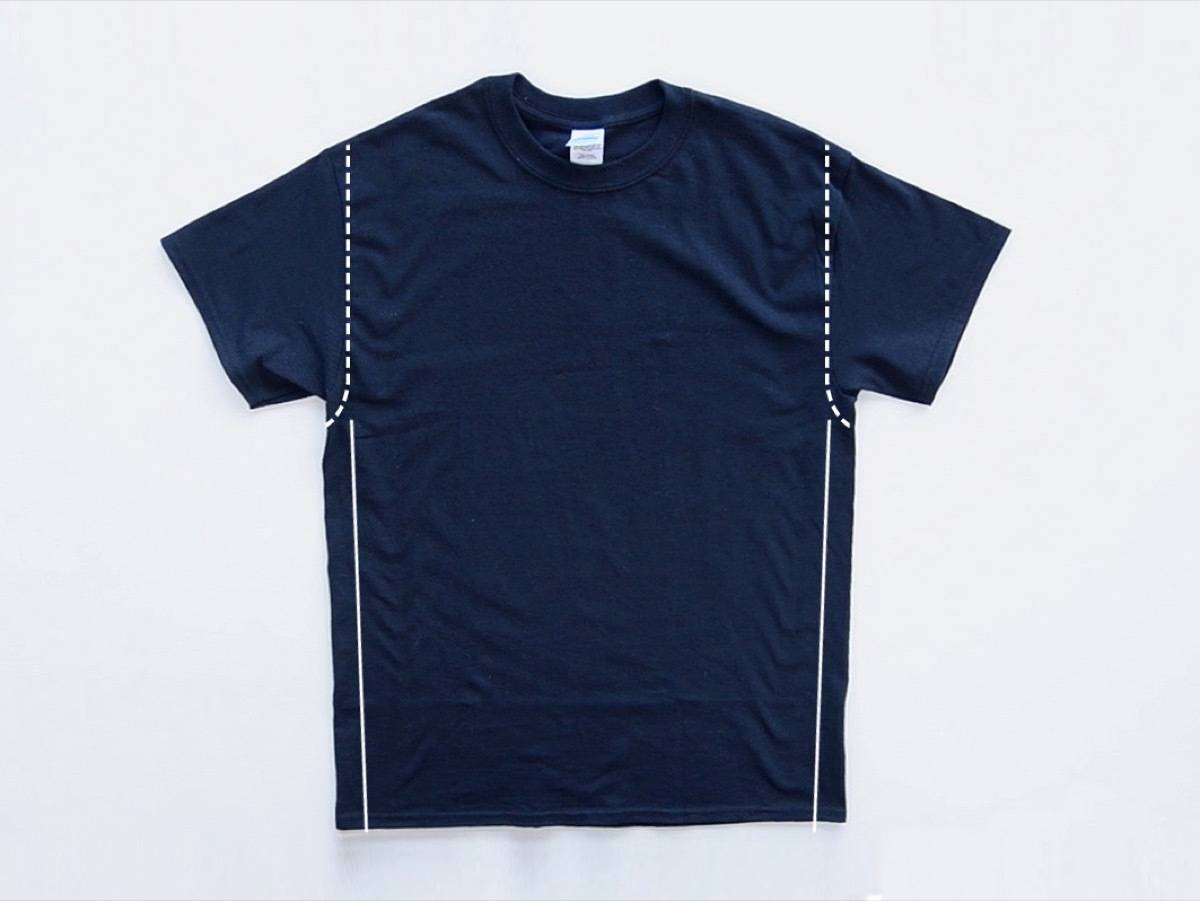
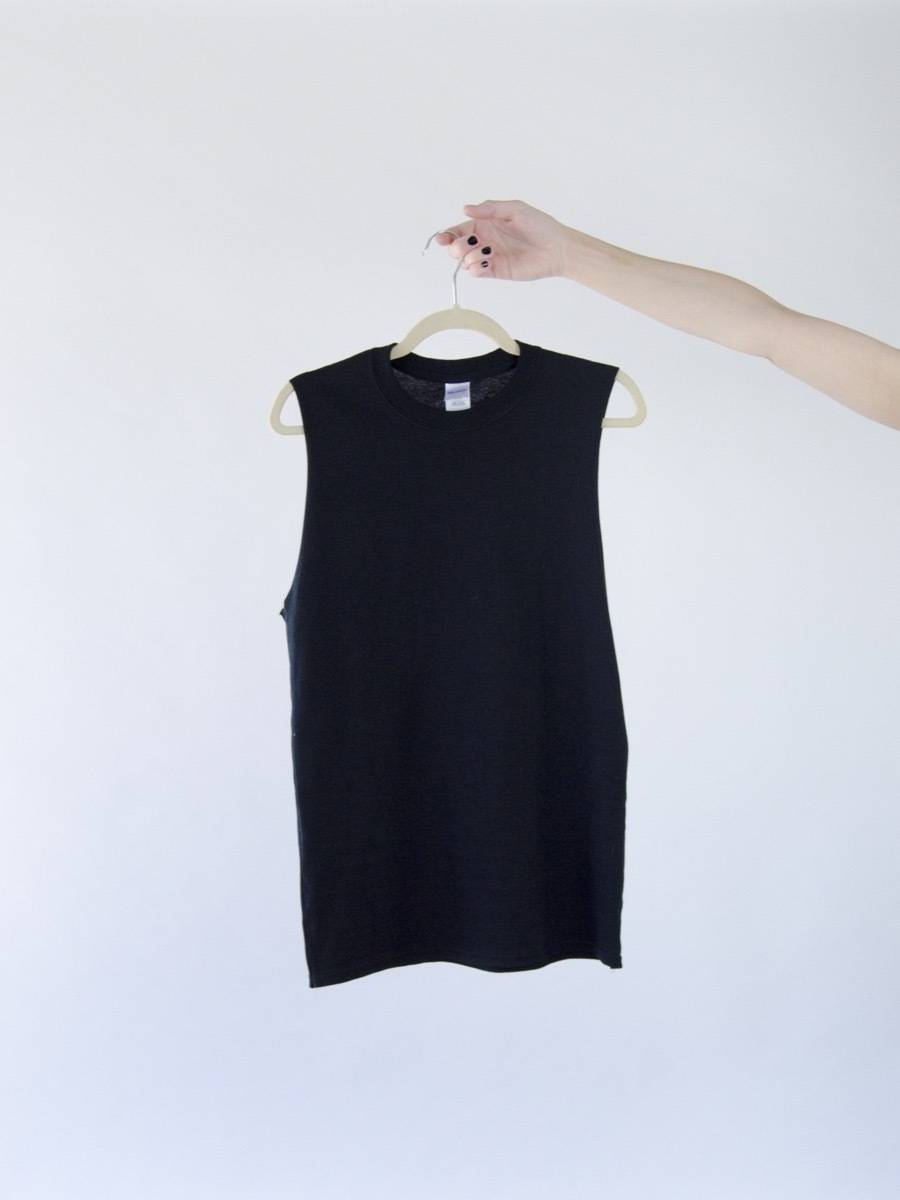
This top was way too big a fit for my body, so for this t-shirt DIY I’ll show you how to alter the sides, too. This alteration requires cutting off the sleeves, and sewing down the sides.
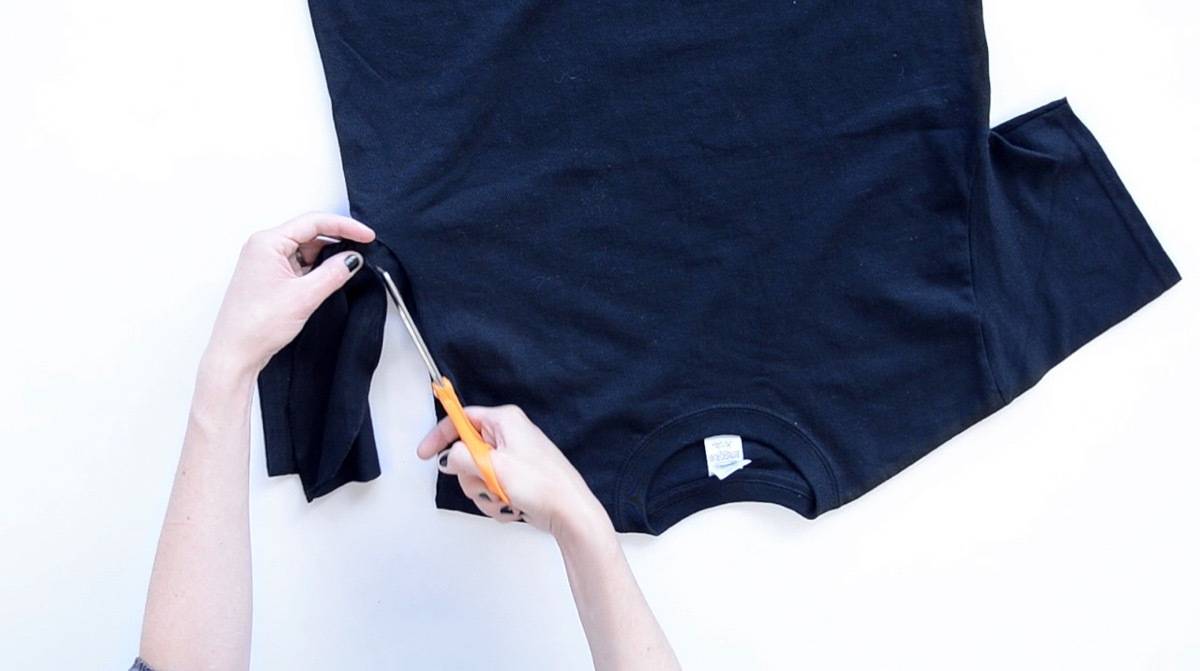
Cut the sleeves off just inside the seam line.
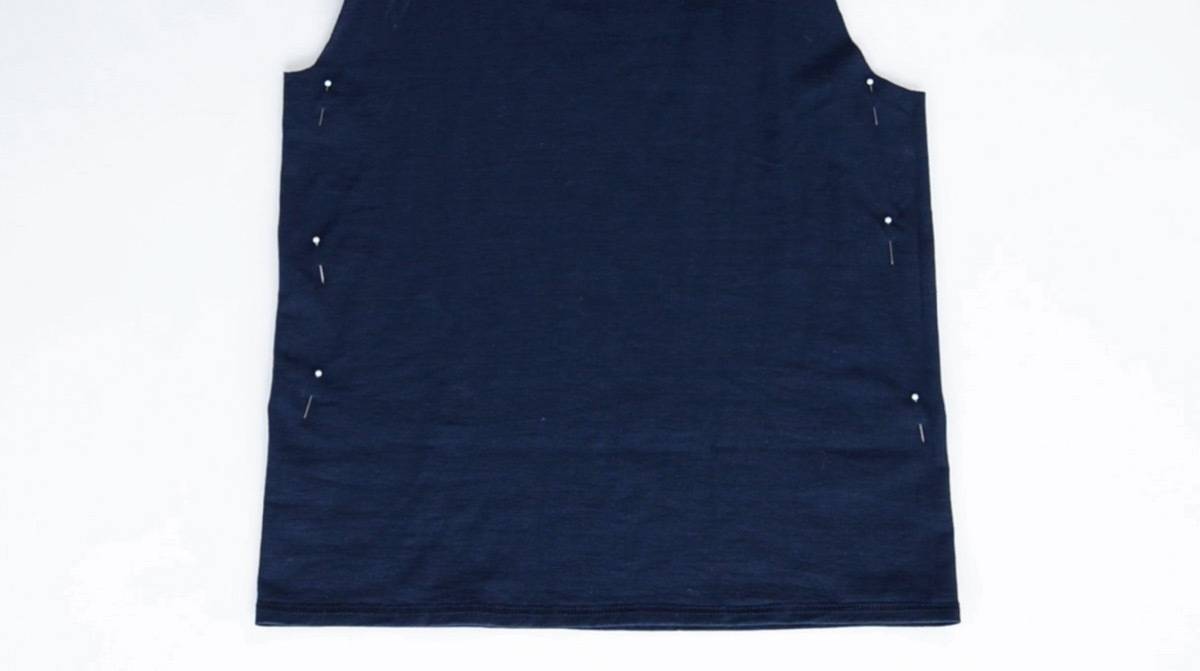
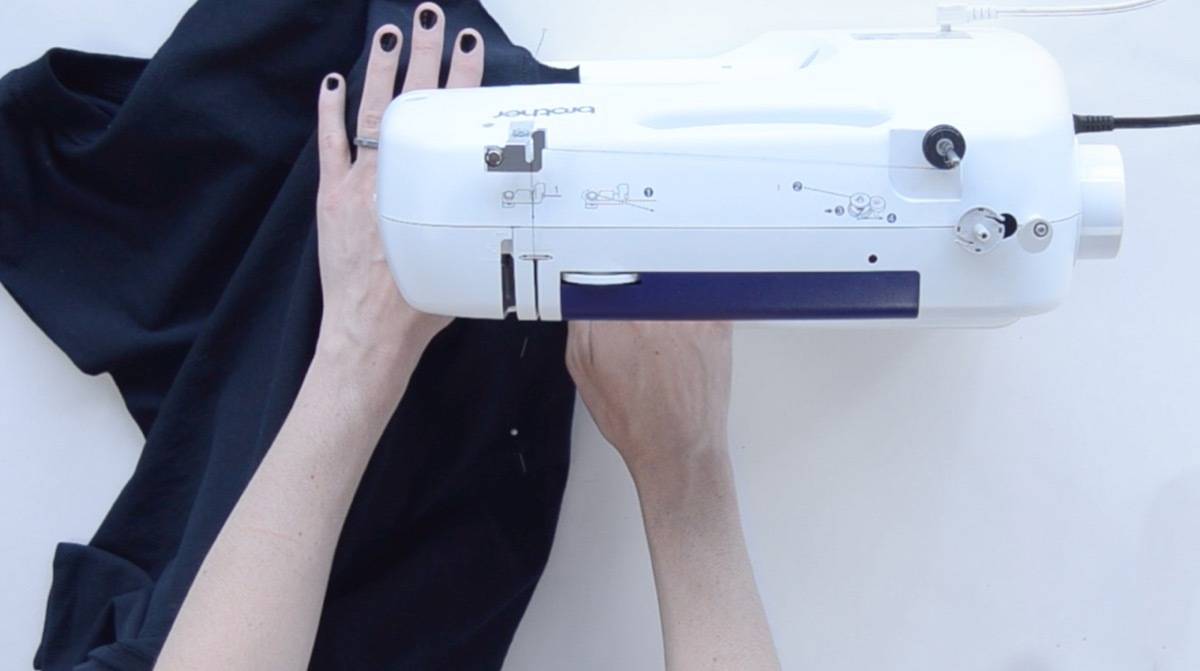
Next, turn the shirt inside out and put it on. Mark along the sides of your body where the shirt should fit. Take the shirt off (carefully – don’t get stuck with the pins!), and sew along the pin line. You can sew by hand or on a sewing machine, but either way you’ll want to use a zig-zag stitch to allow the fabric to move and stretch.
After you’ve sewn up the sides, put the shirt back on to ensure the alterations are correct. If so, cut off the excess fabric along the new side seams, and you’re done!



T-Shirt DIY #3: The Crop Top (With Pocket)
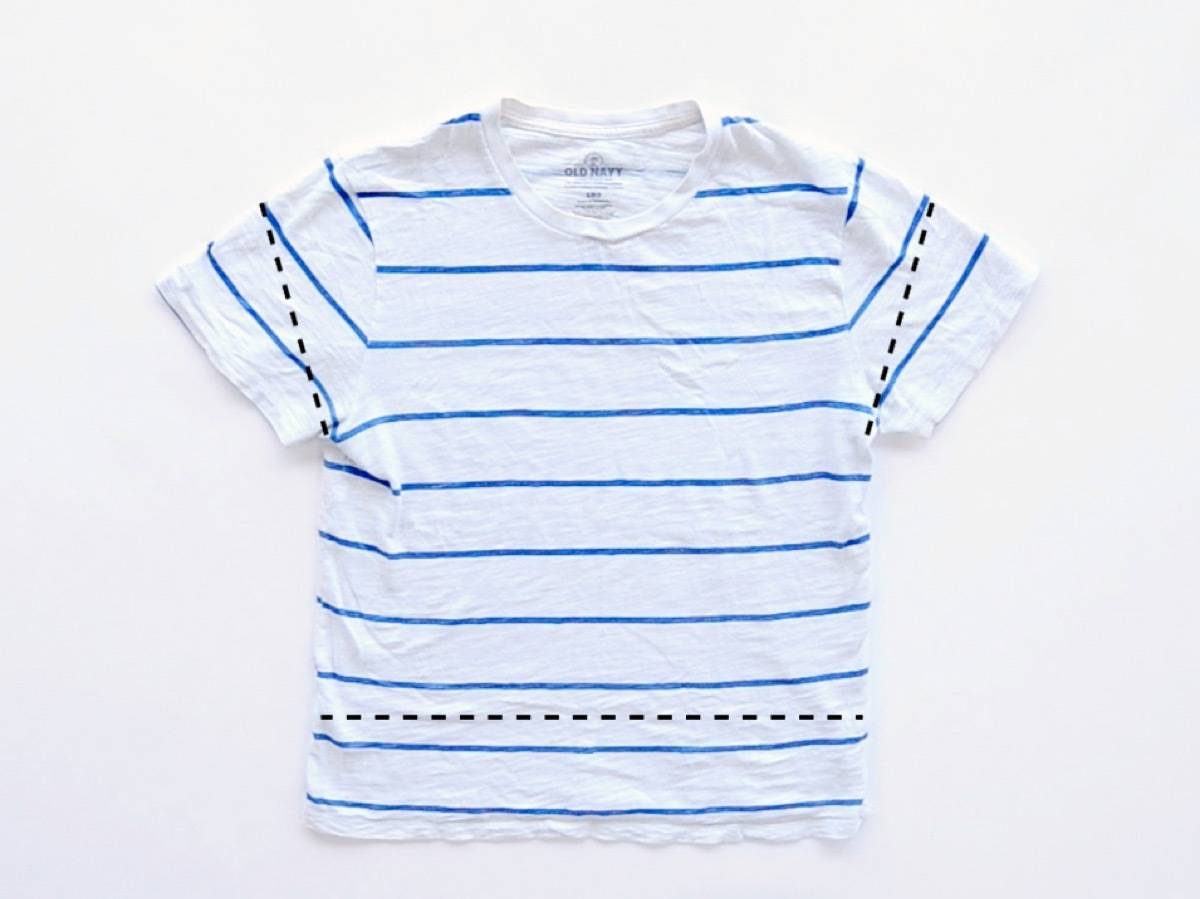
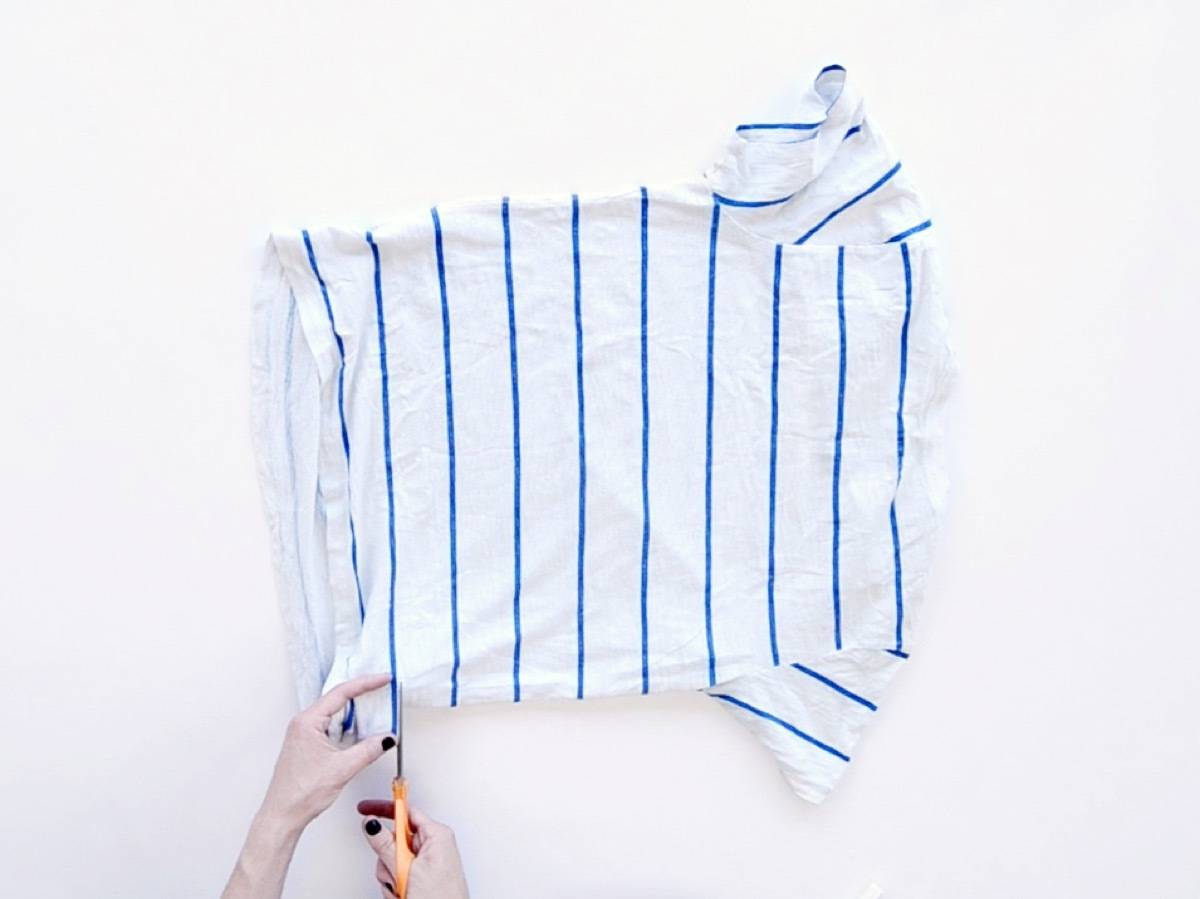
To get the crop top look, cut a few inches off the bottom. You can leave the sleeves alone, or cut them shorter for a more summery look.
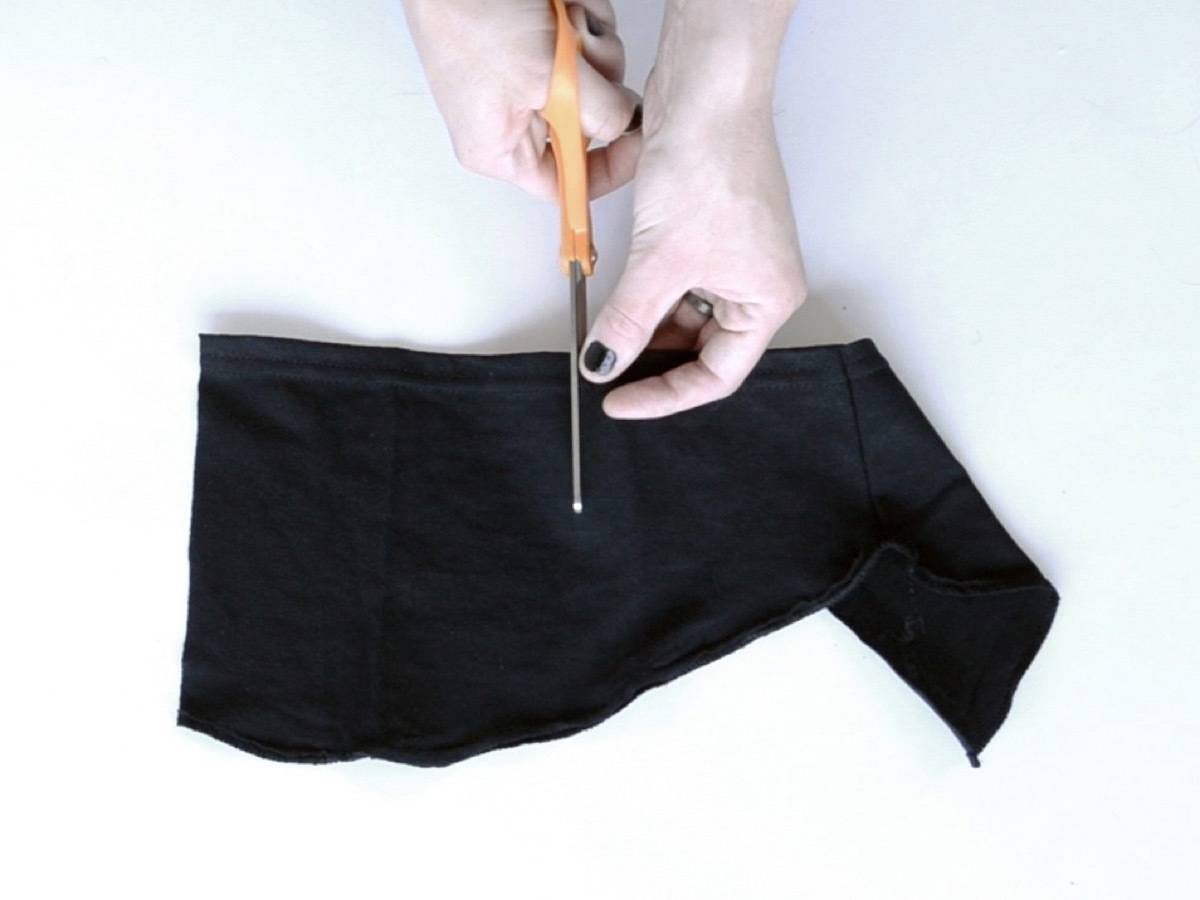
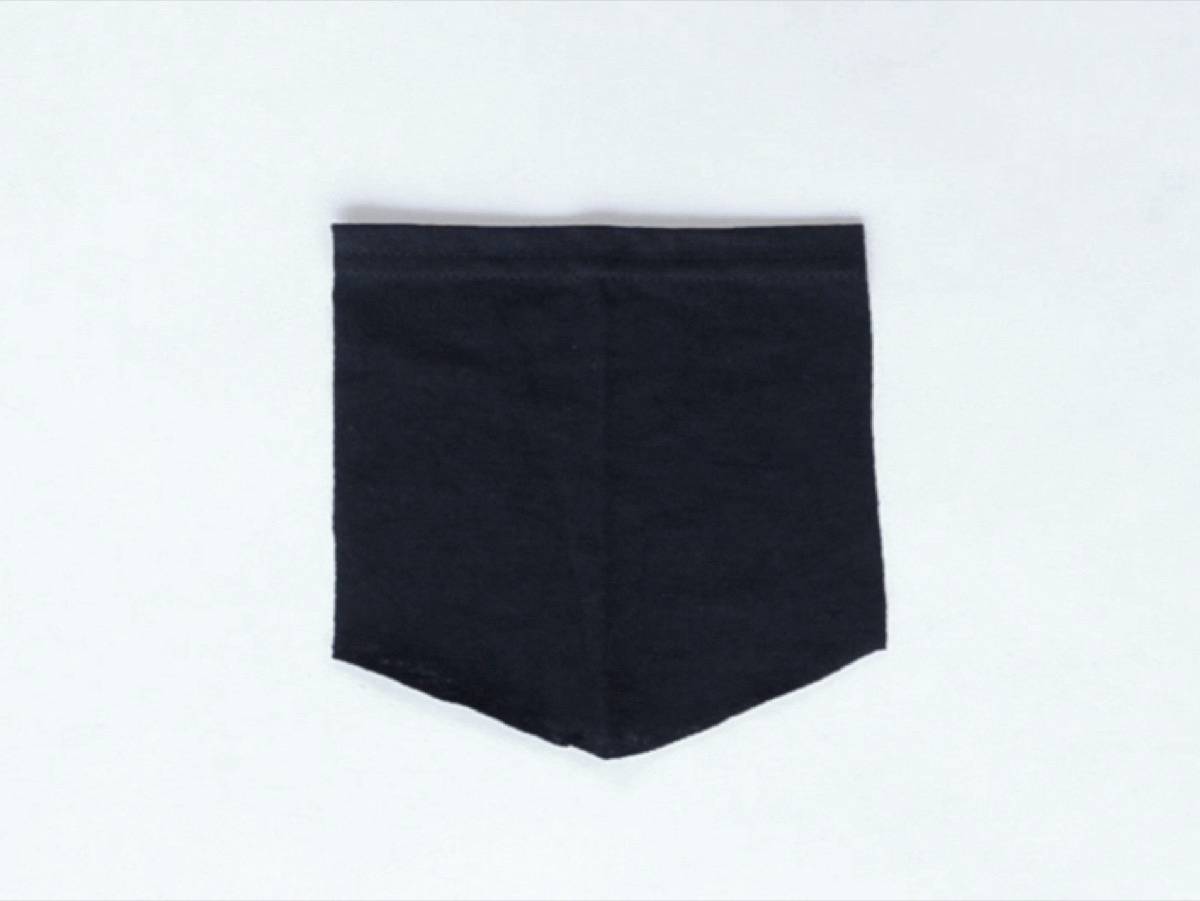
Now to the pocket. Grab a scrap piece of fabric (I’m actually using one of the sleeves I cut from my muscle tee), and cut out a pocket shape. On the top of the pocket, fold the edge flat and sew across to hem.
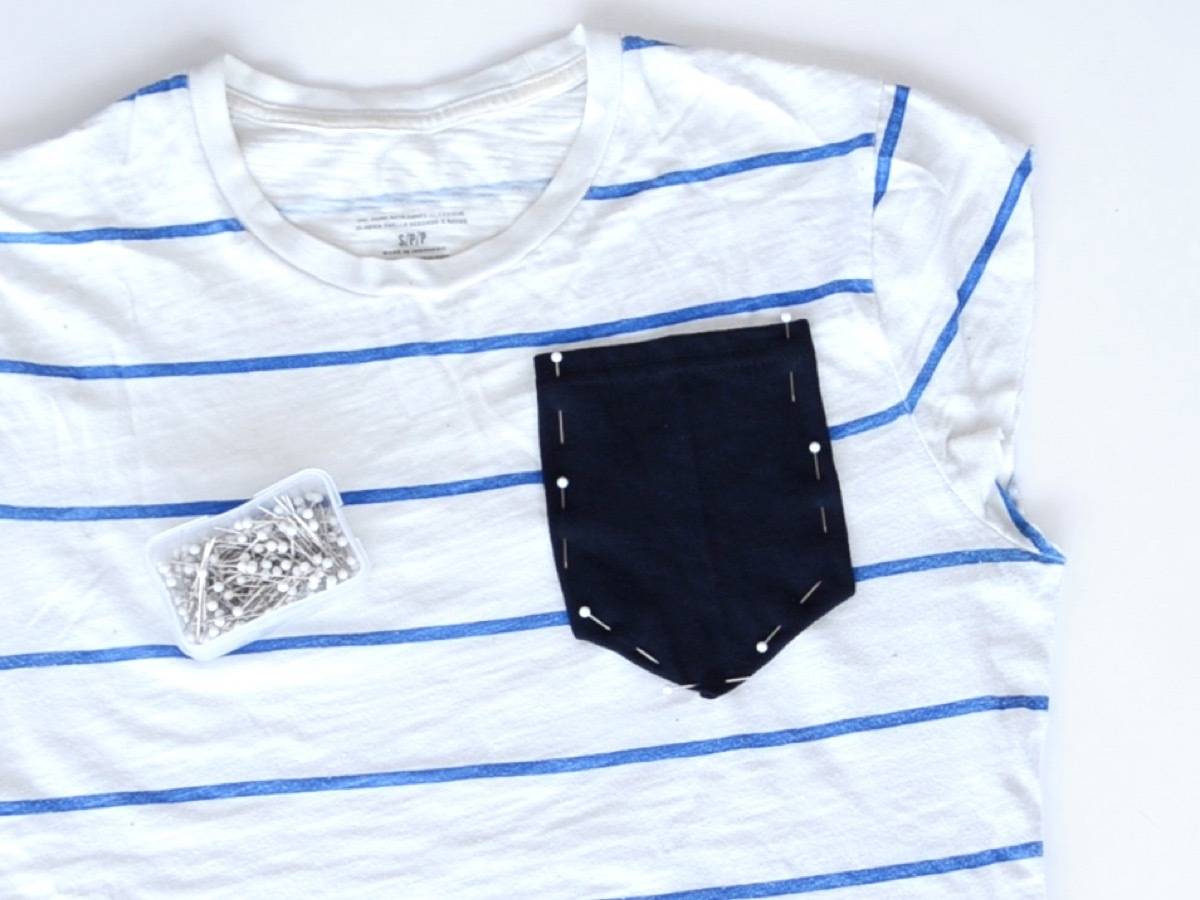
Pin the pocket to the front of the crop top, folding all the edges in except for the top edge. Sew in place using a straight stitch (either by hand or on a sewing machine). Done!


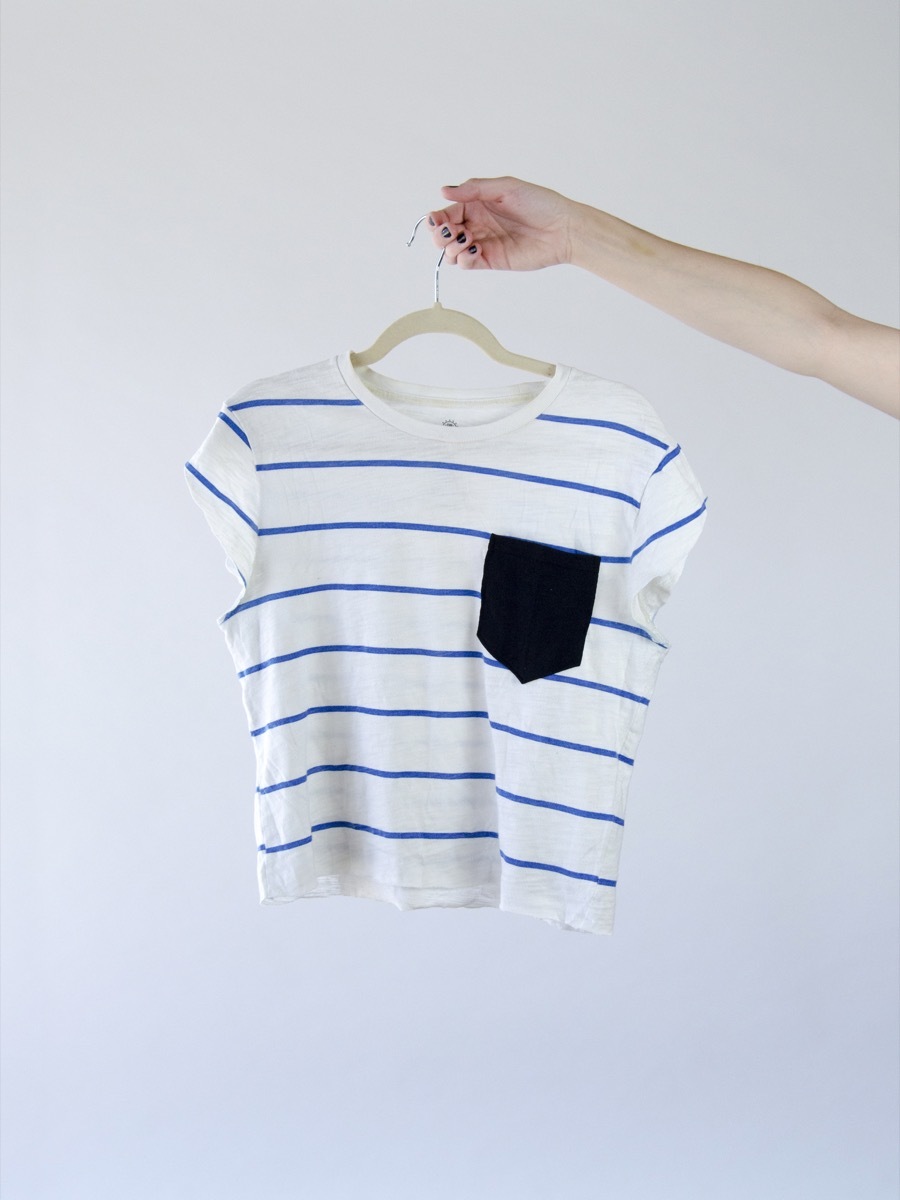

Whoa…dude. NAILED IT.
Awesome work, M.E.!
@cChrisjob – Thanks man!