When Al and I found out we were expecting baby number two, the walls of our quaint little 2/1 started to cave in all around us. We danced with the idea of moving to the ‘burbs, but after some serious soul searching and a few disappointing open houses, we thought better of it. Our dream has always been to raise our family in the city and we just didn’t want to give that up so quickly. We were determined to make it work. After we came back down to earth, we realized that we weren’t even using one full room of our house.
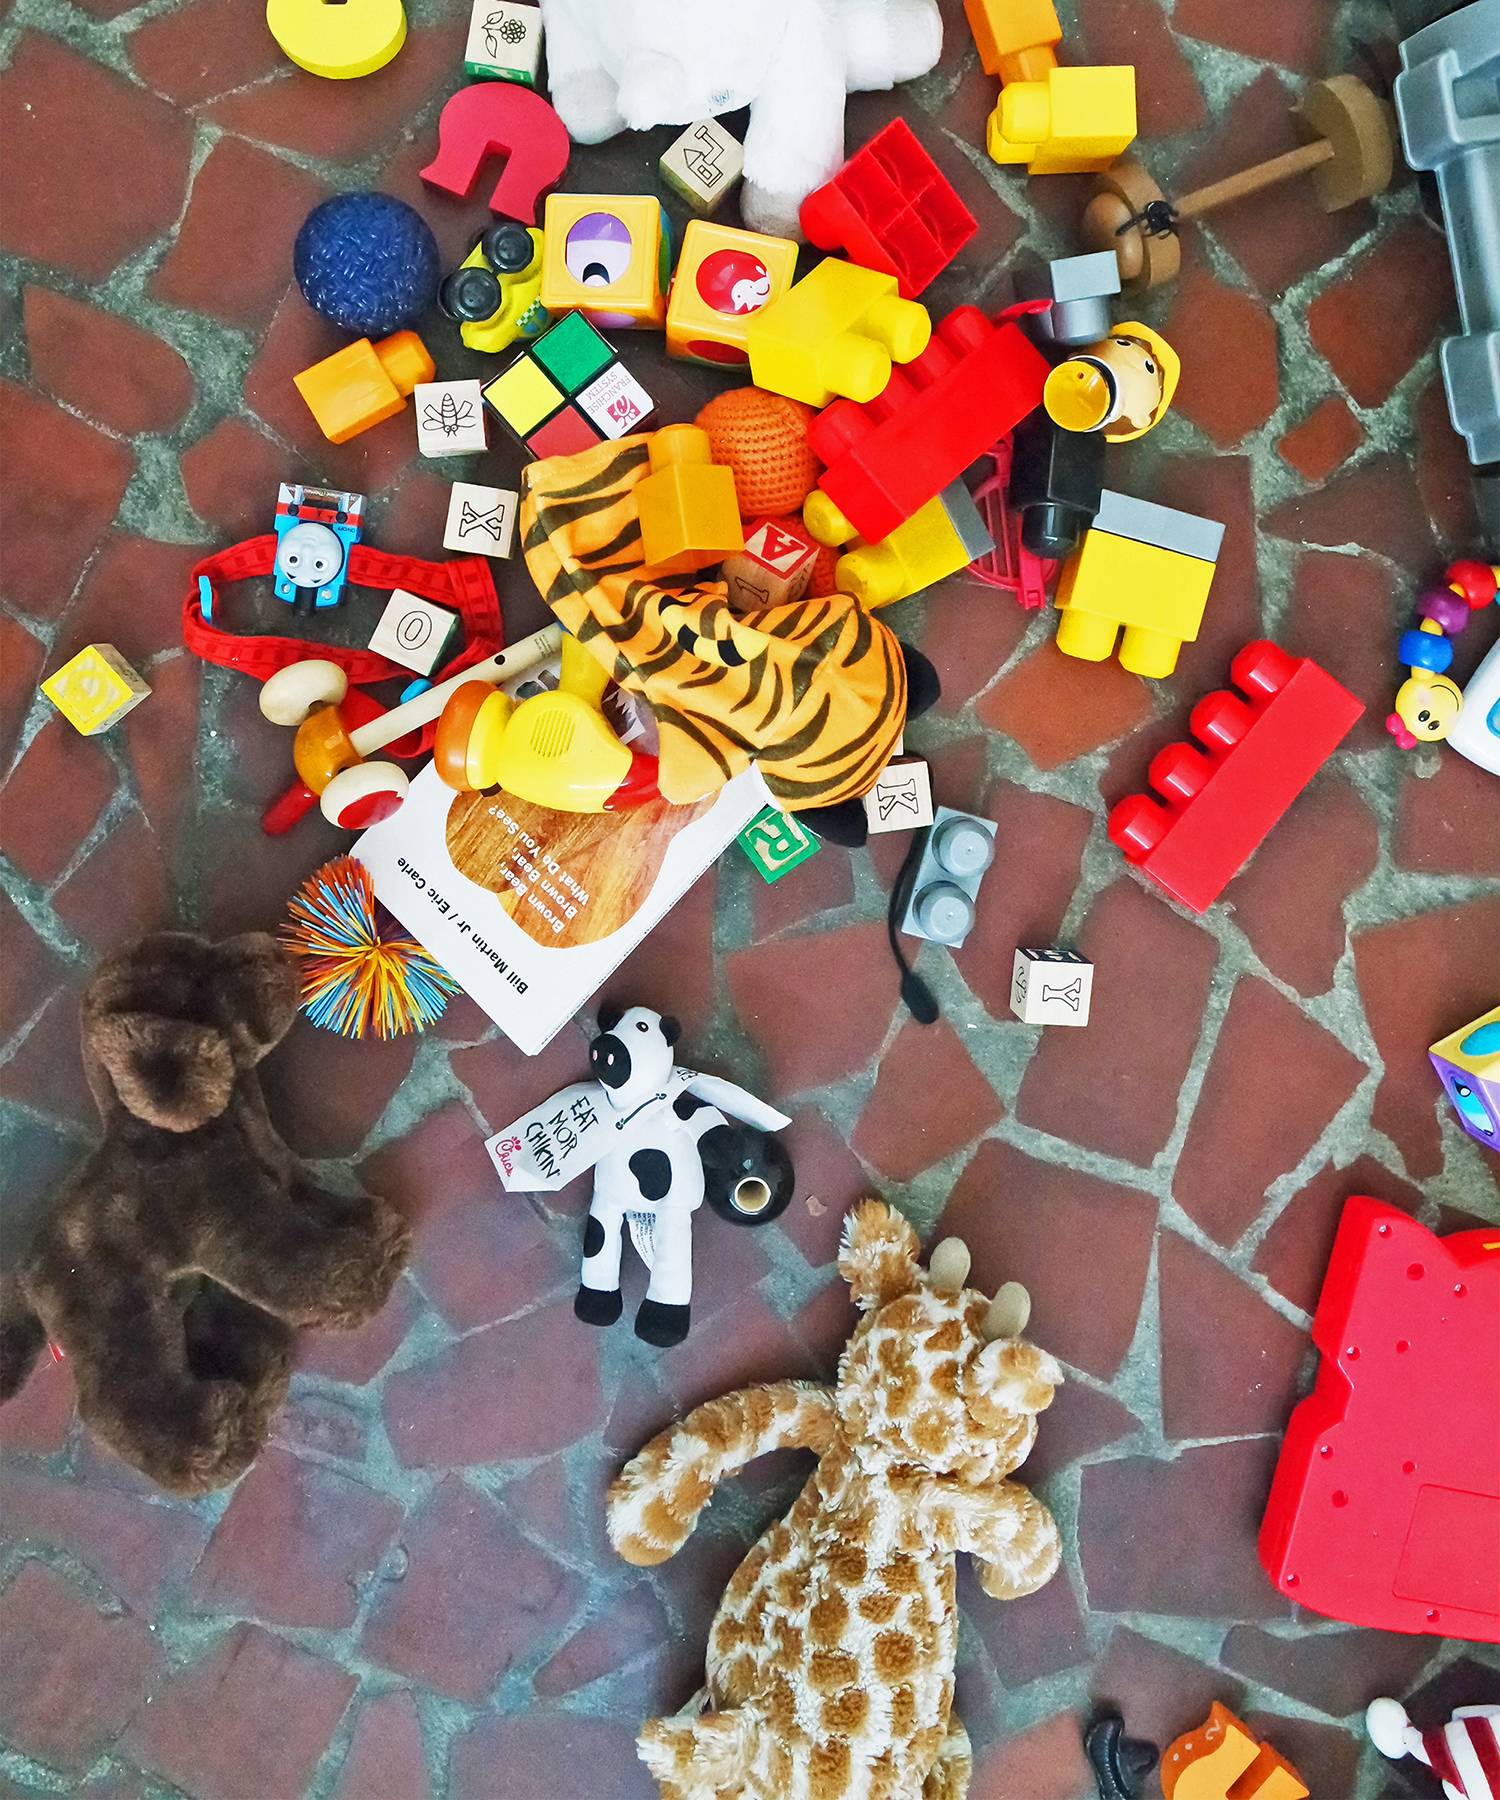
Our side-porch-turned-sunroom was home to none, except for our lazy goldendoodle, a few guitars, and some random toys for our crazy toddler. A playroom it would become! After all, our son’s toys were getting bigger and bigger by the birthday, and we needed a place to put all of his things to make room for his baby brother. It wasn’t going to take much—just a little paint and a few accent pieces here and there – but we knew these changes would make a world of difference.

Our friends at Sherwin-Williams came alongside us in the journey to turn our outdated sunroom into the perfect toddler playroom, and it couldn’t have been a more pleasant experience. As it turns out, we have a Sherwin-Williams just a few miles from us. We used the store locator tool on their website to track down the exact location and off we went.

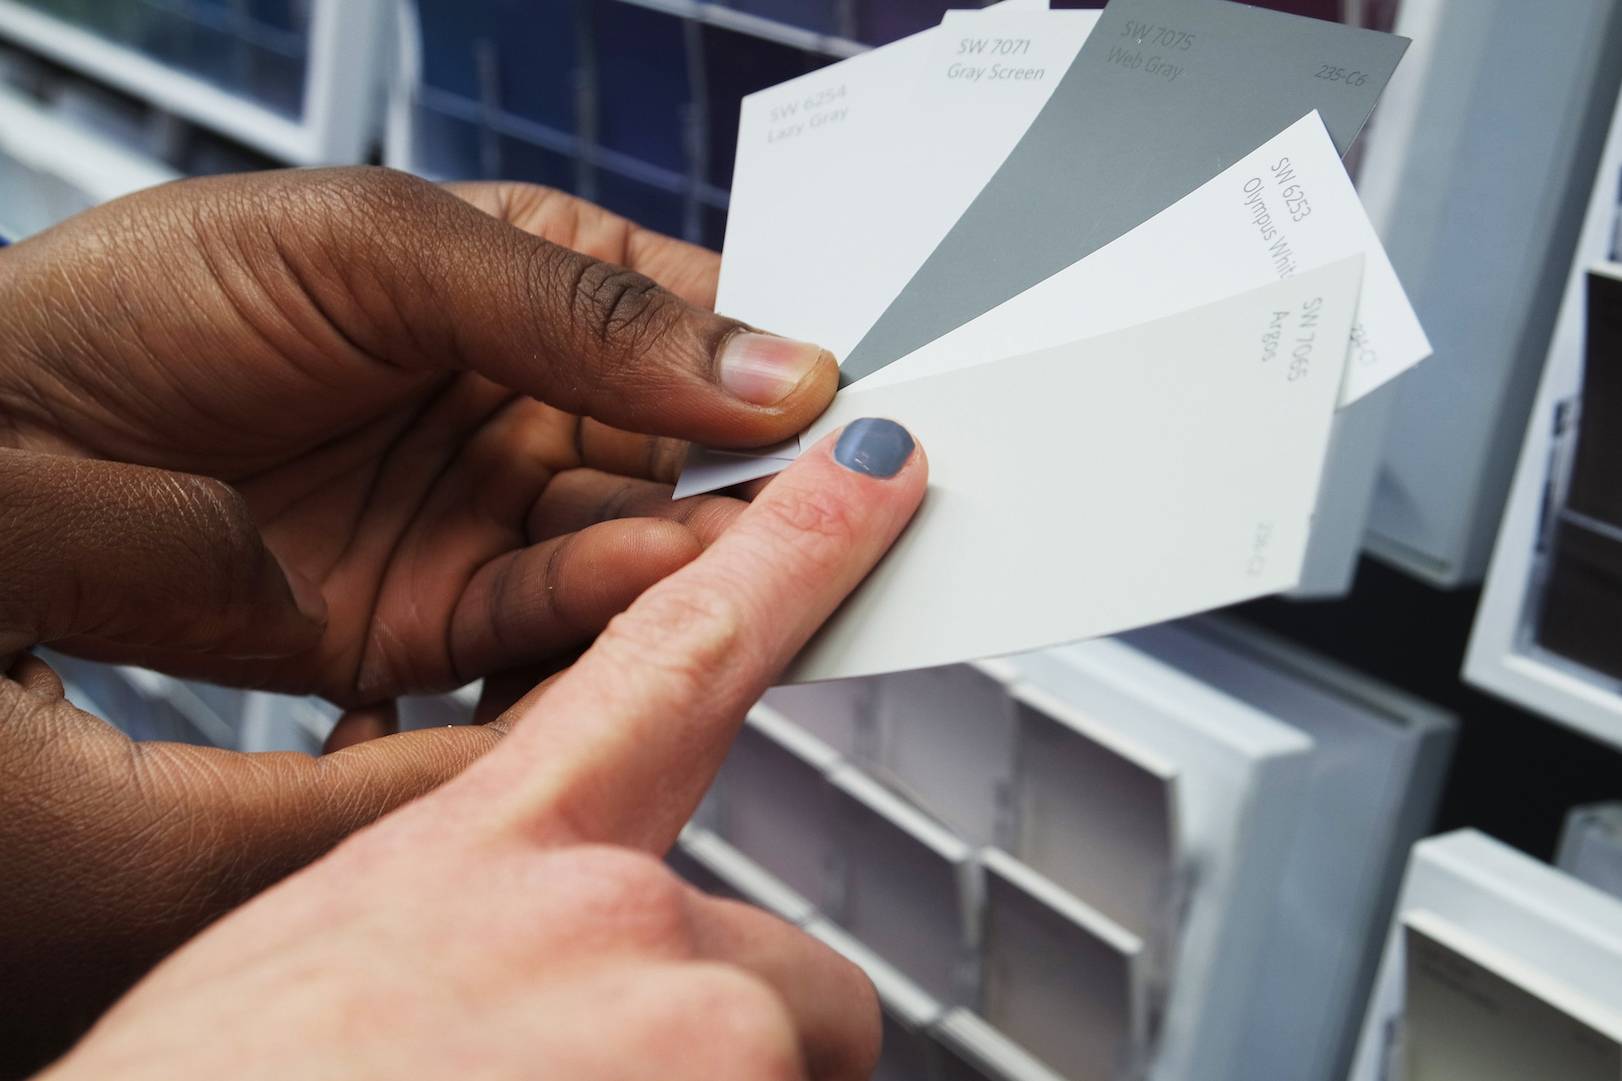
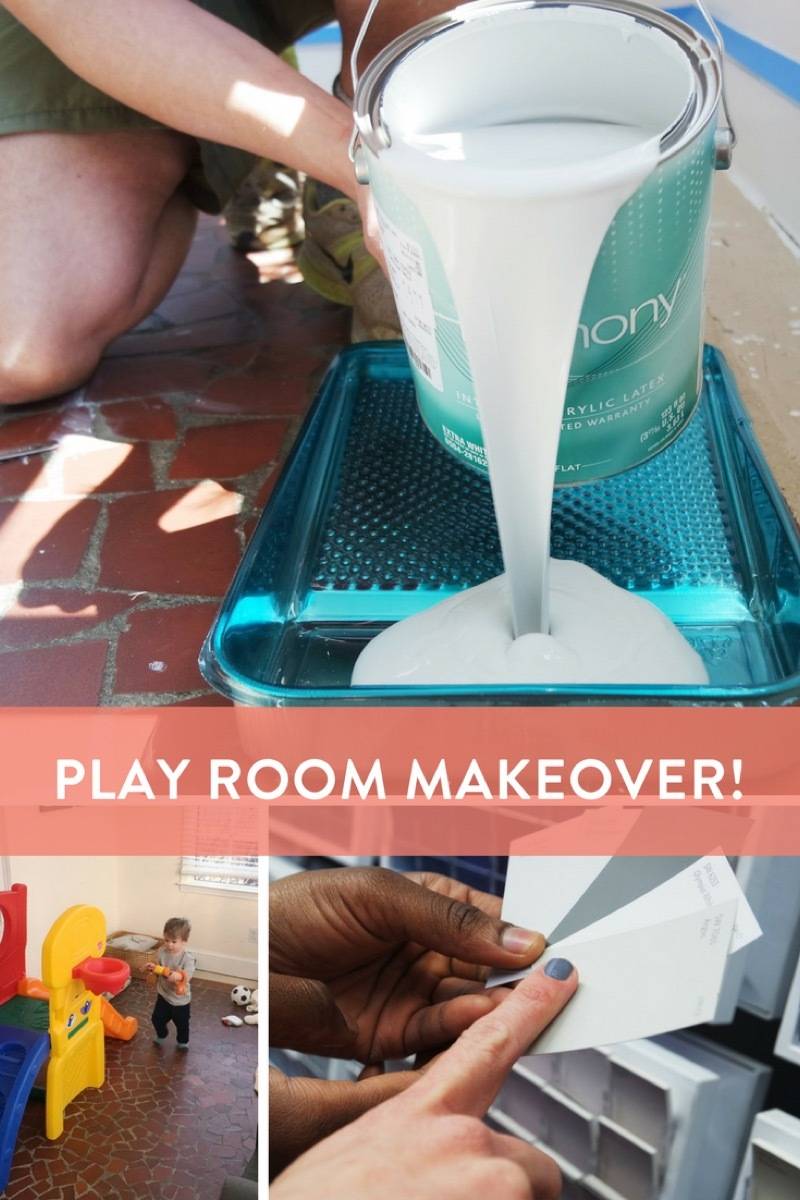
We arrived to the store and were immediately greeted by two smiling faces, (one of which we learned was getting her interior design degree at our local art college!), and they helped us get started. We knew two things for sure: we wanted gray hues for the walls and floor, and we wanted to find a lime green for some shelf accents that would perfectly match a set of chairs we already owned.
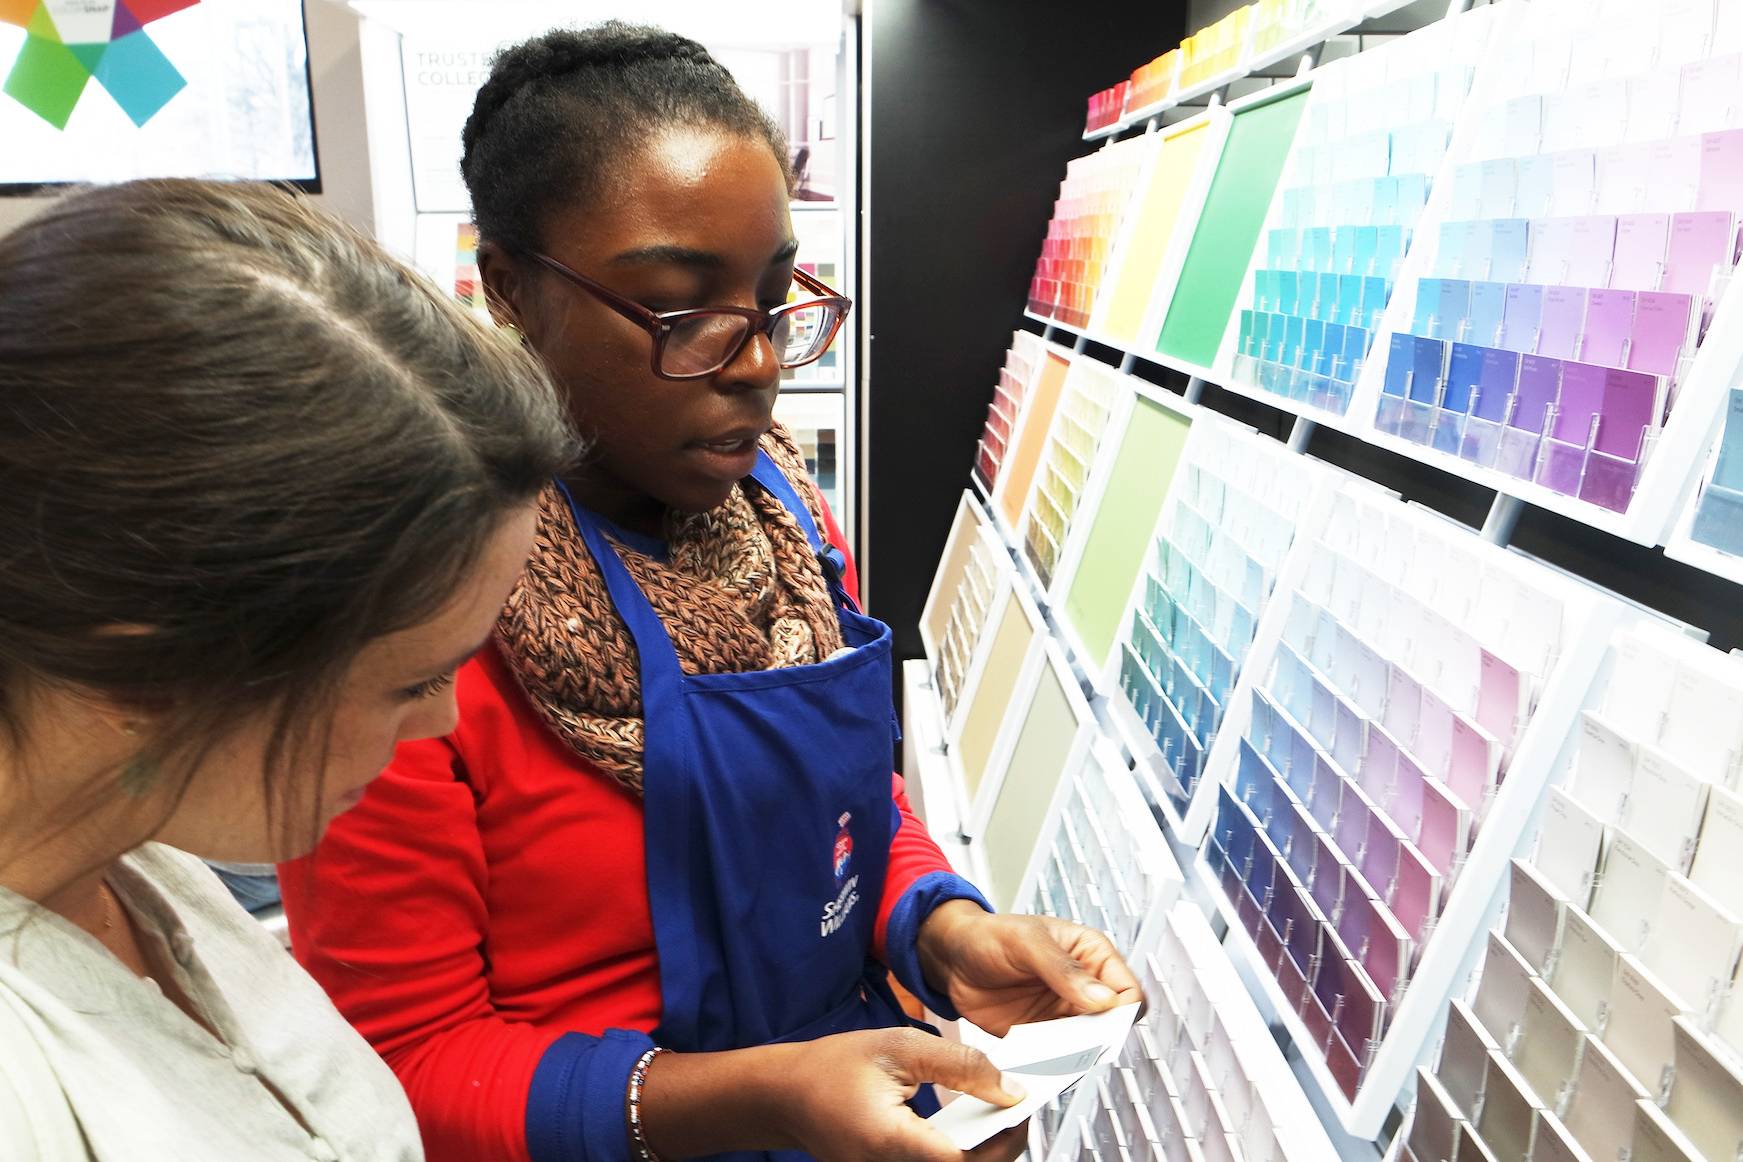
Nelly helped us sort through our gray options (which seemed almost like a therapy session!) and we found two perfect shades. We were even able to see these colors in different room settings using Sherwin-Williams ColorSnap® digital tool.
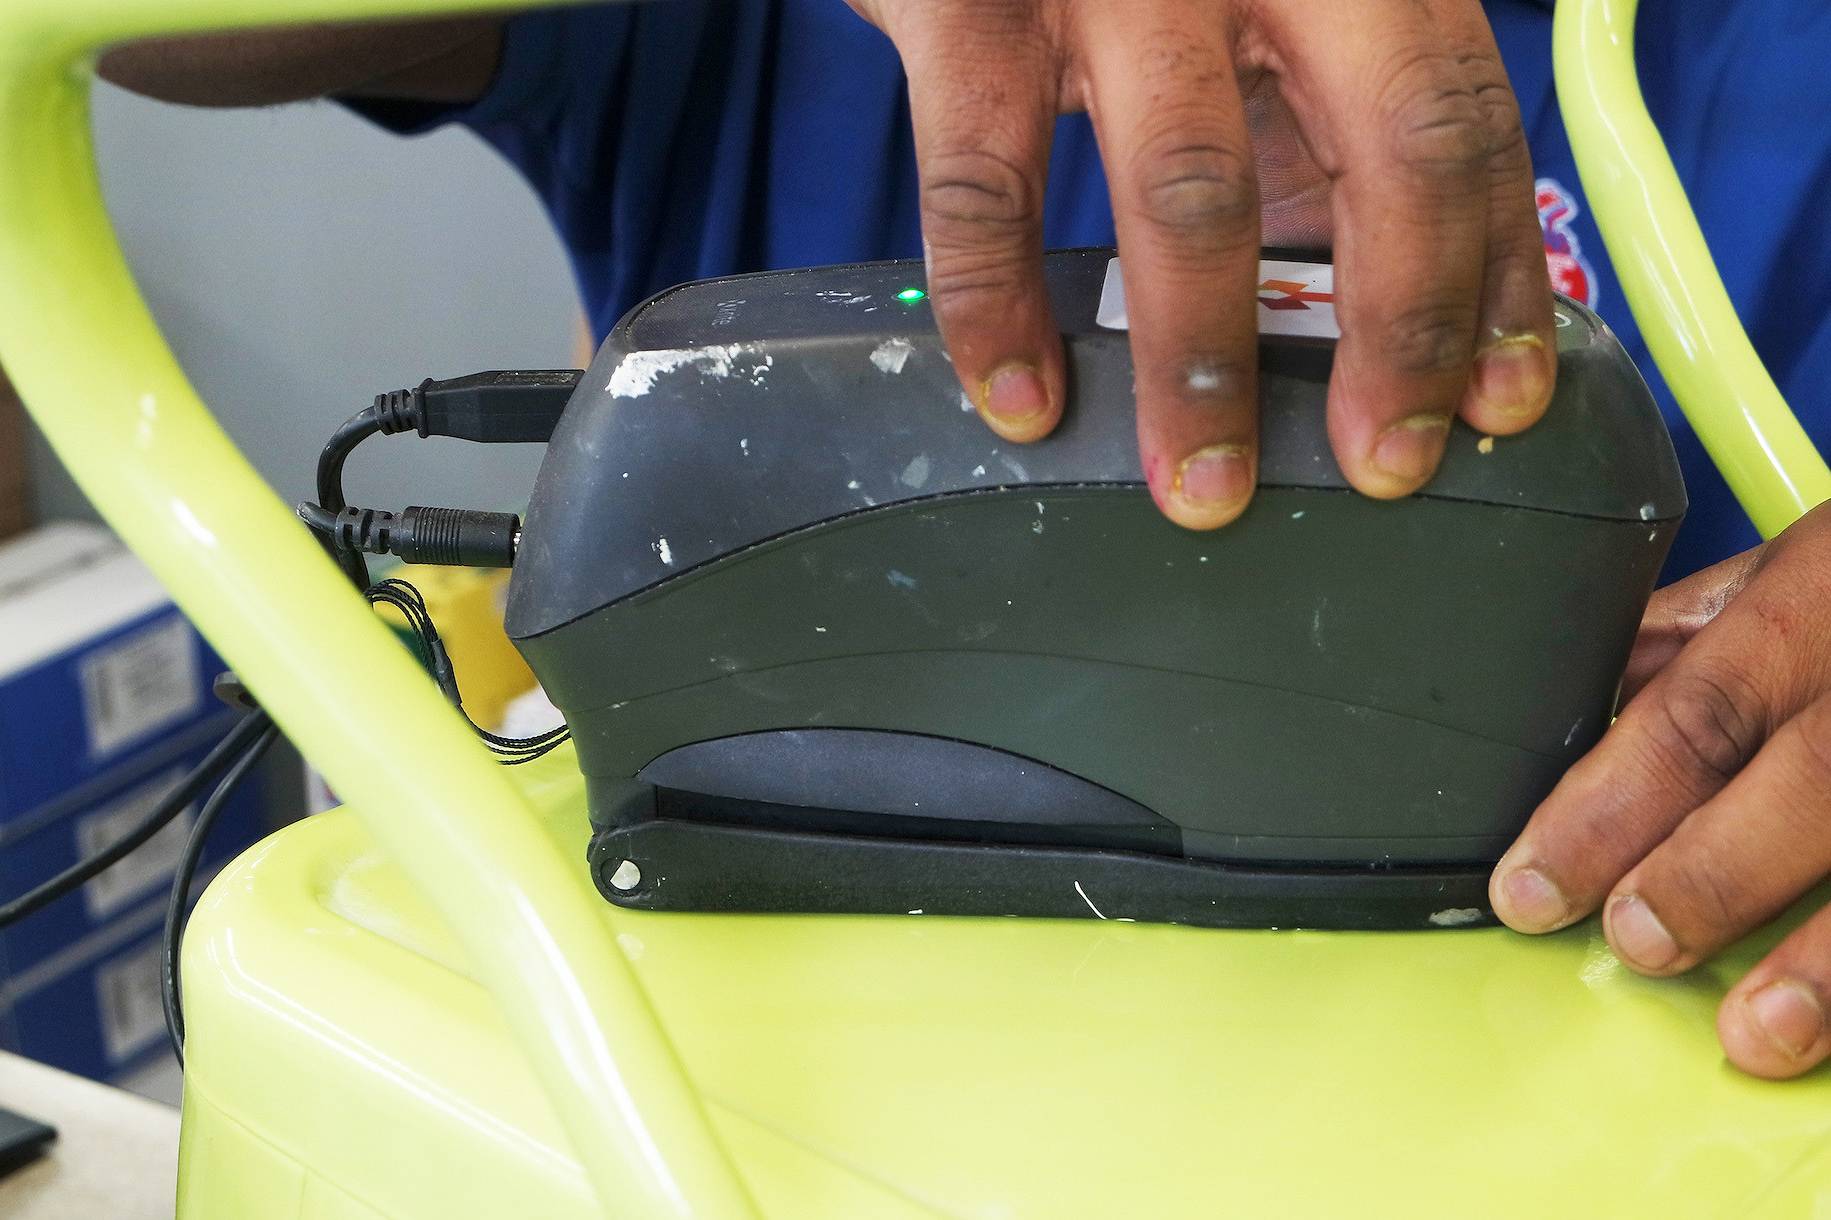
Next, Garry showed us the incredible color matching abilities at Sherwin-Williams. It scanned the lime green of our playroom chairs, then turned it into an actual paint color that we could use on our shelves. It matched the color perfectly, which was amazing!

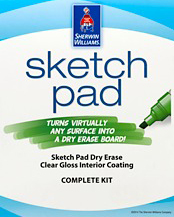
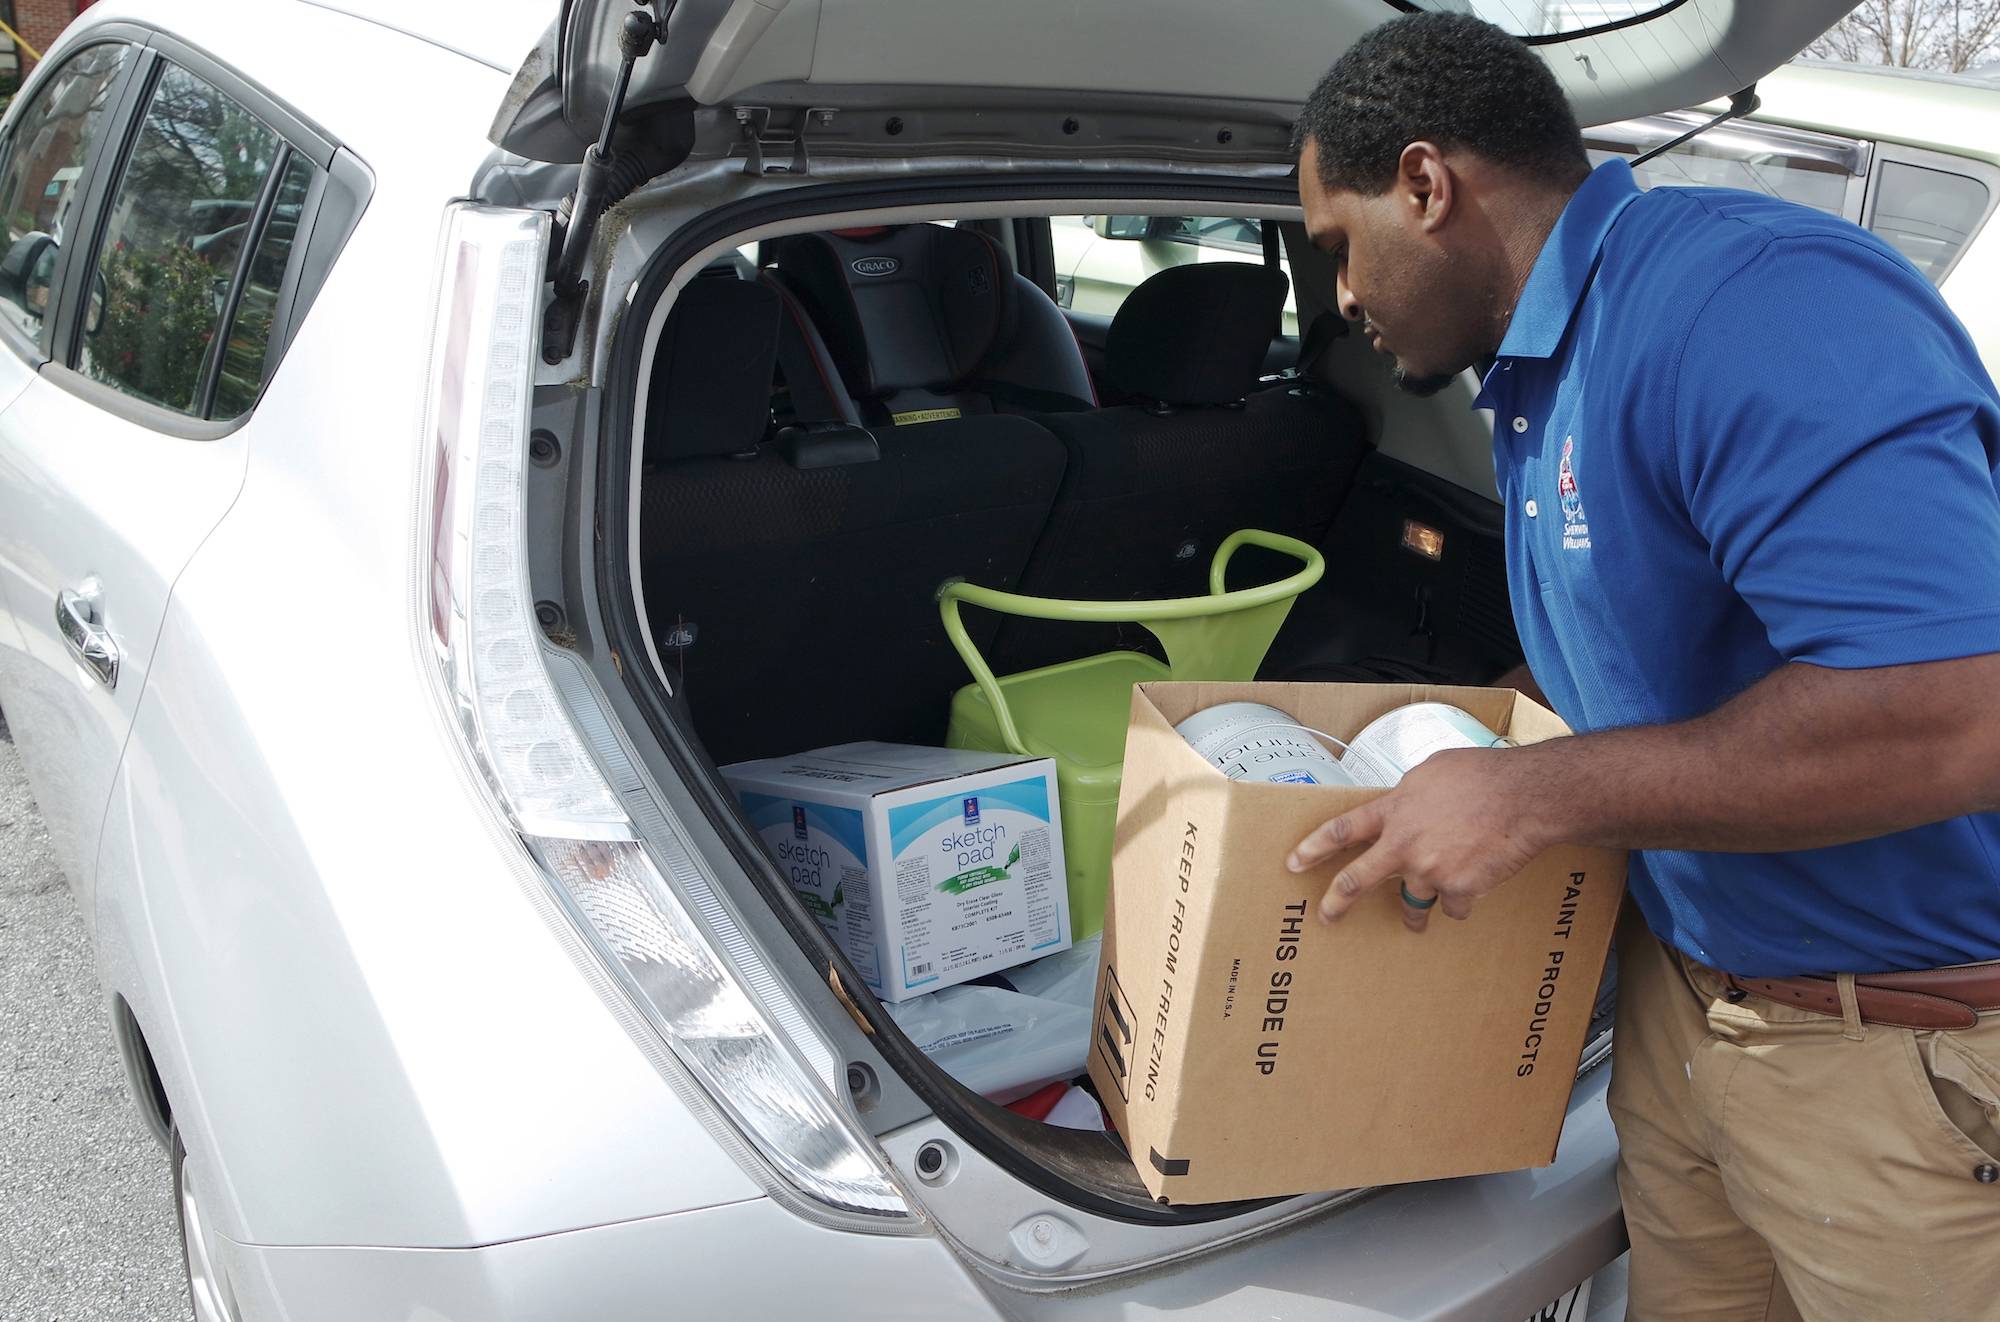
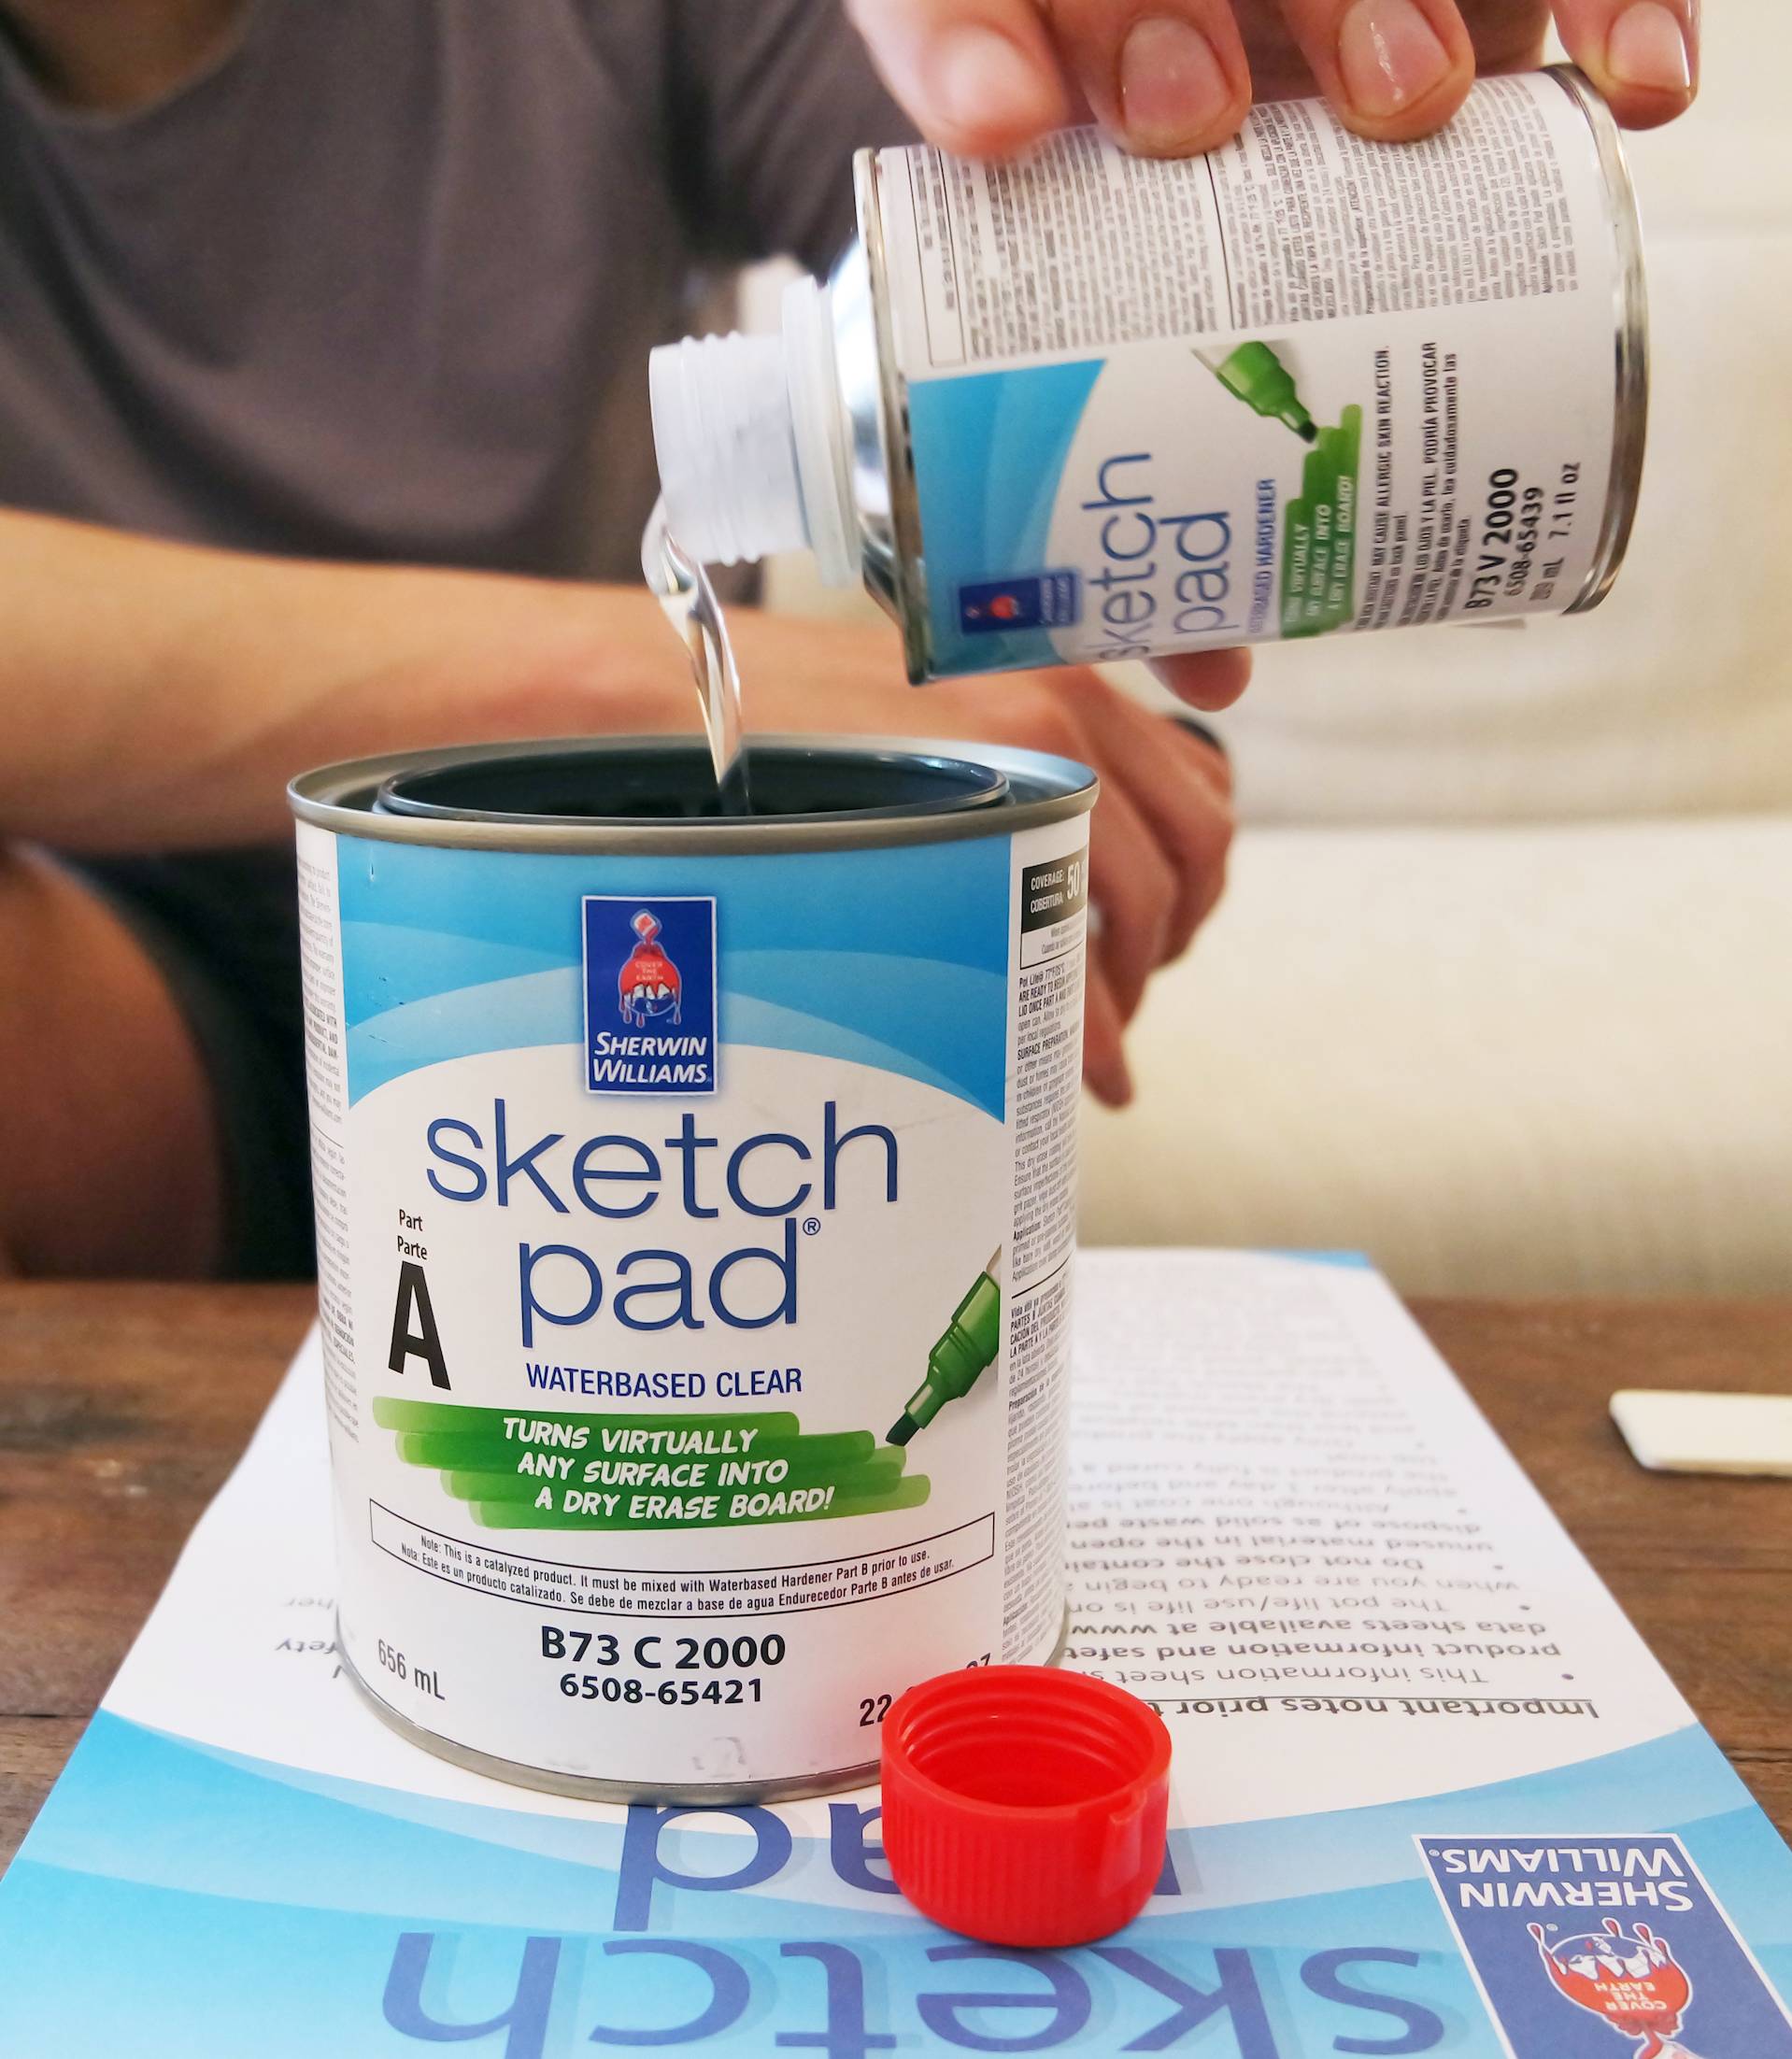
The folks at Sherwin-Williams also helped us pick out some Sketch Pad™ dry-erase coating (which turns a painted surface into a dry-erase-friendly one!). We planned to use this paint on the built-in desk we were building (which has a certain toddler’s name written all over it).
The Sketch Pad™ Dry Erase Coating Kit allows you to transform almost any surface into a dry erase board. This clear coating can be applied over most paint colors. Done doodling and want to start over? It washes clean with soap and water.
To top it all off, Garry helped Al (and toddler) carry it all out to the car. All in all, it was quite the pleasant in-store experience.
We got home from the store and went straight to work. We started by removing the old window on the main wall and finishing off the sheetrock.
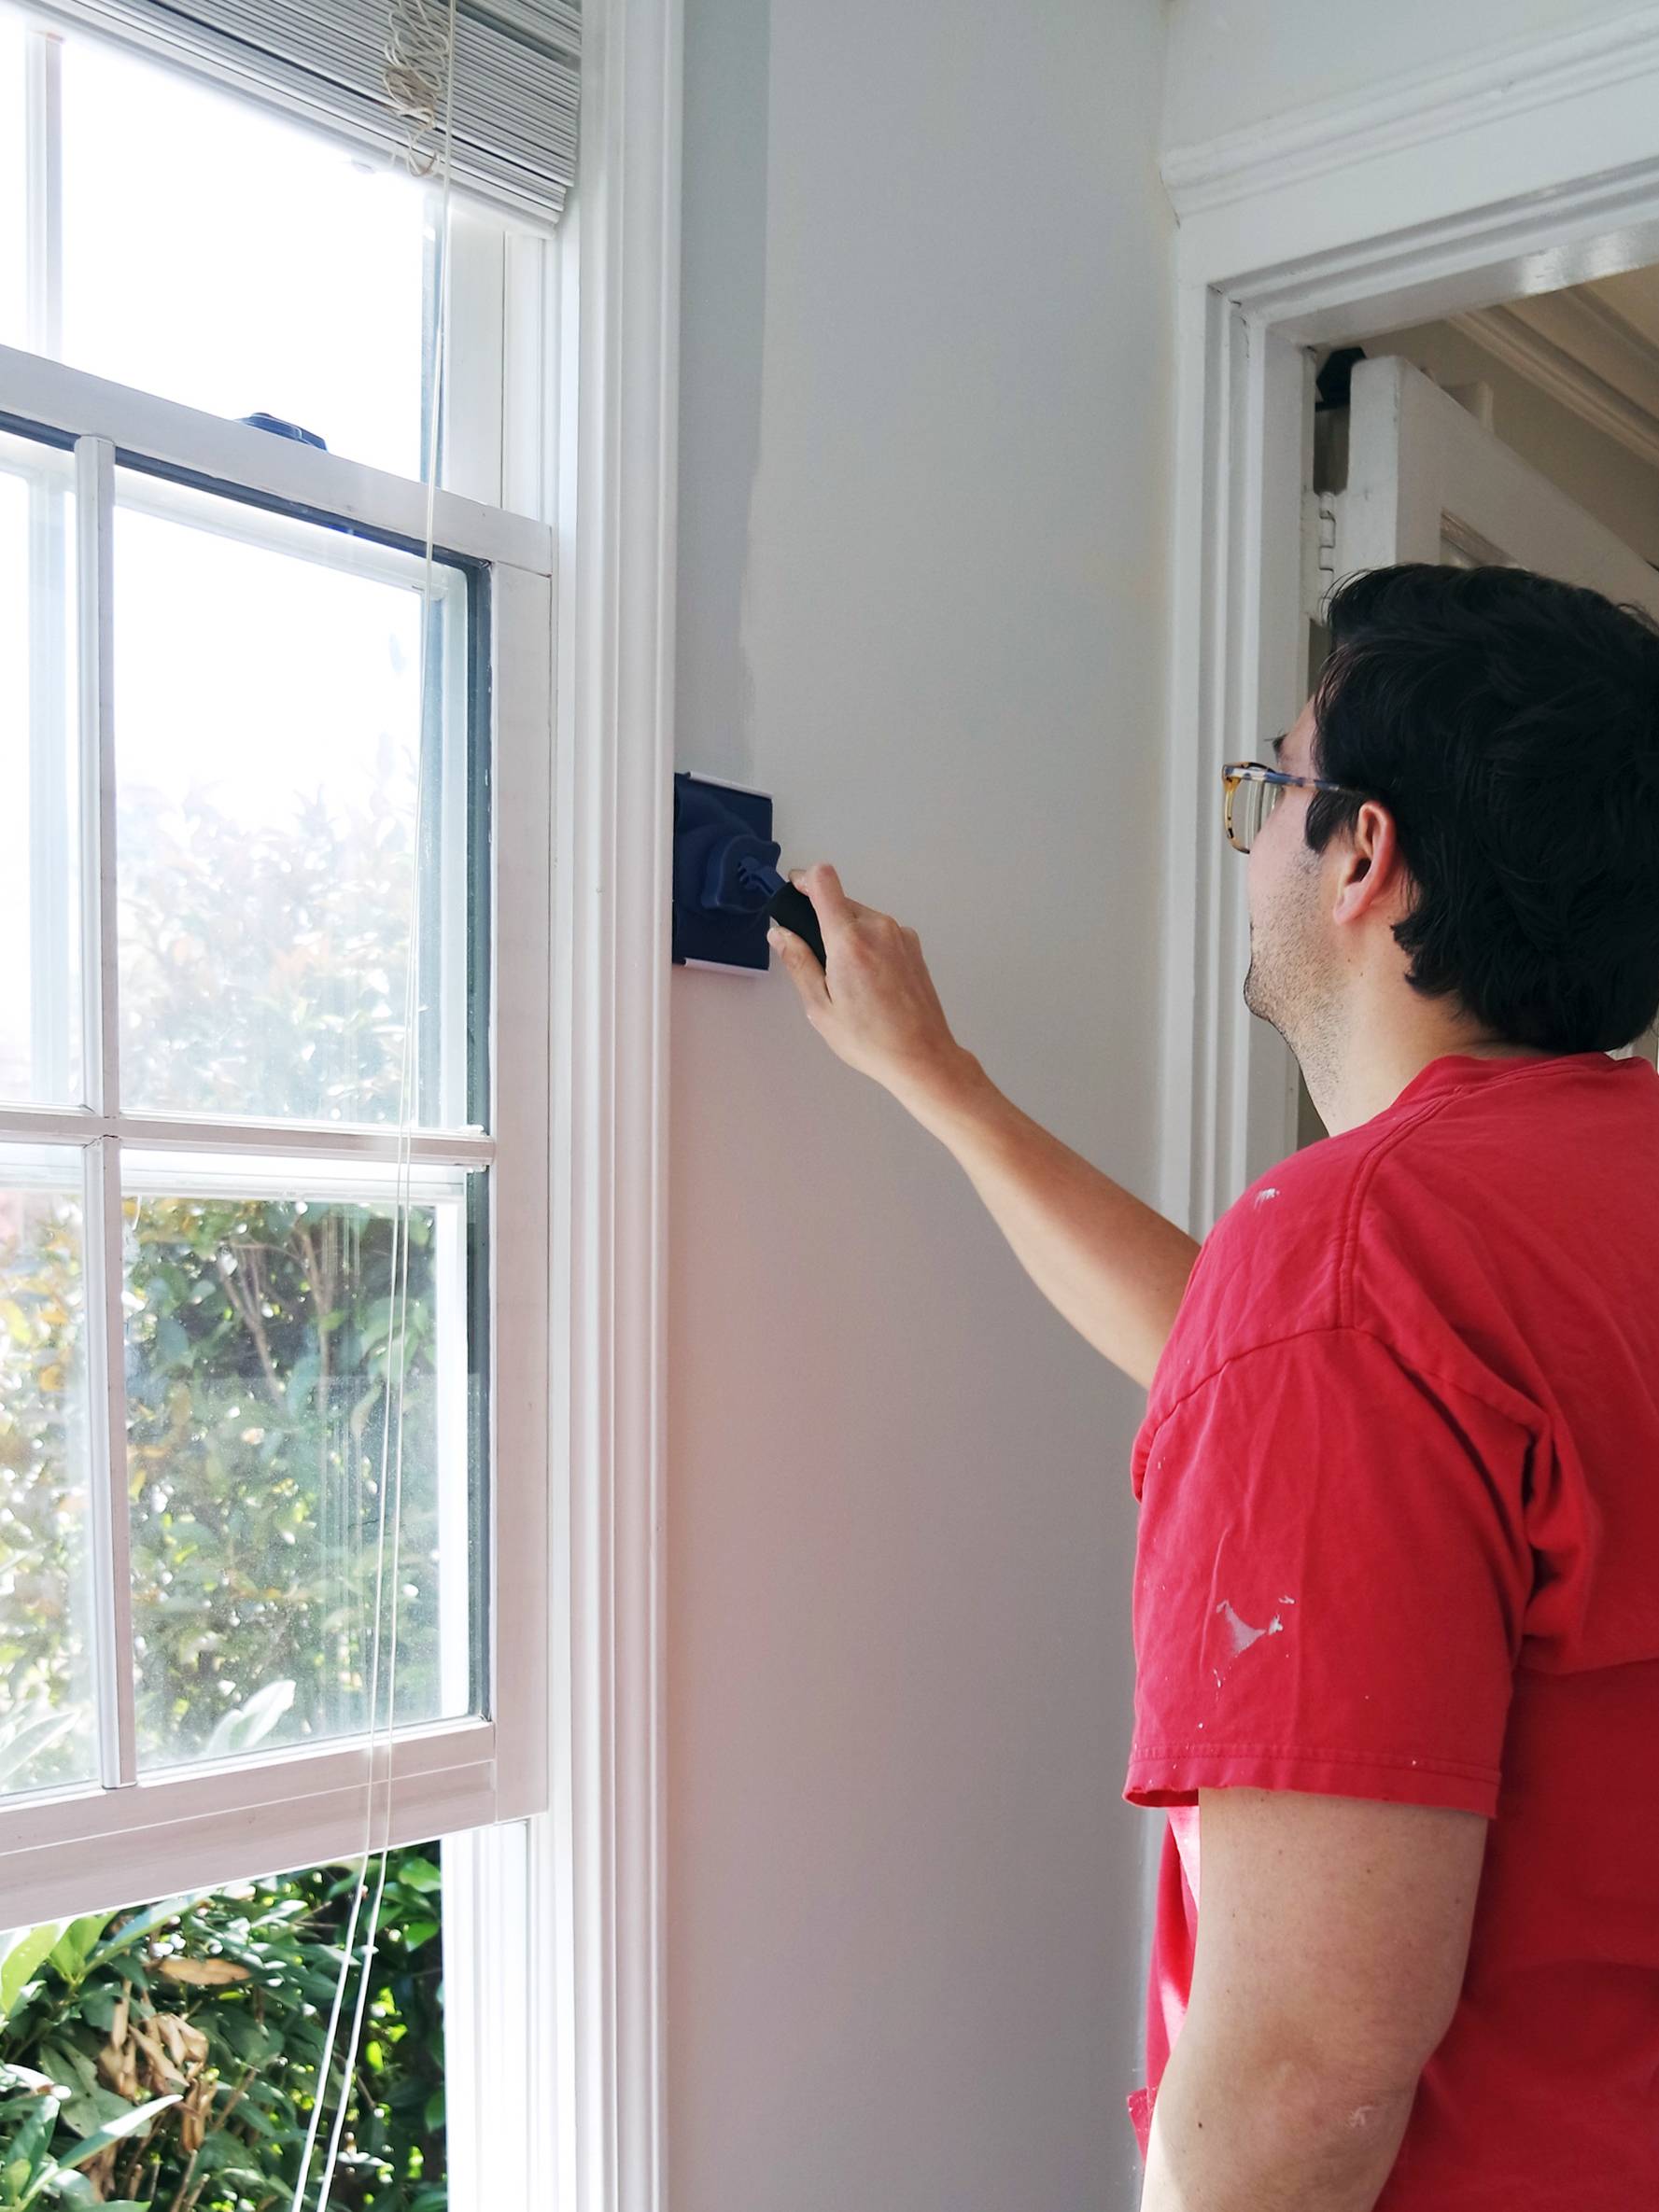
Next came the trim and walls. We hit the walls with a few coats of primer, then moved on to the color. After a coat of Extra White SW 7006 semi-gloss on the trim, we got started getting rid of that awful, dirty beige. We chose Gray Screen SW 7071 because we wanted to make the room feel a little bigger, but still cozy and inviting. Since we knew we wanted to wallpaper one of the walls, we picked a subtle and complimentary gray to calmly accent the busy print.
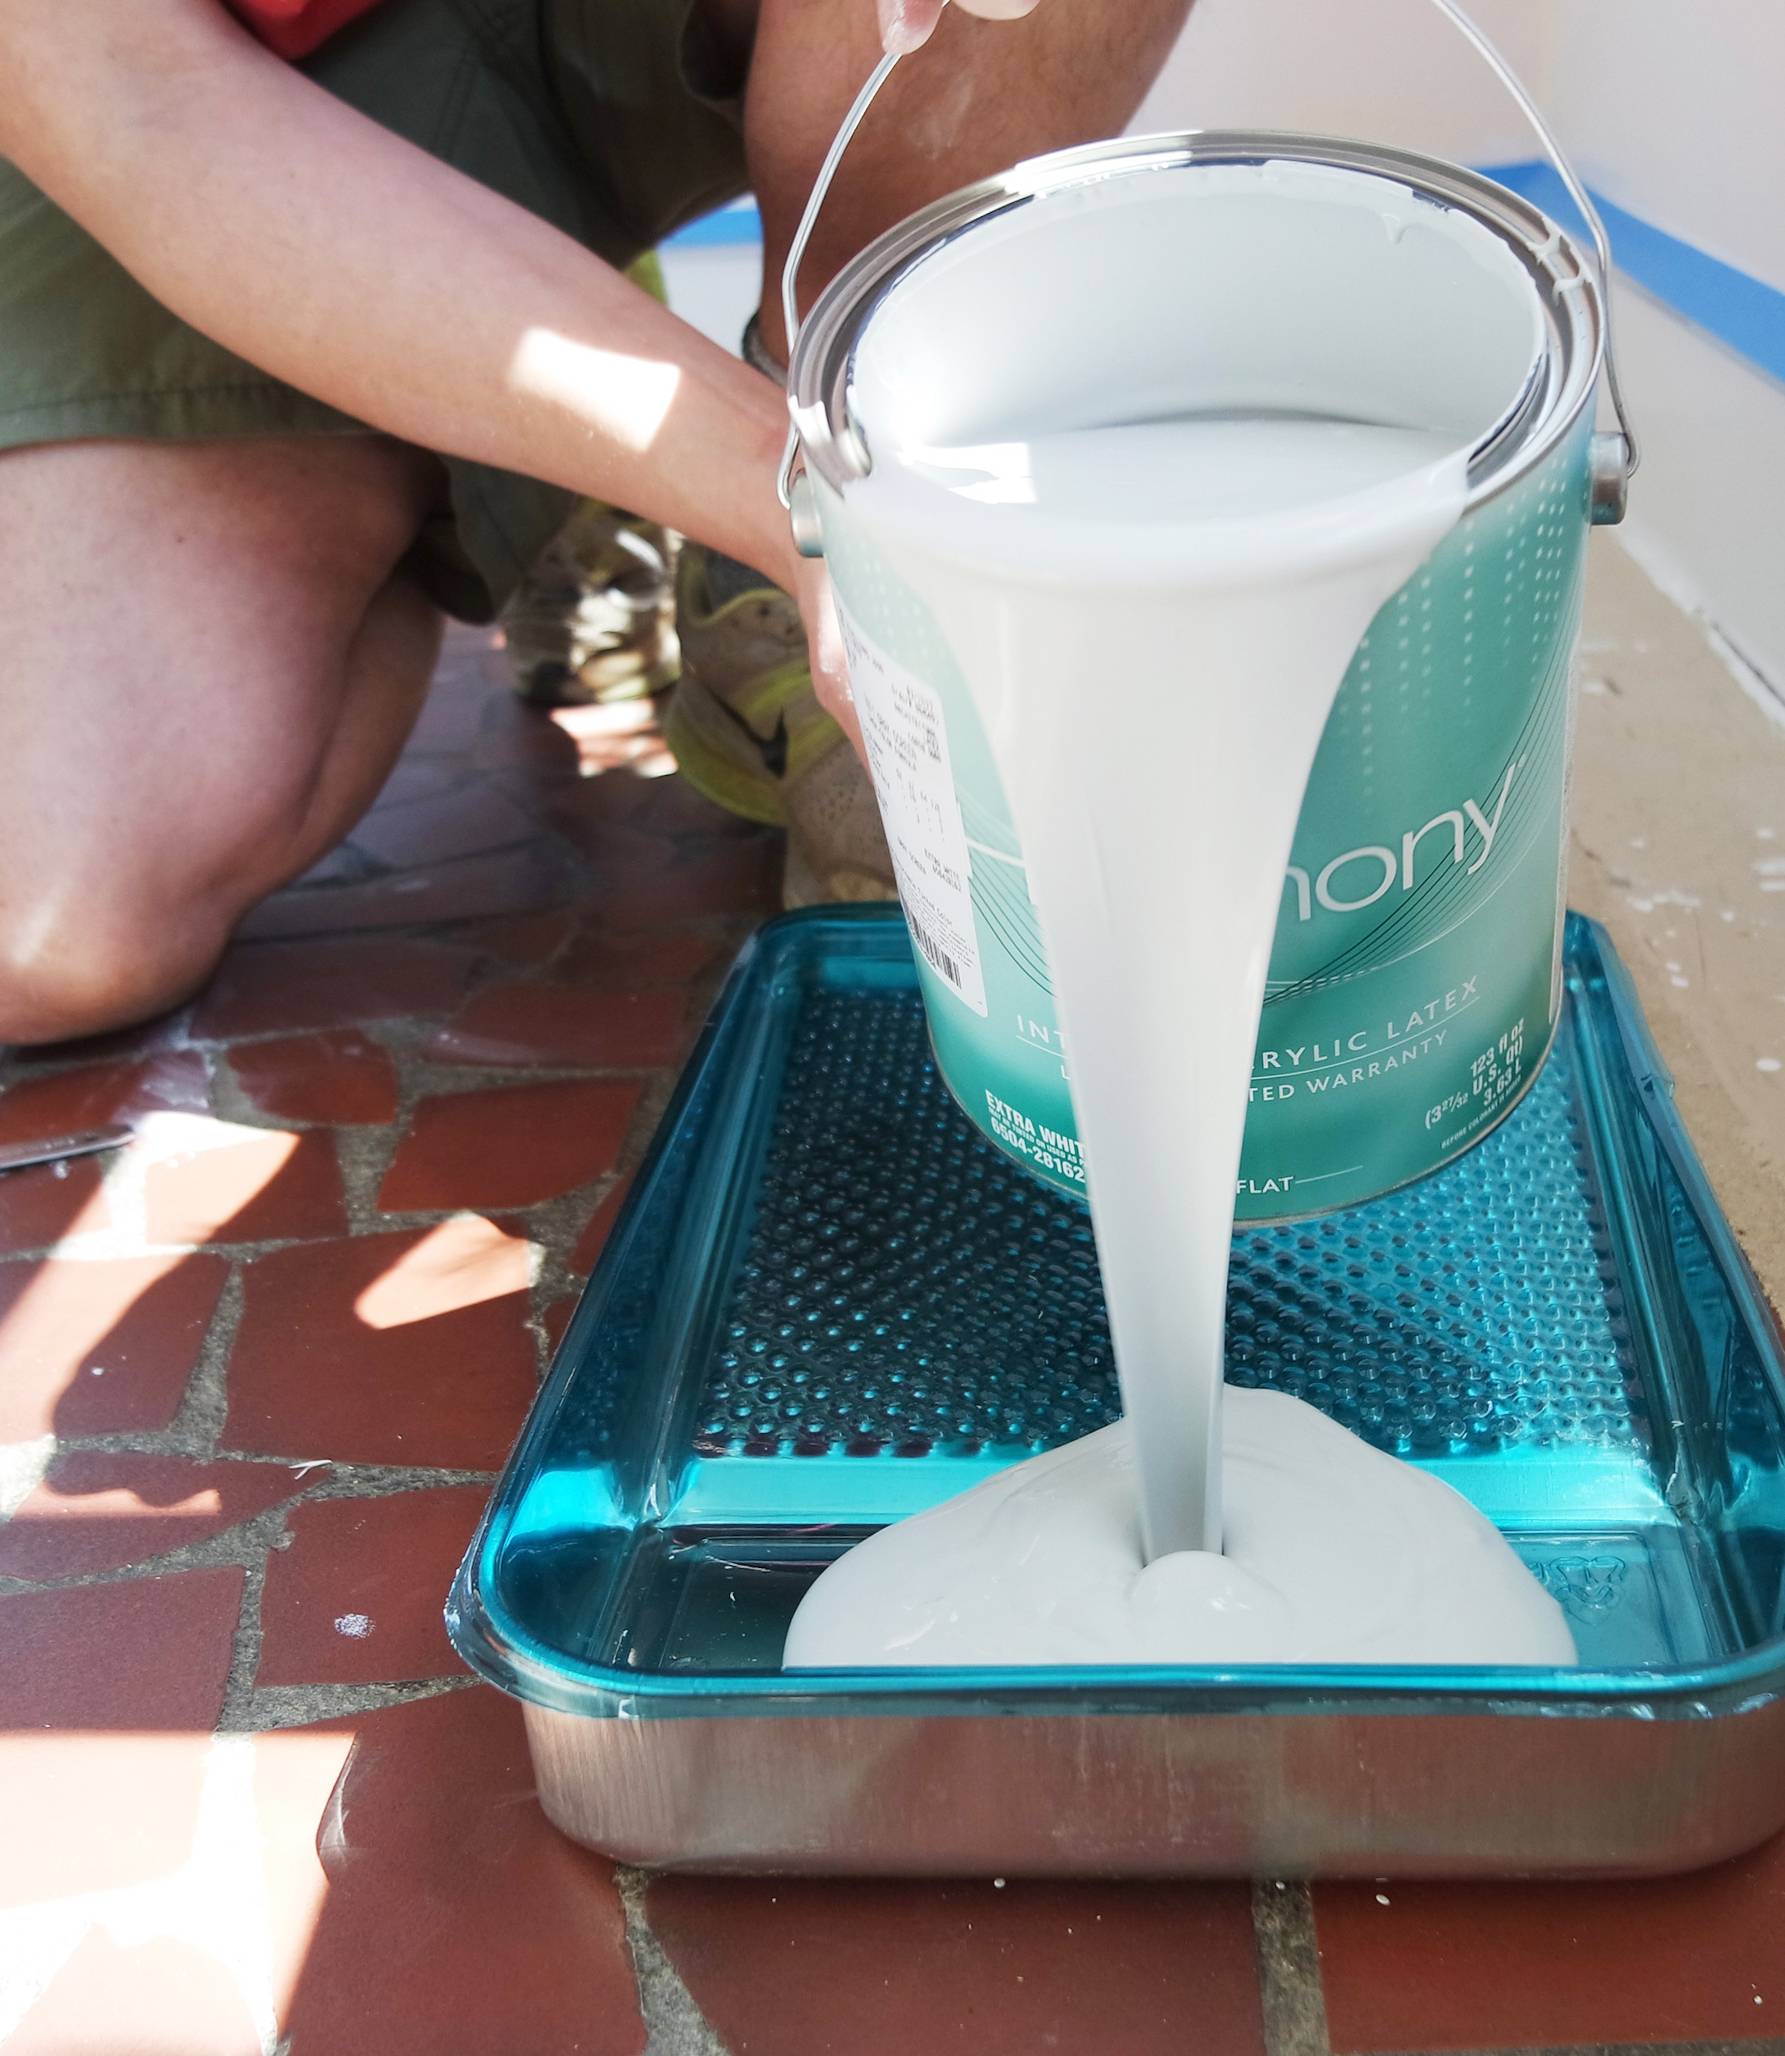
We used Sherwin-Williams Harmony Interior paint on the walls. Harmony is a zero VOC formula that contains new technology that helps improve indoor air quality by reducing VOC levels from potential sources like carpet, cabinets, and fabrics. It also gives your walls a washable, durable finish, which is great for kids.
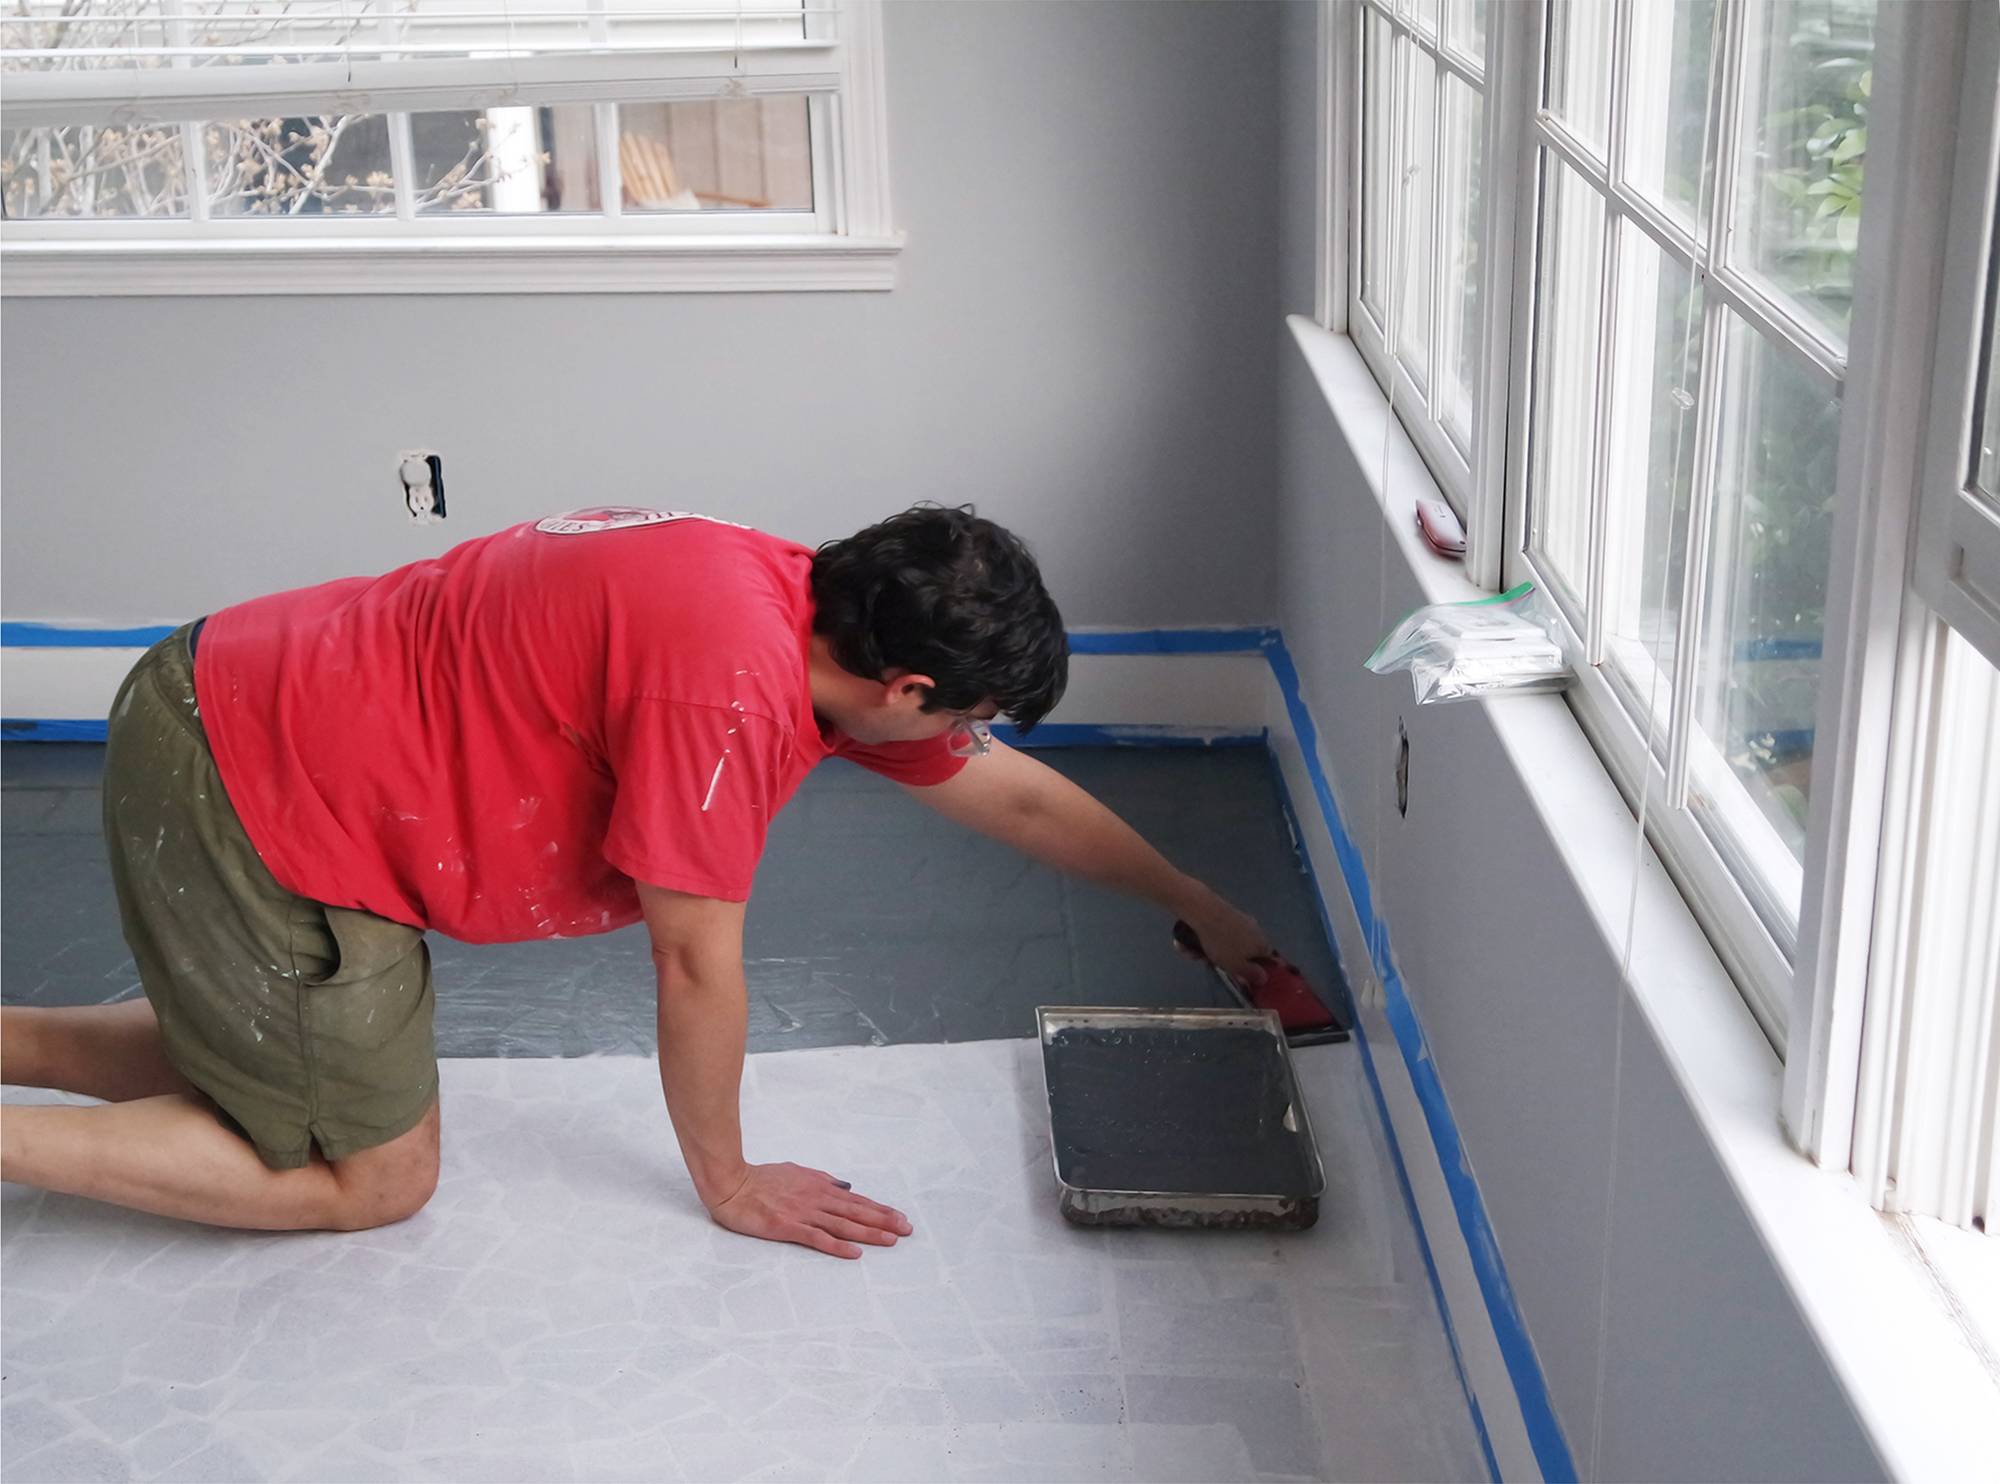
Next, we shifted our focus to the flooring. At Garry’s expert suggestion, we began with the Extreme Bond Primer. We applied two coats just to make sure we covered up the red, cracked tile adequately. We then finished it off with a few coats of Web Gray SW 7075 to give the floor a neutral, concrete feel.
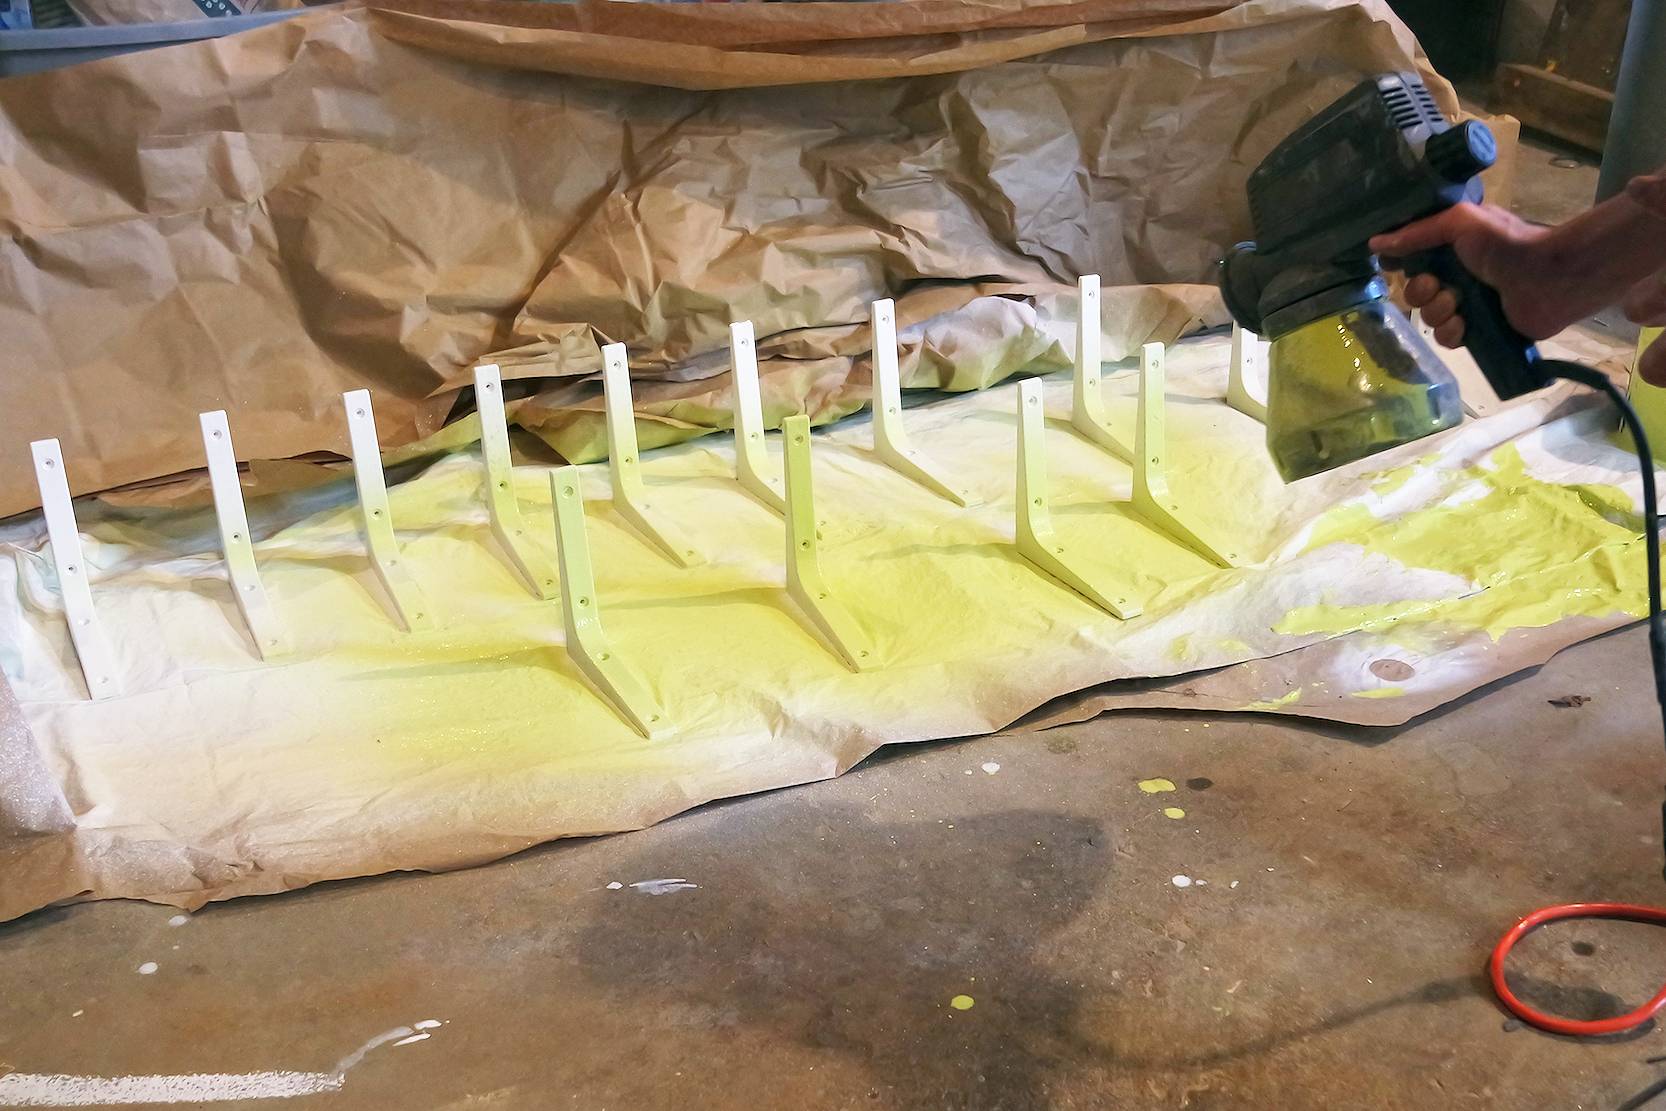
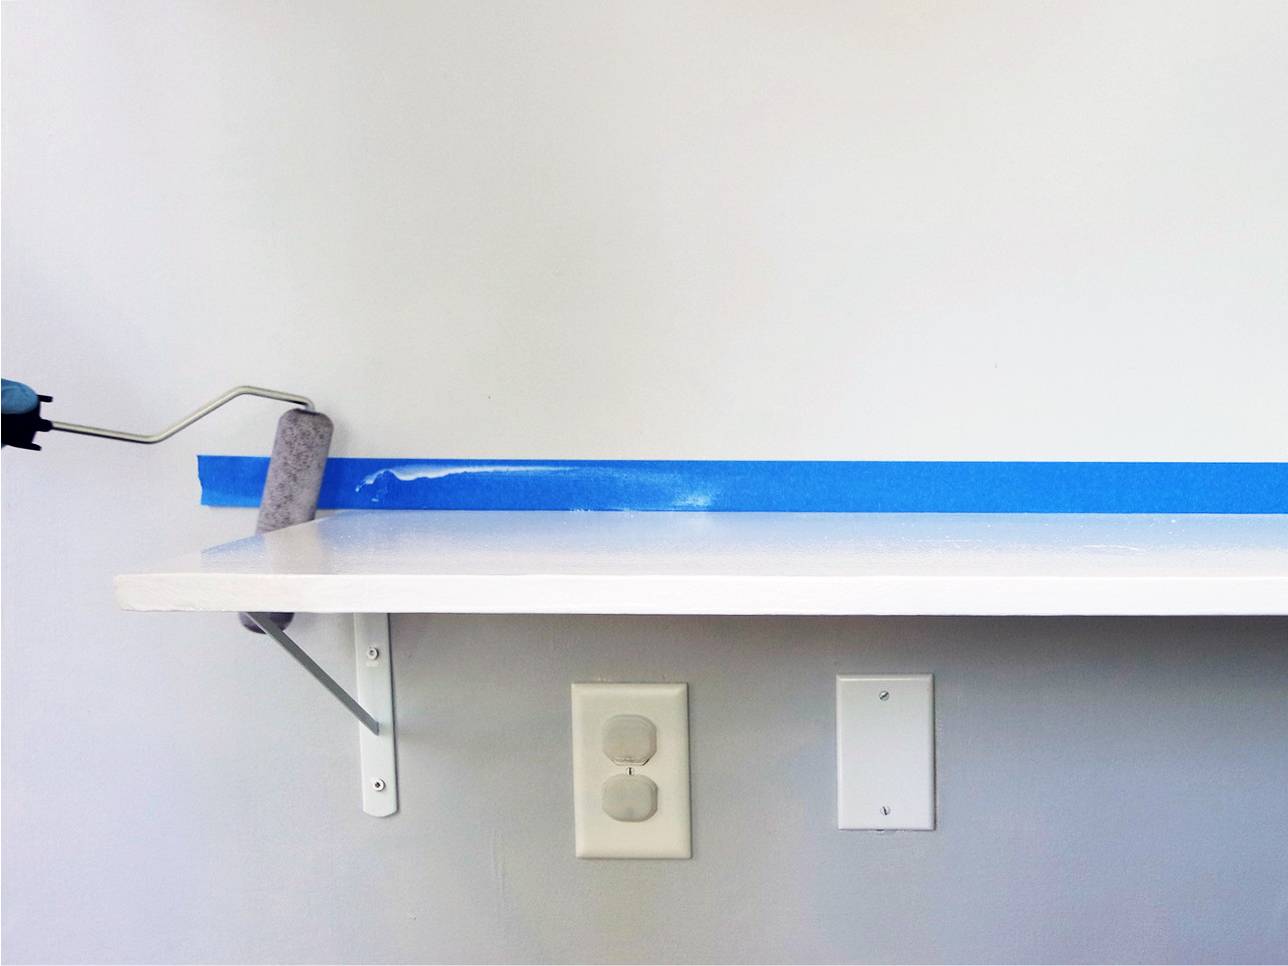
After the wallpaper was set, we built shelves to line the walls. We painted them with the same semi-gloss we used on the trim, then painted the shelf brackets with the custom lime green color we created in-store.
The final step was a mixing up the Sketch Pad™ dry erase coating and applying it to the wall-mounted desk we built specifically for this playroom. I can’t wait to see the creations that will come to life all over this little desk.
Using primarily paint, we were able to completely transform this room. What was once a space for our dog to take his afternoon nap has now become a toddler’s oasis. We are quite pleased with the results of our hard work. Stick around tomorrow to see the final reveal!
Check out how we transformed a different room of our house from a blank slate into a welcoming, warm nursery for our first-born.
This post was sponsored by Sherwin-Williams, makers of quality paint products. All opinions are mine alone. Thanks for supporting the brands that help make Curbly possible.

