You might know my wife, Alicia, from her amazing room makeovers here on Curbly (seriously, check out her work on the 2017 Curbly House – it’s awesome). But unless you’ve been following along really closely, you might not know that she’s also an entrepreneur. Last year, she and her business partner started a women’s clothing called Niche. They have put on several pop-up shop events here in St. Paul, and have also opened a bricks-and-mortar shop in northern Minnesota.
With Niche growing so much over the last twelve months, Alicia has barely had time to keep up. One of the things she’s always looking for is stylish, simple, and affordable ways to show off their inventory. There’s no shortage of shoddy and uninspiring rolling clothing racks available to buy online. But I thought we could do better.
My inspiration for our rolling clothing rack came from this image:
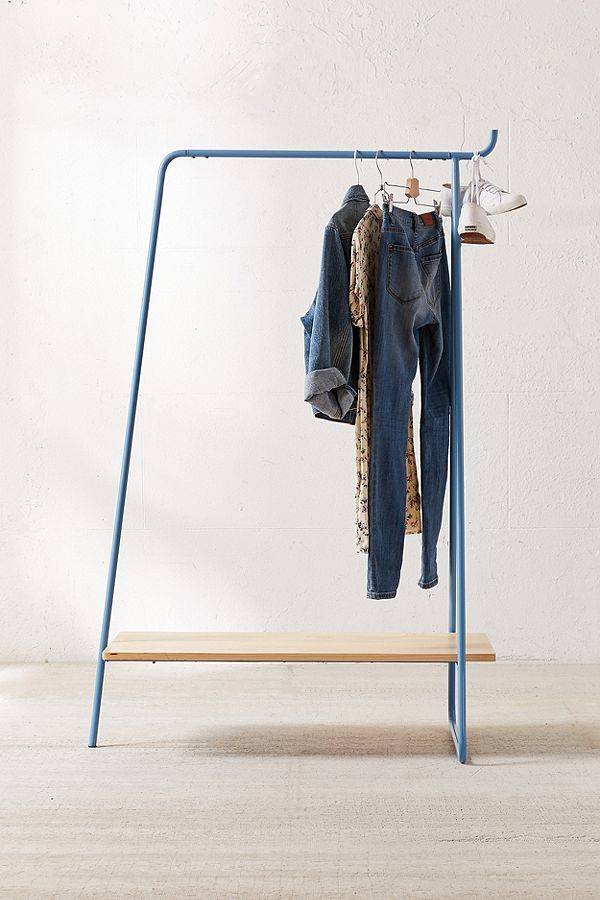
I loved the simple lines and curves of this rack, and thought maybe I could reproduce it with tools and materials that are easy to get a hold of at my favorite hardware store, The Home Depot.
Electrical conduit is cheap, strong, and easy to bend (with the right tool). Plywood has a classic, understated beauty, and it’s super easy to work with. So that’s where my search started.
I came across this project from Ben Uyeda at HomeMade Modern:
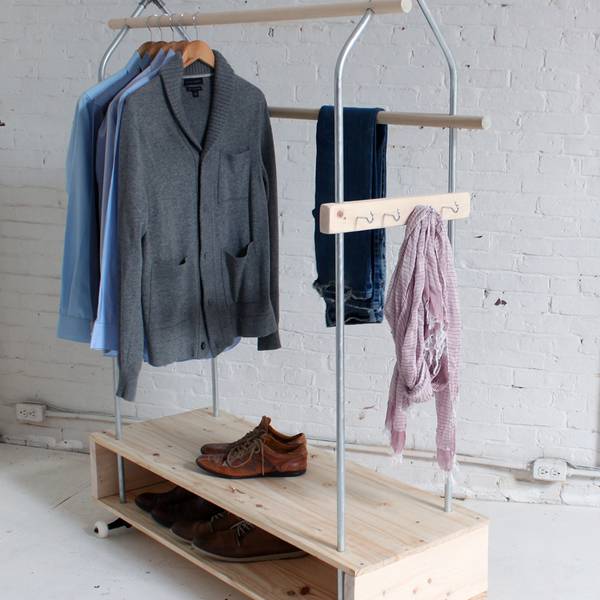
Inspired by Ben’s project, and armed with some search-learnin’ about how to bend conduit, I came up with a plan for a clothing rack Alicia would love.
Materials
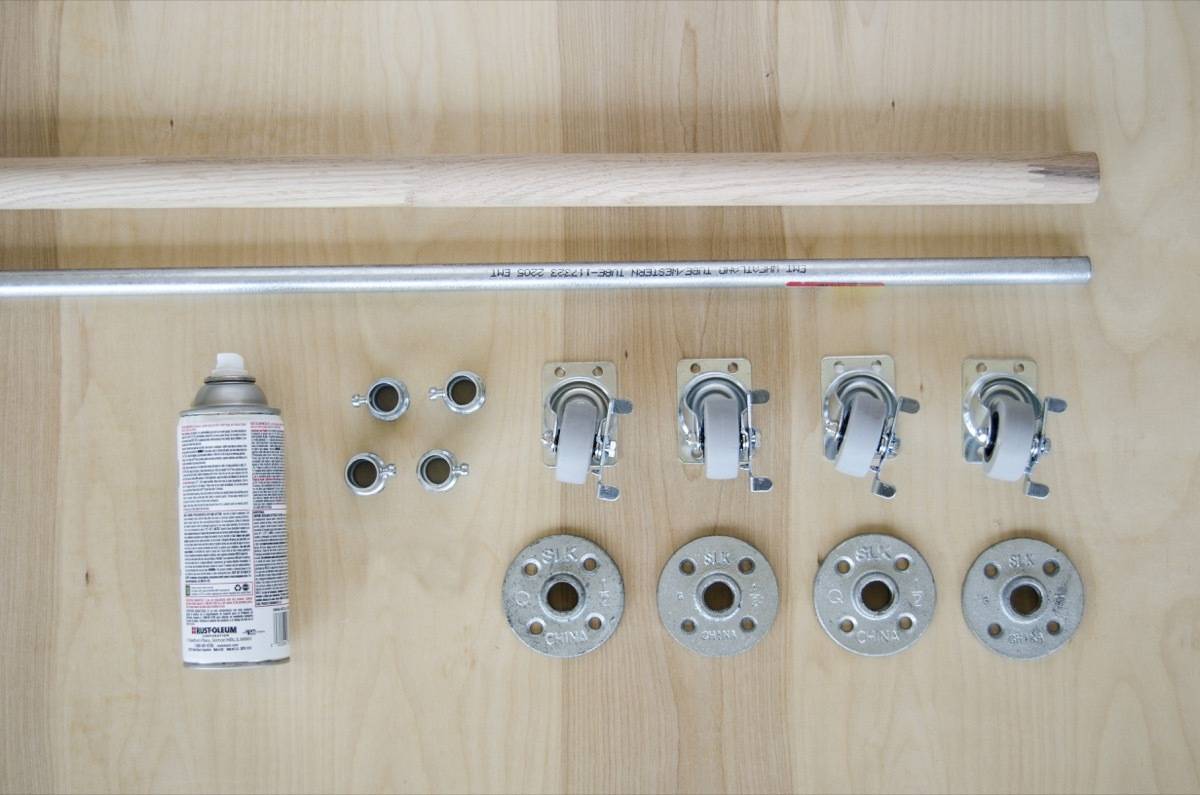
- 1/2″ plywood
- A closet rod
- (2) 10′ lengths of 1/2″ electrical conduit
- Spray paint
- (4) 1/2″ floor flanges
- (4) casters
- (4) 1/2″ screw-set couplings
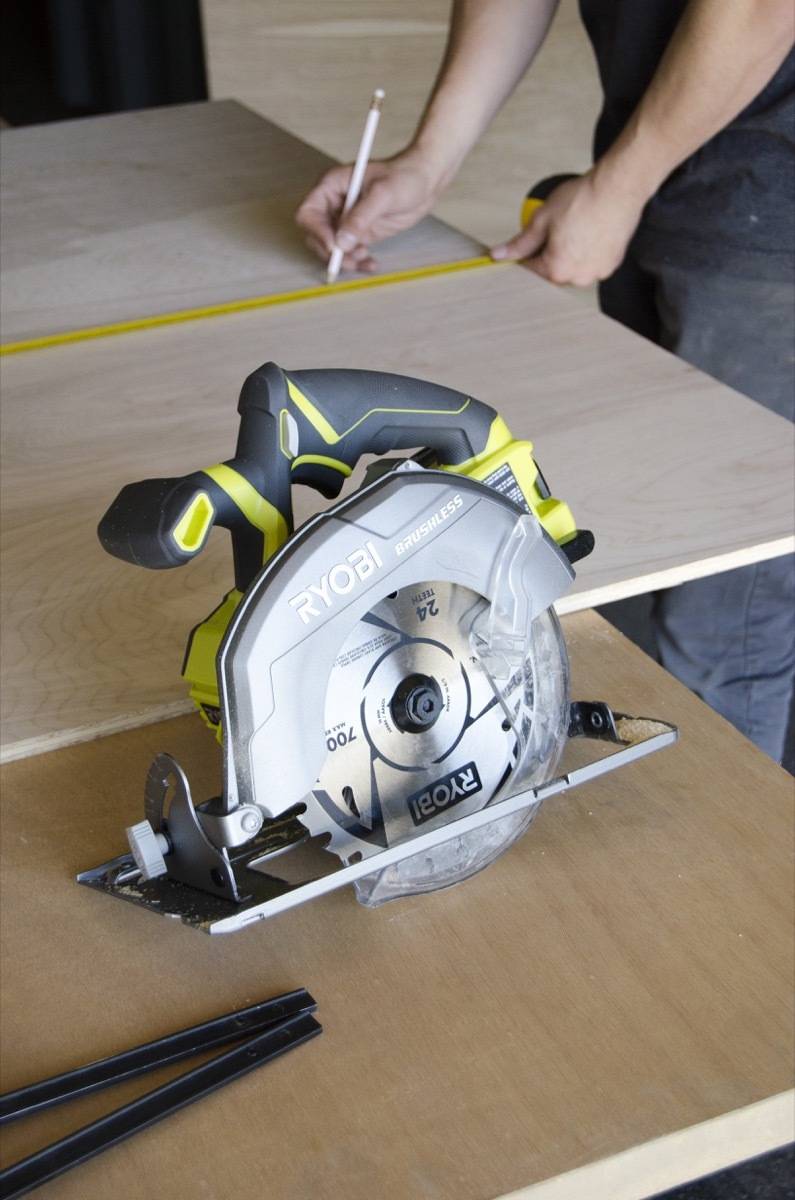
You will need a few tools to make this rolling clothing rack, including:
- A circular saw – we’re using the Ryobi 18V One+ Cordless Circular Saw, and I have to say it feels a whole lot safer than other saws. Because it’s cordless, there’s no need to worry about nicking the cord. And because it’s brushless, it’s more compact and easier to handle, and the battery lasts longer.
- A router – This tool always surprises me. It’s so handy! It takes an average woodworking project from so-so to slick in no time flat. Again we’re using Ryobi, which means only needing one battery pack. You’ll also need a bit of sandpaper for finishing.
- A power drill – You’ll also some additional screws, clamps, and a work surface to clamp to.
- A conduit bender – Plus a little muscle (and maybe a friend to help hold things while you bend).
Step
Mark the center of one of the lengths of conduit (5 feet in). Then, make marks at 18″ in either direction from the center.
Start bending from one end of the conduit (the first 18″ mark). Make a 30-degree bend, with the back of the bend lining up at your mark. There’s a little notch on the conduit bender that shows you where the back of the bend is.
Make your tops bends. The first is a 60-degree bend with the start of the bend aligned to the center mark on the conduit. The second is the same bend, reversed.
Finally make your last 30-degree bend on the other side (remember, back of bend aligns to your mark).
Step
Spray-paint all your conduit and fittings. We chose white for a clean look, but obviously you can choose any color you like!
Step
Drill holes in the closet rod using your power drill and a 5/8″-inch Forstner bit. Inset these holes 2 1/2″ from each end of the rod.
Step
Round over the edges of the plywood with a router. This is optional, but I think it makes the whole piece feel much more ‘finished’, and it just take an extra minute (do it!).
Step
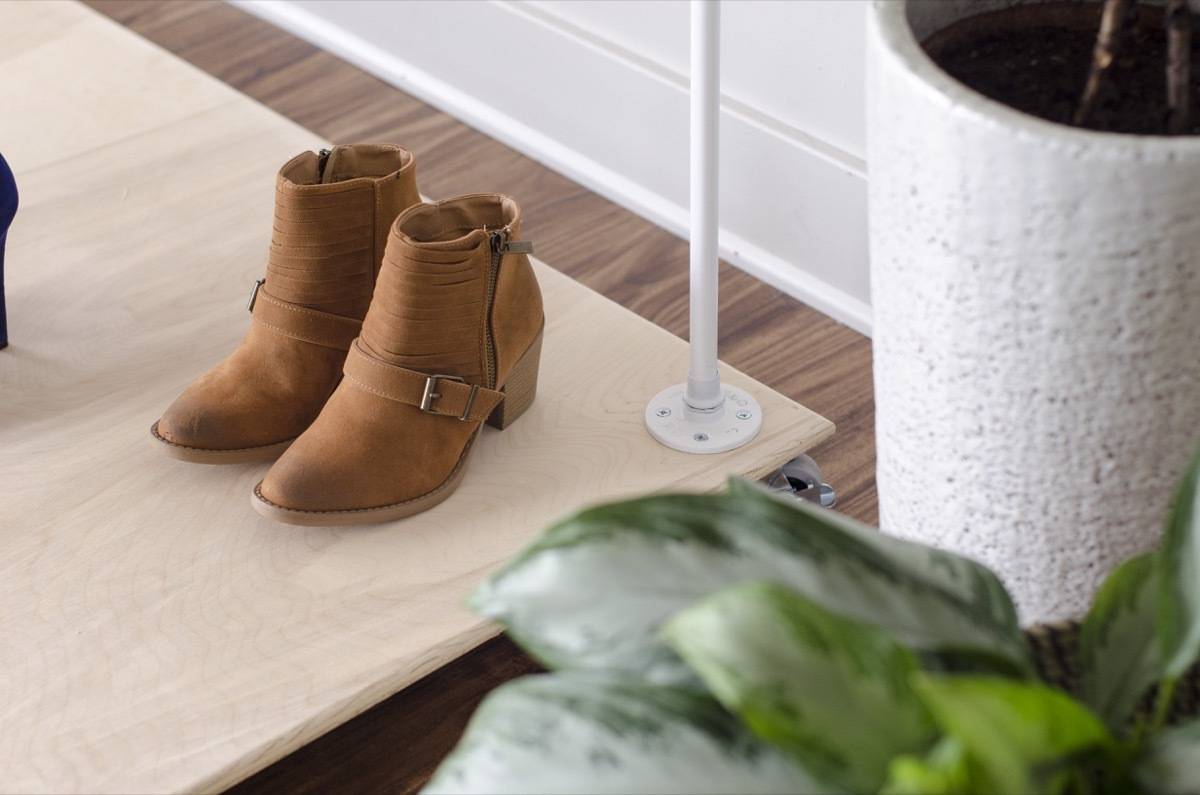
Attach the floor flanges to the plywood using 1/2″ screws. Inset them so the center of each flange is 2 1/2″ from the corner of the plywood sheet.
Next, flip the plywood over and screw on the casters.
Step
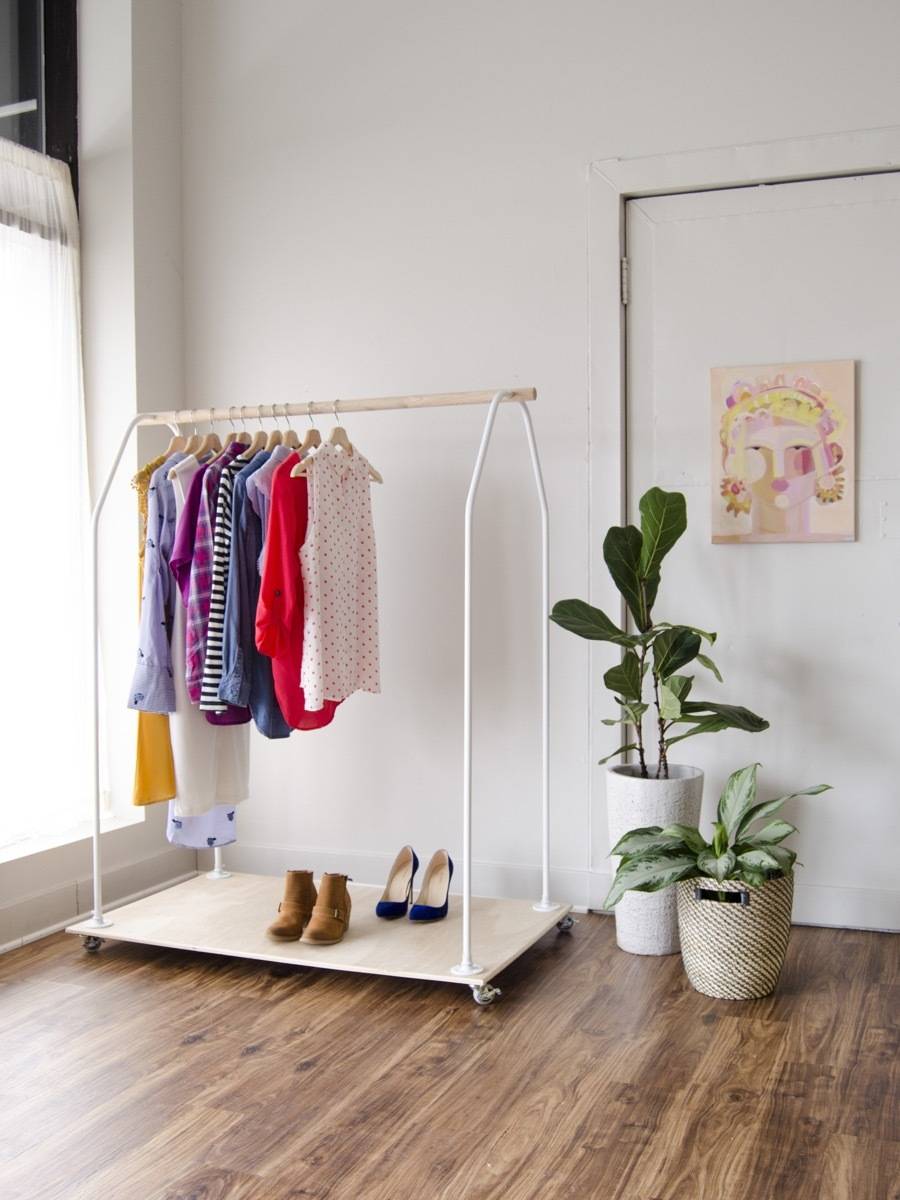
You’re almost done! Now, assemble the clothing rack by sliding the closet rod onto the conduit, screwing the screw-set couplings onto the flanges, and then sliding the conduit into the couplings (and tightening the set-screw).
That’s it! You now have a sturdy, lightweight, functional, and beautiful rolling clothing rack for your wife’s clothing boutique, your husband’s taxidermy startup, your uncle’s leprechaun Crossfit studio, or whatever else you might need it for!


I acknowledge that The Home Depot is partnering with me to participate in the ProSpective2018 Campaign. As a part of the Program, I am receiving compensation in the form of products and services, for the purpose of promoting The Home Depot. All expressed opinions and experiences are my own words. My post complies with the Word Of Mouth Marketing Association (WOMMA) Ethics Code and applicable Federal Trade Commission guidelines. Thanks for supporting the brands that make Curbly possible!

I like this a lot. I like the idea that it’s portable, so I can move it around my closet. I would like to try this and see how it would look like along with the closet dividers I installed. I’m also interested to know if you have any advise in renovating closets on how to maximize space?