When it comes to thrift store finds, painting can be a fantastic way to totally transform something old into something new. That being said, too much paint can be a bad thing. Sometimes the most refreshing way to refinish a solid piece of wood furniture is to totally strip it naked and start fresh. That’s how I felt about this chair (and its amazing technicolored dream-coats of old paint). Thankfully, it wasn’t a ton of work to remove paint from the entire thing. Here’s how:

There’s nothing terribly special about this piece of furniture, but I keep this chair around for a few reasons. It’s well-built, sturdy, and it’s useful enough. I hold onto it mainly because it was the chair that used to sit in my art studio in college, so it has special meaning to me. Since it sat in my messy, messy studio, it has seen its fair share of paint splatter. It had been painted at least twice before I inherited it, and after I graduated, I painted it again! My sense of interior style has changed since then, so I wanted to upgrade my trusty studio chair. I’m going to share with you how to remove paint (even layers upon layers!) from wood furniture.
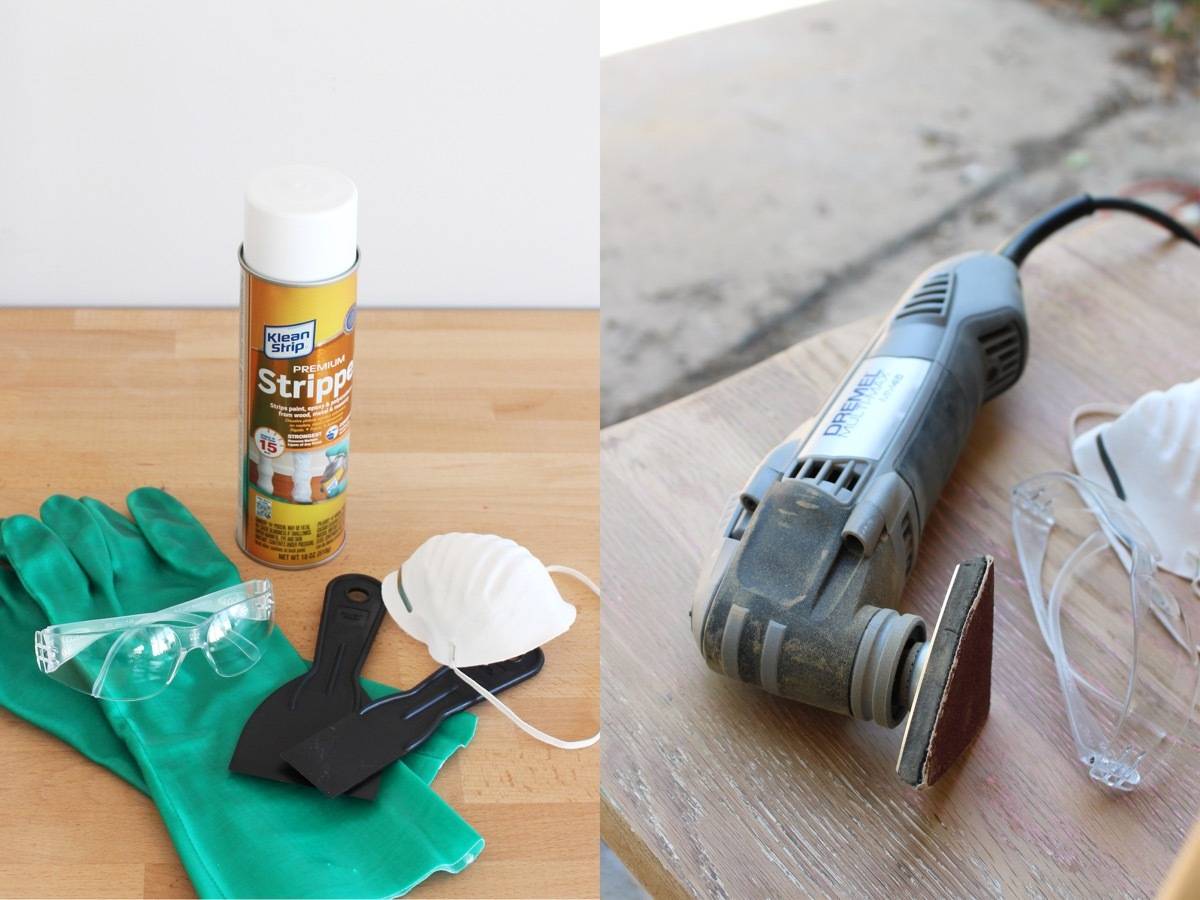
Materials
- Dremel Multi-Max oscillating tool with a sanding attachment
- Black & Decker random orbital sander
- Paint stripper
- Paint scrapers
- Chemical-resistant gloves
- Protective eyewear
- N95 respirator mask
Step
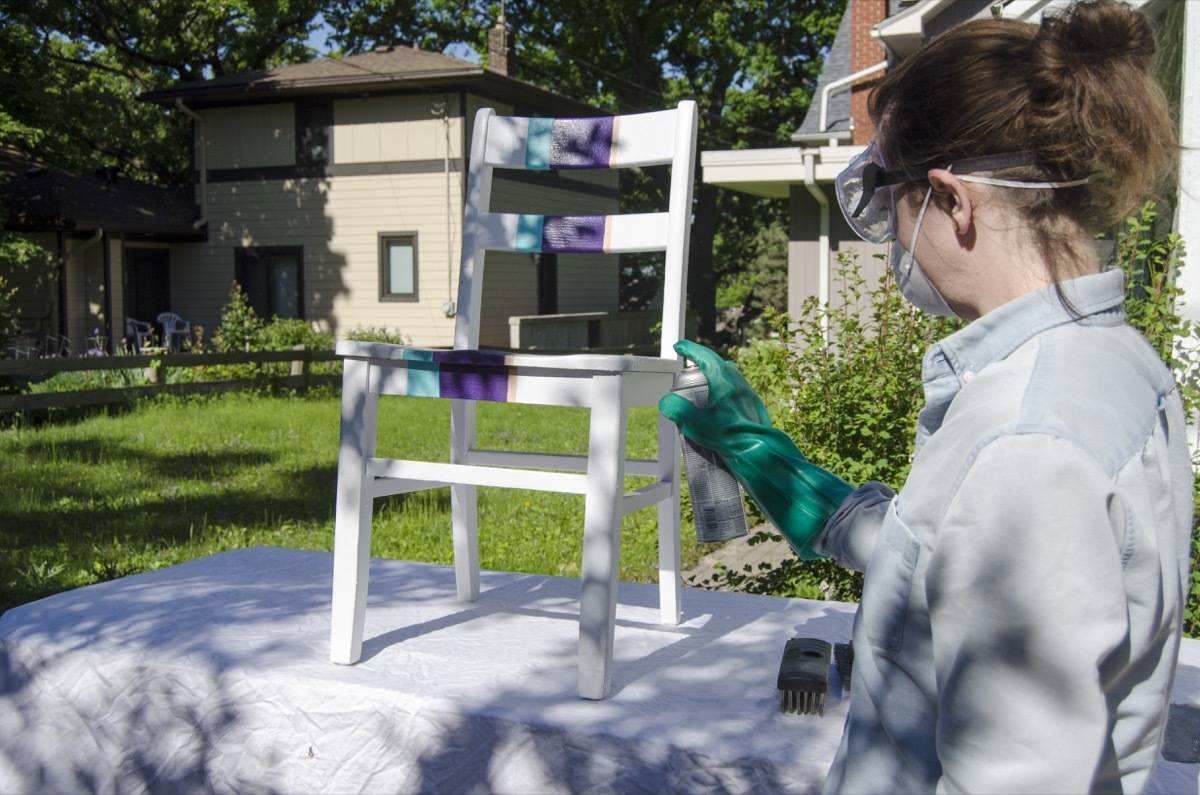
The first thing you’ll want to do it prep your set-up. Paint stripper is serious stuff (go ahead and read the warning labels before you start!), so take all necessary precautions. That being said, paint stripper is also an awesome and majorly effective way to remove paint. You’ll want to work on a drop cloth or some other area that you don’t mind being affected by chemicals (i.e. disposable), and you’ll want to work outside. Don your eyewear, chemical-resistant gloves, and face mask. Make sure you are wearing long sleeves and pants. If you’re using the spray version of paint stripper, shake the can well before spraying the painted area. If you’re using the brushable variety, use cheap brushes you can discard after use.
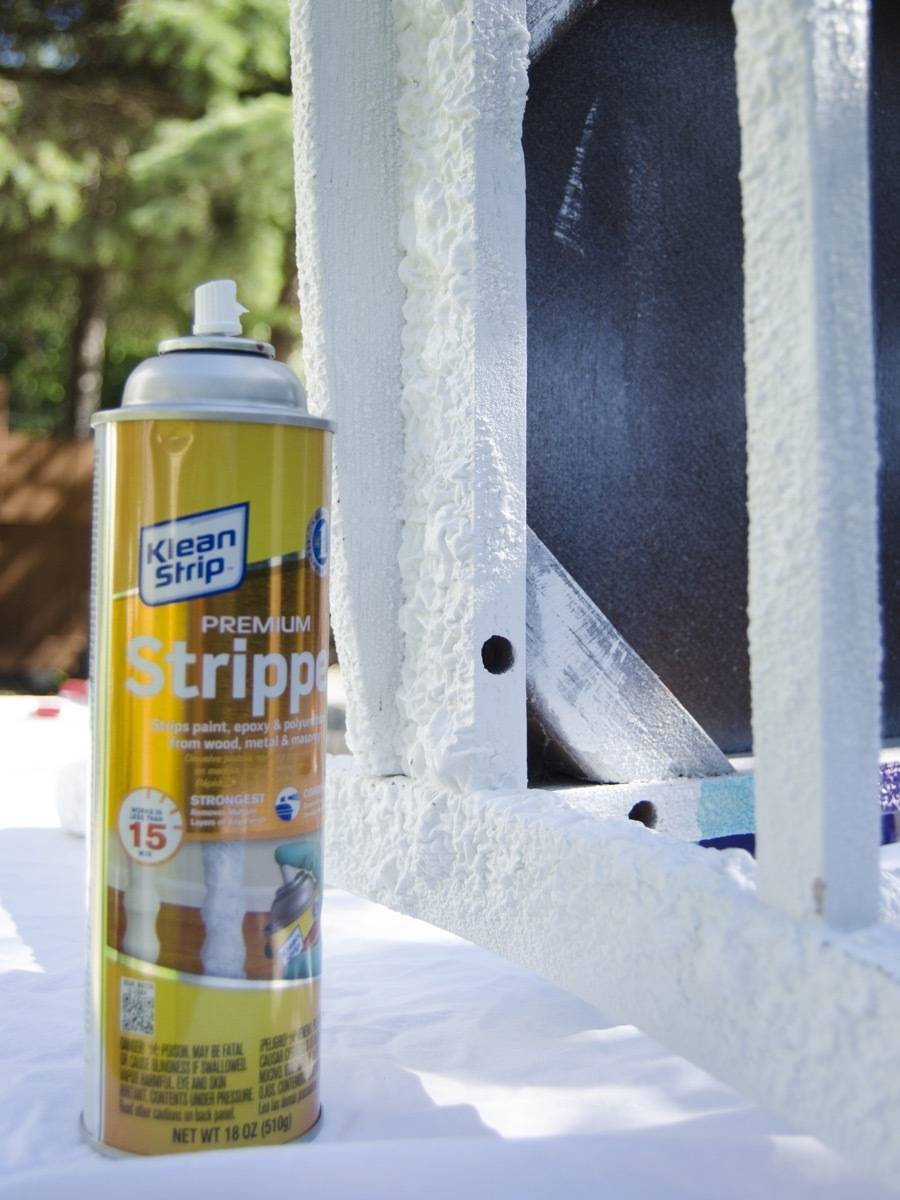
If you’re dealing with a large surface area, work in sections (you want to limit the amount of chemicals you’re dealing with at one time!). Paint stripper works fast, so you only have to wait 15-20 minutes after you put it on before you can start removing the old paint.
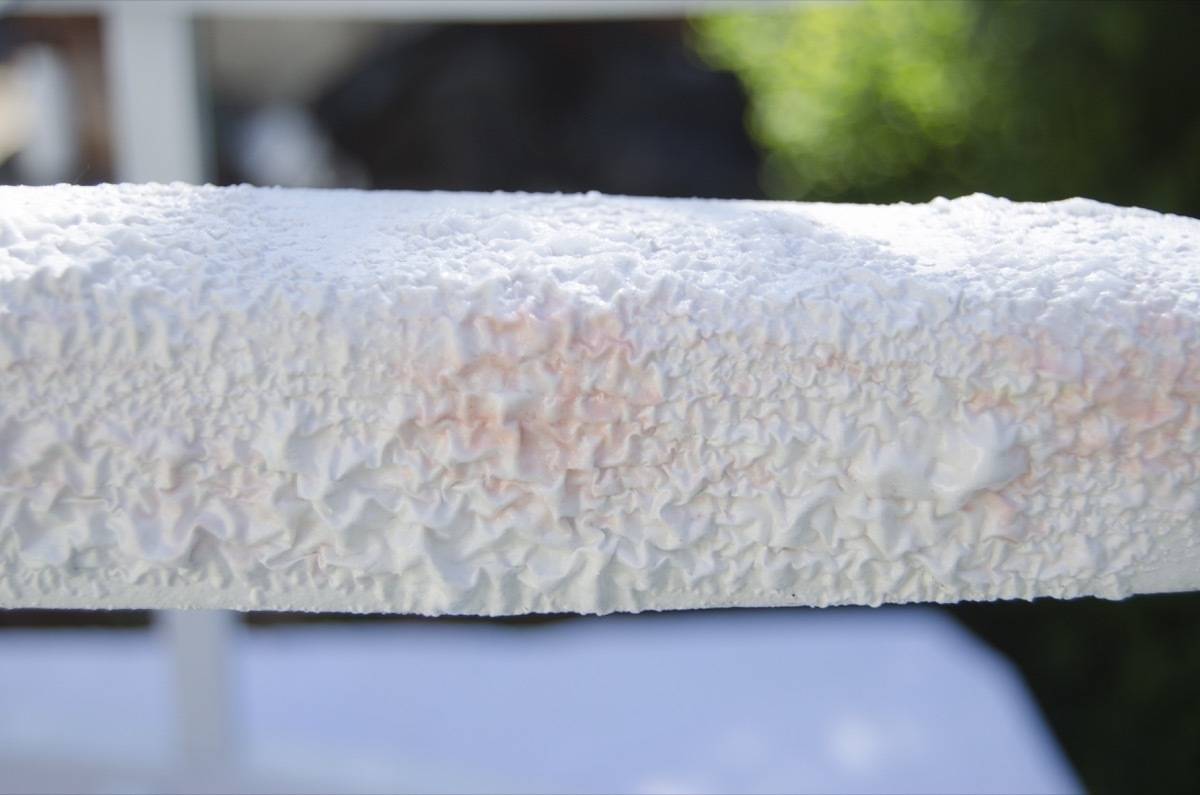
This picture was taken about 5 minutes in. Do you see that pink? That’s the layer of paint behind the one on top! I wasn’t kidding when I said paint stripper was serious stuff.
Step
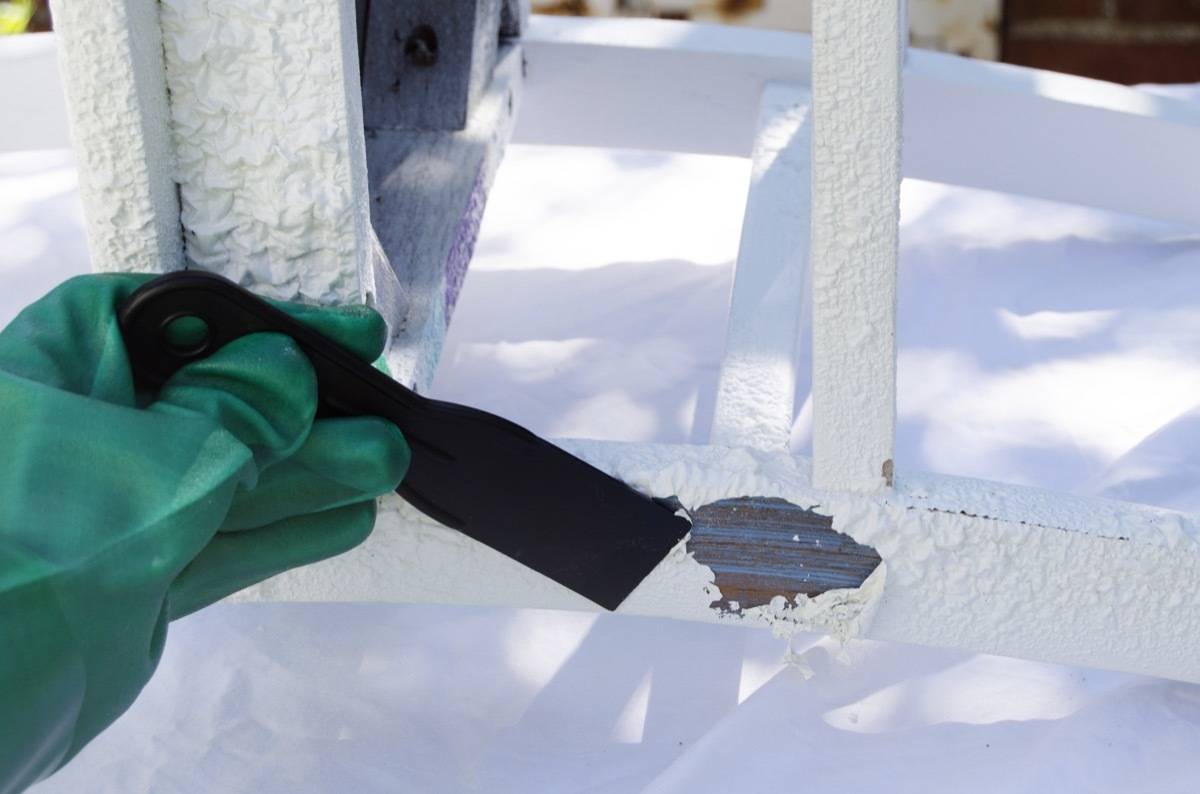
After 15 minutes have passed, test if you can remove paint with the paint scrapper. If the paint isn’t coming off easily, wait a few more minutes for the paint stripper to do its job.
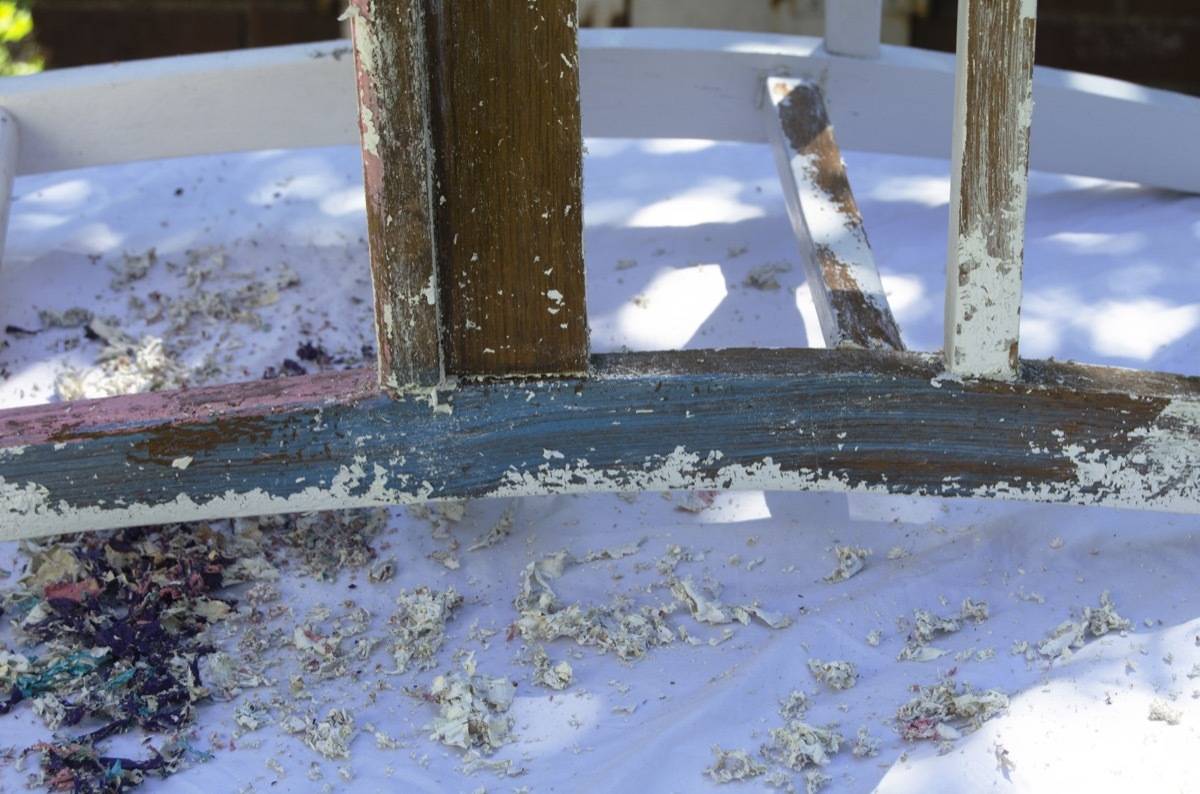
Now it’s time to scrape! Keep all your safety gear on as you work. You may need to apply an additional round of paint stripper if you’re dealing with stubborn areas or multiple layers of paint.

This was as bare-bones as I was able to get my chair before I ran out of paint stripper! Definitely a more manageable project than what I started with. Let your wood air out before handling.
Step
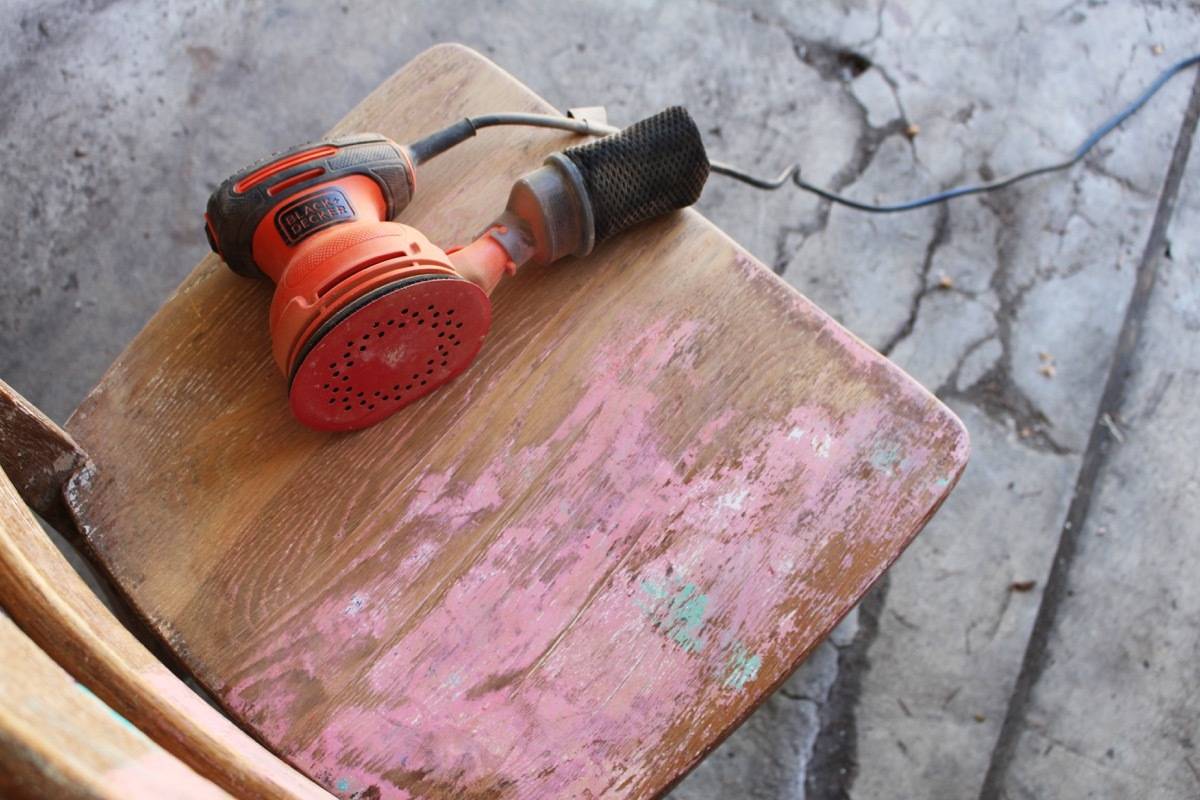
Use a sander to remove paint that may be left. A large grit helps – I started with 80-grit and worked my way up to 220.
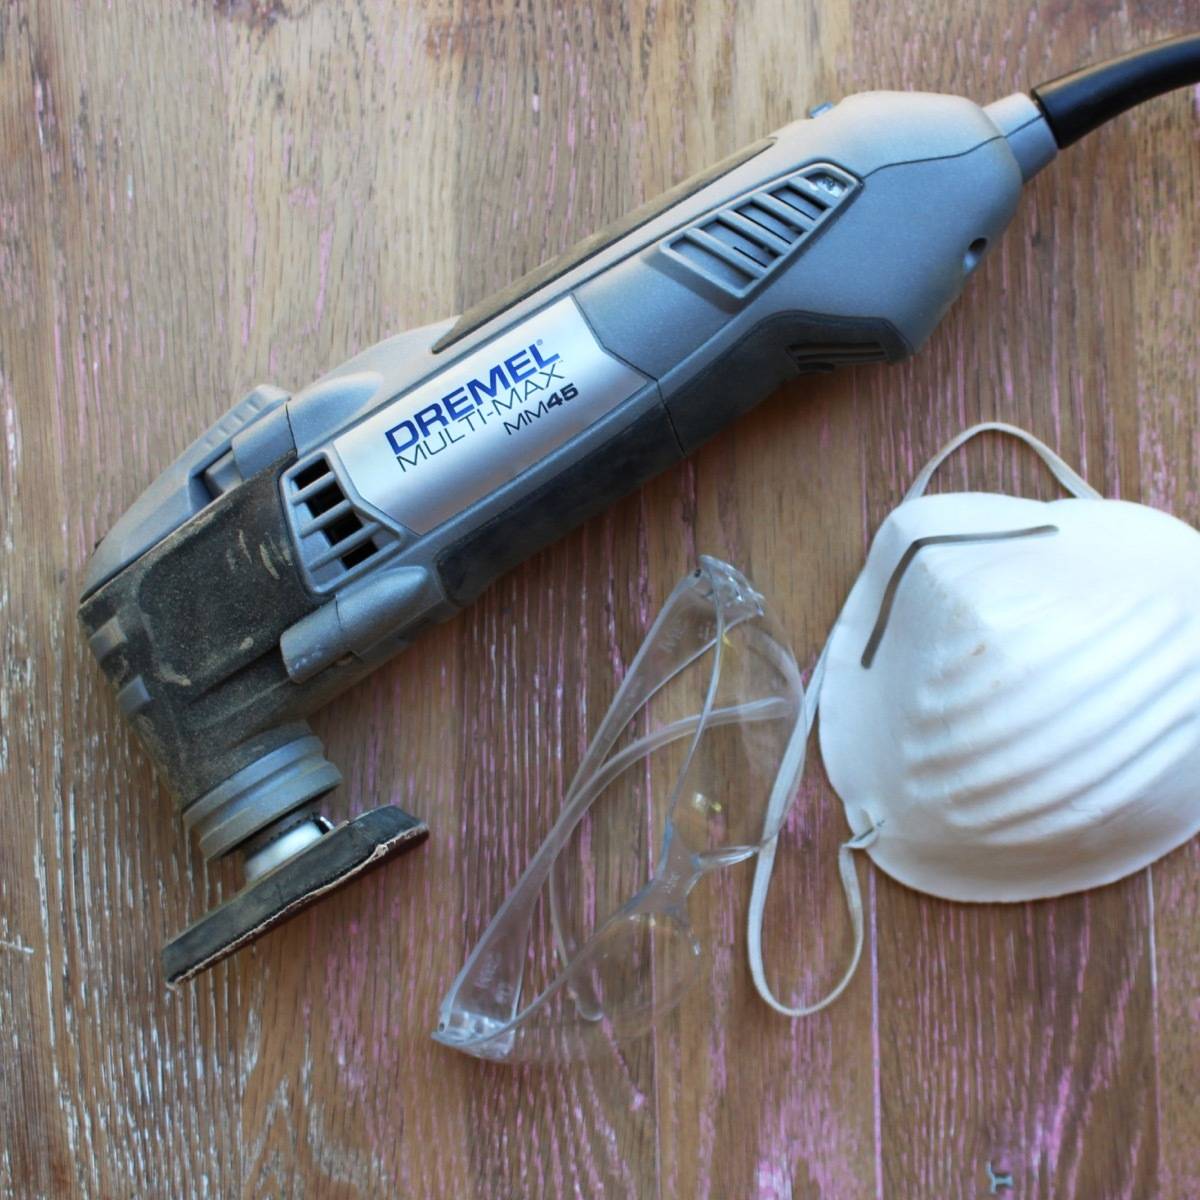
If you’re working with a piece of furniture that you can disassemble, take it apart! It’s much easier to sand and remove paint this way. I didn’t have that luck with this chair. The rungs on the bottom and the top of the chair were glued in place, which meant tight corners filled with stubborn paint. I found using a Dremel oscillating tool with a sander attachment really did the trick. It makes it much easier to get into tight corners and little spots that you can’t reach with other tools. It even has a paint scraper attachment that you can use especially for jobs like this.
 As with most DIY projects, having the right tools is important. It can be the difference between a successful job and a #DIYfail. This year we’re partnering with The Home Depot to share projects highlighting some of our favorite, most useful tools. Check out Bruno’s easy DIY walnut stump side table! Or, if you’re looking for a gift for dad this month, try our gift guide: Tools He Doesn’t Even Know He Needs.
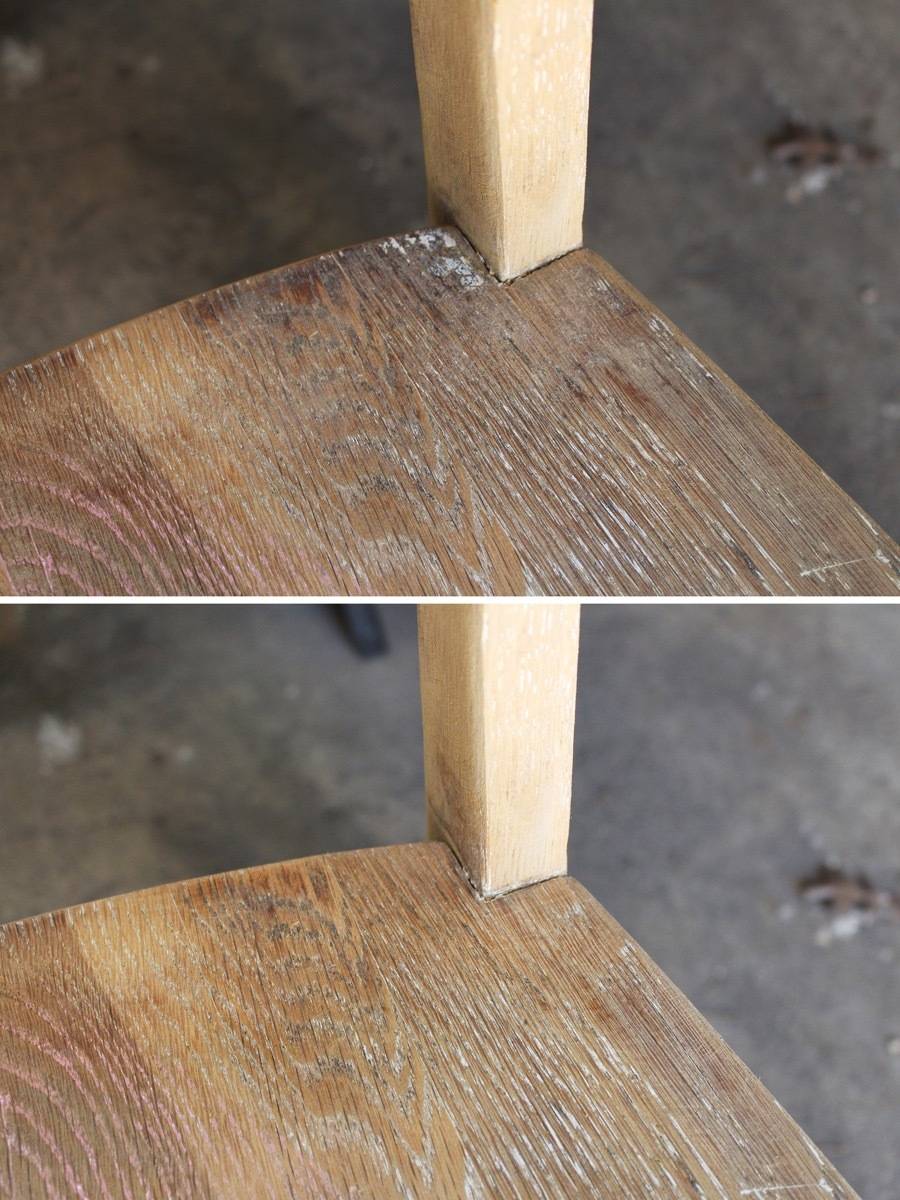
Here’s a little before and after of one corner of the seat. The small sander attachment head for the Dremel did the trick, and was a lot less painful than sanding by hand.
After removing all the paint, go over the wood with a finer grit sandpaper. I moved from the 220 to the 120, then did a final sanding with a 60 grit.
Step
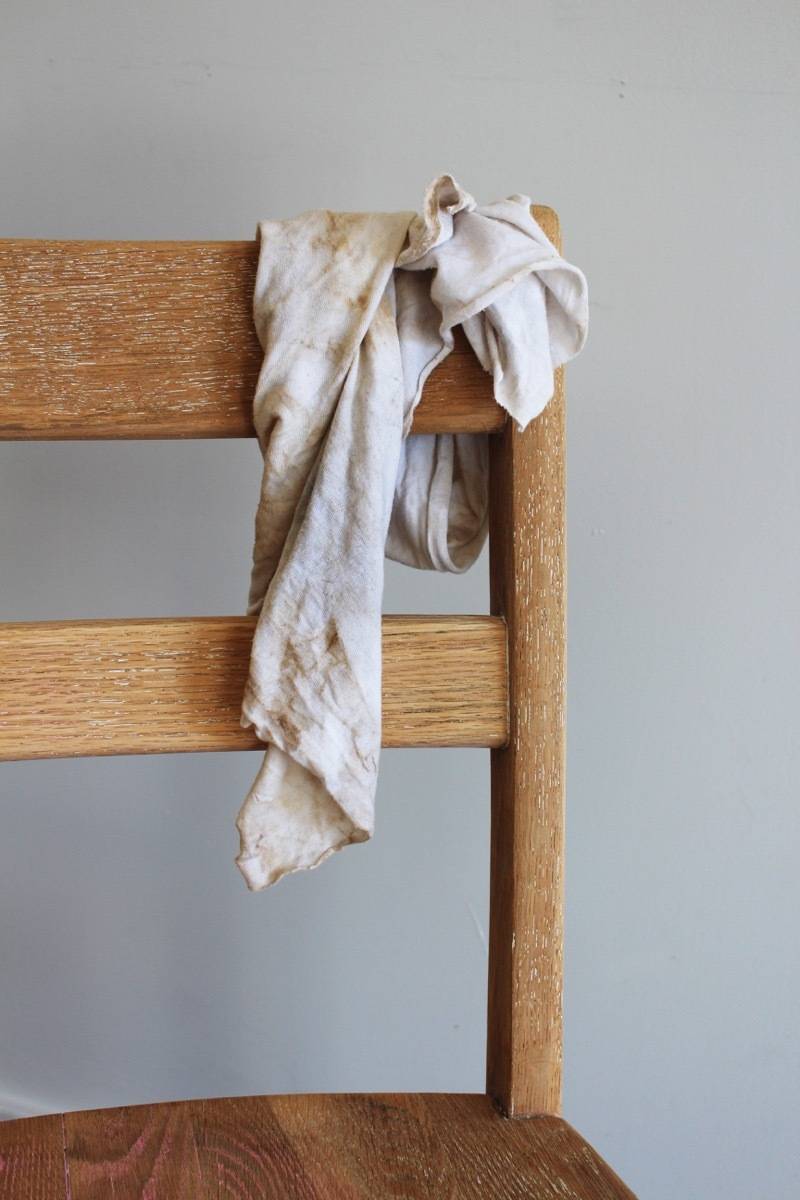
After your piece is all sanded down, it’s just a matter of cleaning it up and refinishing! Like a blank canvas! If the wood is especially dry, apply a coat of wood conditioner before refinishing.
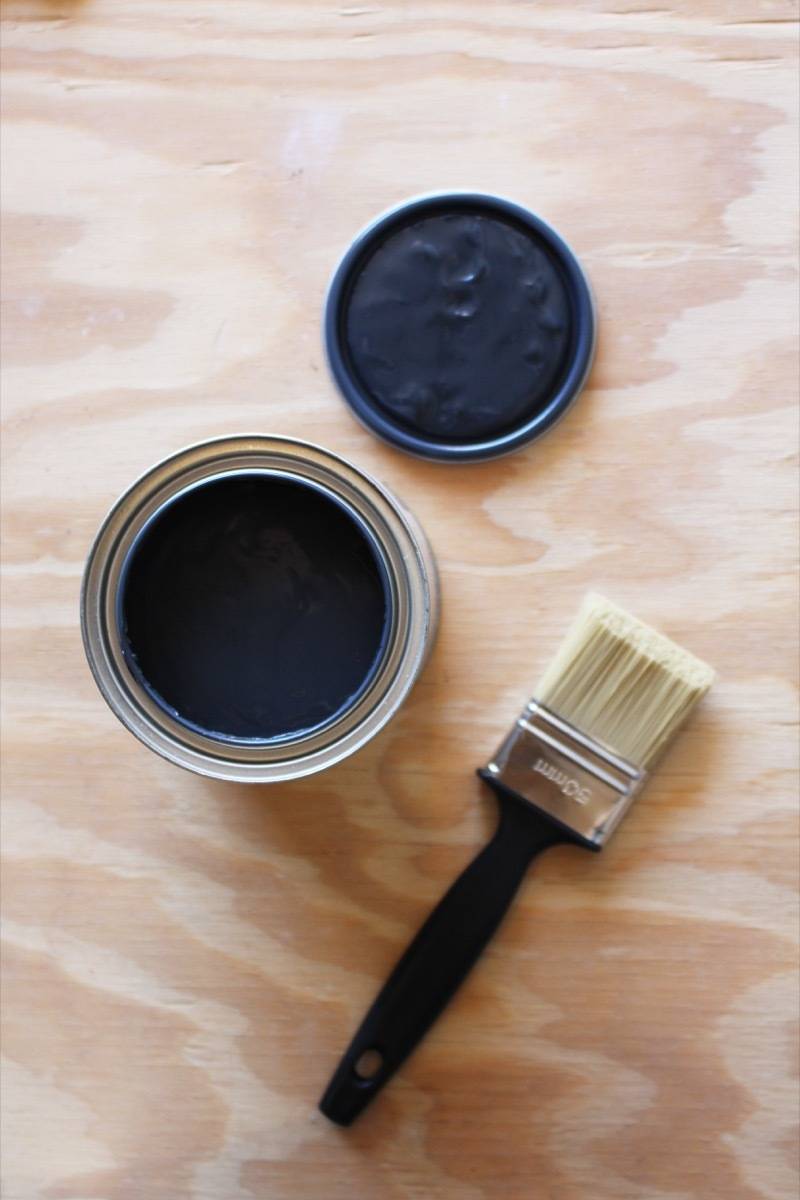
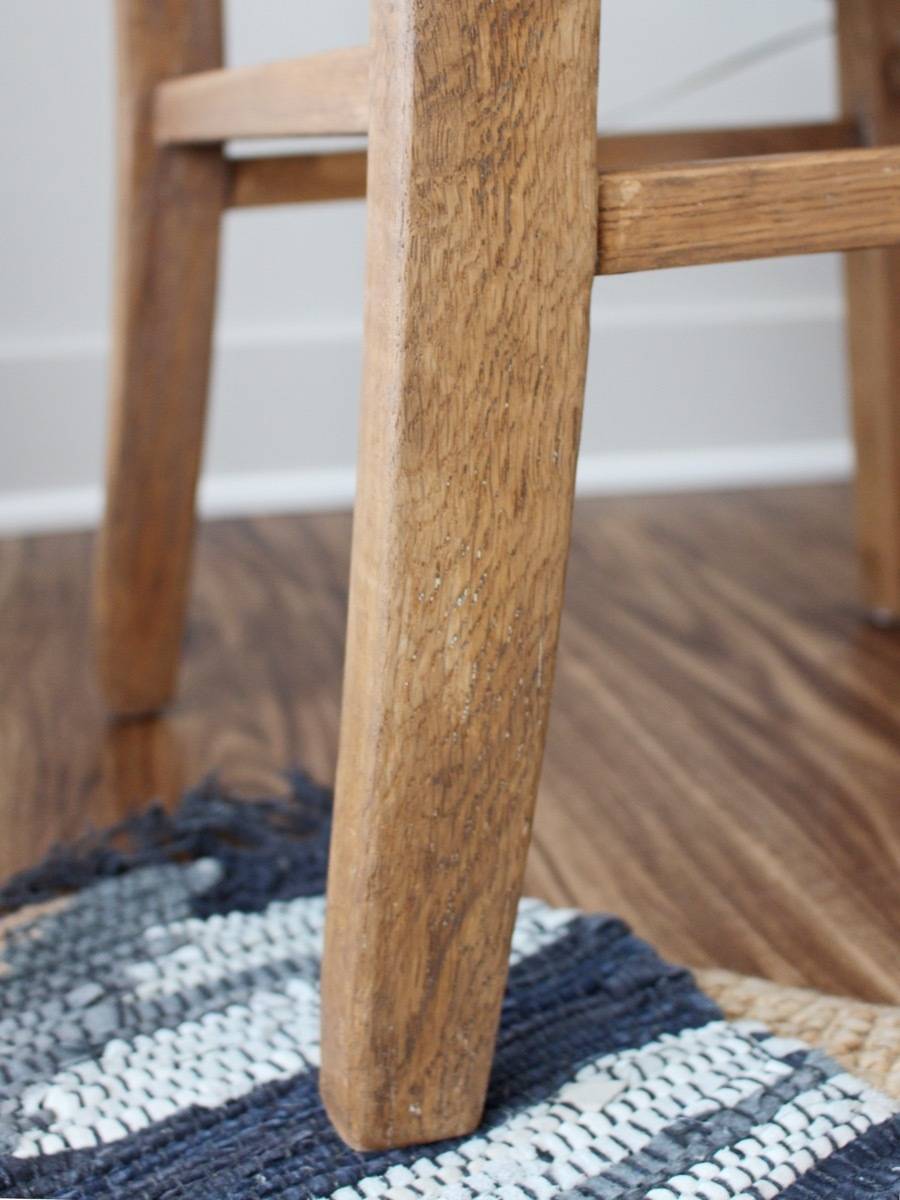
I ended up staining the bottom half of my chair, and re-painting the top half for a little flair. What do you think?


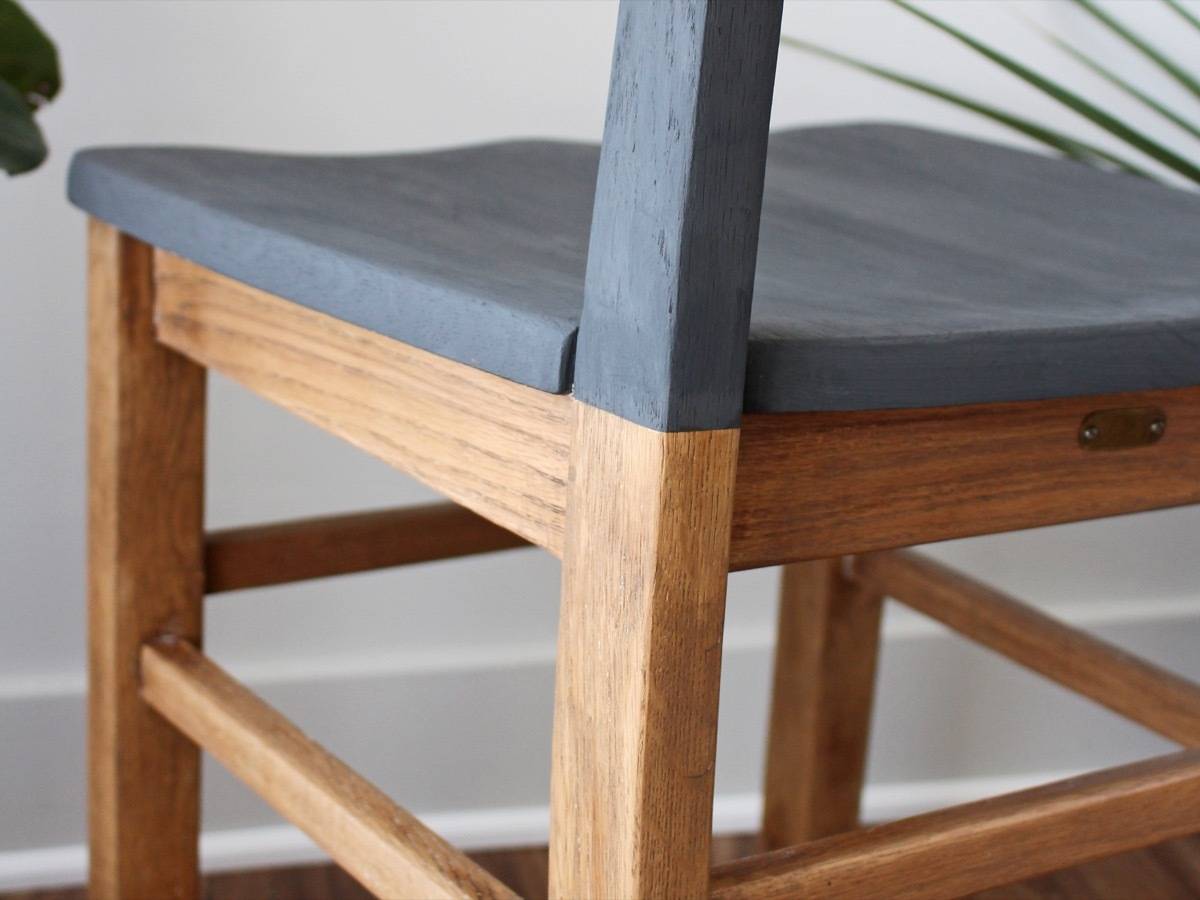
It may seem weird to remove paint just to paint again, but this chair had seen so many layers in the past that it was basically thick on the wood. It also had a bunch of paint drips from its time in my college art studio. I repainted with a thin chalk paint, allowing the grains of the freshly-found wood to peek through.


Once you’ve learned how to remove paint with paint stripper, you’ll never look at a garage sale or estate sale the same way again. So many possibilities!
This post was sponsored by The Home Depot, but all opinions are mine alone. We love working with companies that support DIYers, and thank you for supporting the brands that help make Curbly possible! This post contains affiliate links; if you click on them and buy a product, we may get a commission from the sale.
You can use paint stripper to clean up old hardware, or just boil it (yes – we’re serious)!


Nice.
Did you consider a layer or two of clear wax on the grey chalk paint? For me, it would make the chair more inviting to sit on. Still matte, but silkier to the touch. I’d test it on a piece of scrap first.
What’s the little brass label say?
What color paint did you use?
@Cussot That’s a good call on the wax. I chose the chalk paint because I liked the color, but wax would improve the look for sure.
The brass label has the name of my alma mater on it! It was on the chair when I inherited it, and I’ve just kept it on over the years.
@Nster I used a chestnut stain on the legs, Sherwin-Williams “Greek Villa” for the top rung, and a charcoal chalk paint for the base.