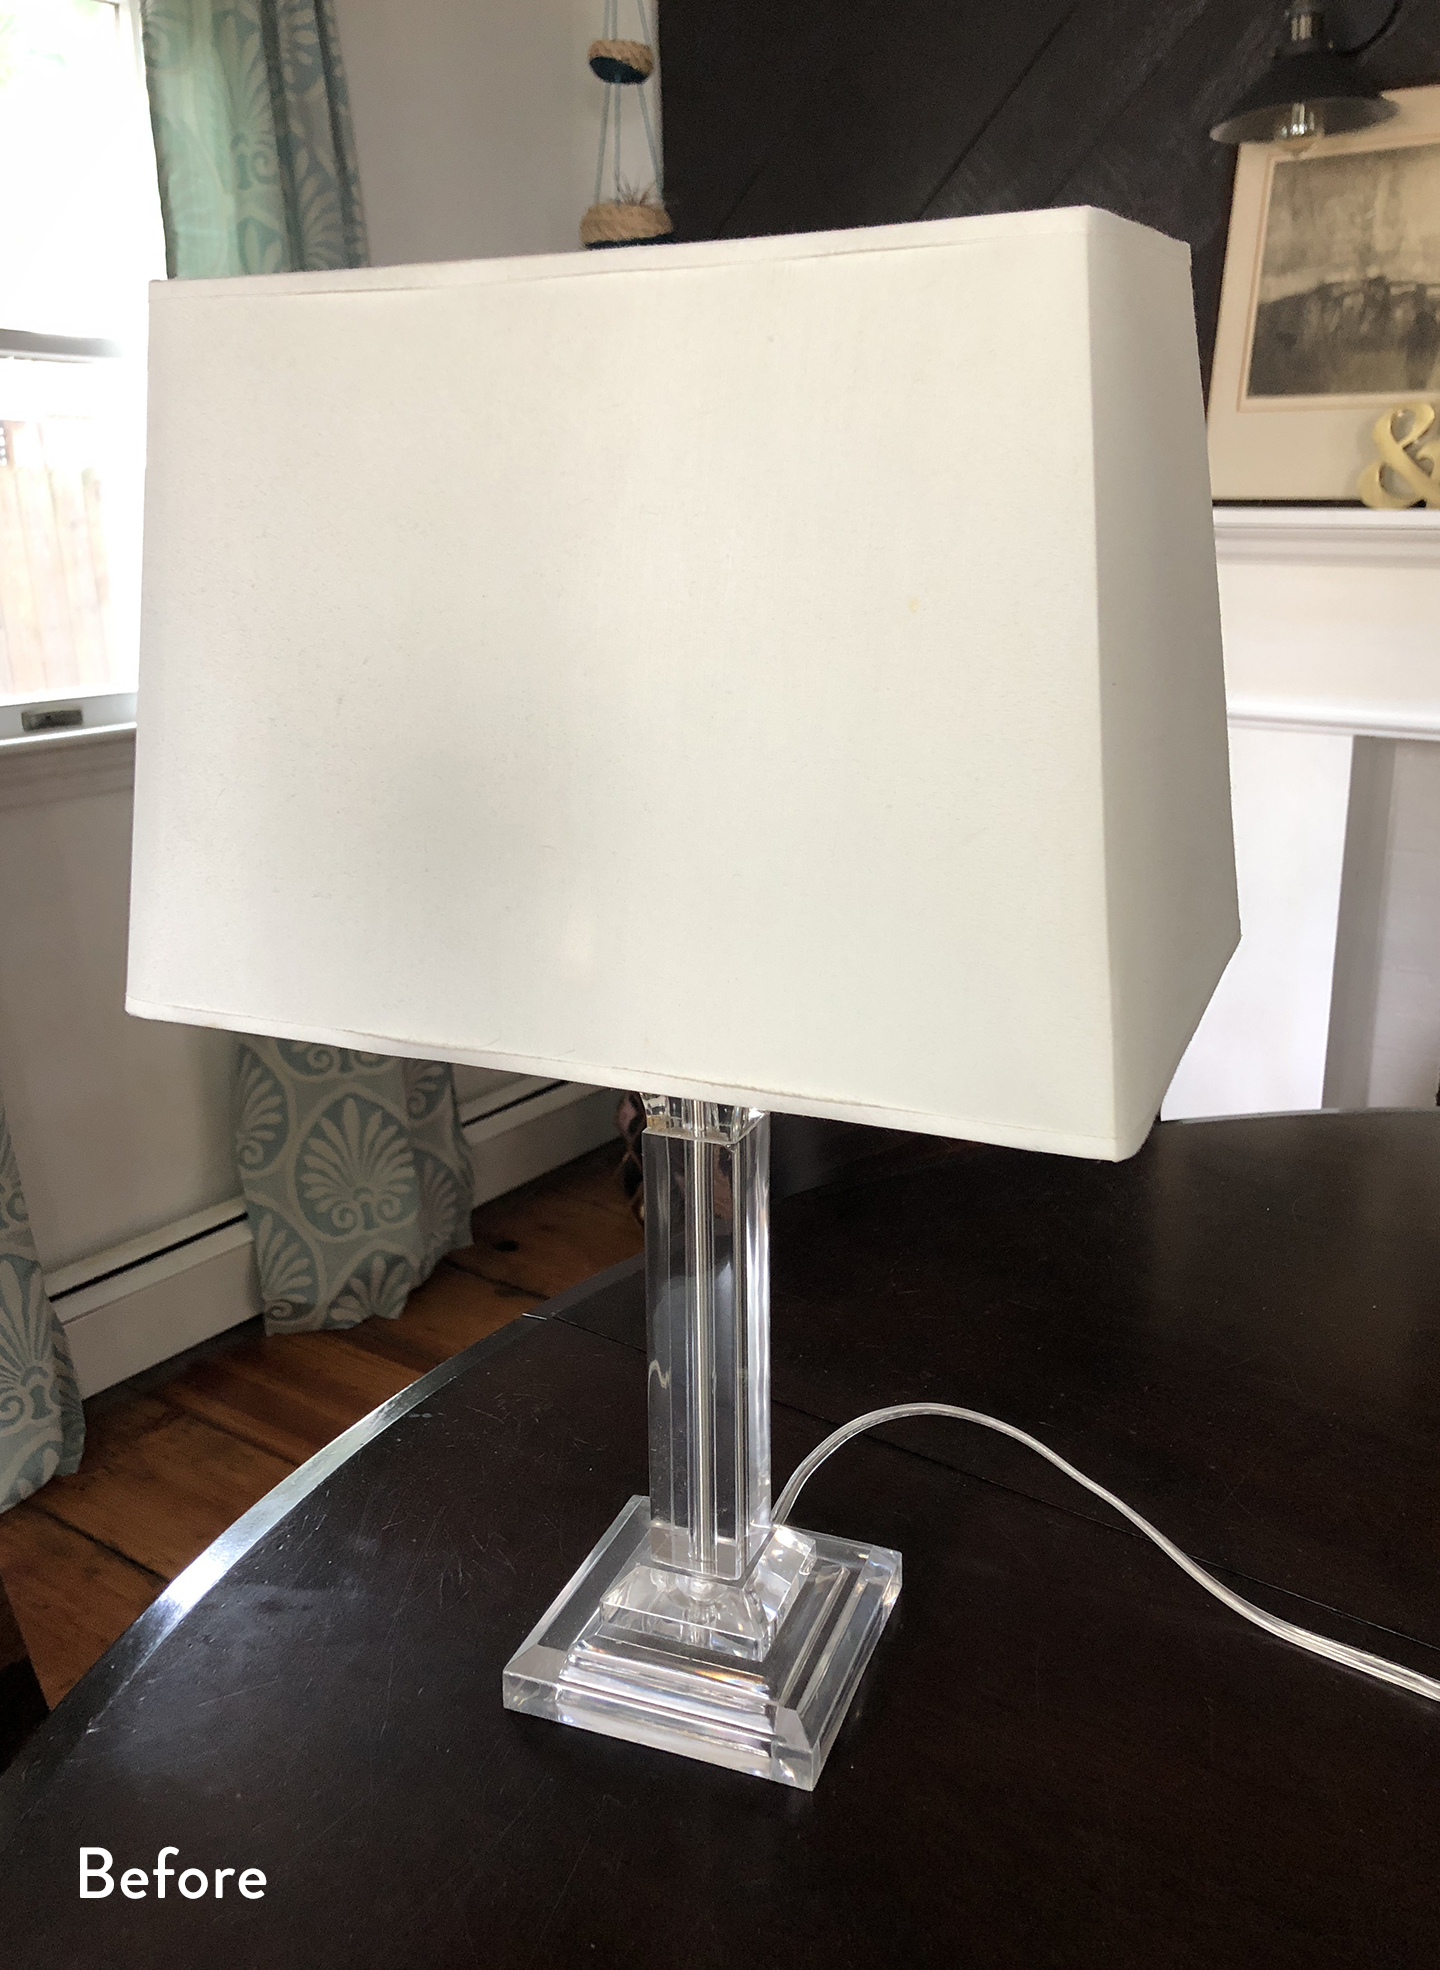
I’ve had this lamp forever, and I was totally over it. Ready to buy a new one. But the crafter in me wanted to give it one more chance, so I decided to give it a makeover using spray paint and thumbtacks. Yep that’s right, thumbtacks. Click through to check out the final product along with instructions so you can recreate the look.
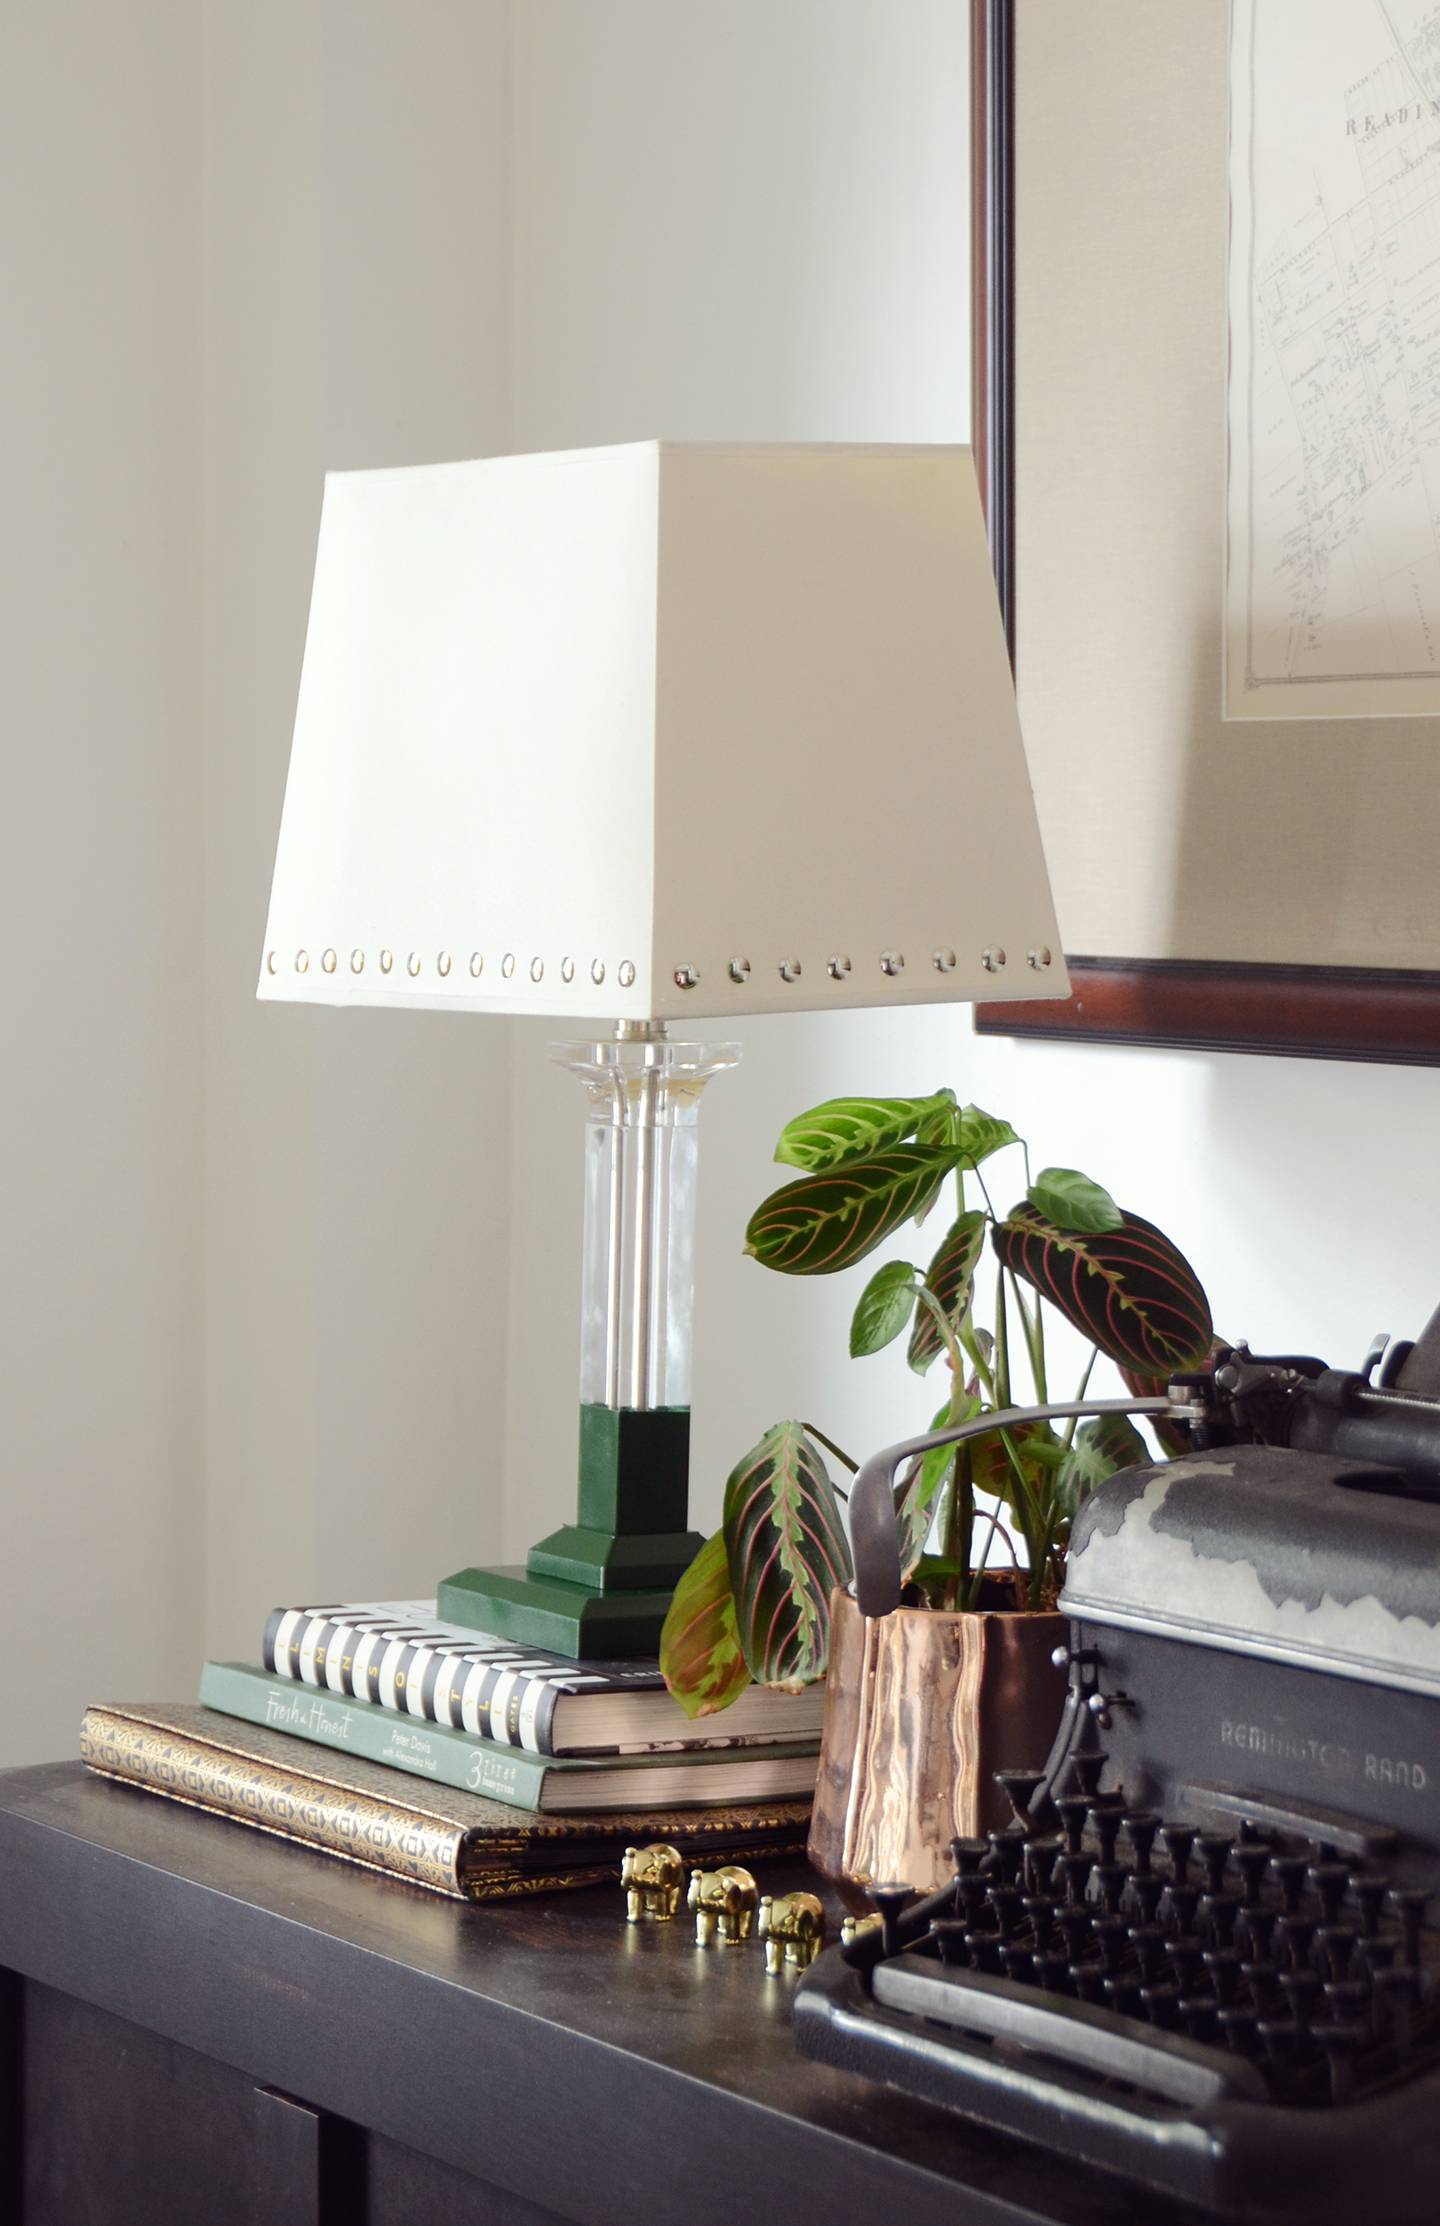
Much better, right? The thumbtacks give it a little metallic flair, and the paint adds some color. So let’s get started!
Materials
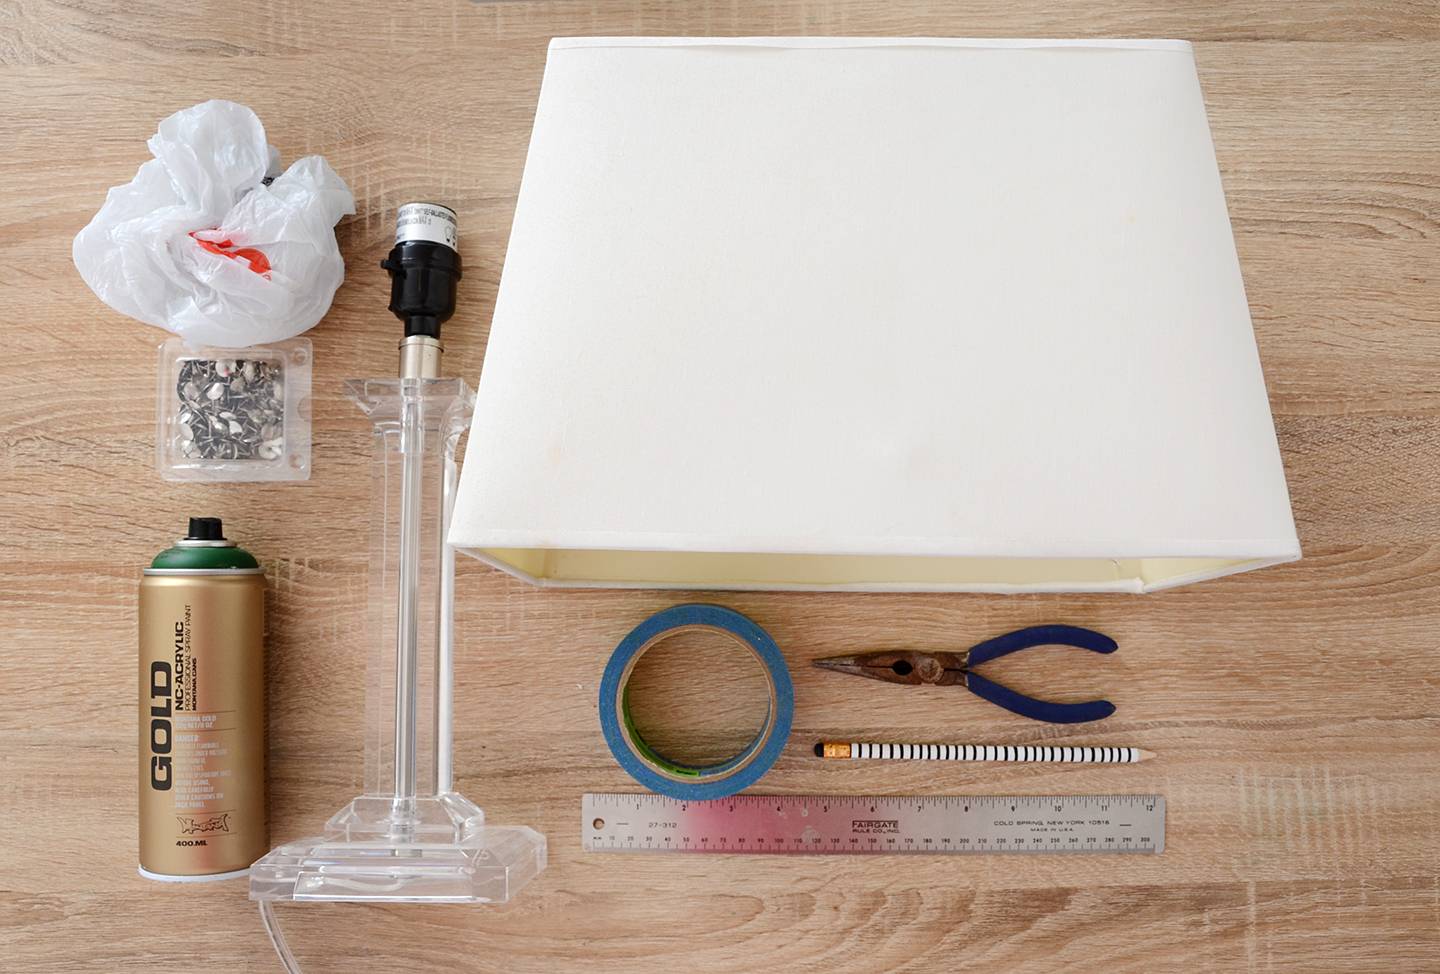
- Lamp
- Spray paint
- Painter’s tape
- Plastic bag
- Thumbtacks
- Pliers with wire cutters
- Pencil
- Ruler
- E6000 glue (not pictured)
Step
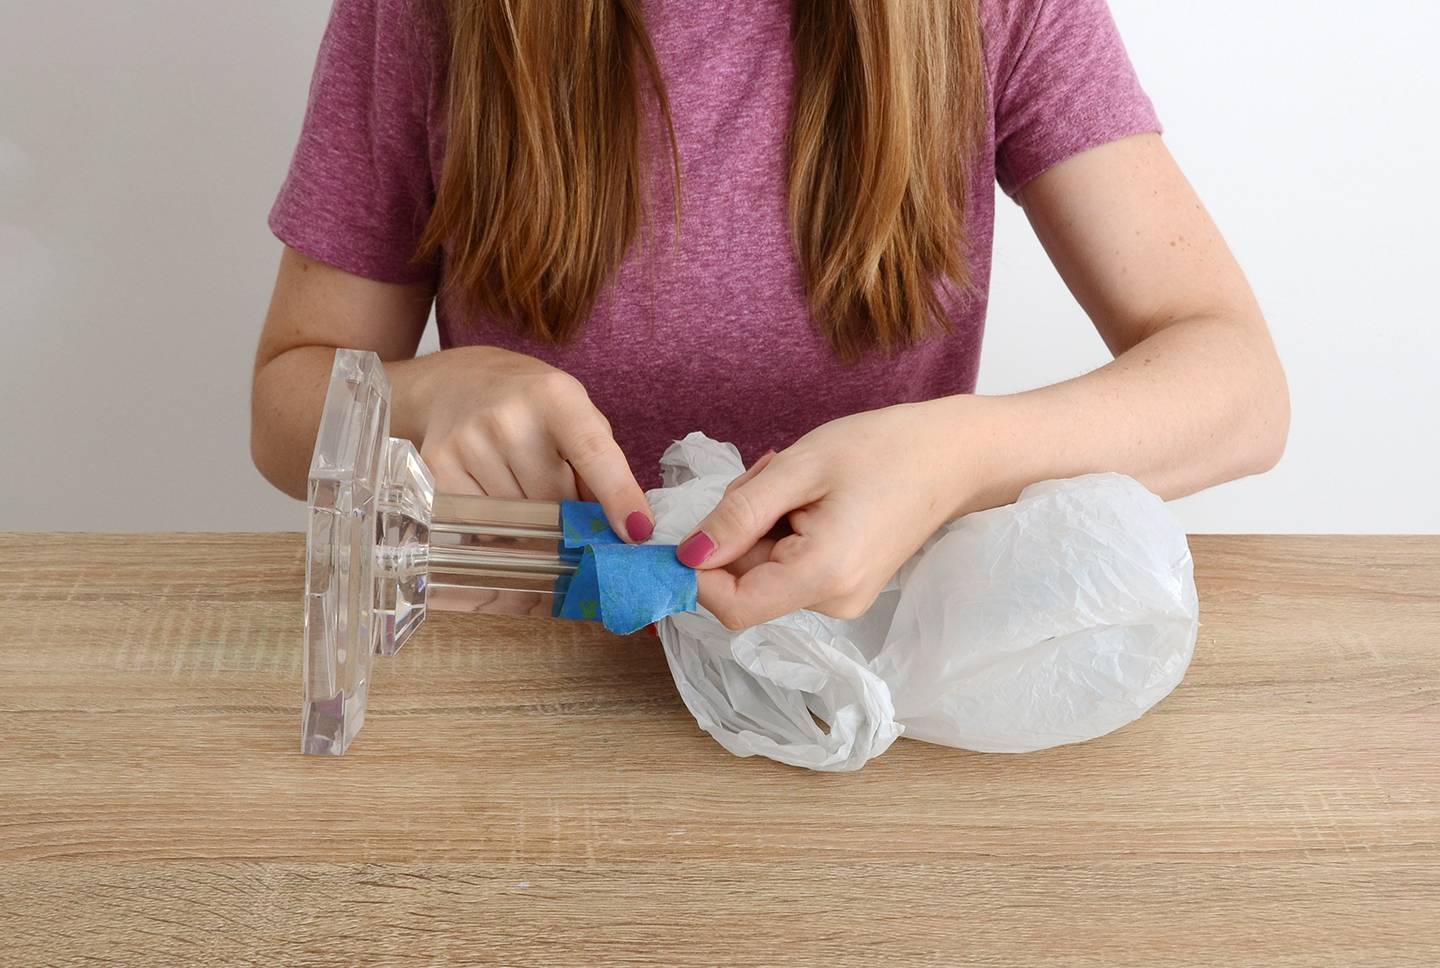
Begin by removing the shade and bulb from your lamp. Wrap a plastic bag around the section that you don’t want to be painted, and secure it with painter’s tape. Make sure the tape is straight and the ends meet evenly. Tape the cord as well.
Step
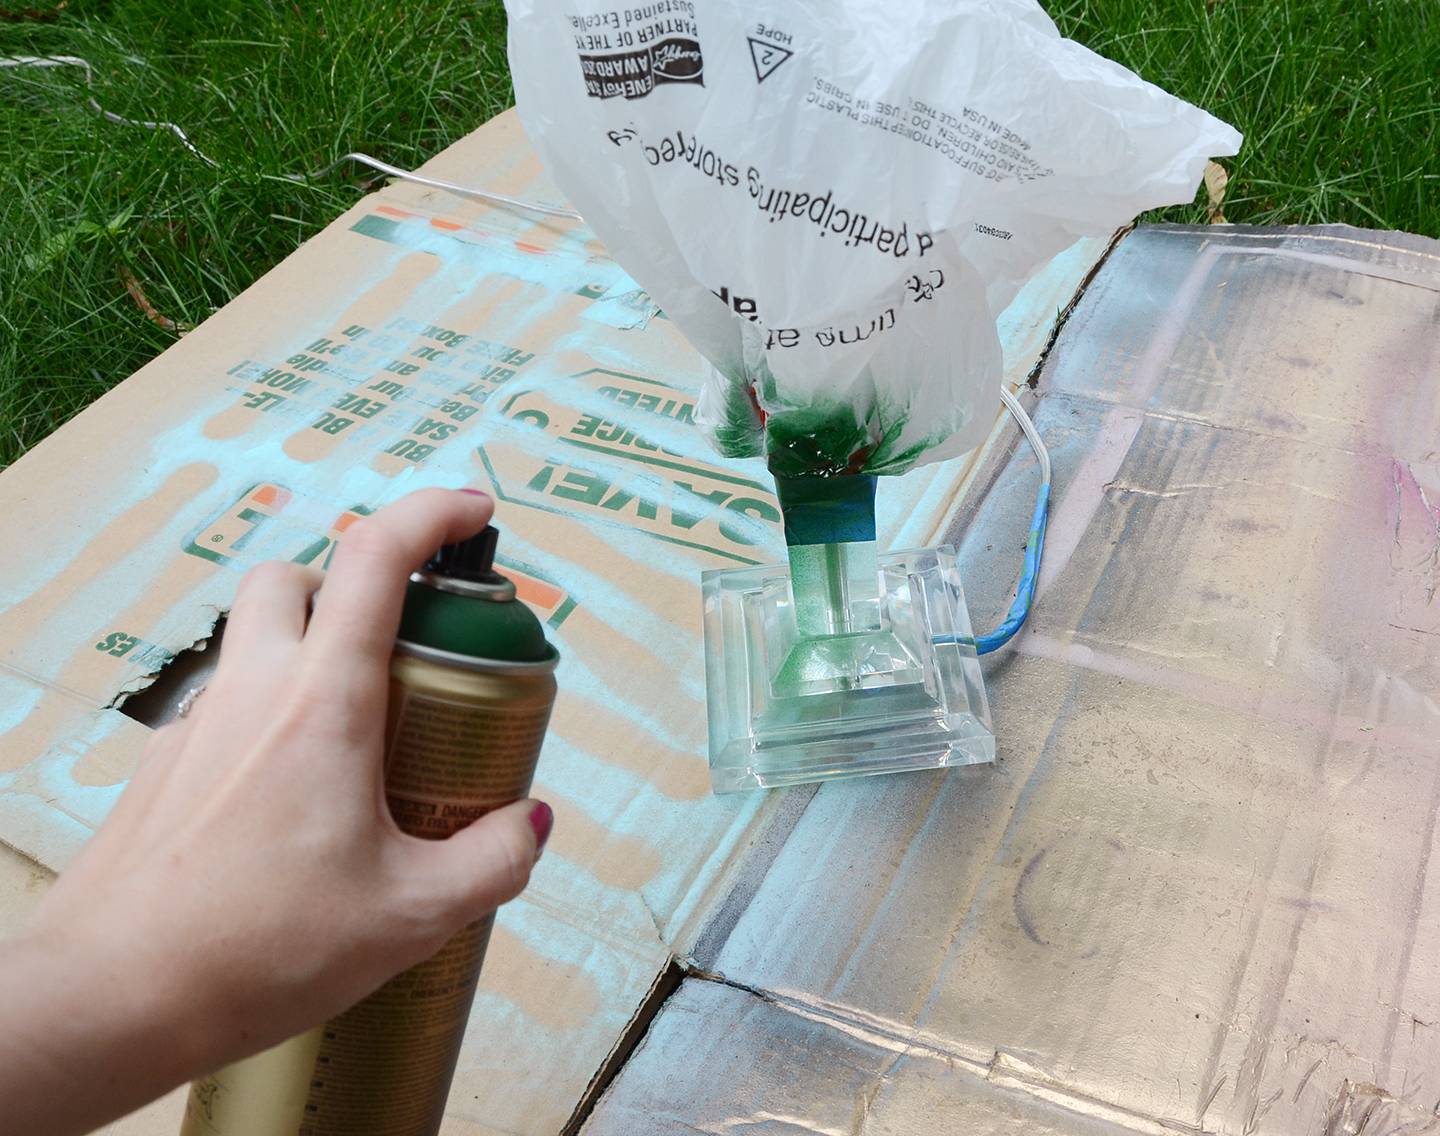
Spray paint the bottom of the lamp using two to three very light coats of spray paint. Let each coat dry thoroughly in between.
Step
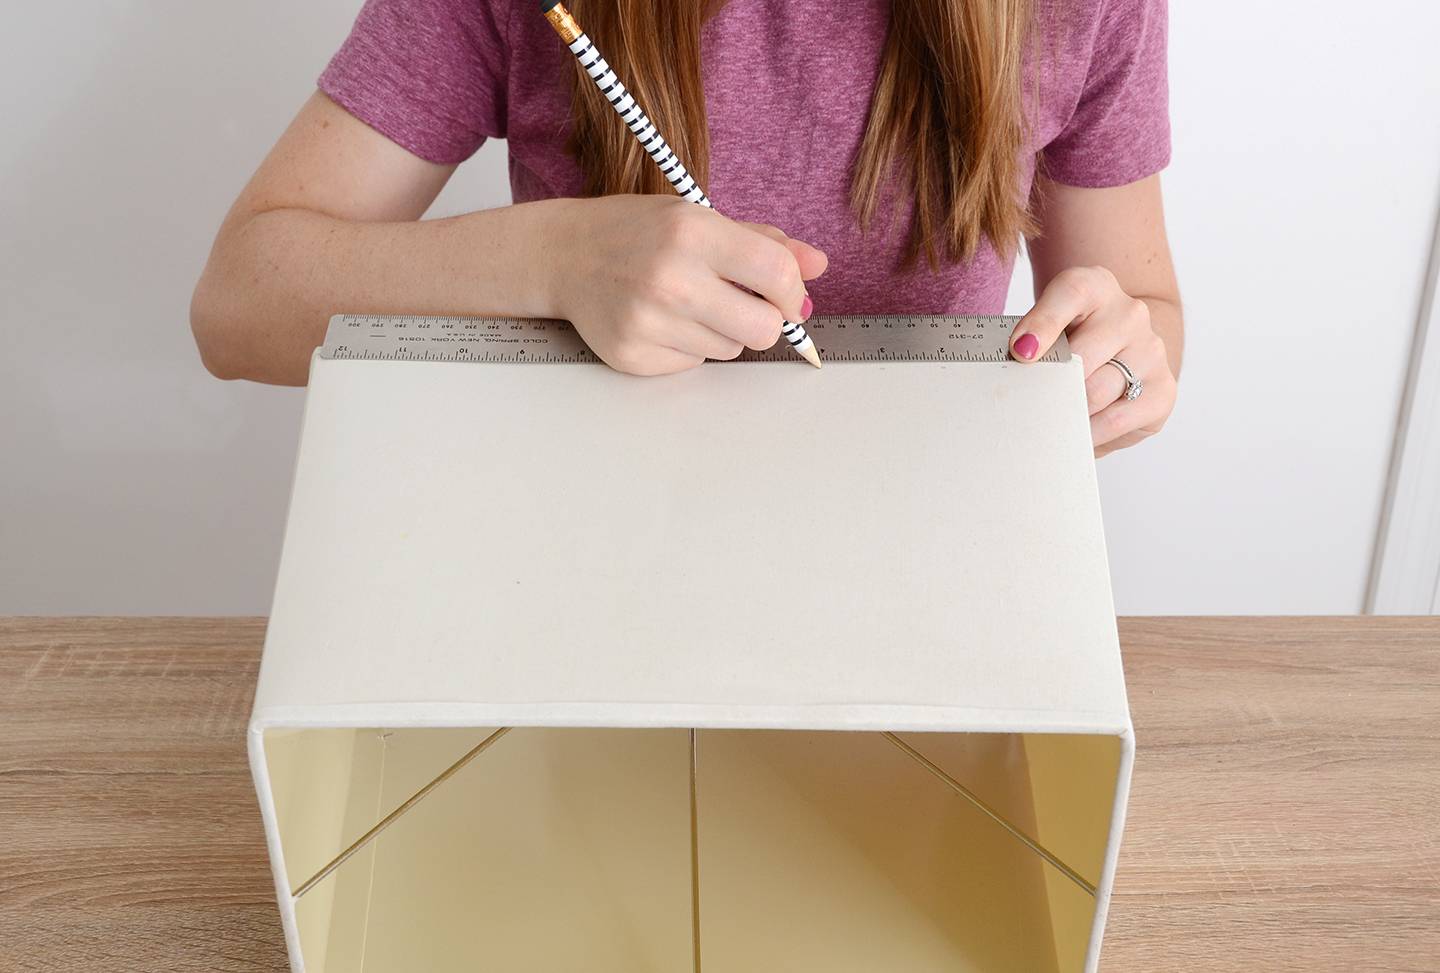
While the last coat of paint is drying, begin working on your lampshade. Add a pencil mark every inch along the bottom edge of your lampshade. Place the marks about a half inch from the bottom of the shade.
Step
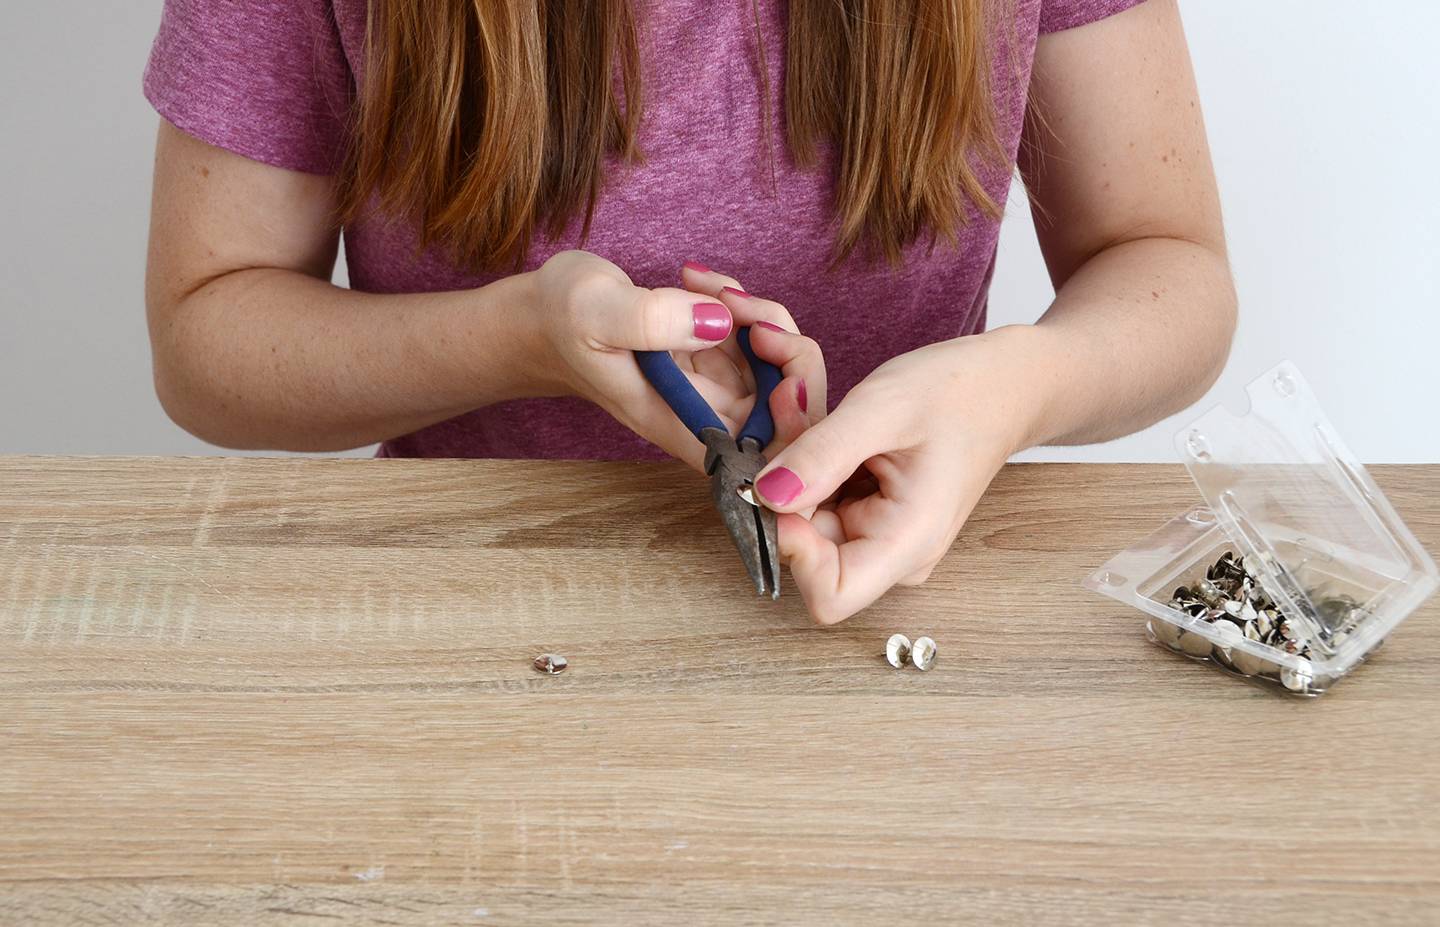
Next, begin removing the sharp points from the thumbtacks. Cut them as close to the round tops as possible.
Step
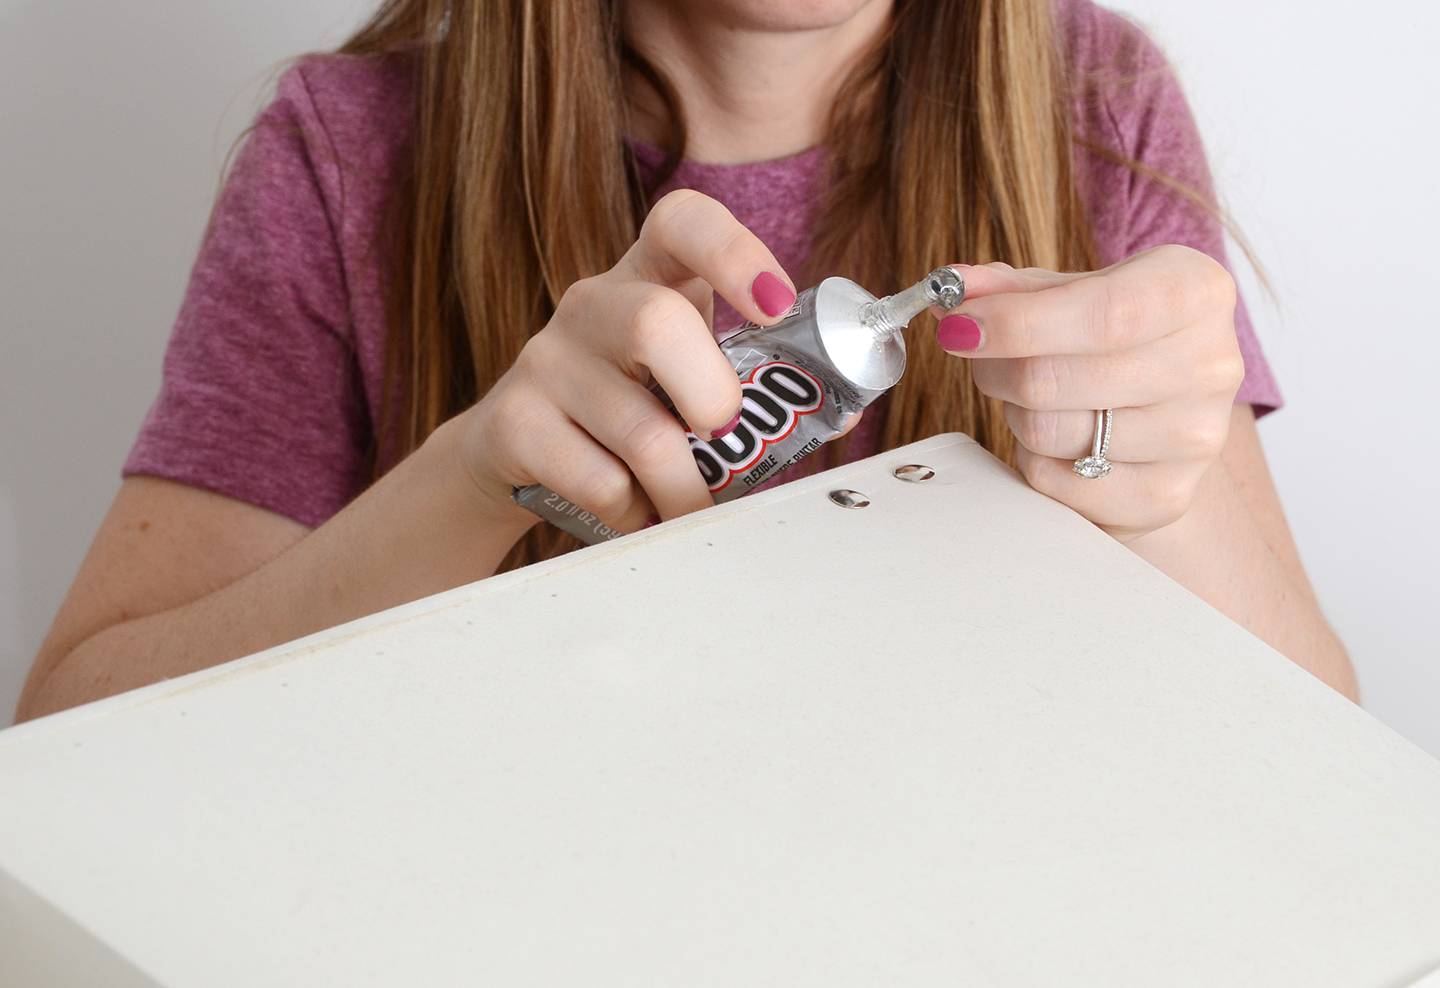
Most likely, there will still be a small sharp point left… put a small dab of E6000 glue at that point and poke it through the first pencil mark. Repeat the process until you have glued tacks all the way around the perimeter of the lampshade. If you can feel the sharp points on the inside of the shade, you’ll want to add a tiny dab of glue over the points as well so that nobody cuts themselves.
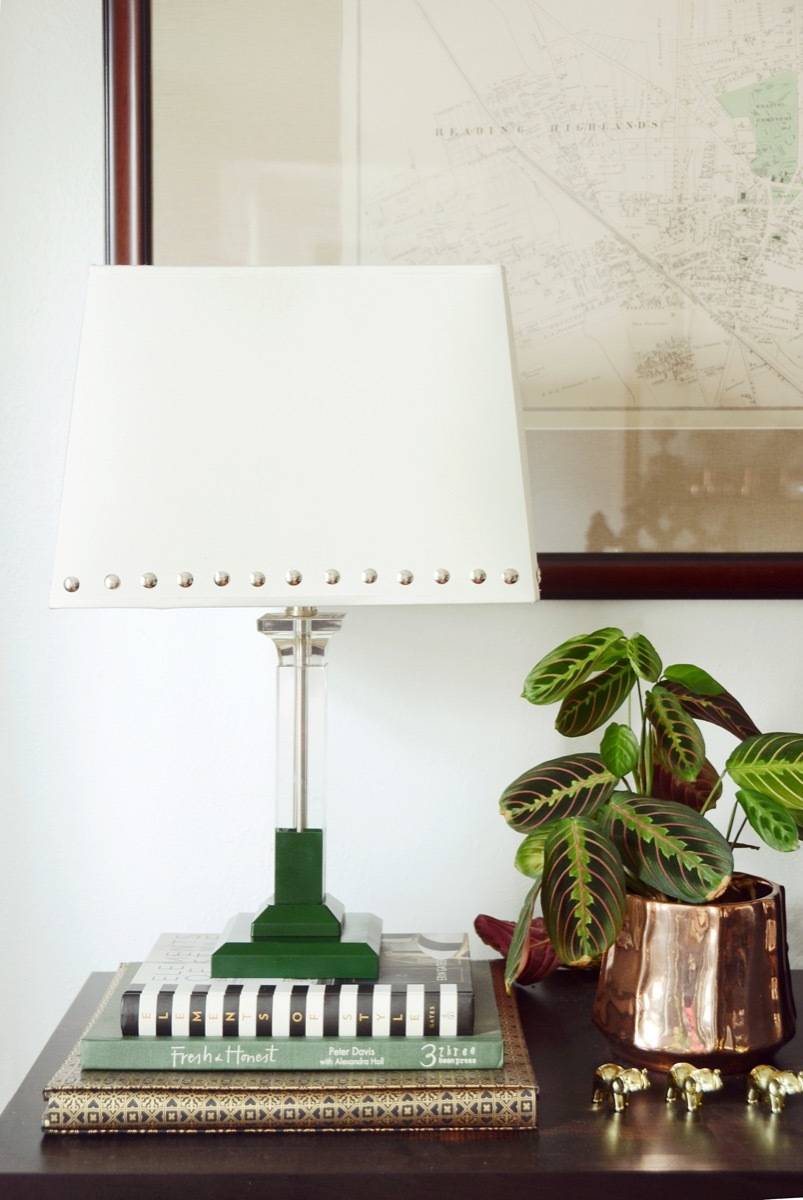
And that’s all, folks! I told you it was easy. I was planning to buy a whole new lamp for this area of our dining room, but now that this one has a fancy new ‘do, I don’t have to!
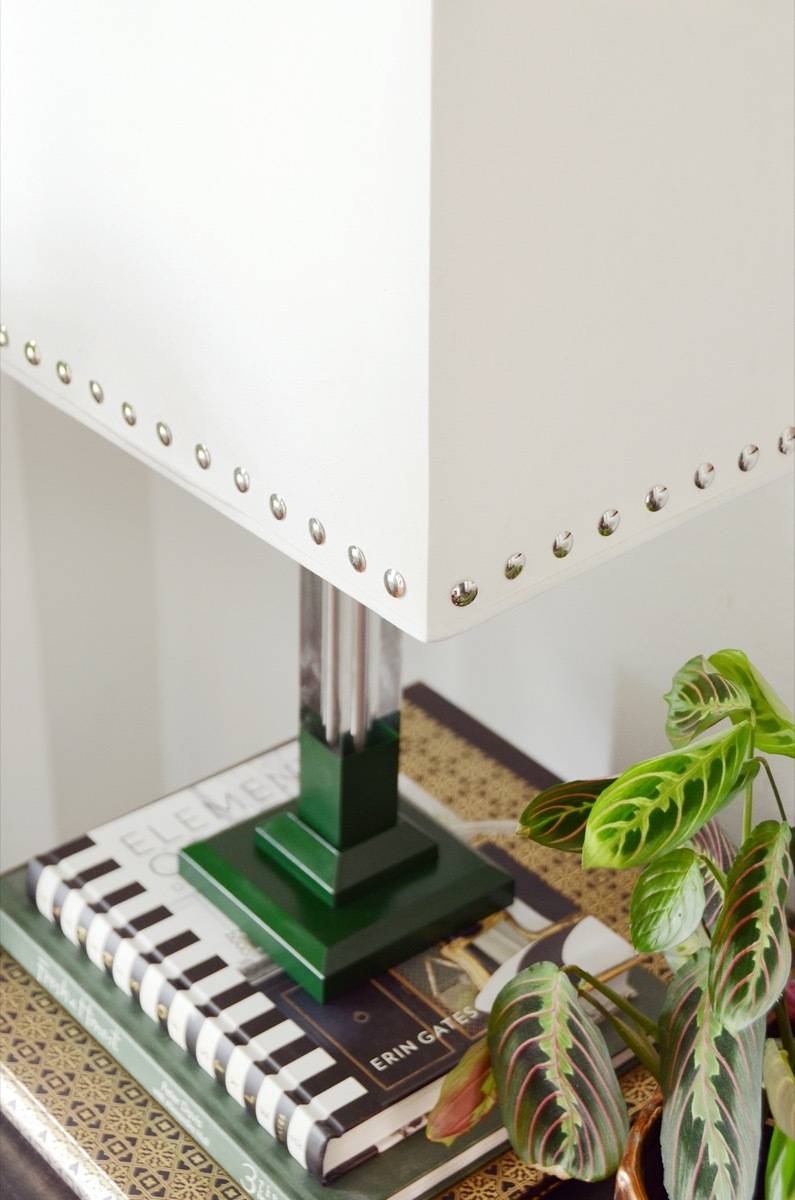
You could also use gold tone thumbtacks if you like, to give it a different look. And any spray paint color would work… pick one that coordinates well with your decor.
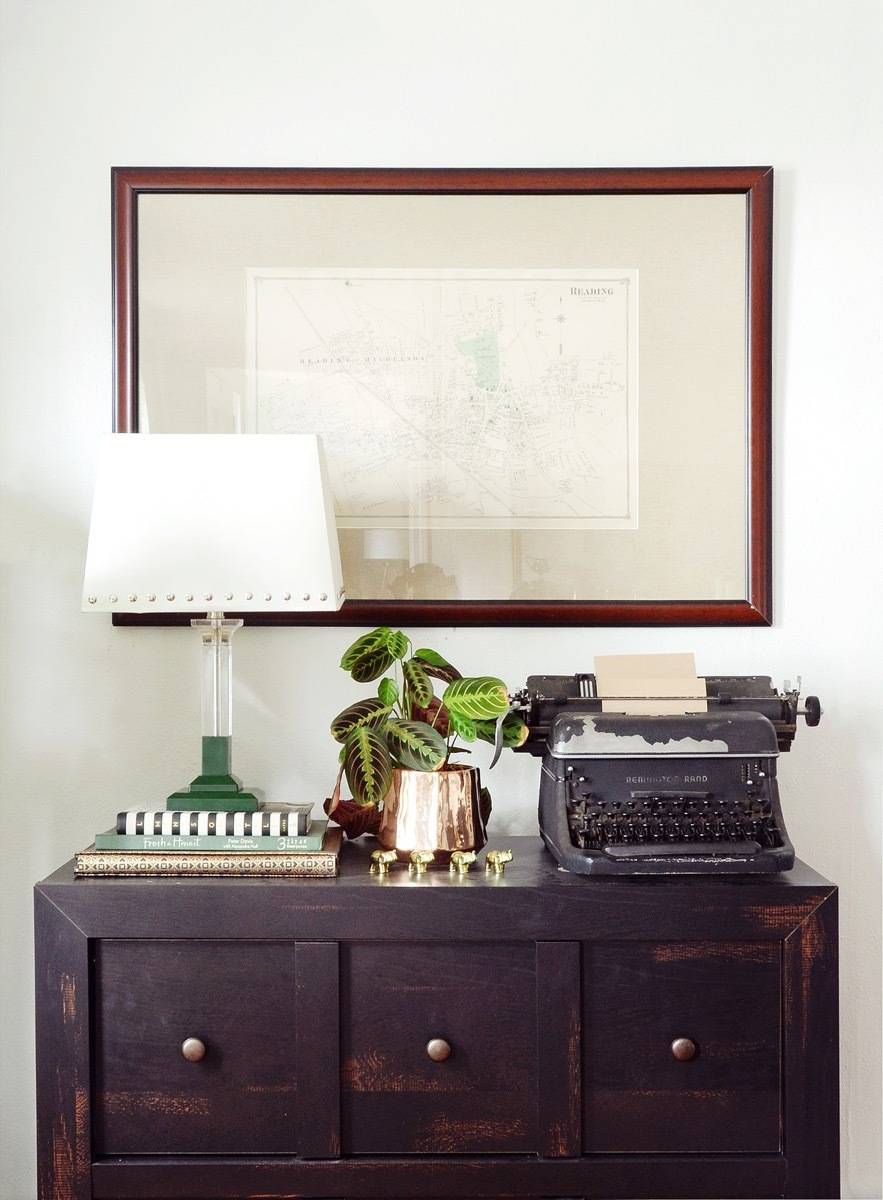
That small pop of color on the bottom makes the lamp feel more solid, and helps it stand up to the other colors in the room.
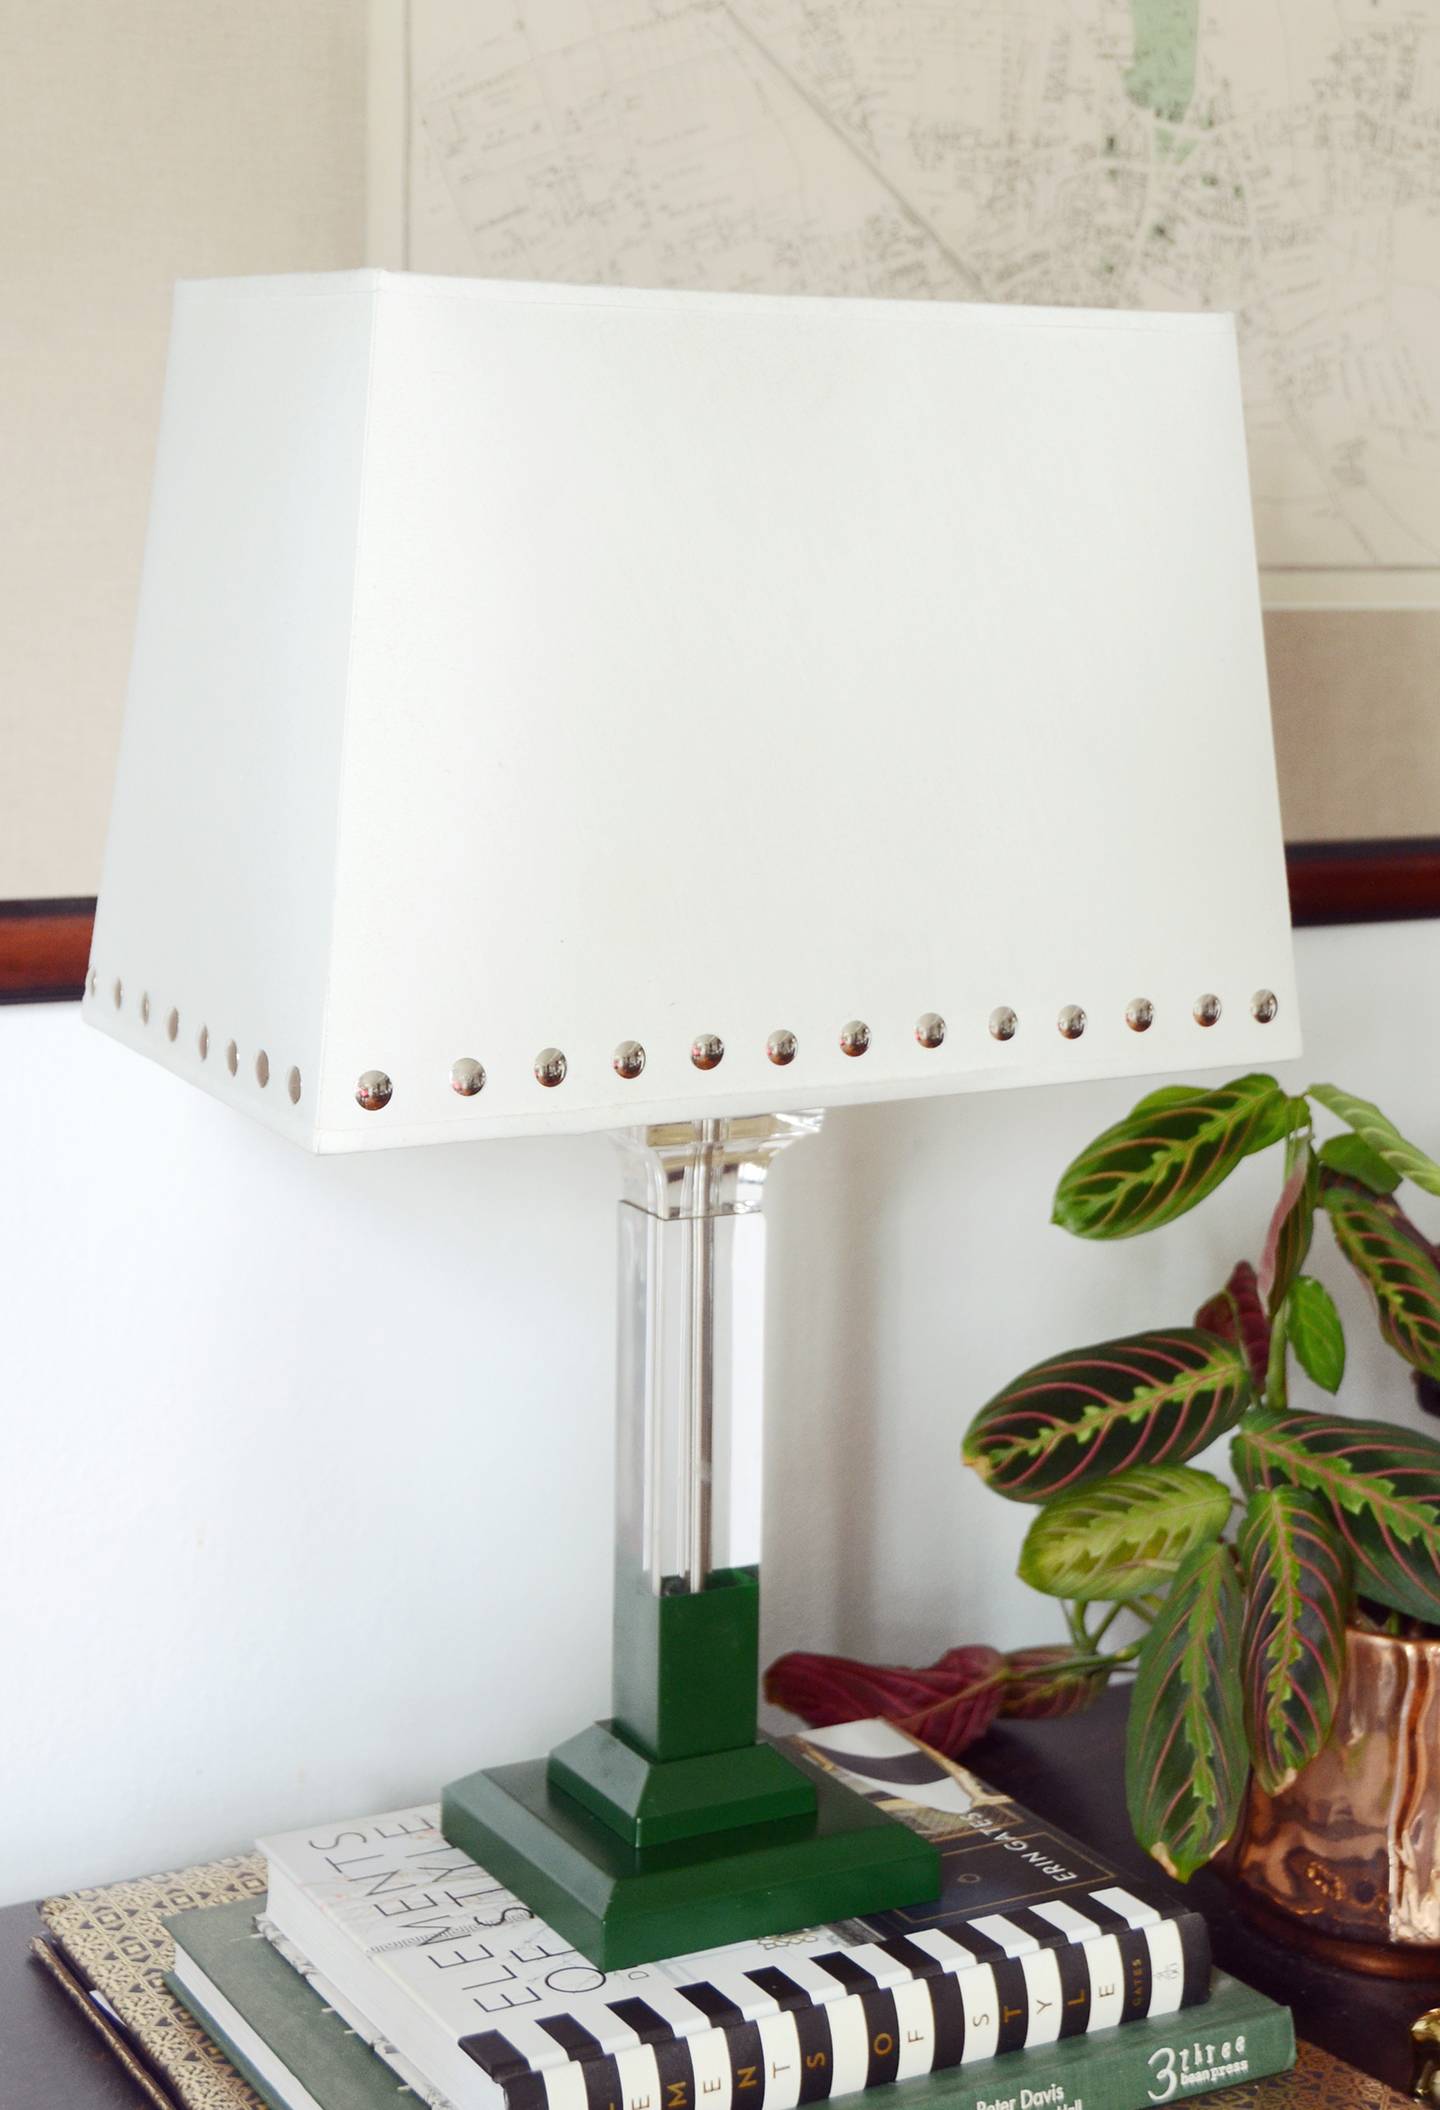
And I love the way the thumbtacks make it feel a bit more expensive, giving it almost an upholstered look. Have fun!
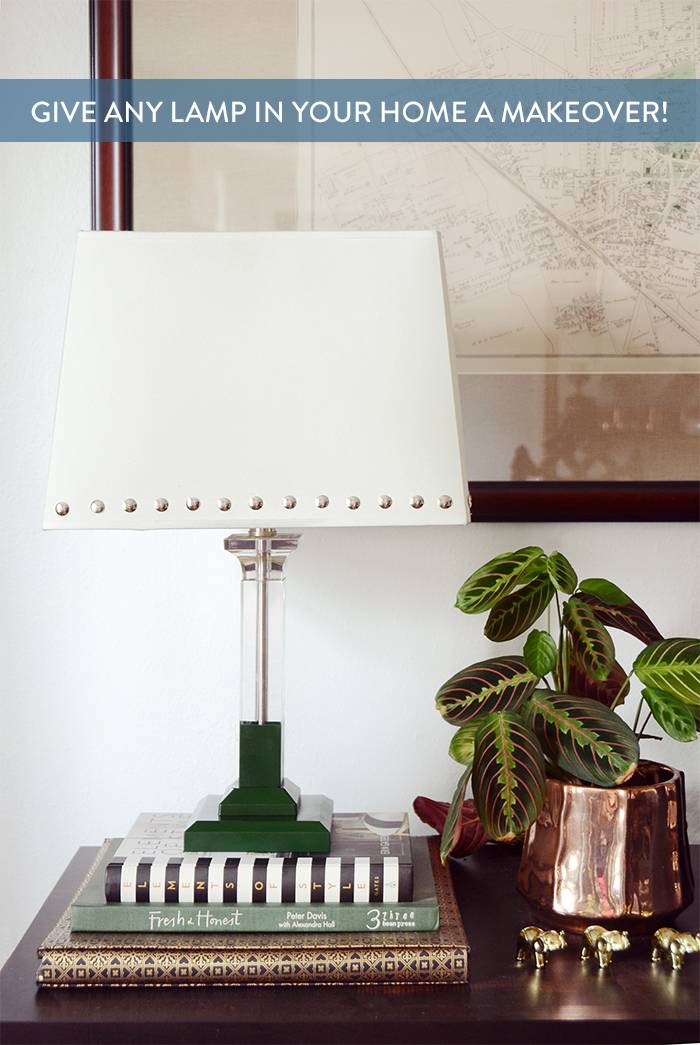
How great would it be if you stenciled a great design on the bottom (or even the top also) in the same green or a coordinating color to the base (or even two colors)!
Ooh I love that idea Elizabeth!! Maybe I’ll give it a try 🙂