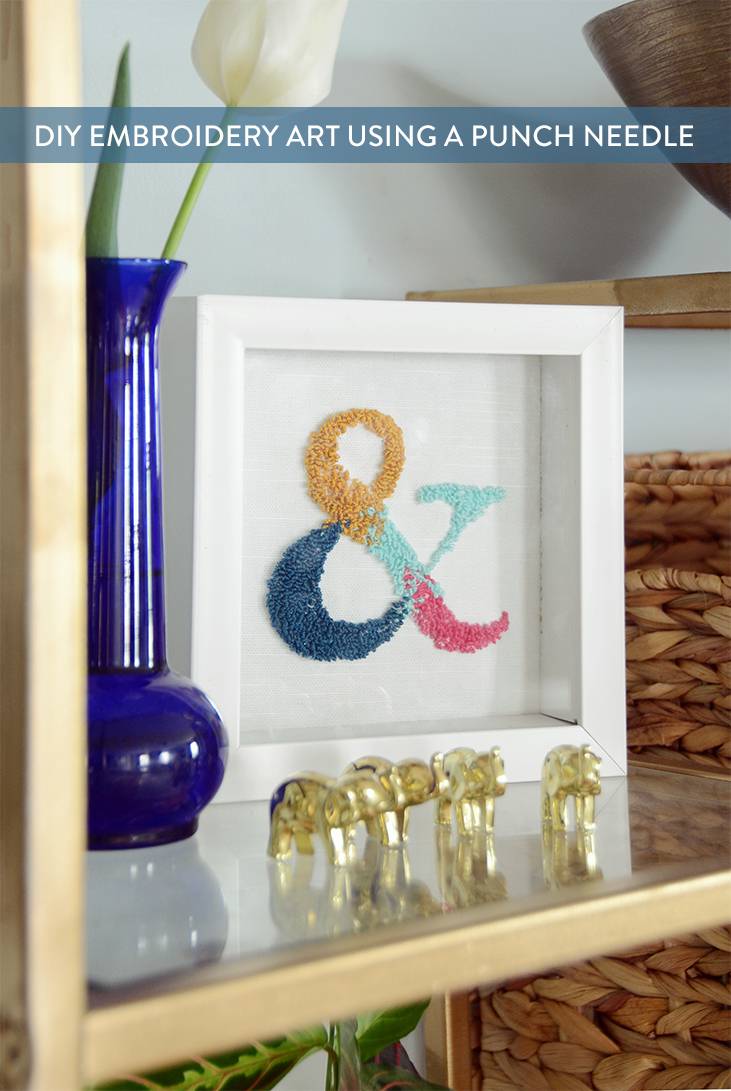
If you love crafting (and I’m guessing you do, if you’re looking at Curbly right now!) then perhaps you’ve heard of an embroidery tool called a punch needle. I hadn’t heard of it until recently, but I’m now a convert. It produces a raised texture using small loops, and it goes quite quickly thanks to the ingenious design of the needle. Today I’m sharing what I’ve learned about punch needle embroidery so you can get started with this fun needle art process!
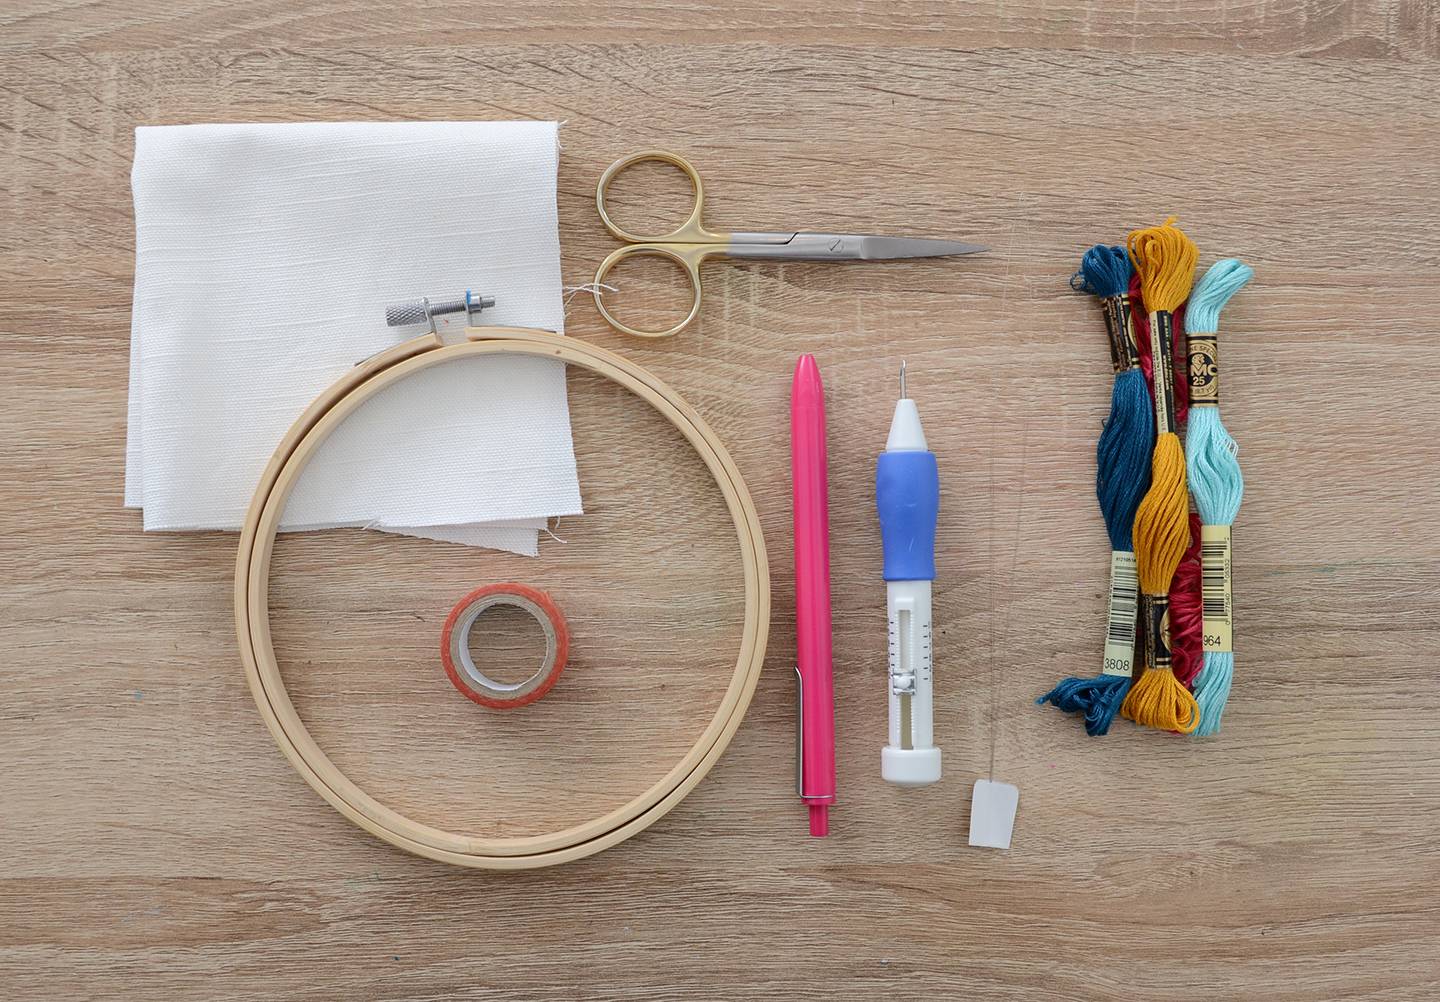
Materials
- Densely woven fabric, weavers cloth is recommended
- Embroidery hoop
- Washi tape
- Small pair of scissors
- Pen
- Punch needle with threader
- DMC Embroidery floss

Step
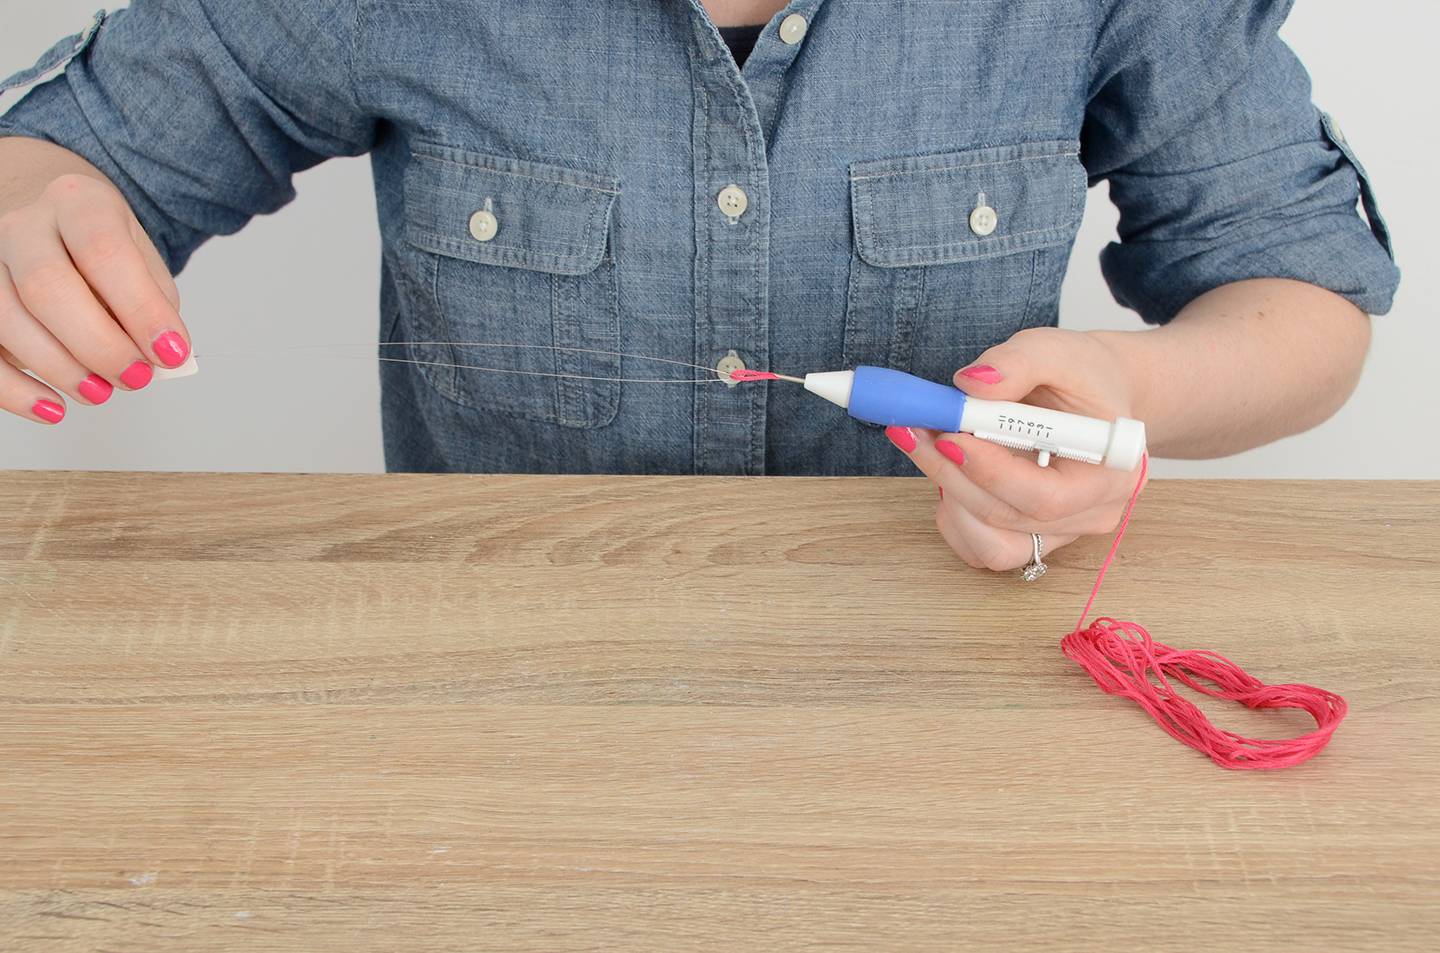
The first step is to thread the needle. Most punch needles come with threaders, which are basically long wire loops. Put the threader through the needle from the sharp end over to the end with the larger hole and thread the embroidery floss through the loop.
Step
Next, pull the threader back through the needle, pulling the embroidery floss along with it.
Step
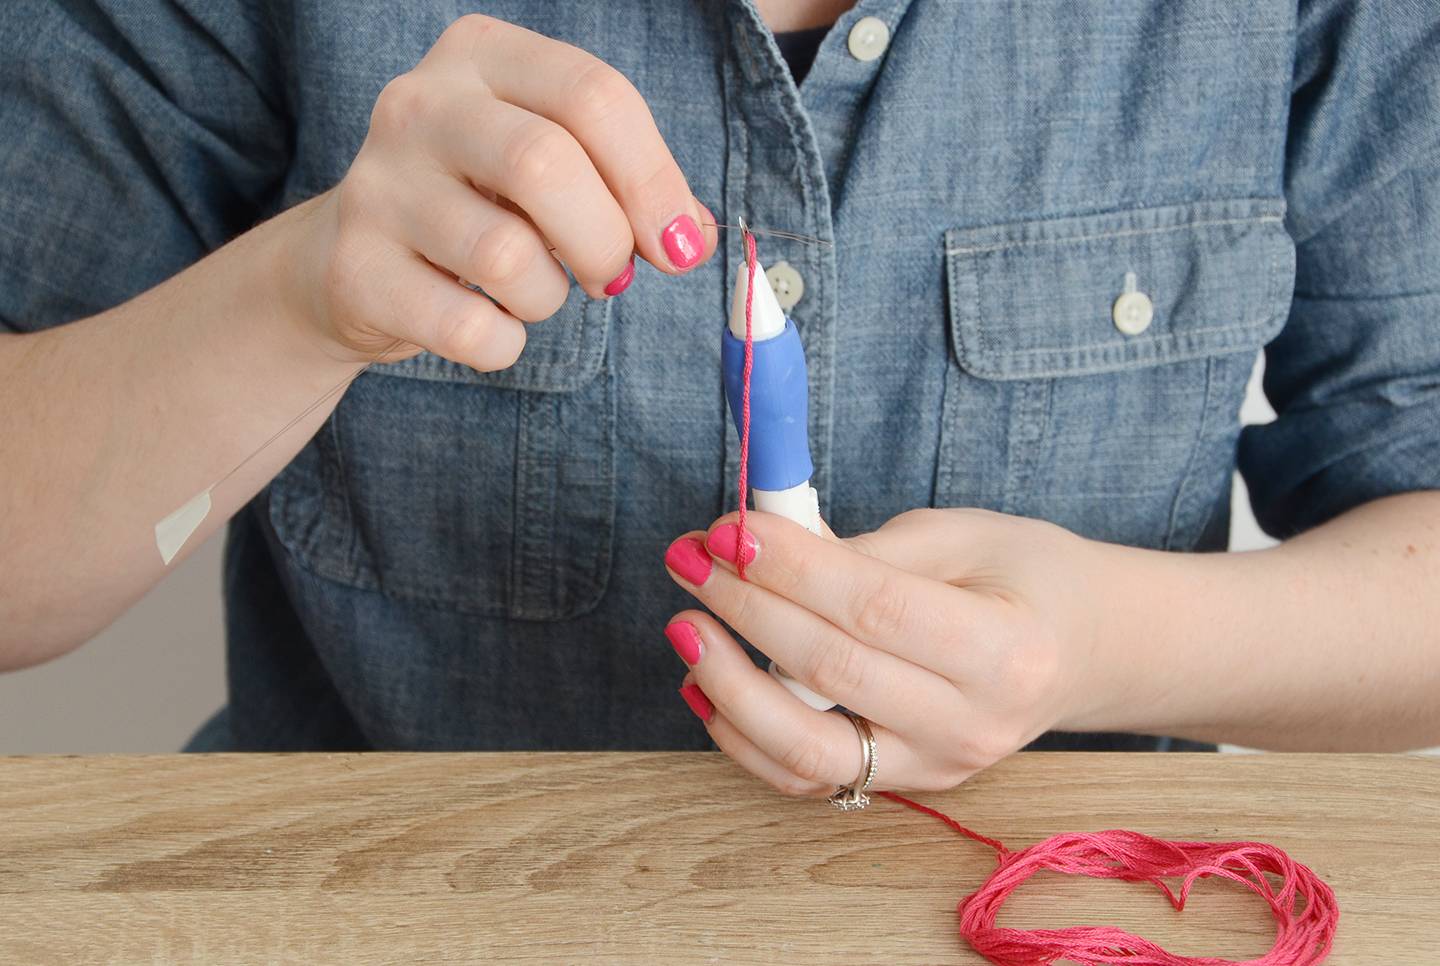
Now you will stick the threader through the tiny hole in the top of the needle from the convex side through to the concave side. Thread the tail of the embroidery floss through the threader loop again and pull it back through the tiny hole. Your punch needle is now threaded and ready to go.
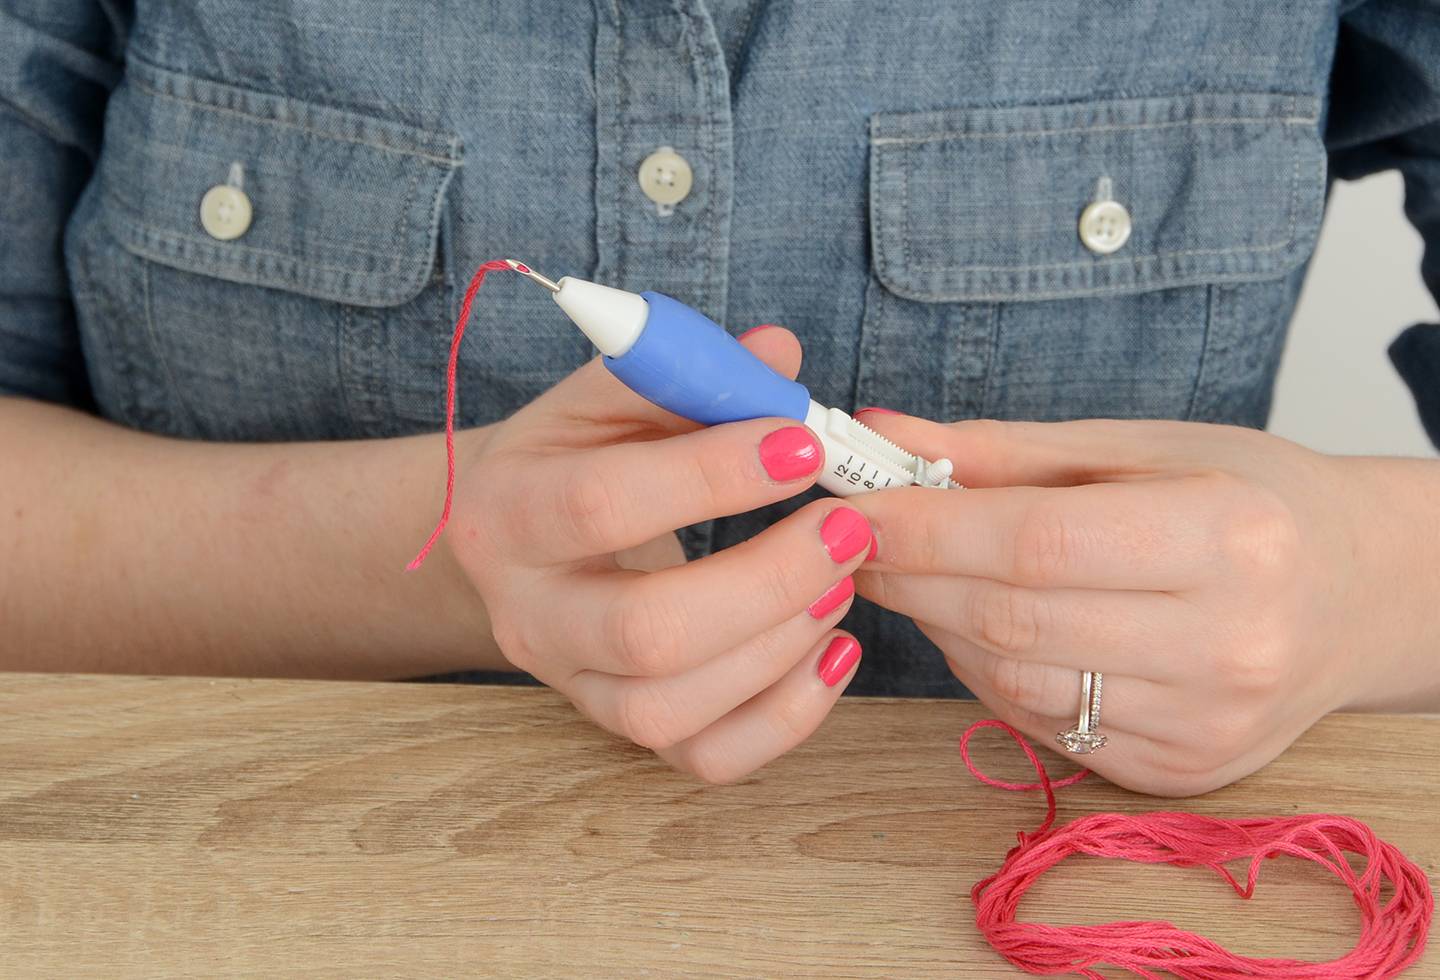
It should look like this. You only need an inch or two of floss on this end, as shown above.
Step
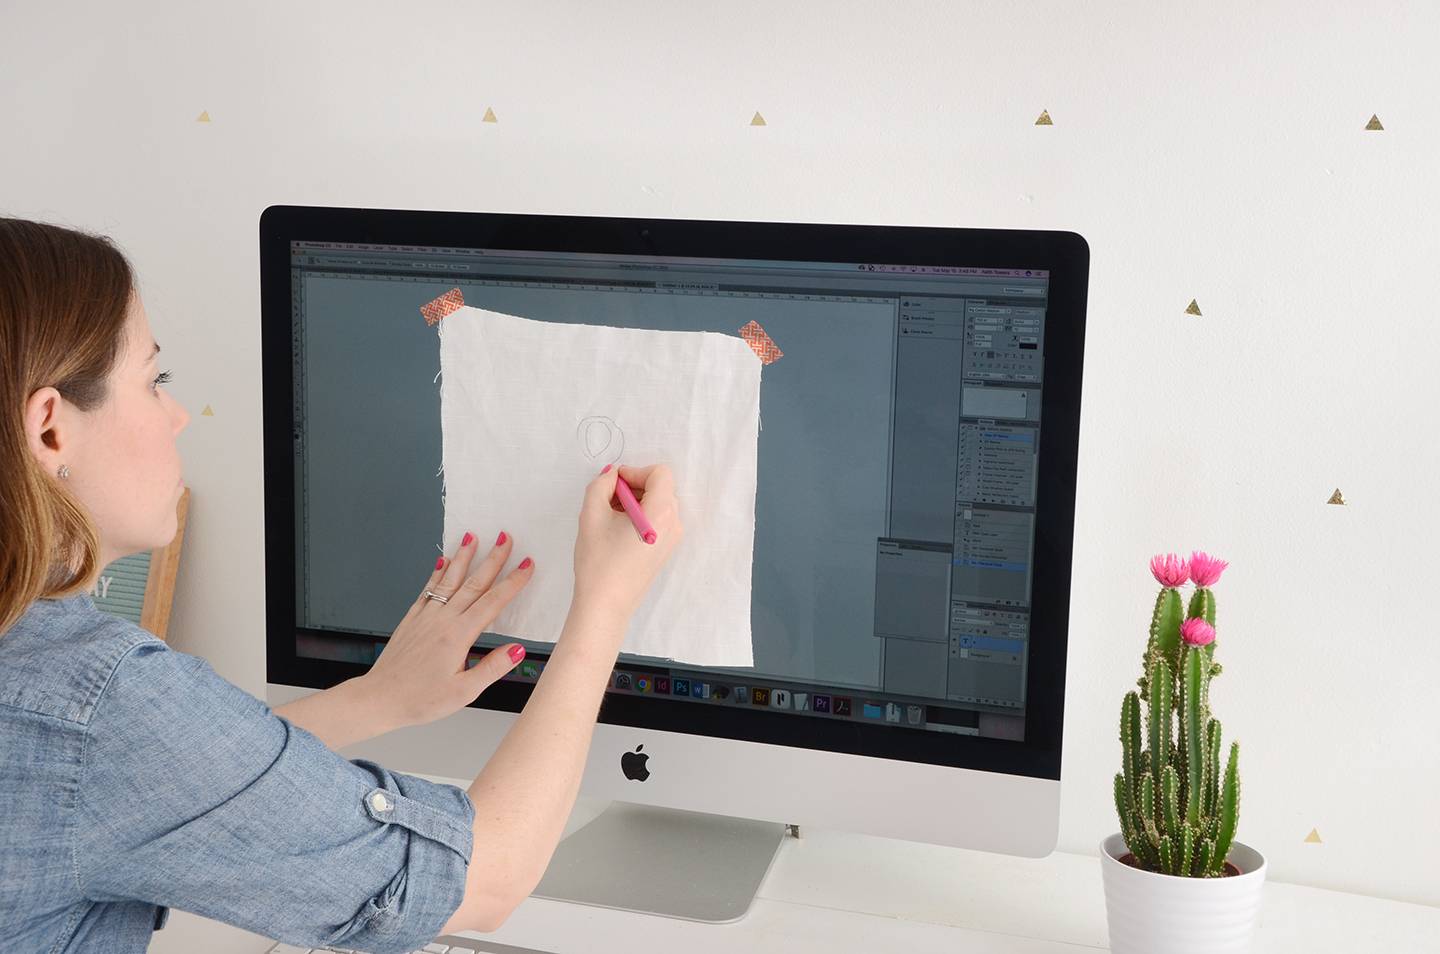
Next, it’s time to sketch out your design. I’m really into ampersands right now, so I created an ampersand on my computer to use as my guide. For punch needle embroidery, you actually work on the back side so you’ll want to make sure that your design is a reverse image. I flipped the ampersand around so it was backwards using Photoshop. Use small pieces of washi tape to attach your fabric to your computer screen and LIGHTLY trace over the edges with a pen. Do not use a Sharpie or other marker as it could bleed through onto your computer screen.

Step
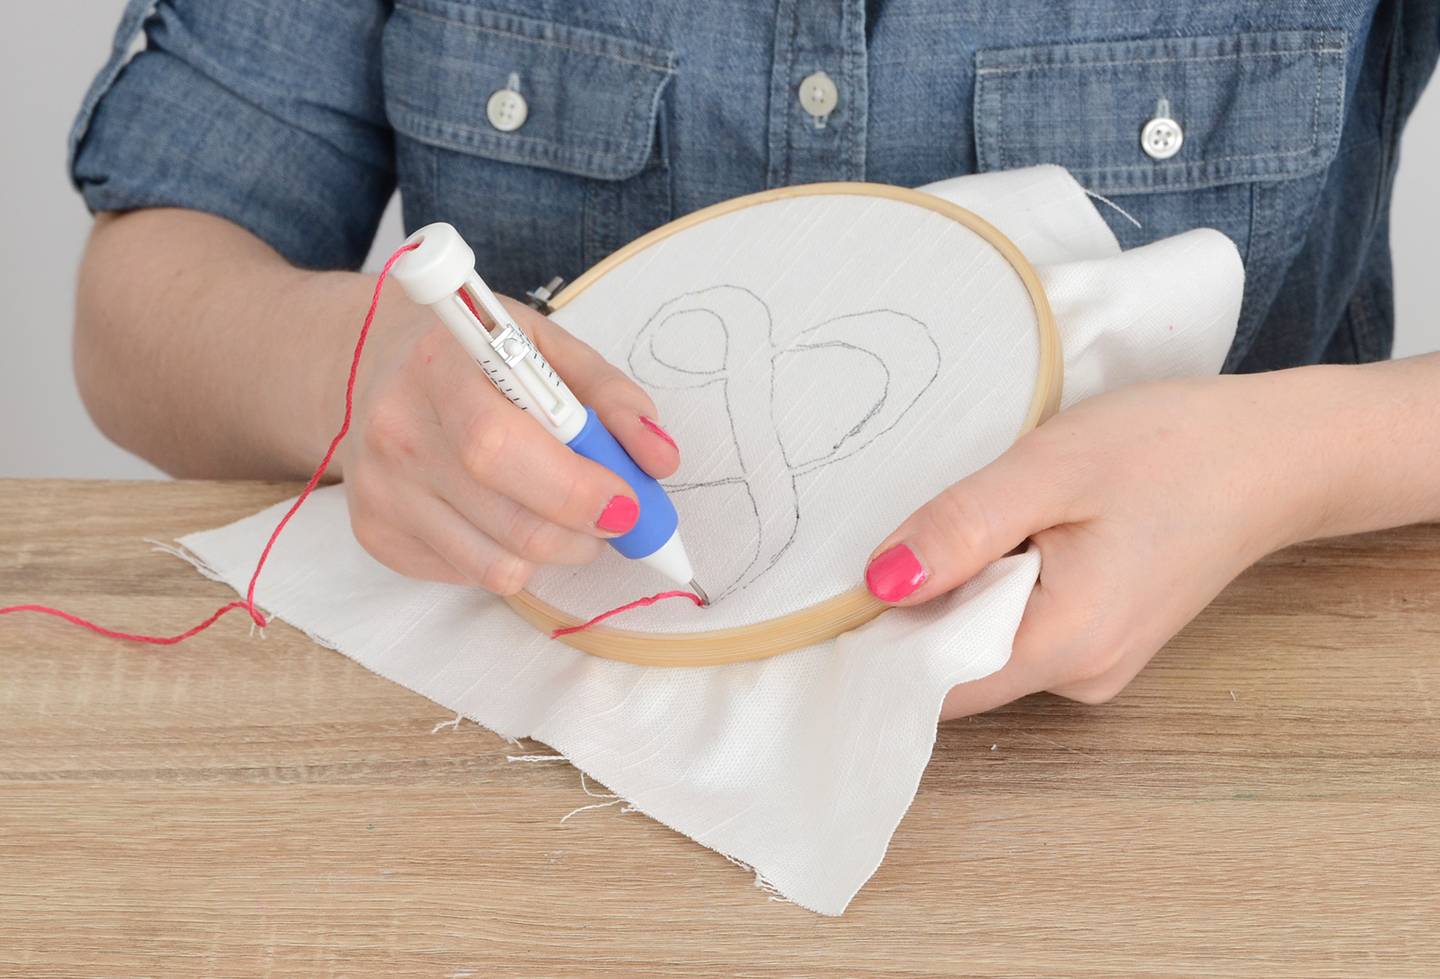
Put the fabric into the embroidery hoop so that it is as tight as you can possibly get it. Pick your setting for your needle… 1 will make tiny loops and take longer to complete, while 12 will create large loops and create more of a 3-dimensional surface. I started on 1, but quickly switched to 6.
Starting on any corner of your design, punch the needle through the fabric until the plastic tip of the tool hits the fabric as shown above. Make sure that there is absolutely no tension on the embroidery floss throughout the whole process.
Step
Pull the needle out until the tip is just touching the fabric and drag it along the surface toward you about 1/16 of an inch and punch again. You’ve just created one stitch! I kept my needle so that the concave side was pointing toward 8 o’clock, that way it wouldn’t cut through the embroidery floss behind it.

Step
Keep repeating this process, filling in your design. It is best to stitch working toward yourself, and start by outlining your design and then work inwards to fill it in. Turn the fabric as you go, not the needle. I found that my needle setting keep slipping, so I wrapped washi tape around it to keep it secure.

If one of your stitches comes out, simply touch the needle to the surface of your fabric and pull the floss until it is just taut. Then repeat that stitch and continue on.
Step
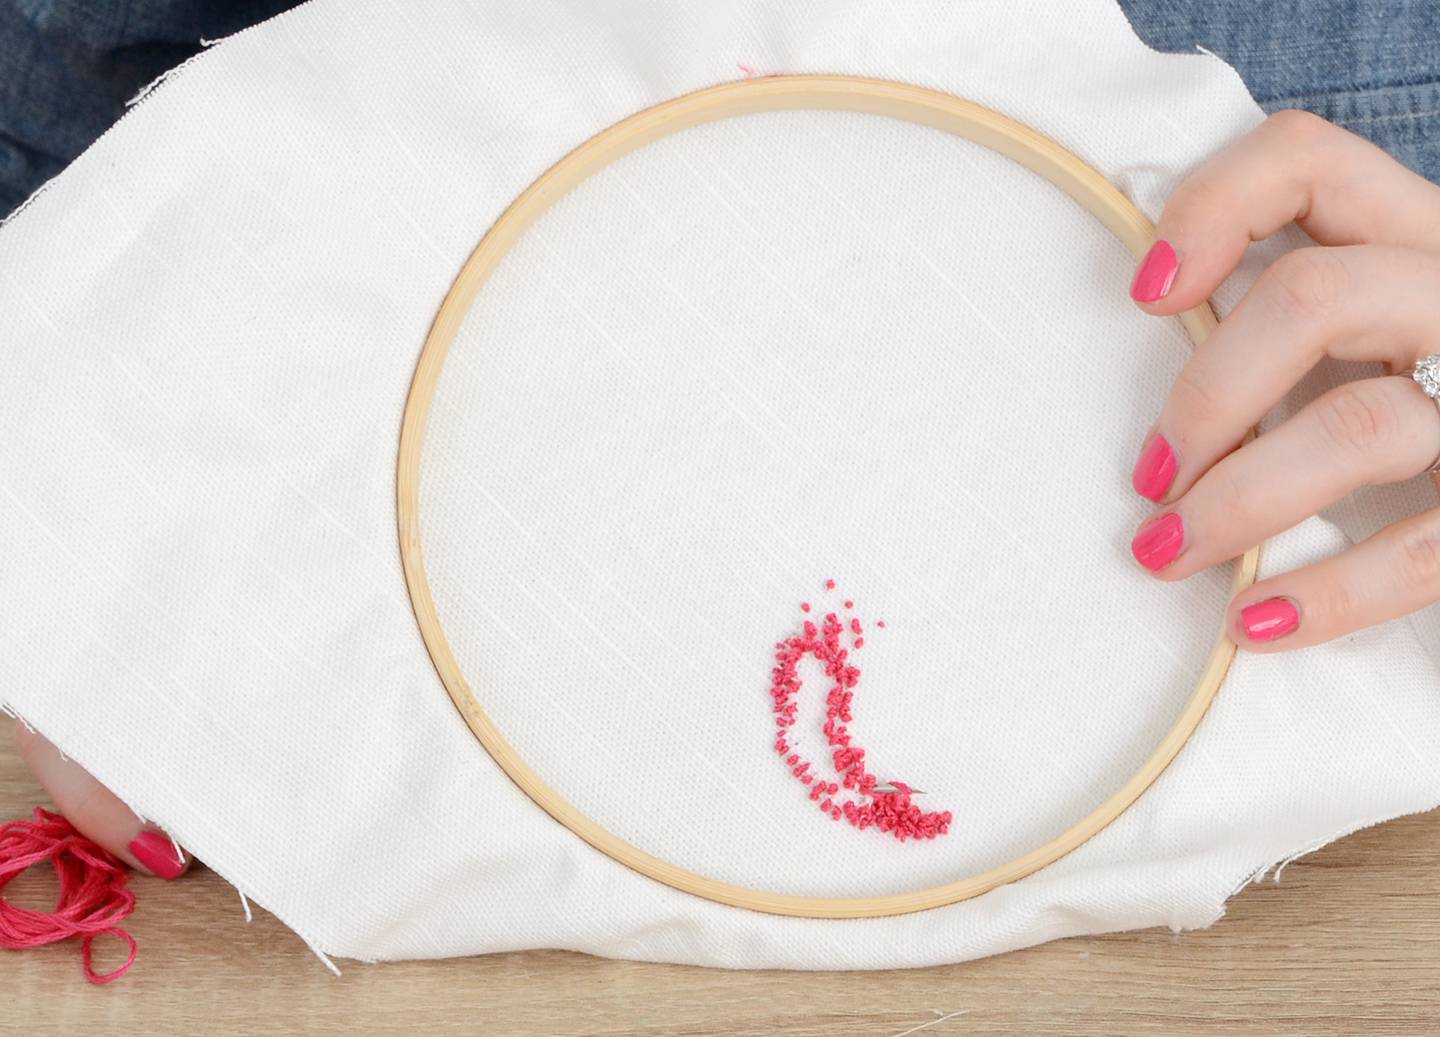
Here is what it looks like on the flip side, which will actually be the front of the finished product. Continue filling in your design. If you need to switch colors, simply push down on the floss with your fingertip where the needle meets the fabric and then pull up on the needle with your other hand to create a tail and clip with a small pair of scissors.
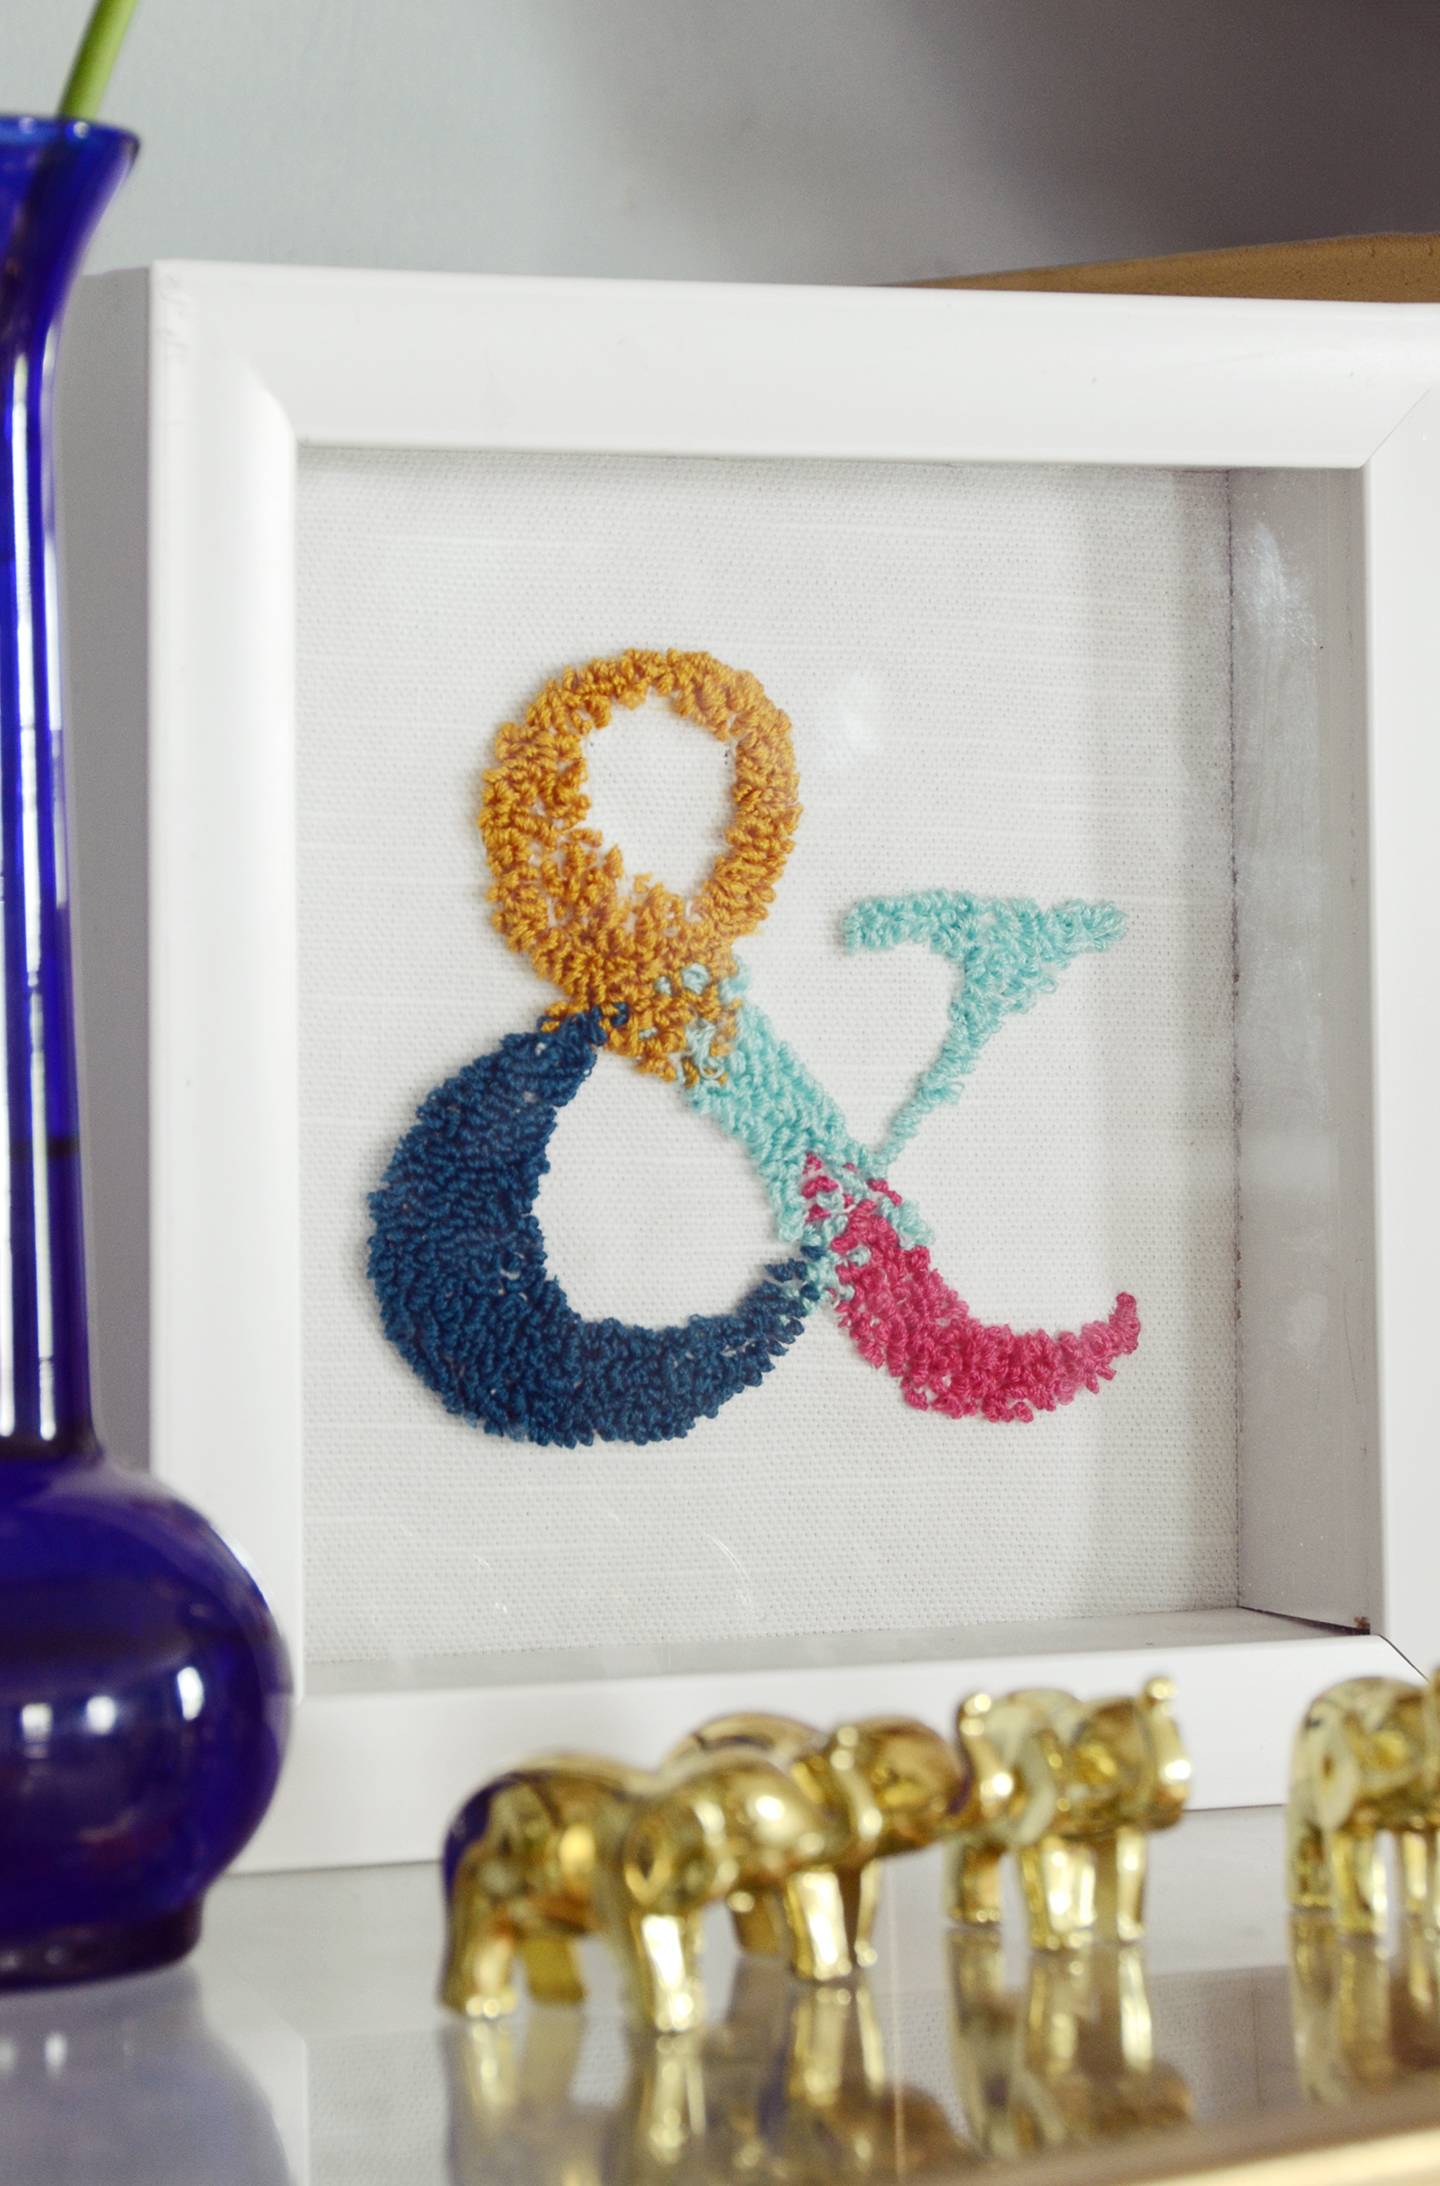
The final product has an interesting 3-dimensional effect, unlike many other needle art process. The smaller (and closer together) you make the stitches, the tighter the loops will be on the finished piece.
Here are a few tips that I learned along the way:
- Use high quality embroidery floss (the floss that came with my needle kept tearing if I even grazed it with the needle)
- If you make a mistake and two small loops pop out and turn into one large one, you can use a toothpick to poke it back through.
- Don’t skimp on the punch needle itself… I think the one I bought was a bit cheap, which is why the setting knob kept slipping.
- I found that working towards you and turning the fabric instead of the needle worked best.
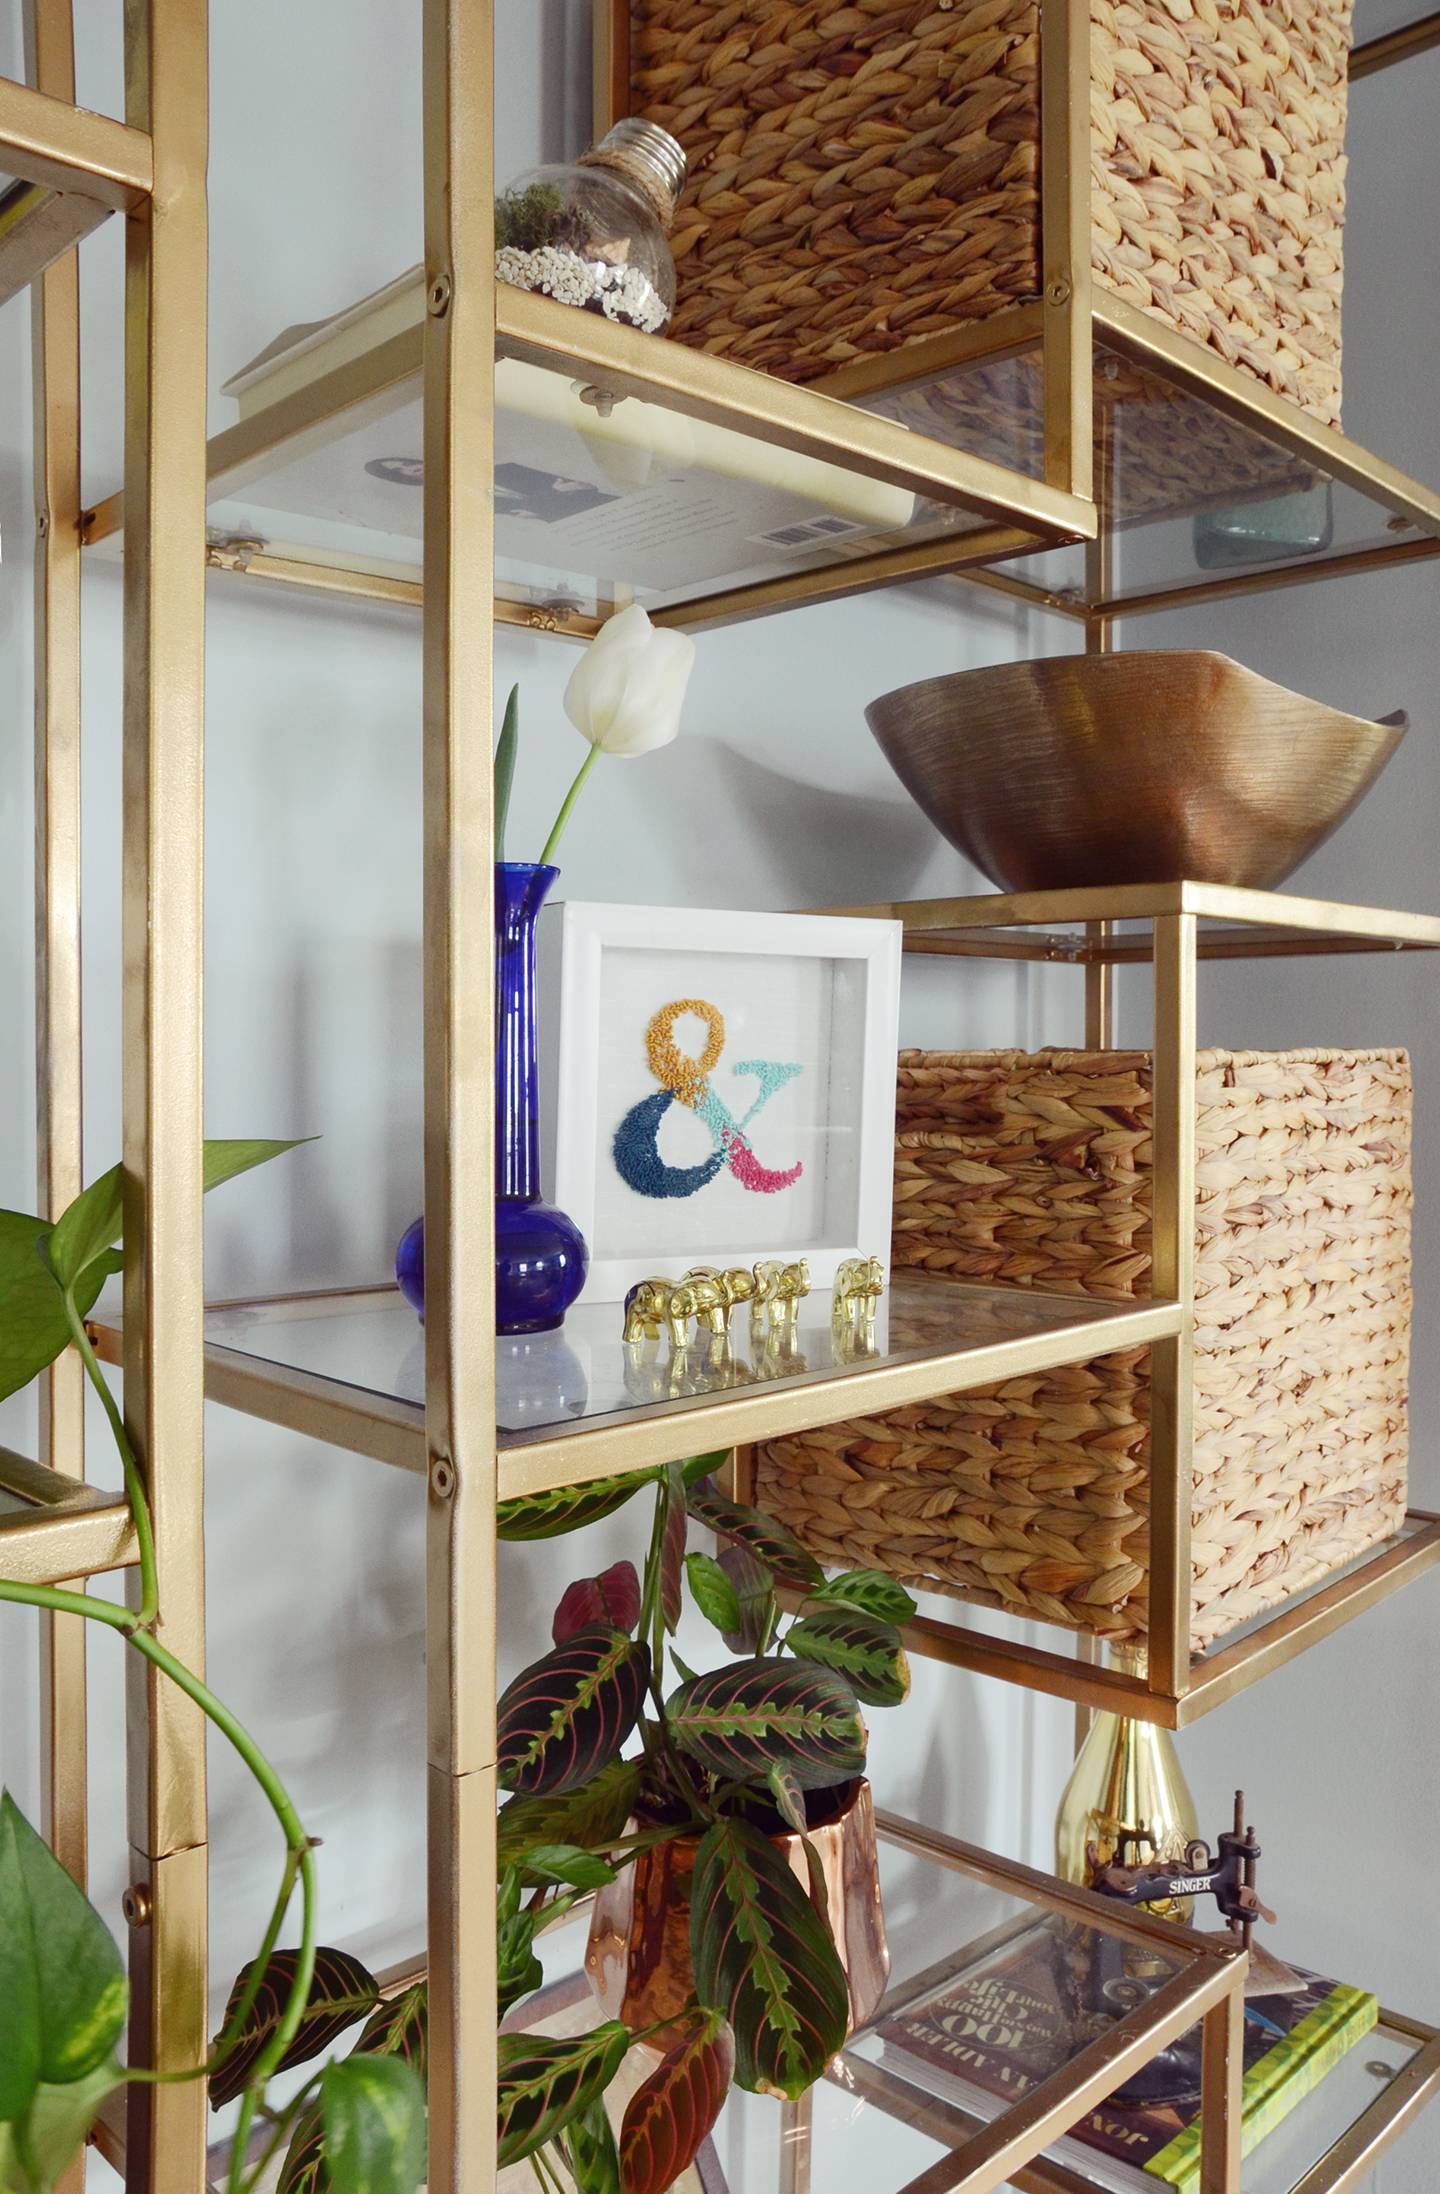
- This punch needle embroidery technique is best for wall art or other decorative items, as it is somewhat delicate. The loops could eventually pull out on something functional like a throw pillow.