I live for a great trash-to-treasure project. And this piece literally came from the trash.
I wasn’t intentionally dumpster-diving, but one of our neighbors in the building was moving out, and leaving a lot behind. While taking out the garbage, I found a plastic case that had a lovely blue typewriter inside (immediately snatched that up), a squeaky office chair (I left that behind), and this ratty old seat. I went back and forth about whether or not I wanted to take the time to spruce it up. Usually furniture refinishing projects take way longer than I expect them to, but the opposite was actually true this time around. My little dumpster chair only took a half a day to refinish, and thanks to the right tools and attachments, I was able to paint and reupholster this little treasure with no trouble.
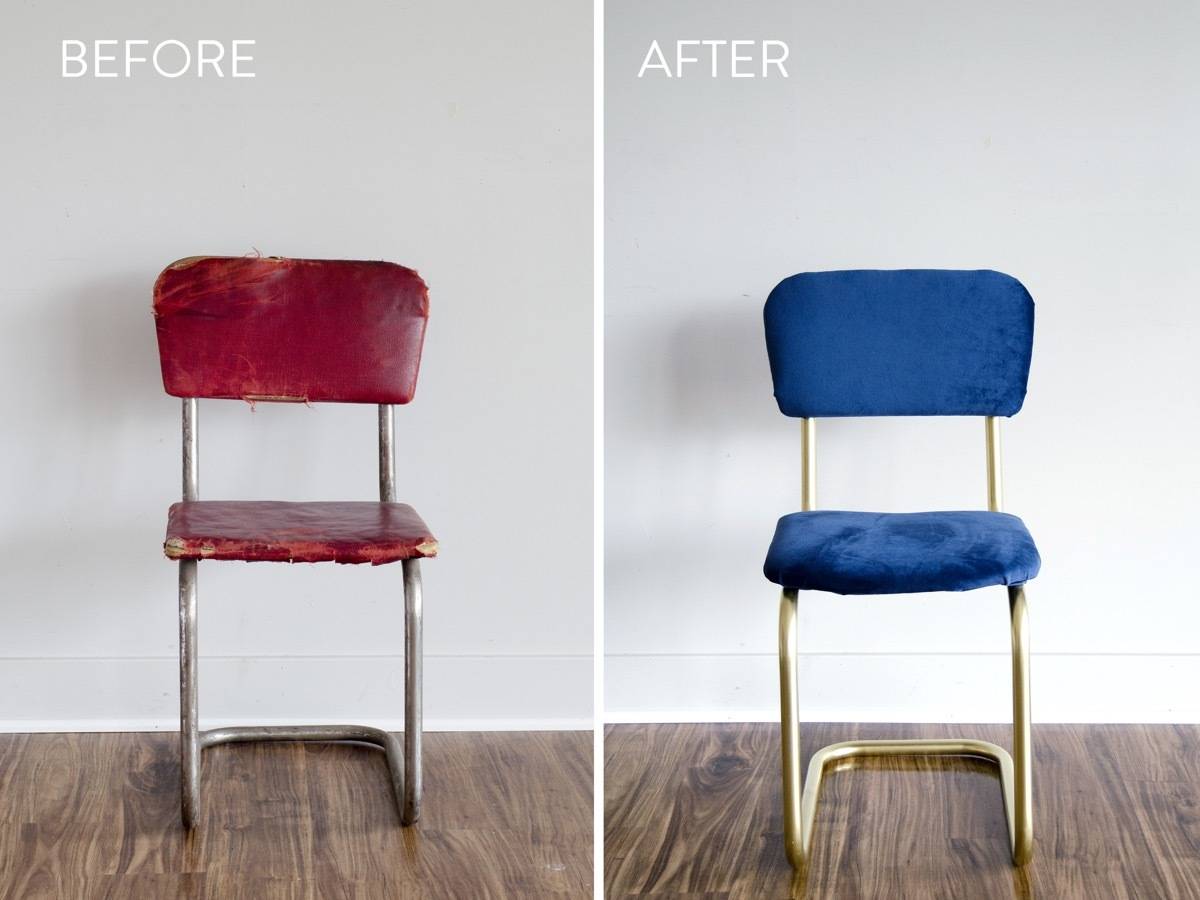
With most chair reupholstering projects, there are two things that need to happen: First, stripping down, and second, building back up. The first step – stripping down – is my least favorite part, because it’s tedious. Staples, tacks, and poor paint jobs can quickly become the enemy, unless you have the right tools.
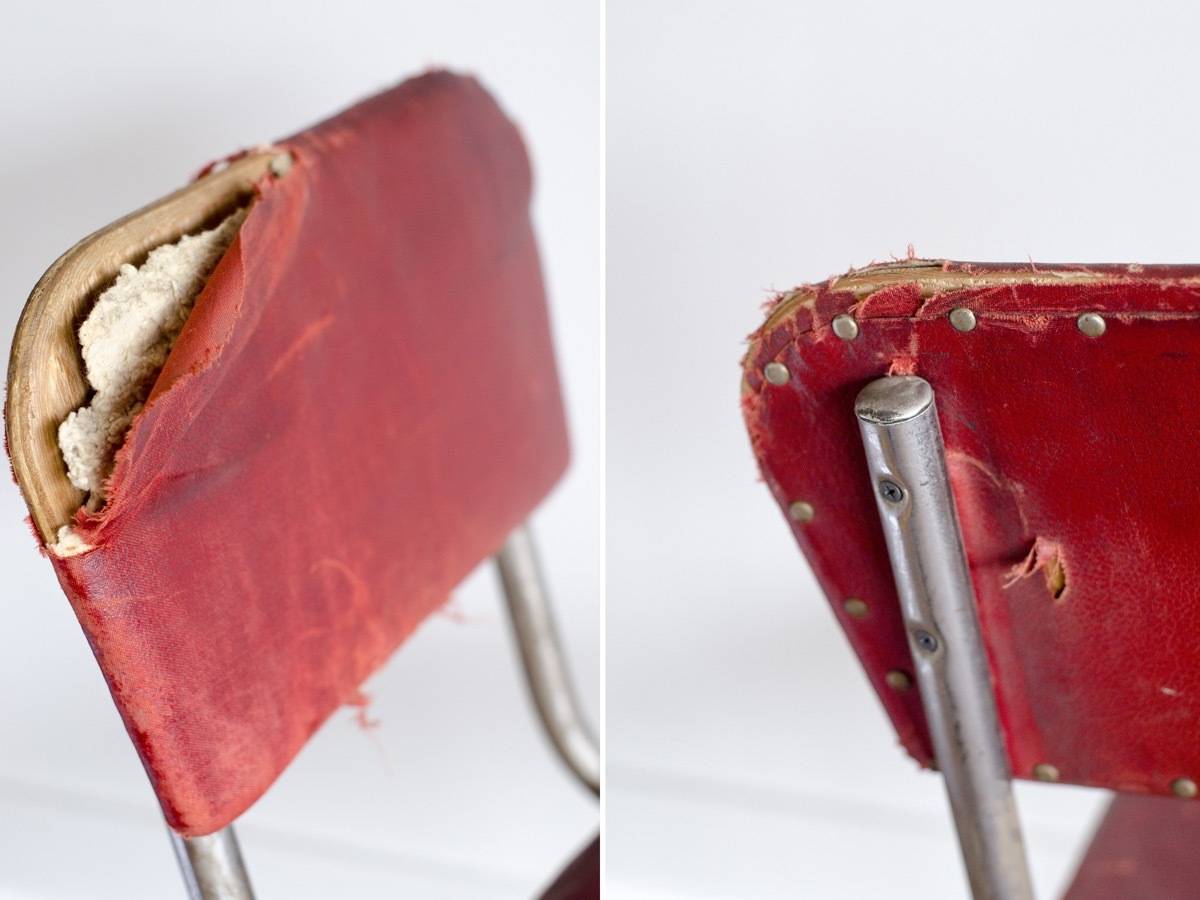
Here’s what the chair used to look like. Not great, but not beyond repair. There were no signs of rust or rot, making it a good candidate for a makeover.
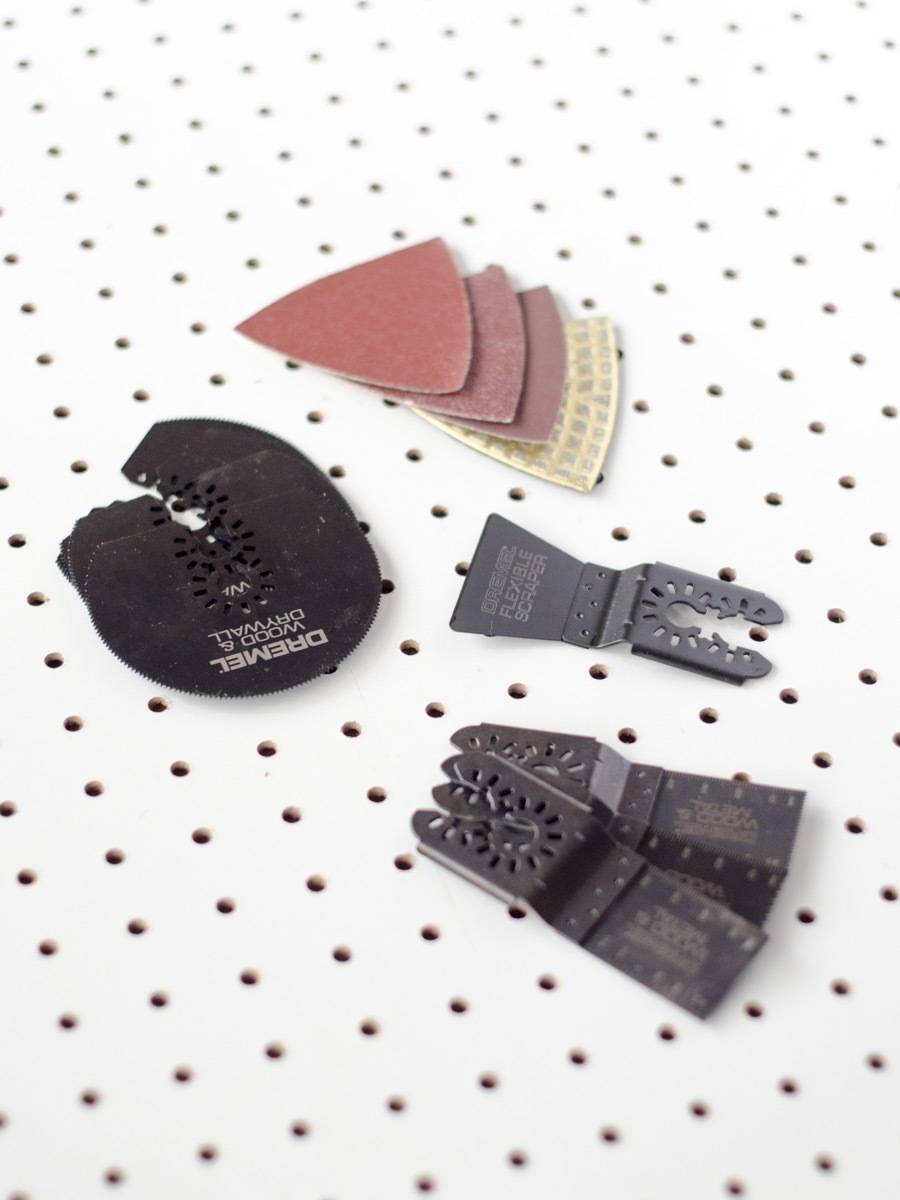
My “secret weapon” for refinishing furniture is the Dremel oscillating tool. If you don’t have one of these, get one! They’re great for cutting, sanding, and scraping on a small scale, and should be in every DIYers’ arsenal.
Plus, there are deals to be had when it comes to the attachments. I recommend always buying your attachments in bulk, since it saves money. We received two accessory sets from the Home Depot to try out: The 10-piece wood/metal/drywall set, and the 5-piece wood/metal/drywall cutting kit. Both are a bargain, depending on what you use your oscillating tool for. The 5-piece set saves you $60, and is great if you cut a lot of metal or other hard materials. I liked the 10-piece set, which saves you $100, since it came with sanding and scraping attachments, in addition to extra cutting accessories.
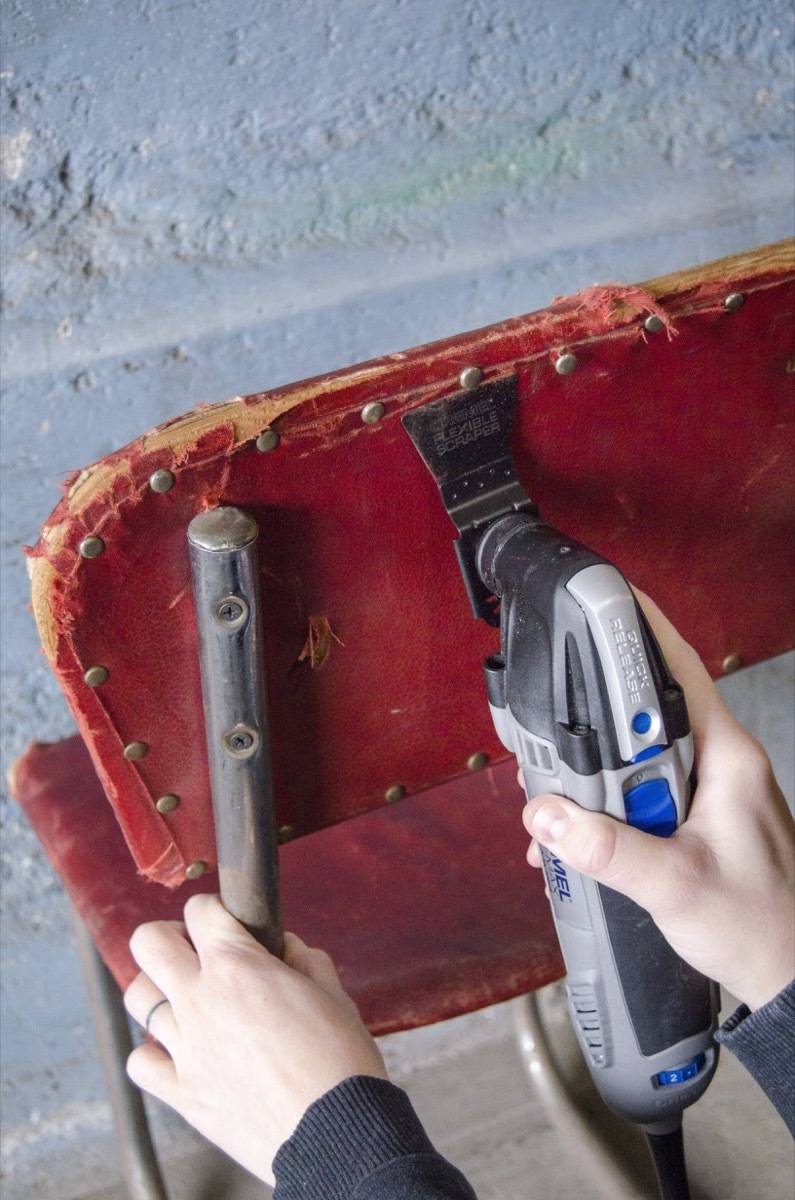
If you have ever refinished a piece of upholstered furniture, you know the biggest pain-in-the-butt is removing tacks and staples. That’s how I feel about it, anyway. It always takes way longer than I think it will, and I am bound to stab myself with something sharp along the way. This was my first time using a power tool to help with this step, and let me tell you, I’m never going back to my old ways.
The first attachment I used was the flexible scraper blade (from the 10-piece kit). With my oscillating tool set to a low hum, I was able to use the scraper blade to vibrate and lift each decorative tack from the chair. No pliers, no flat-head screwdrivers, no fingernails. I just slid the blade underneath each tack, turned the tool on, and lifted the tack away. It was a breeze! Plus, the scraping method was so gentle with the tacks, I was able to save them to reuse them.
After stripping the back and seat of my trash chair, I moved on to the metal frame …
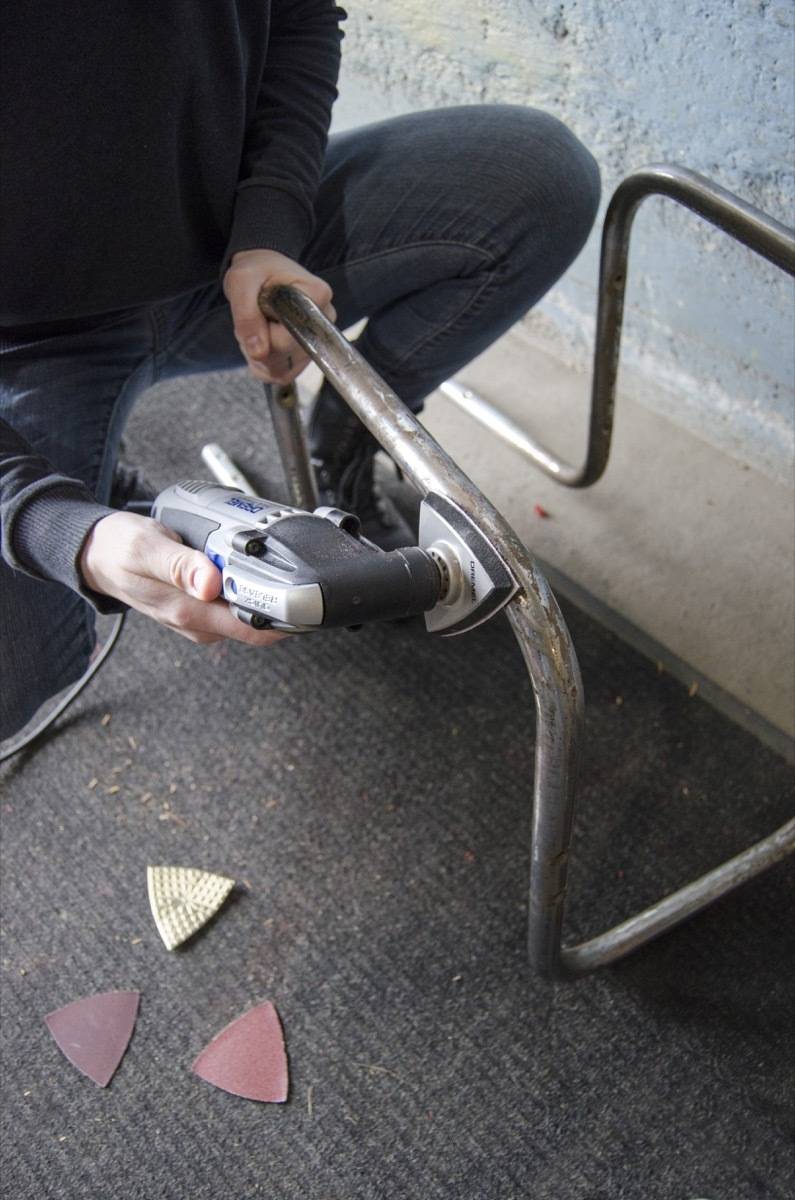
Painting Metal Chairs – How to Prepare the Surface
I knew the moment I decided I wanted to make this chair over that I was going to paint the frame. It was scratched and discolored beyond repair. So, before painting, I “scuffed” the frame with my oscillating tool so the paint would adhere better. I used a few of the sanding pads from my $100 savings accessory kit.
Surface preparation is especially important when spray painting metal chairs, because if you don’t do it, the paint won’t be able to stick to the substrate, and you’ll end up with flaking and peeling layers of paint! You can use chemical etching solutions to accomplish the same task, but I like using the mechanical method (sanding), because it’s quicker and easier to clean up.
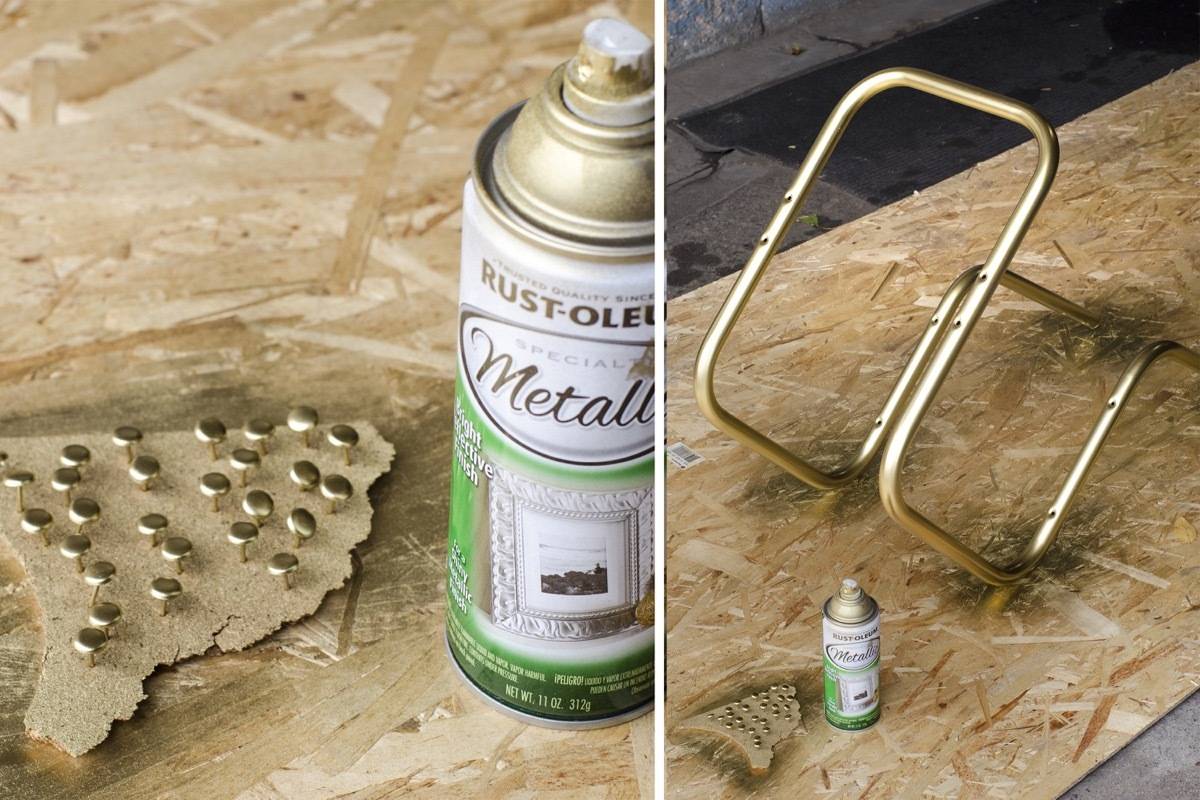
Step one done! After completely stripping the chair, I set to work building it back up. I used metallic spray paint to update the metal frame, applying two coats total. And remember how I saved all those decorative tacks? I stuck them upright in a piece of scrap cork, and gave them a fresh coat of matching paint, too.
How to Reupholster A Chair
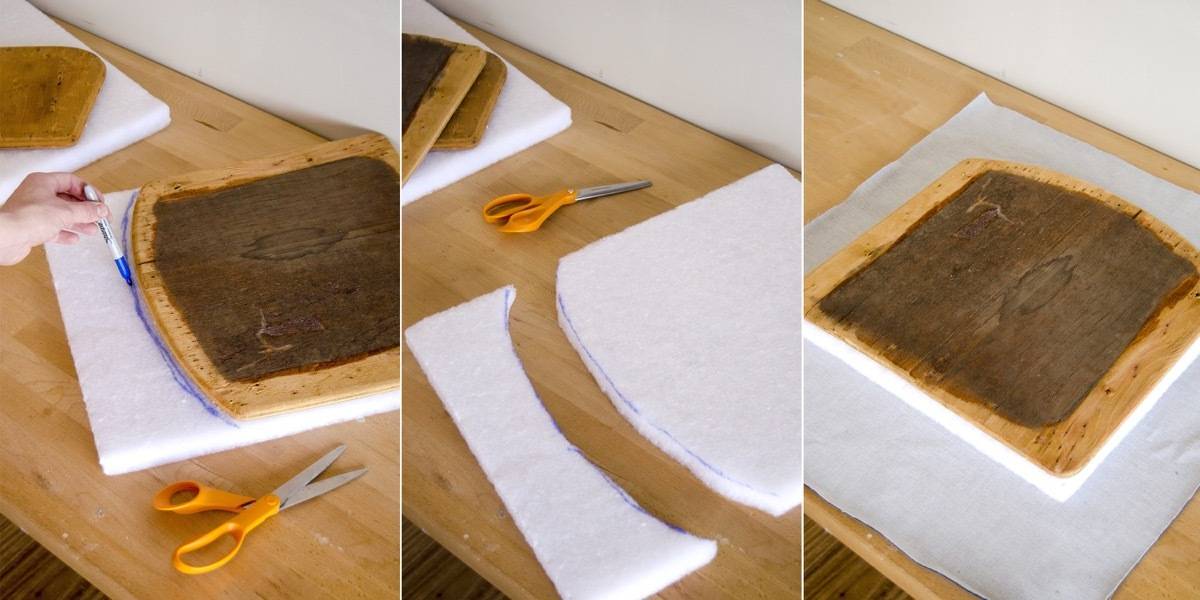
While the chair frame and tacks were drying, I cut cushions and fabric to size. For the seat of the chair, I cut a piece of upholstery fabric a few inches larger than the seat of the chair.
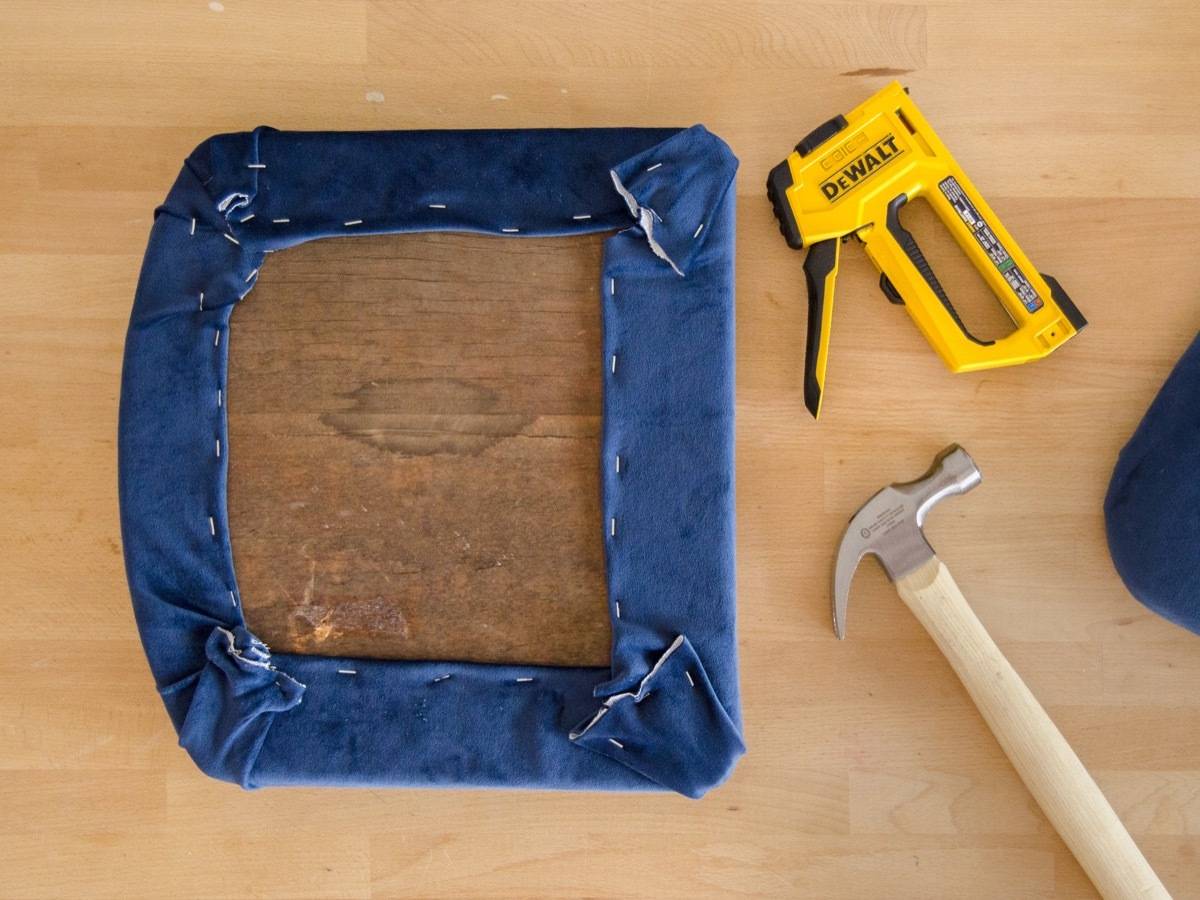
Then I wrapped the fabric taut around the seat and cushion, and stapled the fabric in place underneath. I always end up hammering each staple after I shoot it into the wood… maybe it’s just me, but I find that a staple gun isn’t always strong enough to fully embed a staple into wood.
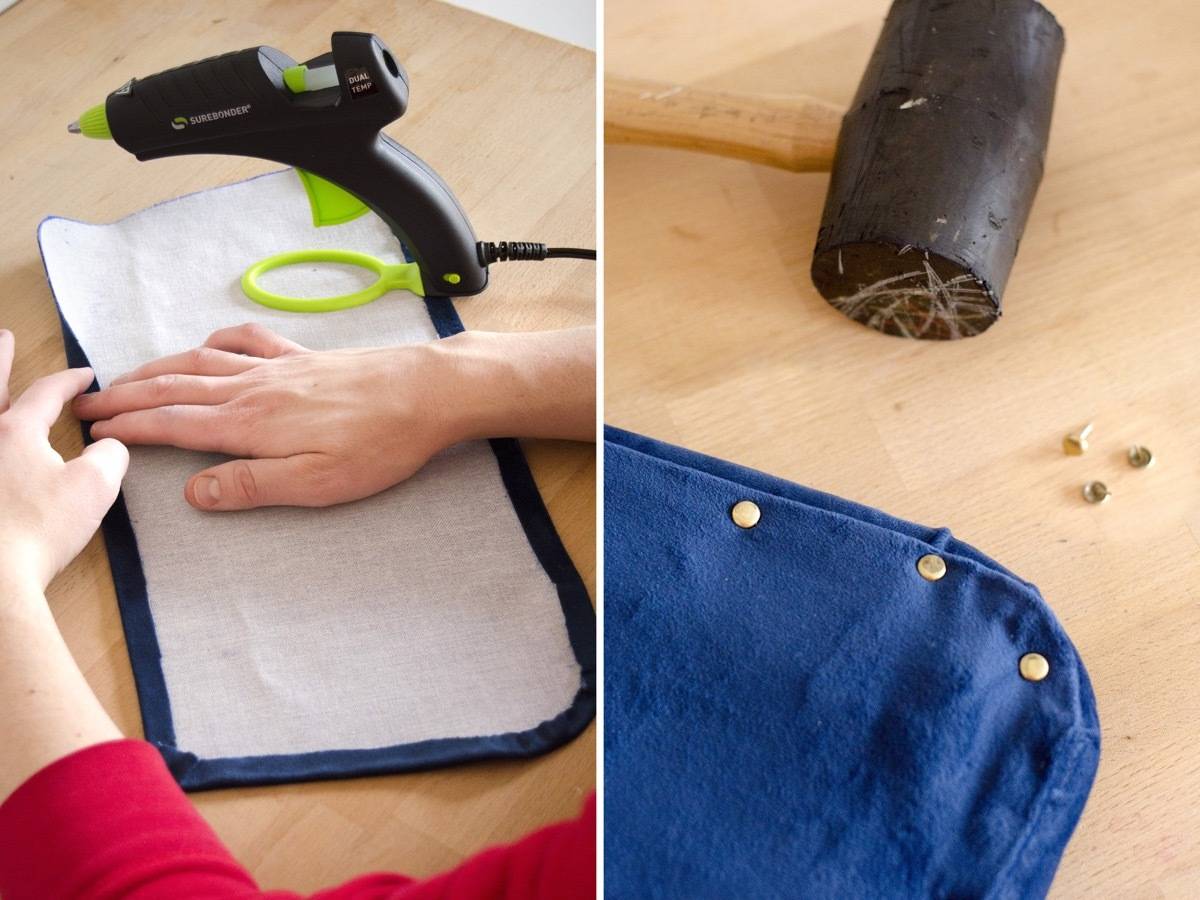
The back of the chair took a little more creative preparation than the seat. Just like the seat, I cut the cushion to size, and a piece of fabric a few inches larger. I then stapled the fabric in place, pulling it to the back of the chair.
To cover up my stapling, I cut a piece of fabric slightly larger than the back of the chair. I then folded the edges of this back piece, and used hot glue to hold the raw edges down. Now, normally I don’t advocate for using hot glue in a project that’s supposed to have some sort of longevity. In this case, however, I just needed some way to temporarily hold the edges down while I tacked them in place. I used the old tacks and a rubber mallet to attached the fabric piece to the back of the chair.
And finally, I reattached the seat and back to the metal frame! I did end up using new screws – the old ones were rusted, and no longer matched the color of the frame. In total, this project was fairly inexpensive, especially if you consider the savings from getting oscillating attachments in bulk.
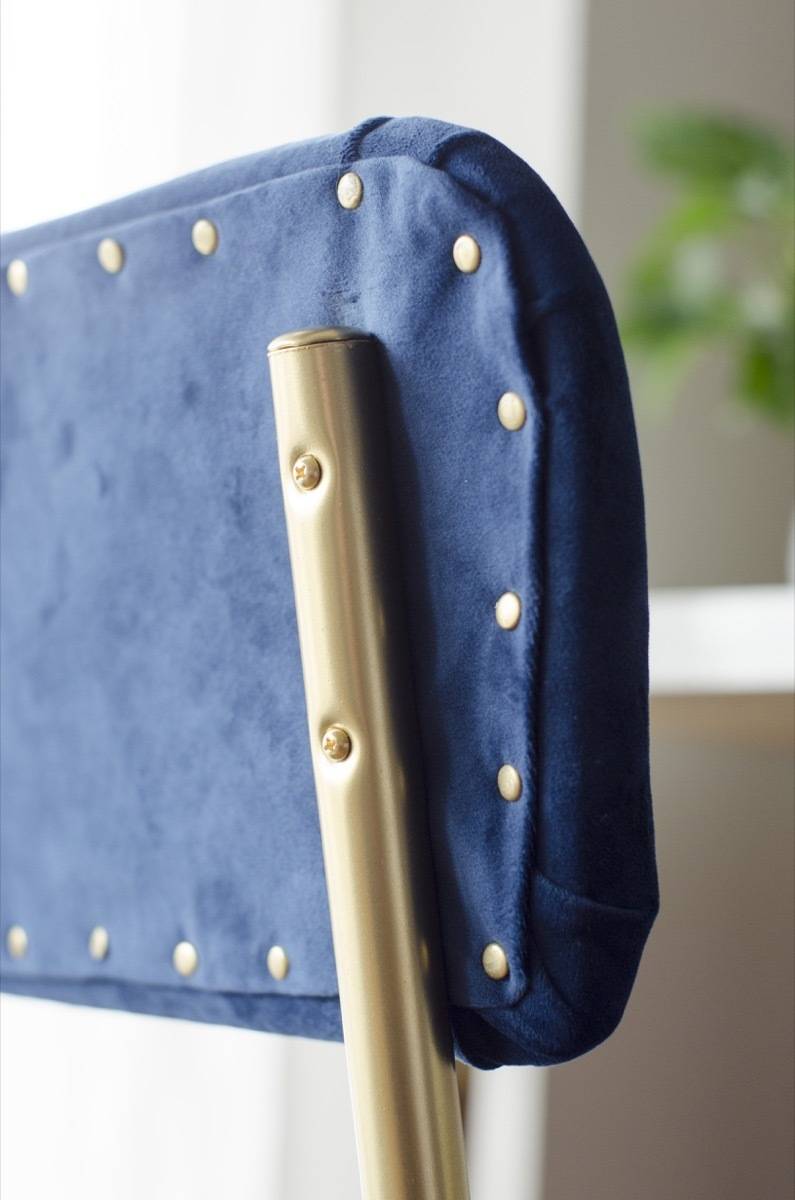
All in all, this project only took me half a day, plus drying time. Not bad for a little trash chair, right?
How much does it cost to reupholster a chair?
So, you’re inspired to give one of your dumpster finds a makeover… but does the cost justify rescuing it? It all depends on what you want to do, and what you have on hand. This simple chair makeover was a cheap fix for me, because I already had the appropriate tools on hand. If you’re starting from scratch and need to purchase things like dust masks, protective eyewear, a screwdriver, etc., you can expect to spend a bit of money. However, you only have to make those initial purchases once, and it will be a good investment if you plan on doing more furniture makeovers in the future.
Generally speaking, your biggest cost with seating projects is going to be the cushion; foam and filling can be pricey, so be smart when you buy. I usually get my seat cushions from the craft store, but only when I have a coupon I can use.
Your cost will differ, depending on the scale of your project. Here’s what I ended up paying for my chair makeover:
– Fabric: $15
– Cushions: $12
– New screws: $6
– Paint: $4
Total: $37

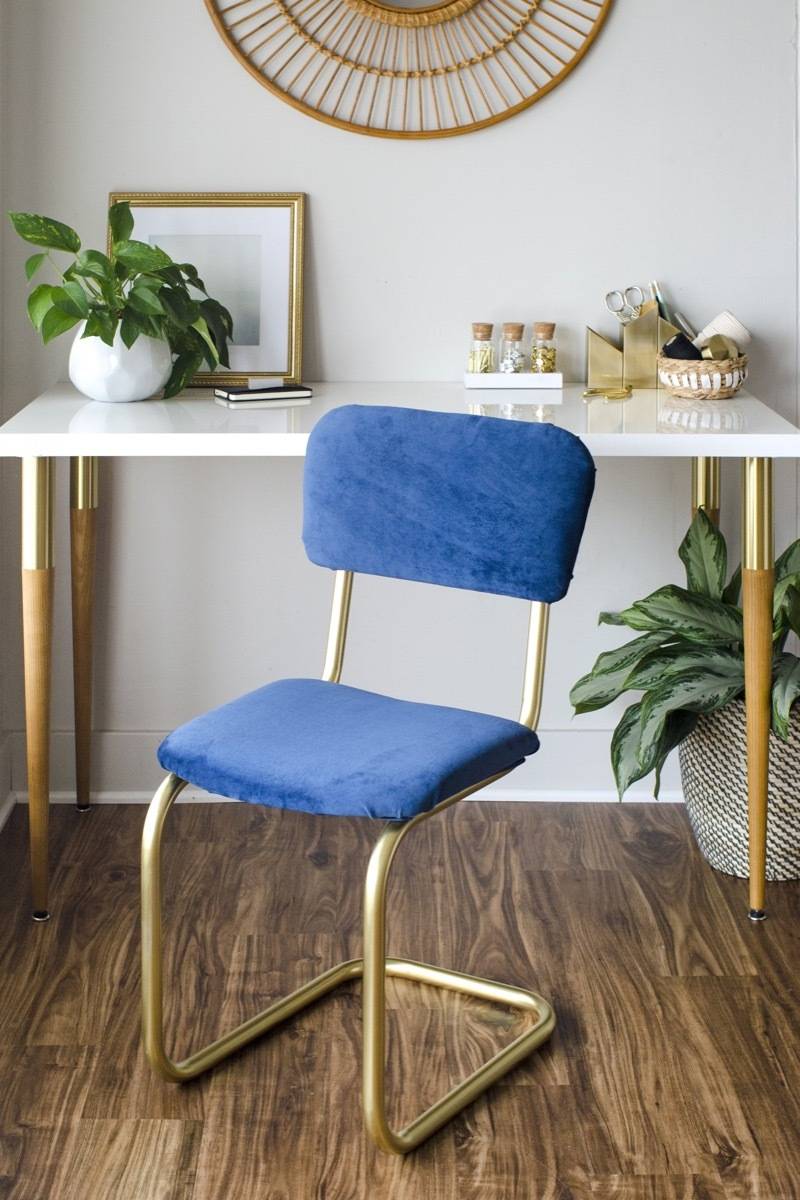
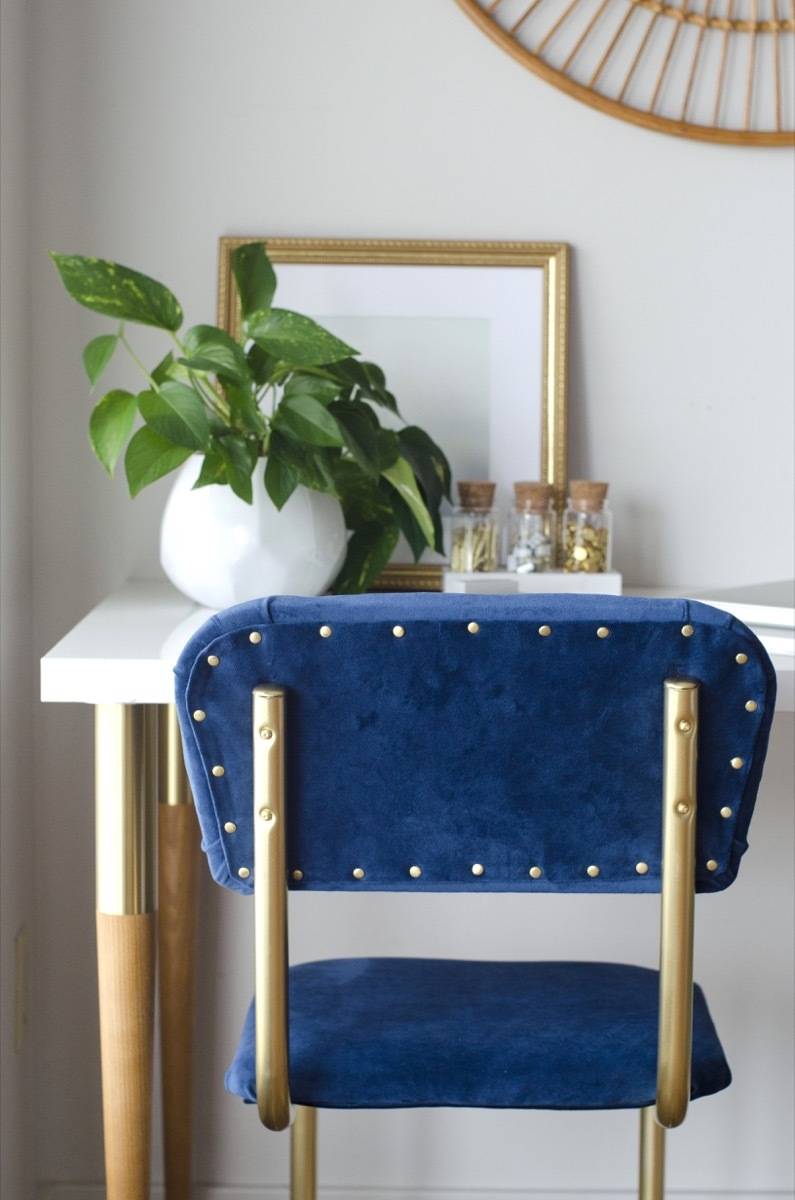
With a bit of care and creativity, old furniture can be brought back to life at a low cost and little time commitment. Hopefully this project makeover will inspire you to look at dumpster finds a little differently!
This post is sponsored by The Home Depot. All opinions are mine alone. Thanks for reading, and for supporting the brands that make Curbly possible.
I acknowledge that The Home Depot is partnering with me to participate in the ProSpective2018 Campaign. As a part of the Program, I am receiving compensation in the form of products and services, for the purpose of promoting The Home Depot. All expressed opinions and experiences are my own words. My post complies with the Word Of Mouth Marketing Association (WOMMA) Ethics Code and applicable Federal Trade Commission guidelines.

Your chair turned out great! You were very fortunate that the old tacks were still useable. I love the blue fabric that you used. Is it suede cloth and where did you buy it? Thanks for the inspiring post. I love it when something old is made new again!
@Kaye Mattson Thanks for the positive feedback! I was definitely expecting the tacks to be rusted – lucked out! The fabric is suede, and it came from the home decor section of my local JoAnns.
I love it! The gold and blue is such a pleasing combo! Thank you for the great guide!!