Everybody loves IKEA, right? The simplicity of the designs, plus the sense of accomplishment from putting furniture together yourself… this combo makes IKEA a standard go-to when shopping for the home. There are lots of ways to hack IKEA furniture – however, would you like to customize these basic designs to set you apart from the thousands of other people that have the same piece? Turns out, it’s a pretty easy transformation to make. Today we’re taking a look at how easy it is to upgrade your IKEA furniture, thanks to Norse Interiors’ system. You can style up a wide variety of IKEA furniture using prefab cabinet designs and knobs. Everybody will be asking, “Where did you get that?”
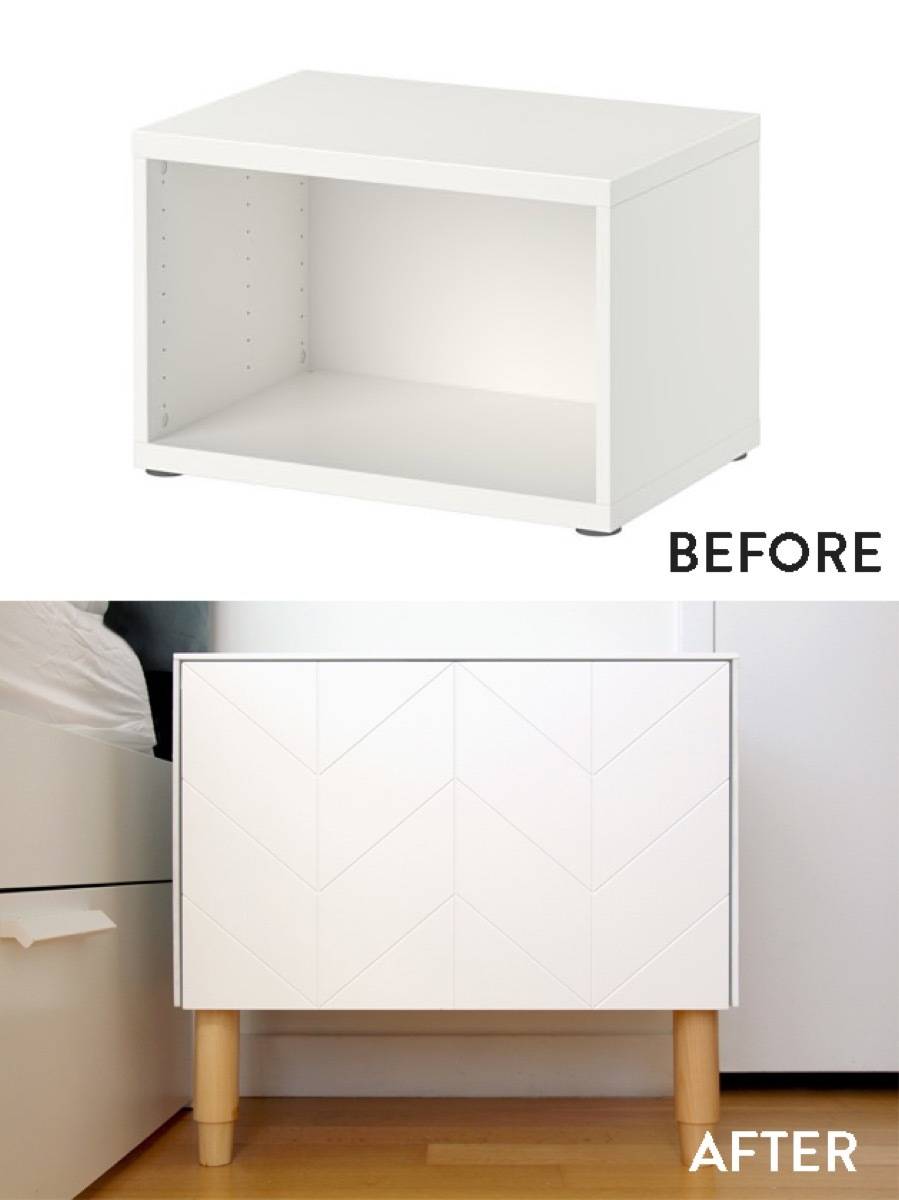
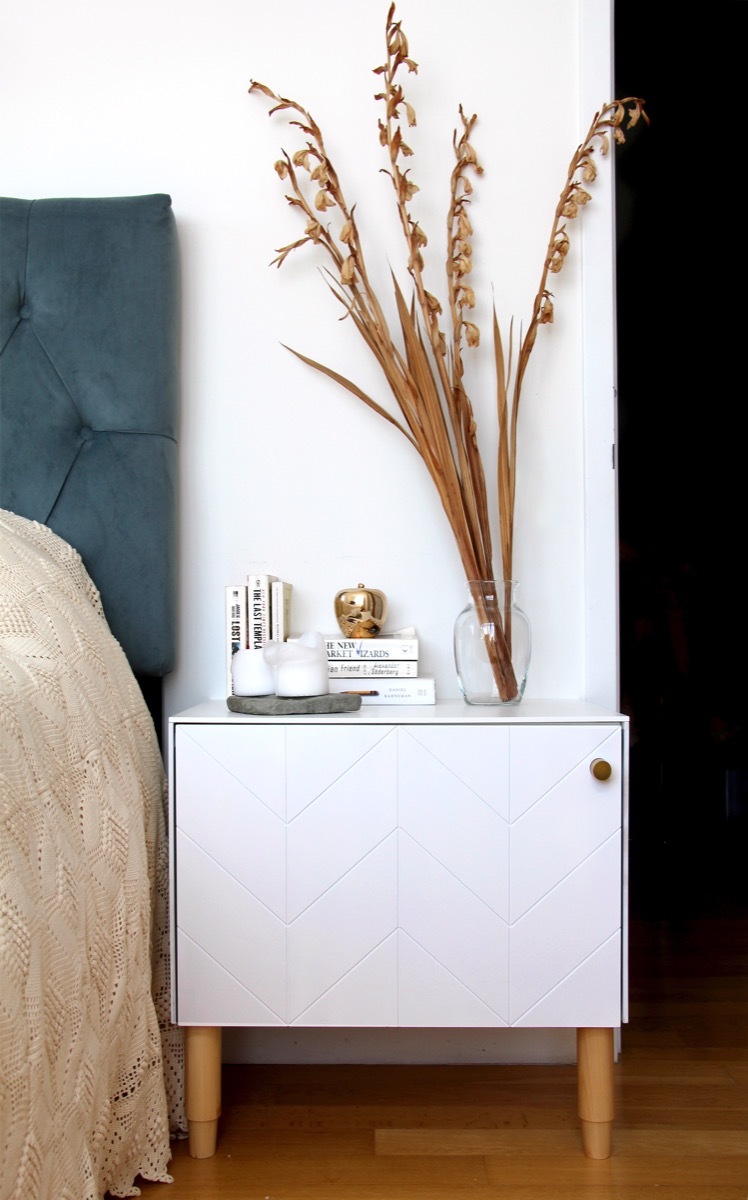
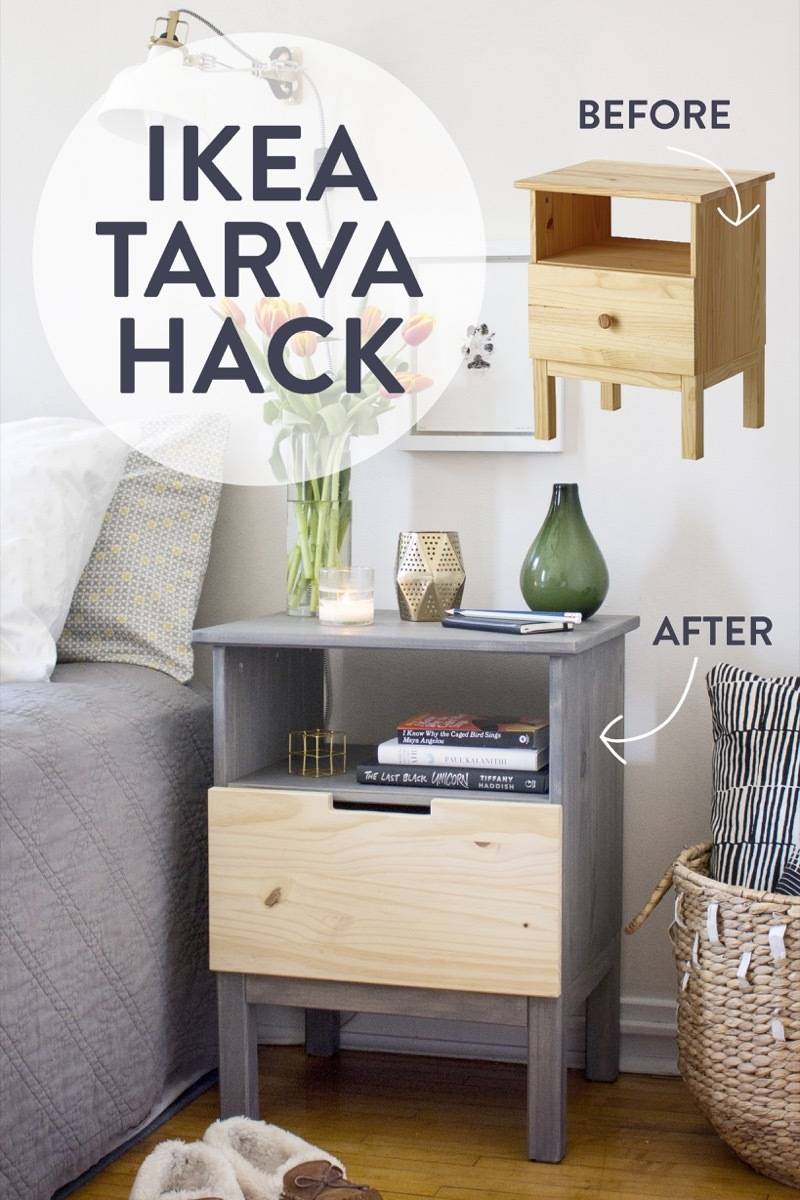
From the before and after pictures, you can see how much of a change this hack makes! This stylish upgrade can fit any style of room, from Nautical to Bohemian to Scandinavian.
Materials
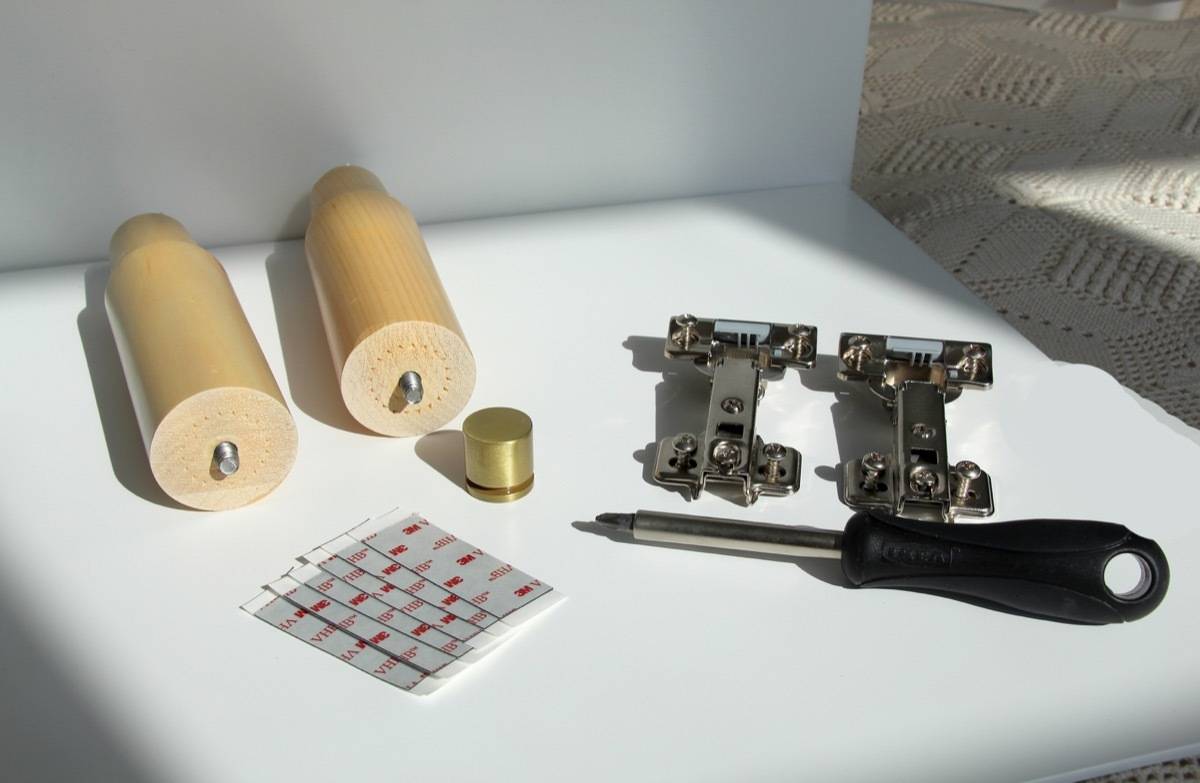
- IKEA cabinet BESTÅ
- IKEA hinges
- Screwdriver
- Cabinet knob (optional; pictured: the Brass Elisabeth Knob)
- 4 legs (pictured: the Leg Vega in Natural Ash)
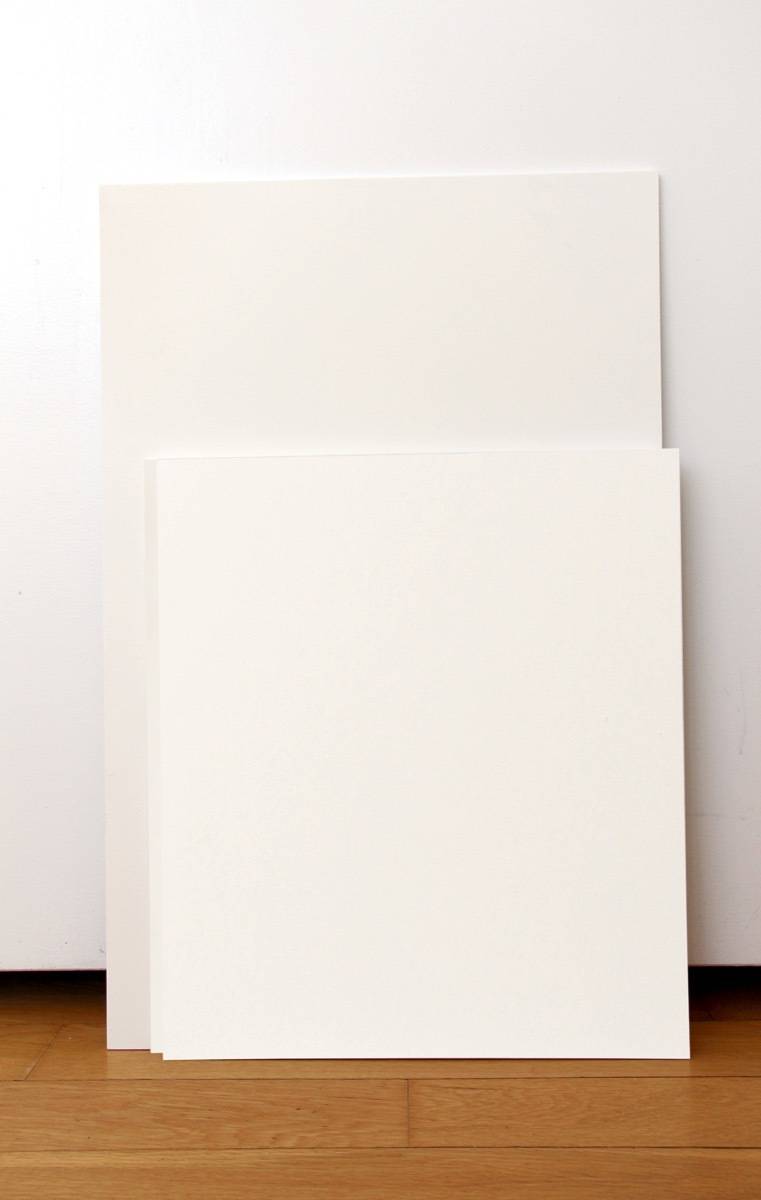
- Norse Interiors cabinet front and panels (pictured: Cabinet Door Eleanor along with Sides and Top in color White Lace)
- Adhesive tape included in package
Step
For this transformation, we’re starting with a pre-assembled BESTÅ cabinet.
Step
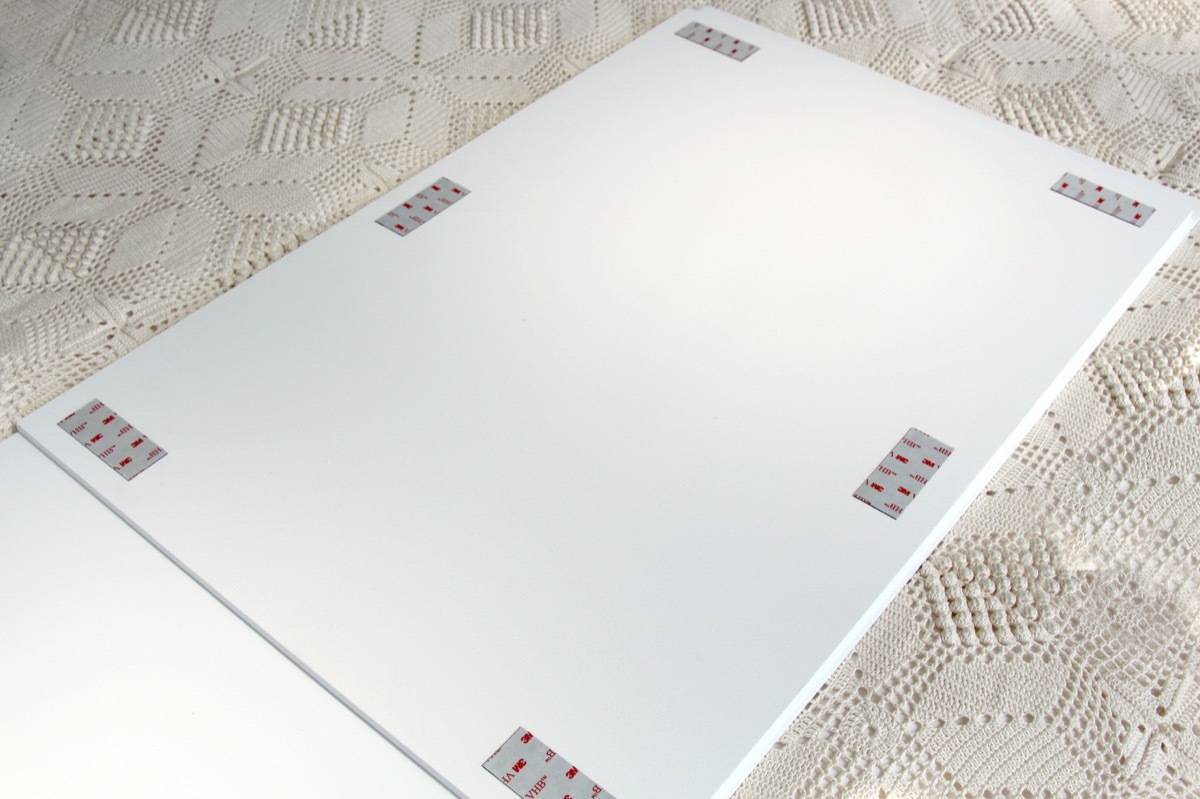
Wipe off the surface of the IKEA system and press the tape strips – without removing the liner – into each corner, about 1/2″ from the edges. Add the remaining strips at an even distance from each other.
Before removing the liner on the tape strips, practice adding the side. Make sure there is no gap when adding the top. Align its edges with the system’s top and back edges. The side should stick out in the front in order to frame the door.
Remove the liner and attach the sides. Apply pressure and hold for 60 seconds.
Step
After adding on the top of the paneling with the sides, use the screwdriver to add on the cabinet door to the hinges. This is surprisingly simple and requires only a couple of minutes for a noticeable facelift!
If you want to use a knob, it is recommended to drill a hole using the measuring system provided with your package from Norse before screwing on a knob.
Step
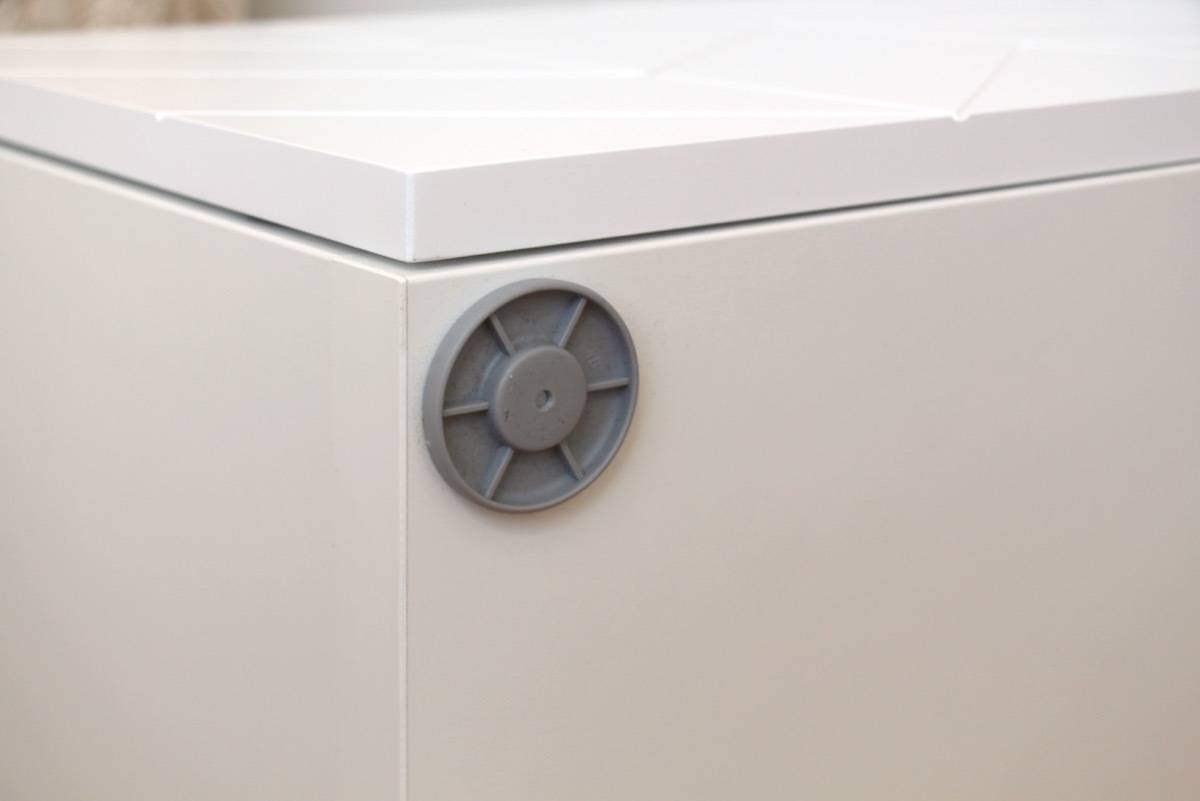
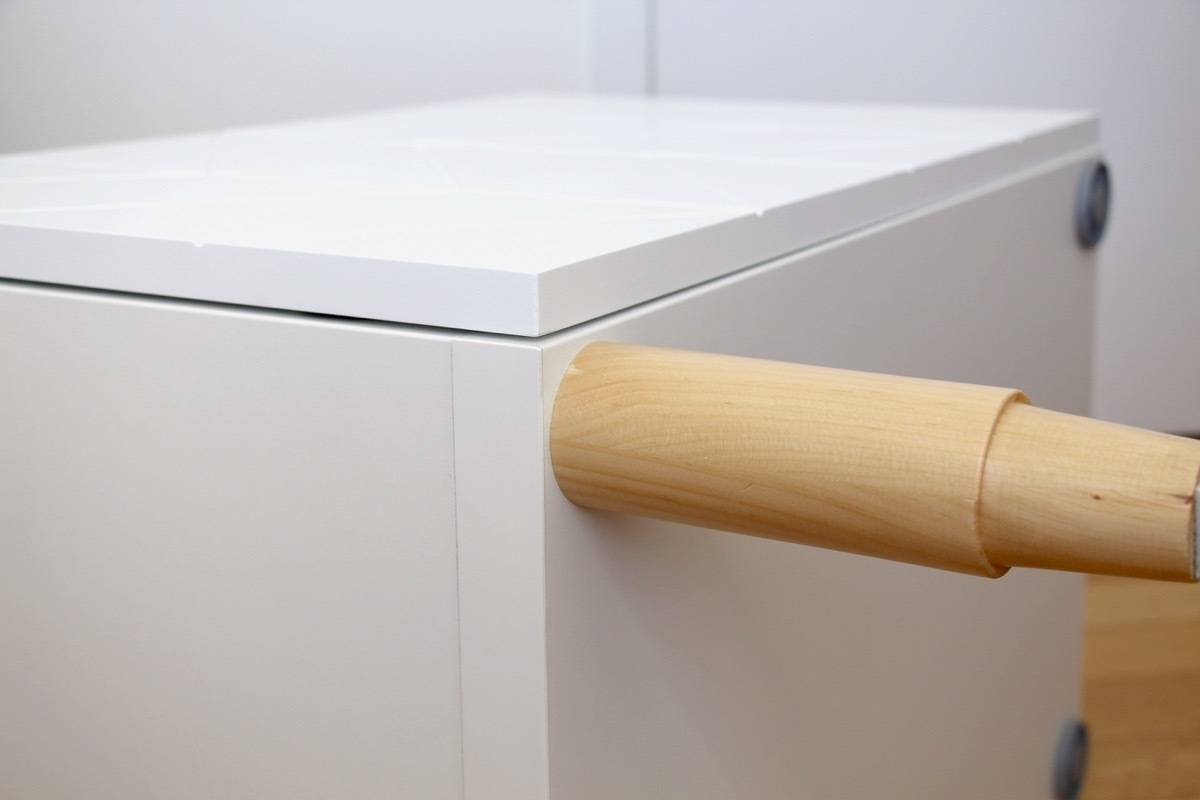
Twist on the furniture legs to the cabinet to give it added height, as a final touch.
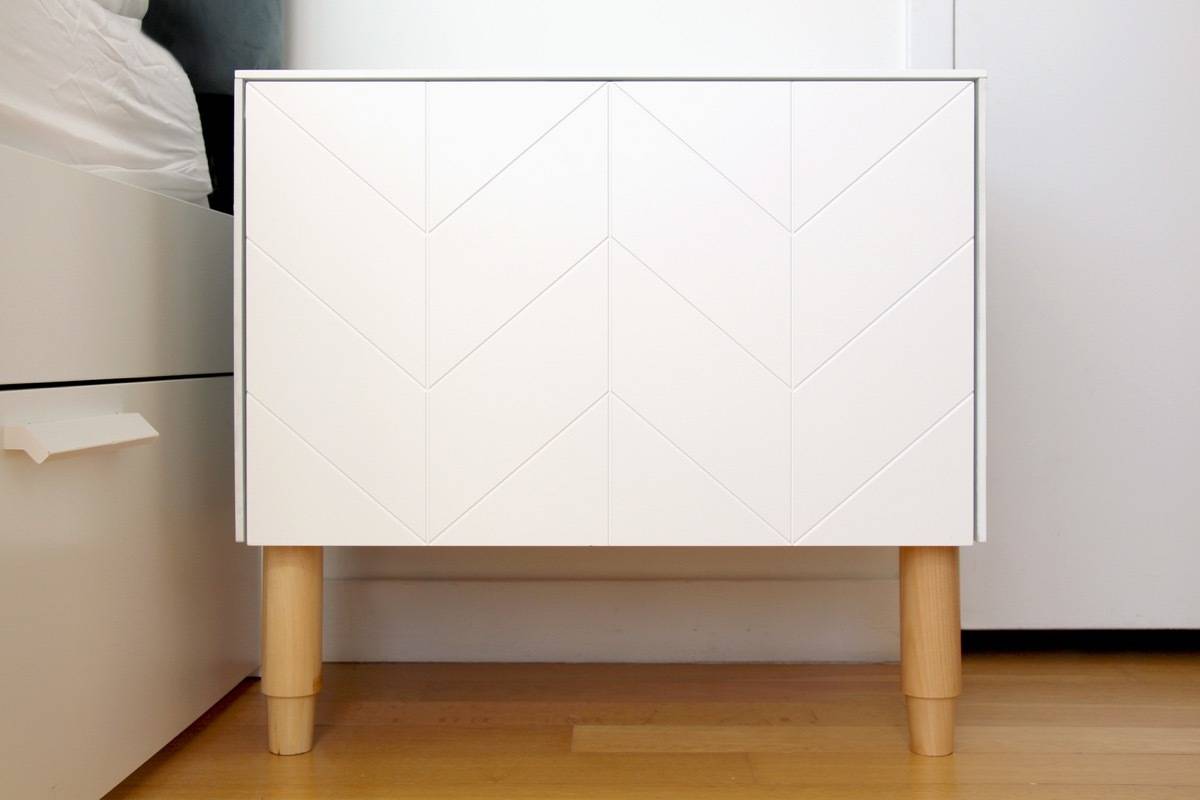
Now it’s time to decorate your newly finished nightstand, getting that homey feeling by adding your favorite plant or books, while using the new storage inside to organize your room.
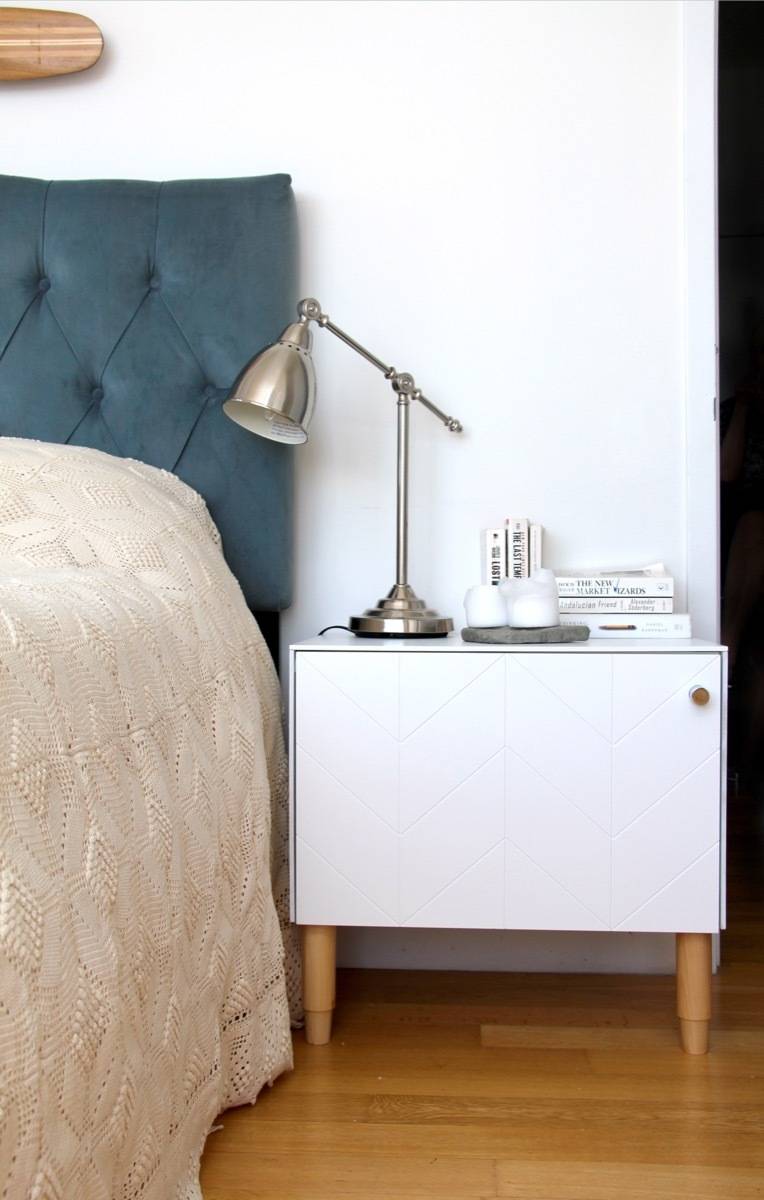
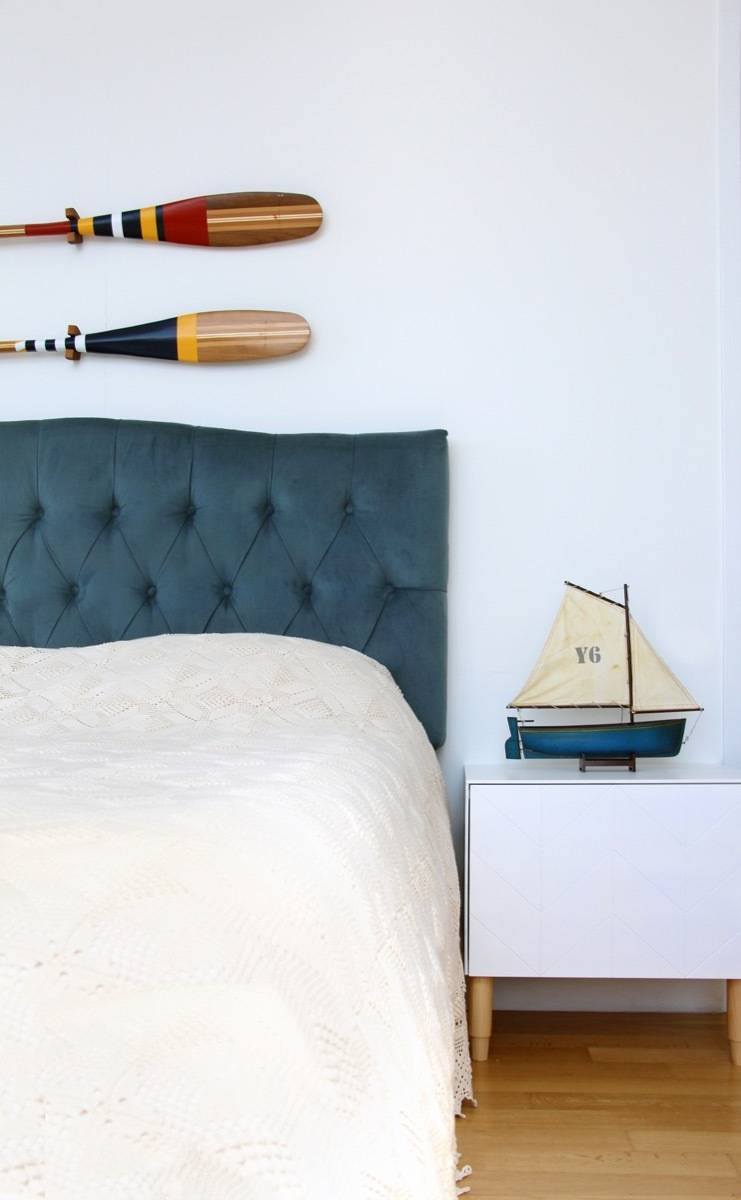
Note: If you ever want to change up the look of your space, you can change the paneling and cabinet design using Norse’s wide selection of designs. With Norse Interiors’ components, you can actually make up to 1000+ different cabinets! Happy hacking!
