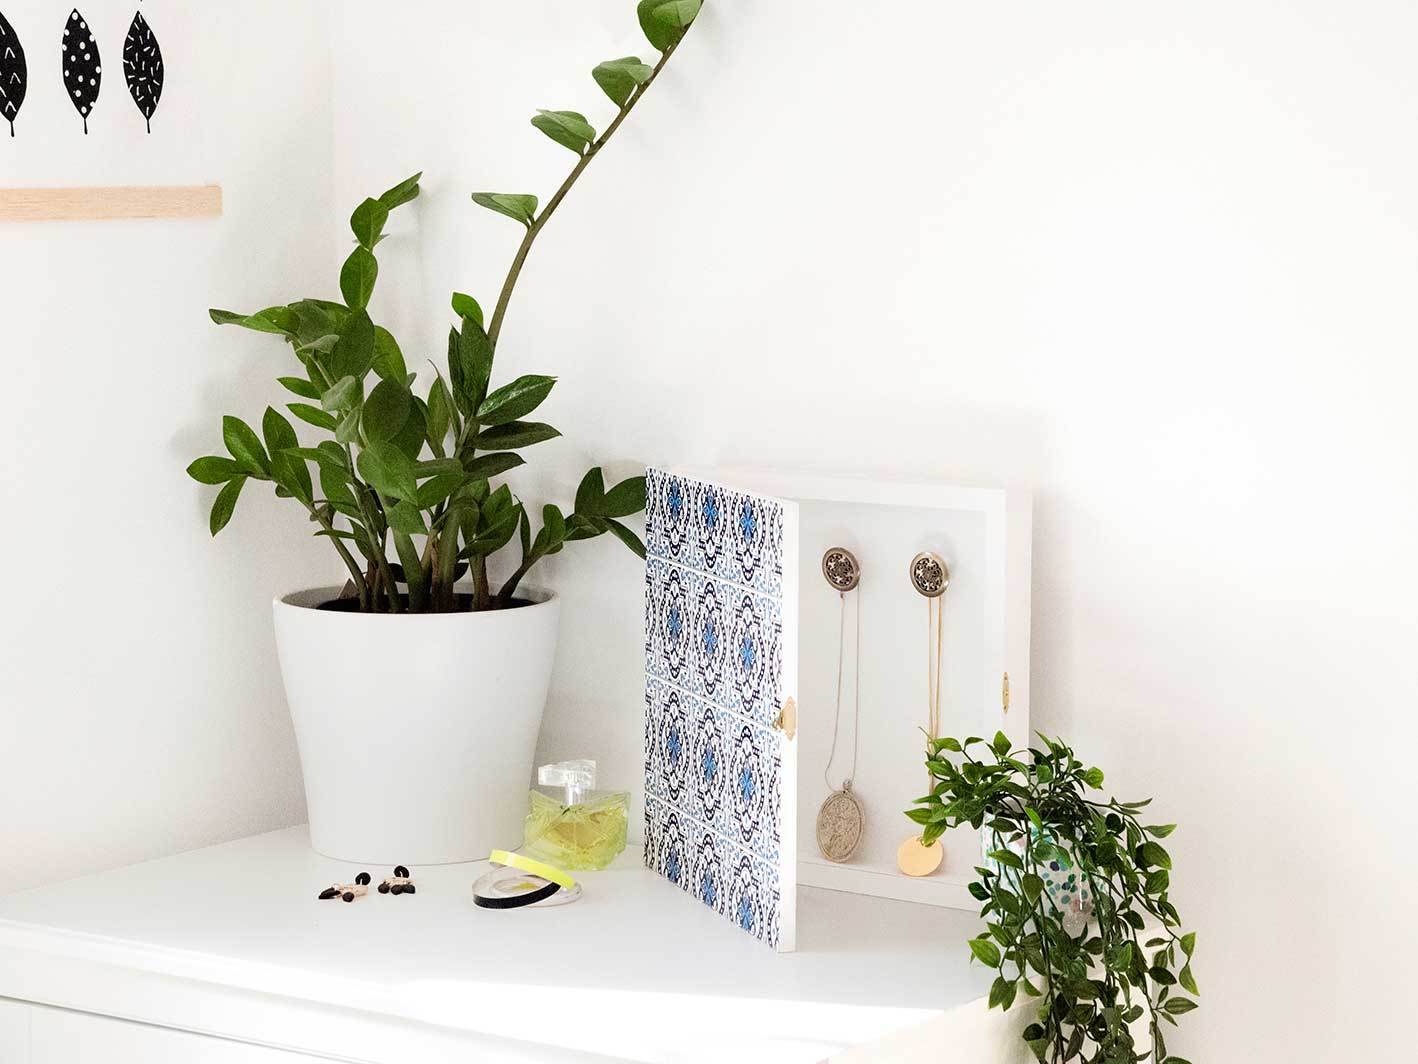
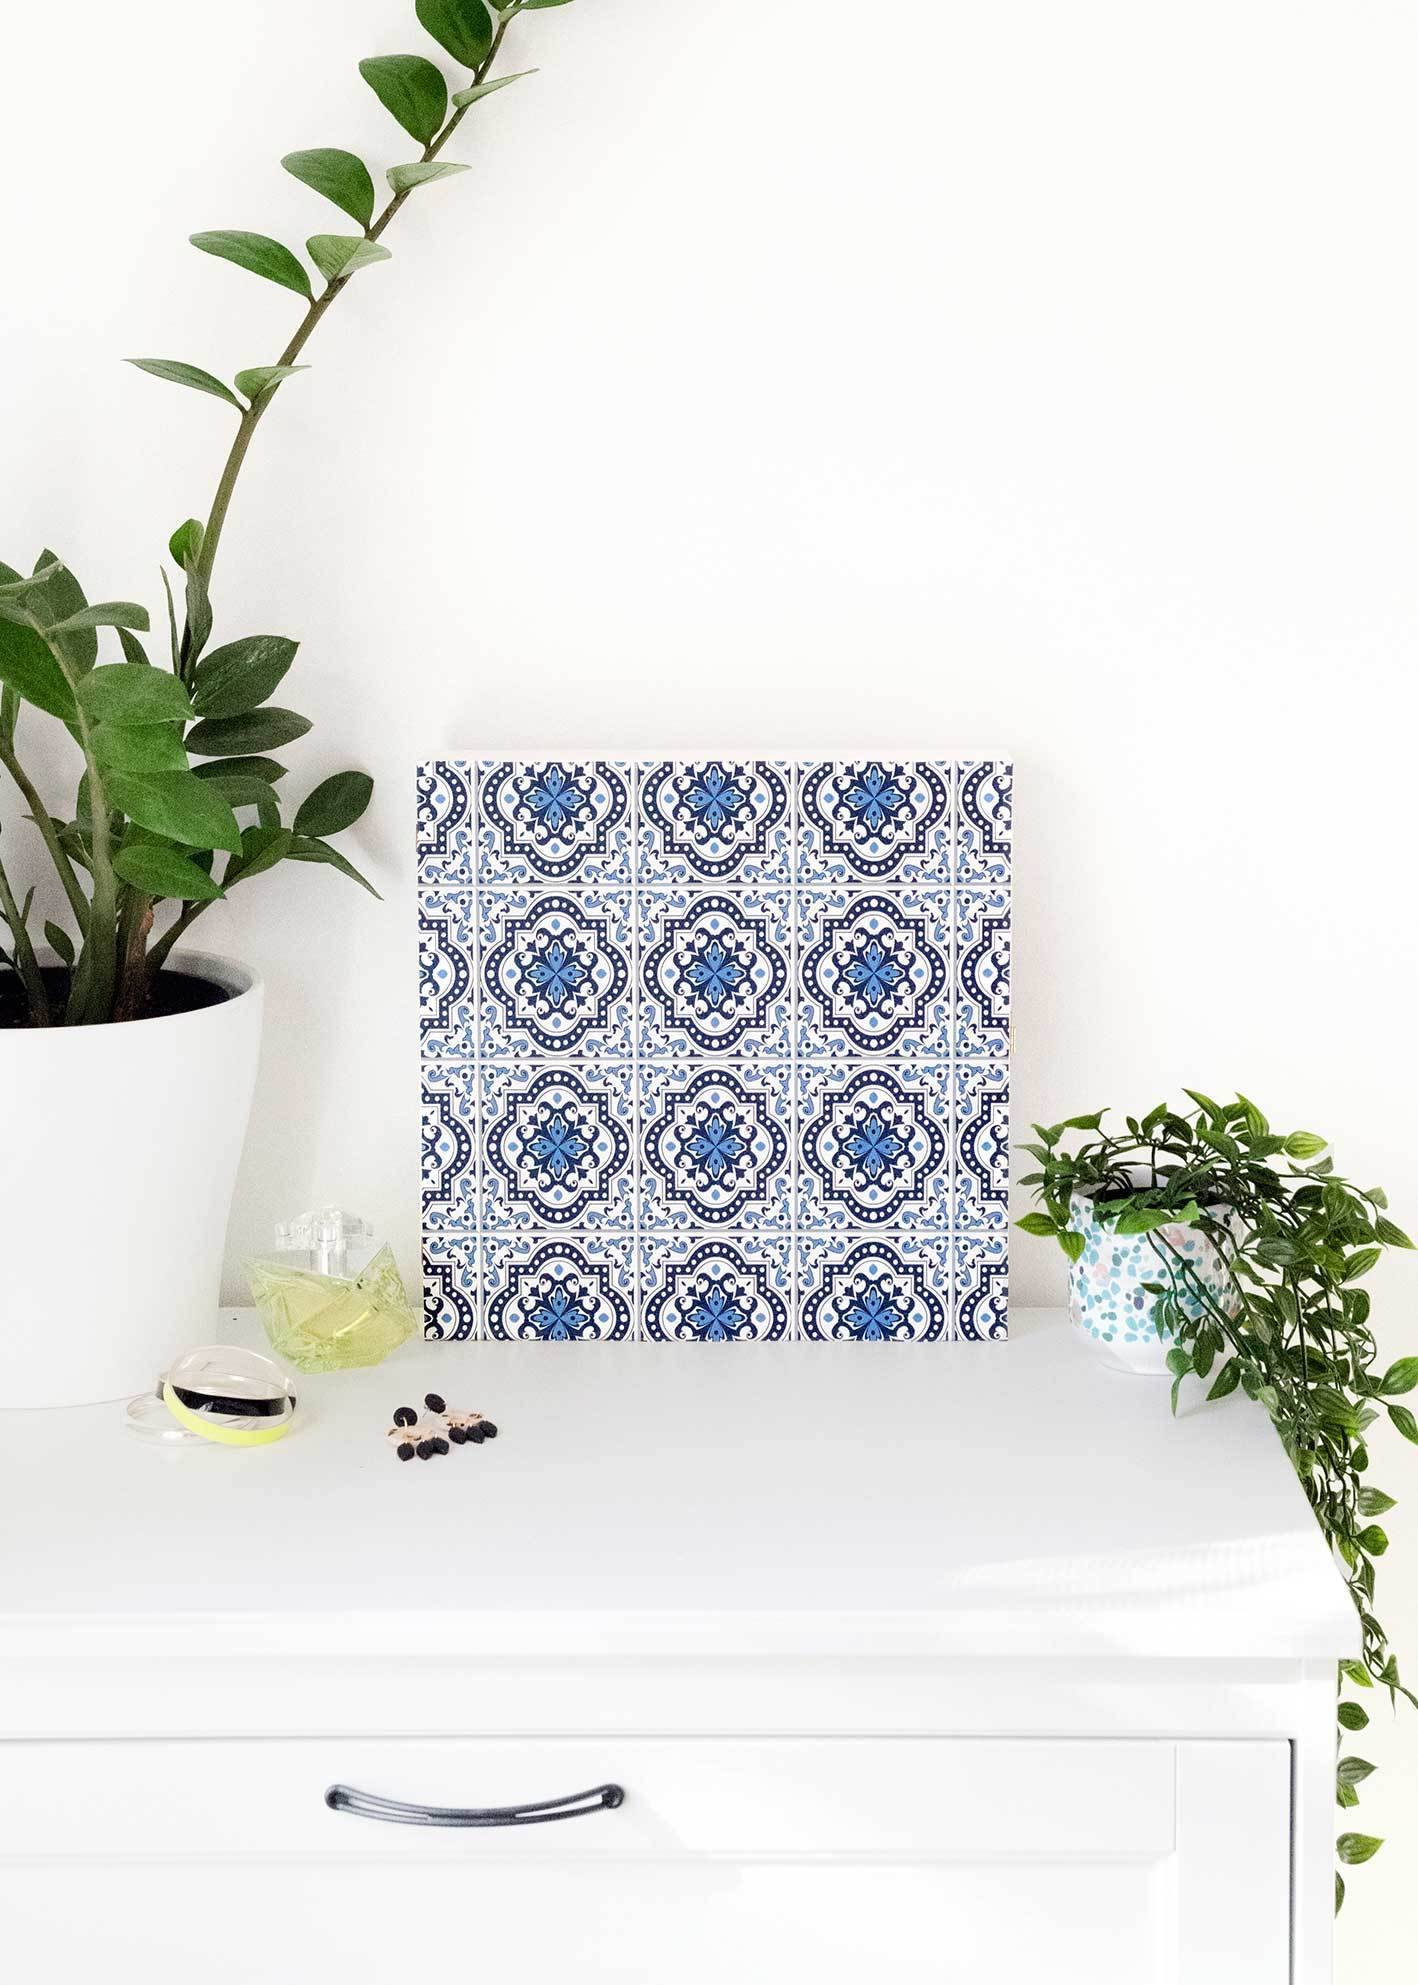
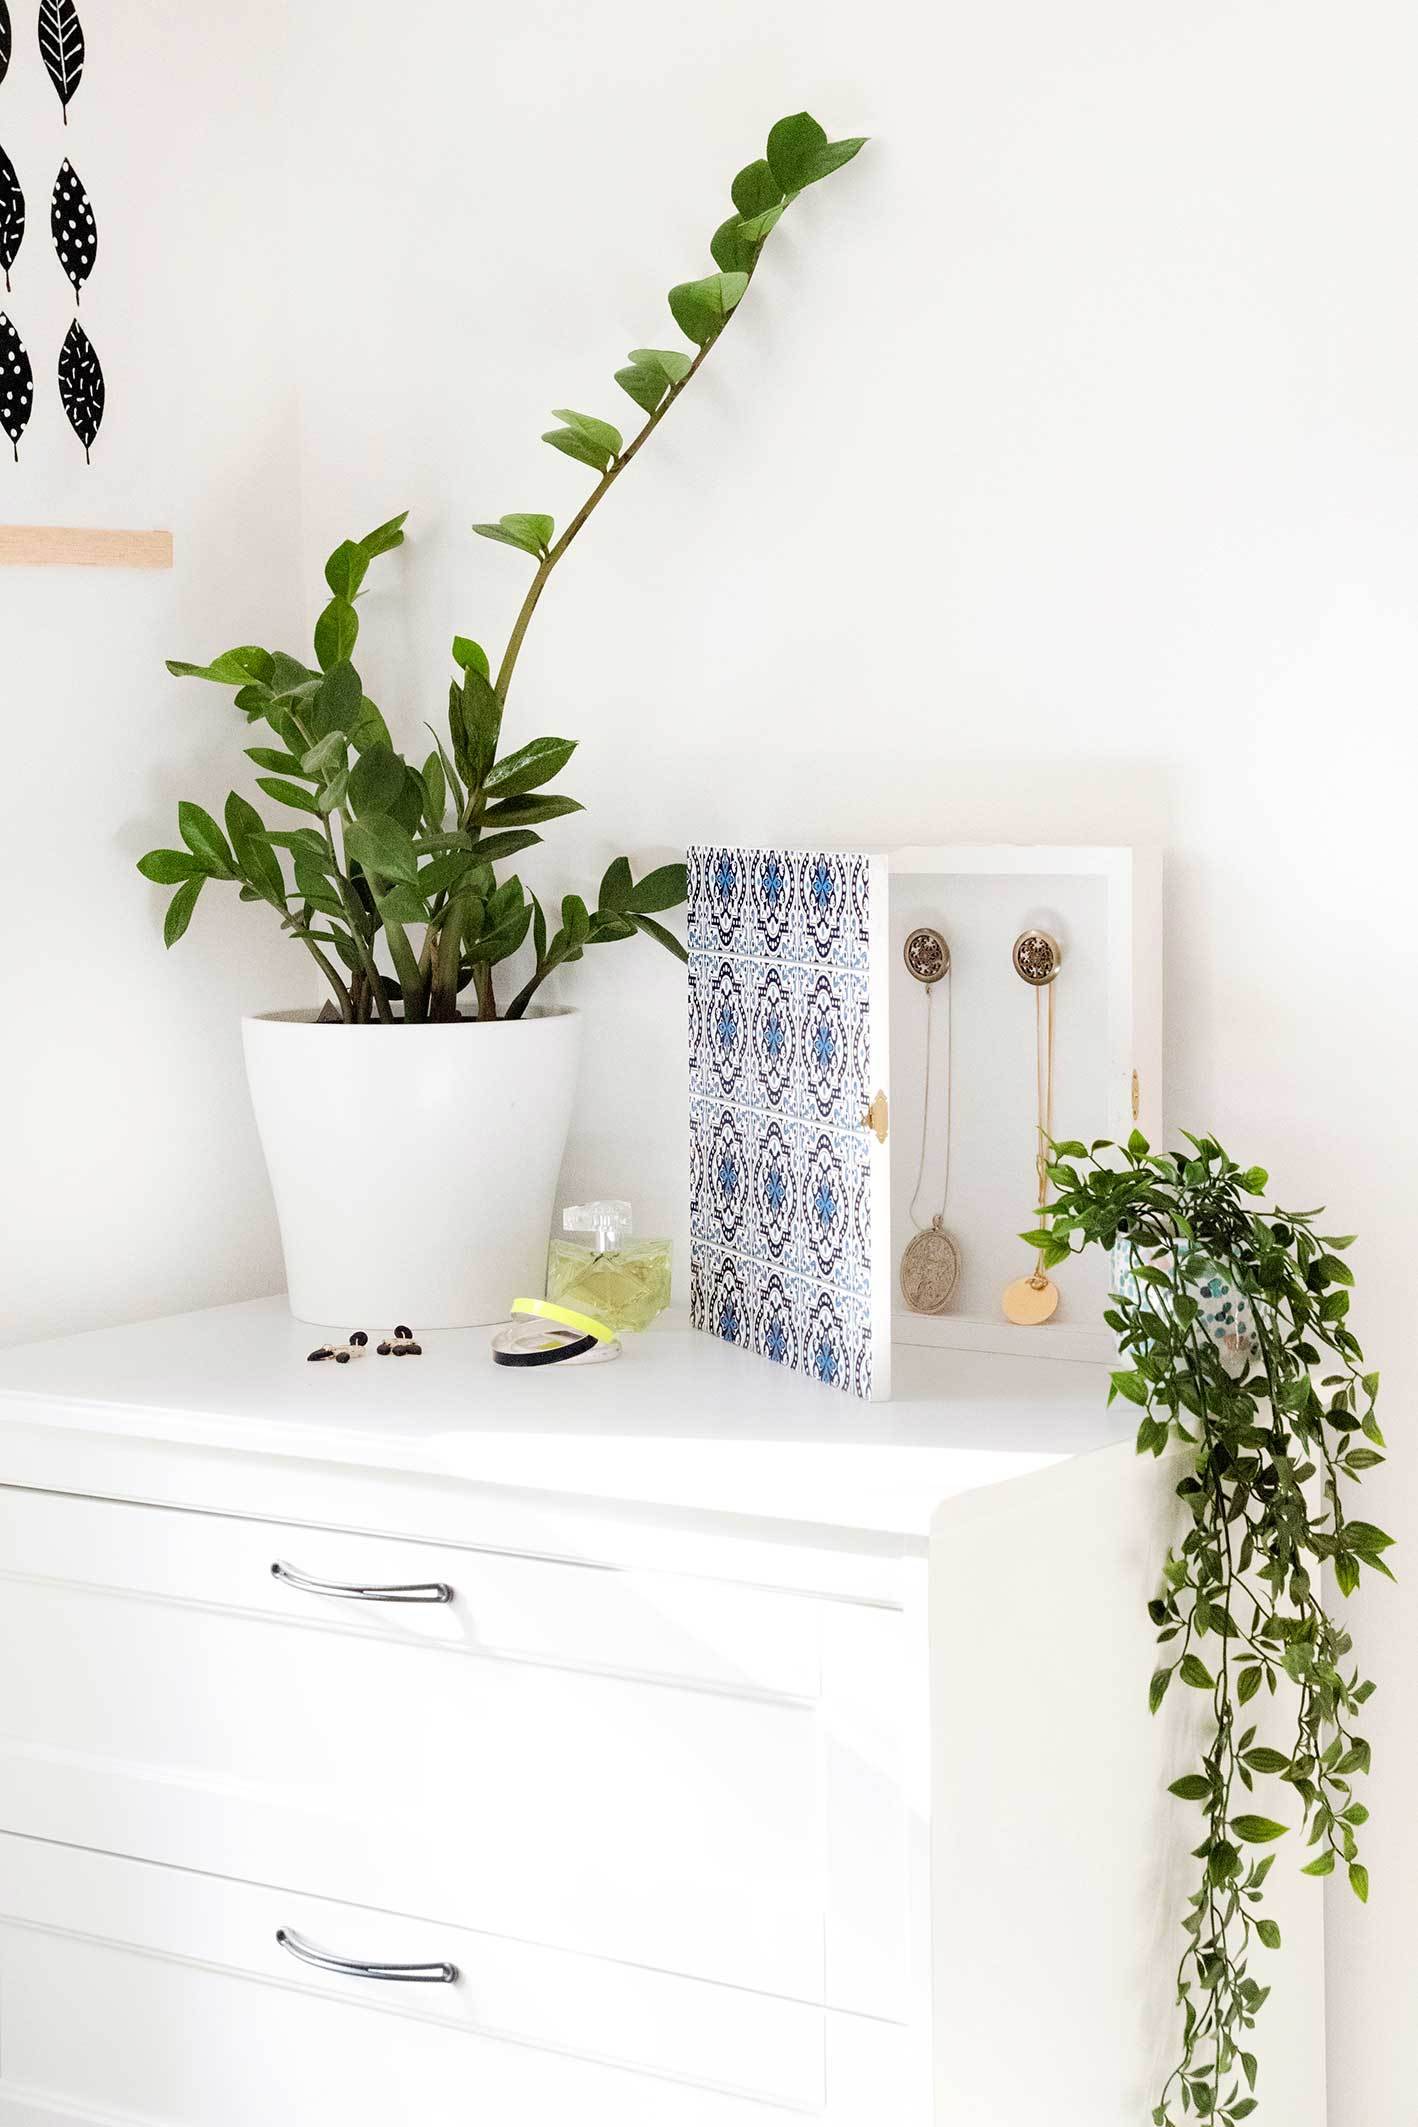
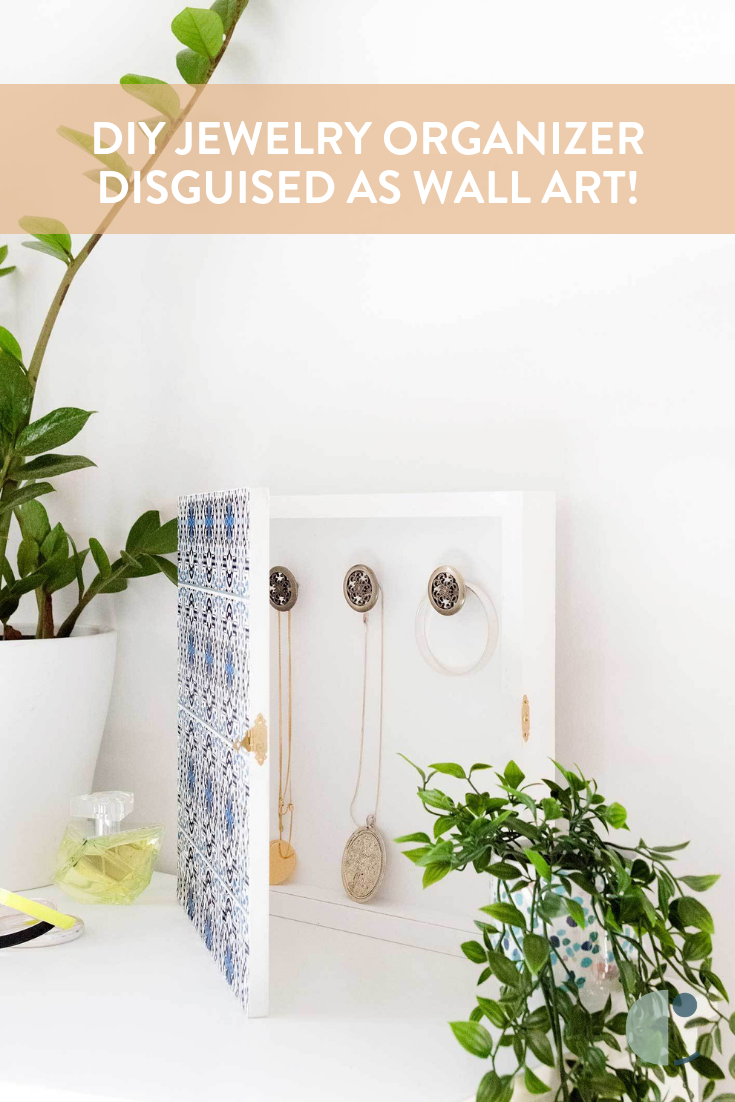
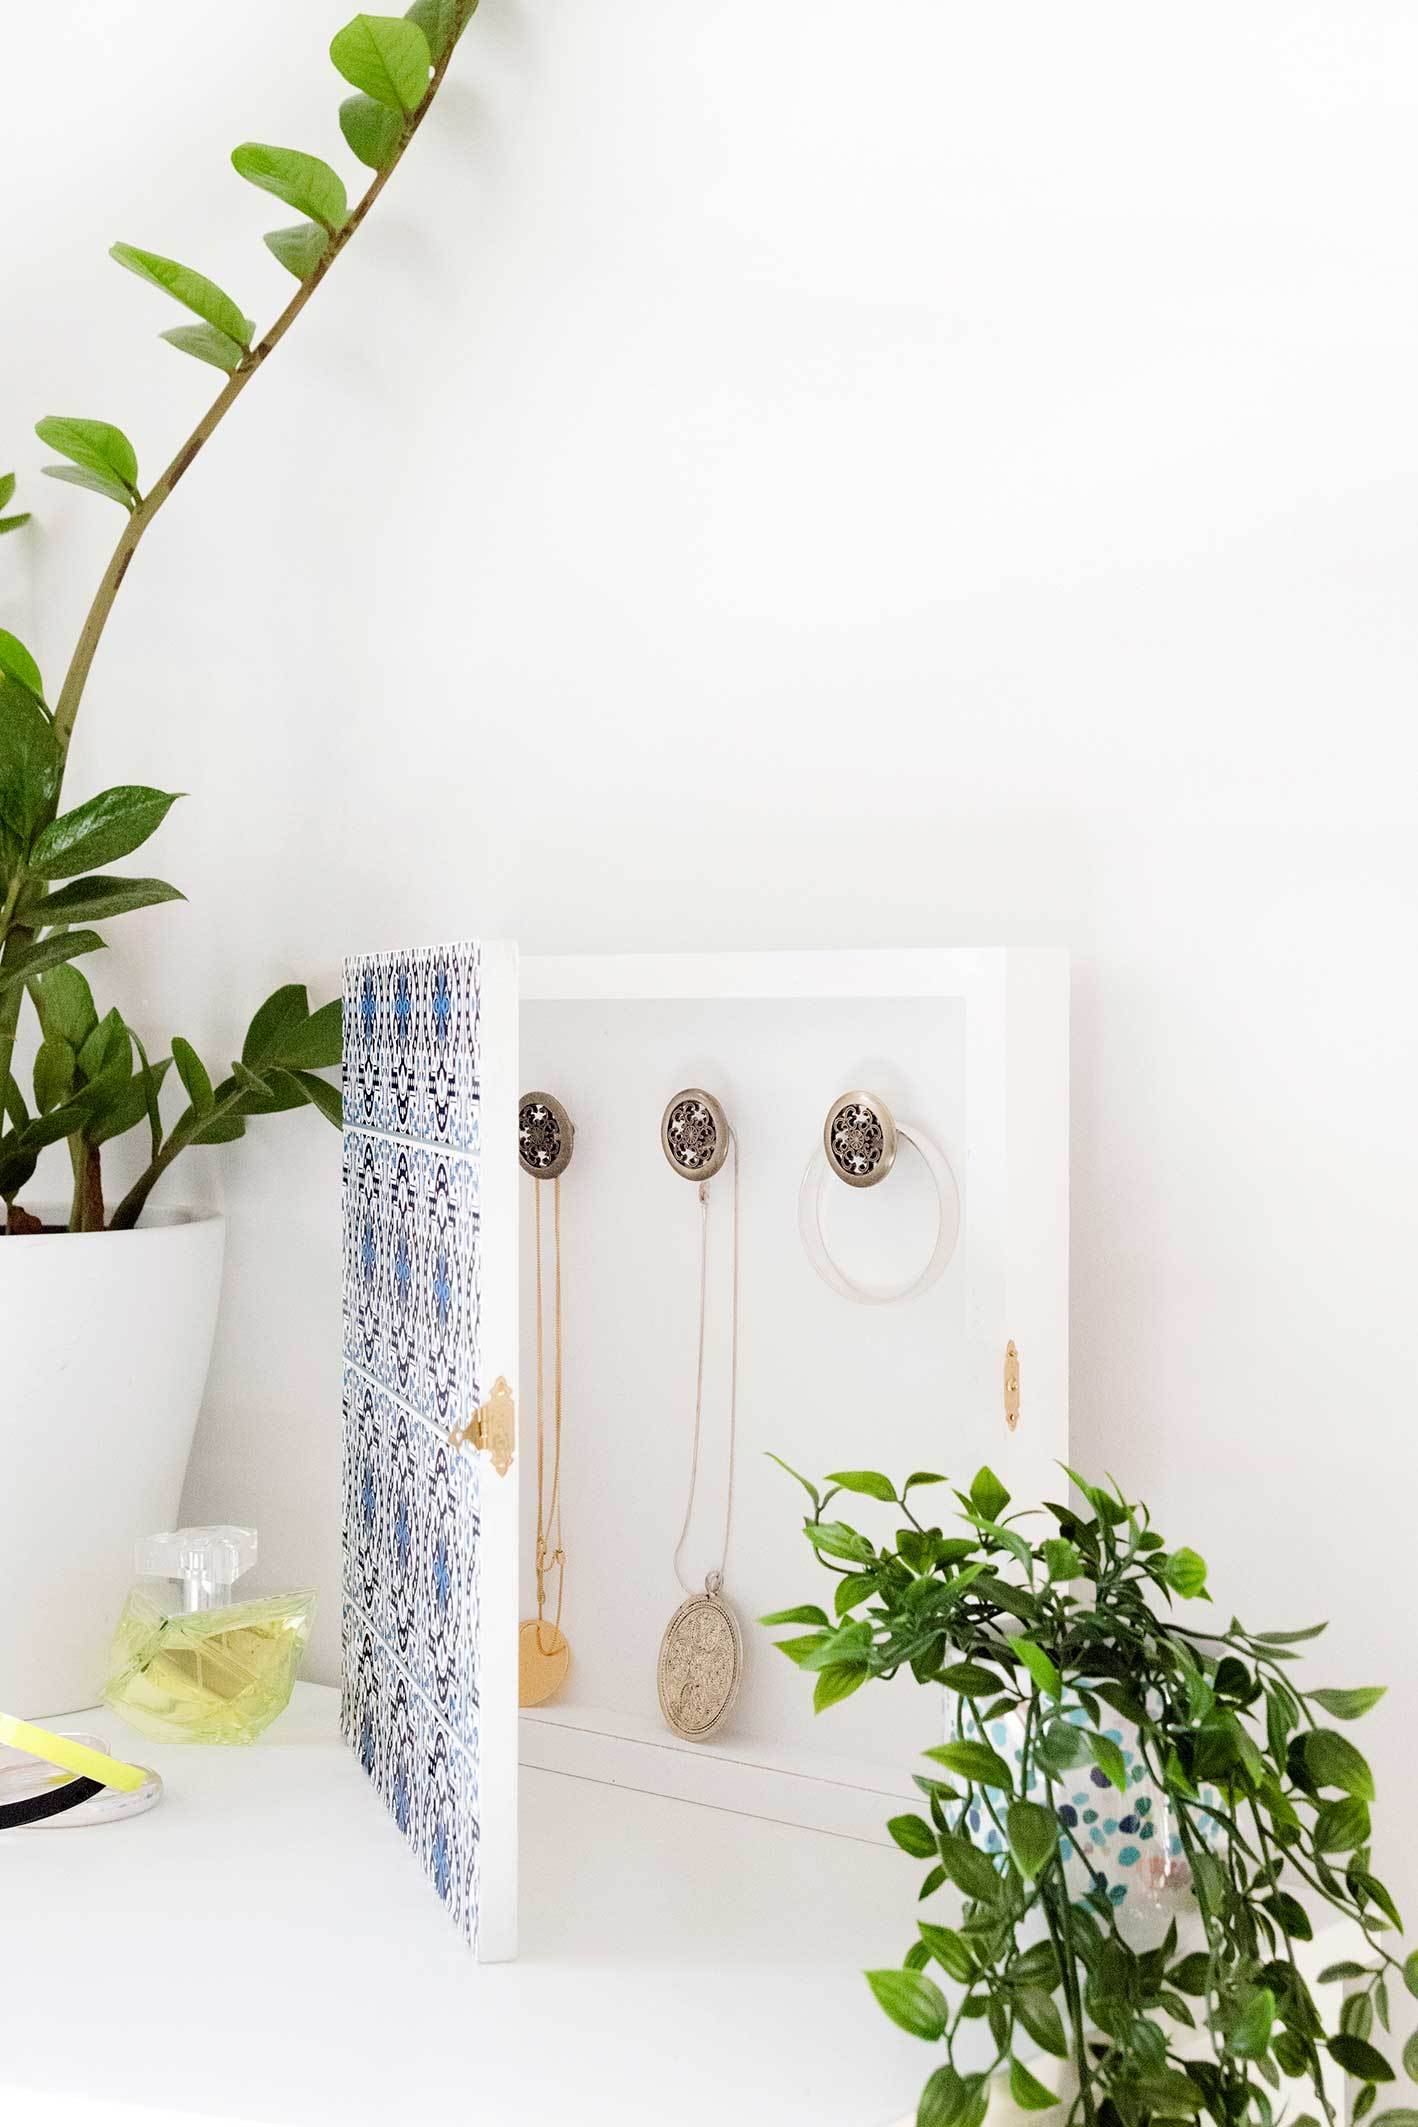
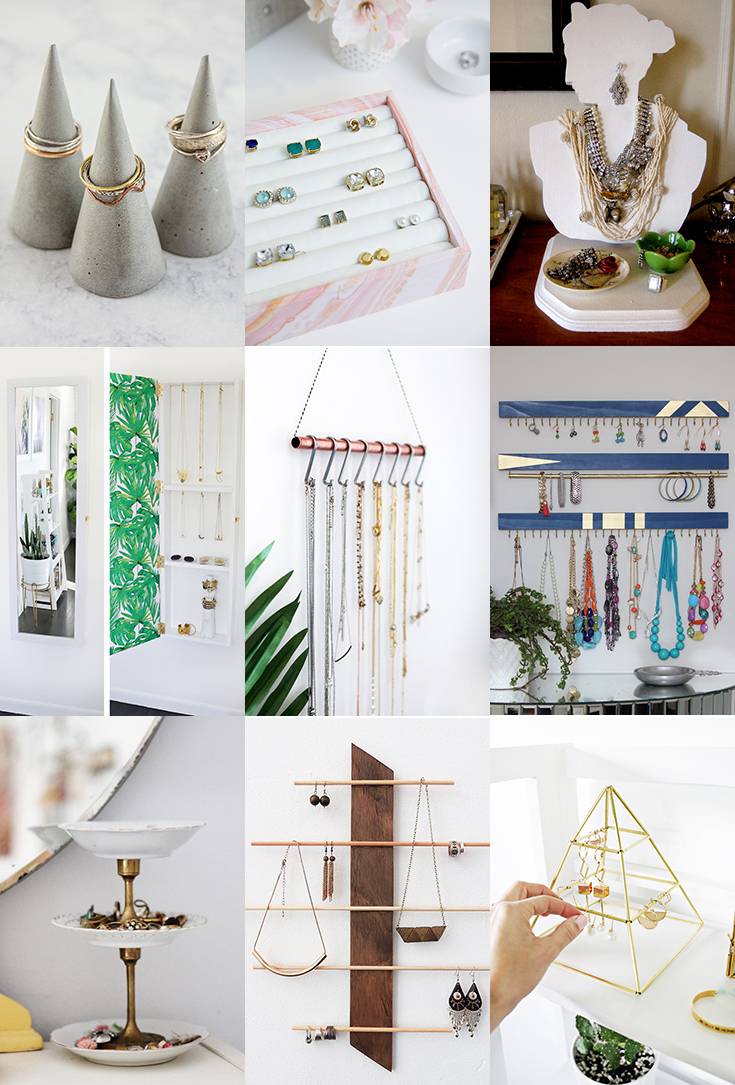
I’ll be the first to say that I adore those earring and necklace holders that are shaped like cacti or little porcelain animals. But they don’t always hold a lot of jewelry, which means my vast collection of pendants ends up overflowing onto my dresser. So instead of using a whole bunch of little bowls that take up space, I thought I’d go down a different route and make myself a jewelry organizer that’s hidden in plain sight. Best of all, I got a brand new piece of wall art to brighten up my walls in the process!
Want to know how to make your own piece of art that doubles as a jewelry organizer? Follow along below for the DIY.
Materials
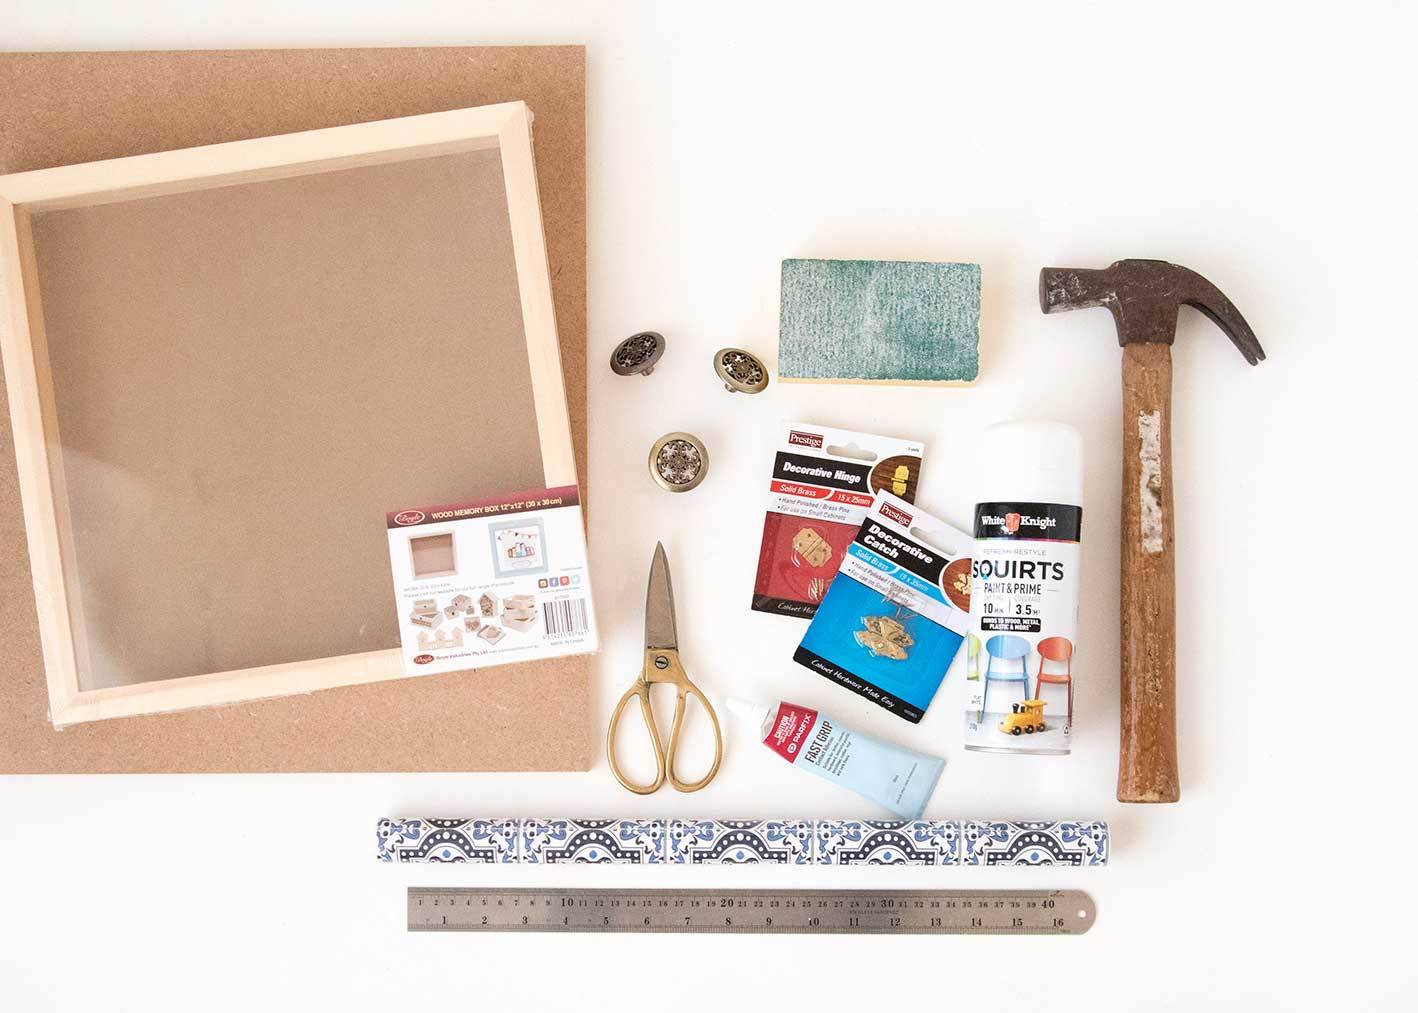
- Wood shadow box frame
- MDF
- Saw and sandpaper
- Primer and white paint
- Hammer
- Two small hinges
- A jewelry box clasp
- Patterned contact paper
- Scissors
- Hooks and/or small doorknobs
- Glue
Step
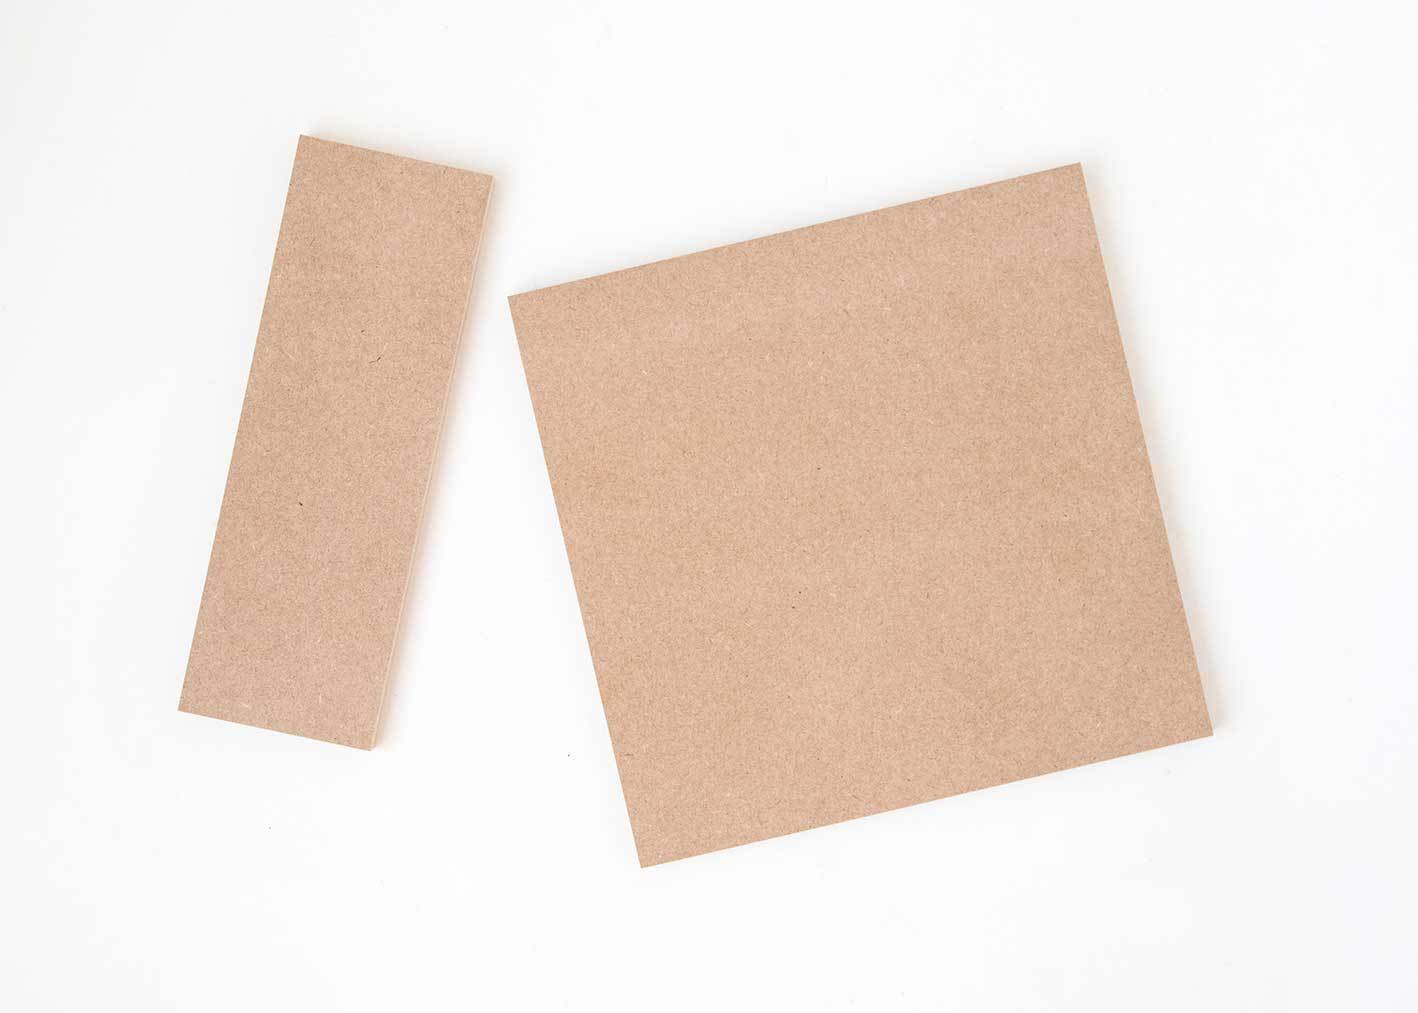 Cut a piece of MDF that is the same size as your shadow box frame.
Step
Remove the glass from your shadow box frame.
Step
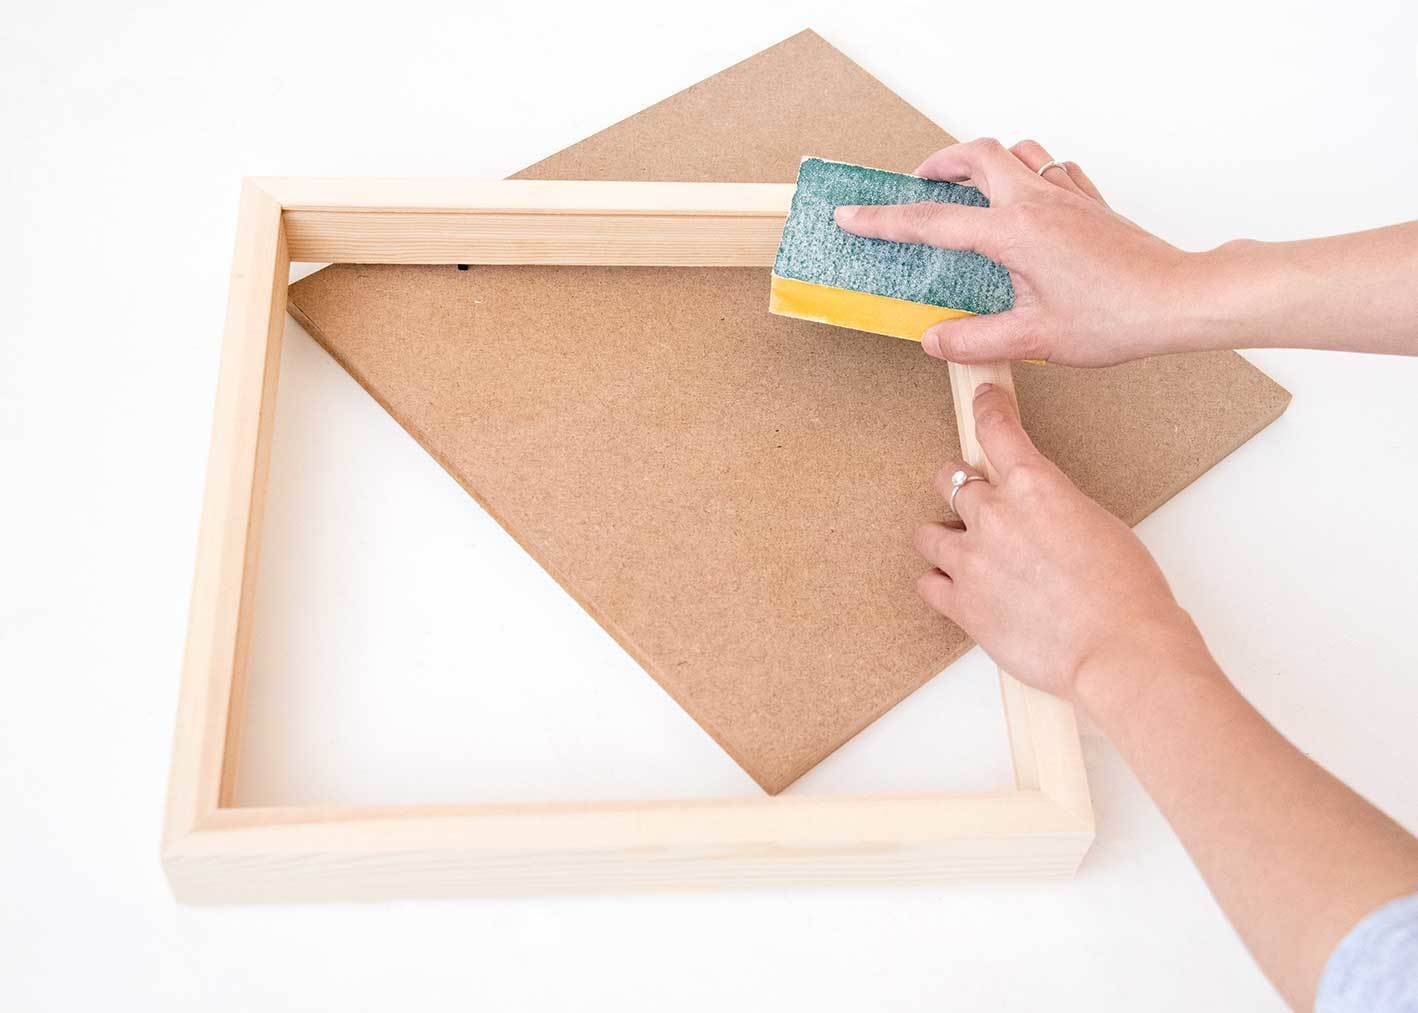
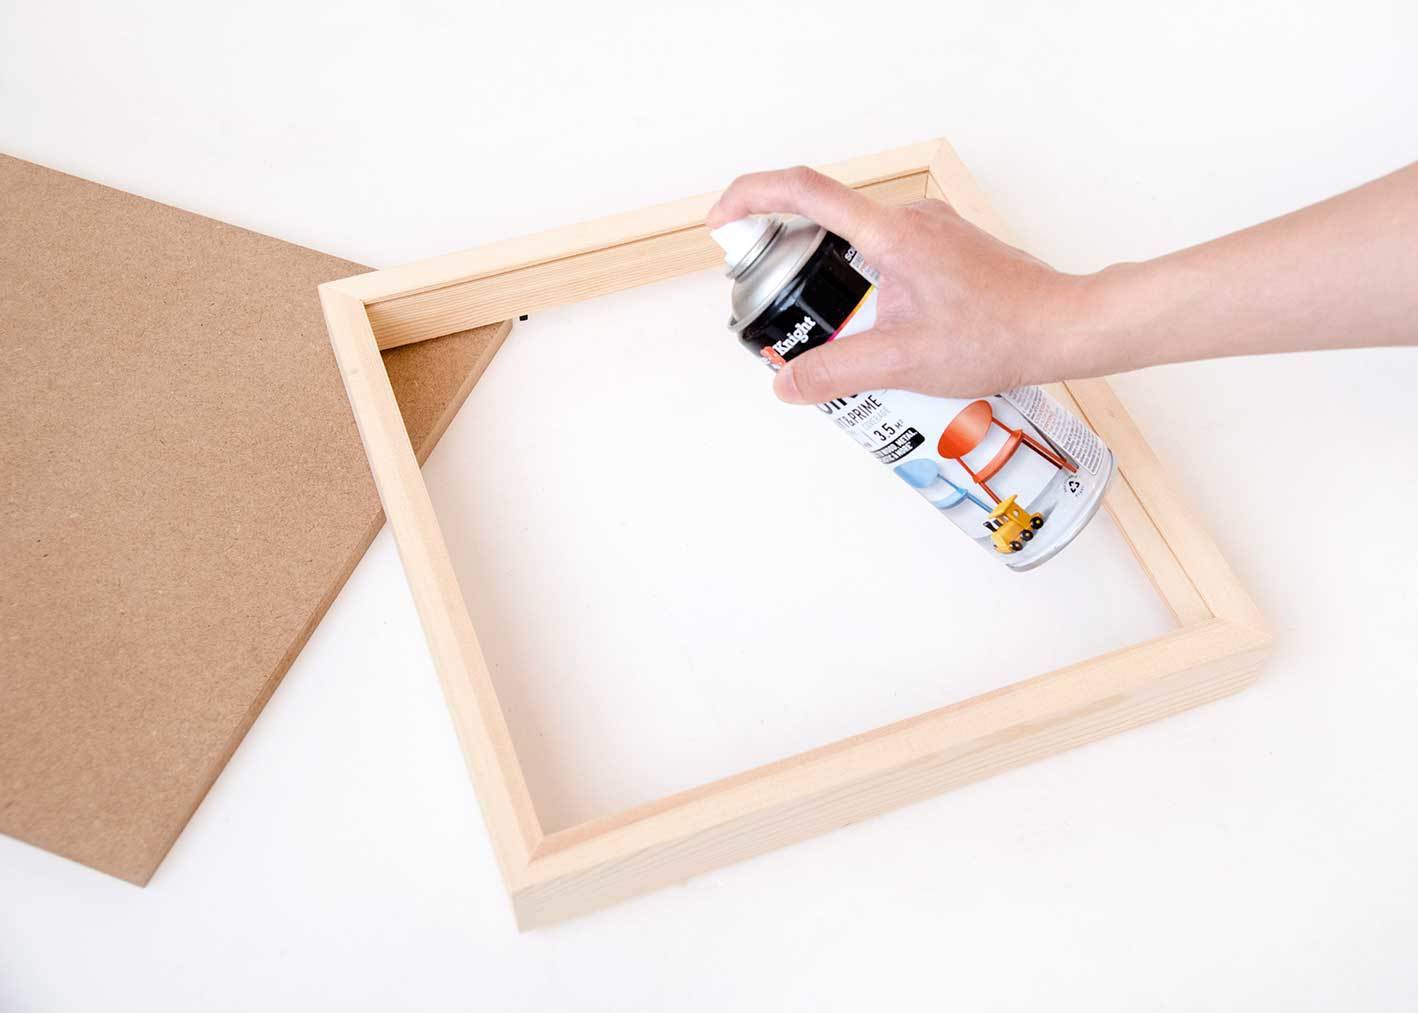
Give the frame and MDF a quick sand and a coat of primer, then paint both pieces white.
Step
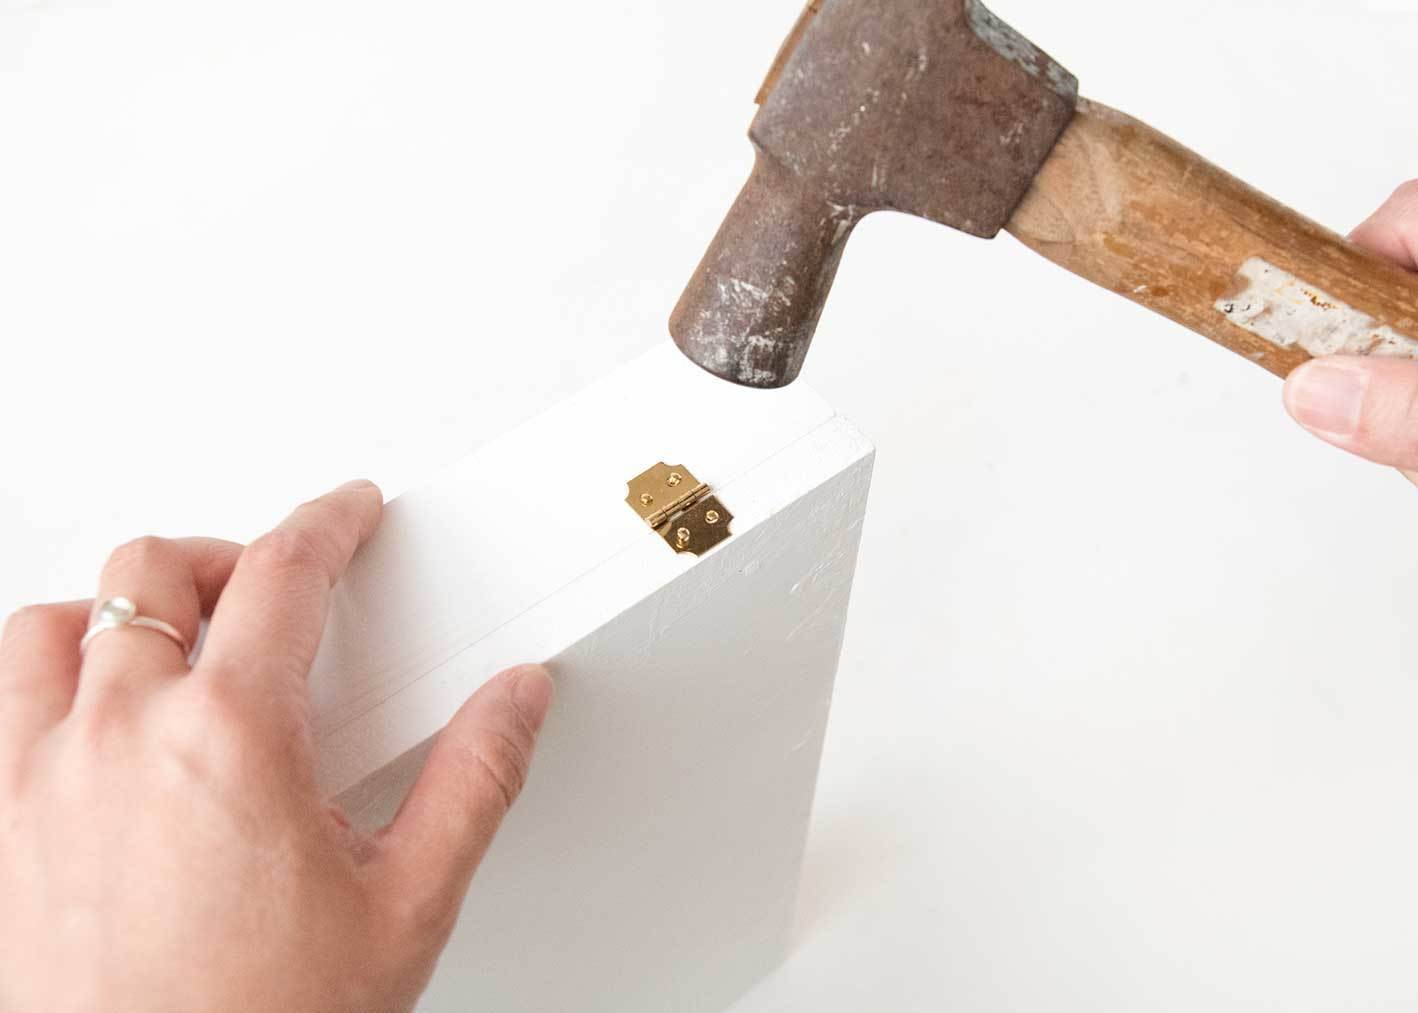
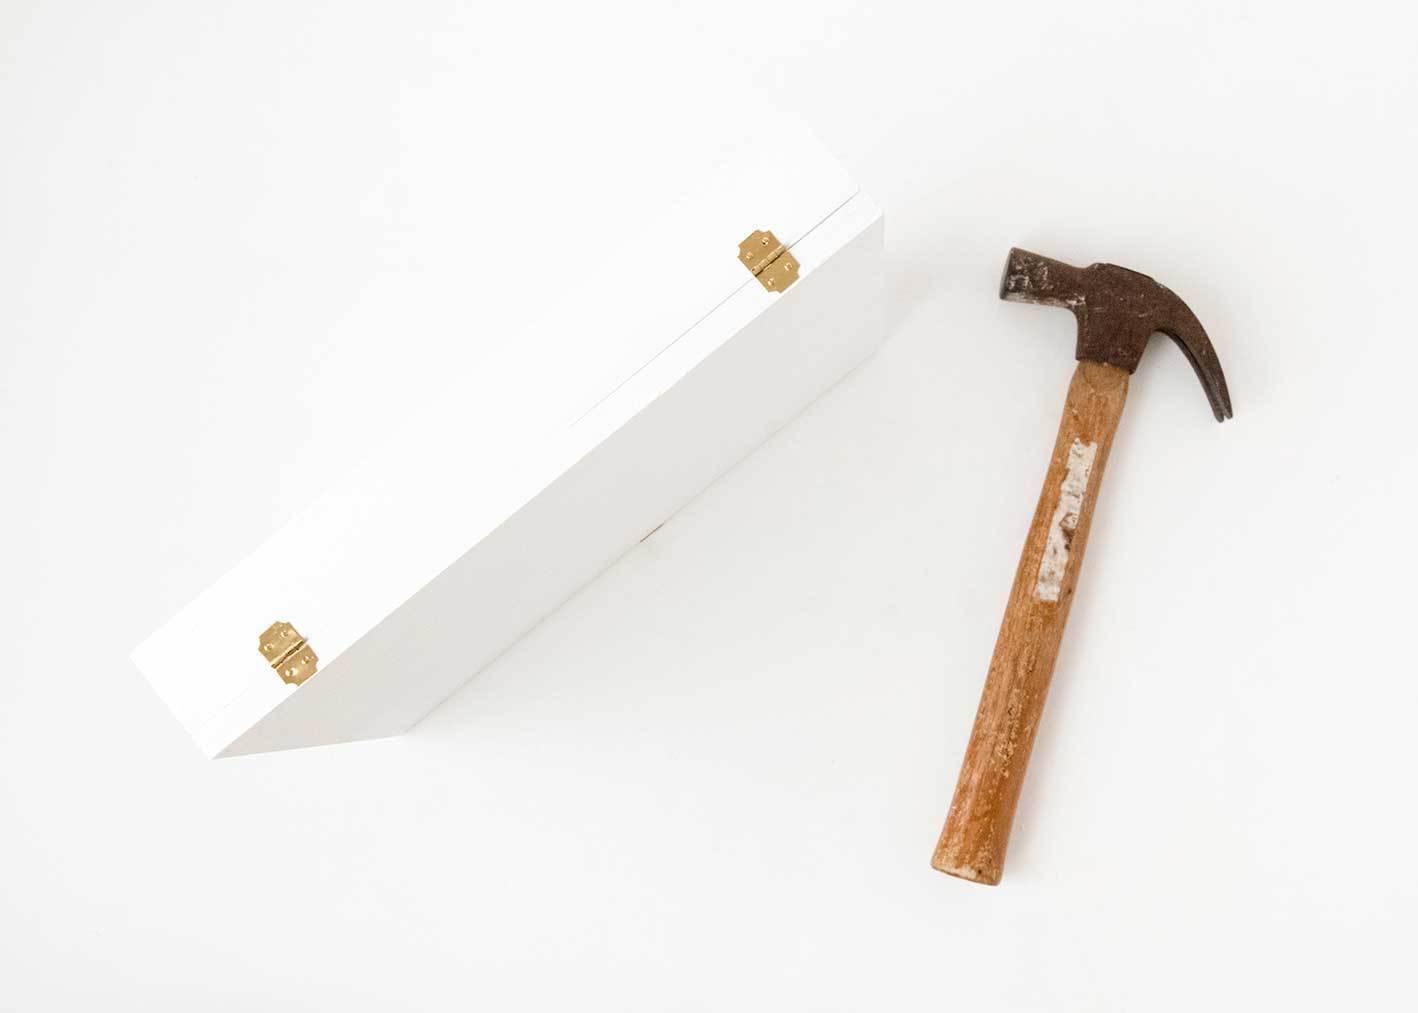
Attach the piece of MDF to the front of your shadow box frame with 2 small hinges so that it forms a door.
Step
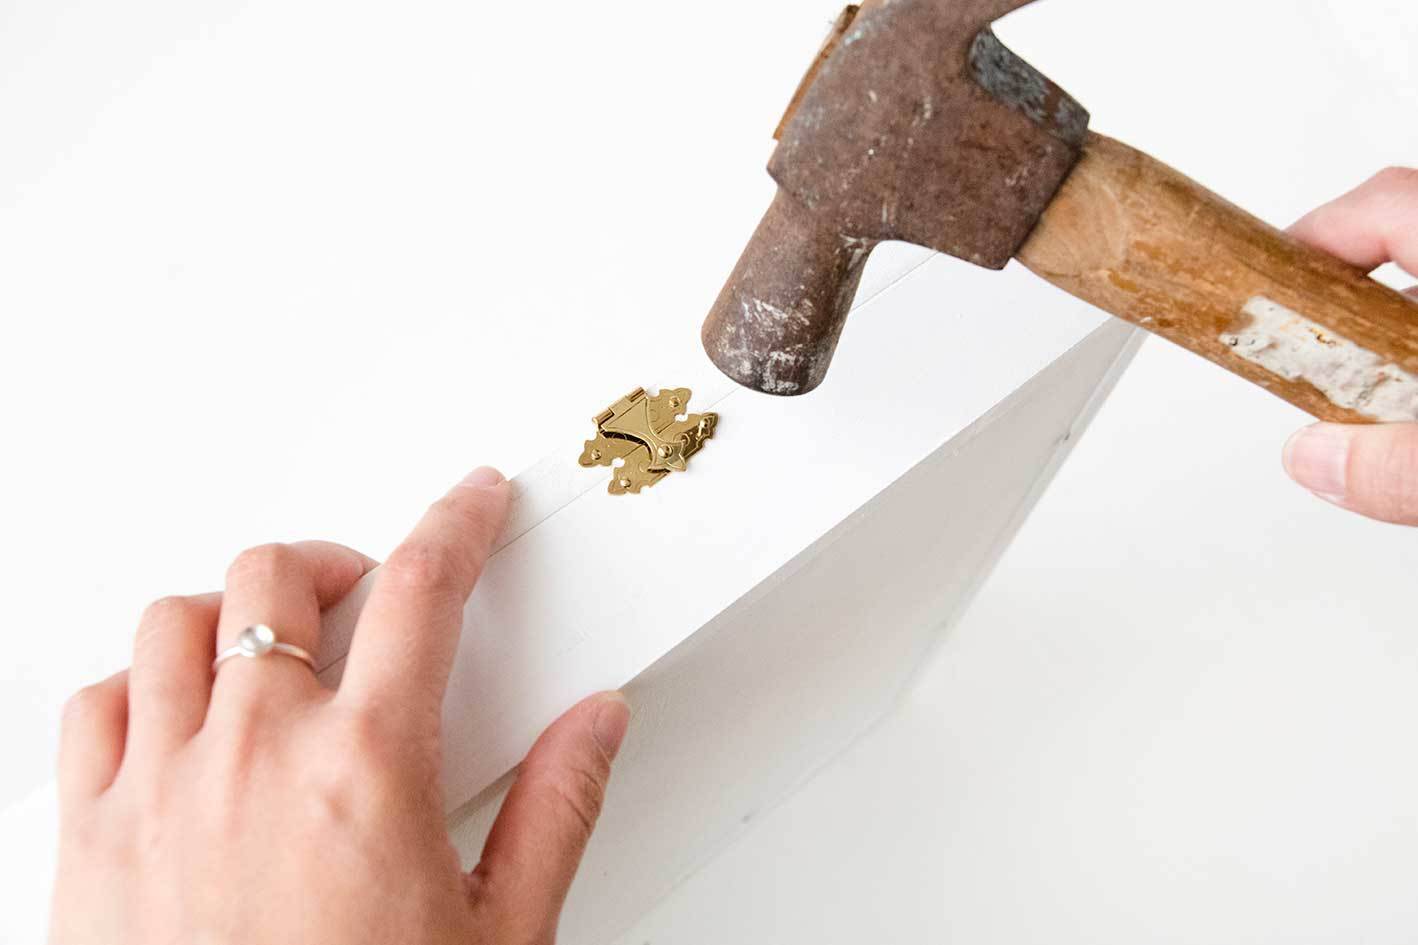
Add a jewelry box clasp on the opposite side to hold the door closed. Your cabinet is now complete!
Step
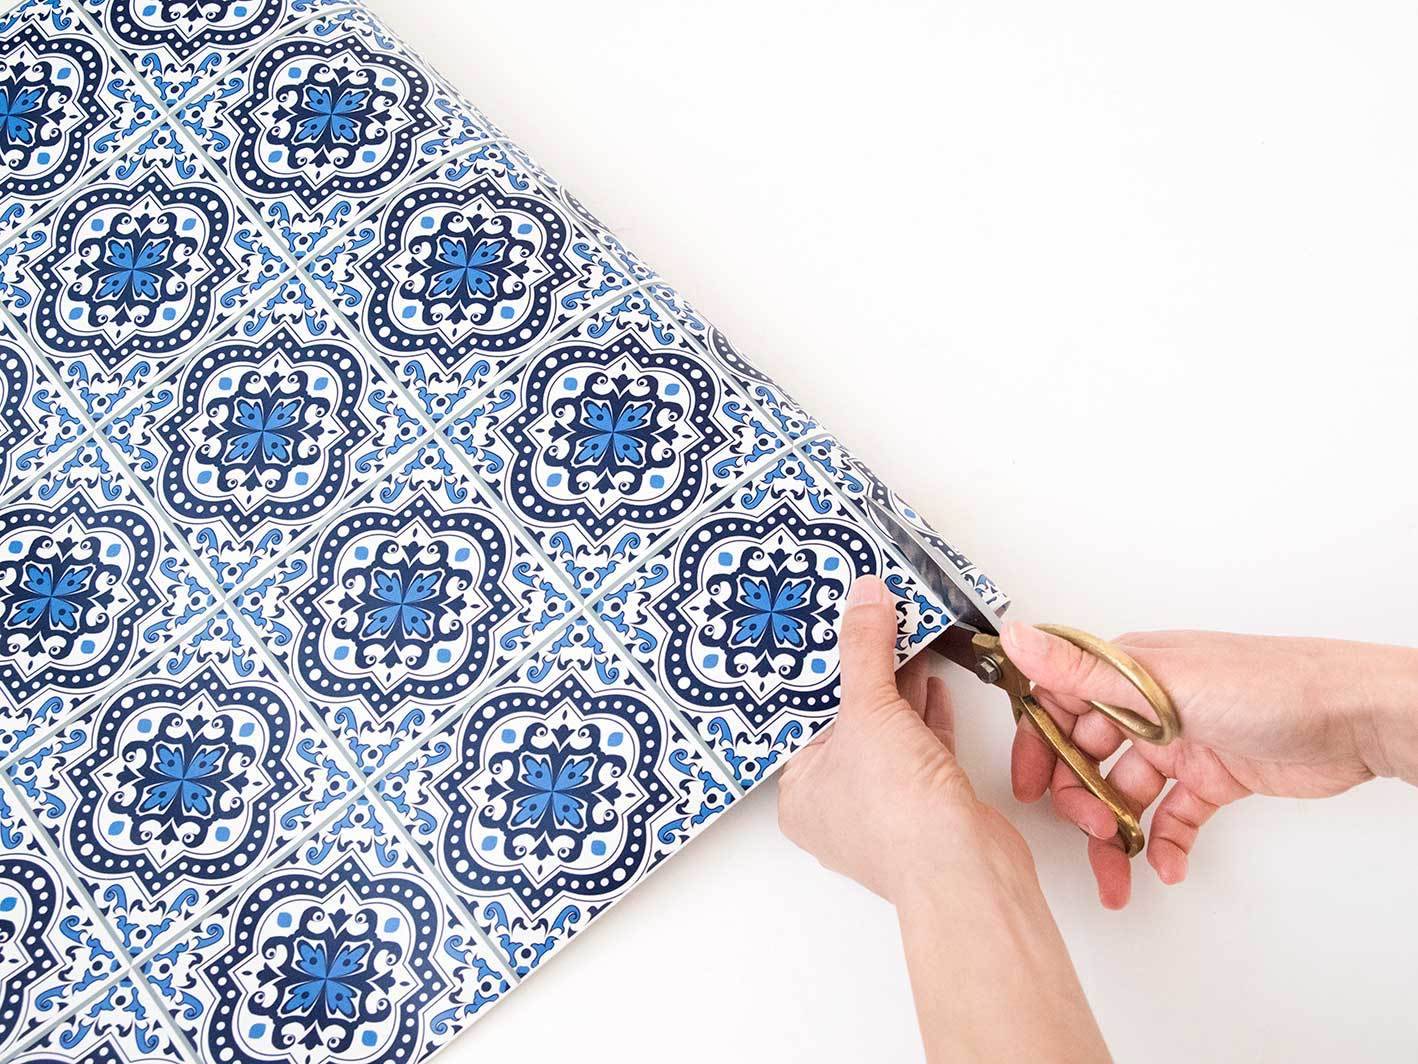
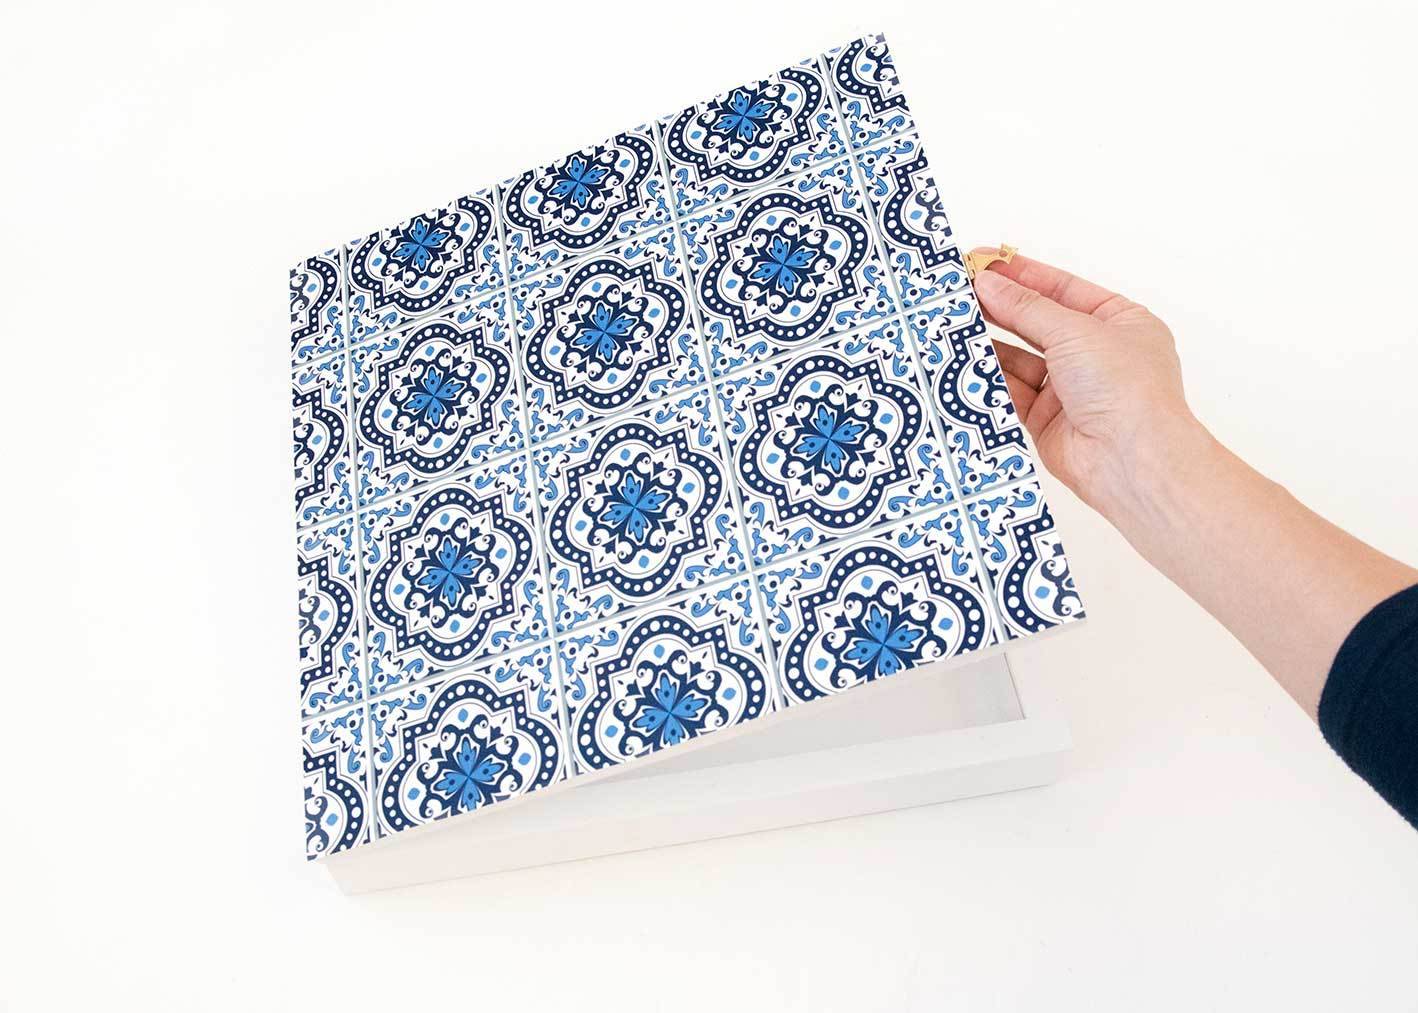
Measure and cut out a piece of decorative contact paper that is the same size as the front of your cabinet, then stick it to the cabinet door.
Step
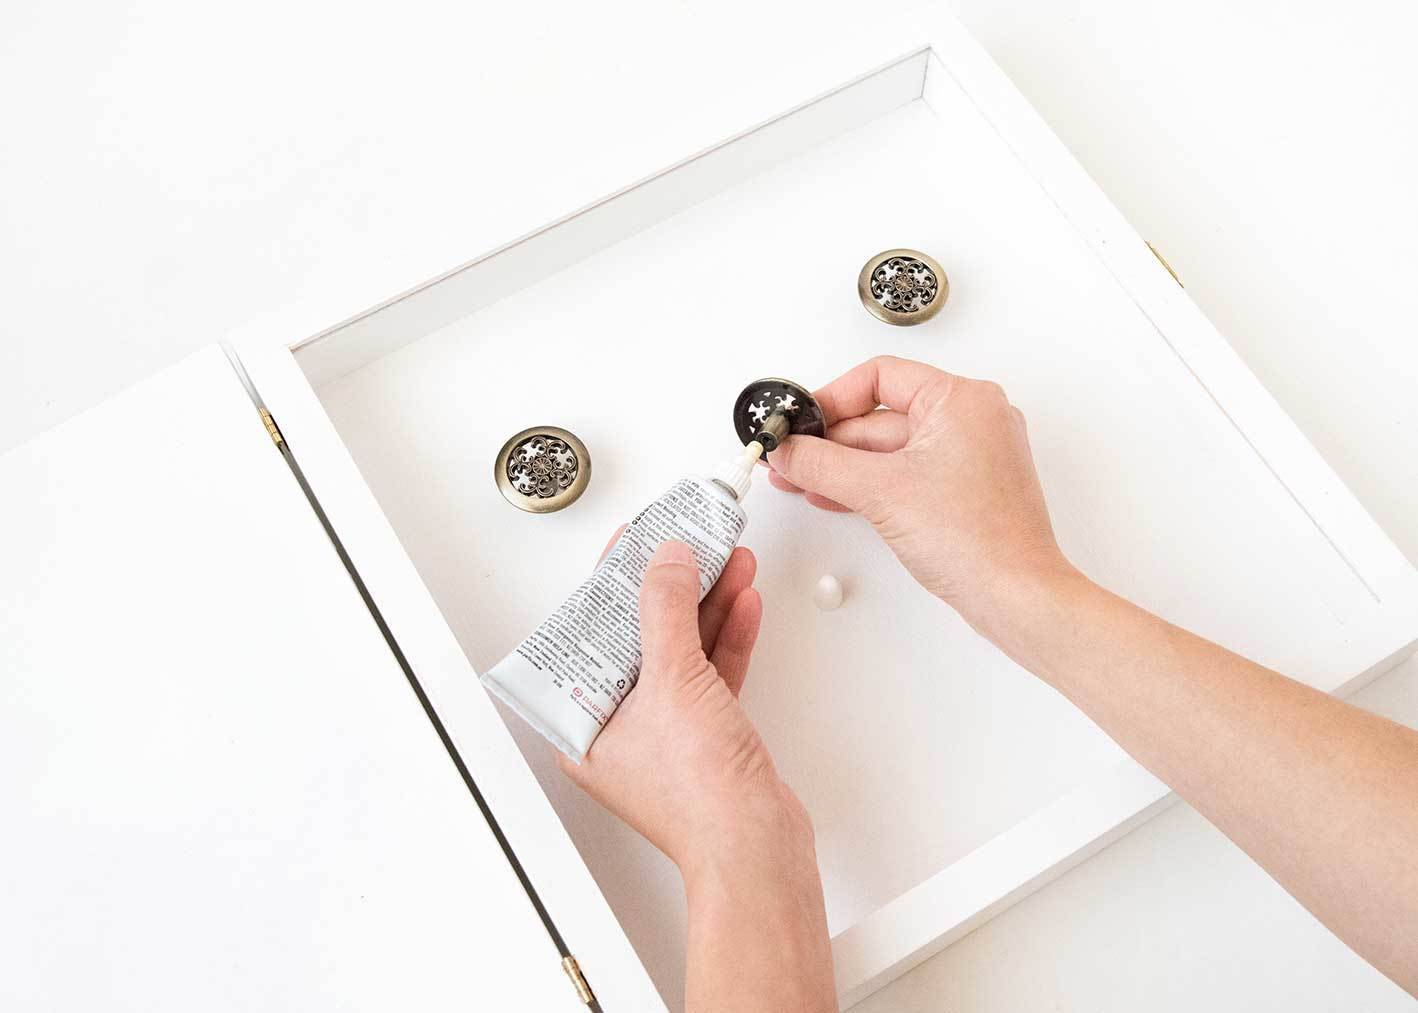
Attach a few hooks and/or some decorative doorknobs to the inside of your cabinet so you have a spot to hang your jewelry. I chose to use three doorknobs, which I glued in place towards the top of the cabinet, but you can use small picture hooks instead if you prefer.
Once that’s done, simply hang your pendants, close the door and no-one will be any the wiser that your new piece of art also doubles as your jewelry organizer!
