It happens every morning.
I pull on my shoes, search around for my keys, and realize I didn’t put on my earrings yet. And as surely as I know that the bus is always running late, I know that I can’t find the pair of earrings I want to wear.
Is it just me, or is jewelry one of the hardest things to keep organized??
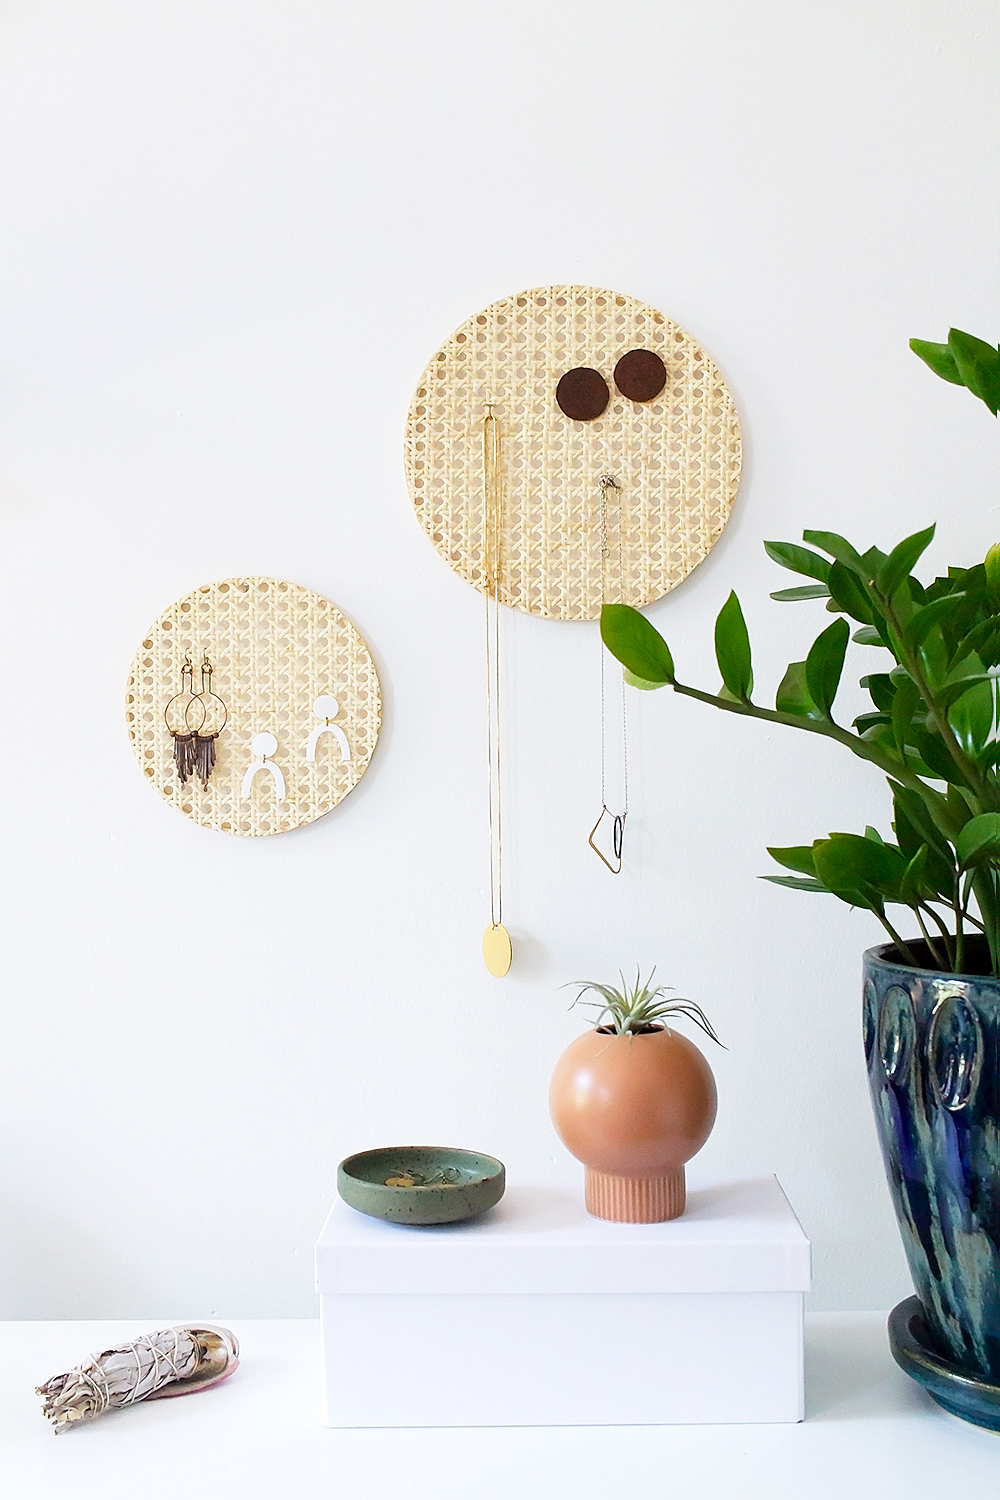
Click through to see how I made this necklace and earring organizer!
To put an end to the exasperating daily ritual of digging through piles of earrings in my jewelry box, I needed a pretty and functional jewelry storage solution to display the most-worn pieces. And preferably, something minimal and modern, to suit my Scandinavian-meets-Bohemian style. Enter rattan. It’s stylish, on-trend, easy to work with, and is PERFECT for hanging jewelry!
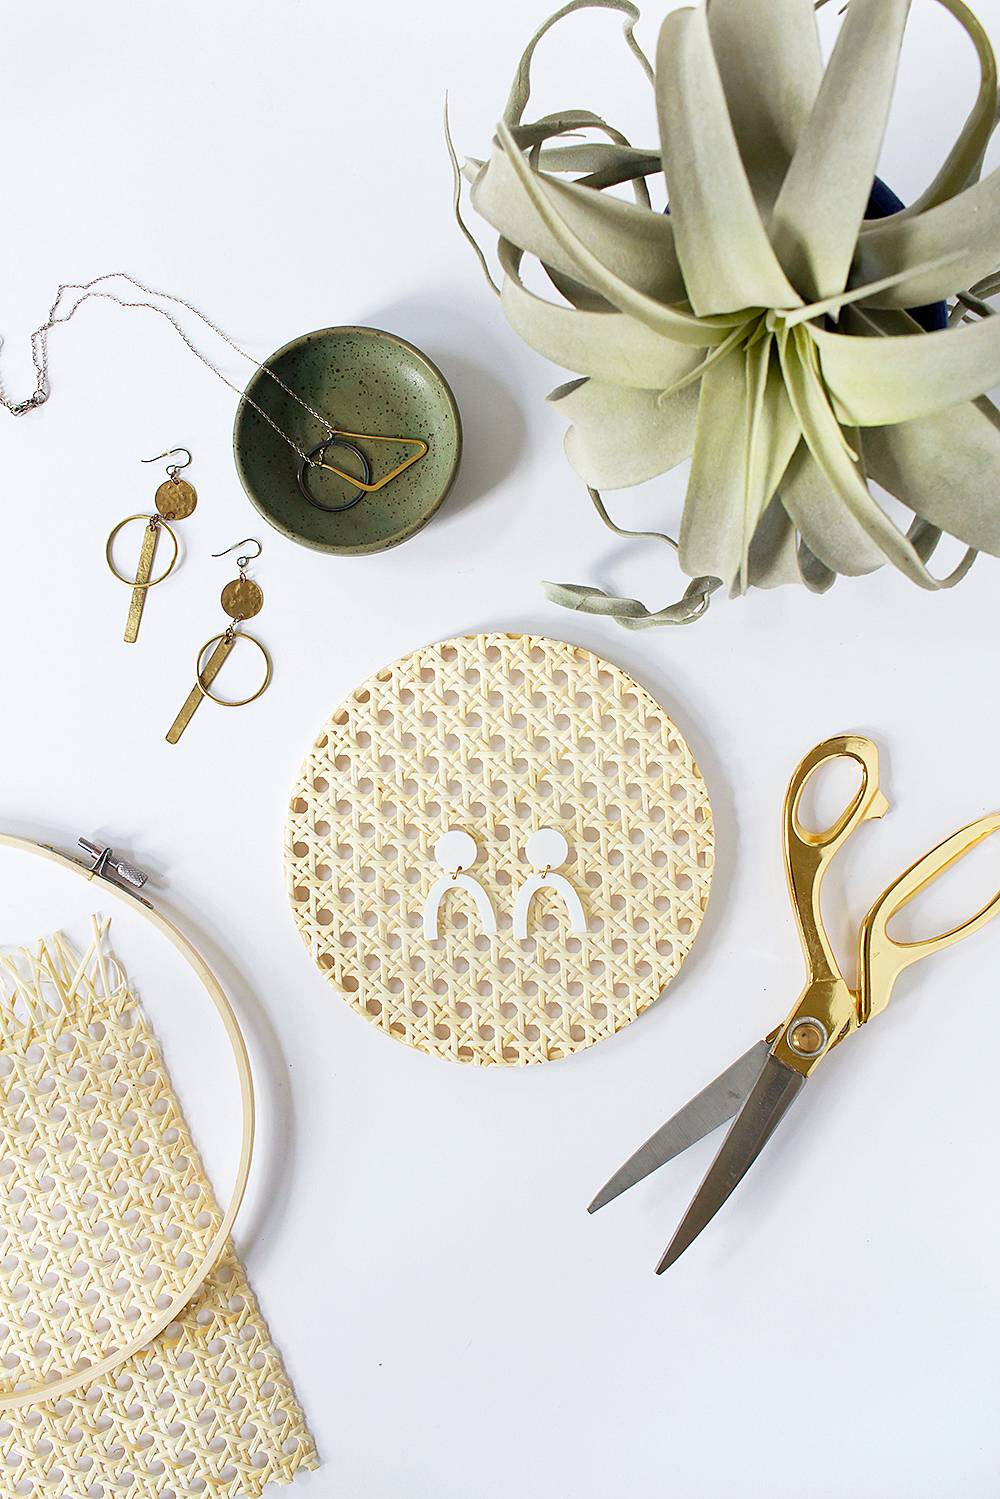
Best of all, it only takes a few hours (mostly inactive!) to make this DIY necklace and earring organizer. That’s good news for people like me who need extra time to find the other necessities I haven’t organized yet… Want to learn how to make your own? Check out the easy steps below!
Materials
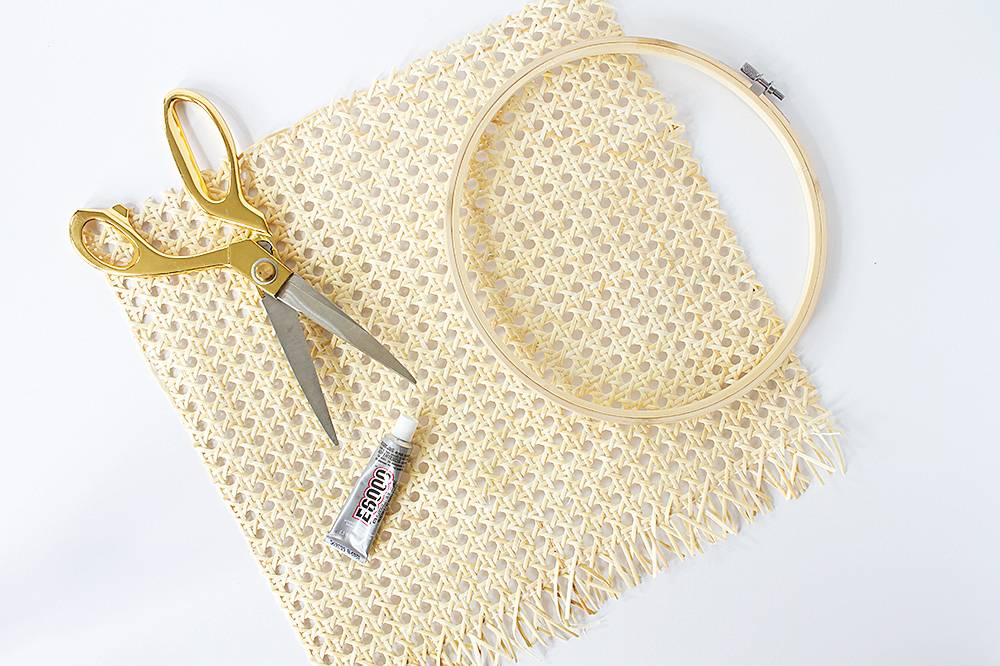
- Cane webbing (I found the best deal on Amazon)
- Embroidery hoop
- Strong clear glue such as E6000
- Scissors
- Heavy objects and books to weigh down the rattan
- Optional: T-pins and super glue
Step
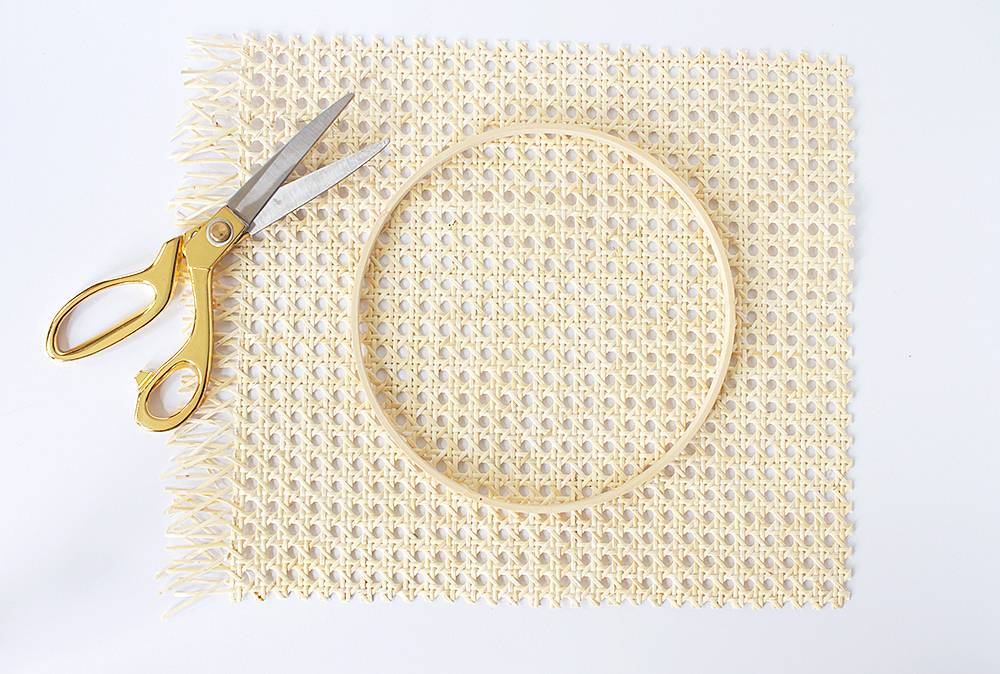
Remove the outer frame of the embroidery hoop (we’ll only by using the inner ring for this project). Cut a piece of cane webbing that’s a few inches larger than the embroidery hoop.
Step
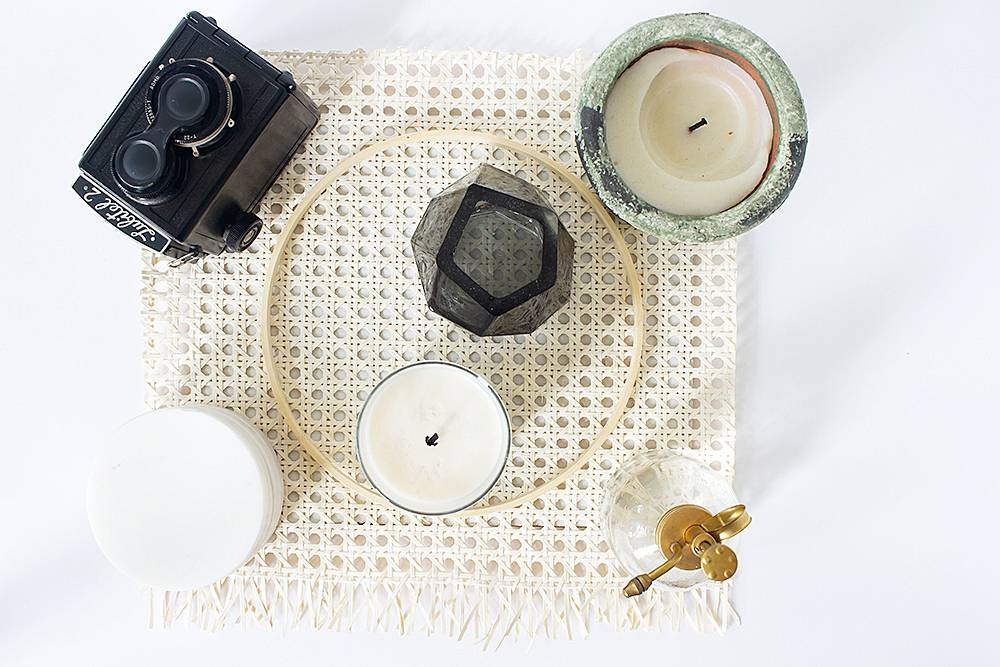
Turn the cane webbing over so that the back side is facing up.
Starting at the center of the hoop, use your hands to flatten and smooth the cane webbing, then place heavy objects on top to weigh it down and make it as flat as possible. As you can see, jar candles work well!
Step
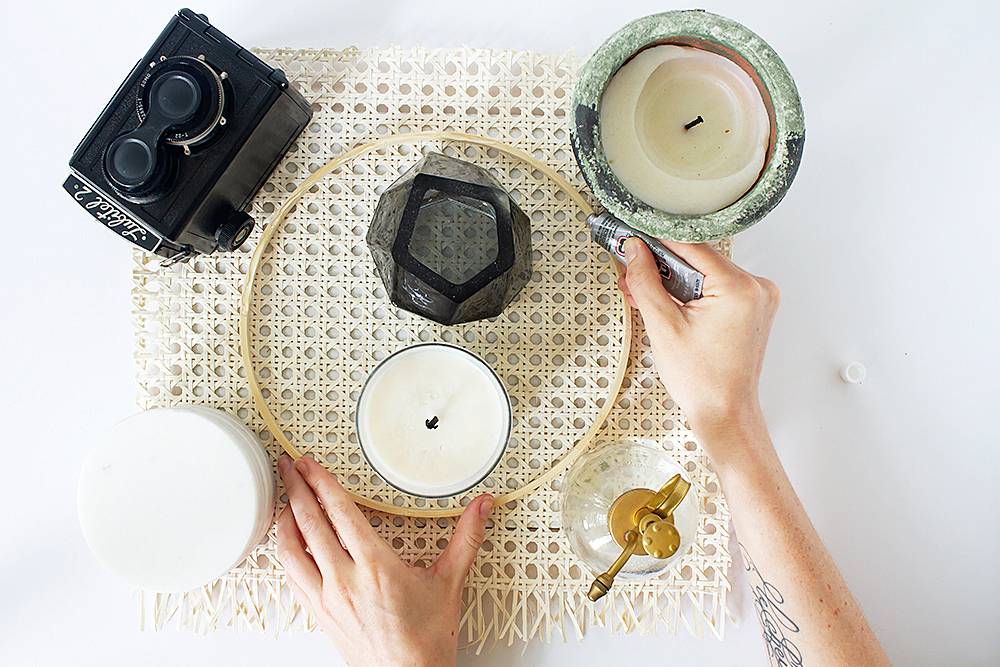
Run a bead of clear strong glue* all the way around the top edge of the embroidery frame.
Step
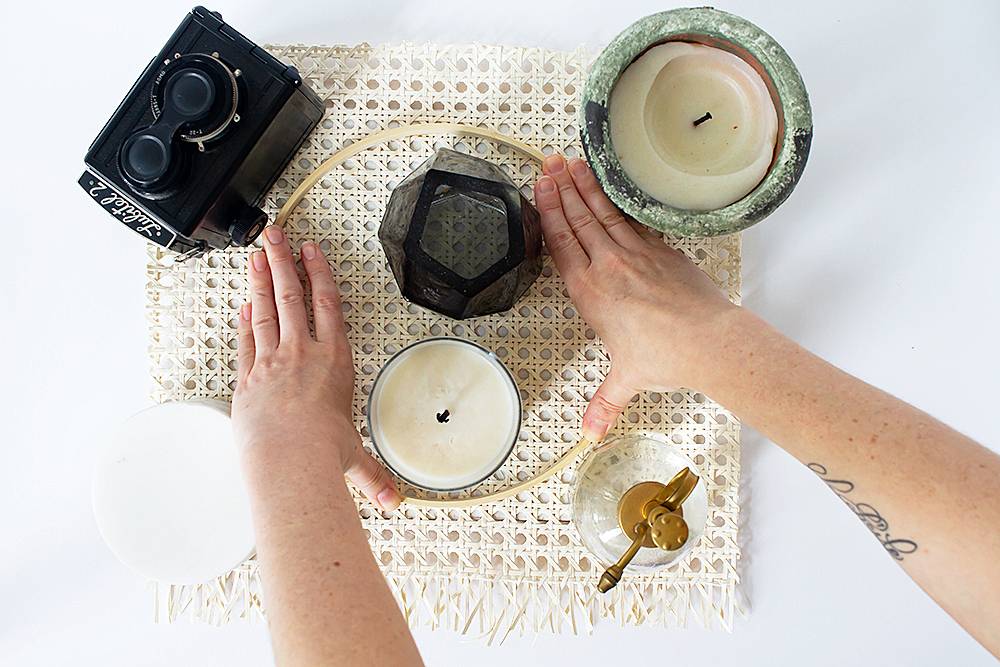
Flip the hoop over so that the glue is facing down, and press the hoop firmly into place on the cane webbing. Hold it in that position for a few minutes, making sure that the entire hoop is in contact with the webbing.
Step
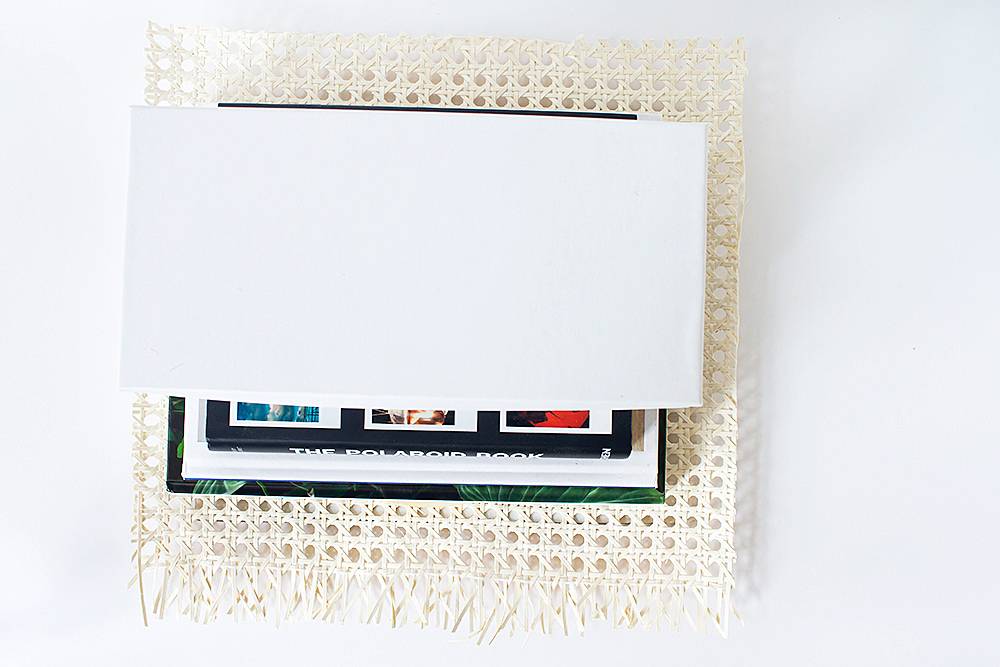
After 4-5 minutes, the glue should be set enough that you can remove all of the objects and replace them with a stack of books.
Keep the books on top of the embroidery hoop until the glue has dried completely (about 5 hours in my case).
Step
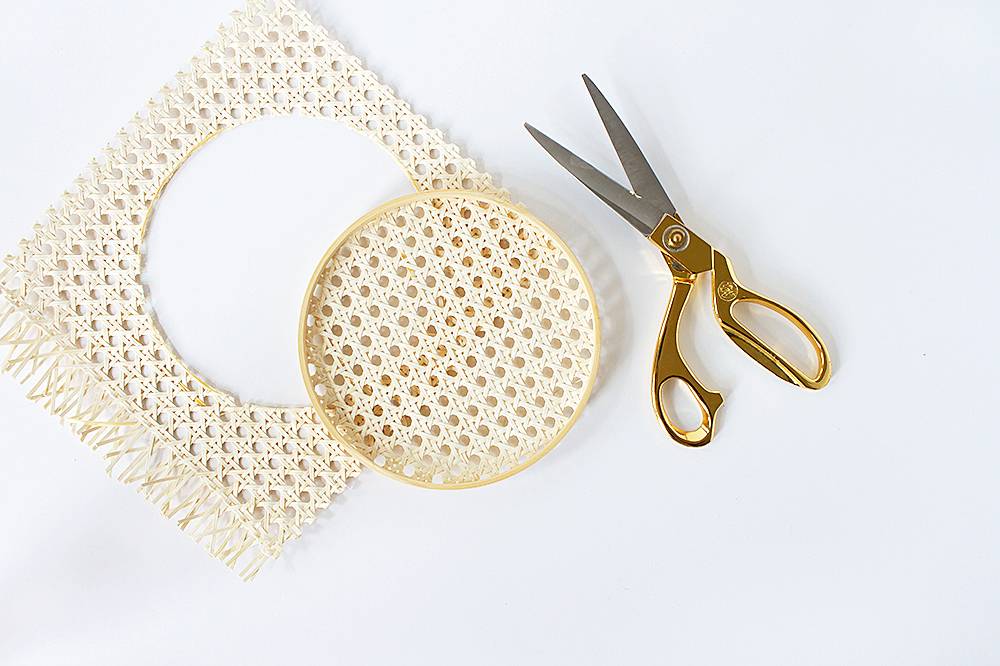
Once the project has dried, trim off the excess cane webbing around the hoop. I found it easiest to get a clean cut from the back side, cutting right up to the edge of the hoop. The cane webbing is very easy to cut and won’t fray on you!
Step
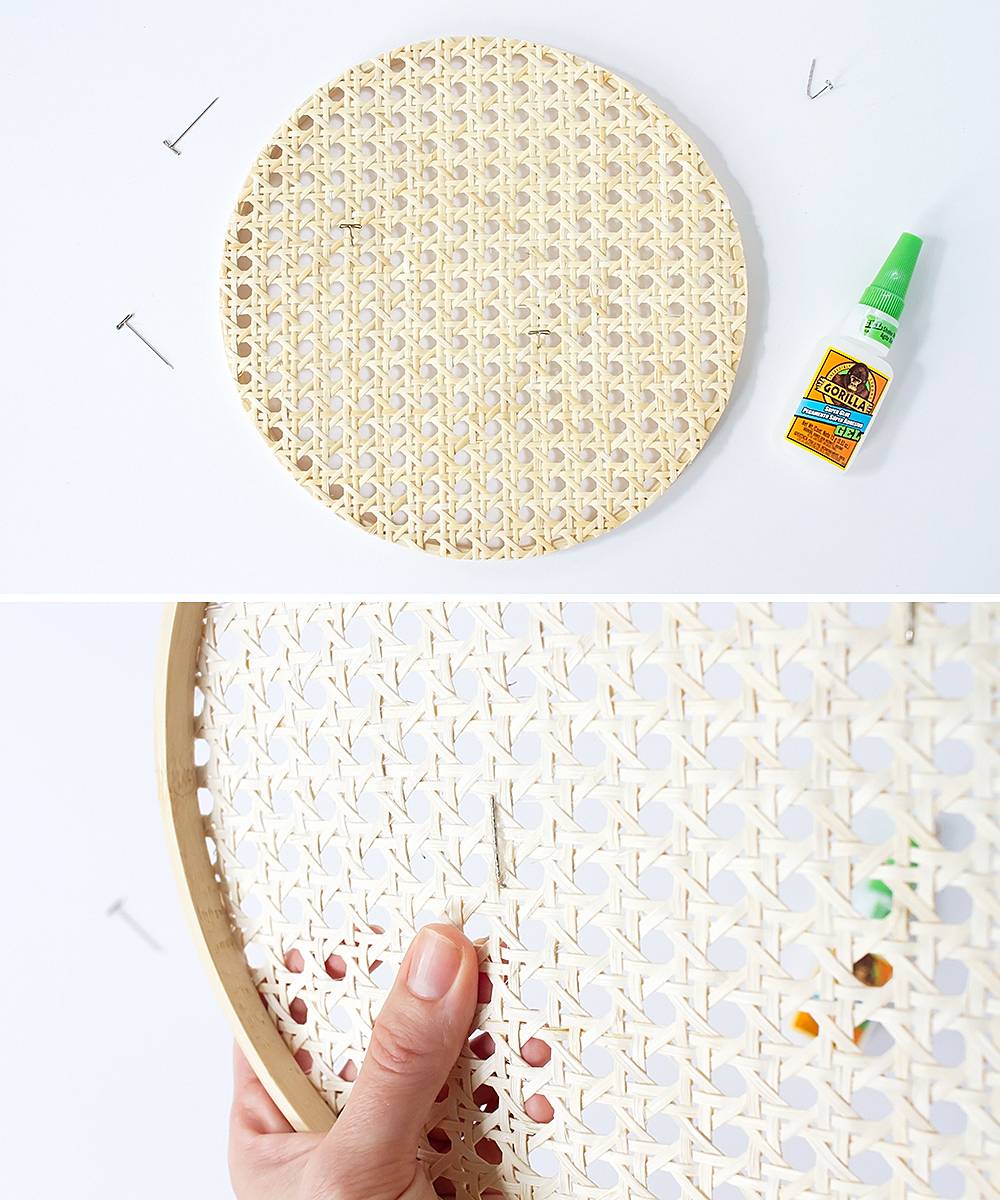
Optional: If you want to use this earring organizer for necklaces too, grab a few T-pins and bend them so they form a hook.
Insert the hooks through the cane webbing, and glue* them down on the reverse side of the piece.
And that’s it! Now you can display your jewelry on a fun, modern rattan necklace and earring organizer!
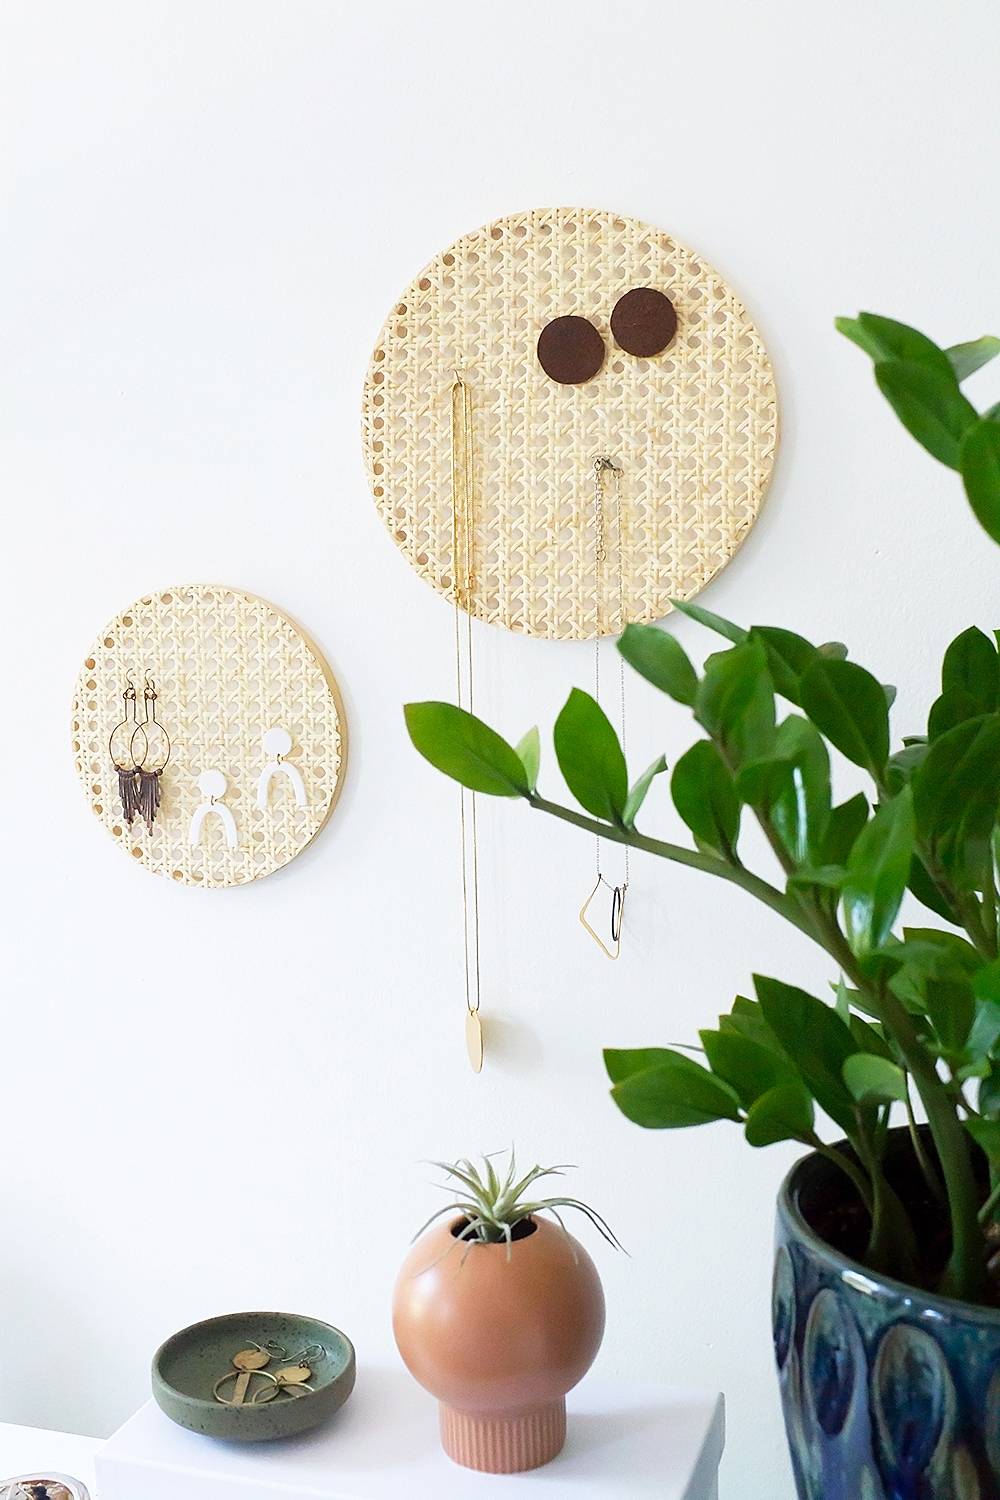
Psst: those leather circle earrings are also a DIY!
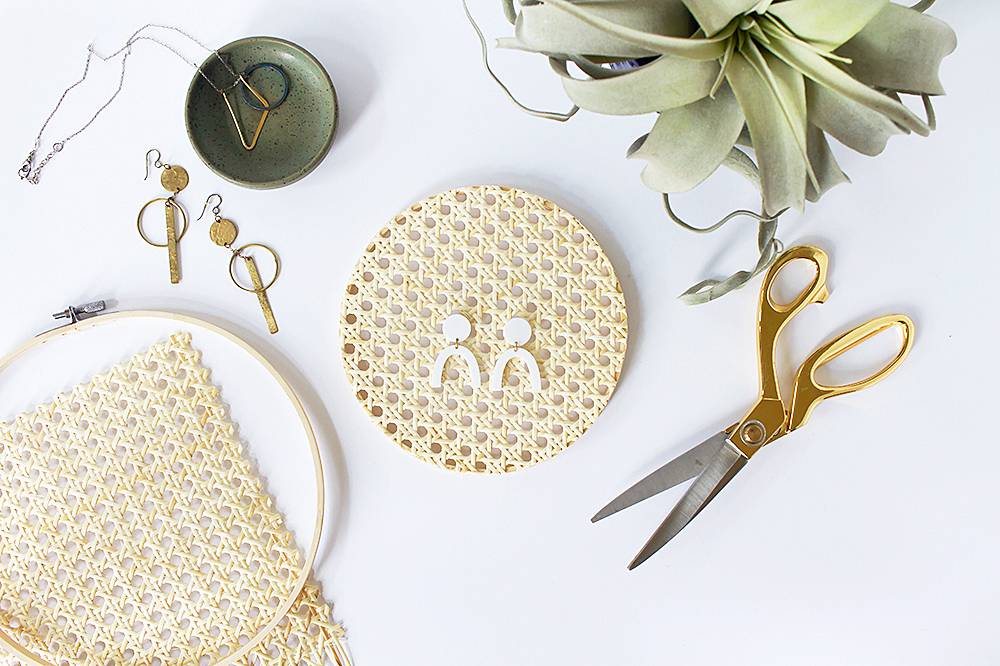
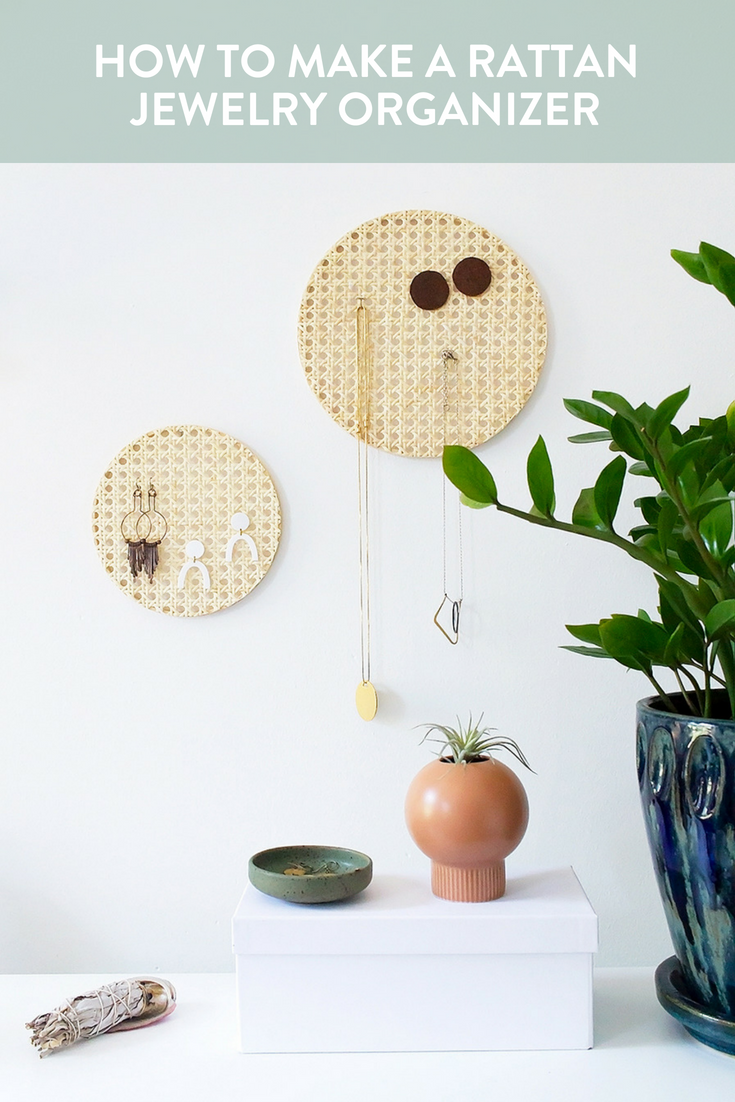
I’m looking forward to getting out the door faster, now that my favorite jewelry pieces are stashed where I can easily reach them! Or at least if I’m late, it won’t be because of earrings.
Do you have any tips for pretty jewelry organization? What do you think of this rattan jewelry hanger?
Awesome job, Marlene. Super clever, and the execution is lovely. Thanks for sharing with us.
Thank you, Chris, that is so kind of you to say! I really appreciate it!
Dear Ms Sauer, these gorgeous rattan jewelry organizer simply swoon us over! Do you mind if we share a link to this tutorial on our face book page?