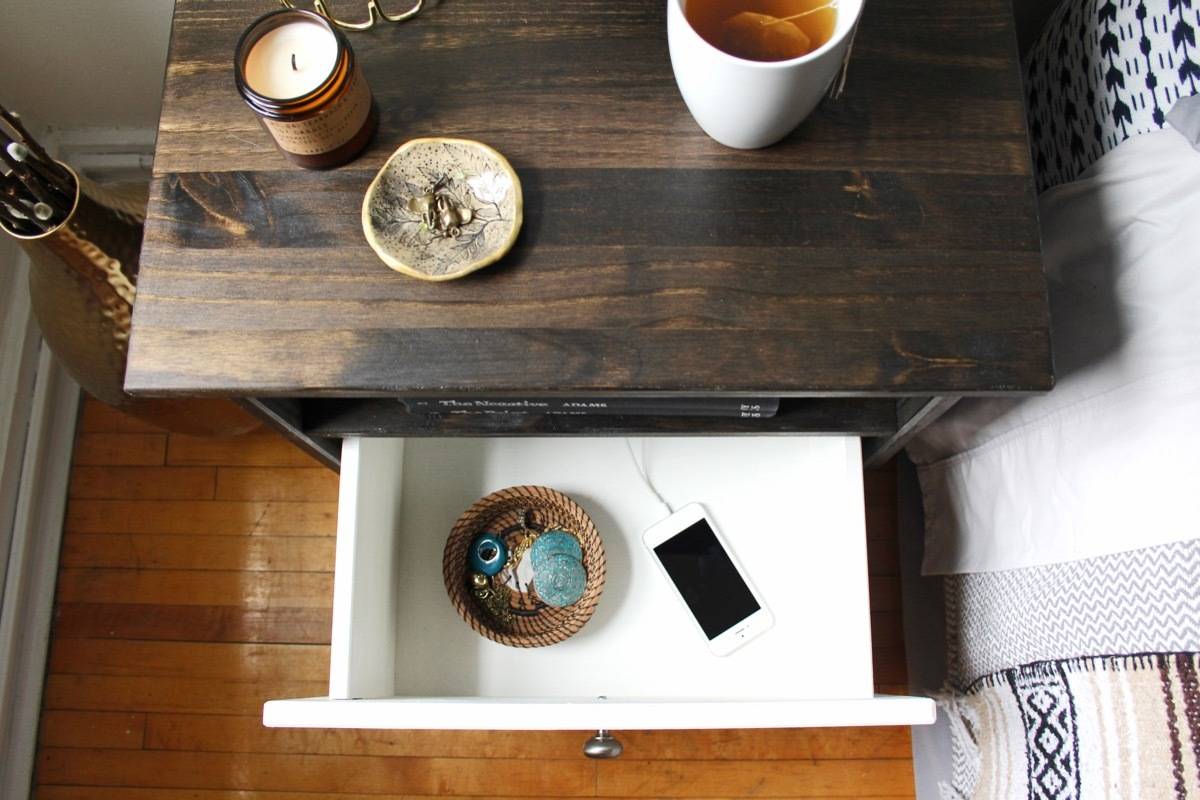
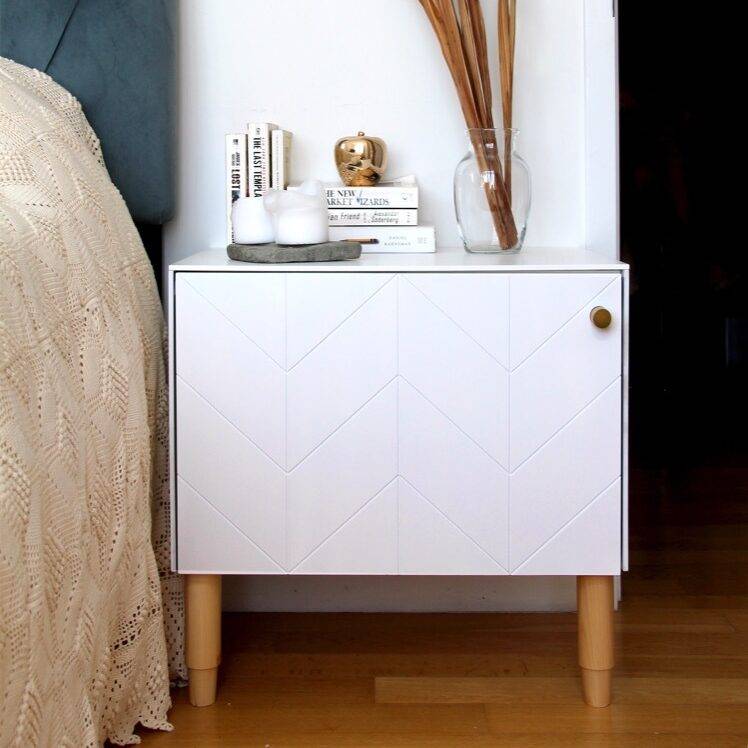
Before I bought this nightstand, I had never stepped foot in an IKEA (gasp!). It wasn’t for lack of wanting to, I just never had the opportunity before. As a former small-town gal, I haven’t lived within driving distance of an IKEA up until I moved to the big city (more specifically, the Twin Cities) about a year and a half ago. Since moving, I’ve been putting off a trip to the IKEA because I know myself too well. I know that I love cute home decor, and I knew that I’d want to take everything in that store home with me. Impulsive purchasing aside, I needed a new nightstand. Let me tell you two things: #1. IKEA is awesome (and massive and a bit confusing at first – but they have Swedish Fish which totally made up for me getting lost), and #2. I love this TARVA IKEA nightstand because it is so hackable.
My favorite thing about the TARVA (and the reason I went to IKEA to pick it up in the first place) is that it’s almost entirely wood. It’s basically a blank canvas. The bare wood leaves so much room for creativity – staining, painting, or leaving minimally au naturel. And it’s so sturdy!
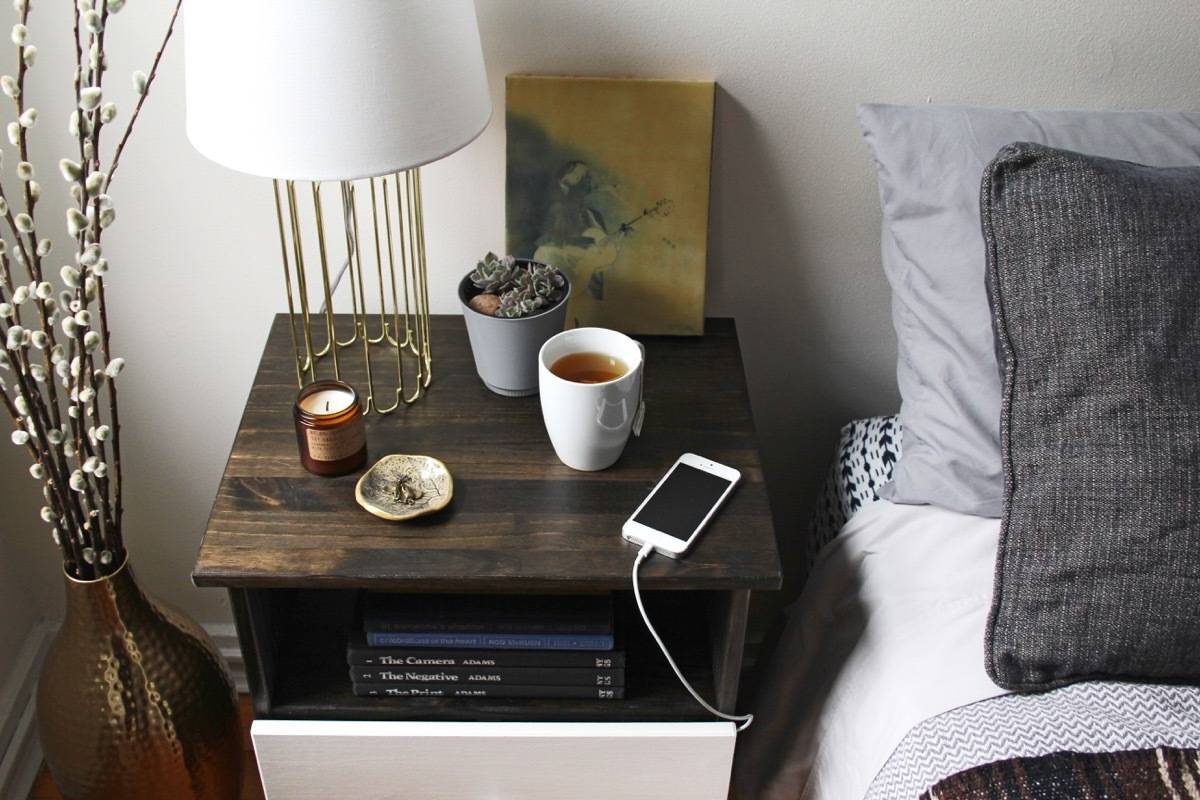
I wanted to transform this piece of furniture in a way that flowed with what already existed in my bedroom, and I wanted to make it tech-friendly from the very start. I mean, let’s face it: your phone spends the same amount of time on your nightstand that you do in your bed. Might as well make it (visually) comfortable! Wires are ugly, but this drawer was deep enough to hide them all with the help of a hook and some Command strips. Keep reading to find out how!
Materials
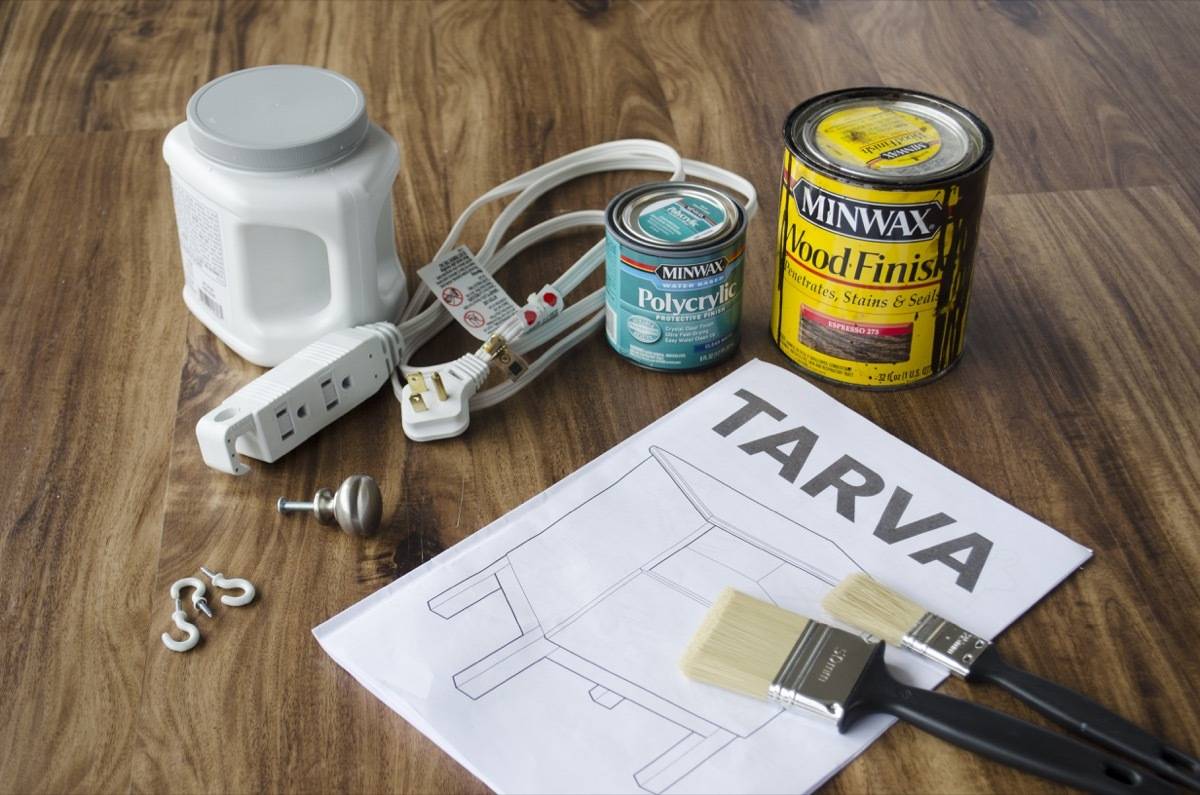
- IKEA nightstand, TARVA (Yes! You can get IKEA stuff on Amazon, with Prime shipping!)
- Flat-sided extension cord (I like the ones with the flat plug as they sit flush with the wall)
- White paint
- Wood stain
- Polyurethane clear coat
- Paint brushes
- Small cup hook (preferably rubber-tipped)
- Cabinet knob
- Two-piece velcro Command strips (not pictured)
Step
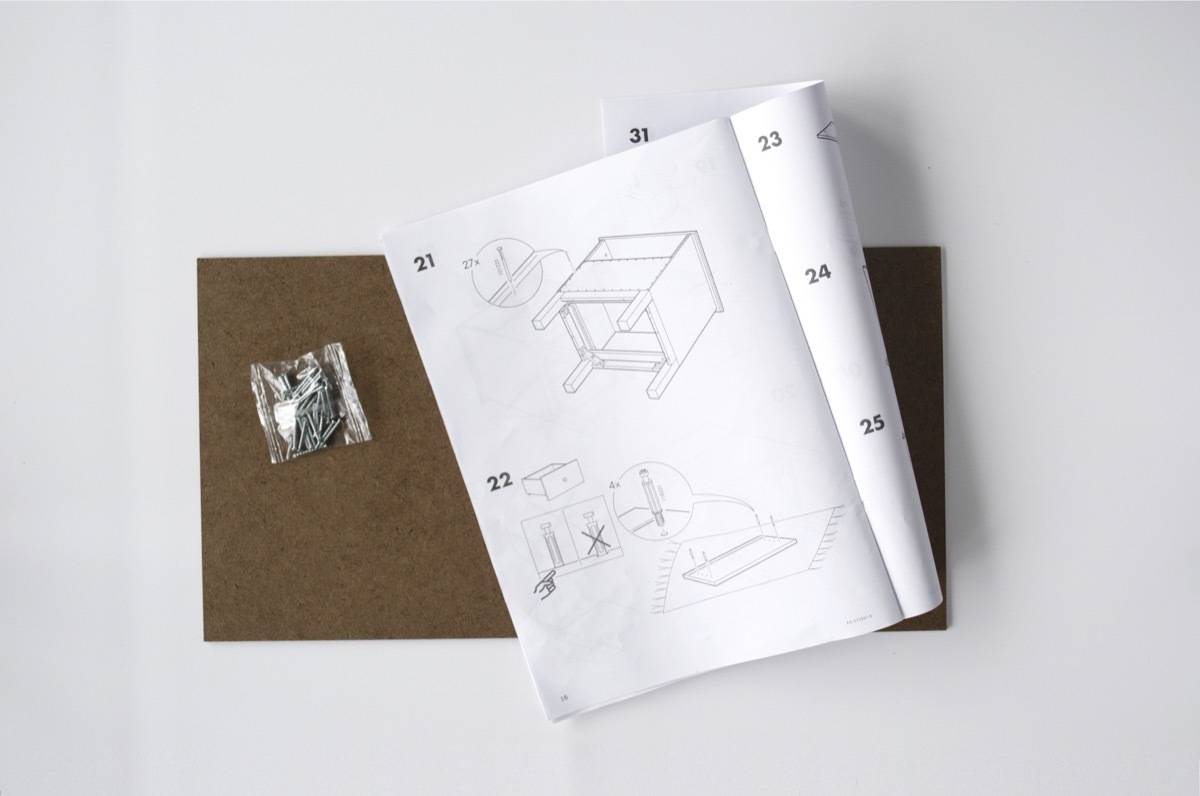
Assemble the nightstand according to the directions. At steps 20 and 21, a panel is nailed to the back of the nightstand (perpendicular to the drawer). Don’t install this board! Leave it off to allow enough room for the extension cord to pass through the back of the nightstand and into the drawer. Skip these steps and complete the assembly.
If you want to add a knob other than the one that came with the IKEA nightstand, skip that step too.
Step
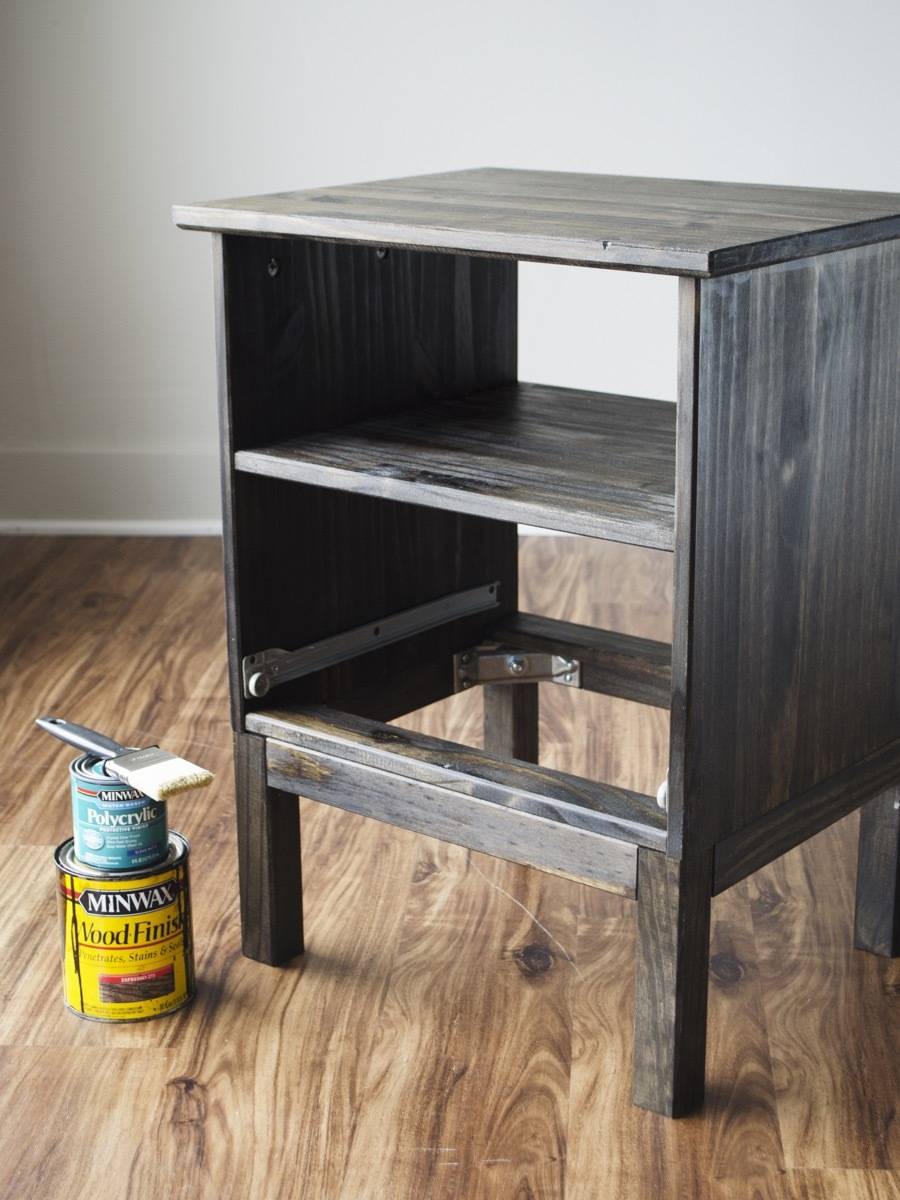
Next bring your IKEA nightstand into a well-ventilated area. Stain the nightstand, minus the drawer. I only used one coat as the color of the stain was quite dark. Apply the stain in the same direction as the wood grain, and let it sit on the wood for 15-20 minutes before wiping it away with a paper towel or rag. Once the wood stain application has dried (a few hours), apply a coat of polyurethane. Let dry overnight.
Step
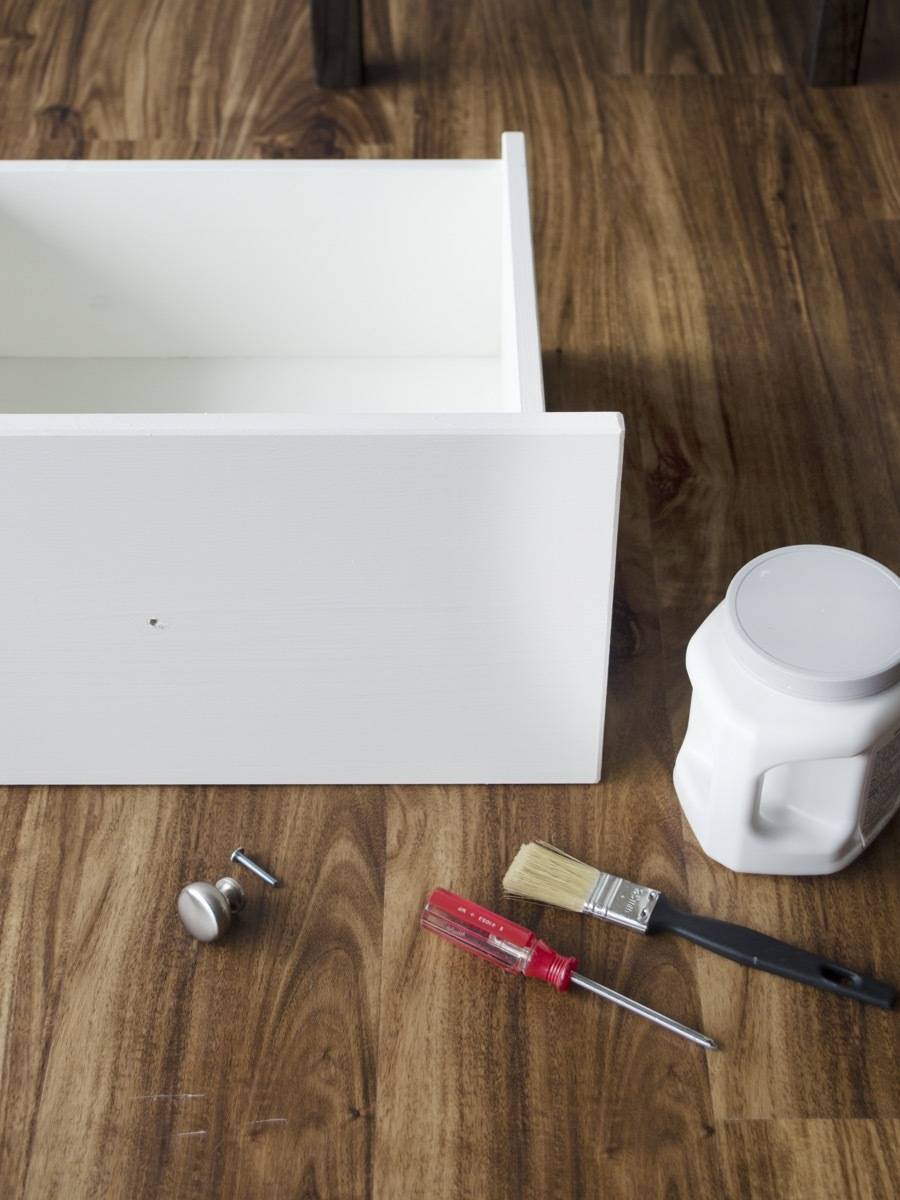
Paint the drawer with white paint. Once dry, screw a new cabinet pull through the hole in the front of the drawer.
Step
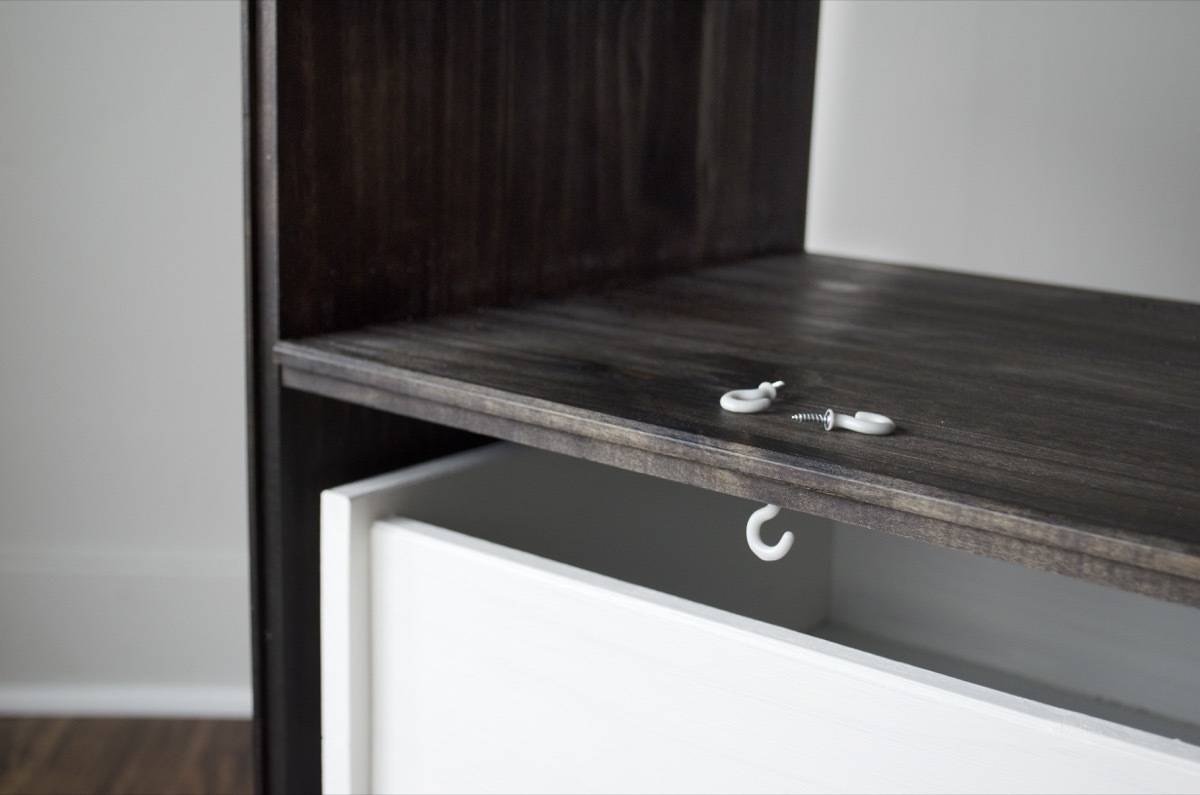
Once all of the nightstand has dried, put the drawer back on its tracks. On the back of the IKEA nightstand, measure the halfway point on the board above the drawer. Screw in one cup hook on the underside of this board. Use rubber-coated hooks as this hook will hold the extension cord in place.
Step
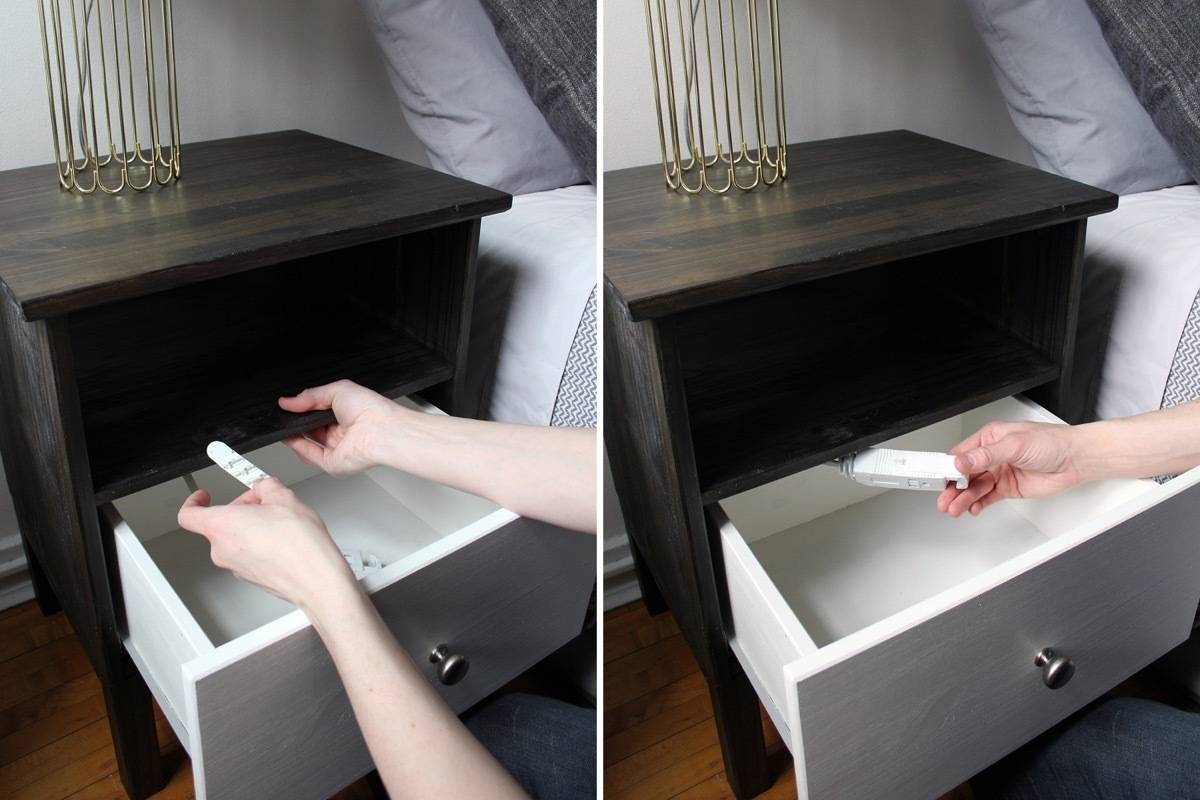
Take one-half of the velcro-type Command strip and adhere it to the underside of the same board at the front of the nightstand. Apply the other side of the Command strip to the flat-side of the extension cord. Press the Command strips together to stick the extension cord to the top of the drawer. Use the cup hook in the back to keep the cord for the power strip in place. If you have any additional power cords that are always around your nightstand (i.e. a lamp cord), use a second cup hook on the back next to the first to bring the cord to the power strip and keep it off the ground.
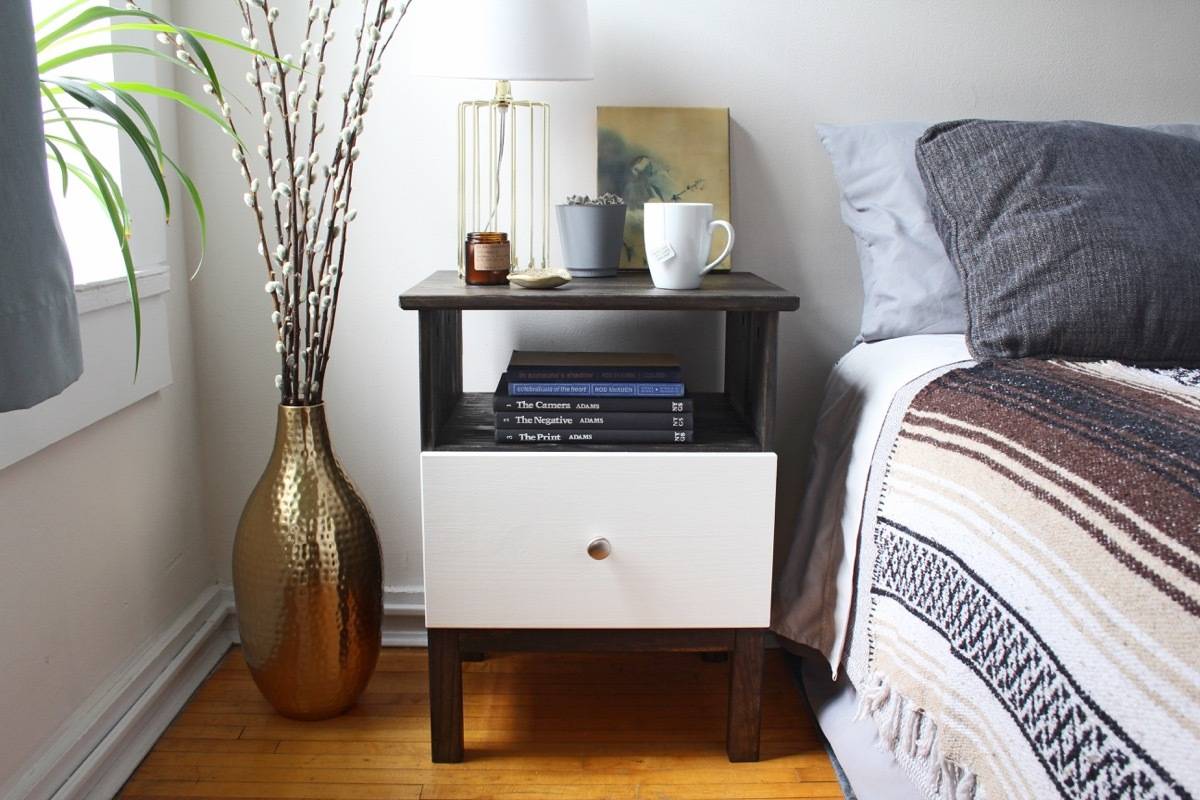
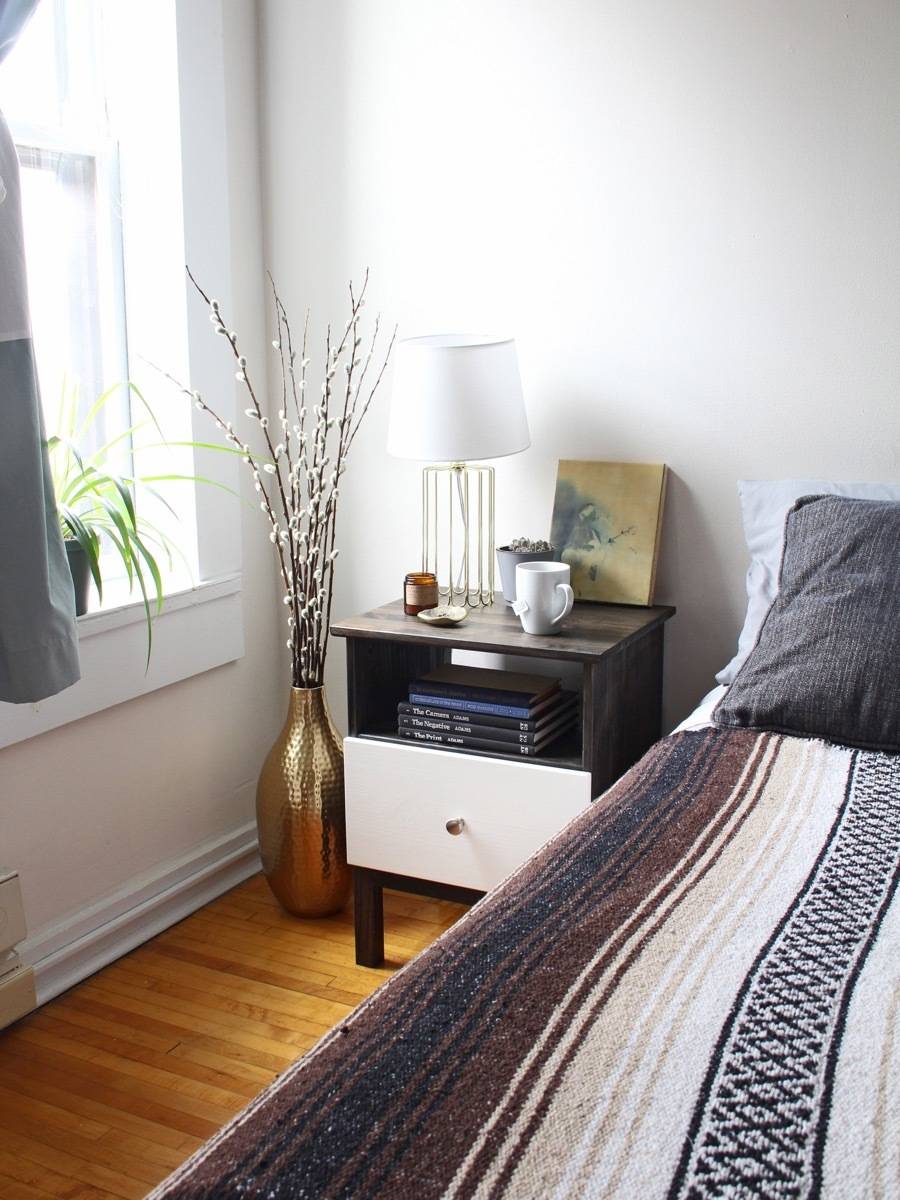
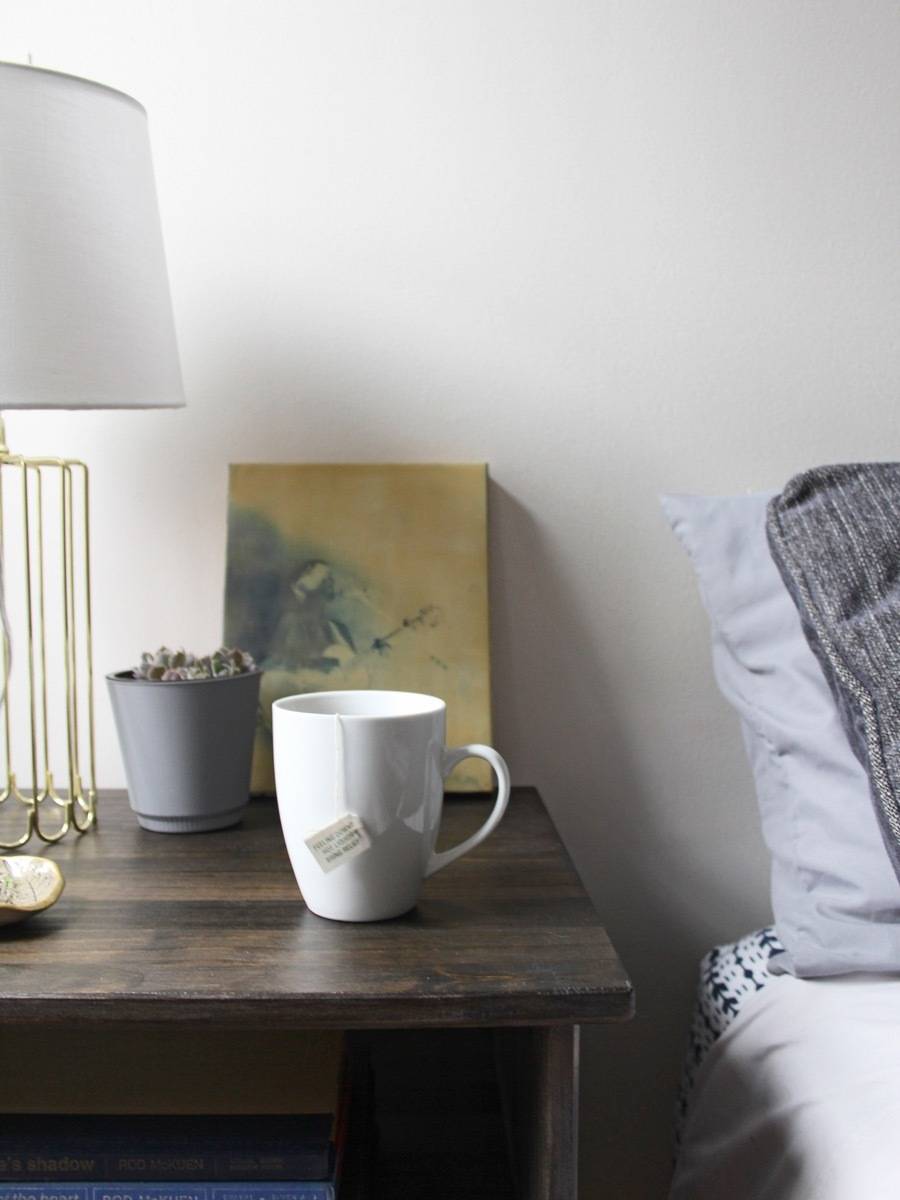
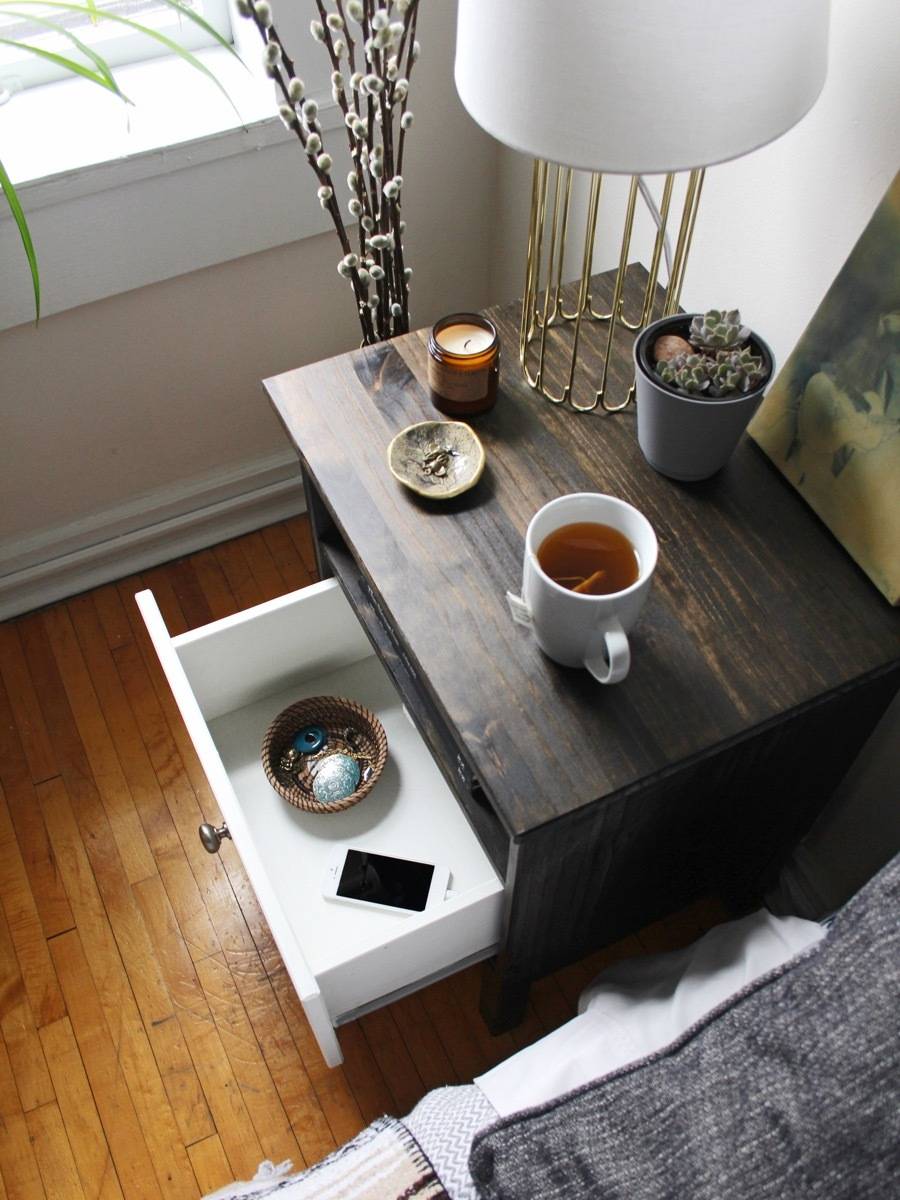
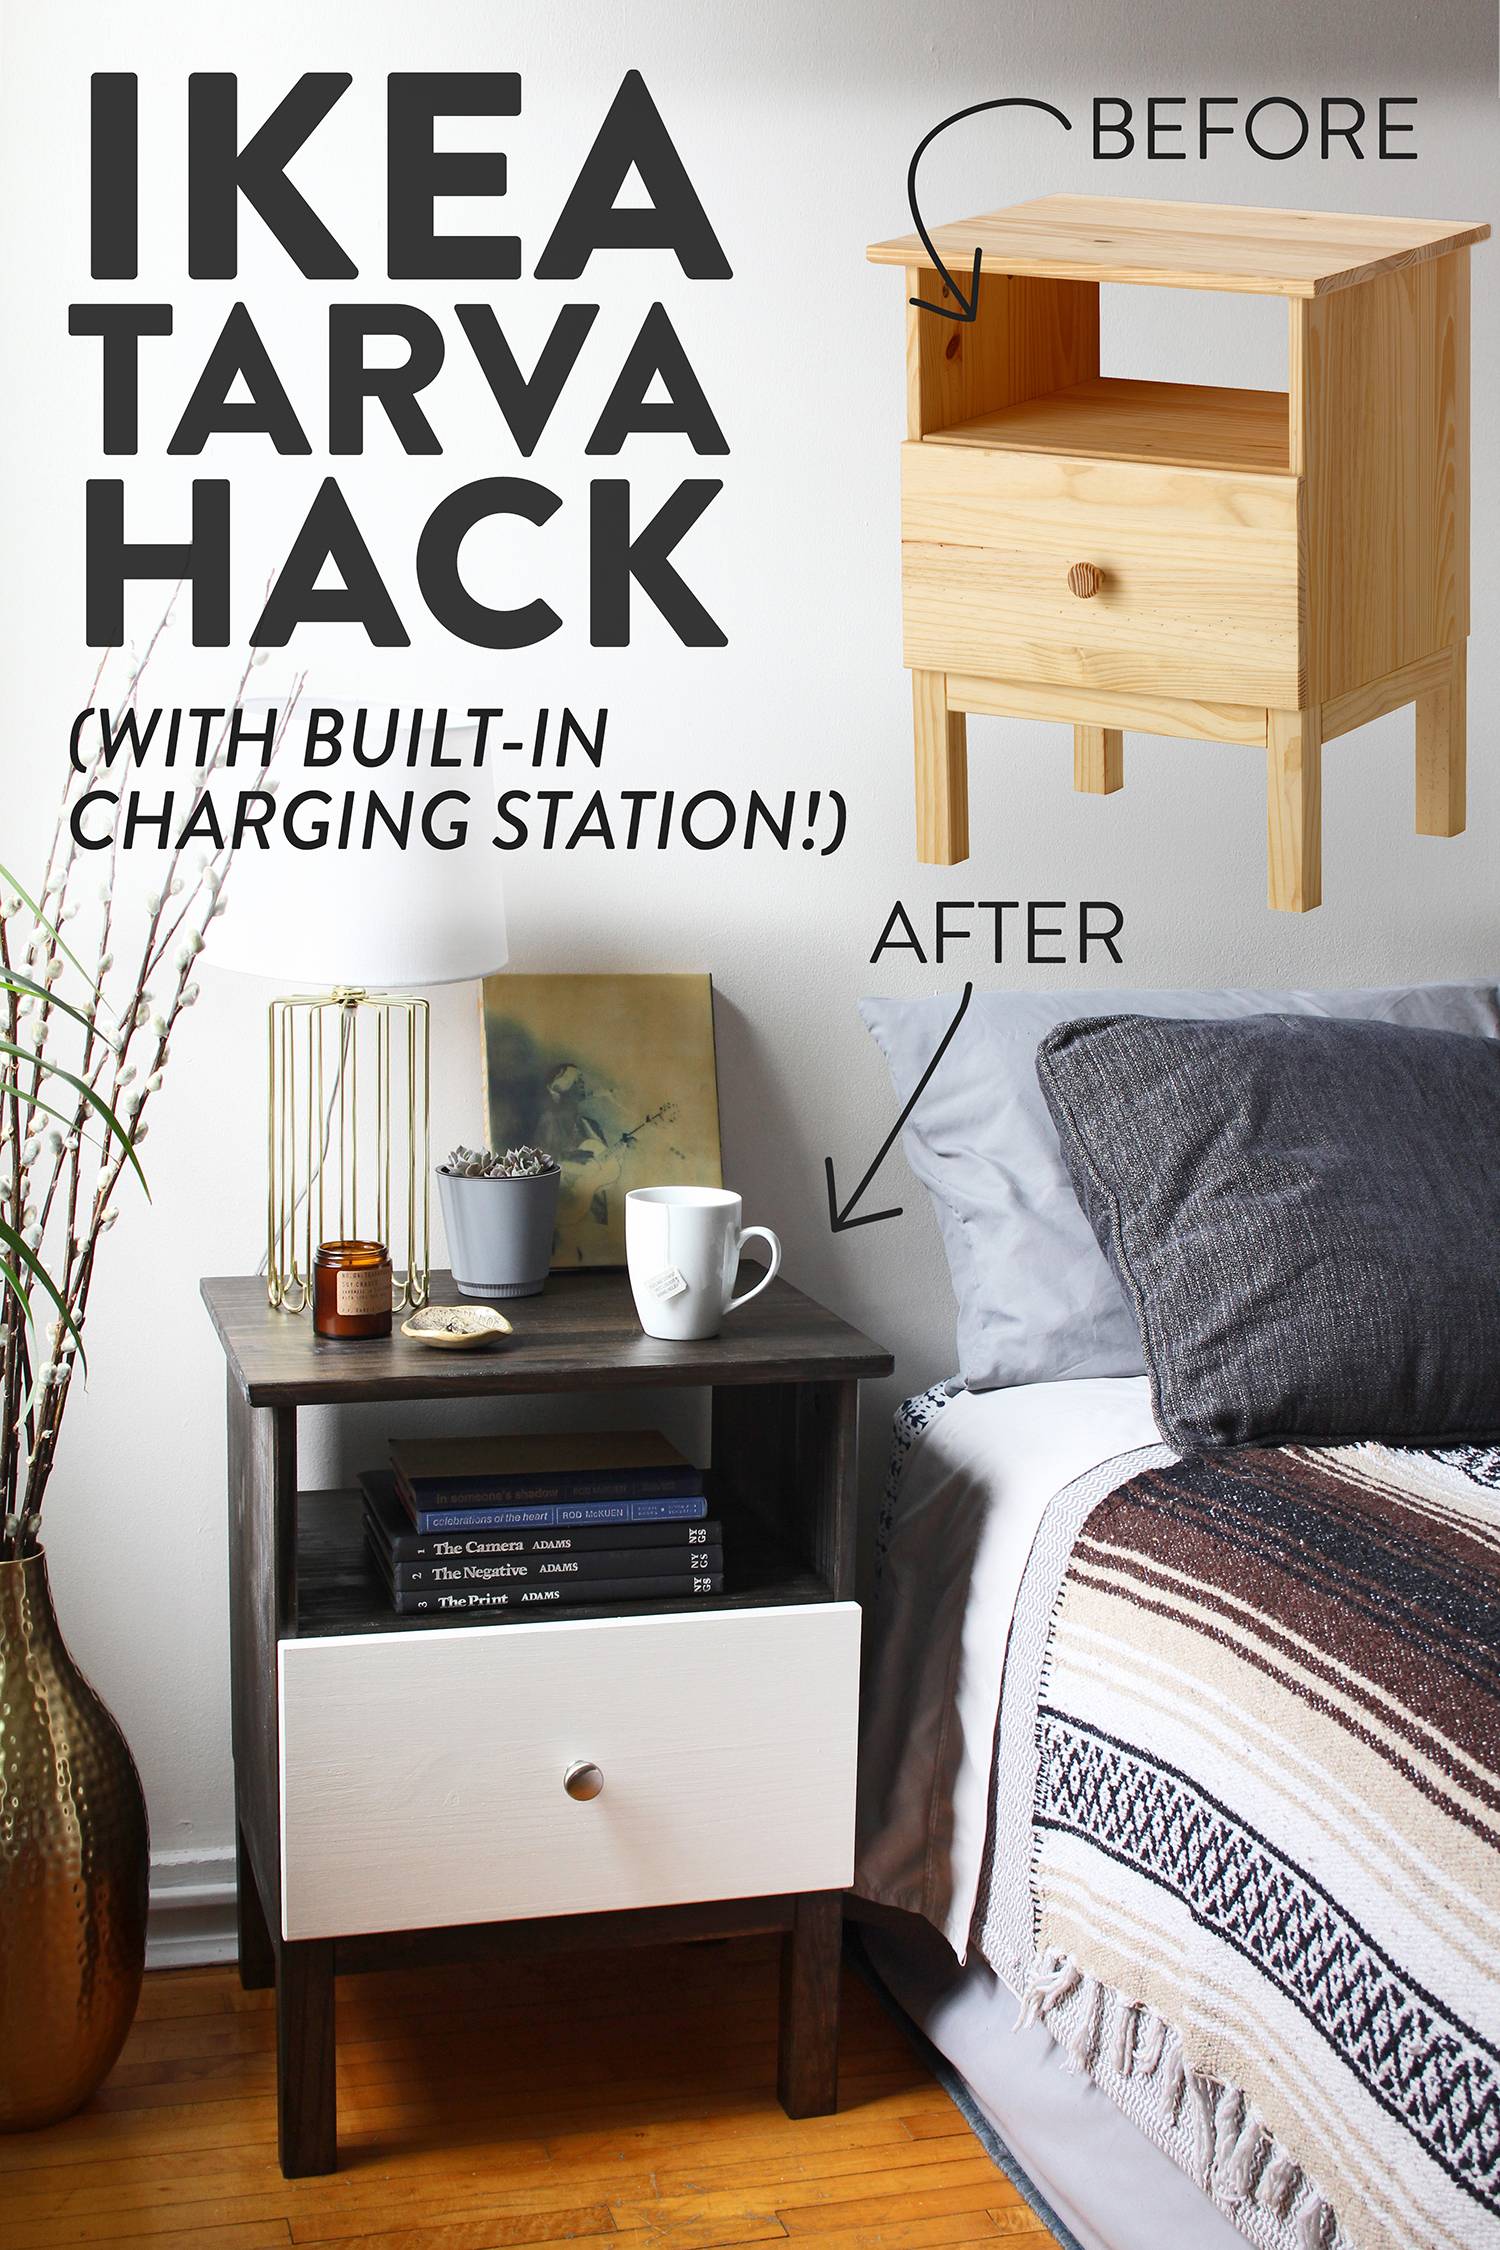
I’m tickled with how this project turned out. Don’t you just love a good furniture makeover?
PSST! THERE’S AN IKEA NIGHTSTAND HACK PART II!
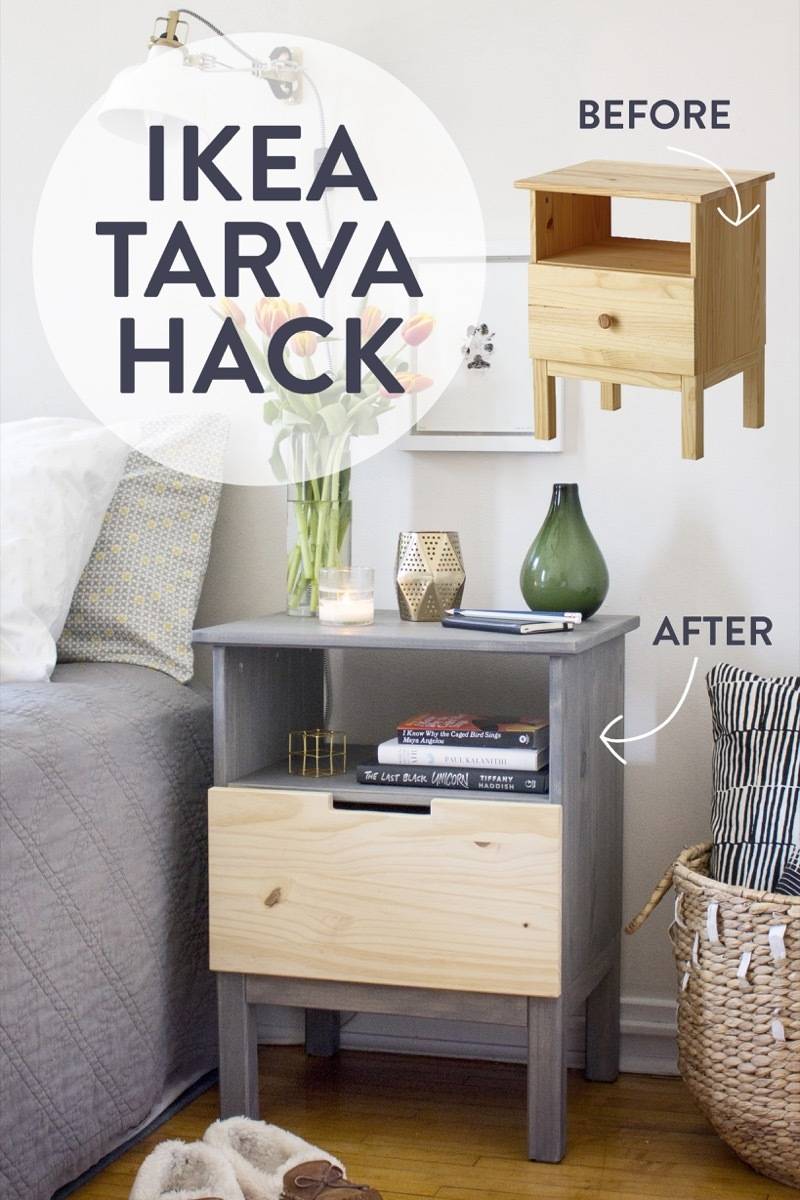
Check out our second makeover of the IKEA TARVA!
I loved this IKEA nightstand hack so much, I had to do a second one! Check out how I hacked the TARVA and made it hardwareless.

Great idea! would love to try this.
Where did you get your nightstand lamp from? It’s so cute!
@Aileen I believe it came from Target, but that was a while ago! Not sure if they sell it anymore.
Hi! This looks beautiful! I want to do something similar. My main reason for doing this is cleaning dust 🙂 Unpainted is impossible to dust off! Does this get that nice “slip” after clear coat?