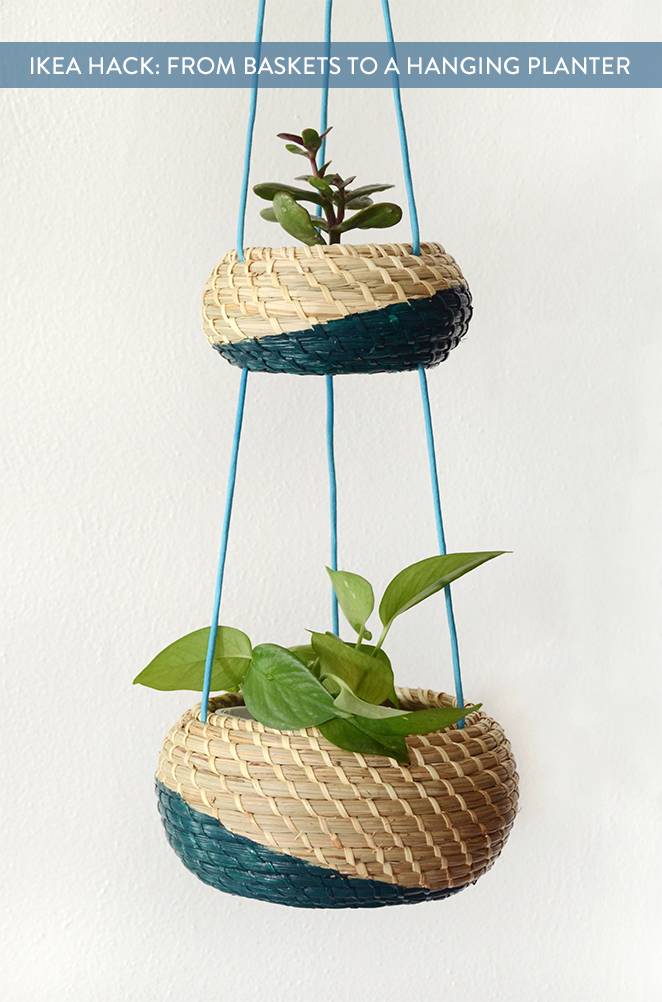
I’m a plant lover through and through. Plants add visual interest to a space, and they clean the air too. So when I saw the Fryken baskets at IKEA, I knew I had to turn them into a hanging planter set. Not only does it look cool, but it also keeps the plants away from the curious nose of my mischievous dog. So read on find out how you can make your own hanging planter basket set.
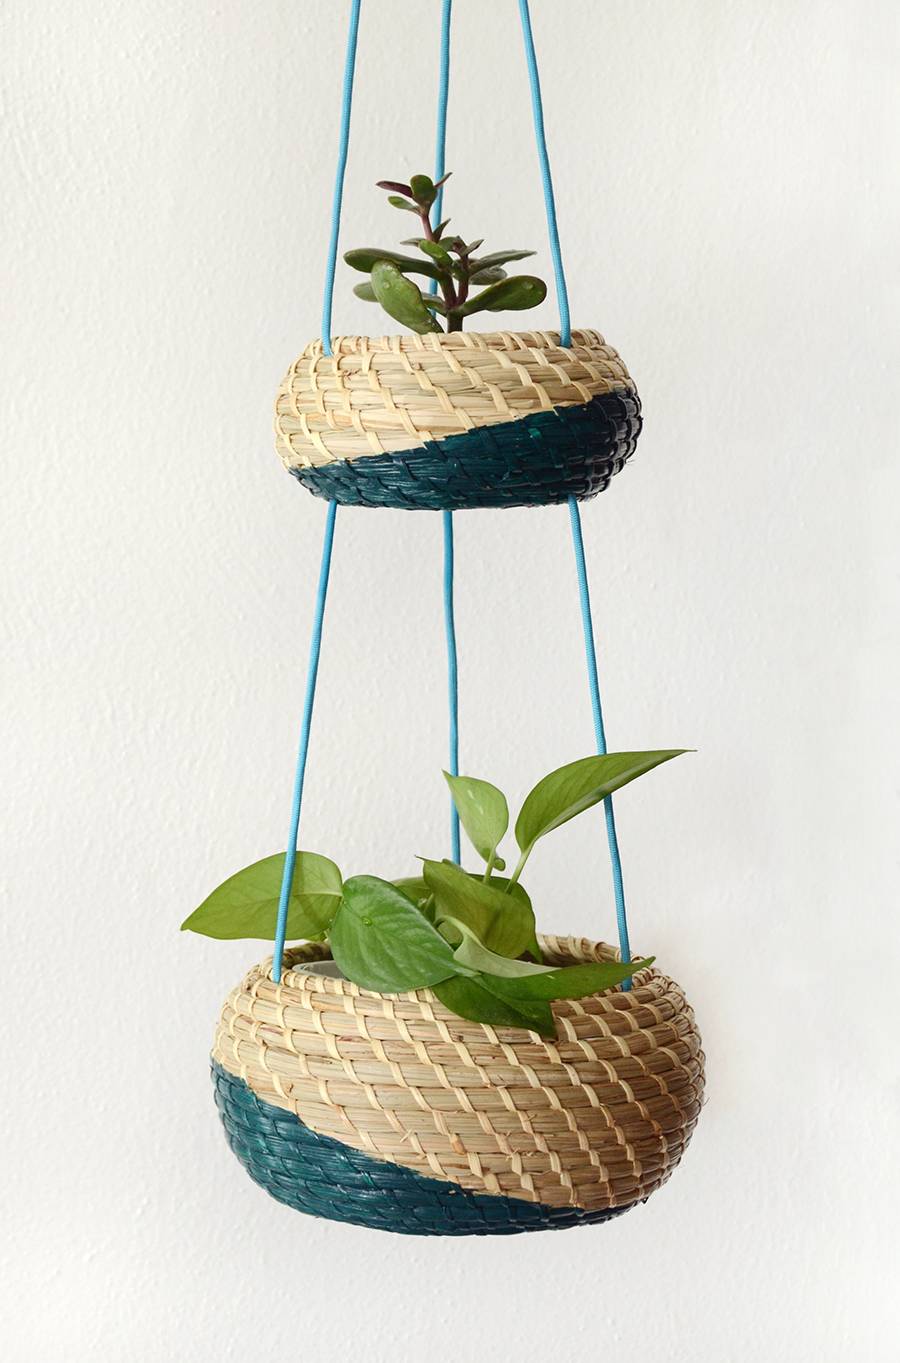
The final product is a nice combination of rustic and contemporary, with the bright colored cord paired with the natural sea grass. And it’s surprisingly easy to make! Let’s get started.
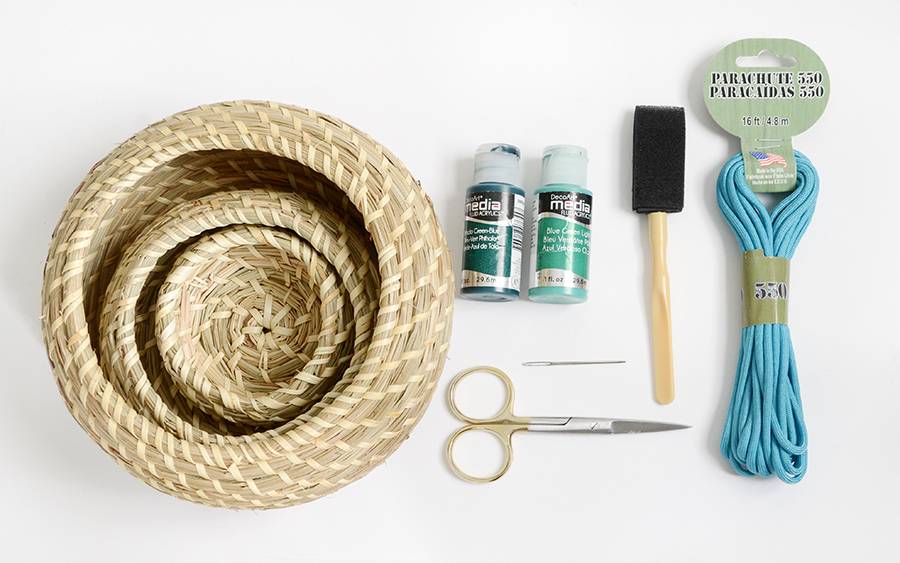
Here’s what you’ll need for your planter:
- IKEA Fryken basket set
- Acrylic craft paint
- Foam paint brush
- 10′ of parachute cord
- Scissors
- Embroidery needle
- 4″ piece of thin wire (not pictured)
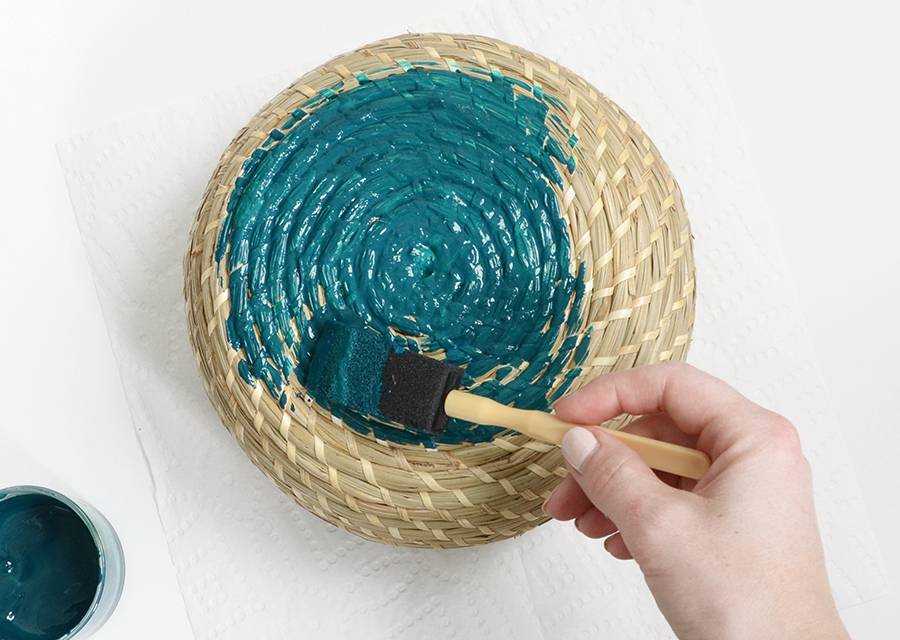
Begin by painting the bottom of each basket. I mixed up a dark turquoise color, and painted on an angle so that the color would be visible from the side when the baskets were hanging.
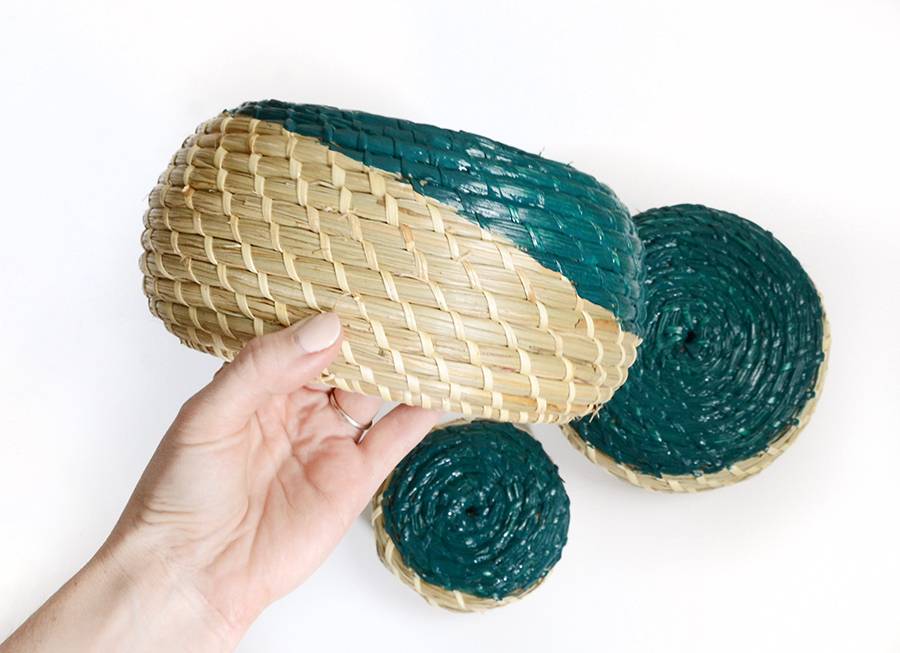
Here’s a look at the side of the basket. Feel free to use a piece of painters tape to help create a straight line. Let the baskets dry thoroughly.
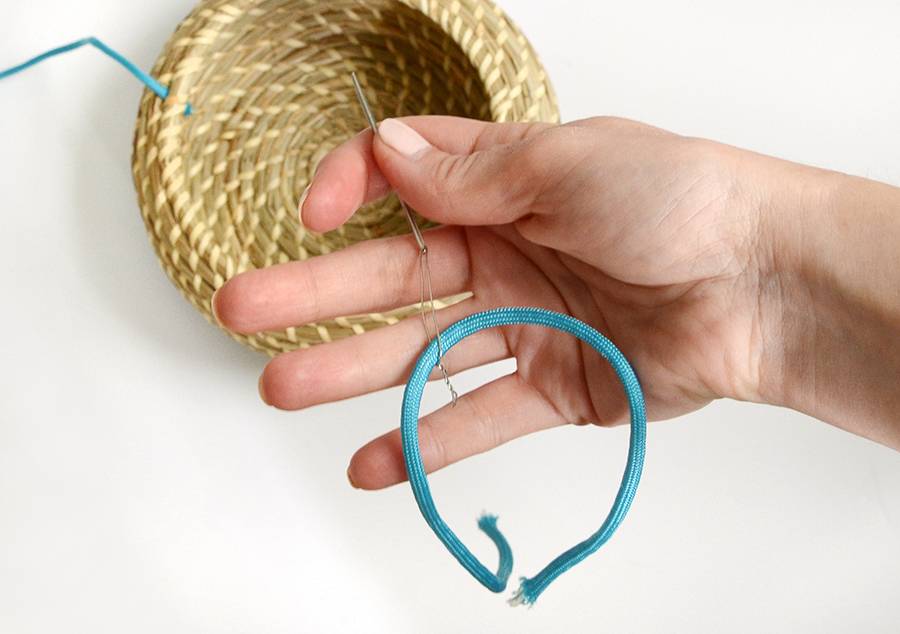
Now it’s time to connect the baskets using parachute cord. You can buy the cord on Amazon or at most craft stores (I bought mine at Michaels). You most likely won’t be able to thread your cord through the embroidery needle, so you’ll need to fashion a little loop out of wire. To do this, thread the wire through the needle, create a 1 inch opening and then twist the ends together as shown above.
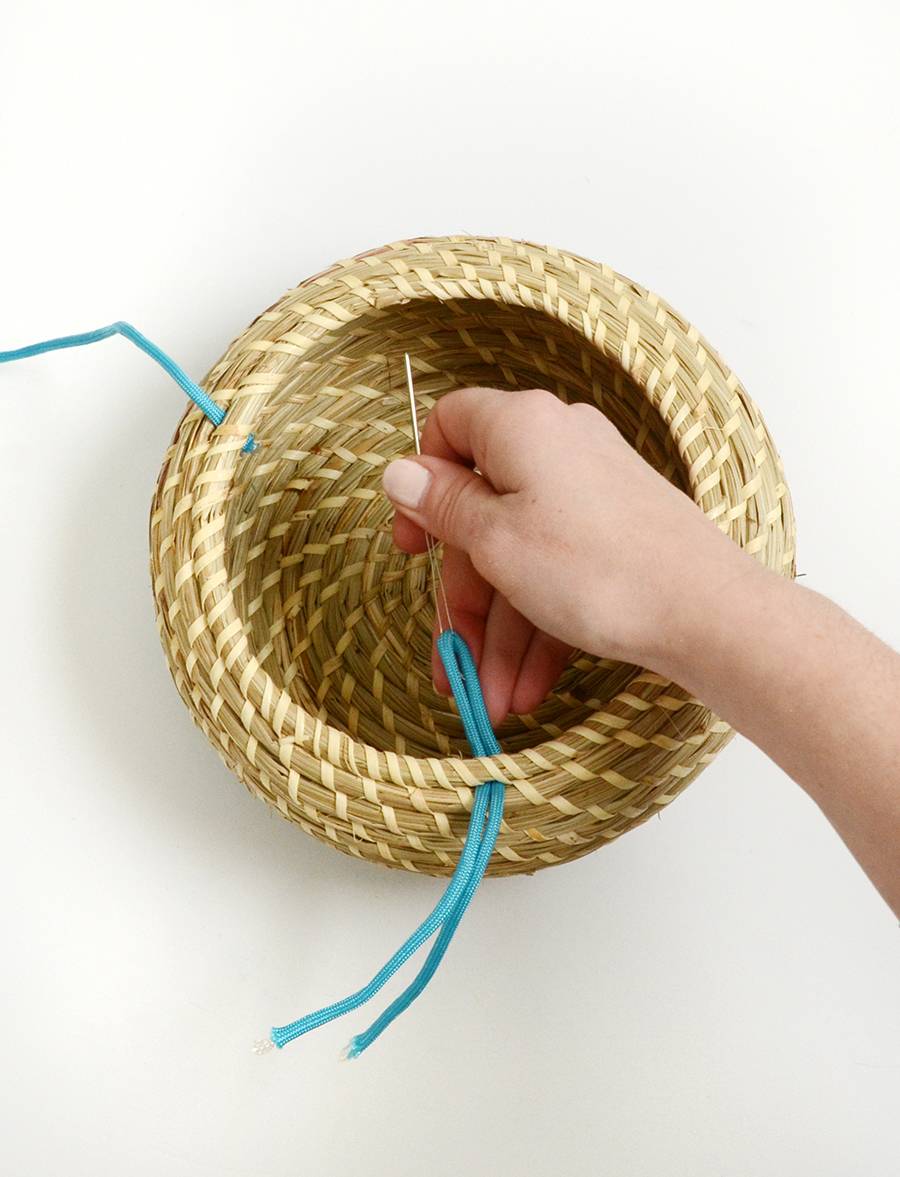
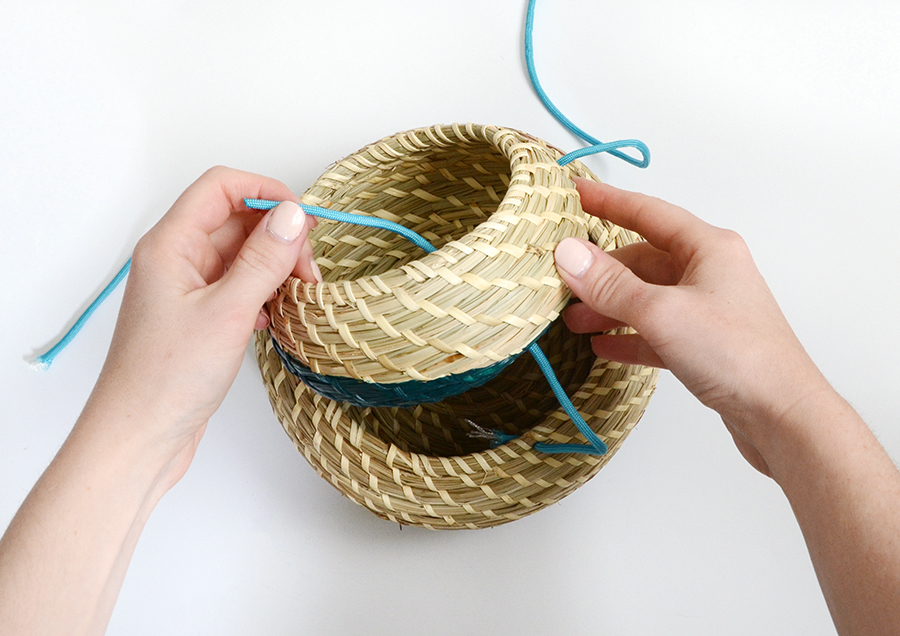
Cut 6 pieces of parachute cord that are 12 inches long each. Thread one piece of cord through your wire loop and push the needle through the top of the largest basket, as shown above. If you have trouble getting the cord through, pull everything back out and use a flat head screwdriver to gently wiggle a small hole in that spot and then try threading it through again.
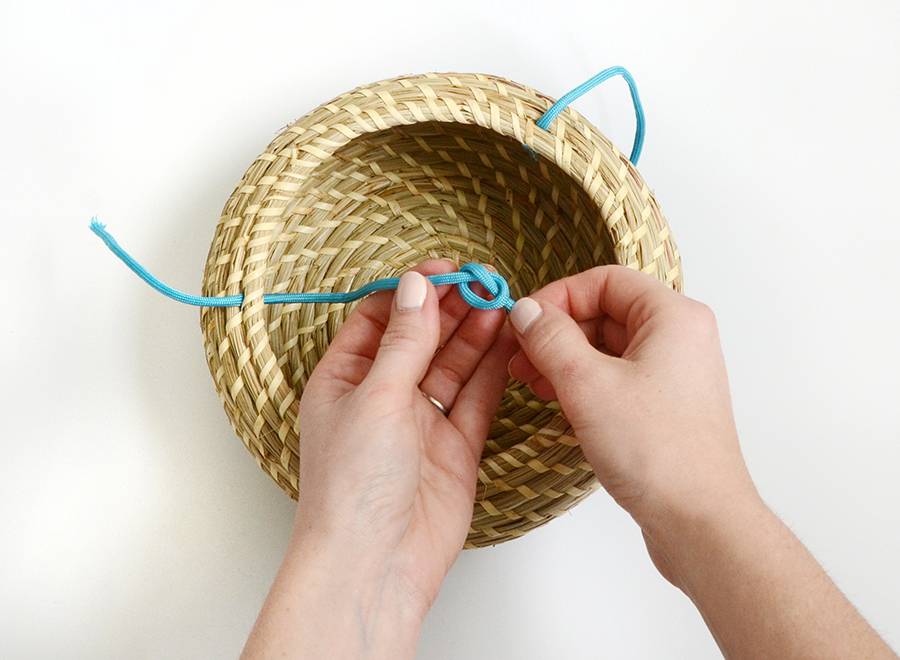
Once it comes through, pull one end all the way through and tie a knot at the end. Then pull the outside end back out so the knot is positioned on the inside of the basket. Do this for three of the pieces of cord, evenly spacing them around the top of the basket.
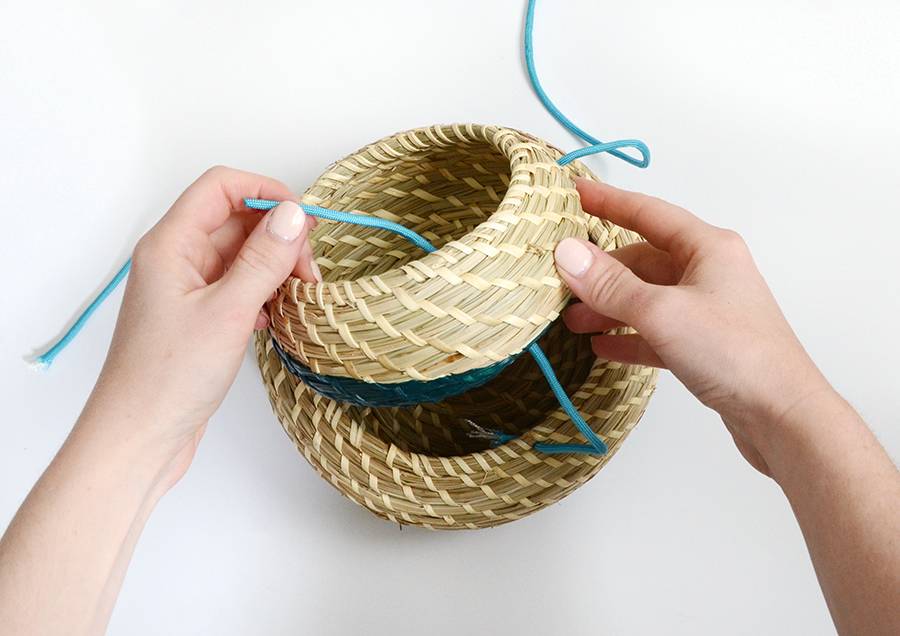
Next, use the same process to pull the top of one of the cords through the bottom of the medium sized basket. Tie a knot at the top of that cord. Do the same for the other two cords.
Now repeat the exact same process for the medium basket and attach it to the smallest basket. Adjust the knots slightly if the baskets aren’t sitting flat.
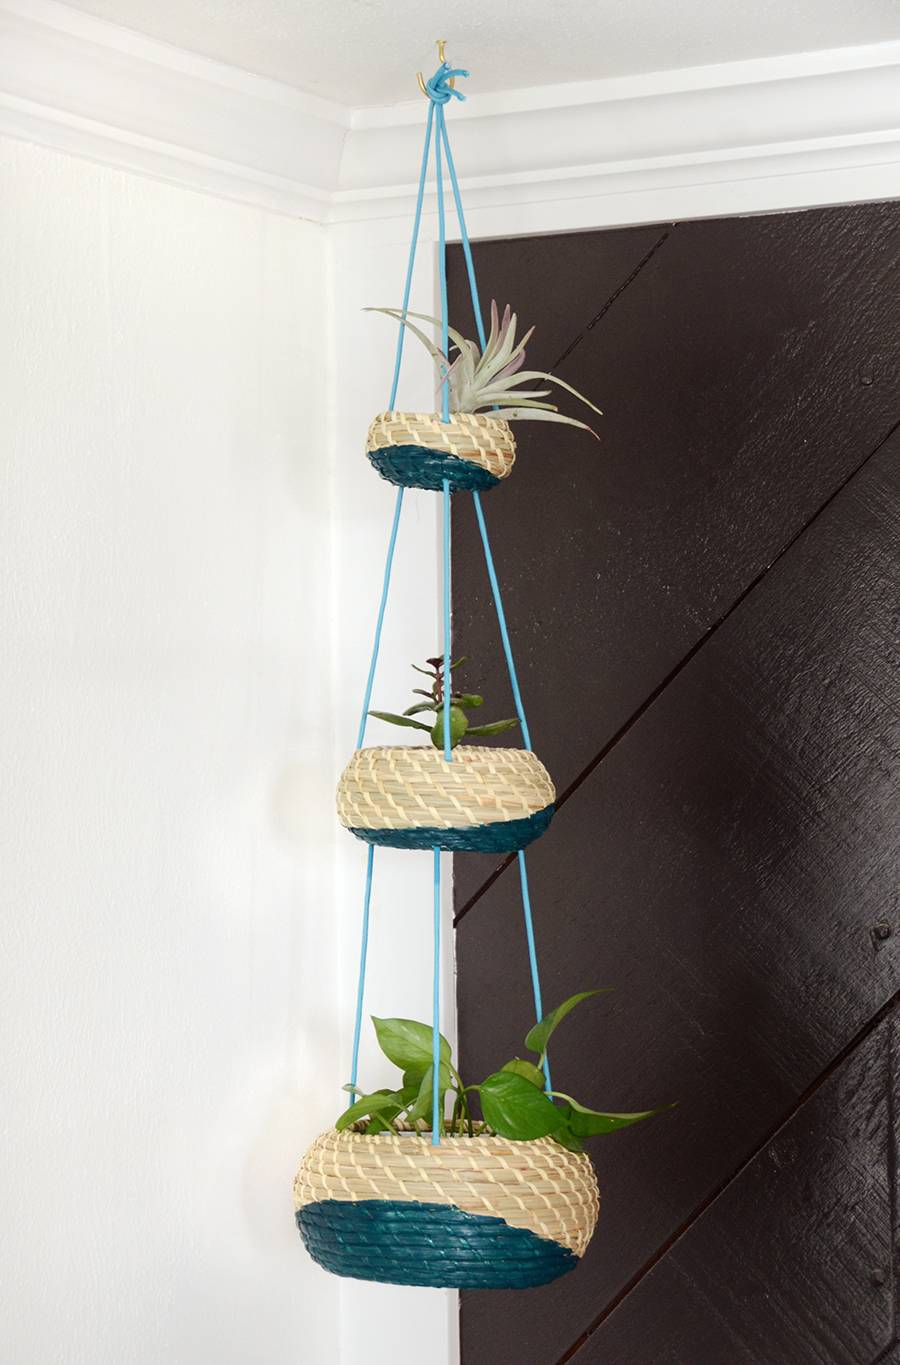
Then cut three pieces of cord that are 15 inches long each, and attach those to the top of the smallest basket. Knot the three pieces together at the top as shown above, and hang it from a hook. Your planter set is finished!
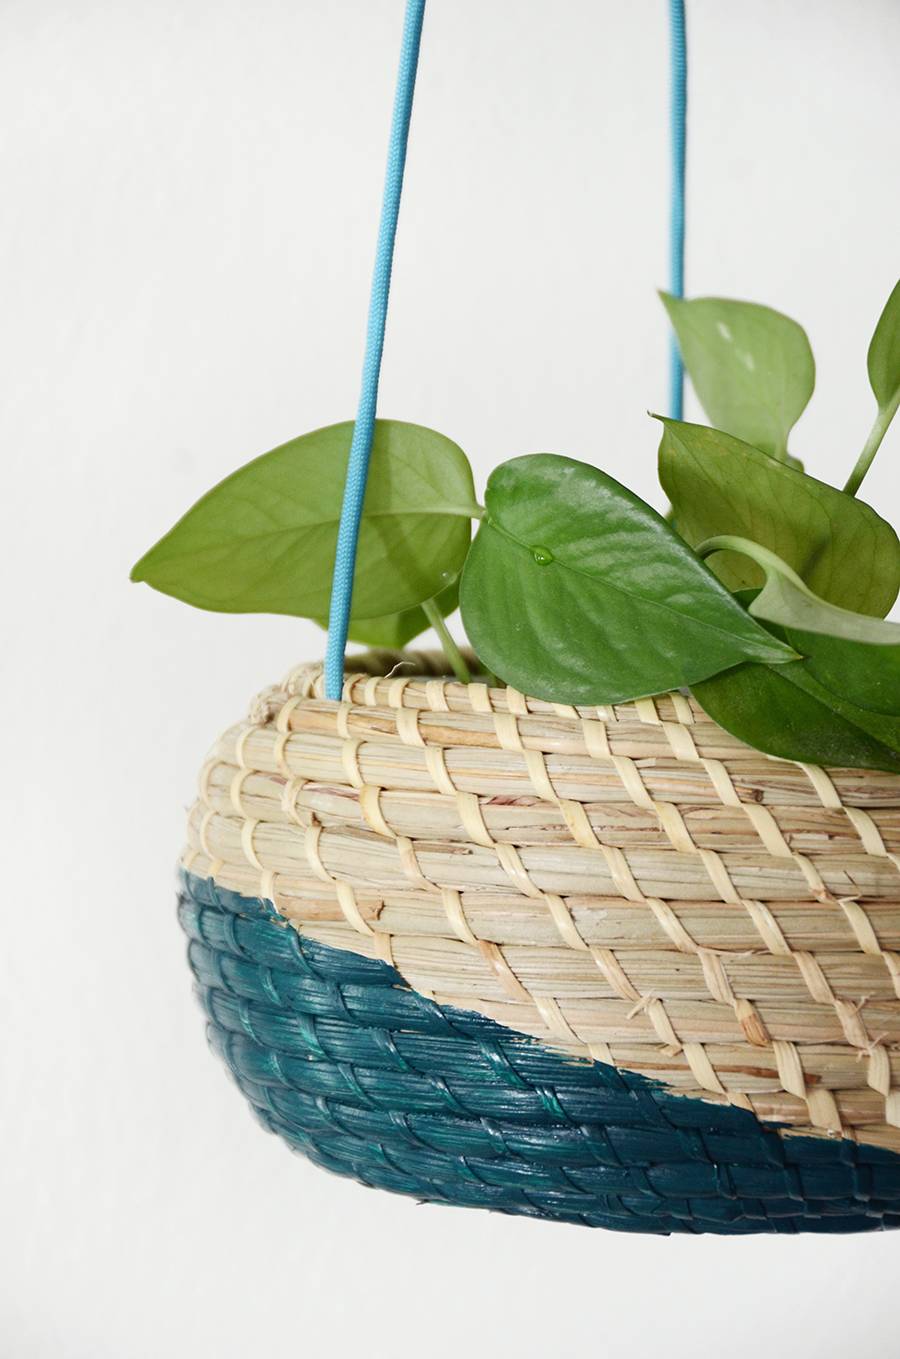
You’ll want to use plants that are already in plastic containers so you can take them out to water them… if the sea grass baskets get wet repeatedly, they may start to get a bit moldy. For the bottom basket, I used cuttings from another Pothos plant and put them in a plastic container that I found in my recycling bin. I did the same for the Jade plant in the middle, and the top one is an air plant – so no soil needed!
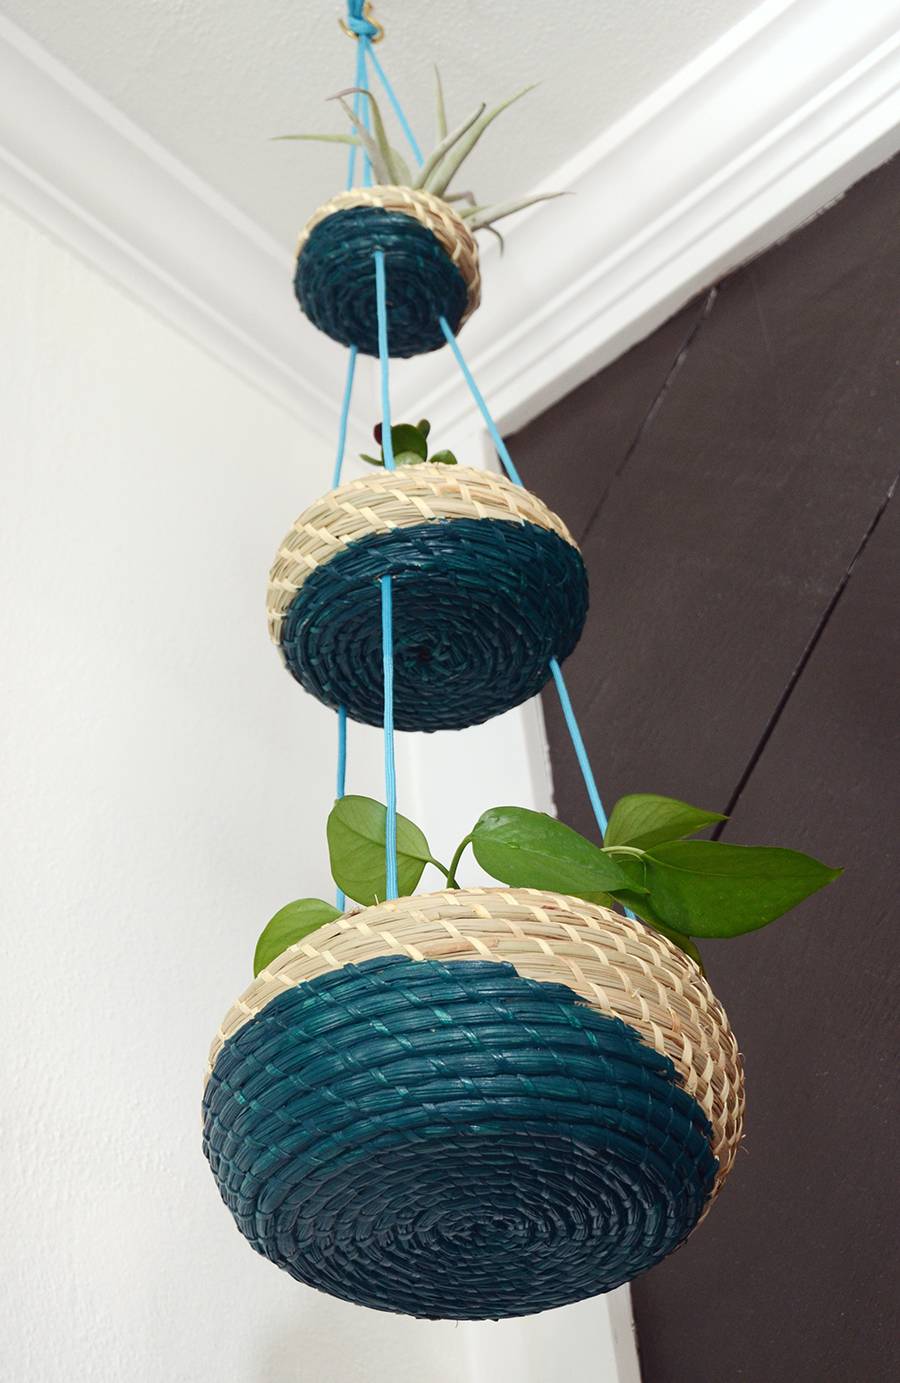
You can customize these to your liking, using colors that match your decor – or you might even consider using different colors for each section if you like a multi-color look.
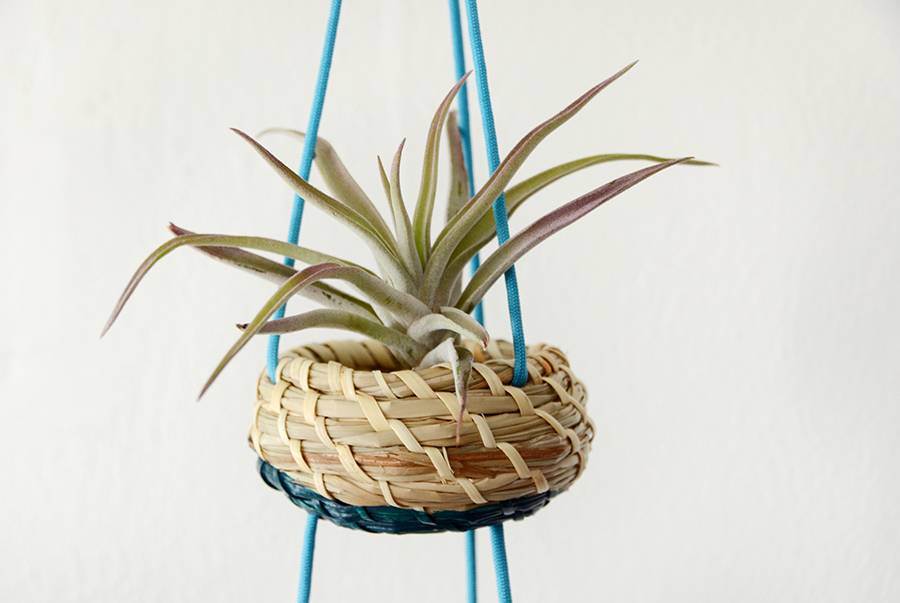
You could fill the entire thing with air plants, for a lower maintenance option. Just don’t forget to water them like I did last time! Spritz them thoroughly in the sink every week or two to keep them looking good.
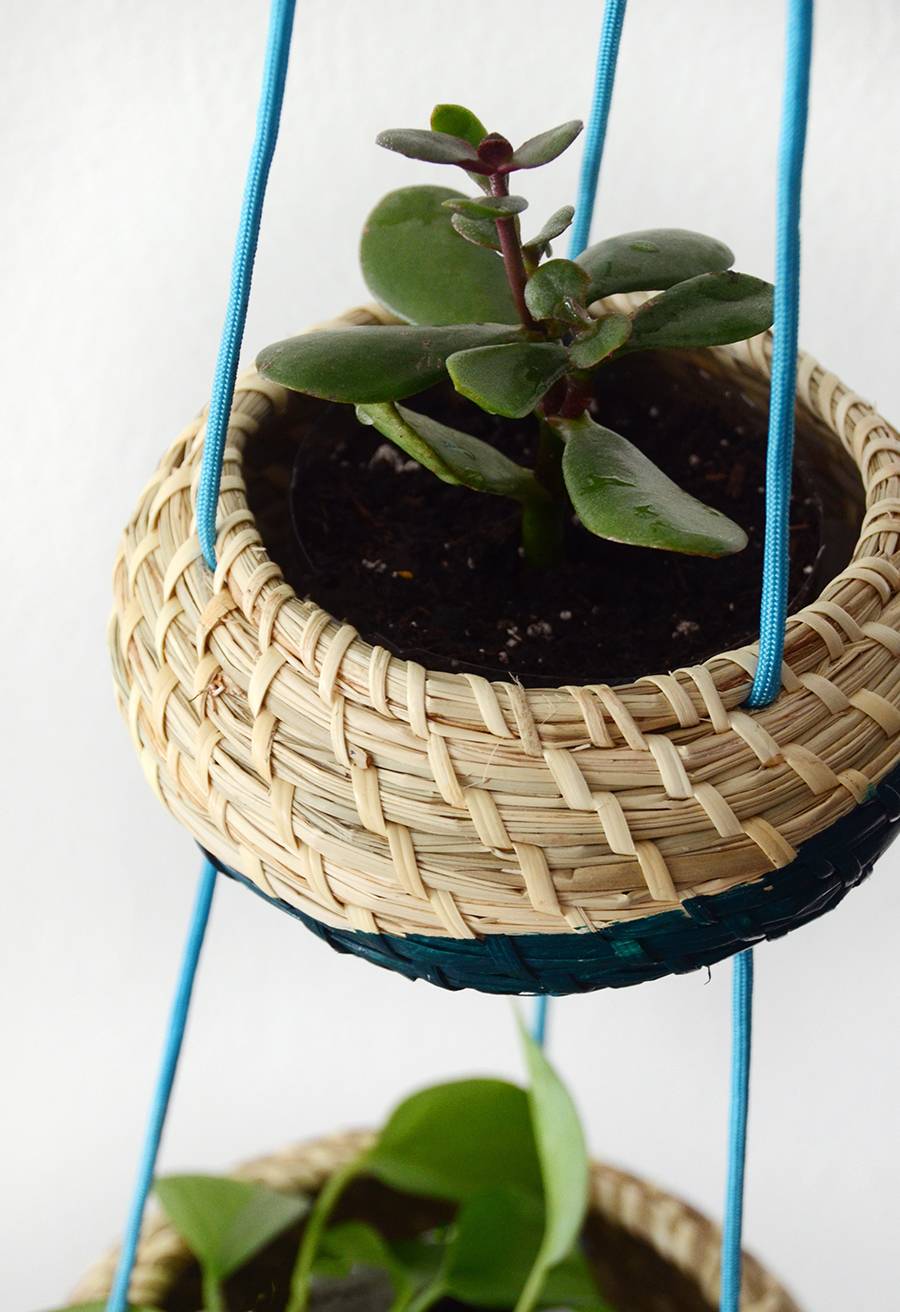
If you try this project, feel free to share a link to it in the comments section below. Happy crafting everyone!
