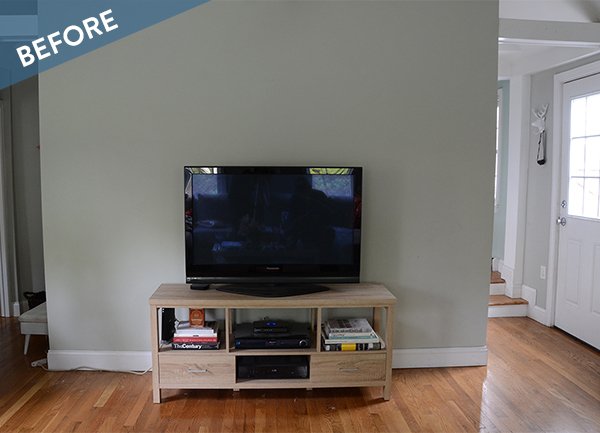
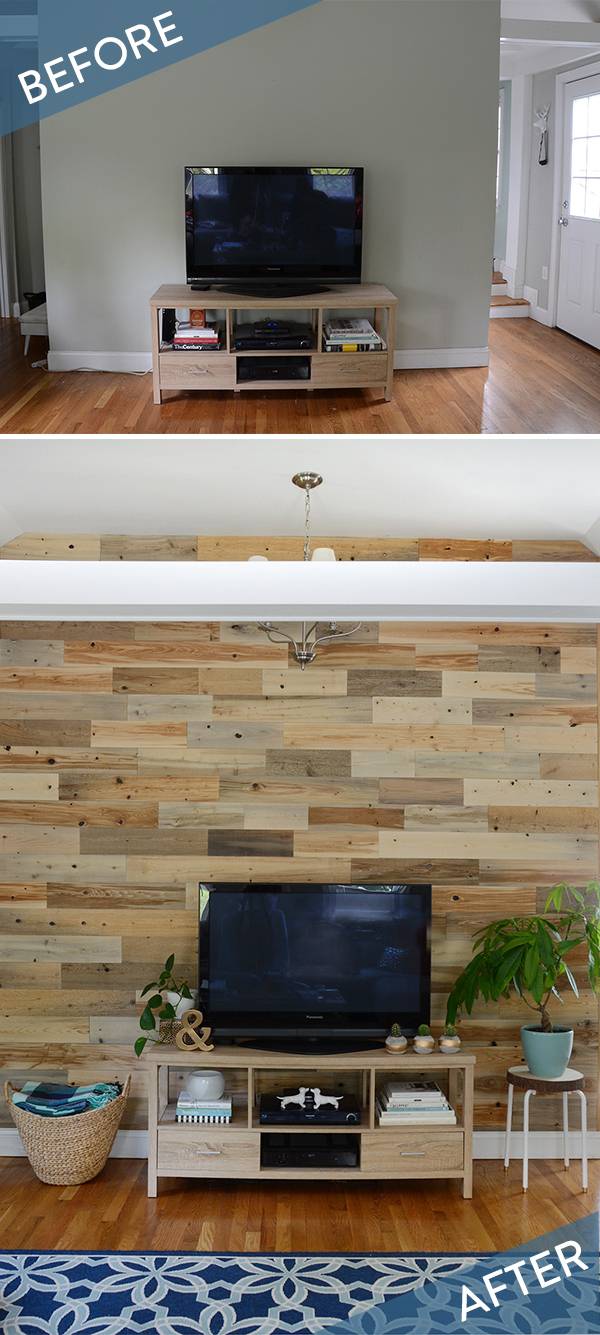
The front wall of our living room needed something. It was just begging for an accent wall, but we weren’t sure what sort of material. Until we found Timberchic, a company that creates reclaimed wood specifically to be placed on the wall. It would lend a bit of a rustic feel to a space desperately searching for an identity, and some much-needed textural interest. Click through to find out how our wood accent wall turned out – and to learn how to do it yourself.
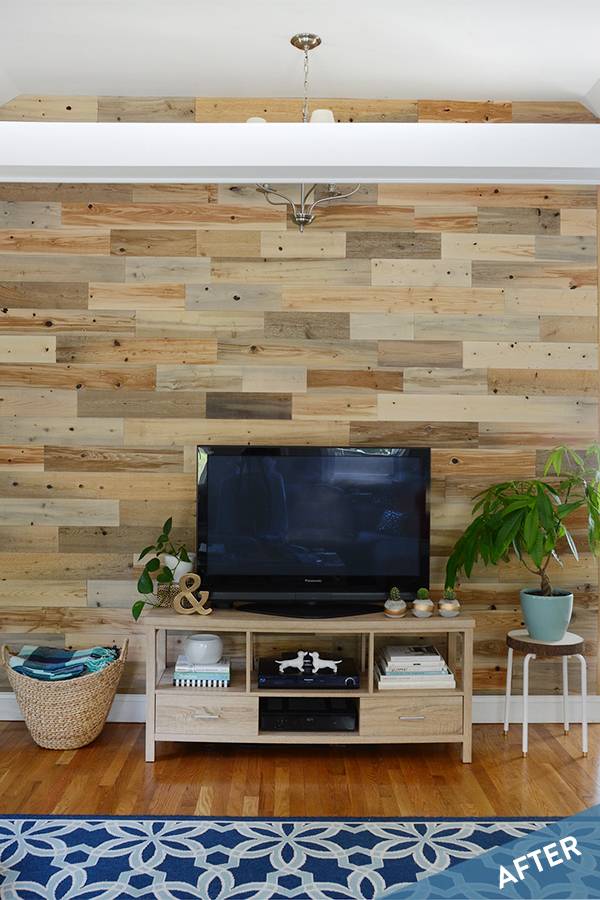
Here’s the wall now. What a difference, right?! The texture of the wood provides an interesting focal point without being a repetitive pattern (which could be dizzying while watching TV). We are absolutely in love with our reclaimed wood accent wall, and I’m so excited to share the process with you.
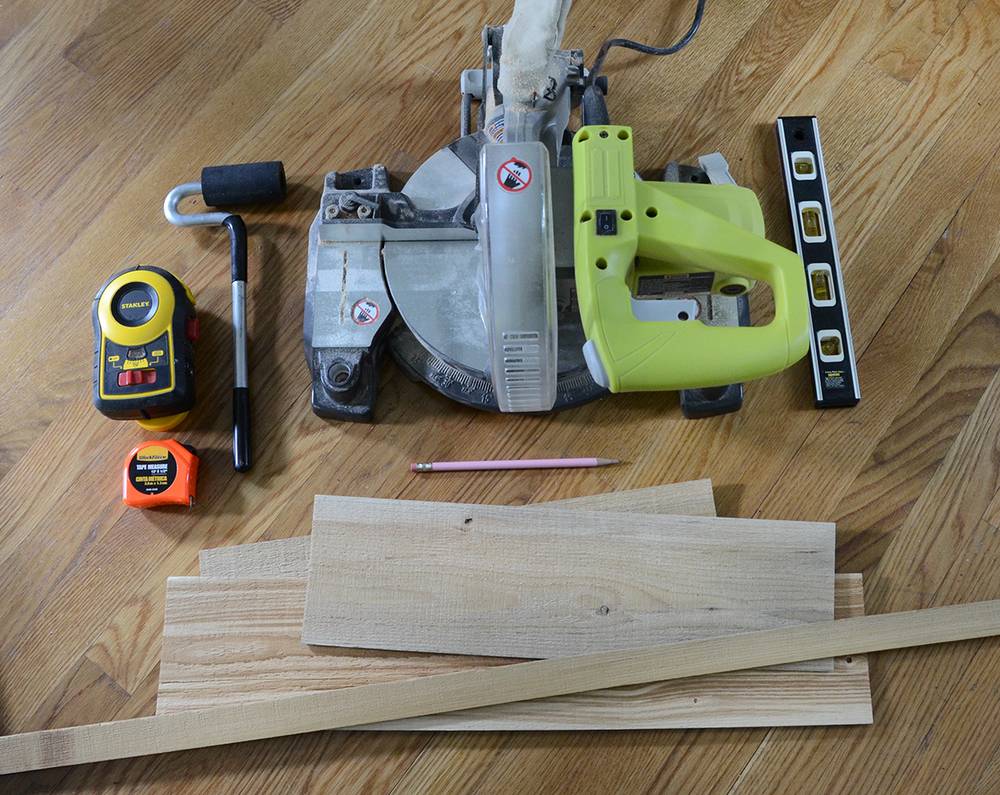
Materials
- TimberChic lumber (with included roller)
- Miter saw
- Level and or laser level
- Tape measure
- Pencil
- Box cutter and metal straight edge (not pictured)
- Ladder (not pictured)
How to create a wood accent wall:
Step
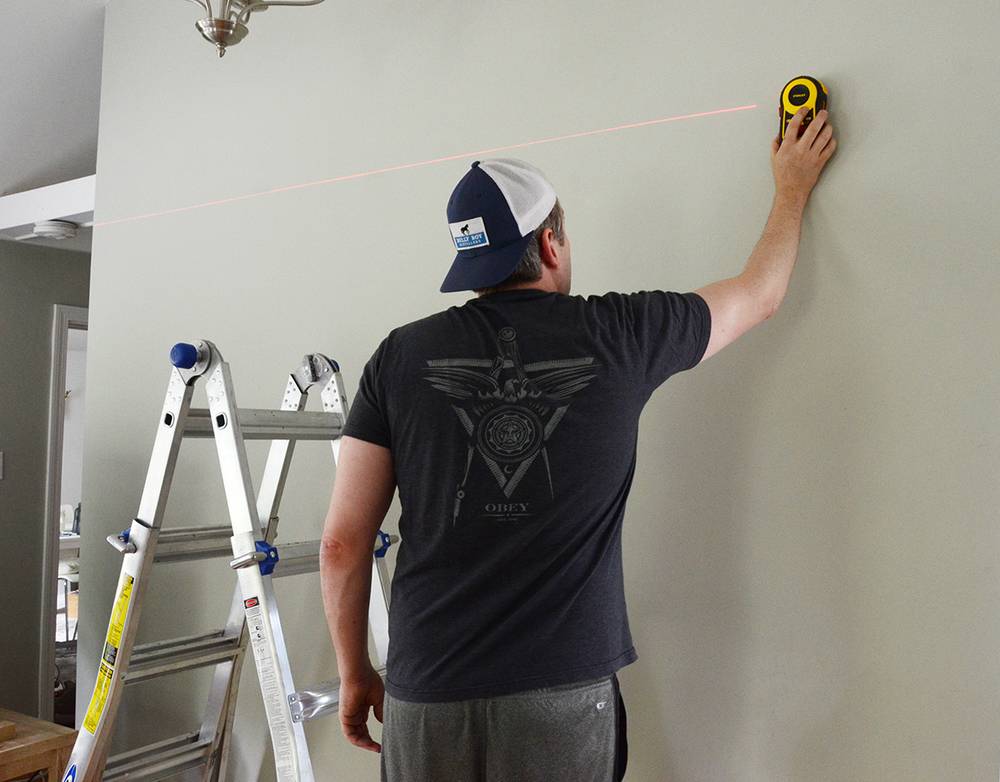
TimberChic provides excellent instructions in the form of a PDF guide that can be found on their website, so I won’t repeat everything they have in their guide, but I will provide some basic instruction along with tips and tricks that we found helpful. You’ll begin by using a level to figure out whether your wall is level.
Step
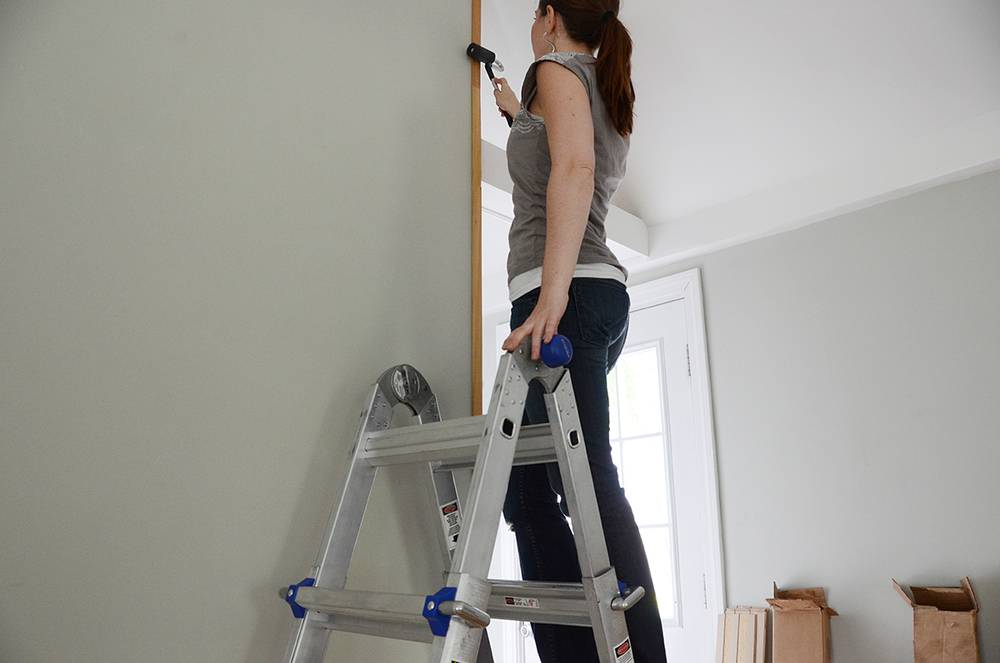
The next step is to place the end caps on the edges of your accent wall. You will most likely need a ladder so you can get up close and personal with those top sections. Once you place the end caps on the wall, use the roller to press it firmly onto the wall.
Here’s a tip – make sure you have it exactly where you want it, because it is virtually impossible to remove the piece without breaking it once you have attached it to the wall.
Step
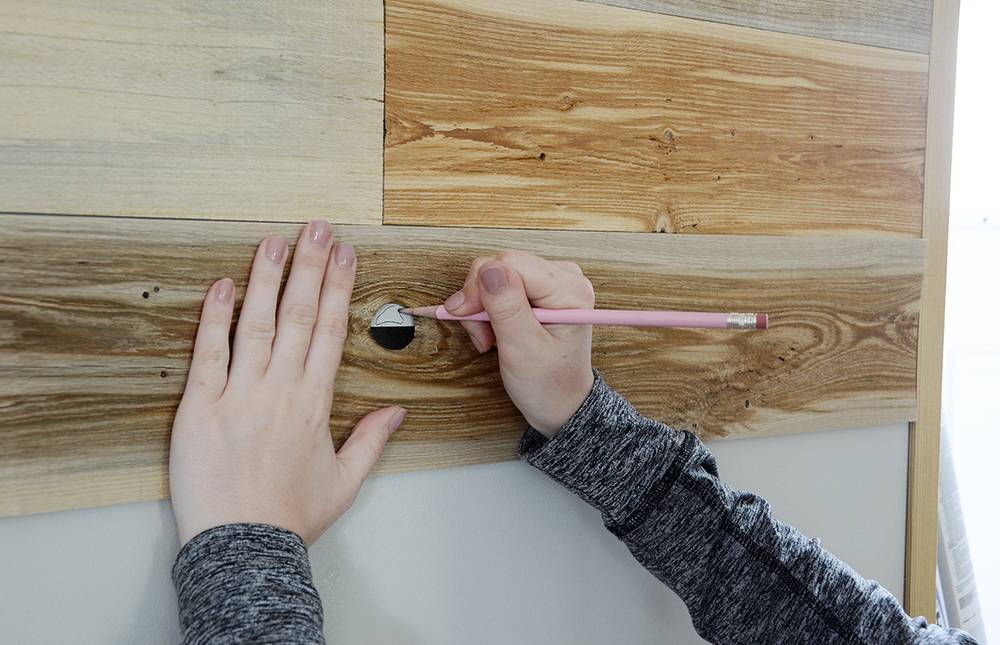
Next, you’ll begin attaching the planks to the wall. You’ll notice that each box of wood comes with a strip of black stickers… don’t throw them away! Many of the planks have holes in them (again, this is real wood) so you’ll use the stickers to mask the holes behind the wood.
Before removing the adhesive backing on the wood plank, place it on the wall and use a pencil to mark the hole. In case you were wondering, the hole in the photo above is a semi-circle shape because one of the adhesive strips on the wood is covering half of the hole.
Step
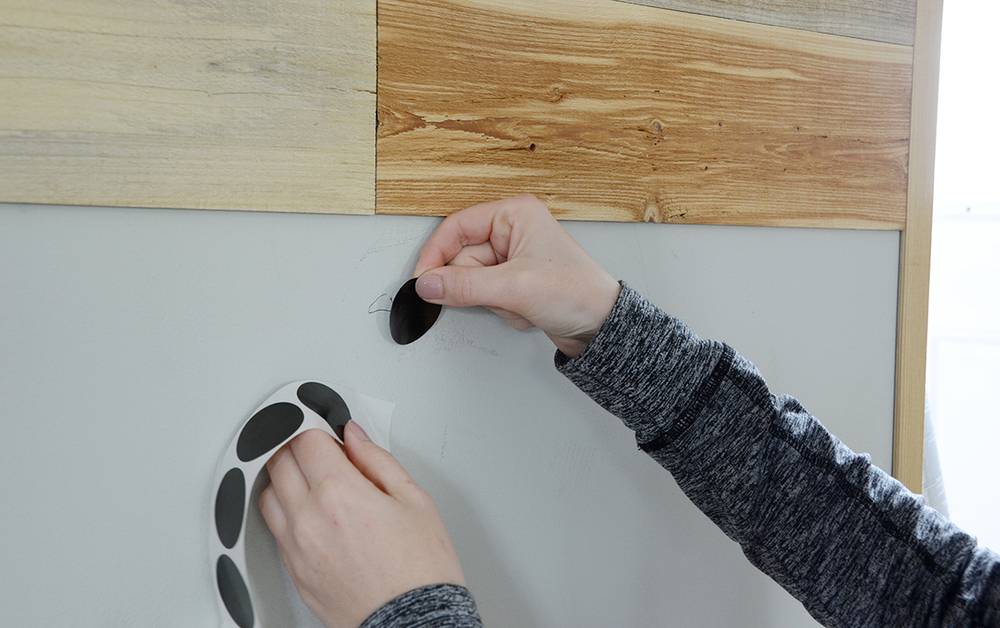
Place a black sticker over the pencil mark that you created. We were worried that we would run out of stickers, so we used halves of the stickers for small holes. I would recommend that you do the same, just to be on the safe side.
Step
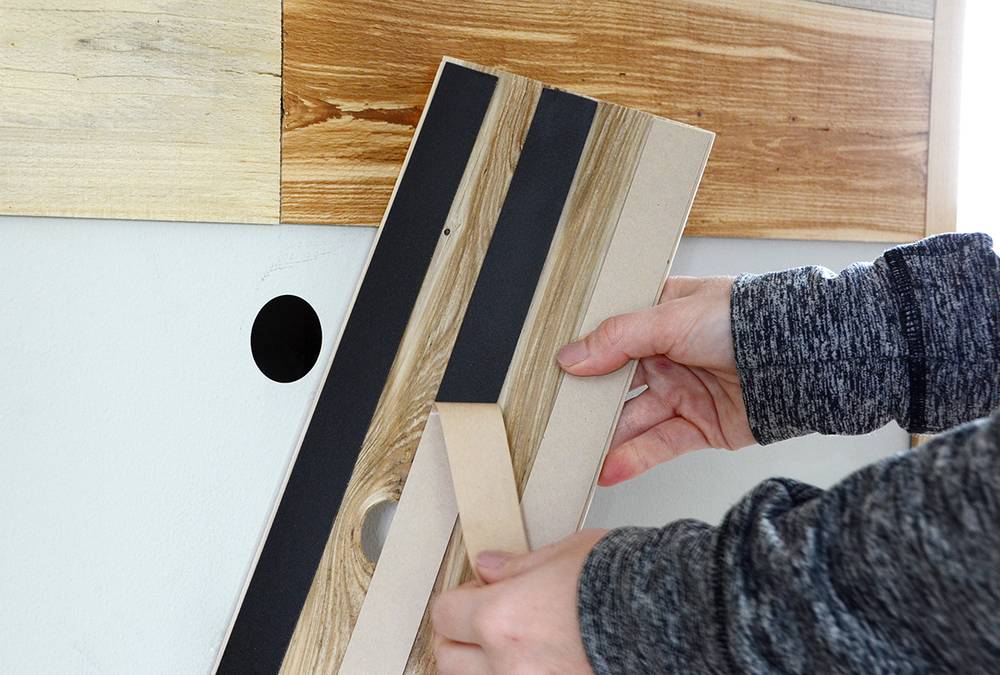
Now remove the backing on the plank and place it on the wall, making sure to place it in the same orientation so that the hole is indeed over the black sticker.
Step
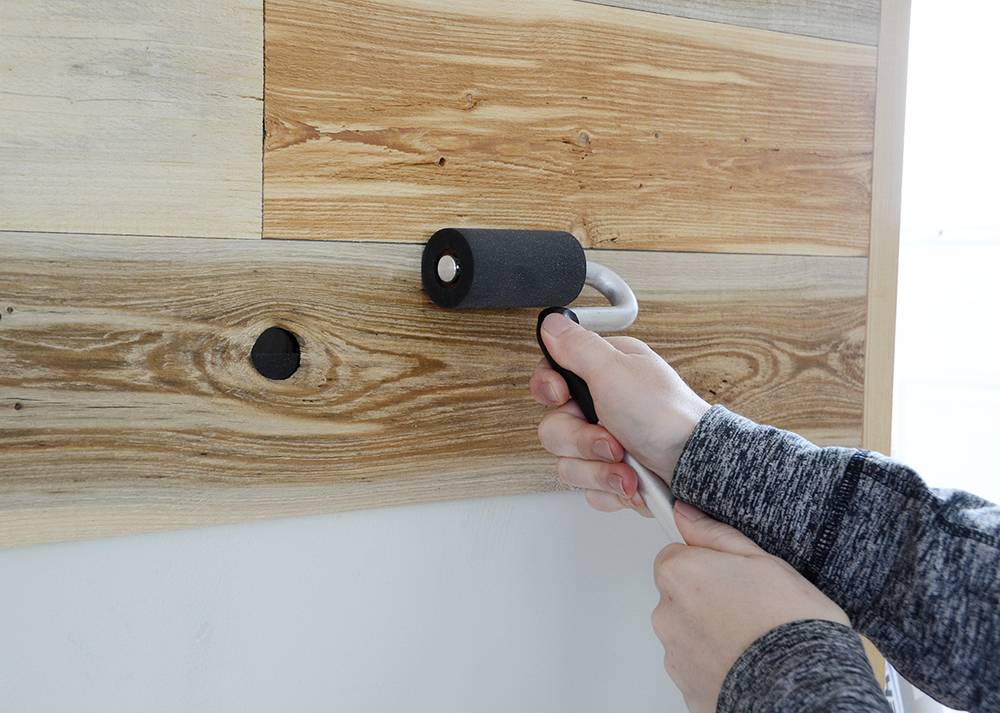
Drag the roller back and forth across the plank to make sure that it is flat against the wall. Continue adding planks until your entire wall is complete. The bottom row will most likely be narrower than the rest, so you’ll have to trim them down using a box cutter and a metal straight edge.
Here are some pictures of the finished product!
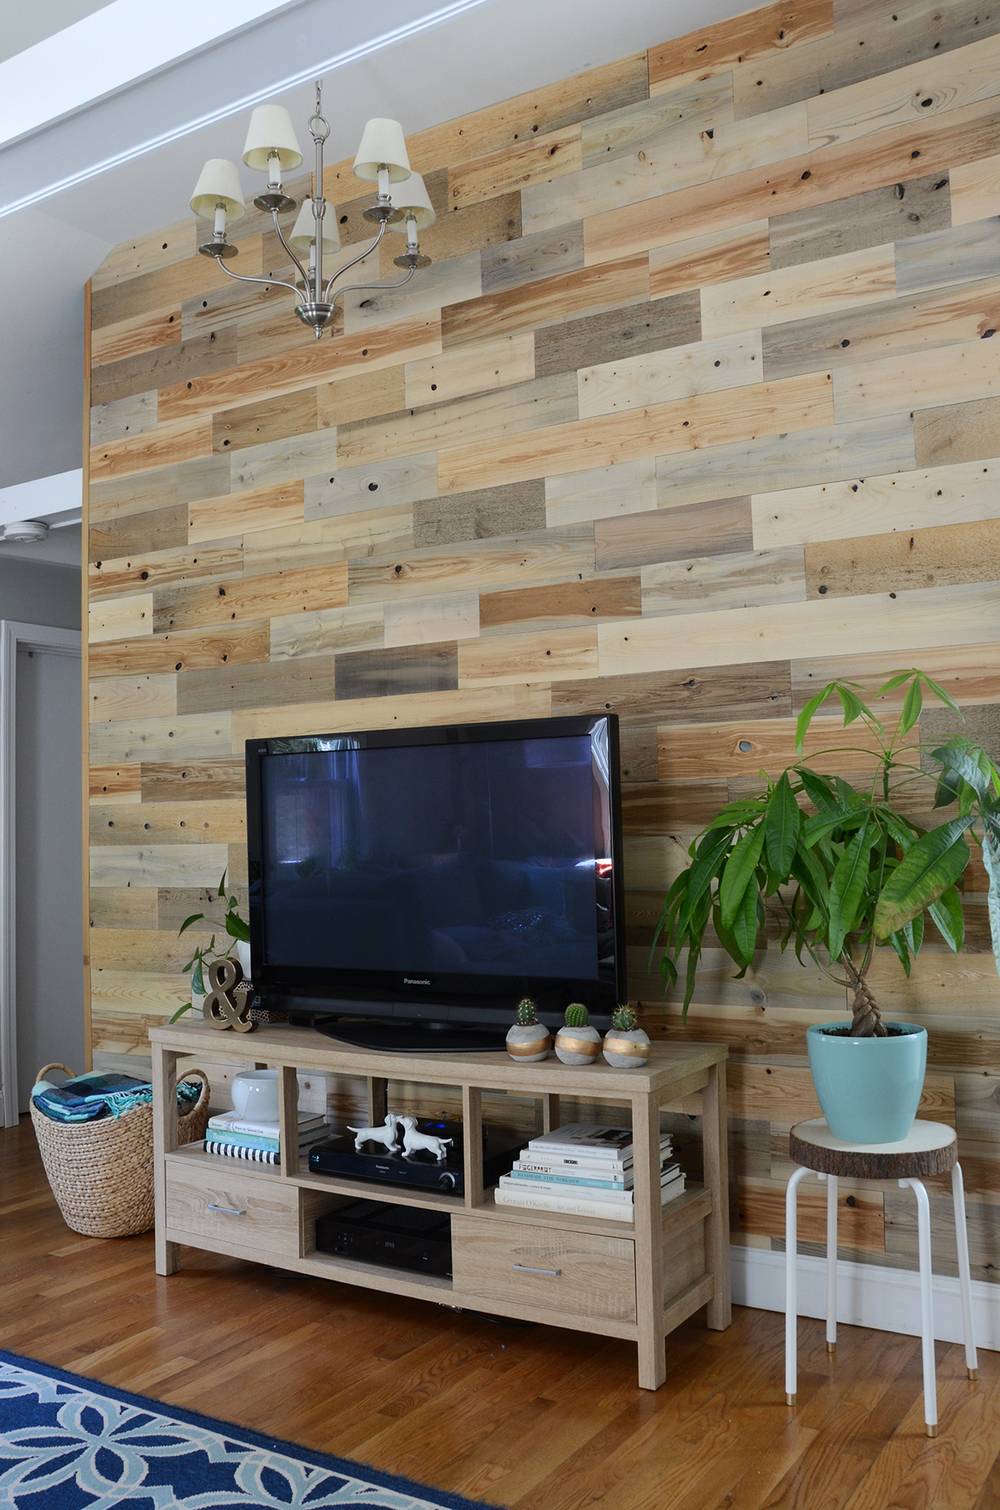
We couldn’t be happier with the result – TimberChic has made a product that is truly simple to use and has a great mission to boot. They collect timber from the bottom of a lake in Maine that used to be used to transport lumber, and cut the logs into thin planks to create a usable resource out of forgotten wood.
Here are a couple of things we learned along the way:
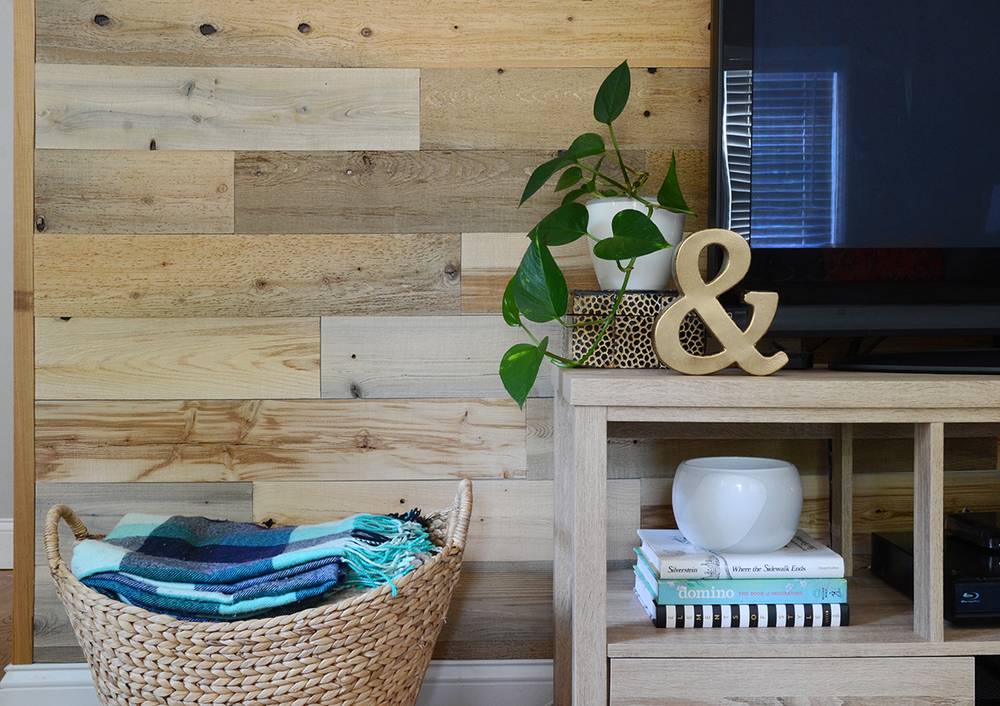
- When measuring to determine the width of the top and bottom rows, take into account that there will be a fraction of an inch in between all of the other rows. We would have put a smaller row at the top so that the bottom row could have been a bit wider.
- Choose your planks strategically – mix up the colors, textures and lengths to get a natural feel. It helps to have a friend hold up the plank while you look at it from further back.
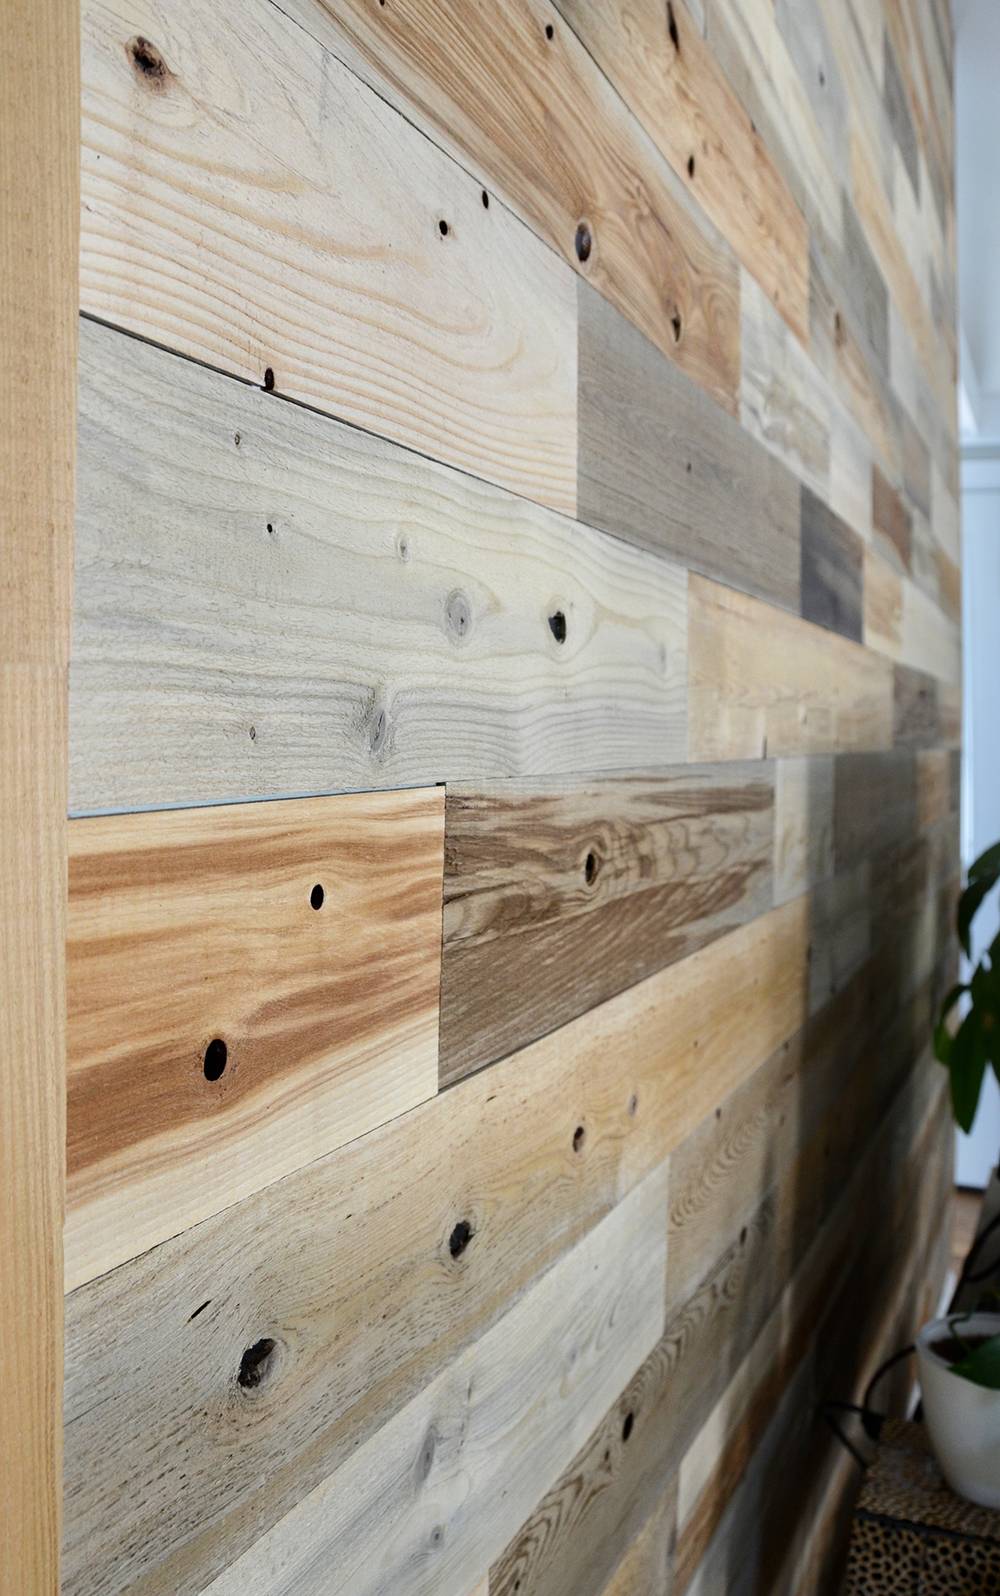
- Don’t panic if the planks are not perfectly aligned… the wall is supposed to have a natural, organic feel so slight imperfections only add to its character (in my opinion).
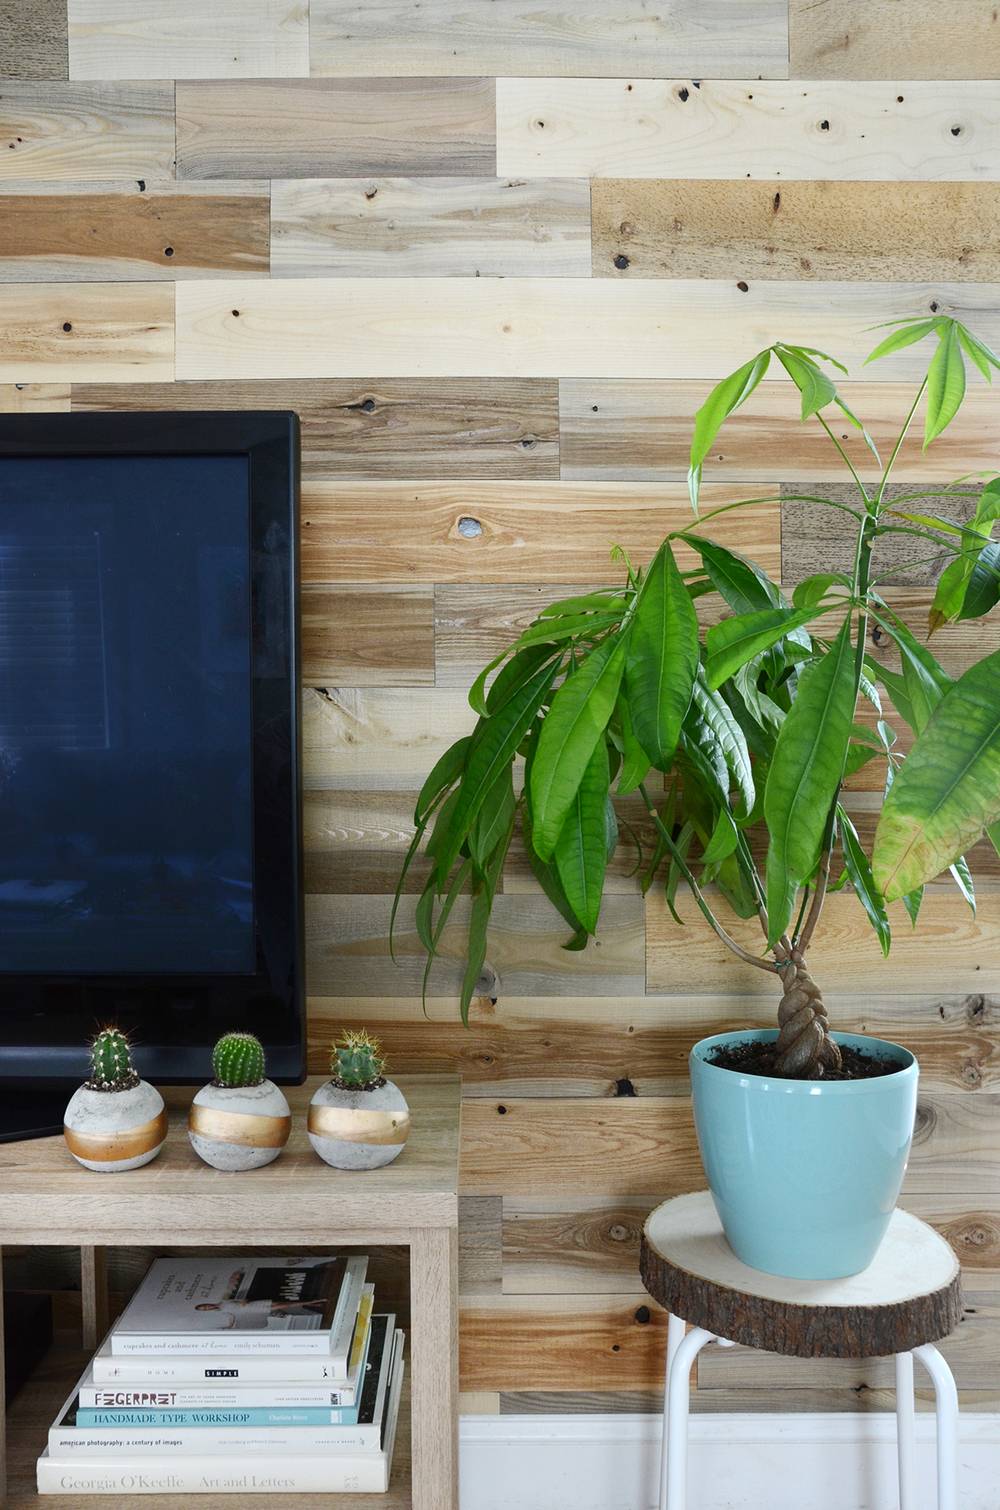
I would definitely use TimberChic again, in fact I’m considering getting more in the future to create a small accent wall on the other side of the house. I think it would really tie the front and back sections of our home together. It’s a very versatile material, and it would work great in any little nook such as the exterior walls of a kitchen island. The only place it wouldn’t work well in would be an area with an irregular shape because that would require tons of complex measurements and cuts. They also offer a whitewashed color scheme which would work perfectly in a beach house, perhaps surrounding a fireplace or in an entryway. The sky’s the limit!
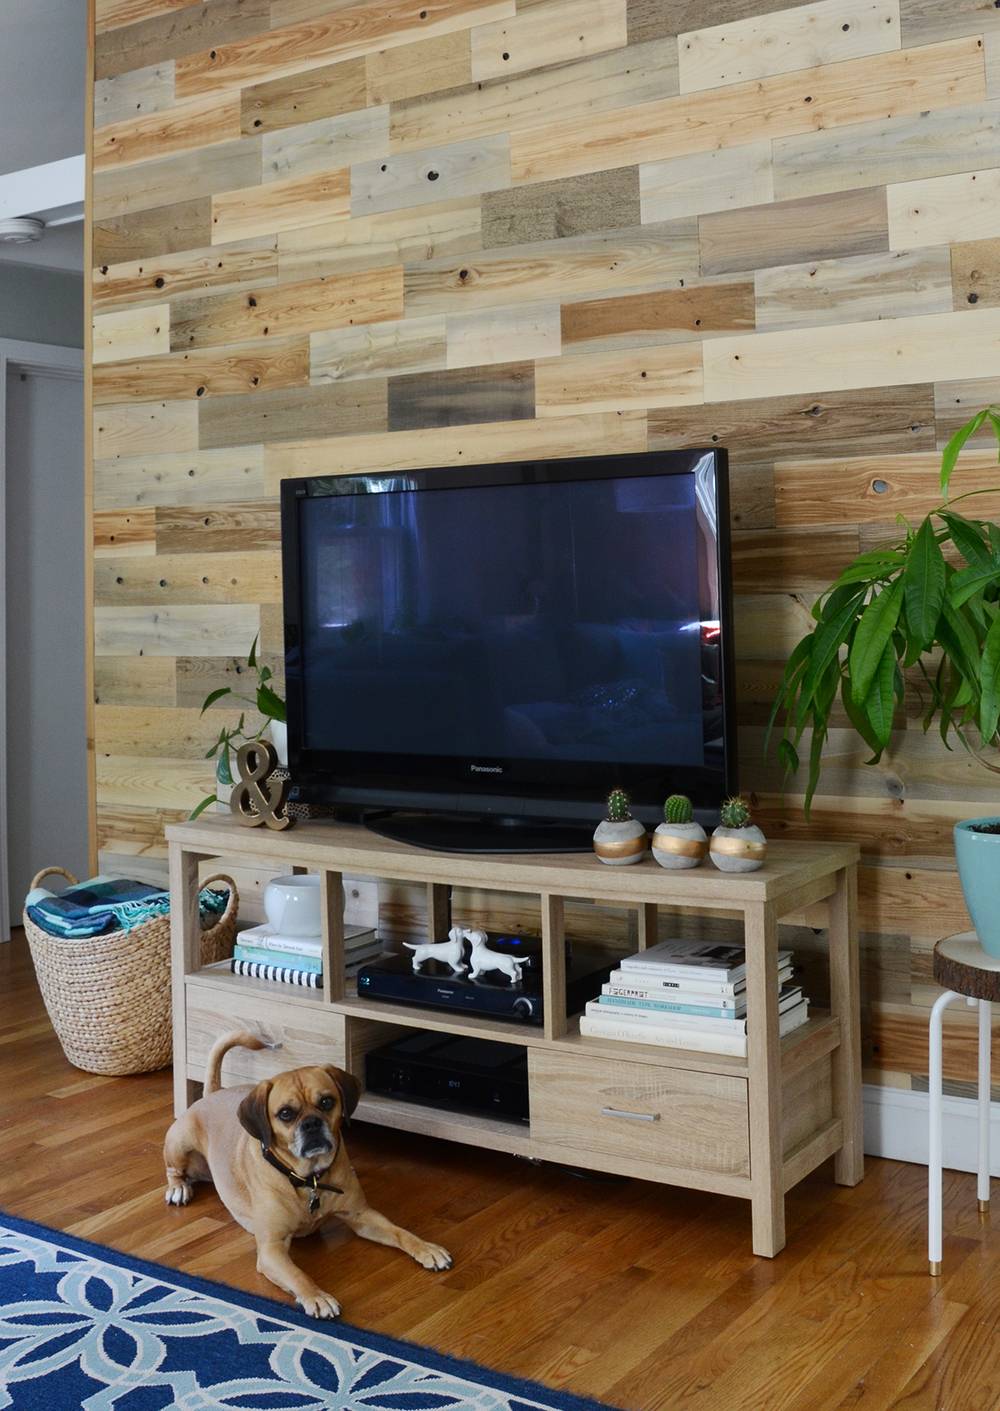
Even Charlie the dog likes the new wall!
Special thanks to Timberchic, who provided materials for this makeover free of charge. Learn more at their website and Facebook page.
