Storage. We all need more of it. No matter how much room you have, an organized system will always top square footage.
Recently, I was looking for a way to clean up all the bottles in our liquor cabinet. It’s not that we drink too much; in fact, it’s the opposite. We buy specific products to try a new cocktail recipe. And we’ll make it once, and end up with all this extra liquid to store in perpetuity until we can figure out what to do with it.
So, I wanted to find a way to cut down on their footprint. I realized I had quite a number of smalls bottles – bitters, liqueurs, mixers, and the like. By doubling them up, height-wise, I could cut back on the floor space they occupied, bringing a little more breathing room to our credenza.
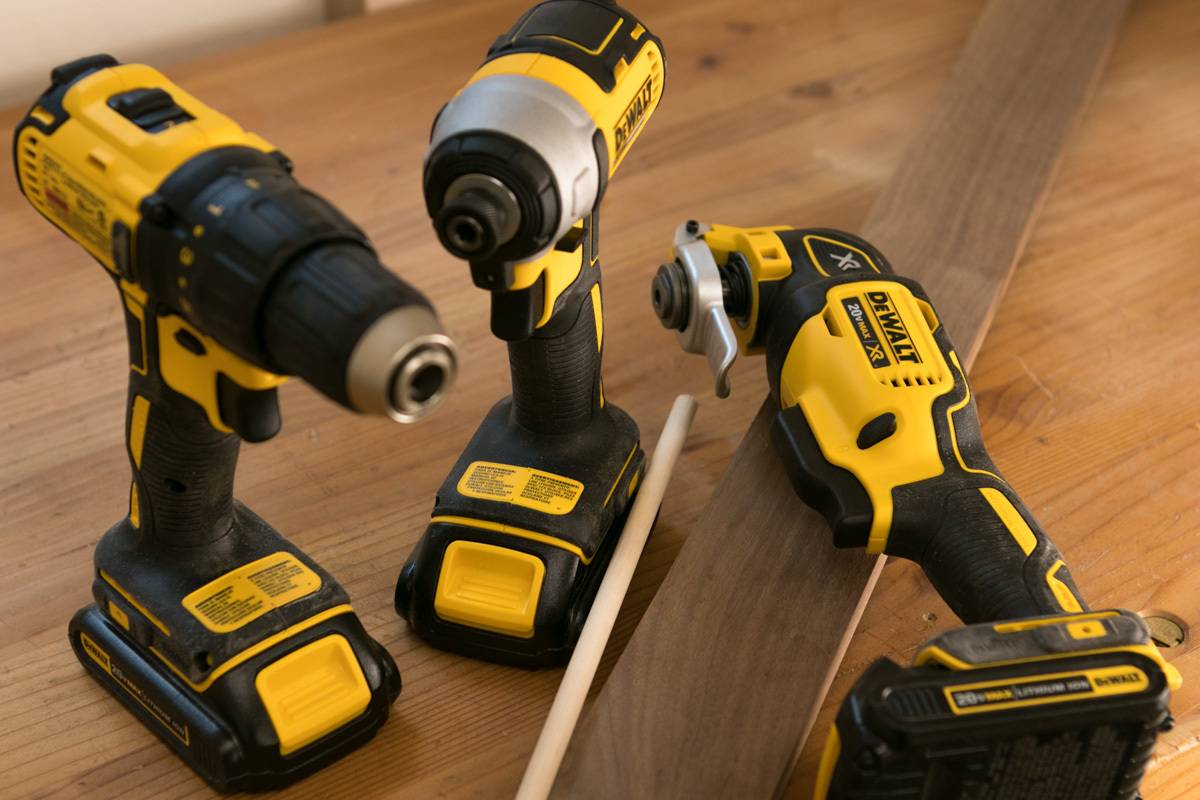
I was able to create this whole project with one board, one dowel rod, and three simple tools:
- I used the Dewalt 20-Volt MAX Lithium-Ion Cordless Oscillating Multi-Tool to do the bulk of the job. It allowed me to cut the board to length, sand the surfaces, flush-cut the dowels, and complete other finishing steps to get this thing spic-n-span.
- I used the Dewalt 20-Volt MAX Drill/Driver and Impact Combo Kit for all the joinery in the project; creating strong, but discreet, ways to connect the wood that will last forever.
The best part is: all of these tools use the same battery system, so it’s a reasonable financial investment that allows for all kinds of creativity when making a practical project like this.
Step
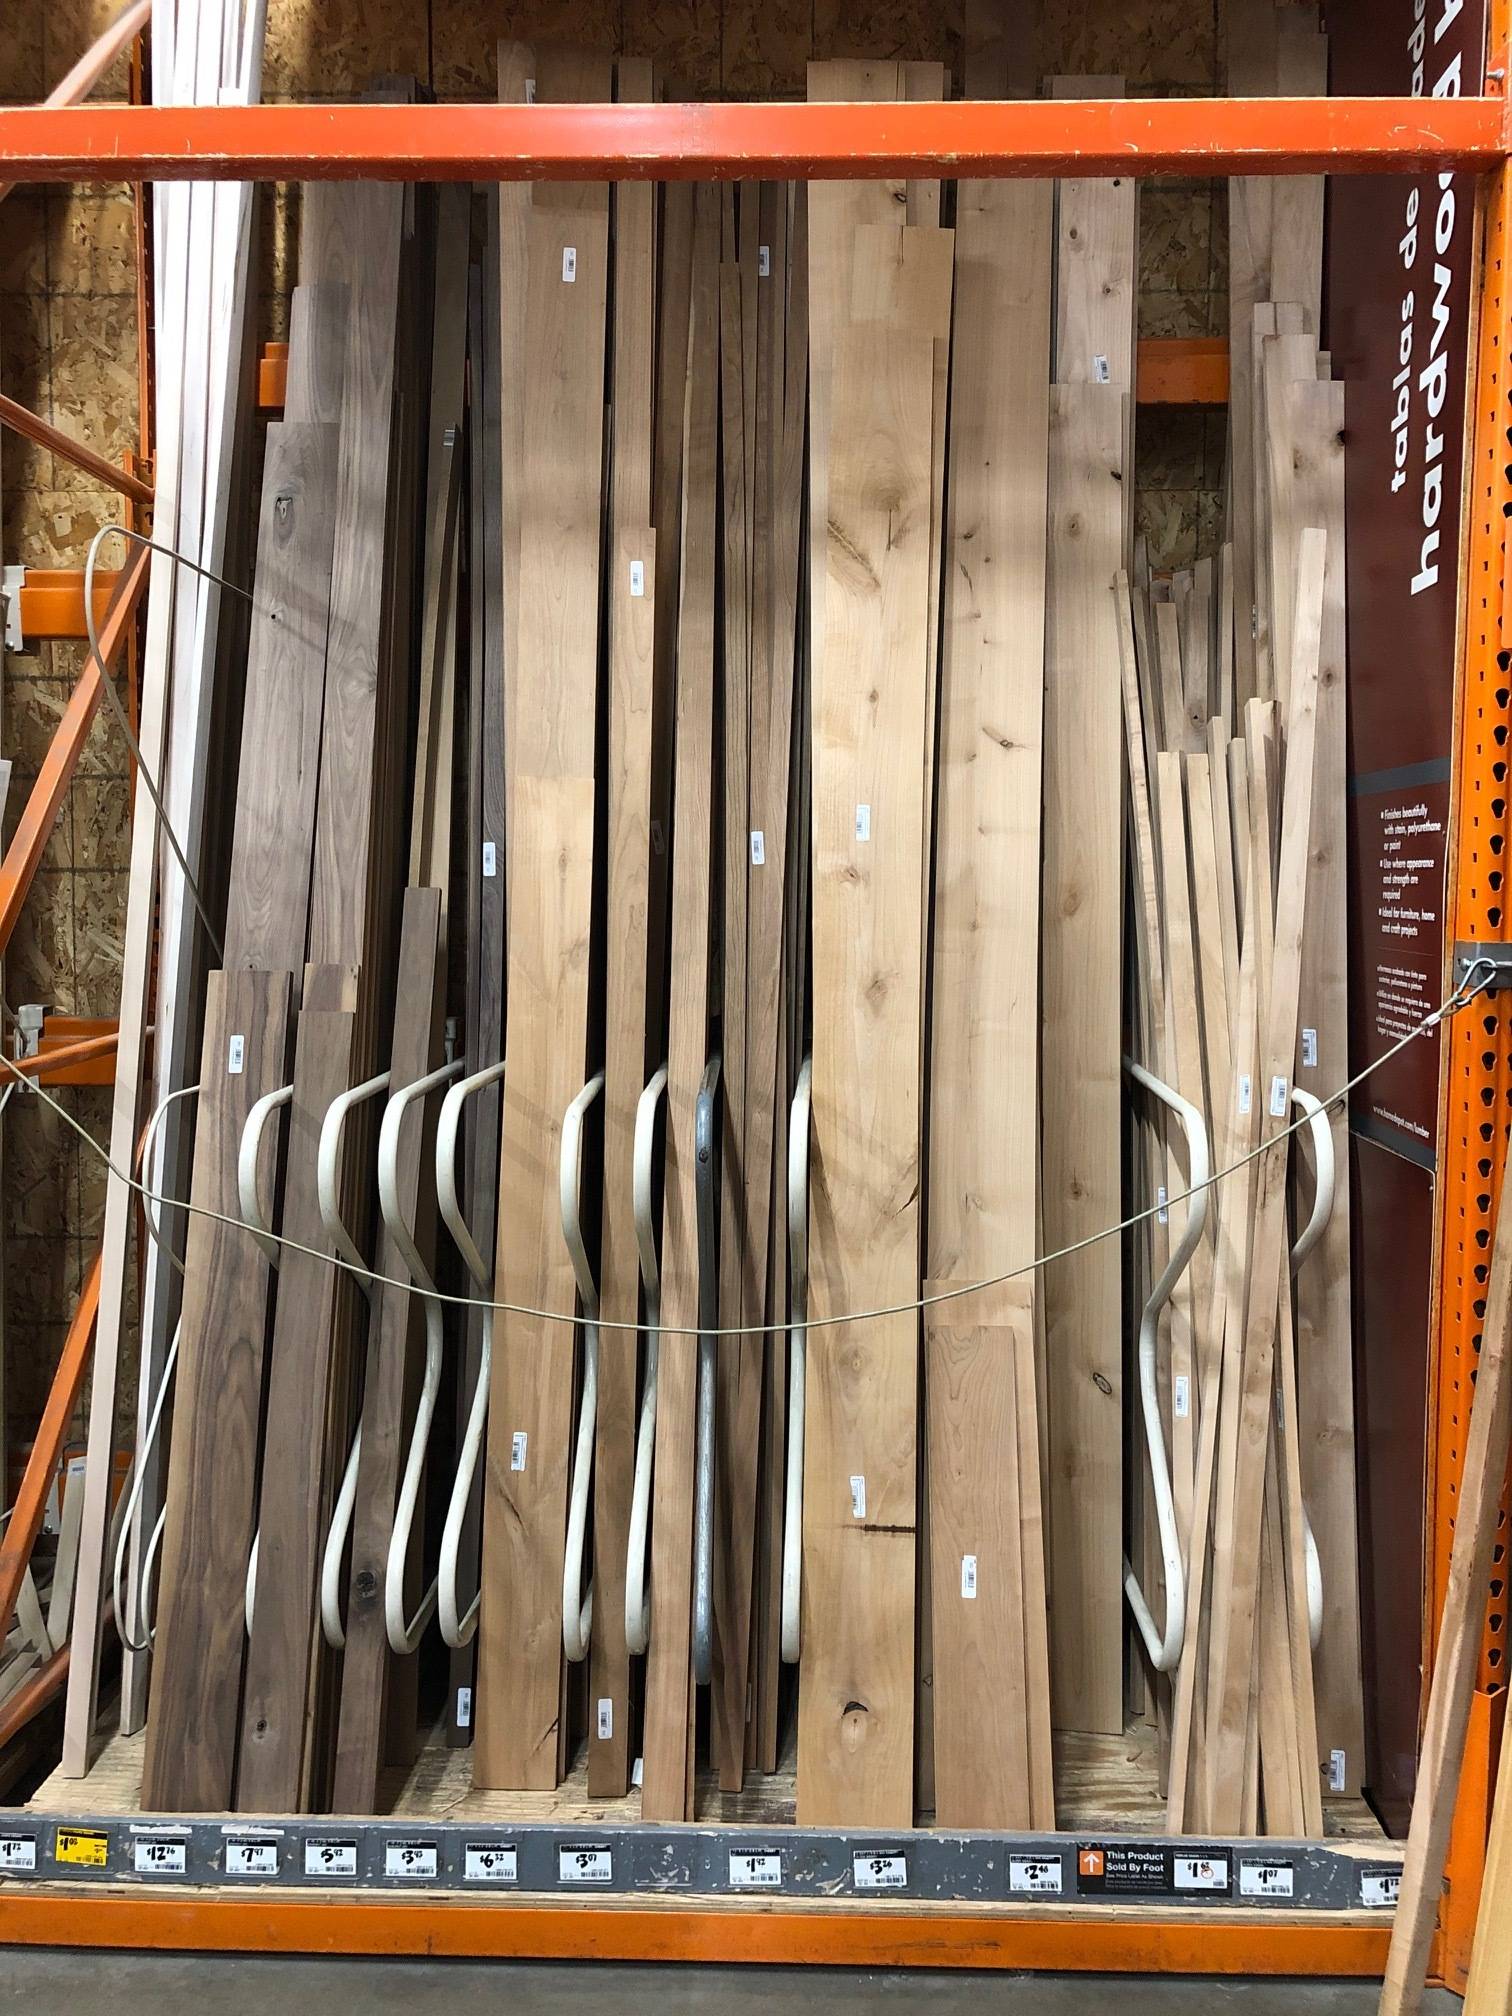
This project began with finding a nice, straight walnut 1×3, available in the hardwood section of the Home Depot. With the wood milled to the right size, it was easy to simply cut the wood to length to complete the project.
Step
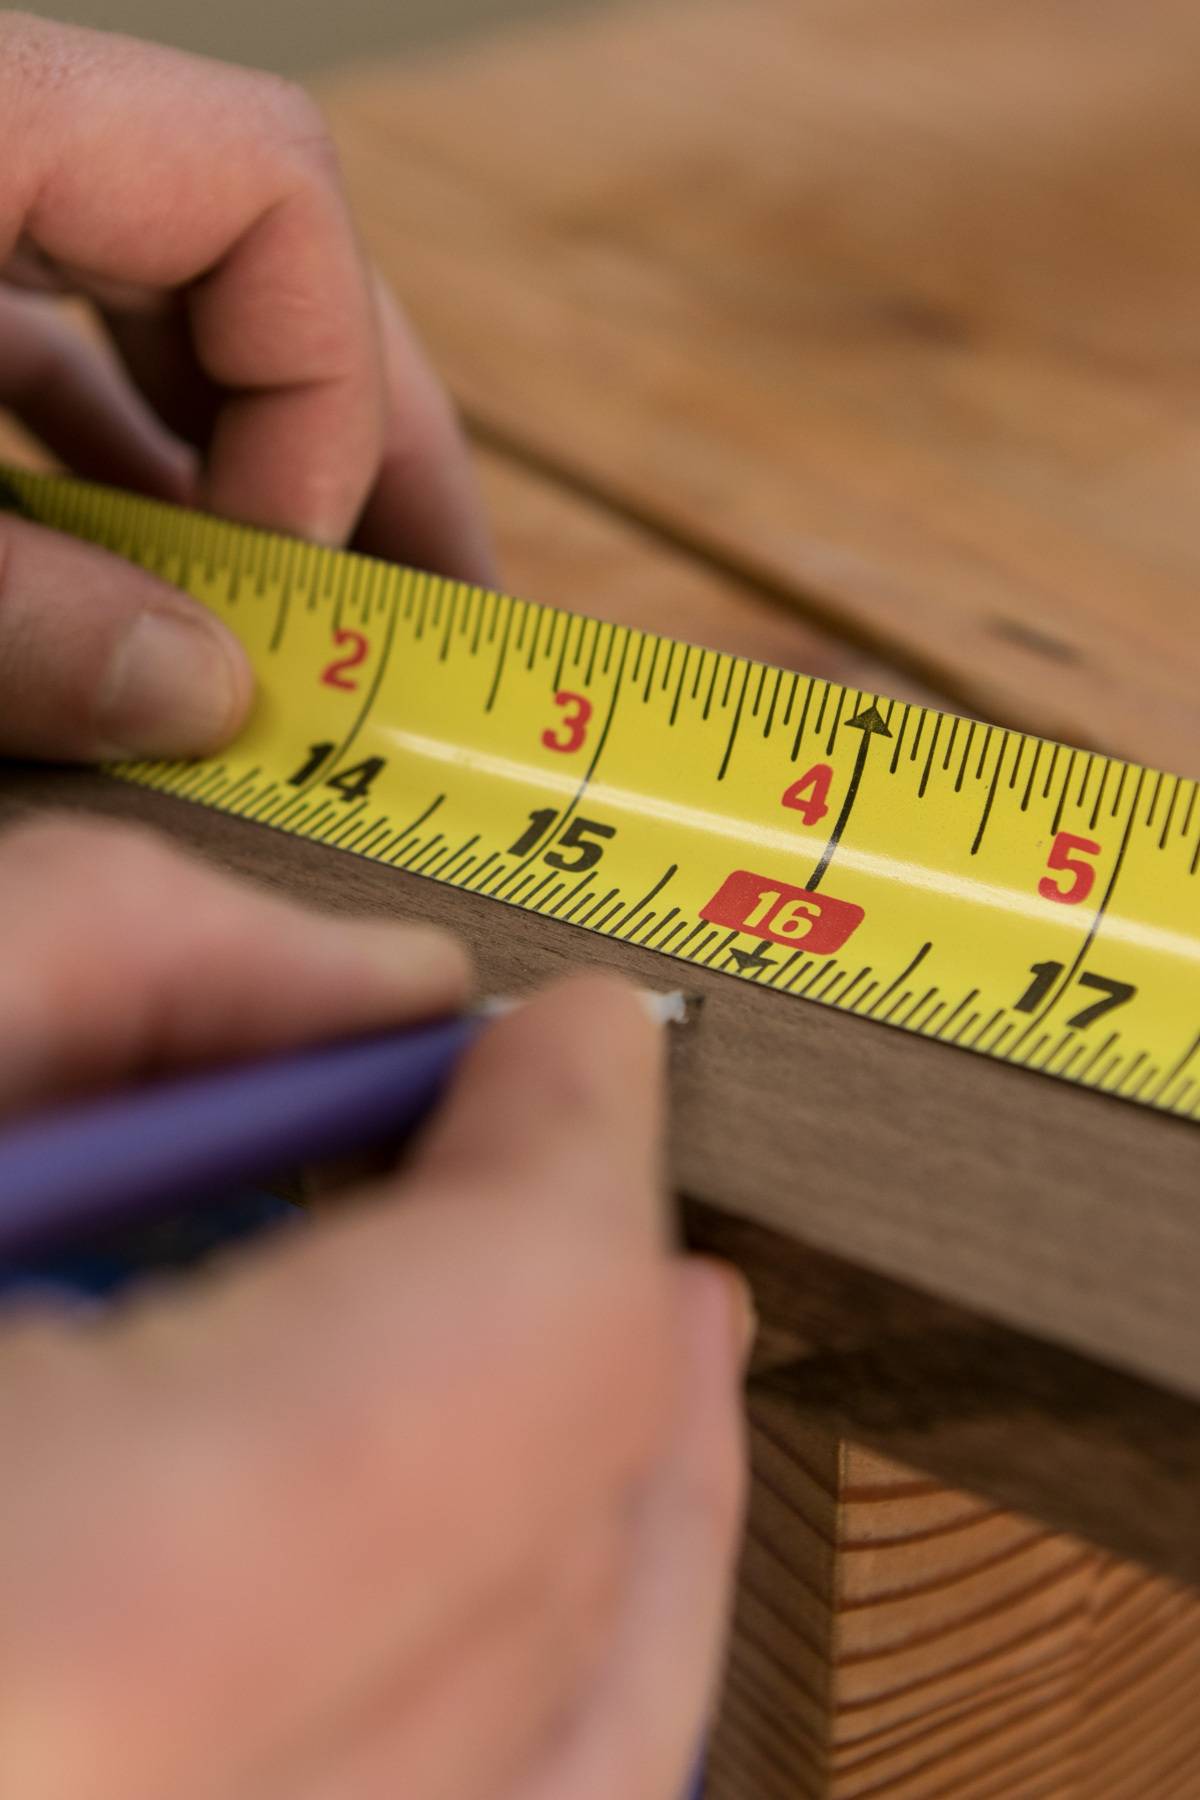
Next, I marked the 1×3 to size. Based on the proportions of our credenza, I made the shelf 16″ long and 8″ tall.
Step
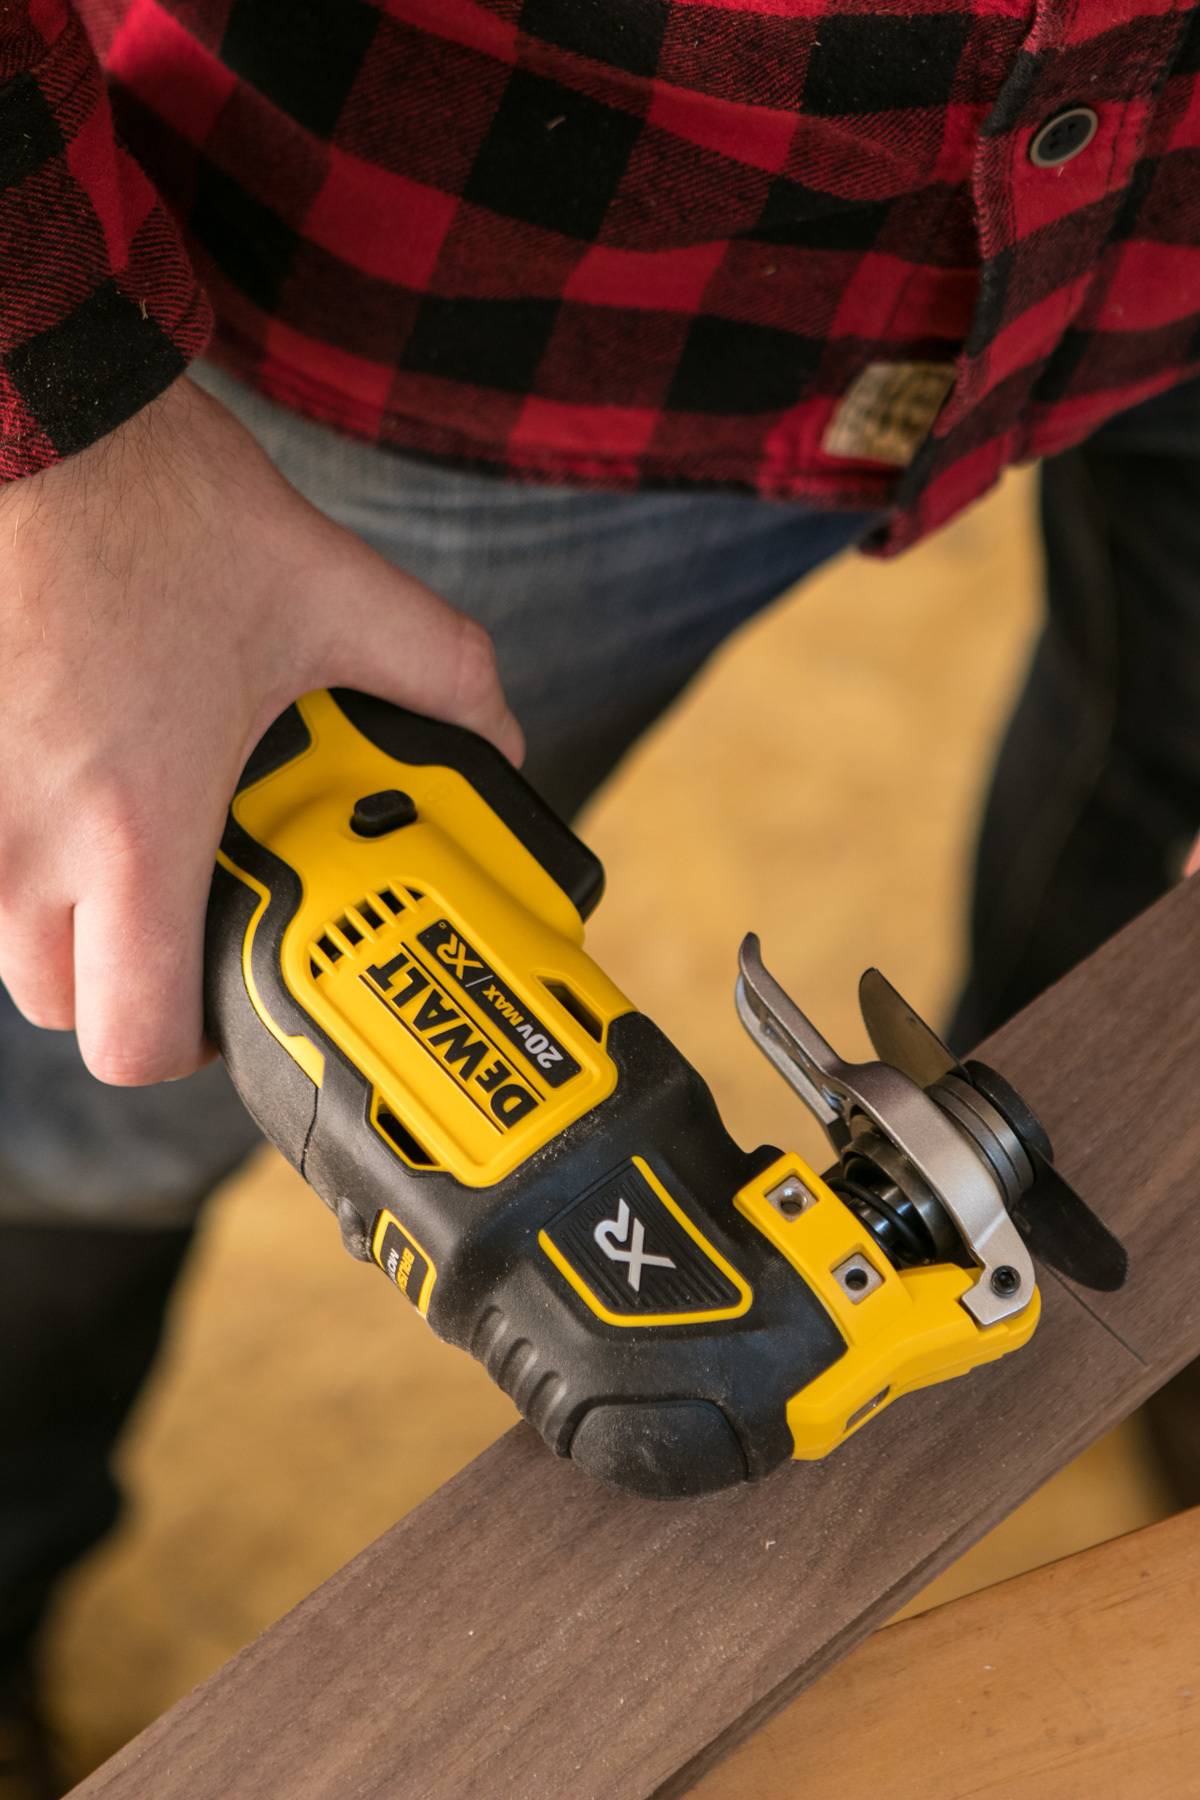
Next, I used a Dewalt cut-off blade to cut the wood to size.
Step
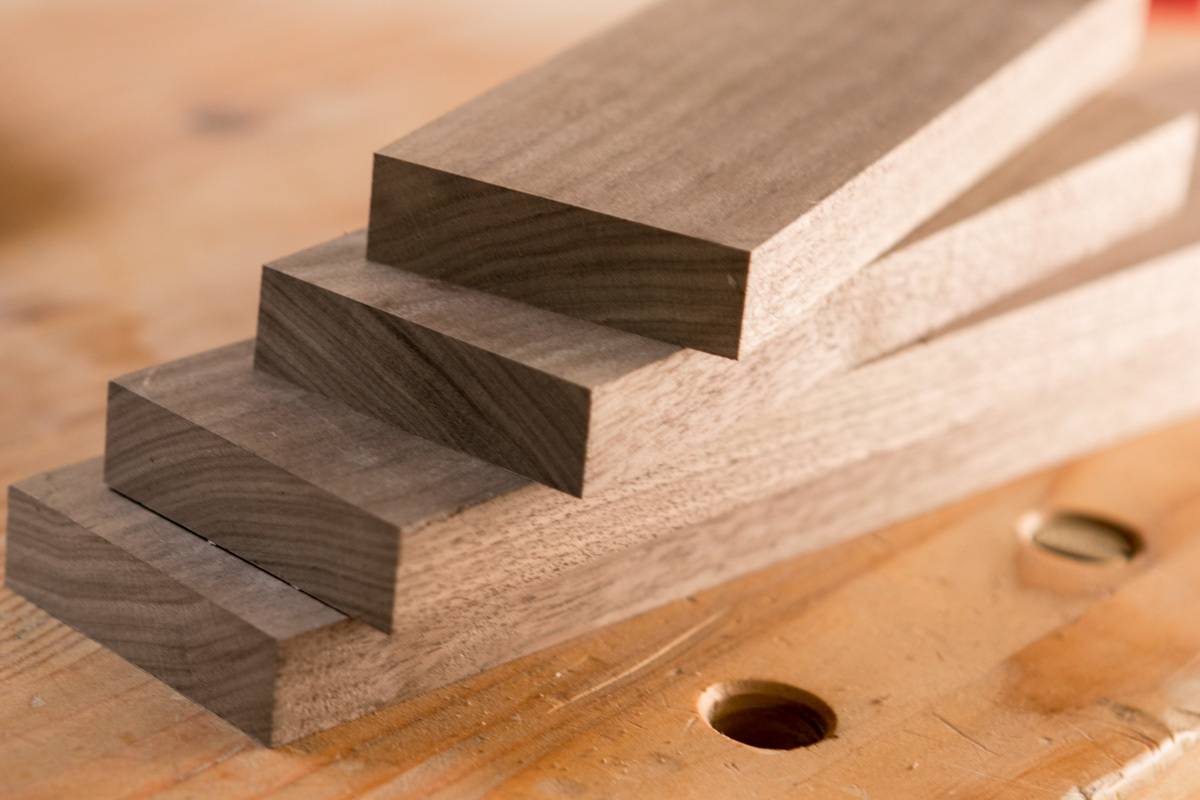
Then, I repeated the process to create two boards 16″ long (top and bottom) with two 8″ long (sides).
Step
For joinery, I opted for screw joints, counter-bored into the wood and filled with hardwood dowels. This is a super simple way to get rock-solid construction with a clean, finished look.
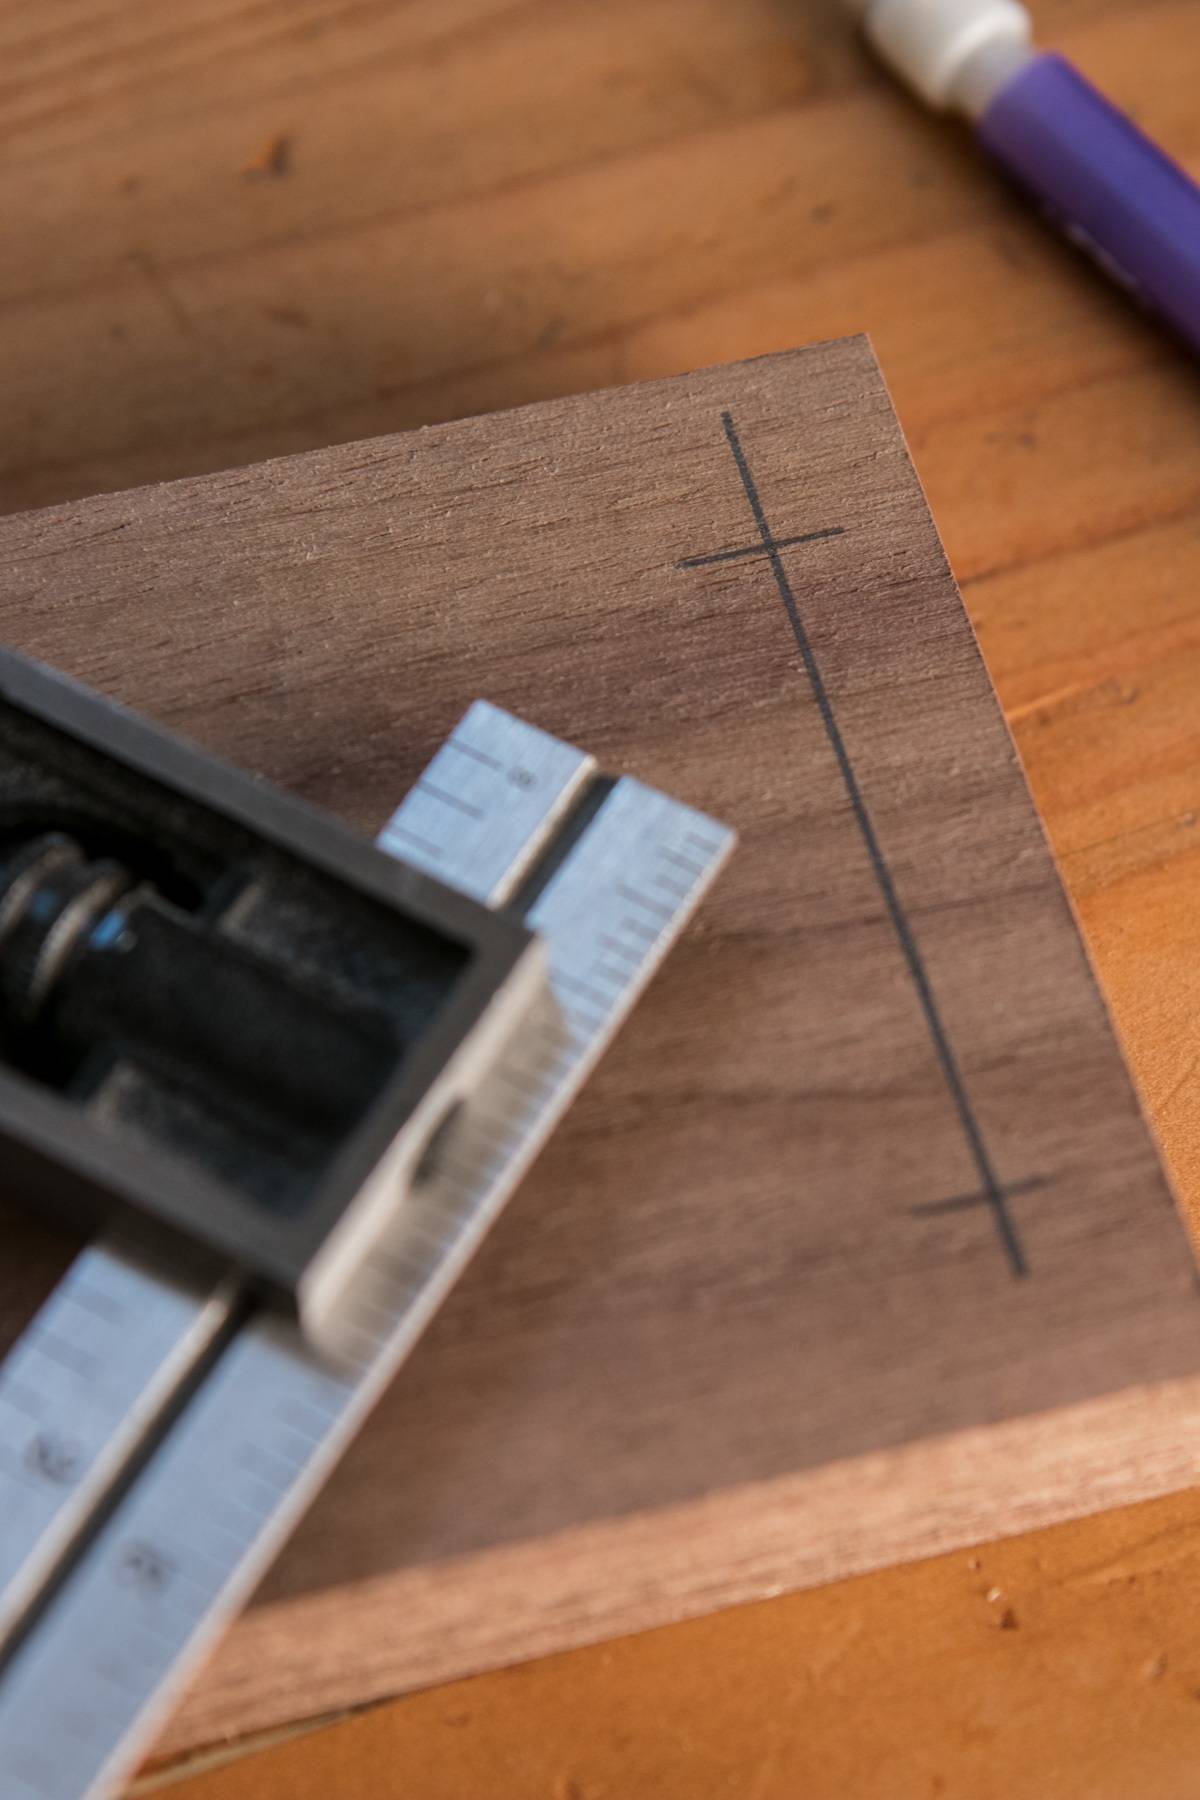
So, to begin, I laid out the center marks of my joints.
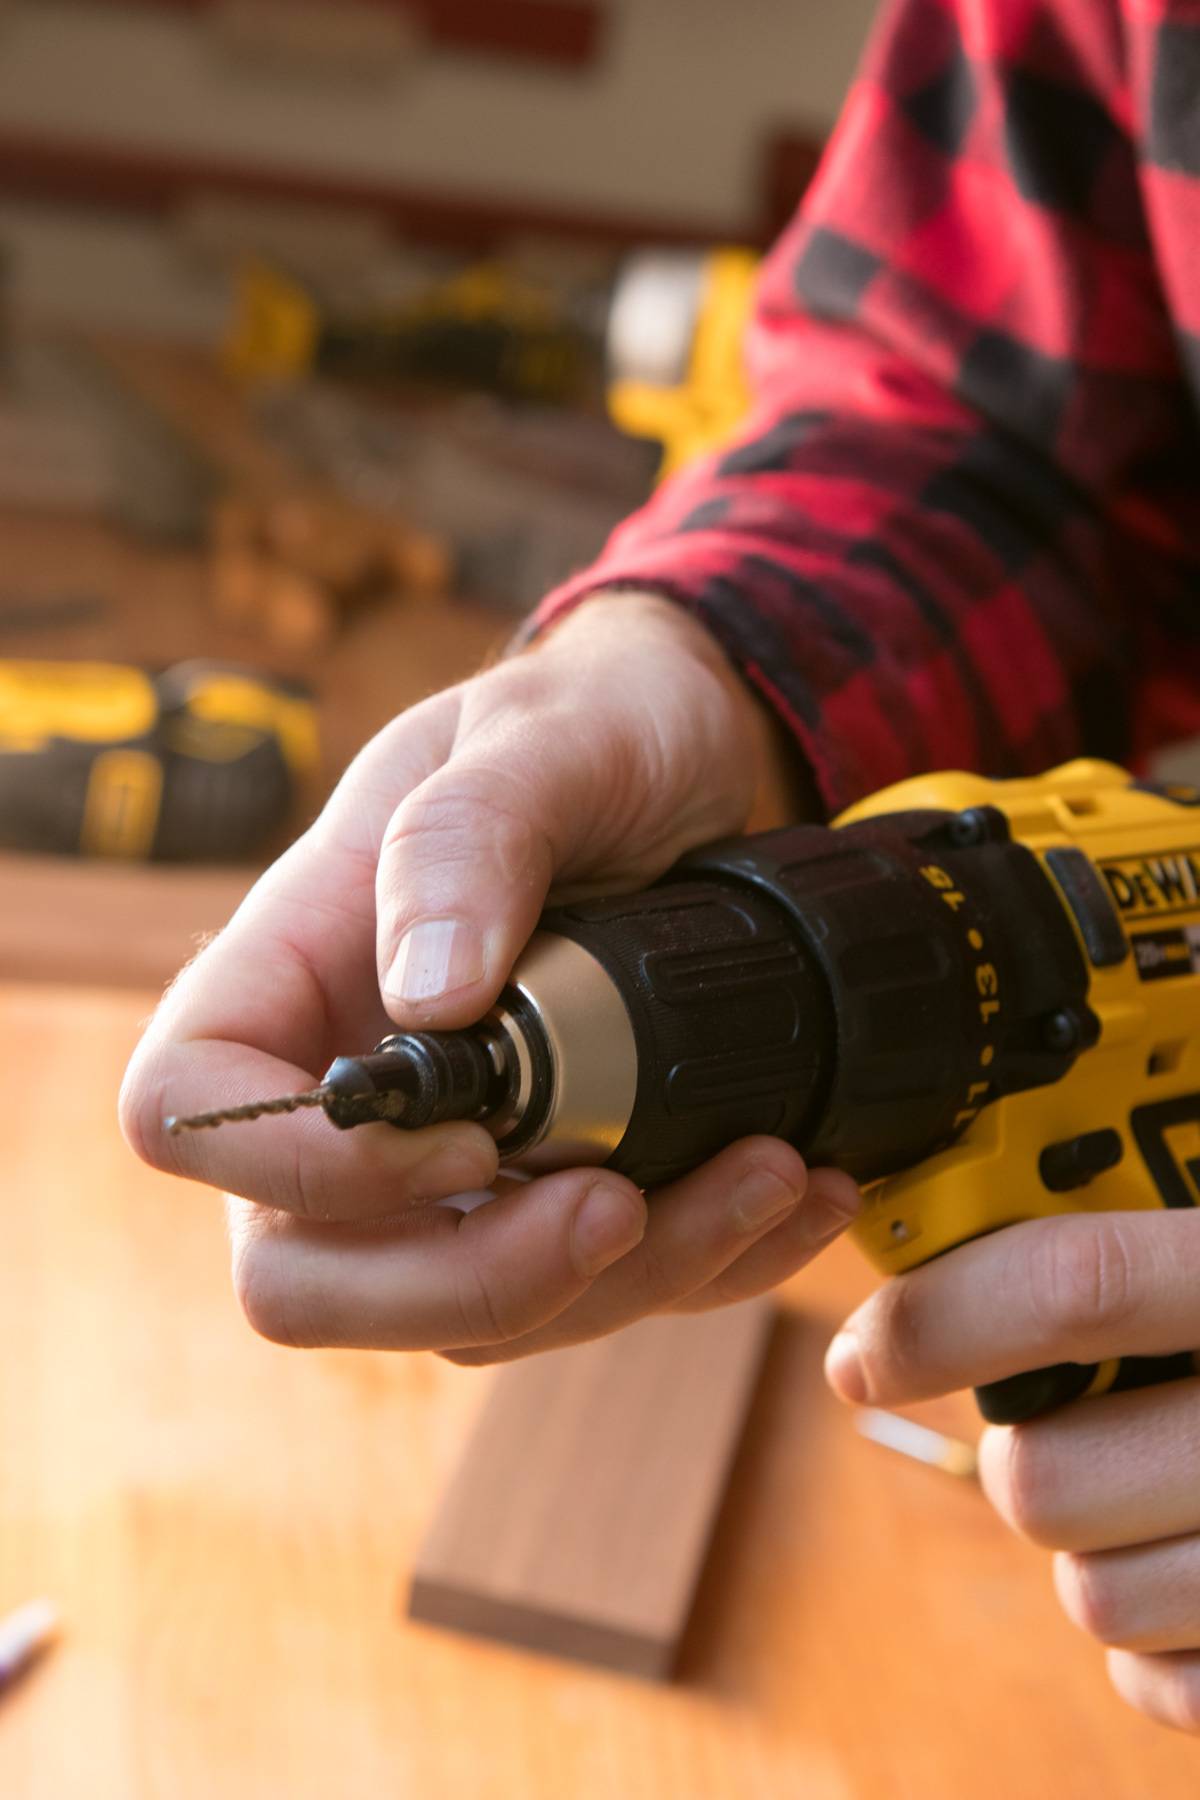
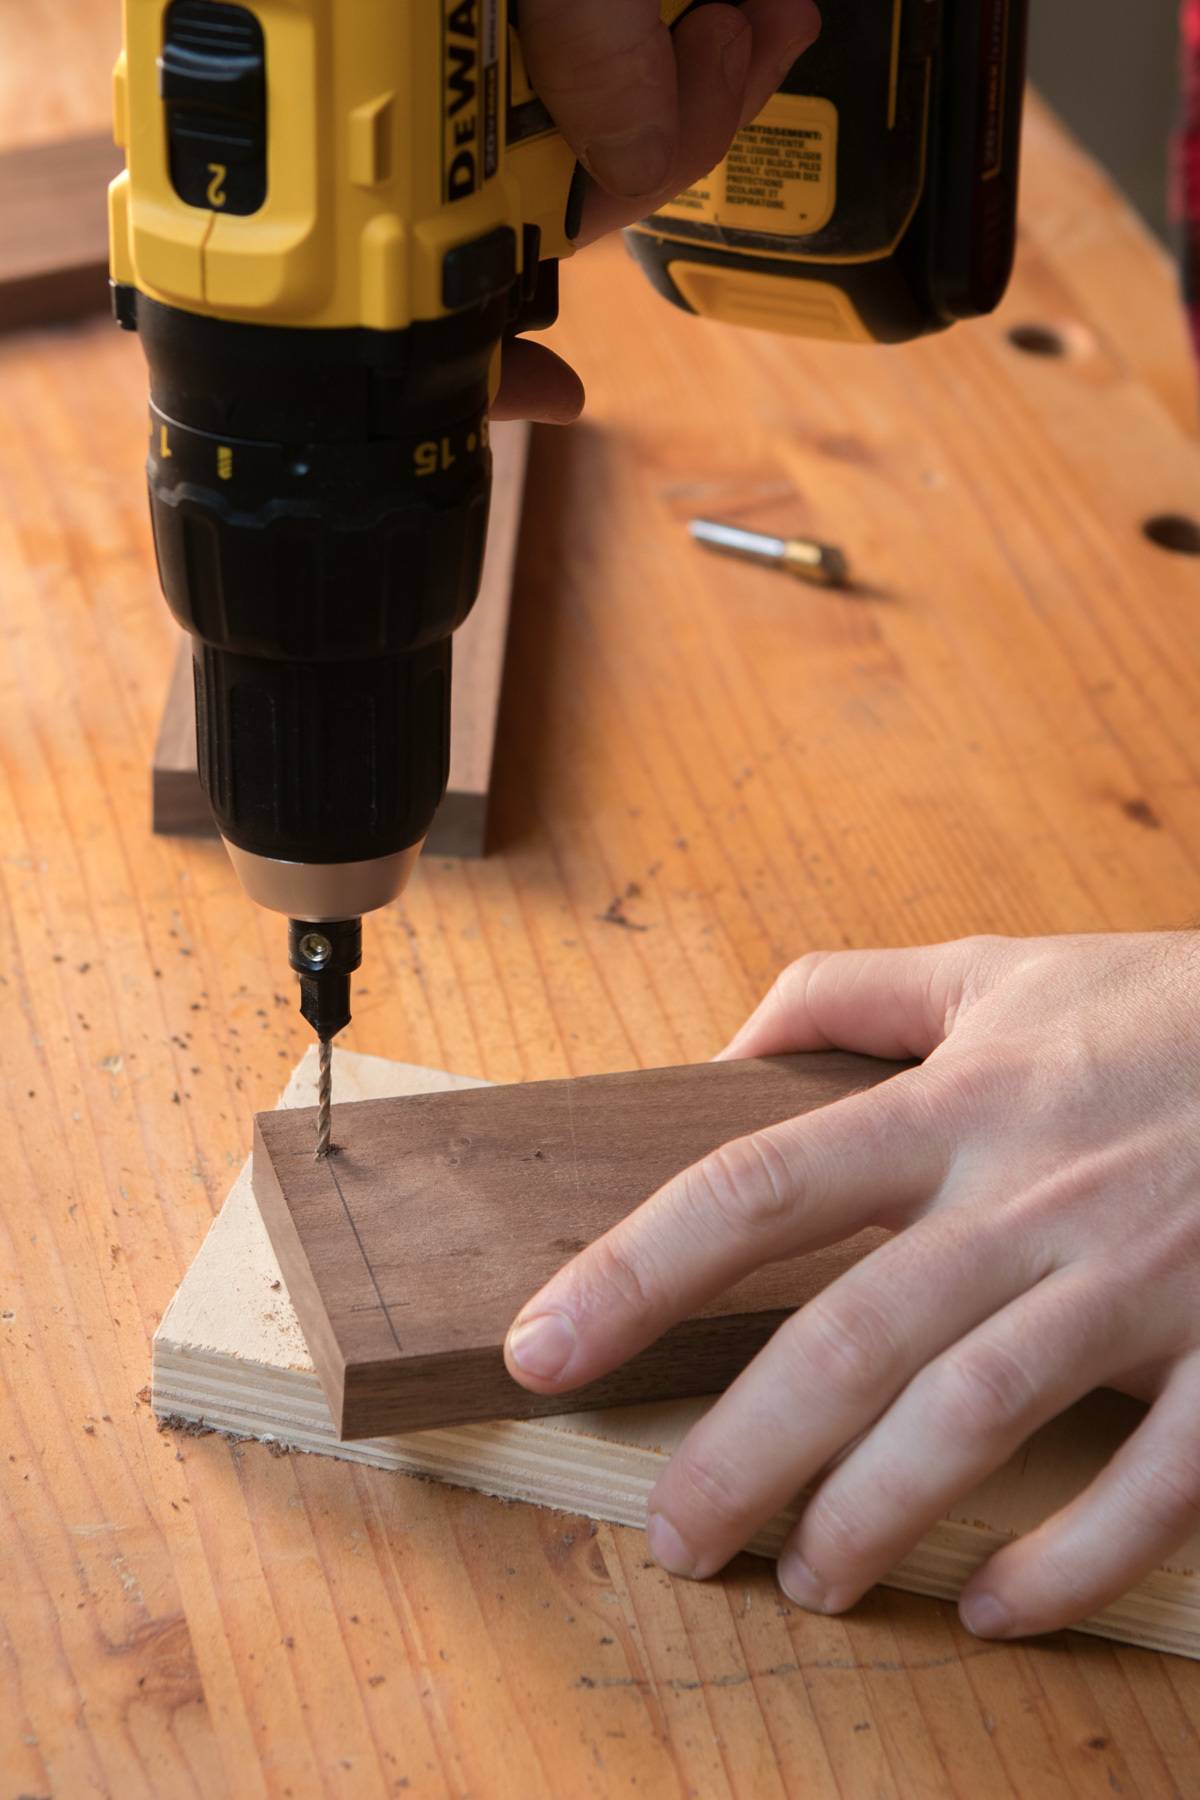
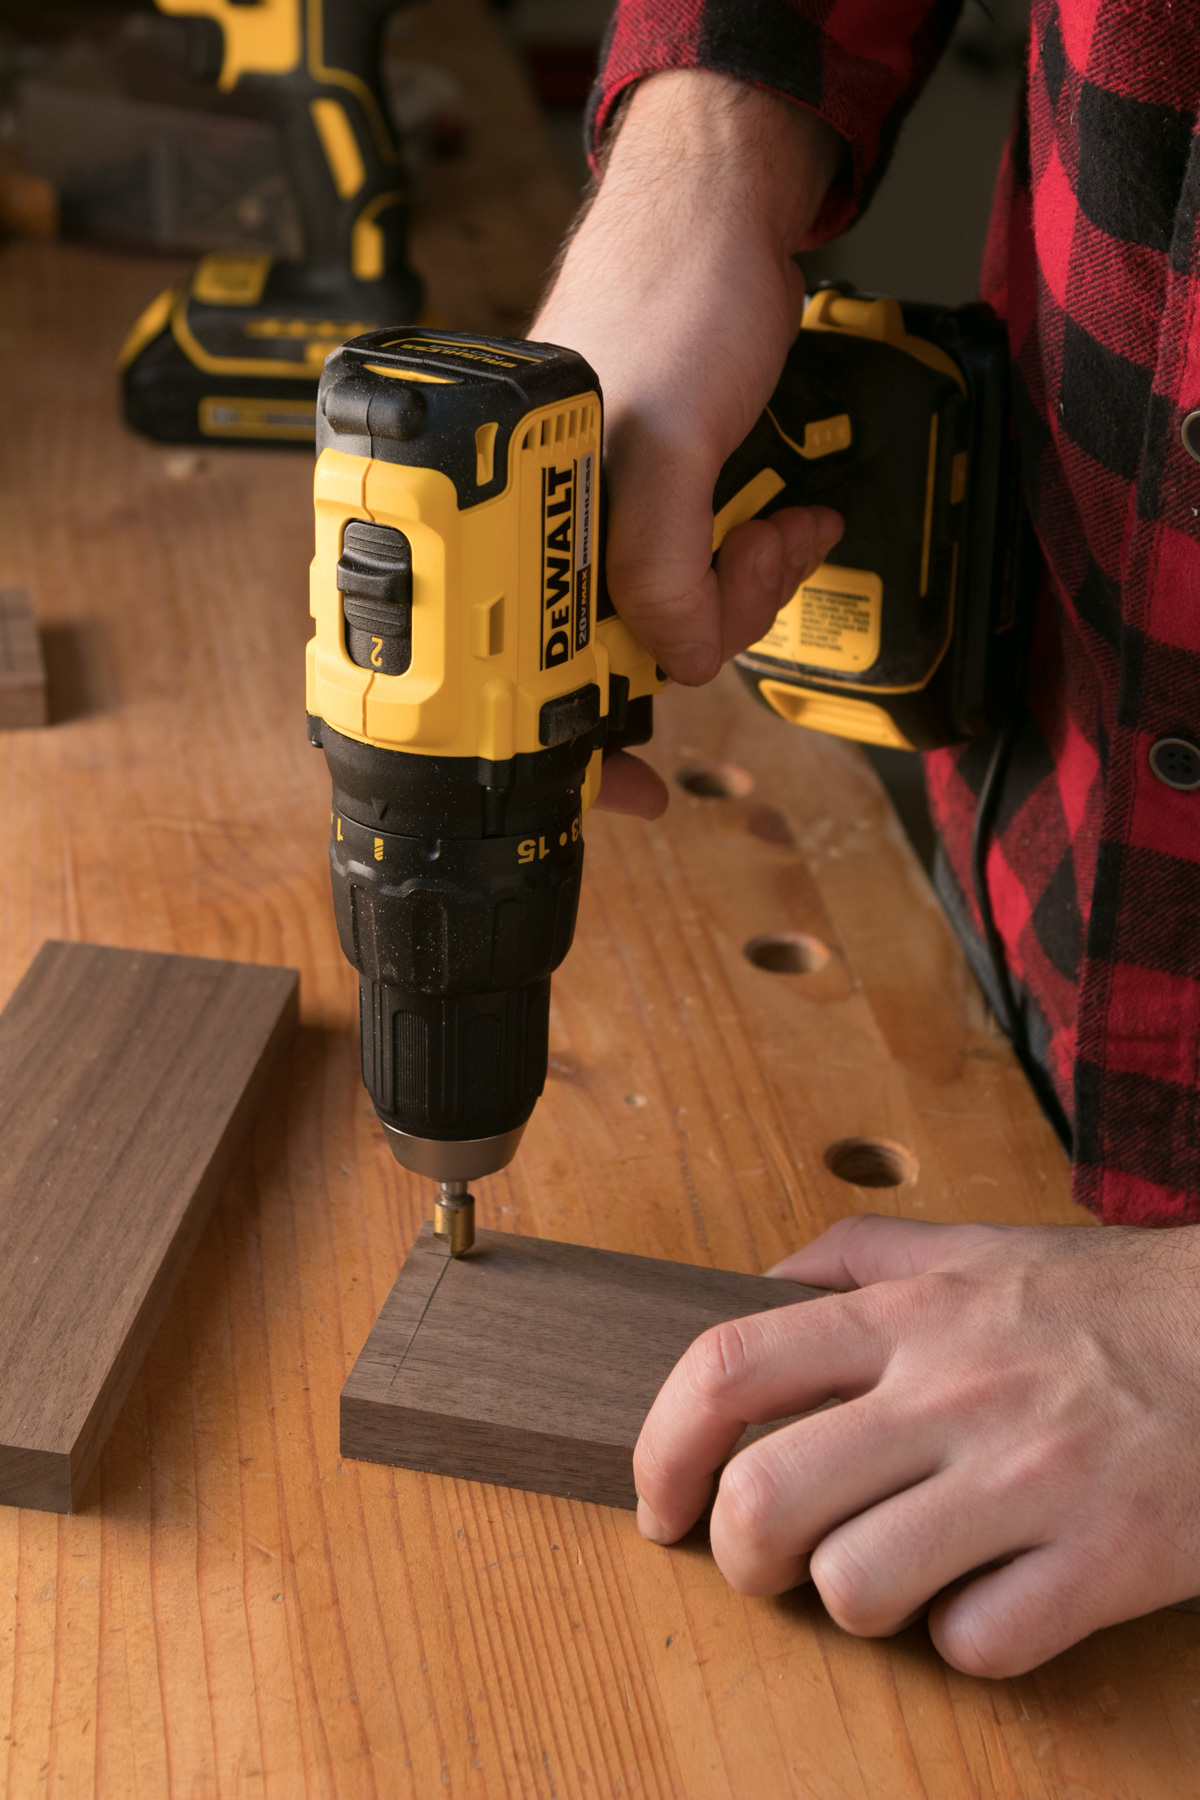
Then, I chucked in a countersink bit that allowed me to drill the clearance holes and the counterbores at the same time.
Then, I drilled the clearance hole, and a counterbore, into the top and bottom pieces of my shelf.
Step
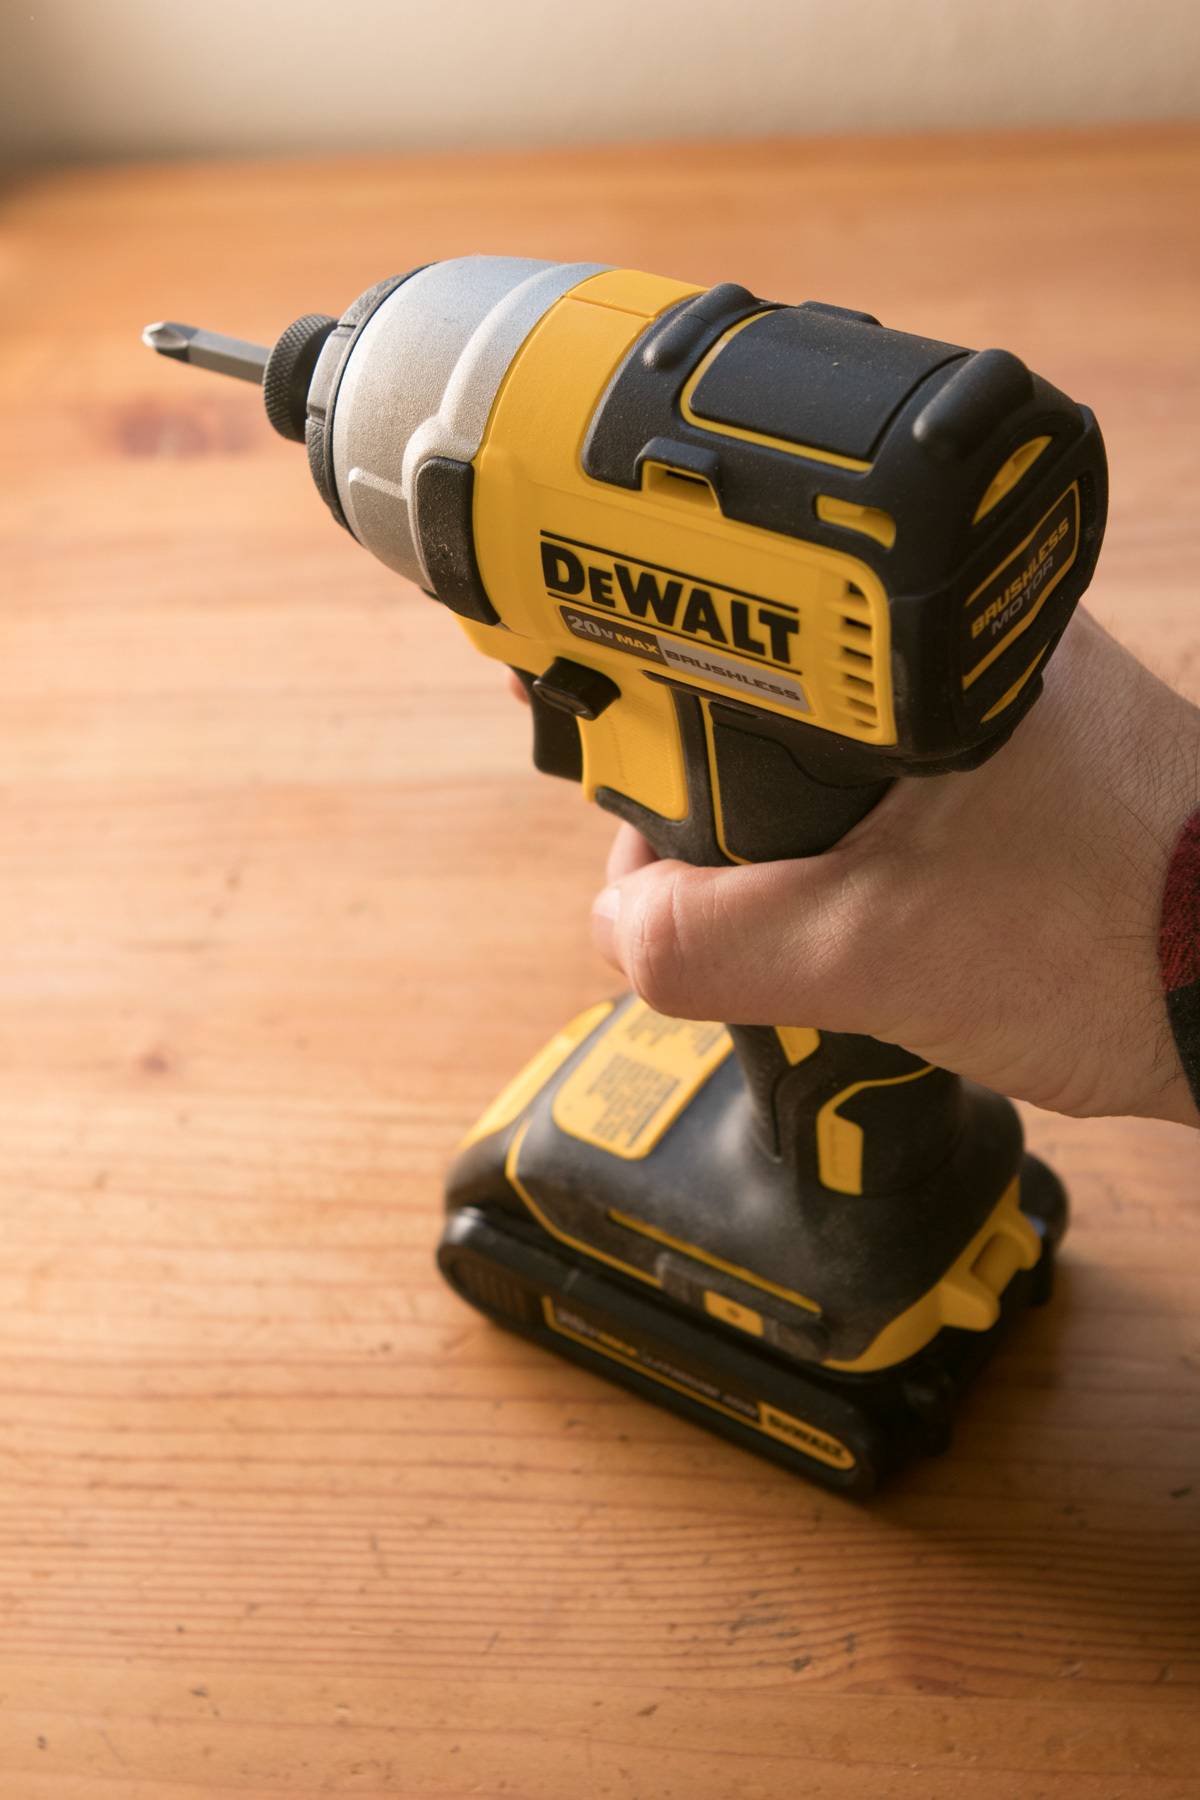
With the clearance holes completed, I switched to the impact driver to finish the joints. This allowed me to drive the screws and get them just tight enough without stripping out the heads.
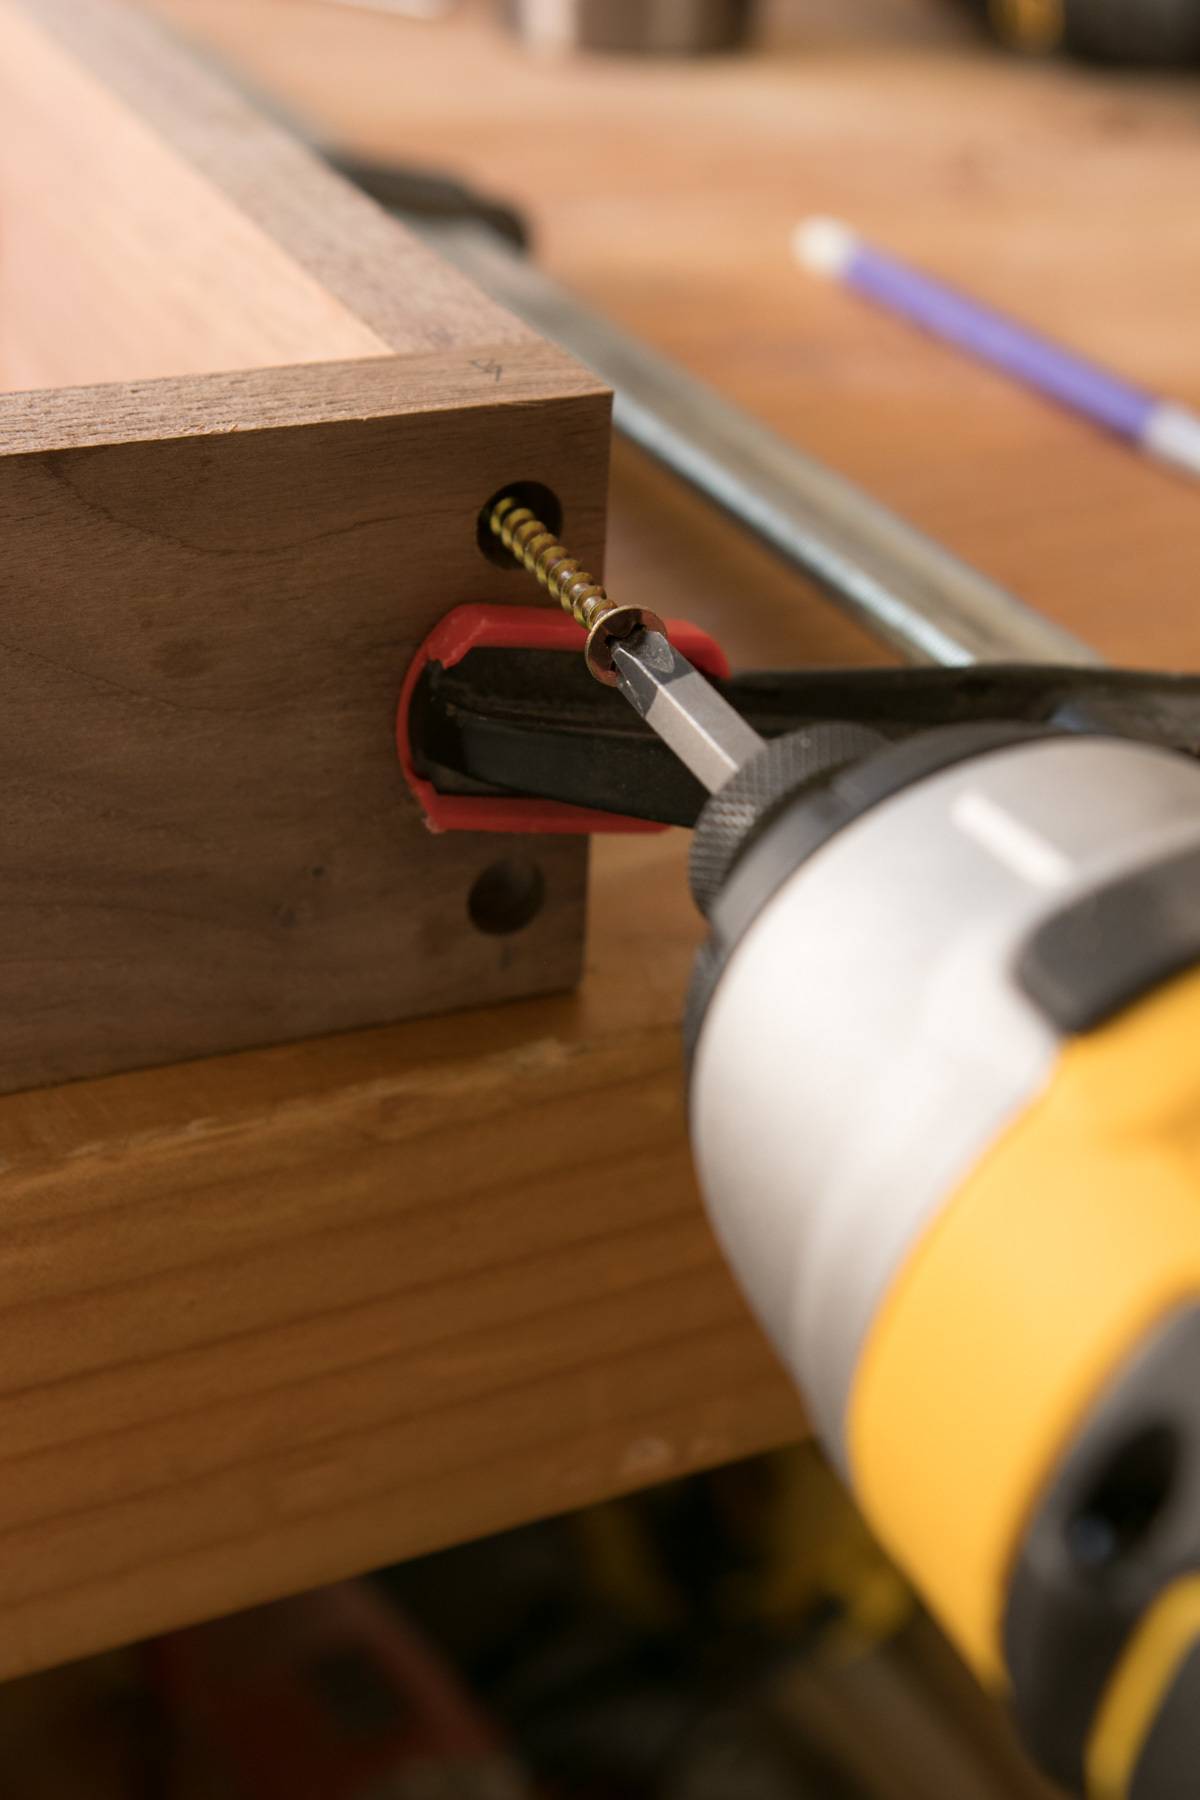
I clamped the parts in place, then screwed the whole thing together.
Step
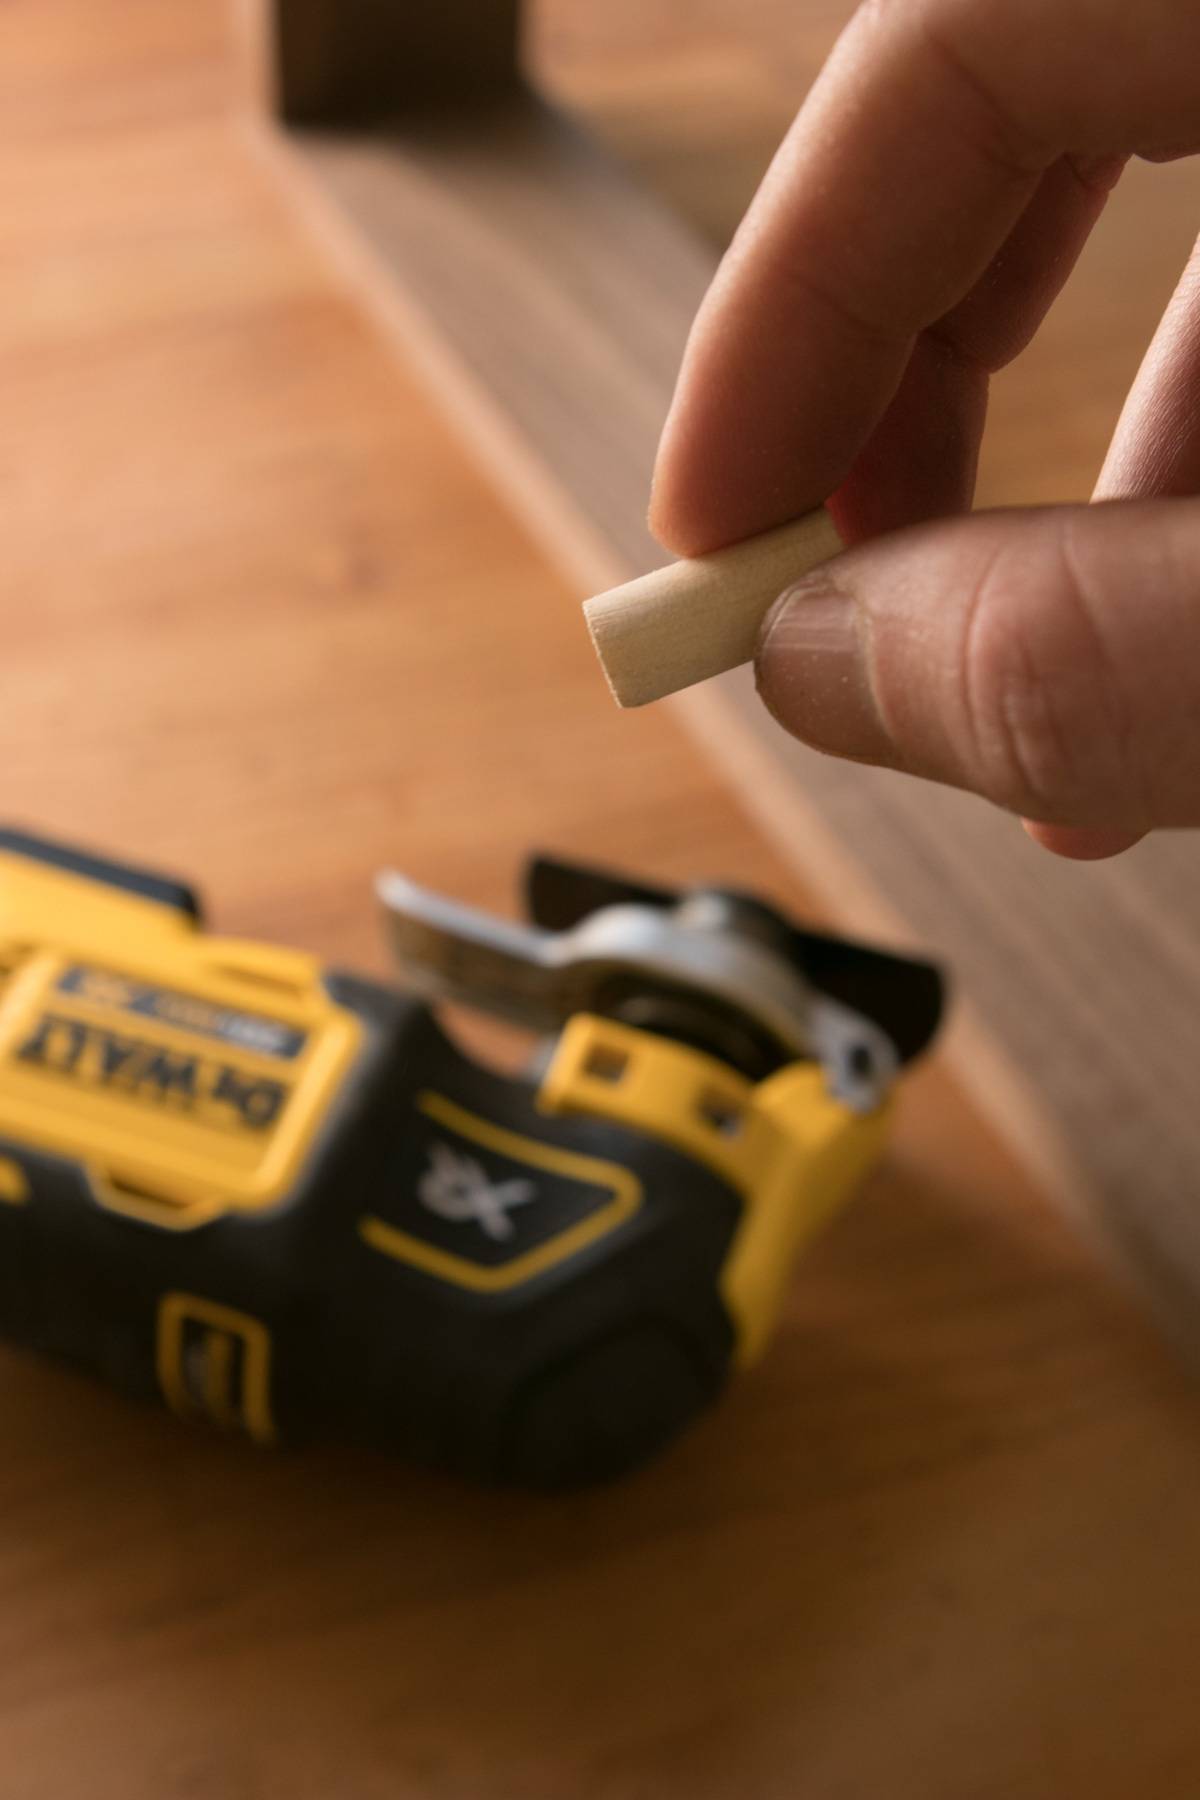
Step Seven: With the screws in place, it was time to fill the counterbored holes. Since the countersink bit created a recess 3/8″ wide, I cut a 3/8″ hardwood dowel to short lengths, using the Dewalt oscillating tool. I went with birch dowels for a little contrast to the project, but you could match wood species for a seamless look.
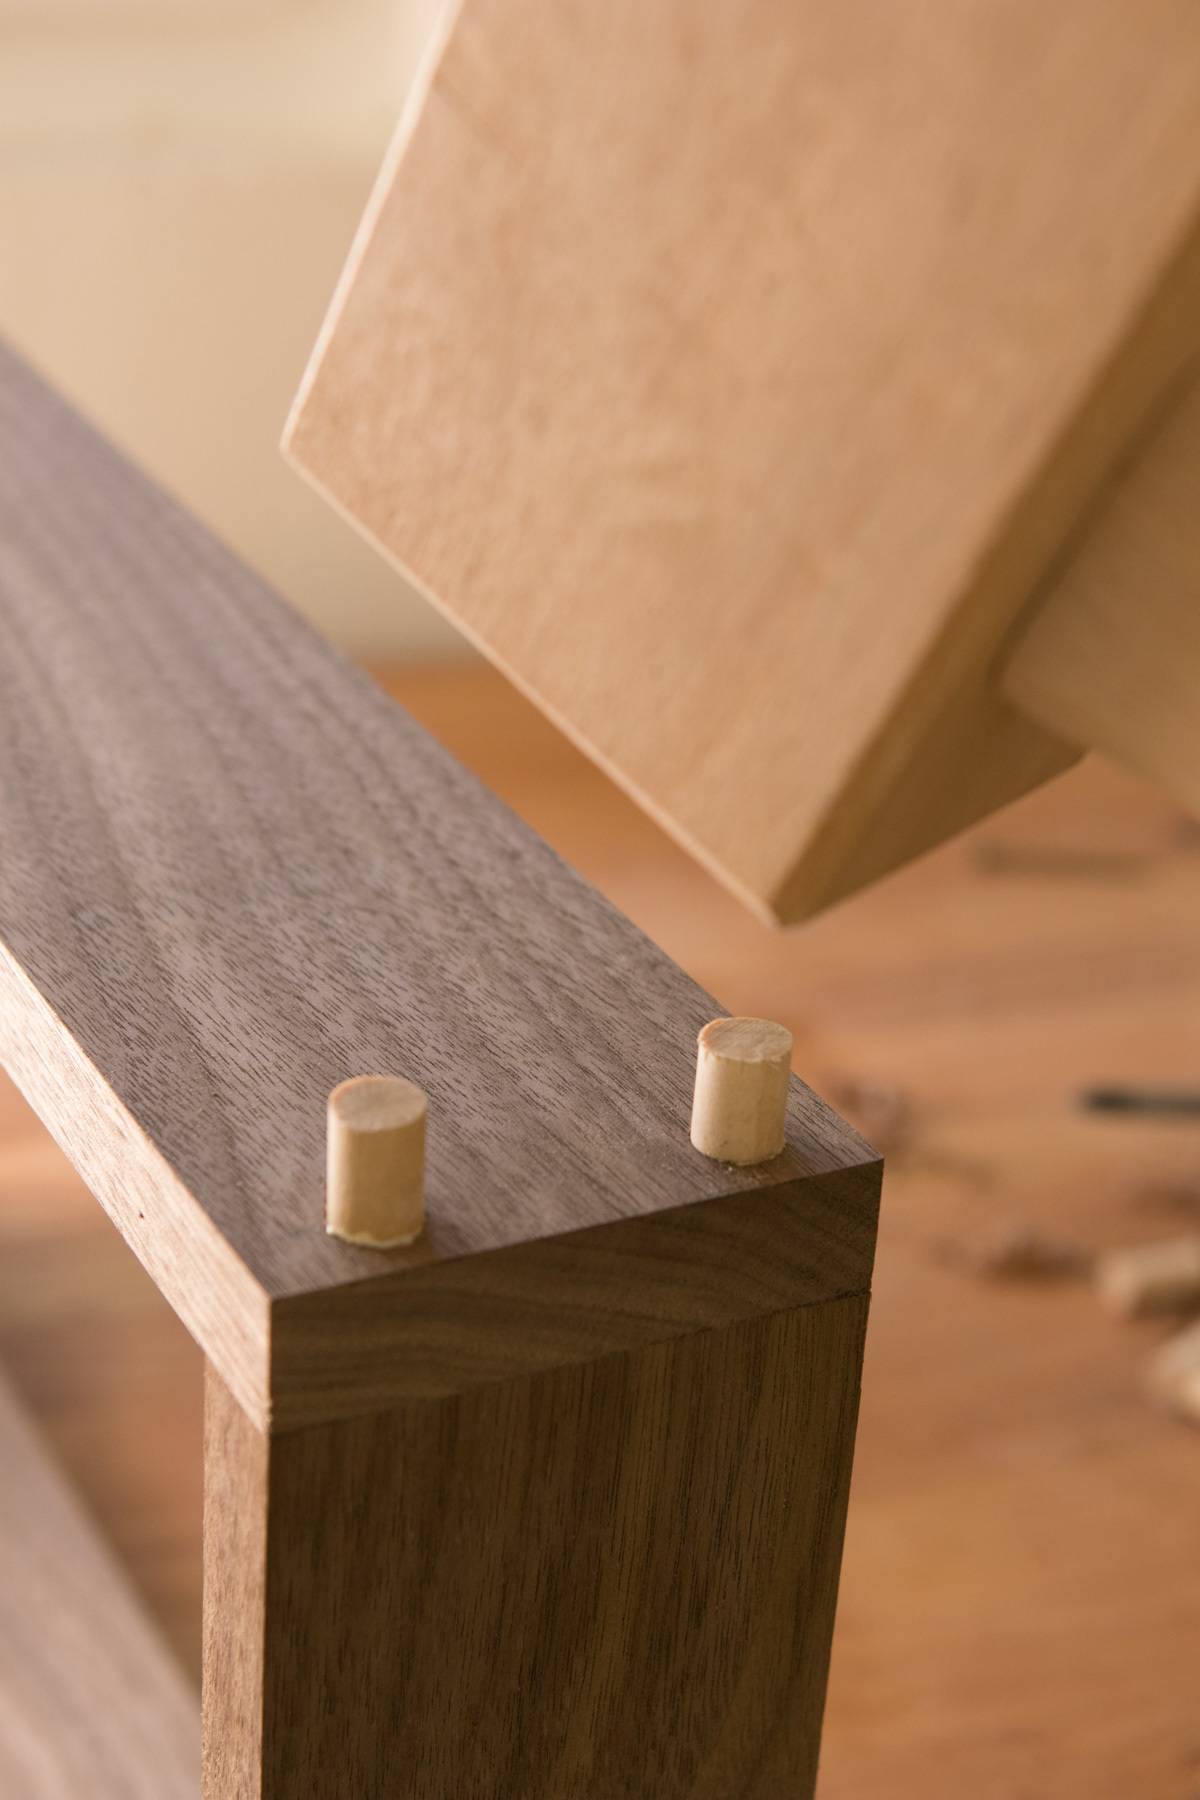
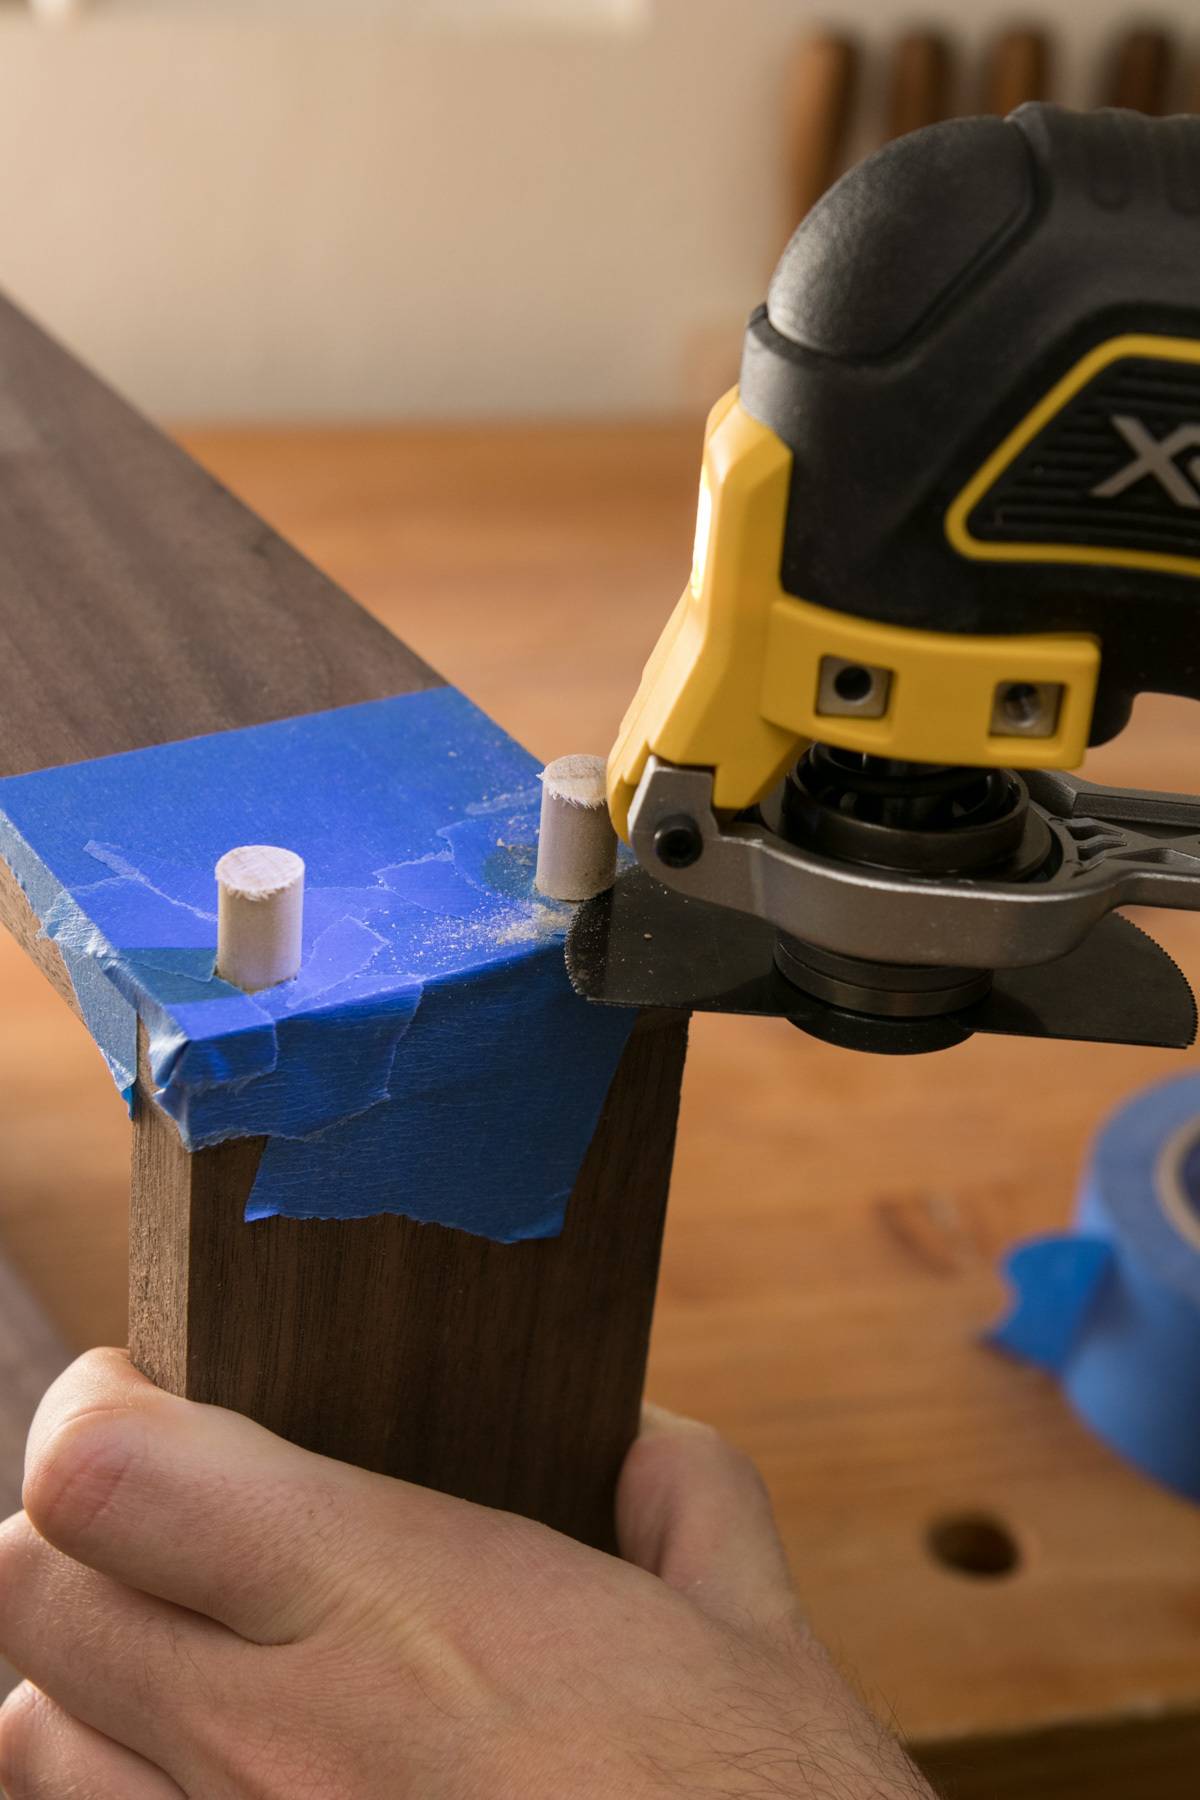
I added a bit of wood glue, then drove them home with a mallet.
Once the glue dried, I cut the dowels flush to the surface with the same cut-off blade. Just in case, I covered the walnut with a bit of painter’s tape to make sure I didn’t scar the surface.
Step
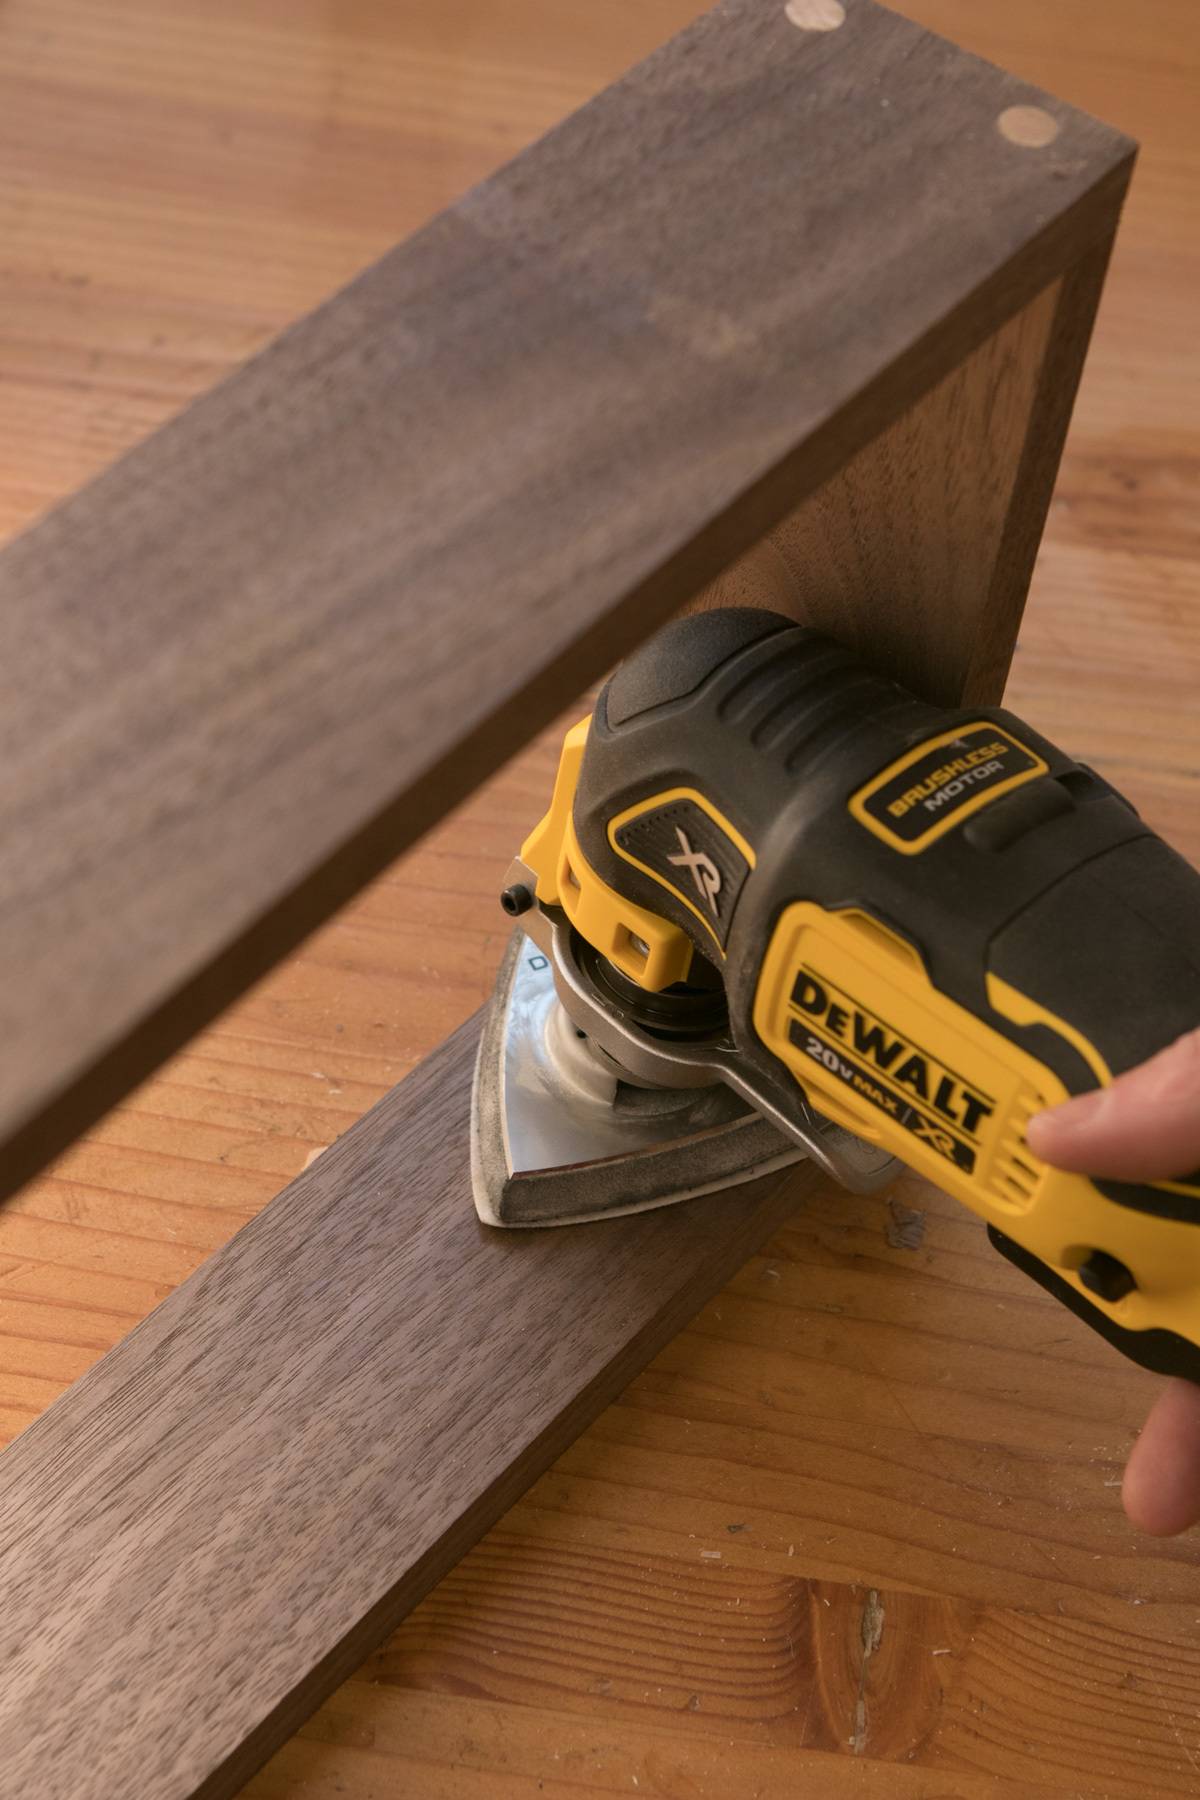
Lastly, I used the oscillating tool for a final round of sanding. The triangular head made it easy to dig into the corners and make everything nice and smooth.
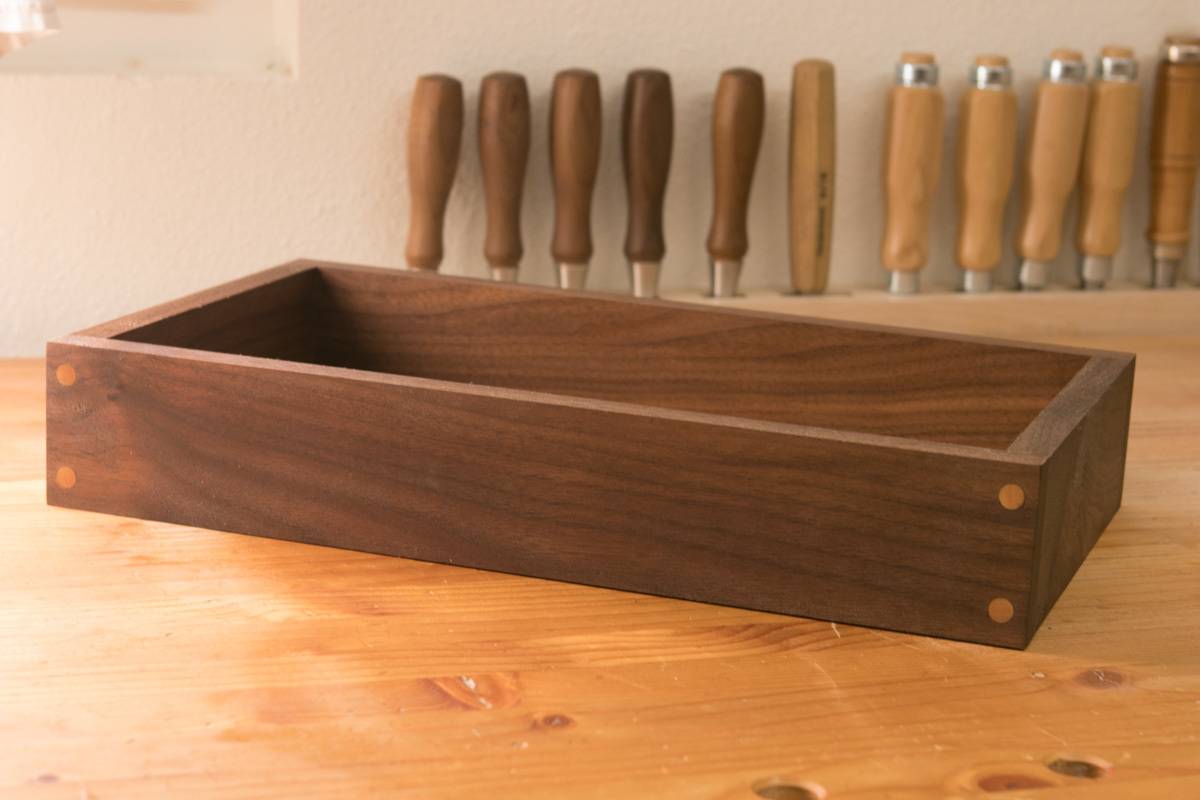
Finished!

Finally, I took the project into my dining room to load it up with little bottles.
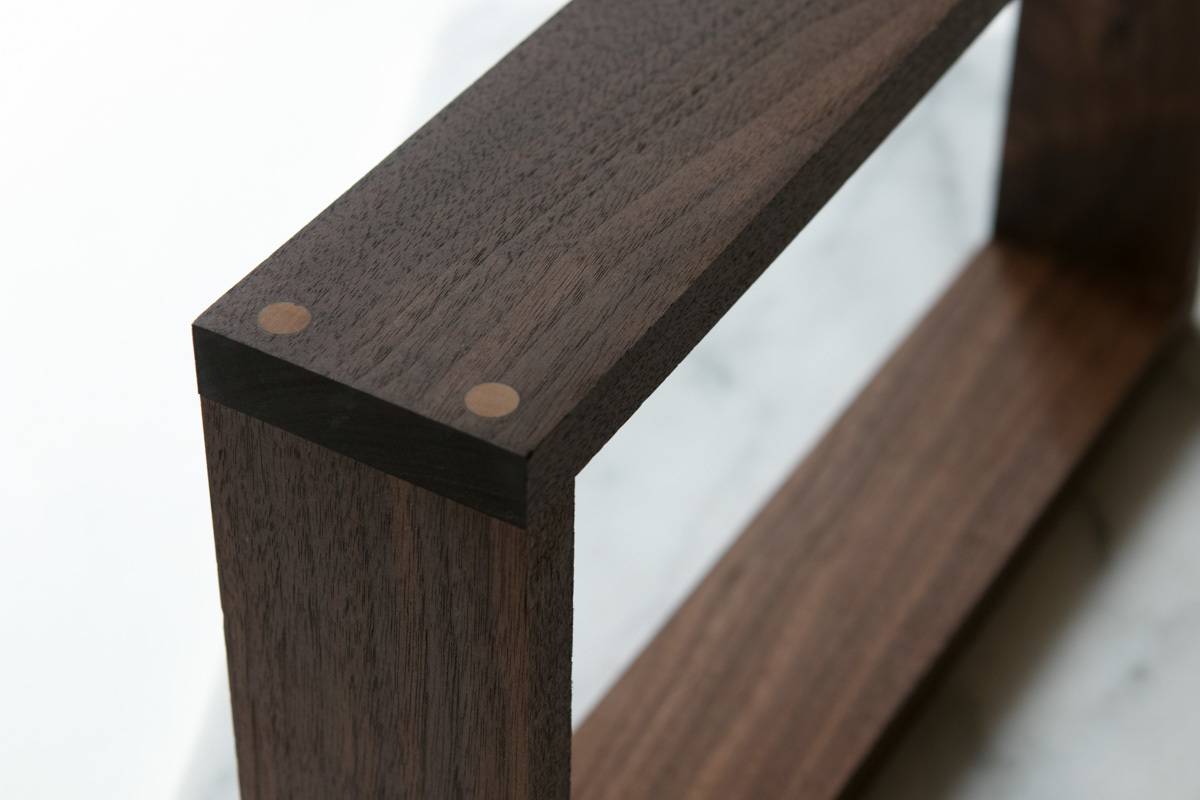
I really like the contrasting wood details in the corners. It gives it a special character that details the process.

It might sound crazy, but this added another 35% to the space in our credenza where we store the cocktail supplies. A worthwhile effort, for sure.
Thanks for following along. Now, go out, and make your own custom storage solutions!
This post is sponsored by The Home Depot. All opinions are mine alone. Thanks for reading, and for supporting the brands that make Curbly possible.
I acknowledge that The Home Depot is partnering with me to participate in the ProSpective2018 Campaign. As a part of the Program, I am receiving compensation in the form of products and services, for the purpose of promoting The Home Depot. All expressed opinions and experiences are my own words. My post complies with the Word Of Mouth Marketing Association (WOMMA) Ethics Code and applicable Federal Trade Commission guidelines.
Hi Chris,
I liked how you used hardwood dowels instead of nails or screws. Not only it added design value to the project but also made it sturdier and less prone to breakage. It’s a really seamless storage! And I’m looking forward to recreating it at home, add another layer or fix it somewhere stable. Thanks!