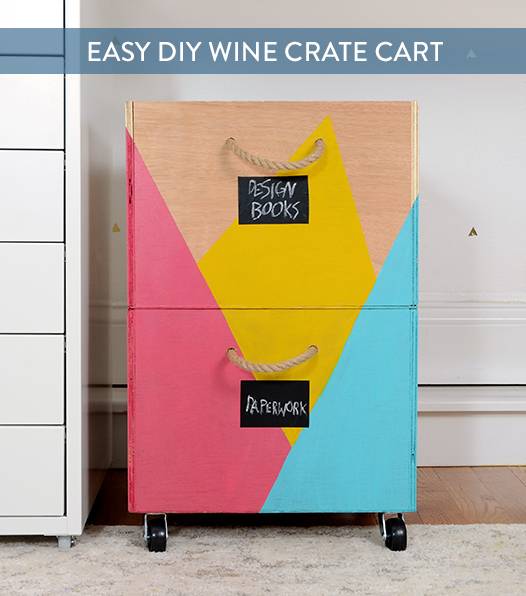
I don’t know about you, but storage is one thing that I can never get enough of. Especially cute storage. So today I’m sharing a project with you that I made to create some mobile storage for my home office. It’s a stacking, rolling storage cart that can hold all of those odds and ends that you just don’t know what to do with.
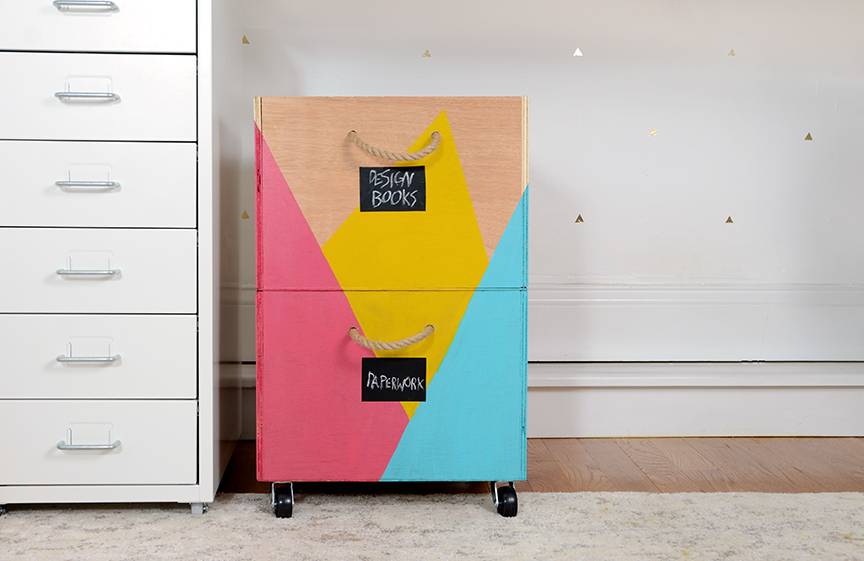
I made it out of two wooden wine crates which you can find online, or perhaps even at your local wine shop. I added rope handles and casters for functionality, and chalkboard labels to remind myself of the contents. Let’s get started!
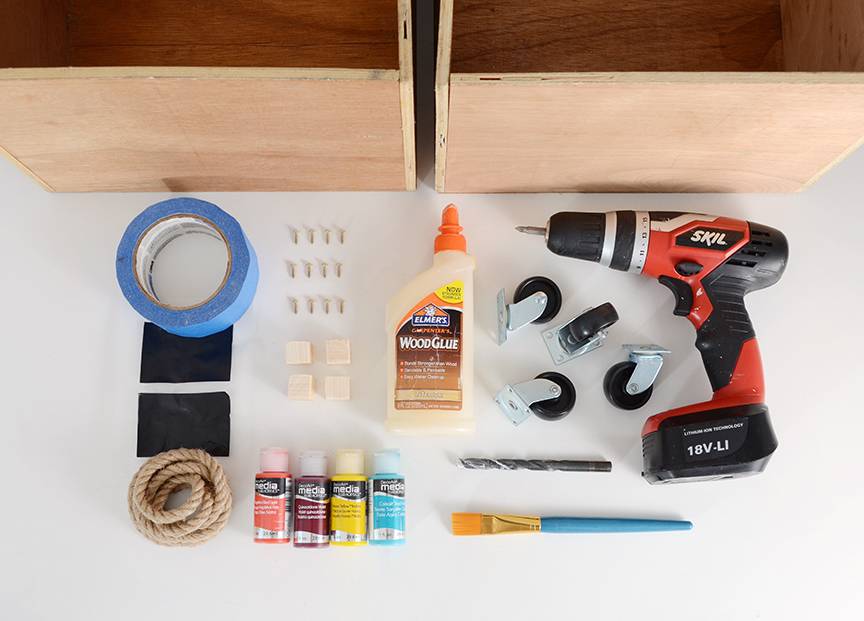
Here’s what you’ll need for this project:
- (2) wooden wine crates
- Electric drill
- 3/8″ drill bit
- Philips head screwdriver bit
- (4) swivel bearing casters
- Paintbrush
- Wood glue
- (16) 3/8″ long screws
- (4) 1″ wooden cubes
- Acrylic craft paint
- Blue painters’ tape
- Chalkboard labels
- 4′ rope, 3/8″ diameter
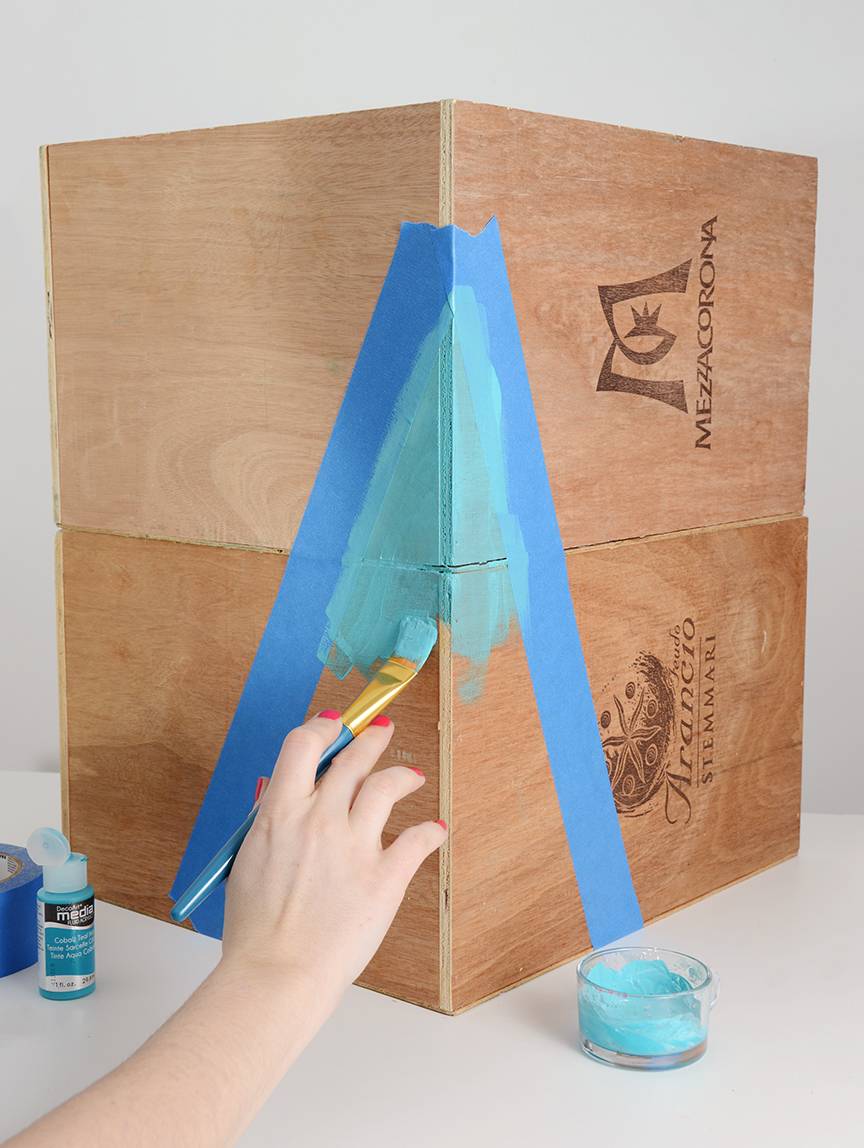
Stack the wooden crates one on top of the other. Begin by taping off a triangular section which overlaps one corner of the boxes as shown above. Paint that section with your acrylic craft paint. Let it dry, and paint a second coat if necessary.
Section off another triangle on the other corner, paint it another color and let it dry.
Section off a third small area in between your two large triangles and paint it a third, contrasting color.
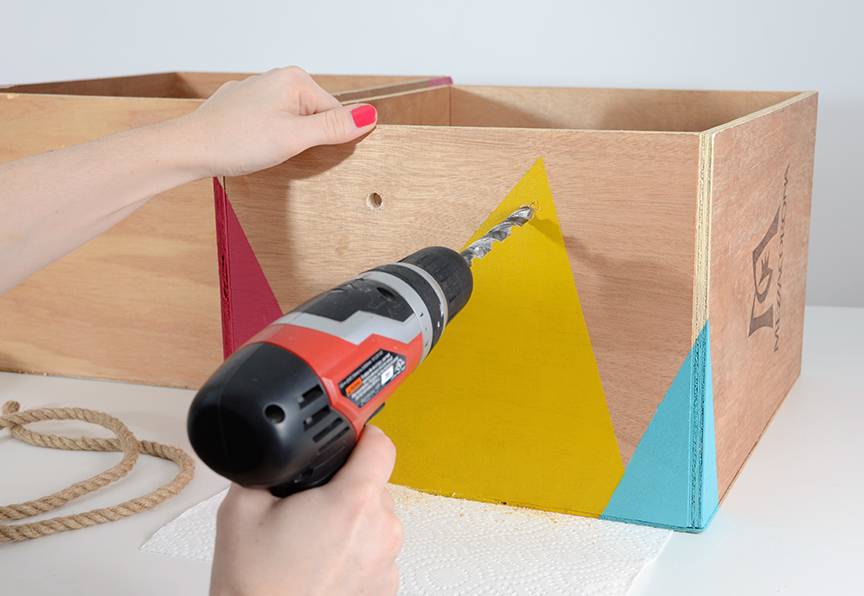
Once everything is dry, un-stack the crates and drill two holes four inches apart at the top of one crate. Do the same on the opposite side, and repeat the process on the other crate.
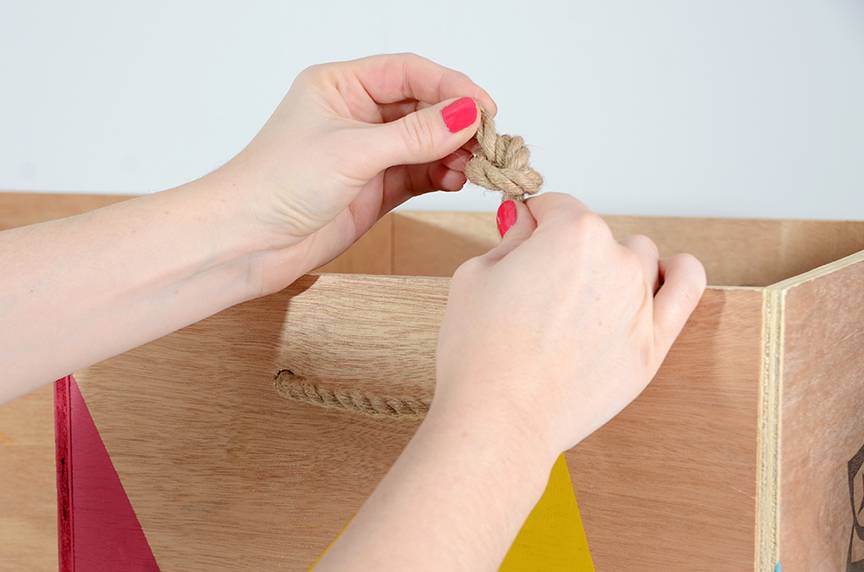
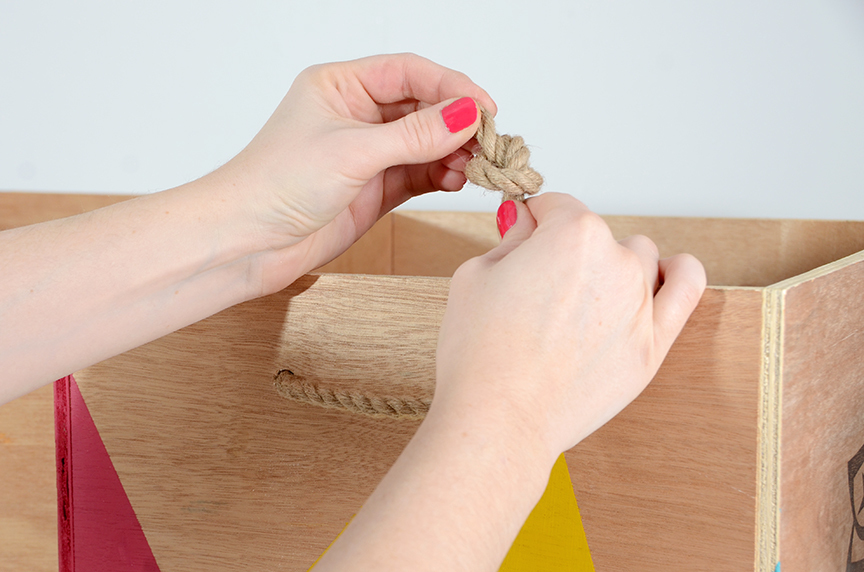
Cut the rope into 4 one foot sections. Slip the ends through the holes and into the crate, forming a handle. Tie knots on both ends. Repeat this process for the other three pieces of rope.
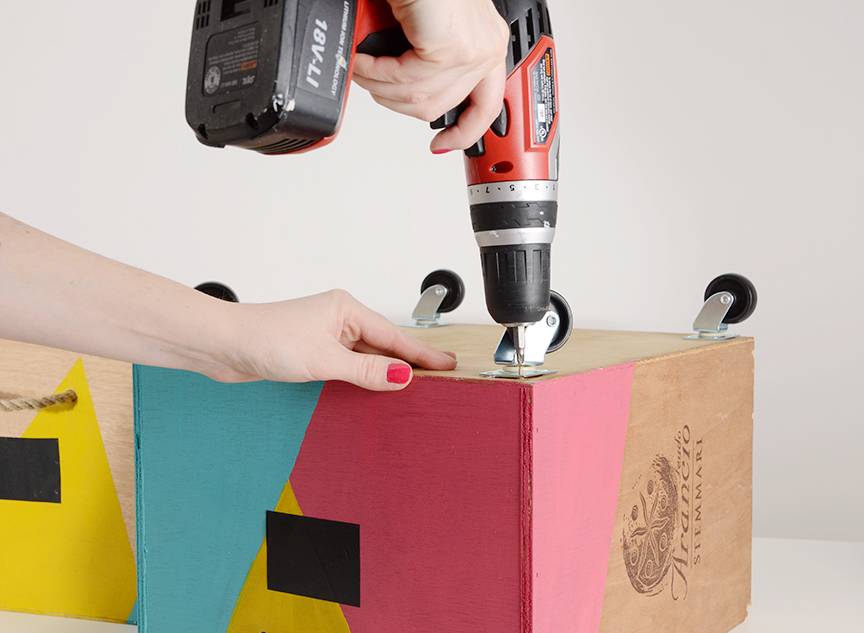
Flip the bottom crate over and screw the casters onto the bottom. Note: if your crates are thinner than your screws are long, the tips of the screws may poke through the other side… cover them with a dollop of hot glue so you don’t cut yourself on the protruding screws.
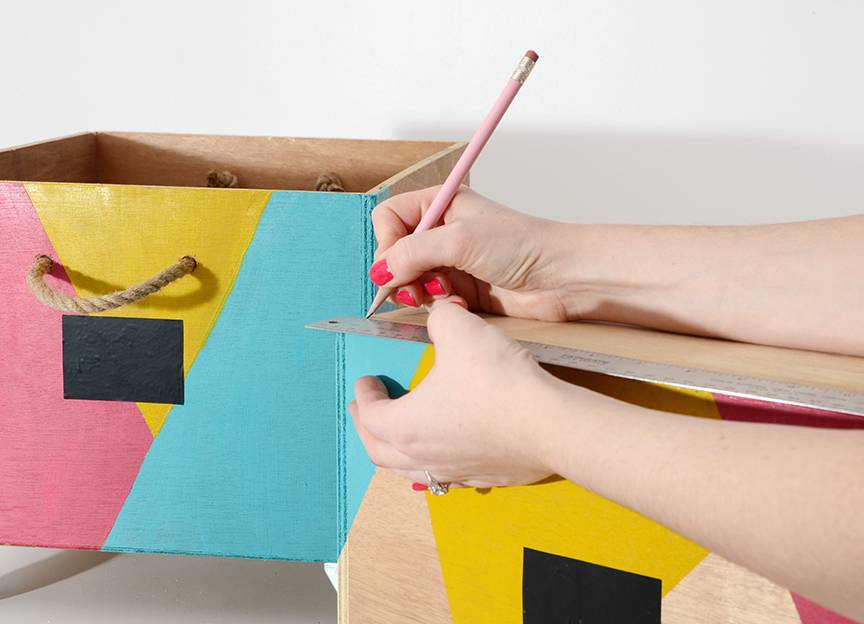
Measure the width of the wall of the crate, and mark that width on the corners of the underside of the top crate.
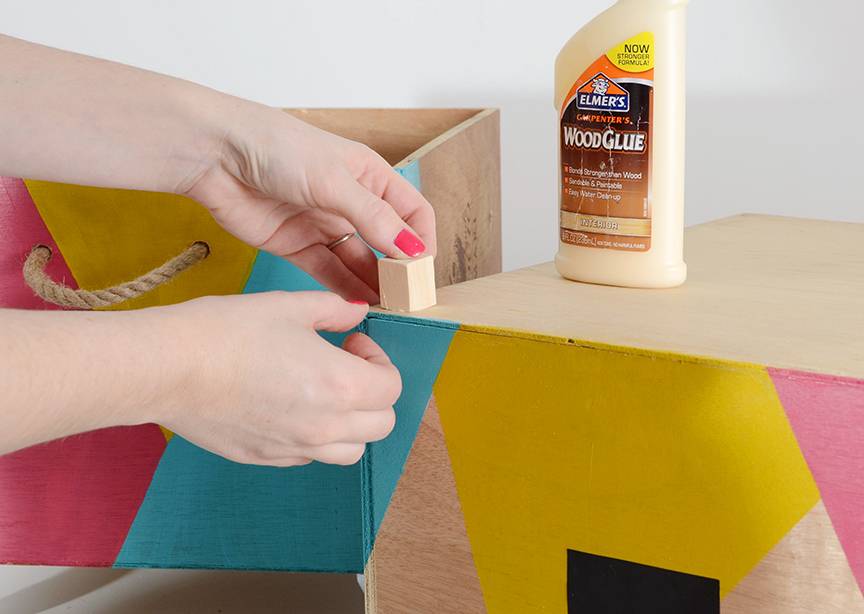
Glue one wooden cube to each corner, within those pencil marks that you just made. These cubes will keep the top crate from sliding off of the bottom one. Let them dry, and then you’re finished!
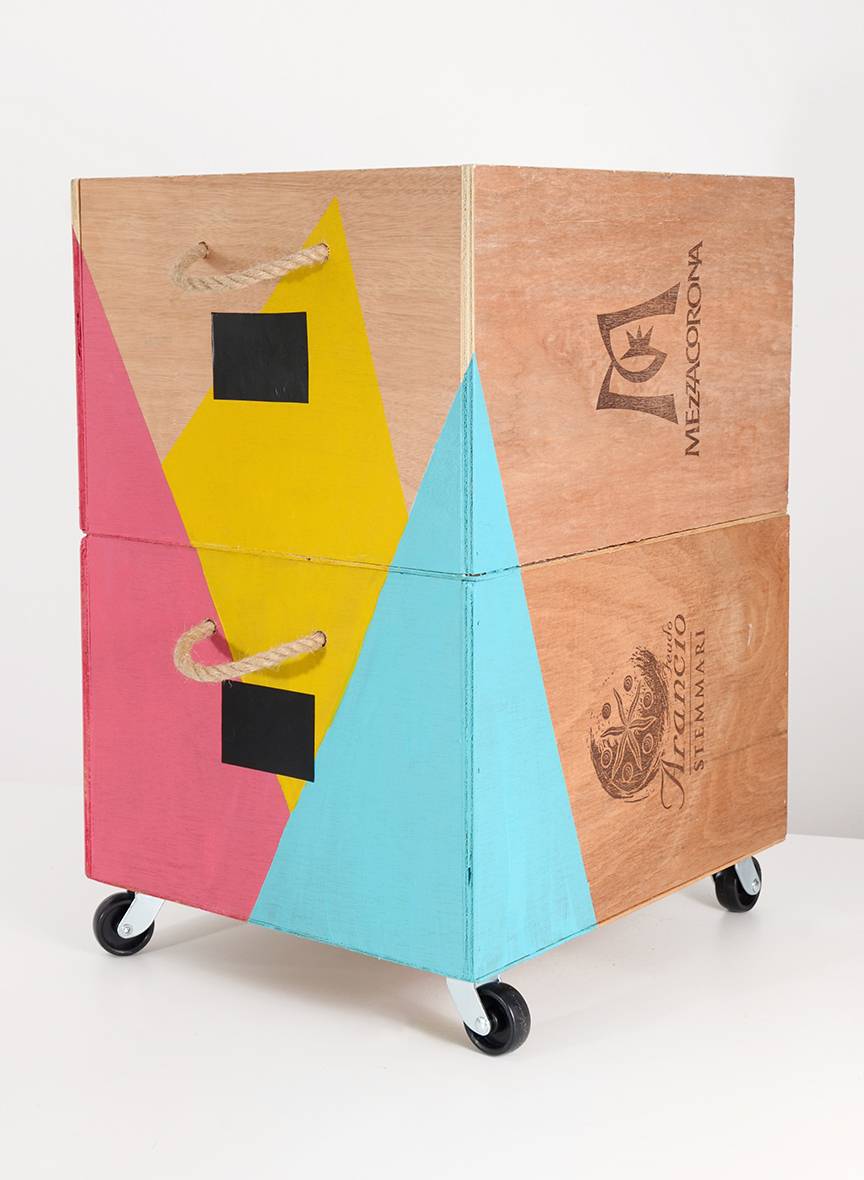
I filled mine with miscellaneous paperwork and books that I use a lot, but you could put anything small in it. It would be especially handy for sewing or crafting supplies, since you can roll it around to where ever you like to do your projects.
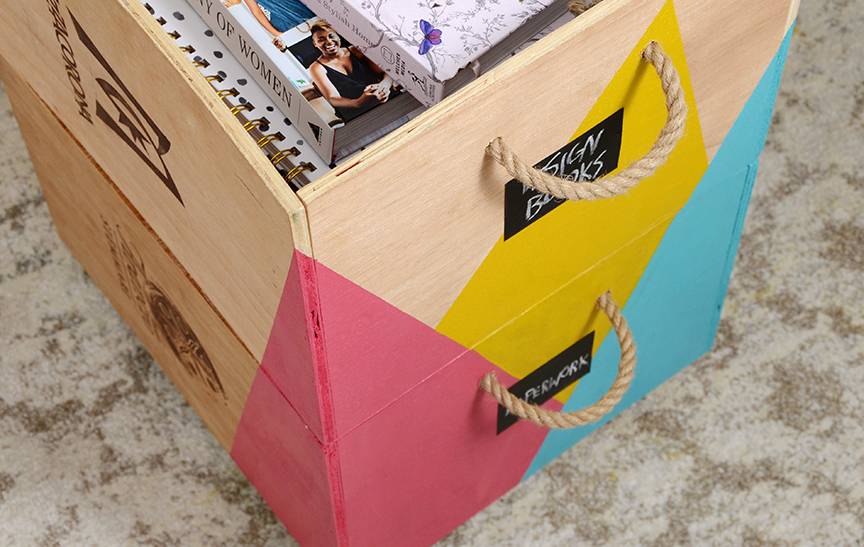
You can customize it with any color or design you like, but just be sure to consider what the design will look like when the crates are both stacked and un-stacked.
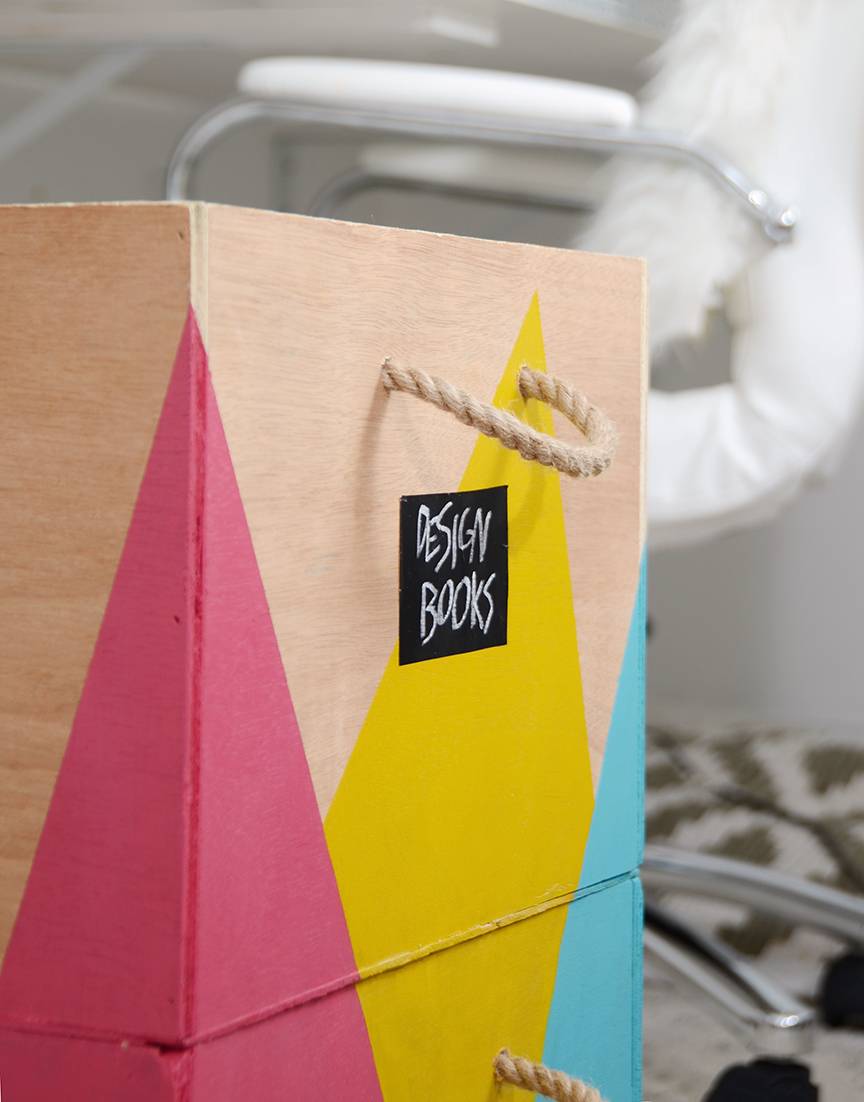
You could make a couple sets of these, or you could even do three crates on one cart. The sky’s the limit!
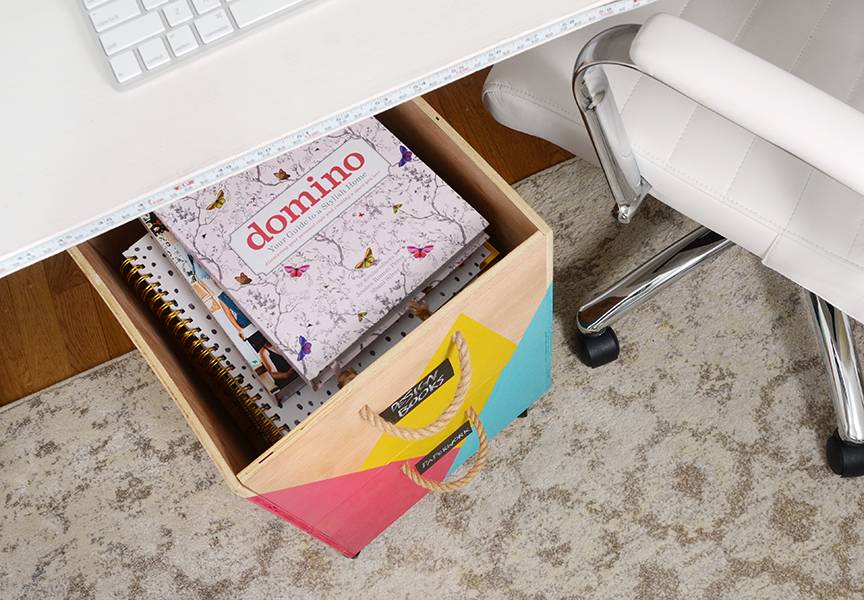
Mine fits perfectly underneath my desk… right where I need it.
If you decide to make your own wine crate cart, feel free to leave a link in the comments section below!
