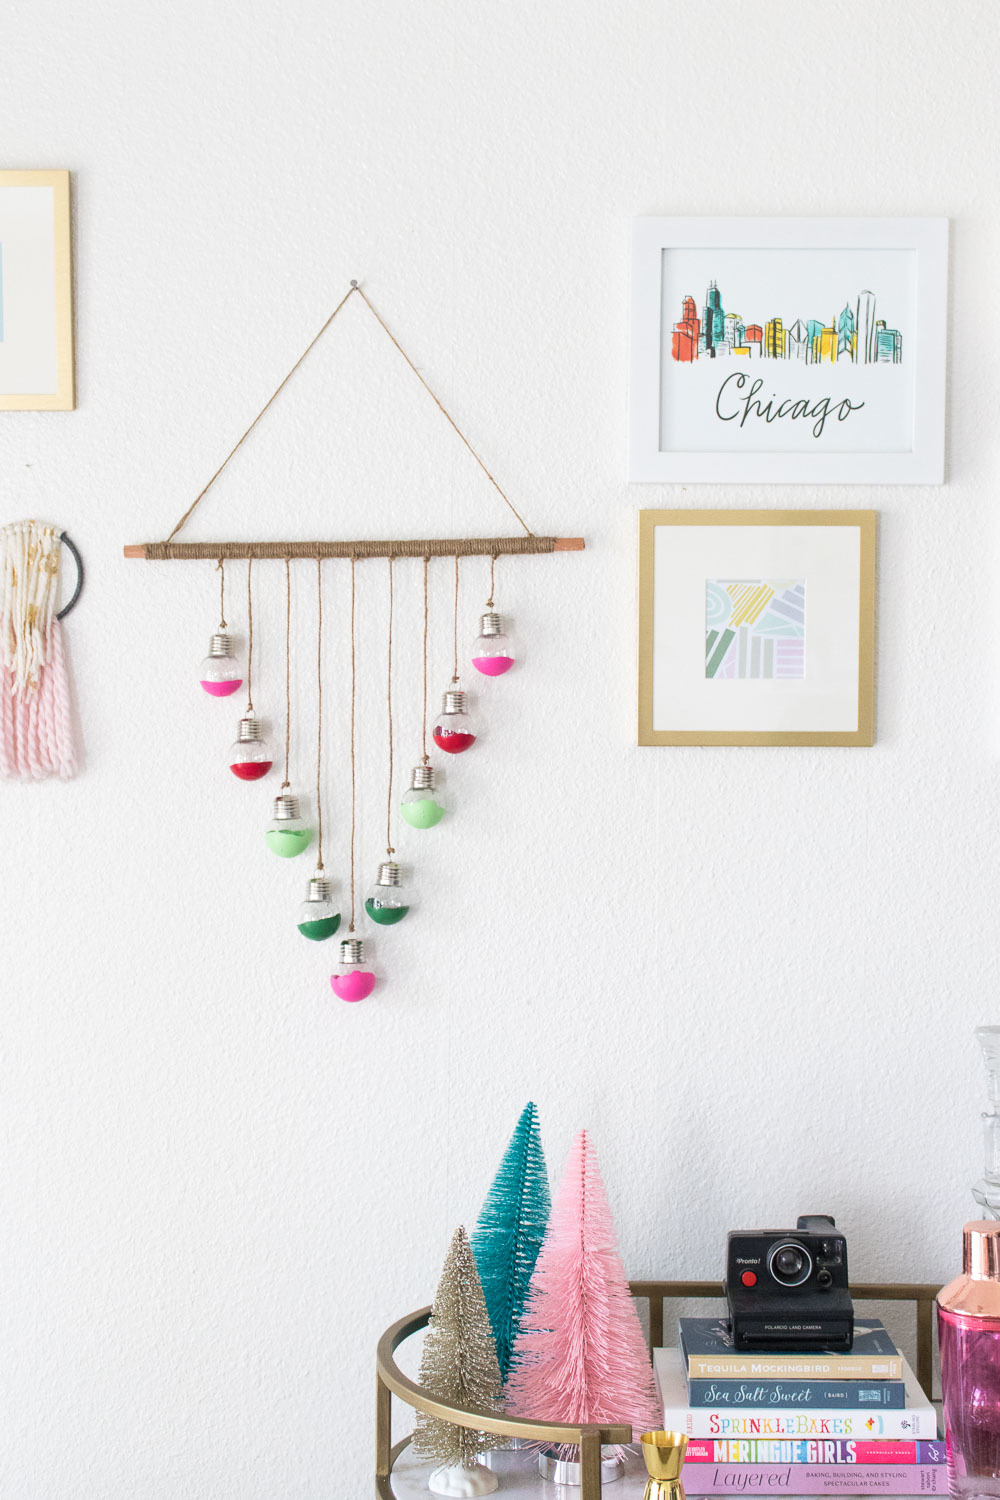
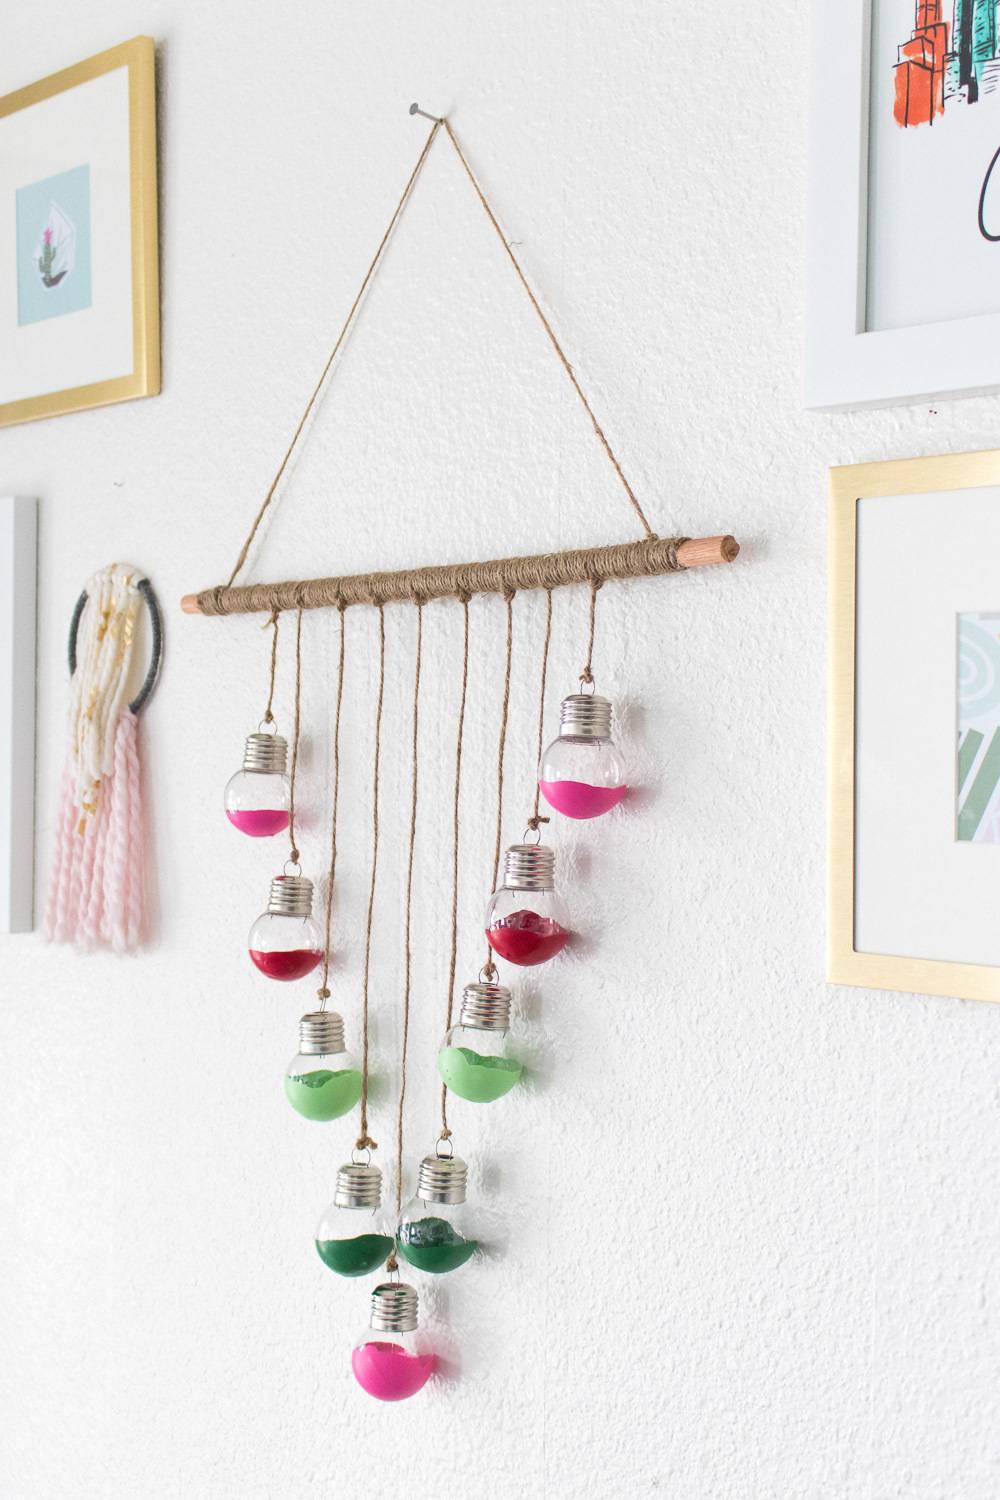
I think it’s safe to say Christmas is upon us, and holiday decorating is my favorite time of year! As fun as it is to decorate my home, I tend to stray away from traditional reds and greens for Christmas, so I incorporated pink and a light green color into my decorating with this DIY dipped ornament display that fits in perfectly to my dining room gallery wall. Using lightweight plastic ornaments and twine, this almost-rustic piece of decor fits in well with anyone’s home!
You can adjust this project to fit your style (and even other occasions) with different colors of paint, and you can swap out the rustic-looking twine for other types of string to make it feel like your own. Overall, it comes together very quickly!
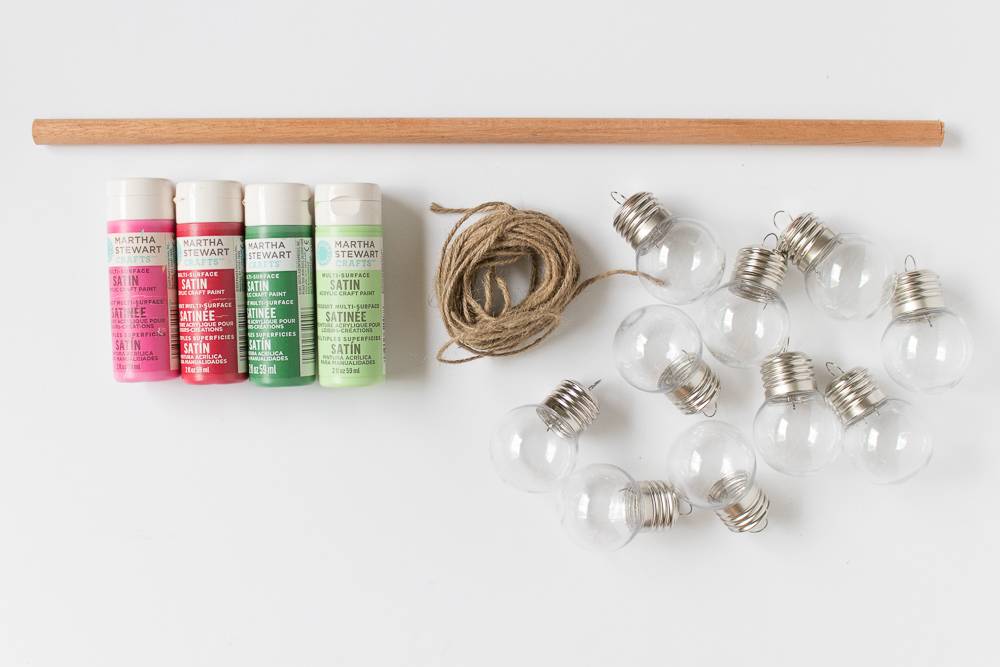
Materials:
- 9 mini plastic ornaments
- Acrylic paint, 4 colors
- Twine or similar
- Scissors
- Wooden dowel, cut to about 18-inch
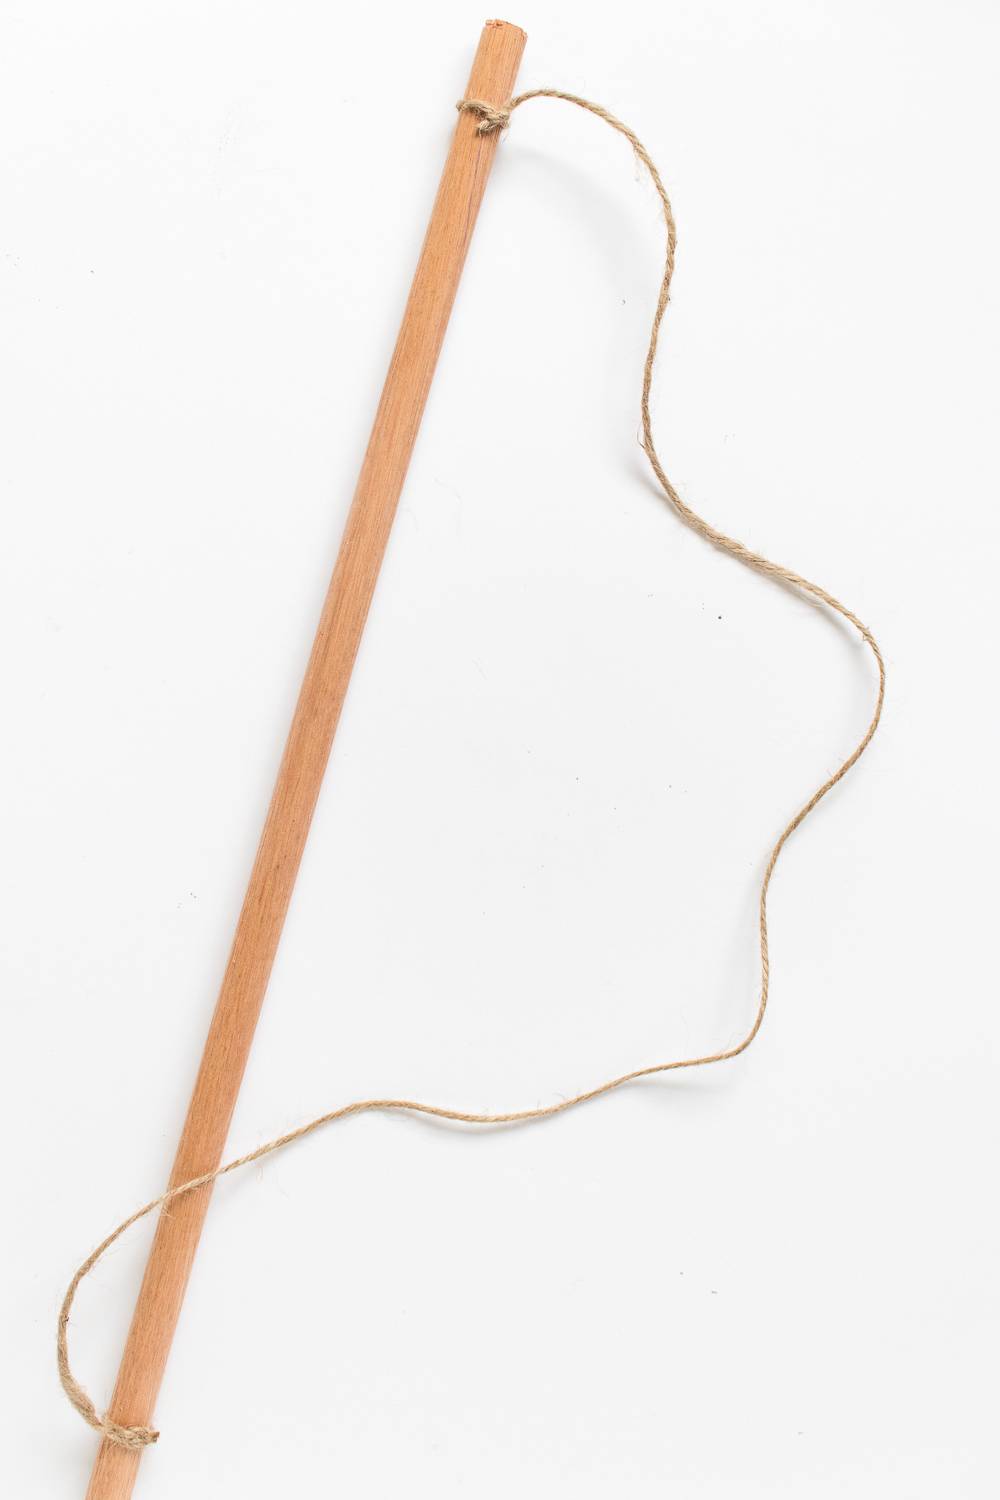
Step
Cut a piece of twine about 20 inches long and tie each end to the wooden dowel. This will be what the piece hangs from.
Step
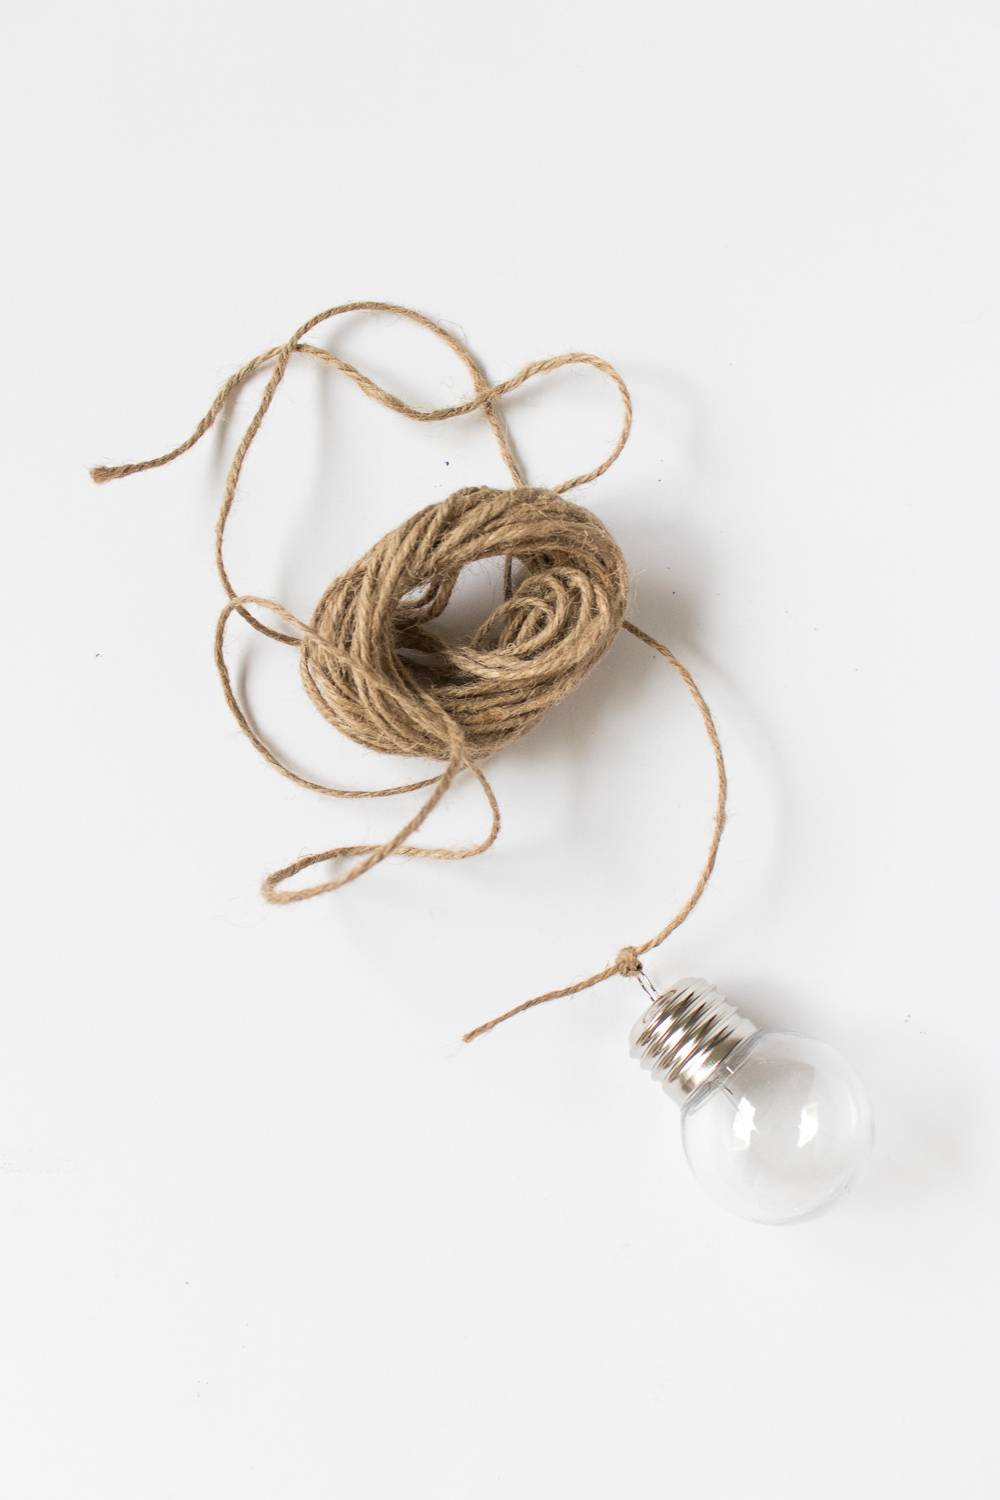
Cut another piece of twine about 16 inches long. Tie to the ornament. Repeat with slightly smaller pieces of twine.
Step
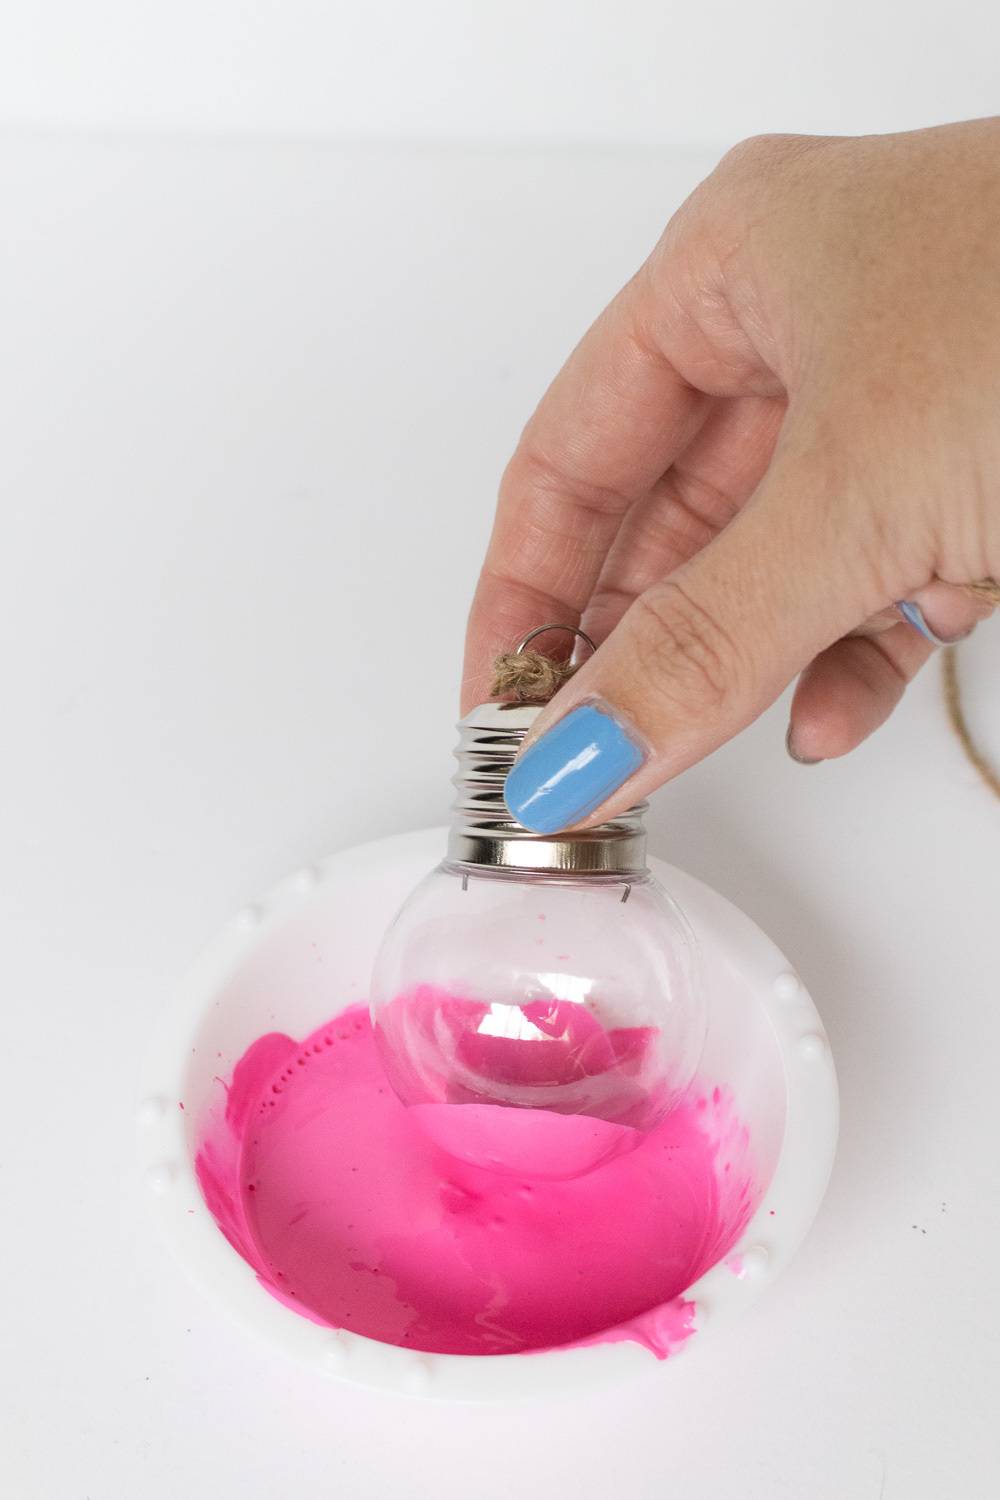
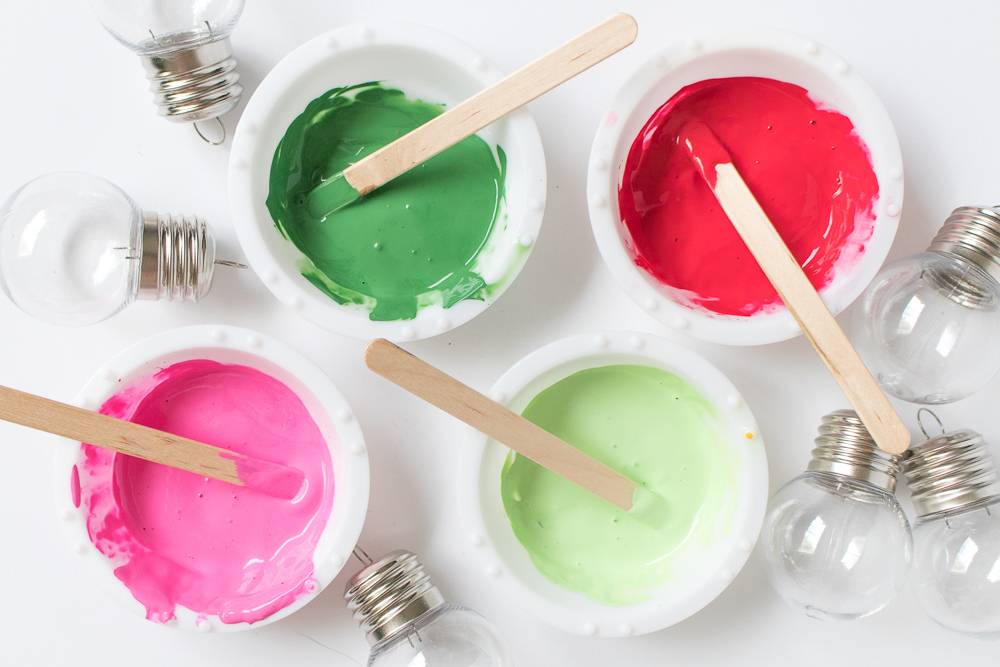
Add acrylic paint to a small container like a paint dish. Dilute with several drops of water – just enough to thin it to a dipping consistency. Carefully dip the bottom of the ornament in the paint and position somewhere to dry completely for several hours.
Repeat with the other colors. I arranged the ornaments so that a pink one is in longest in the middle and the shortest on the outsides (3 pink total). Then the red and two shades of green are between the pink (two of the other colors).
Step
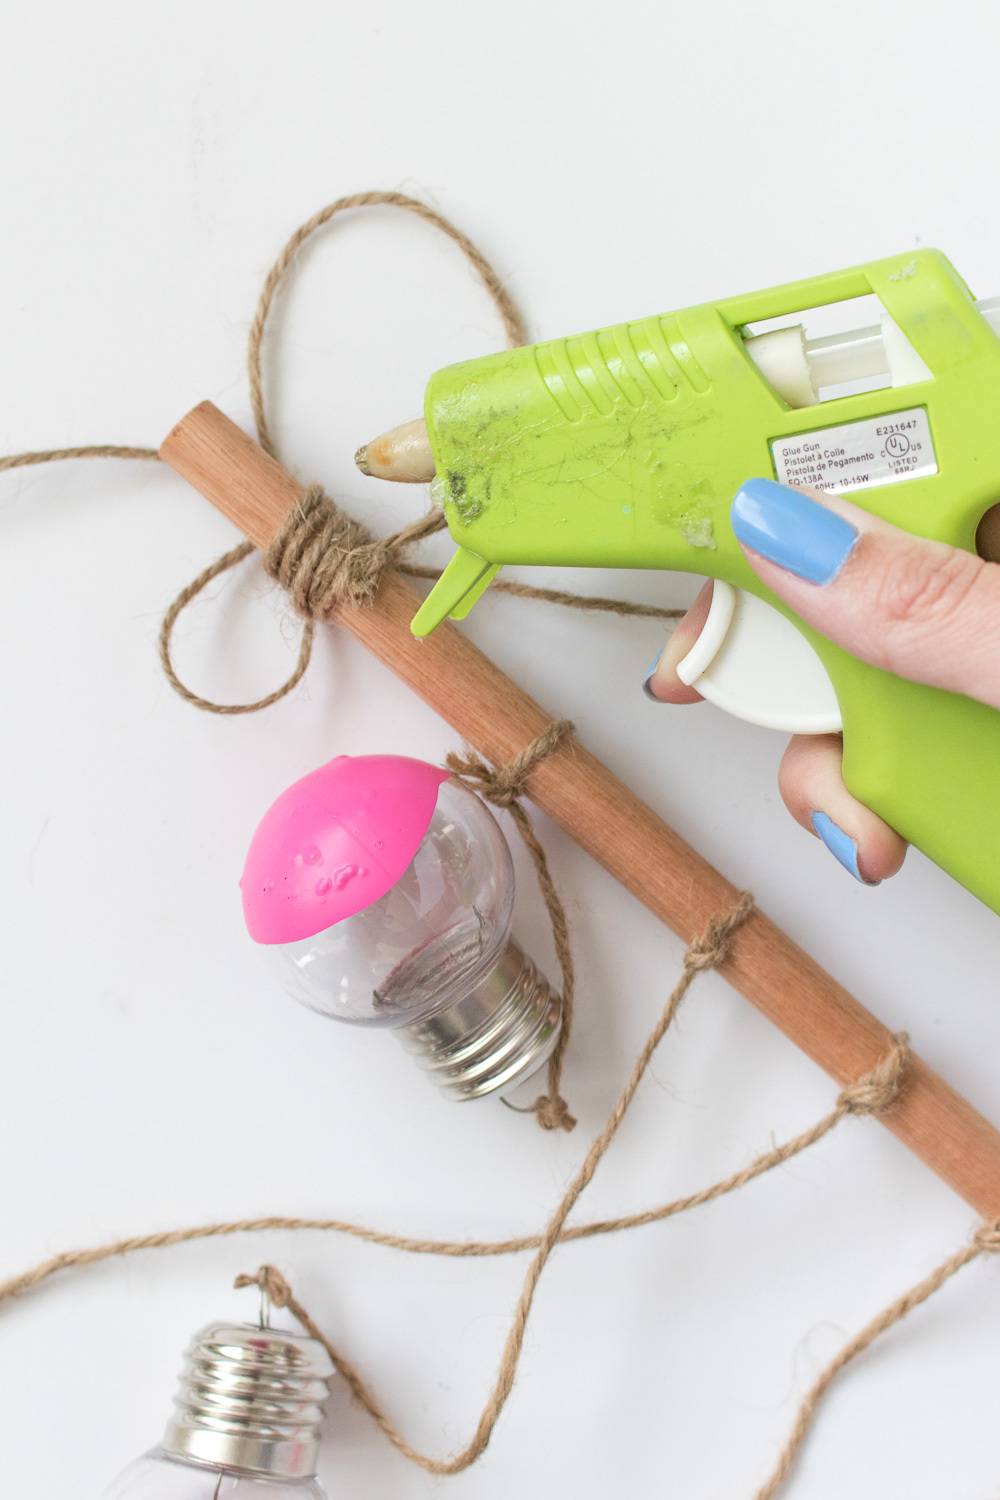
Once all of the ornaments are dry, attach the strings to the wooden dowel with the longest in the middle. Tie them shorter and shorter as you spread to the sides. Trim excess string.
Step
This step is optional. Finish the piece by gluing twine and wrapping it around the dowel to disguise the knots and prevent the strings for slipping side-to-side.
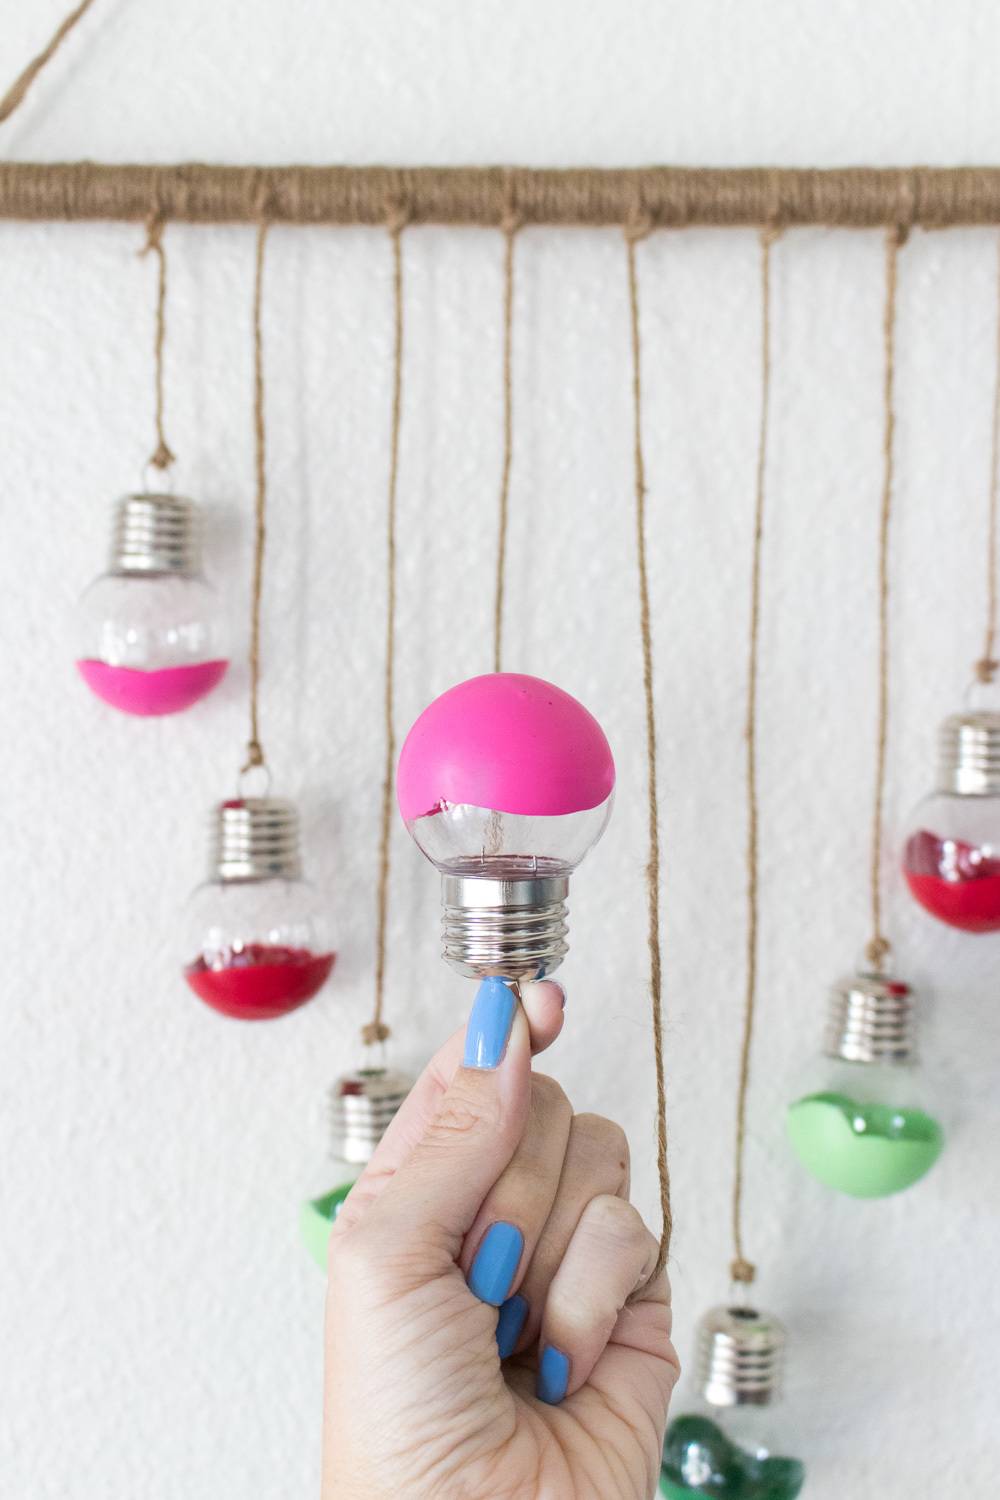
Now it’s ready to hang for the holidays!
