A new concrete garage slab is a thing of beauty. But due to the porous nature of concrete, it doesn’t take long before tough stains (like oil spills) make their way into any garage floor. While you might not mind a few stains, over time, an unprotected cement floor system becomes more vulnerable to damage. An epoxy garage floor coating is a great way to ensure your garage floor’s durability, and make the space feel cleaner and more inviting.
We went through the process of painting a garage floor with DRYLOK® E1 1-Part Epoxy Floor Paint, so we could learn, firsthand, how it works, and what to expect. Here’s everything you need to know.
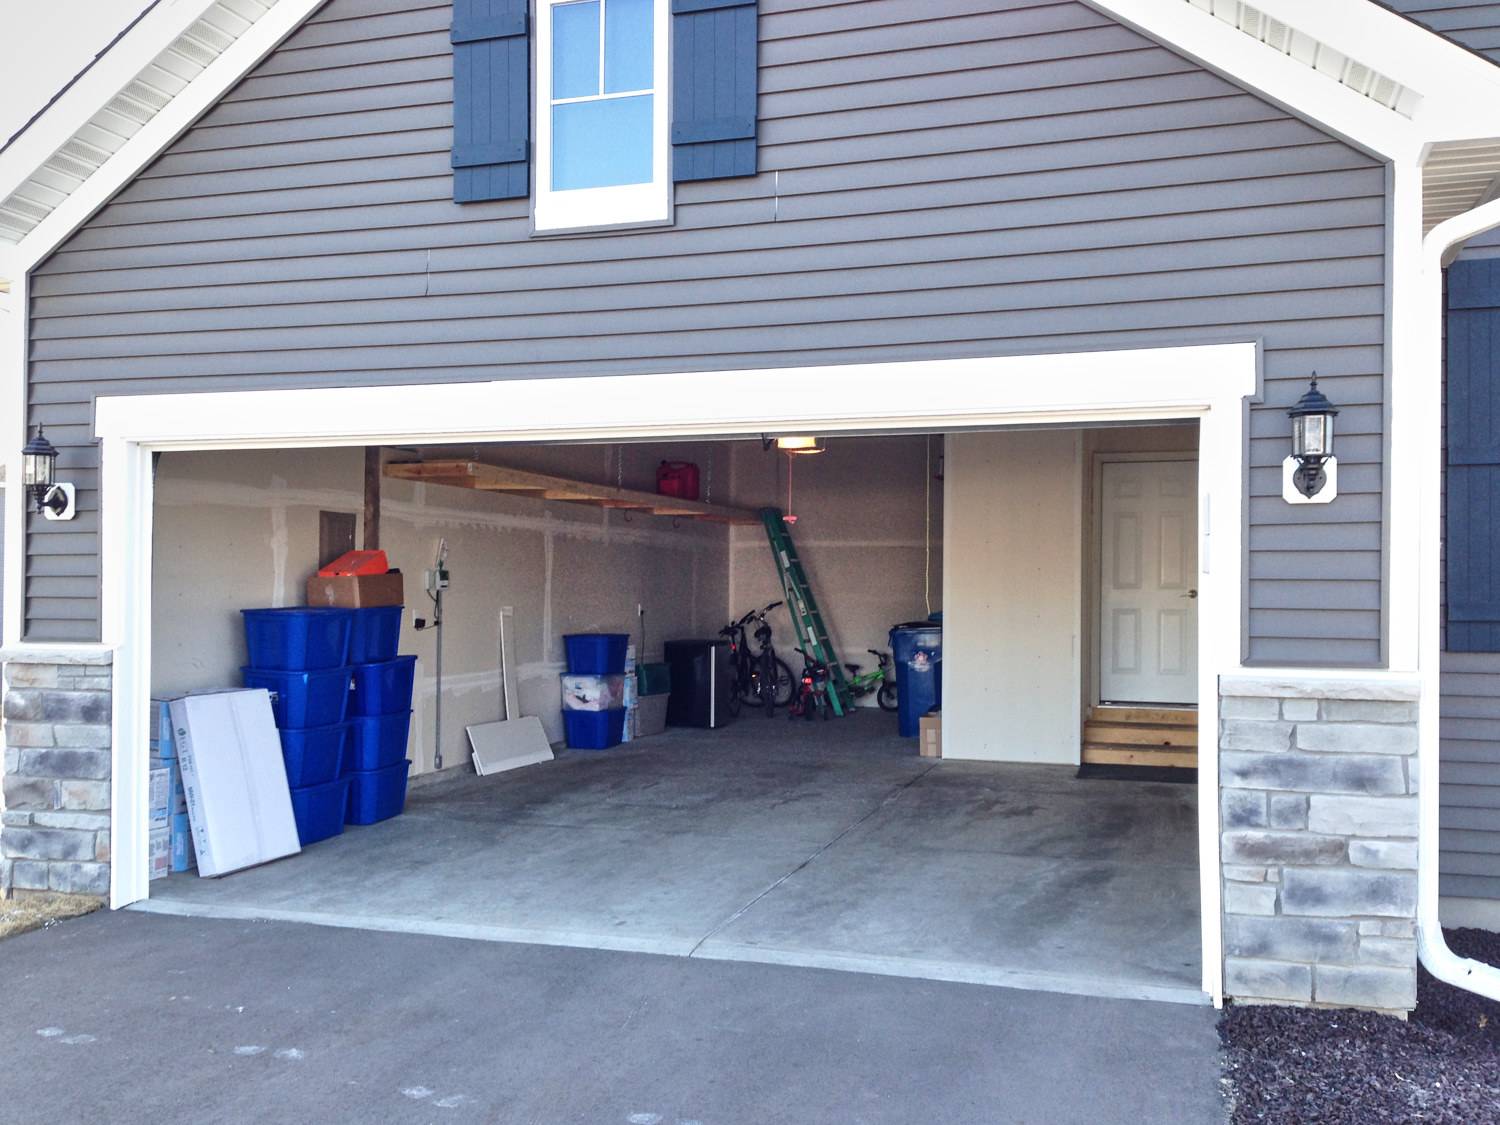
Why should you paint your garage floor?
Most garage floors (and other concrete floor systems) are minimally sealed (if at all) at the time of pouring. Regular wear on the floor can quickly erode the surface sealant, leaving the floor prone to stains and moisture retention.
Garage floor paint is a quick way to drastically improve its appearance, while also providing a functional benefit. An epoxy garage floor paint resists hot tire pick-up, chemicals, oil, grease, and gasoline stains.
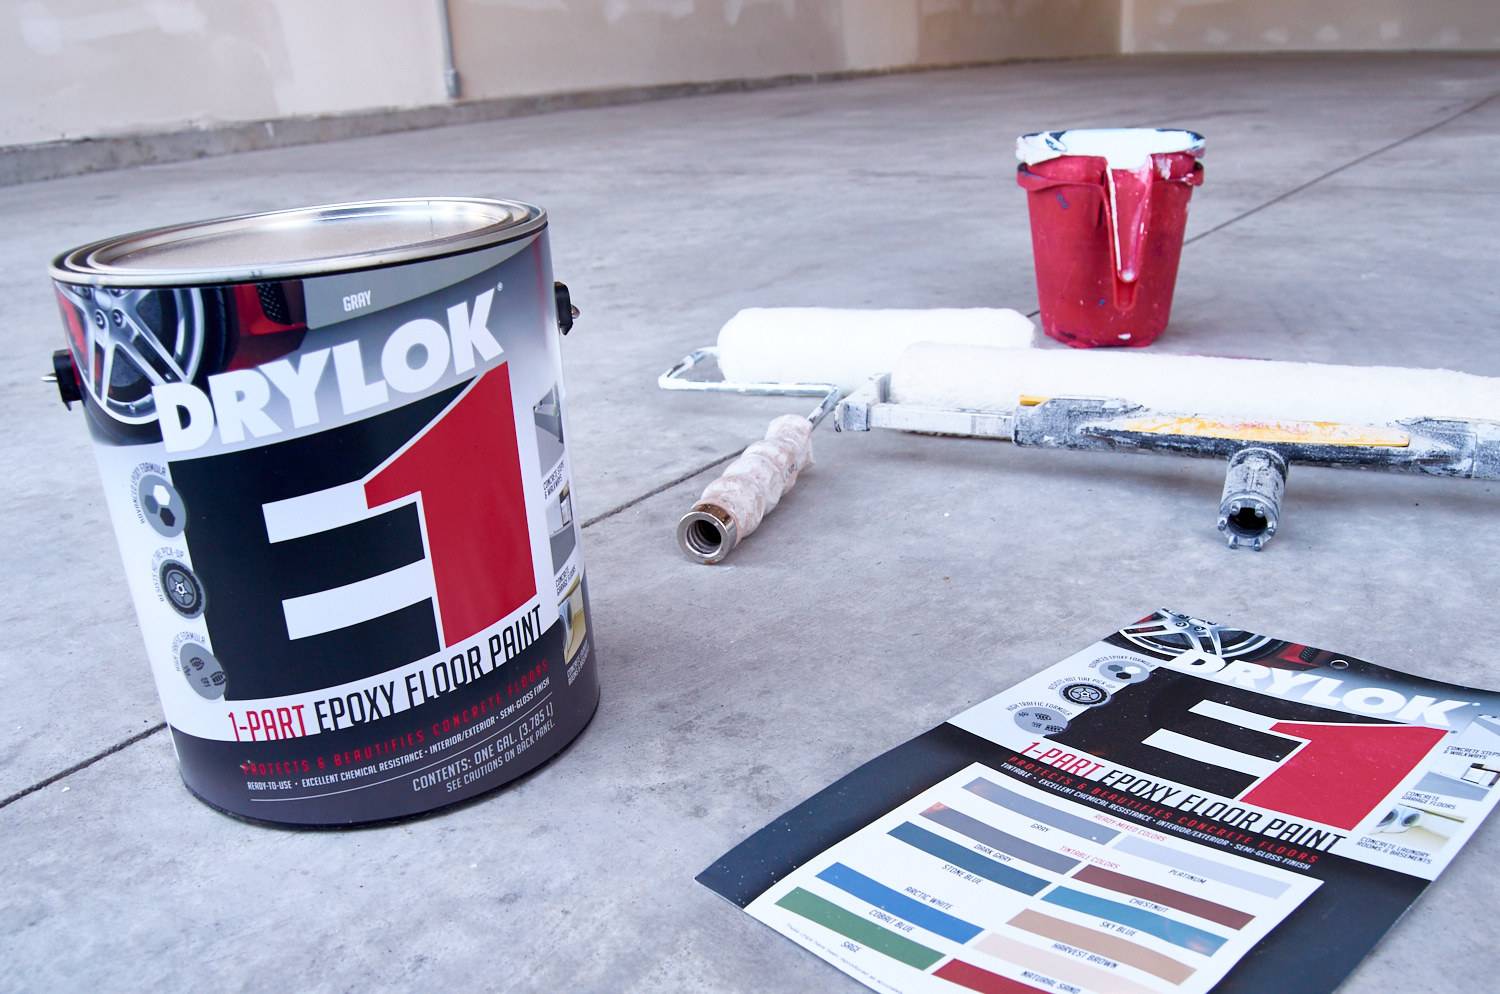
Aside from 1-part epoxy flooring, what are some alternative garage floor coatings?
Here are some of the options you can consider when thinking about covering your garage floor:
- Concrete floor paint
- One-part epoxy
- Two-part epoxy
- Concrete stain
- Concrete sealer
- Rigid coverings (like snap-together tiles)
- Rubber mats
- Interlocking flexible tiles
- Vinyl tiles
Check out this post for more ideas on DIY flooring finishes.
Can I use 1-part epoxy to paint other concrete floors, like exterior walkways?
Yup! Check the manufacturer’s label just to make sure, but most epoxy coatings are designed to work indoors and out. You can even use it on brick patios, and concrete block surfaces. Just make sure you prepare the surfaces correctly, and apply the epoxy according to the instructions.
Can I do this myself, or should I hire a contractor to paint my garage floor for me?
Great question. I’m a firm believer in DIYing things only when it makes sense, and some projects just don’t. However, painting a garage floor definitely falls into the category of projects I would do myself. While traditional two-part epoxies can be tricky to work with, and create a lot of unpleasant fumes, DRYLOK® E1 Floor Paint goes on smoothly, like ordinary house paint. It doesn’t produce strong fumes, and you don’t need to follow complicated mixing instructions. Plus, it cleans up with soap and water.
On the other hand, if you’re uncomfortable working with paint, or your garage floor is unusually worn or damaged, consider getting advice from an expert before tackling this project on your own.
Garage floor paint guide: Tools & Materials
- three-eighths-inch nap roller
- good quality nylon polyester brush
- paint roller tray
- floor broom
- wet-dry vacuum
- DRYLOK® E1 1-Part Epoxy Floor Paint
- DRYLOK® Concrete Cleaner & Degreaser
- DRYLOK® Etch
- Rubber gloves
- Painter’s tape and plastic sheeting
Step 1: Clean everything out of the garage
While it might be tempting to leave a few things in the space, or push them aside, this is one job where it’s truly worth it to get absolutely everything out. Check the weather and pick a stretch where your stuff will be able to sit outdoors for a while.
Step 2: Check for moisture
For the epoxy to properly adhere to the concrete, the slab needs to be really, really dry. Newly-poured slabs must cure for at least 30 days before applying an epoxy coating. Check to see if your concrete is wicking up moisture from the ground by taping a 1-foot-square piece of plastic sheeting down to the floor. After 24 hours, check under the square to see if it’s damp. If it is, you may need to use a dehumidifier, fan, or portable heater to further dry the surface.
Step 2: Sweep and scrape the floor
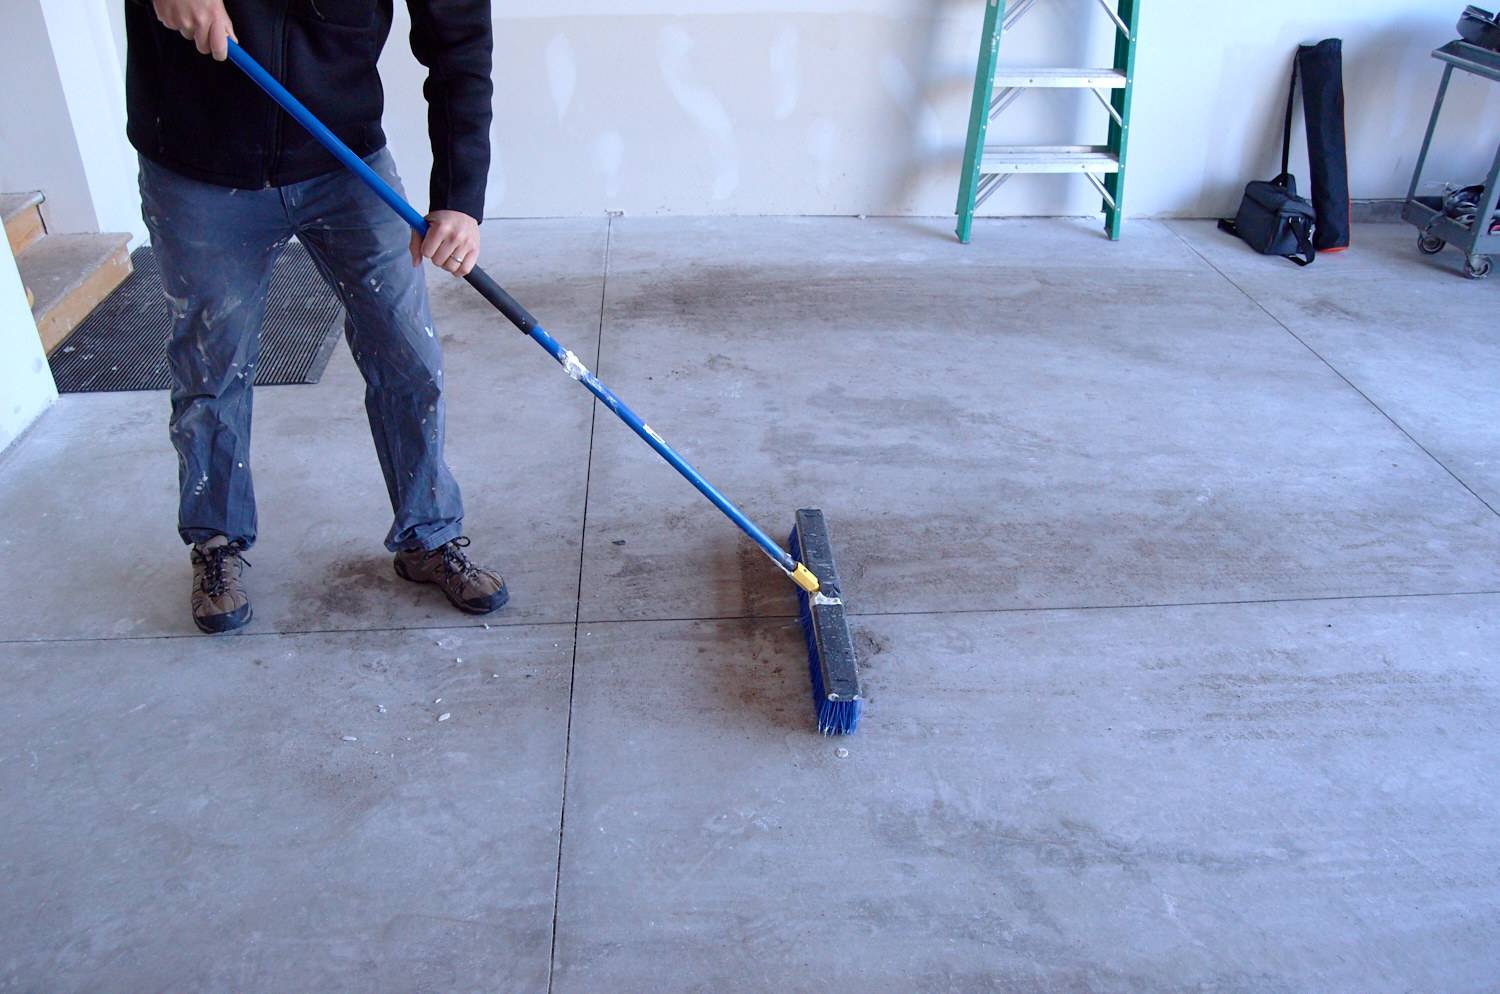
Using a floor broom, sweep the surface free of all dirt and debris. Use a scraper or wire brush on any spots of wax, mildew, grease, or other waste. Oily reside can be removed using a degreasing product.
Step 3: Wash with water and detergent
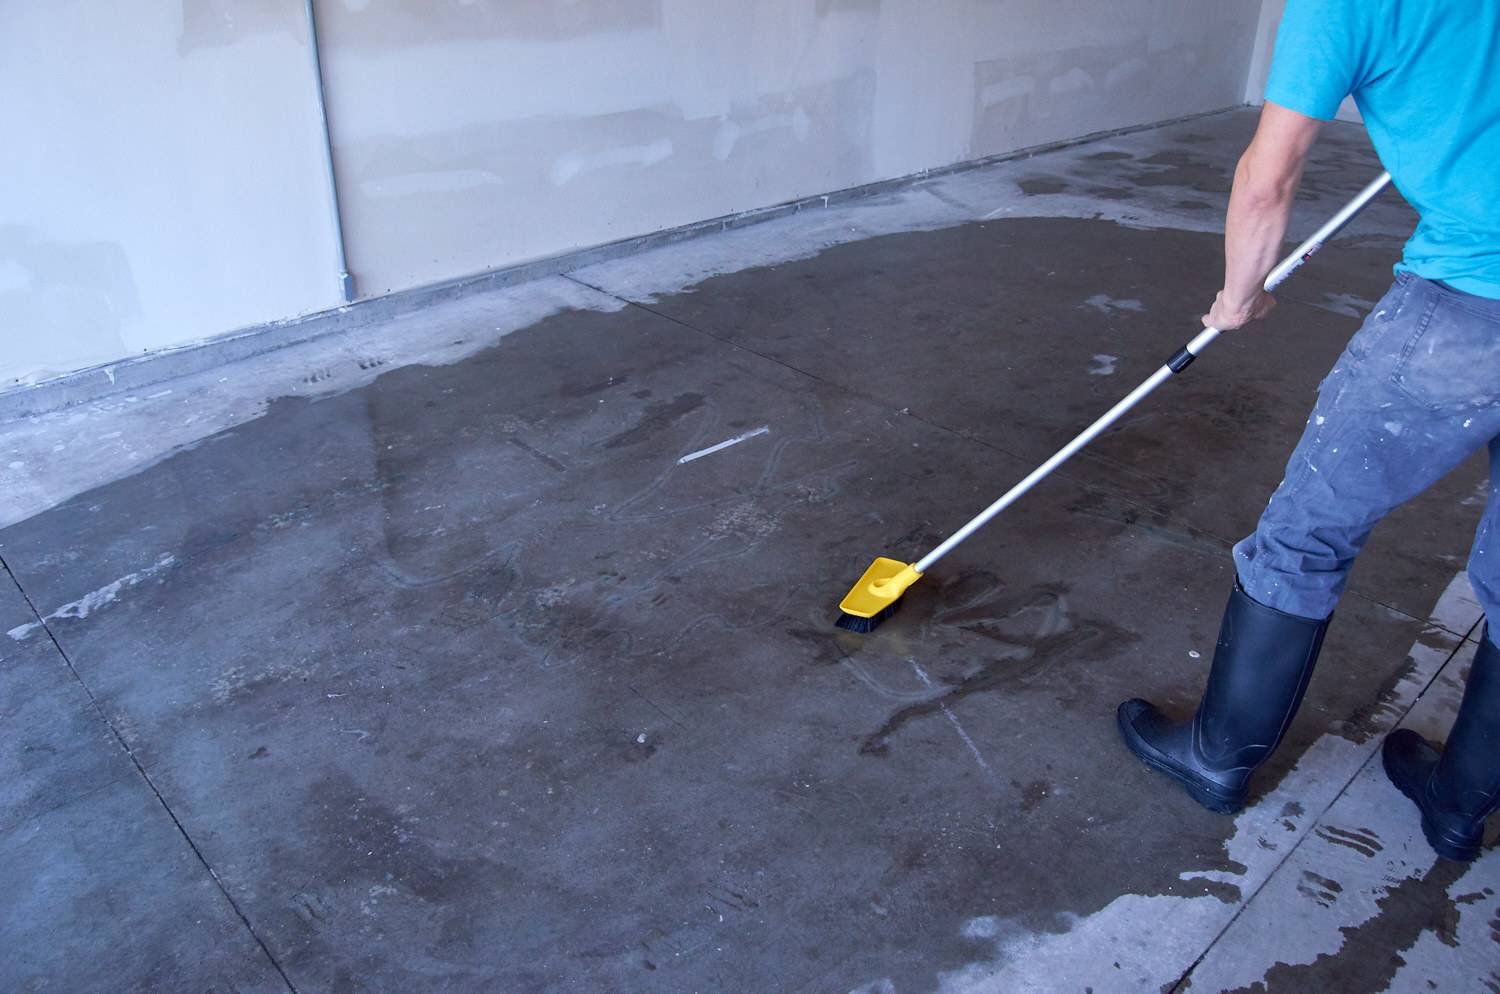
Next, I rinsed and scrubbed the floor with a mild detergent (dish soap is fine) and rinsed it thoroughly.
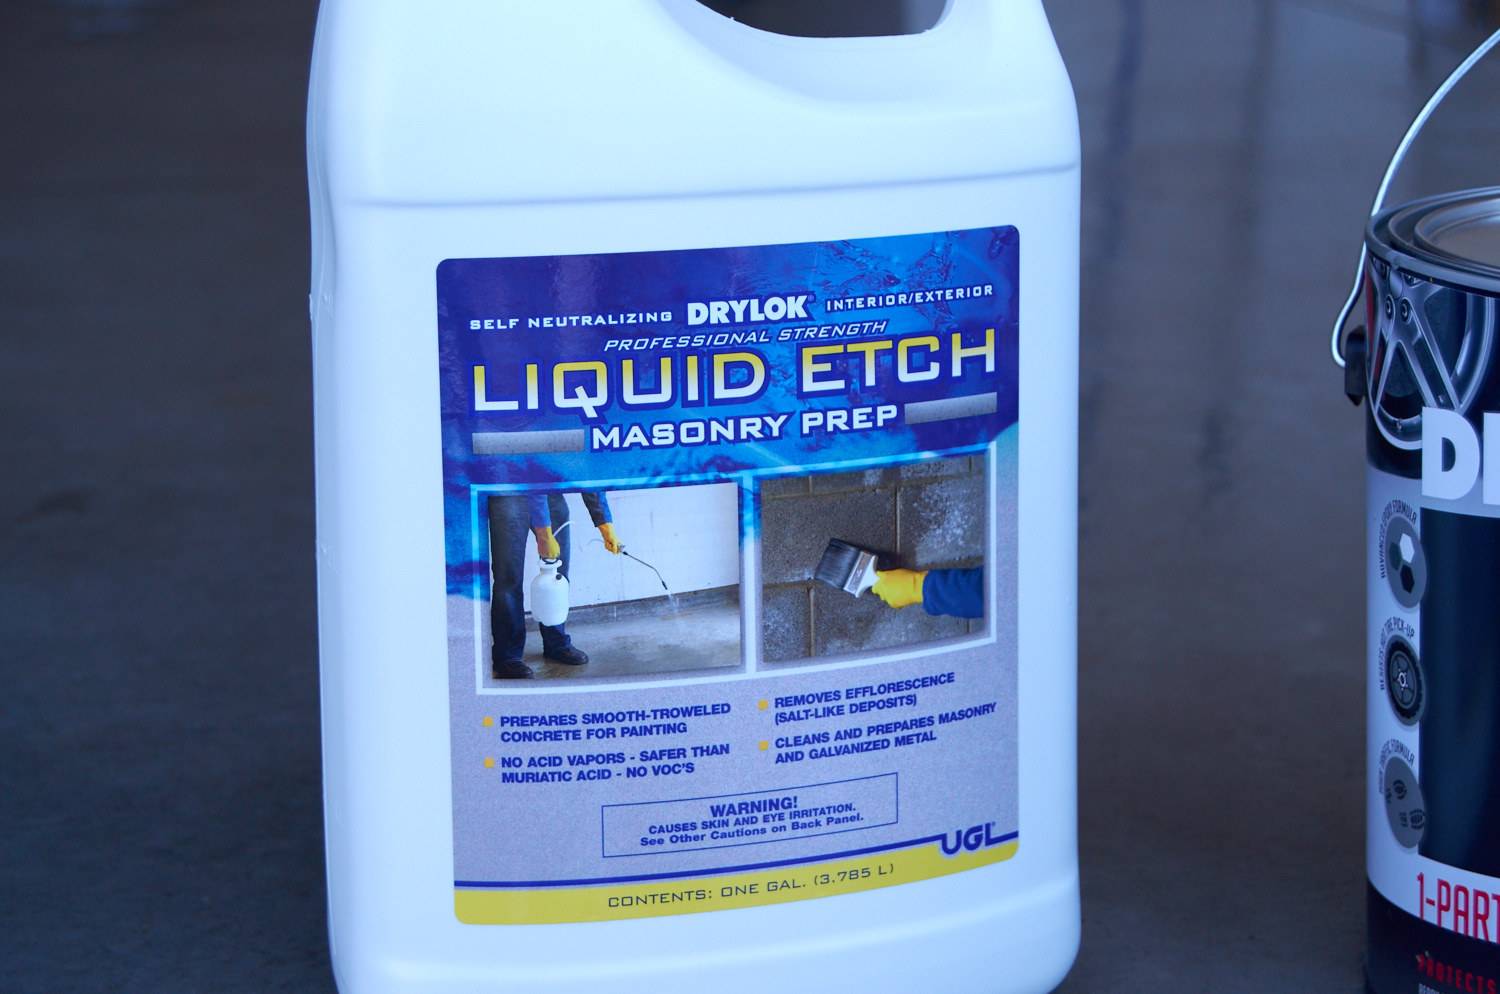
Step 4: Apply concrete etching if needed
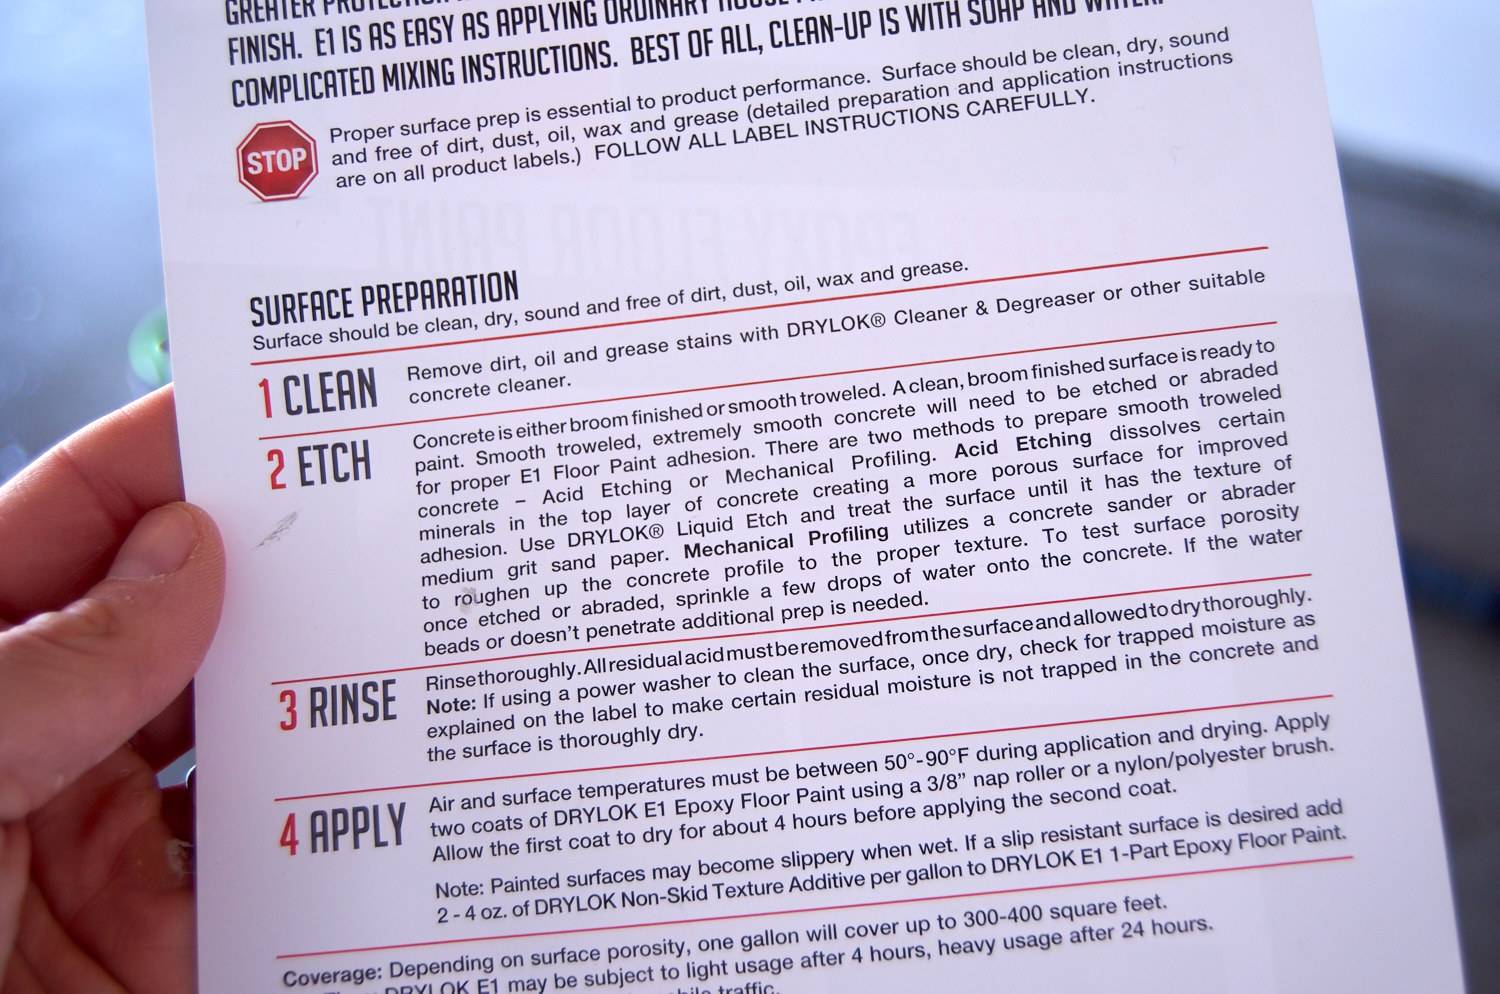
If the concrete is broom-finished (you’ll see the textured lines of the broom on the surface), you can skip this step. If it was troweled smooth, you may need to etch the concrete to prepare the surface to accept the epoxy.
Wearing eye protection and chemical-resistant gloves, dissolve 12 ounces of DRYLOK® Etch in 1.5 gallon of water (do this in a plastic container). Then, following the instructions on the package, apply the etching to the concrete, allowing it to work for at least 20 minutes. Rinse thoroughly and allow to dry completely (at least 24 hours), before painting.
Step 5: Patch cracks in your concrete floor
Although optional, this is a good time to patch up any cracks or divots in your garage floor. Here’s a guide to making small concrete repairs.
Step 6: Apply the 1-part Epoxy Floor Paint
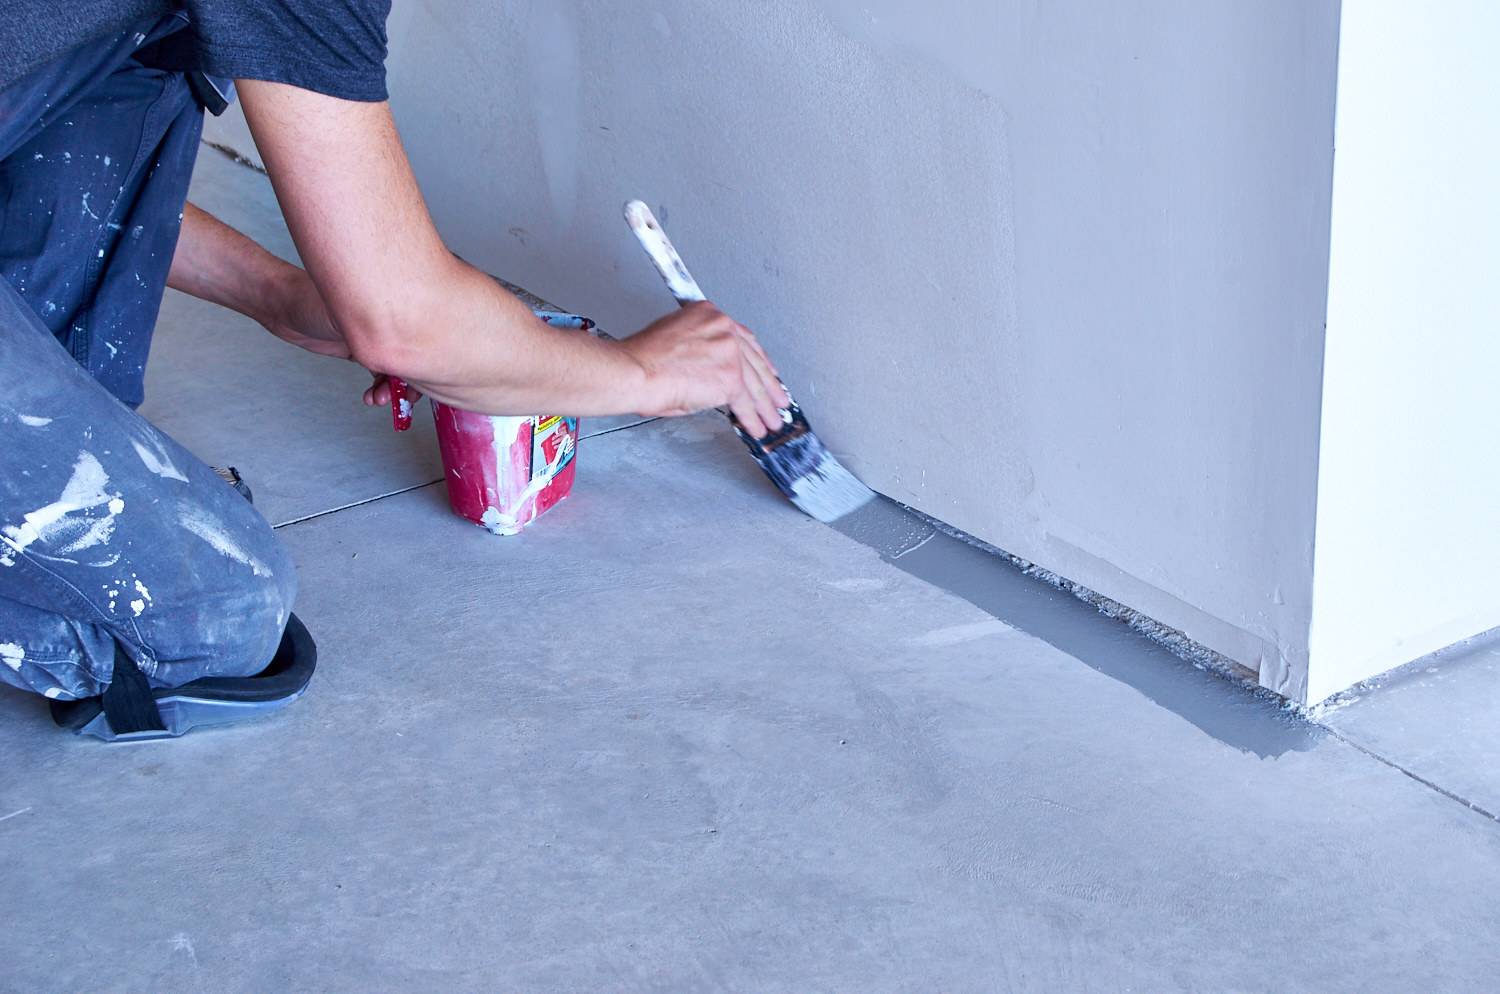
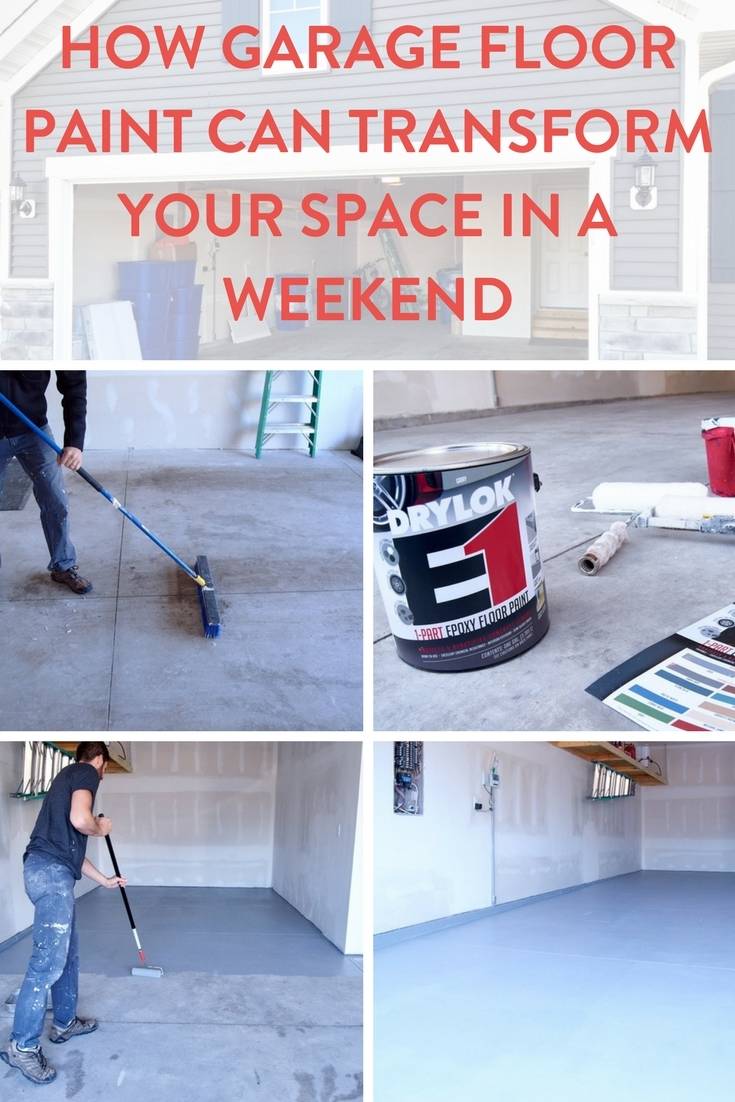
DRYLOK® E1 can be applied just like any other paint. I started by cutting in around the edges with a 2-inch nylon brush. Then I rolled the main sections using a 9-inch roller with an extension pole.
Allow the first coat to dry completely, at least four hours, before doing a second coat. The manufacturer’s directions advise no more than two coats, and I found that the coverage was good enough to support that suggestion.
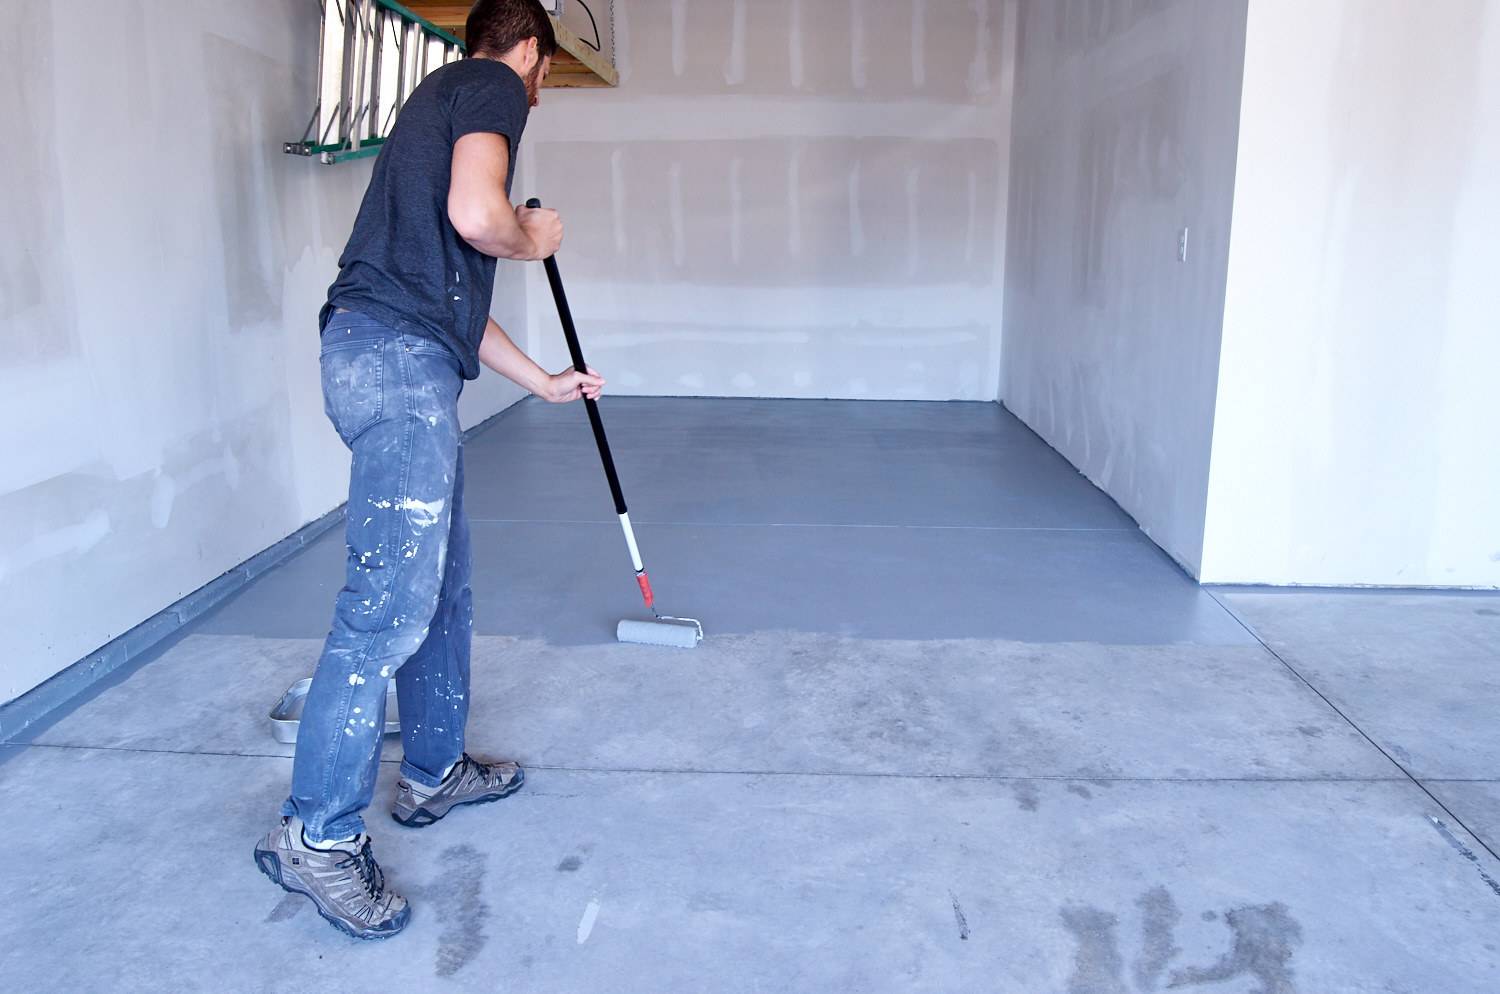
I have to say, I was pleasantly surprised by my experience working with this product. It was incredibly easy to apply, spreading and covering the concrete floor with ease. And there were very minimal vapors or unpleasant odors in the work space (although I kept the garage door open for ventilation while I worked, just in case).
One tip: it’s important to apply this paint when the temperature is above 50 degrees (and rain free) for at least four hours.
Here’s what the freshly painted garage floor looks like:
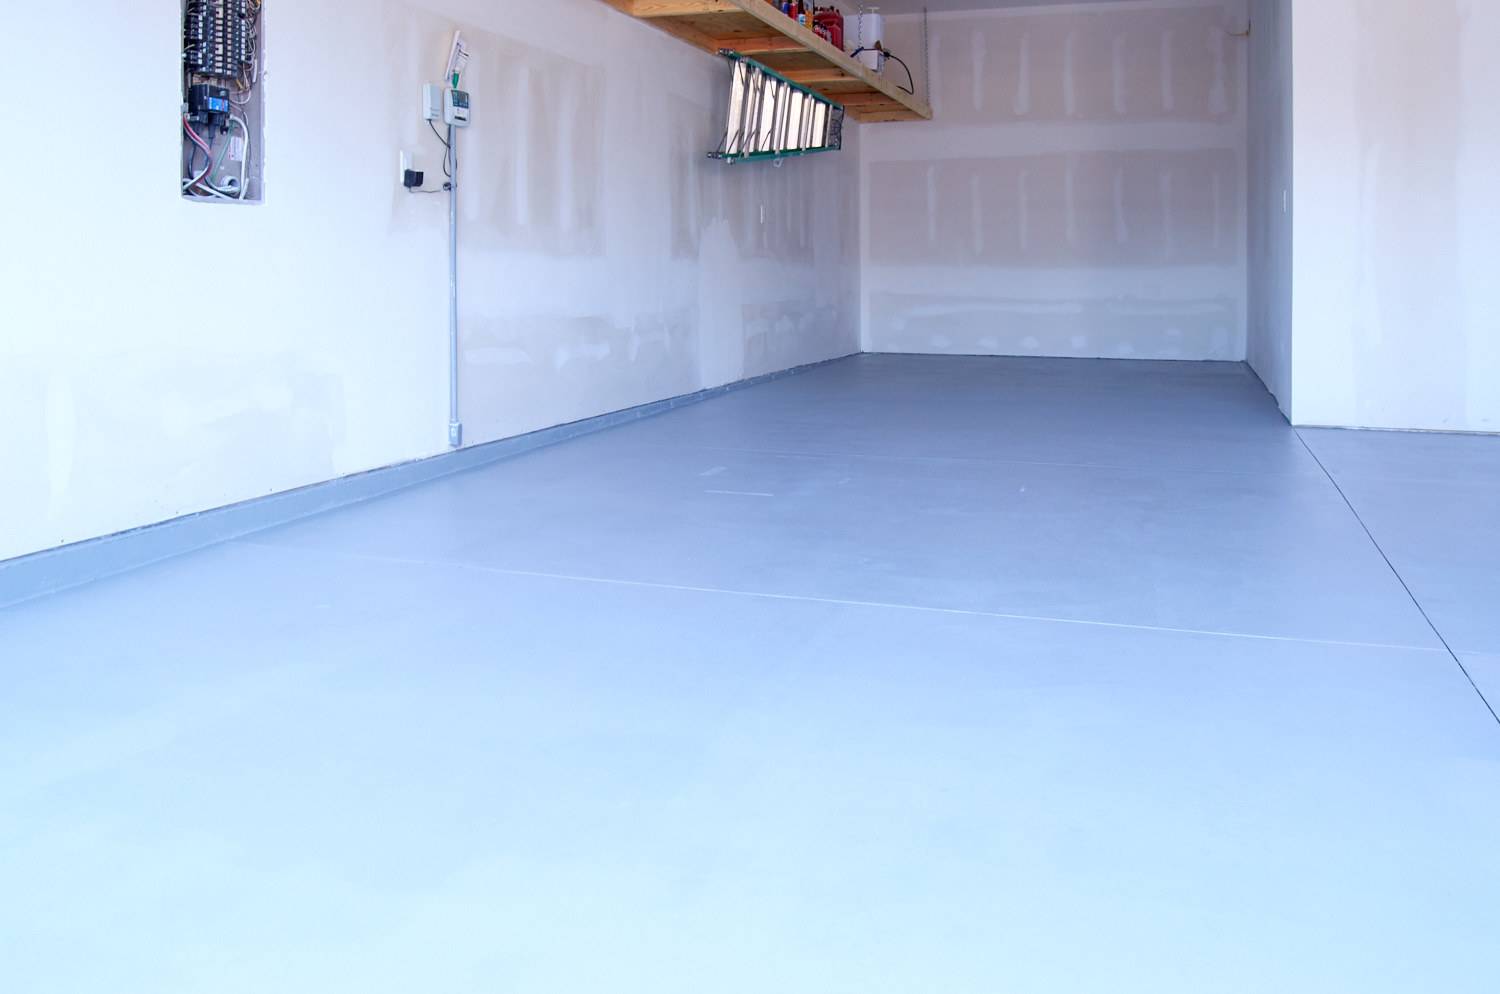
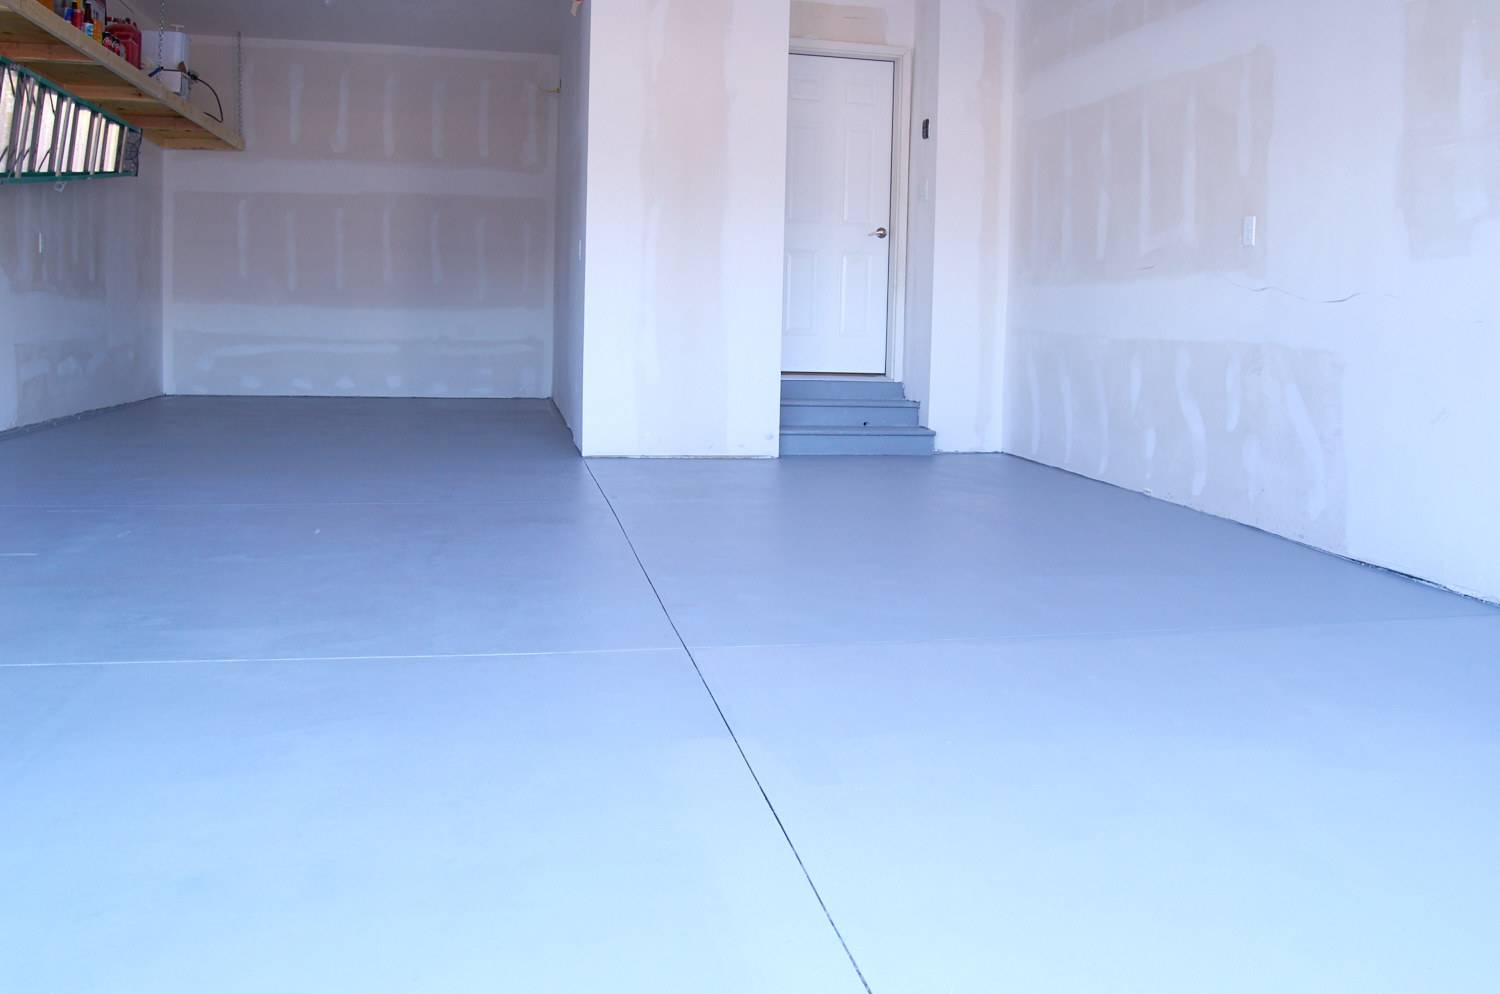
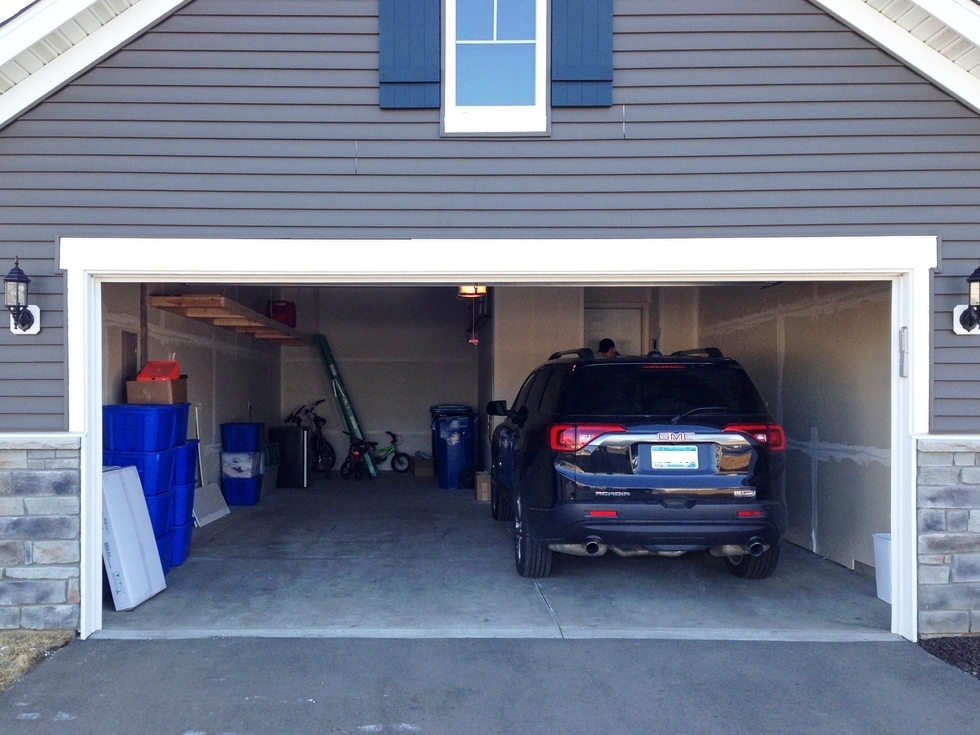
Remember what it looked like when I started?
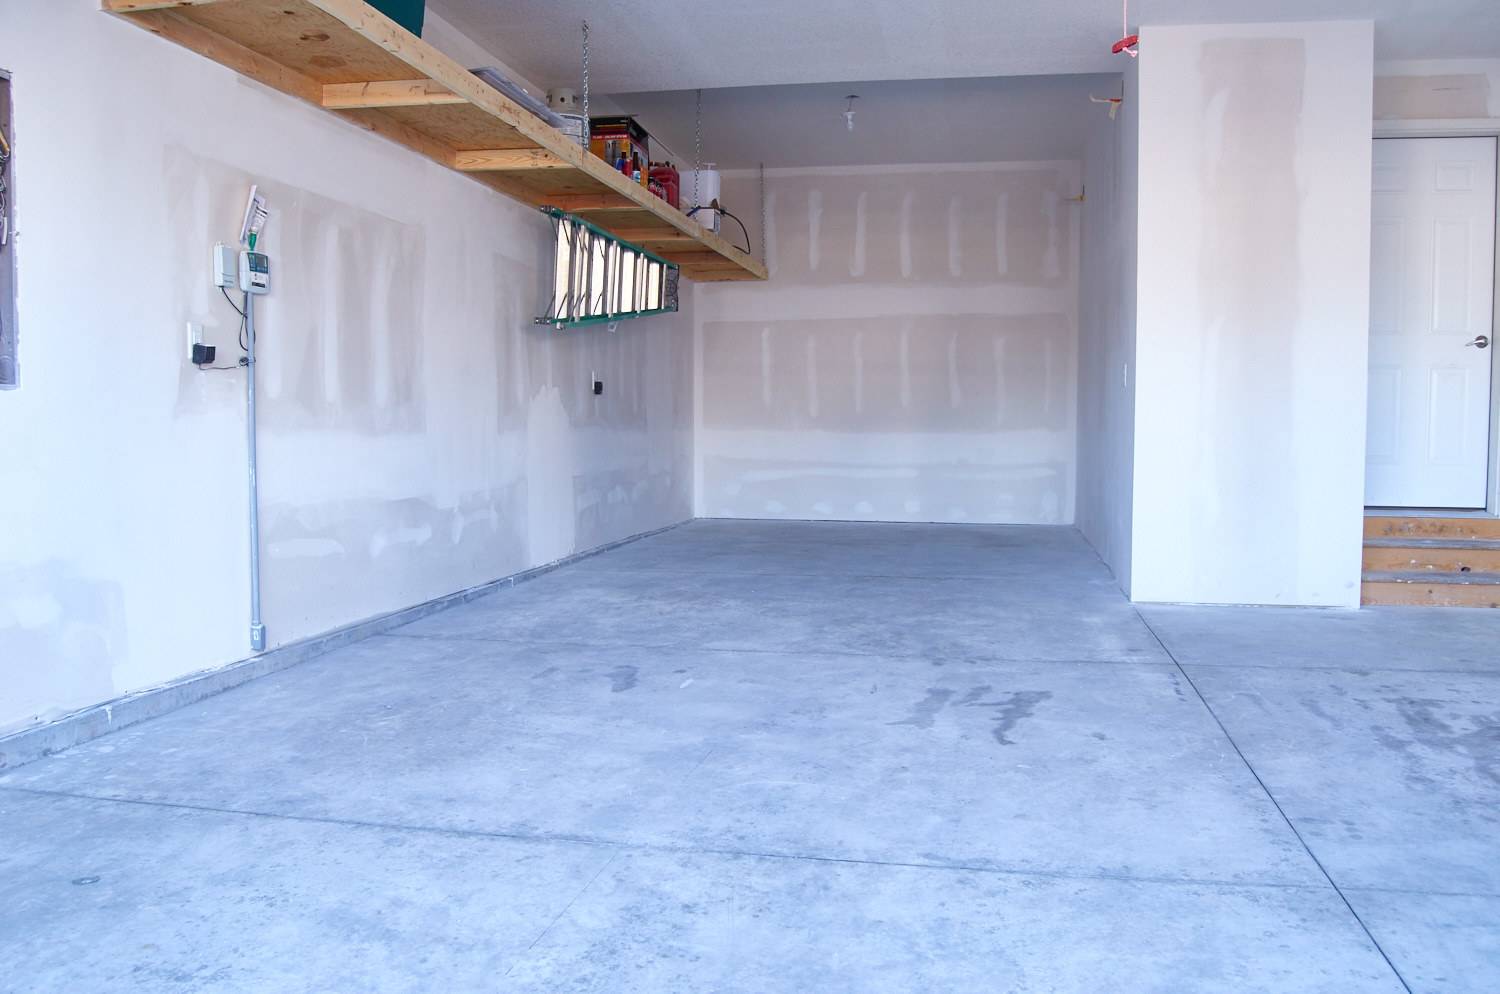
What is the coverage of garage floor paint?
The DRYLOK® E1 covers up to 400 square feet per gallon (very porous or rough surfaces may absorb more paint, reducing coverage). I covered about 500 square feet (two coats) using three gallons.
How to clean up oil from a garage floor?
Oil stains in concrete can be stubborn. I used a combination of de-greaser, and physical abrasion (wire brush) to get most of the stains out. An epoxy paint will cover light stains, if they’re treated properly prior to painting.
Troubleshooting an epoxy garage floor coating
- The epoxy won’t dry
This can happen if the concrete temperature is too low, or if there’s too much moisture content in the concrete slab. Low air temperatures or high humidity can also prevent drying. - Bubbles when rolling the epoxy
This can happen if the paint gets over-mixed (working air bubbles into the solution). If this is the case, you’ll see bubbles on the surface while you’re applying the paint. If, instead, the paint goes on smooth, but bubbles appear later on, this is a sign that moisture (or some other gas) is escaping from the concrete. - Epoxy paint is not sticking
If the concrete surface is too smooth, the paint can not create a sufficient mechanical bond with the surface, and peeling can result. Excessive moisture in the slab can also cause this, as can other residues, like oil or etching residue.
This is a sponsored conversation written by me on behalf of UGL. The opinions and text are all mine.
Does the 1 part epoxy come in clear to seal a naturestone sidewalk.
@diana – I don’t believe it does.