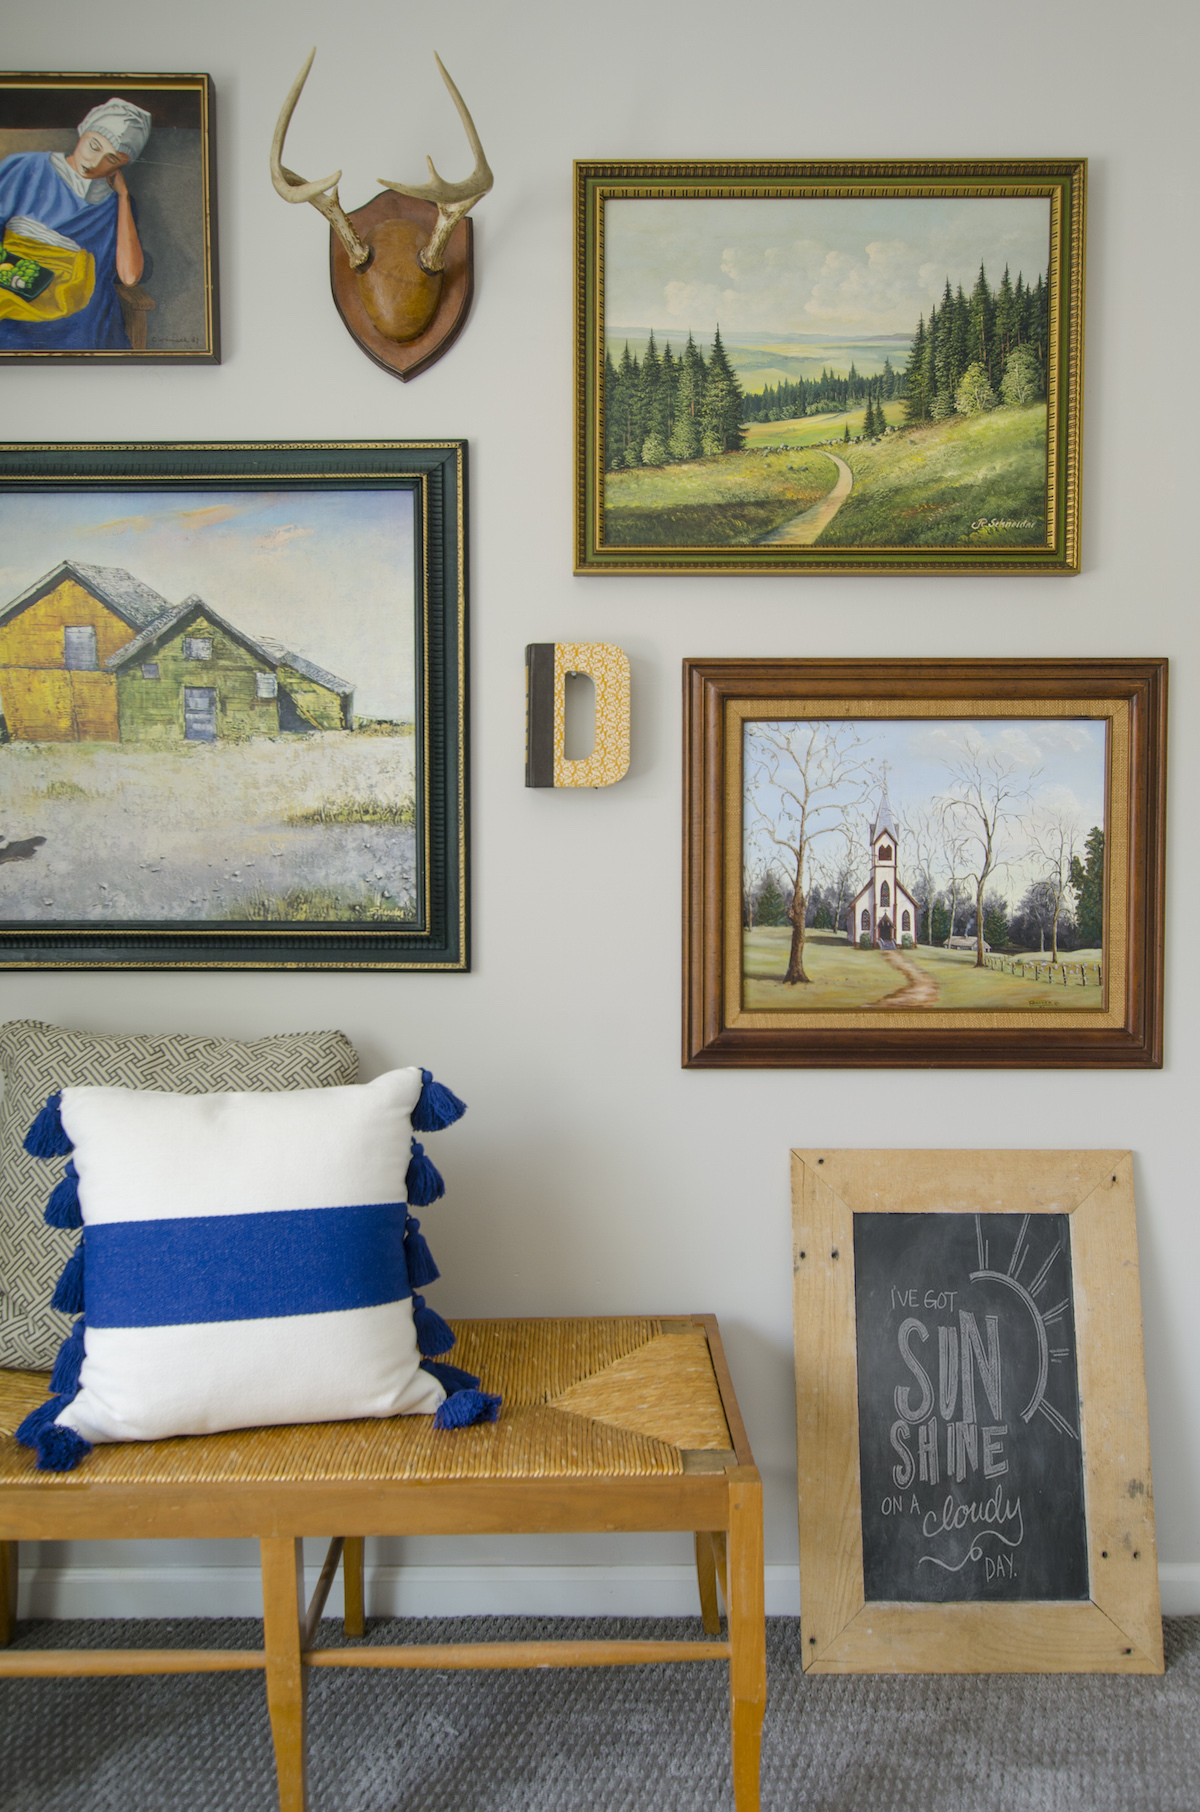
I don’t know about you, but I swoon over a good, curated art gallery wall. My Pinterest boards are filled with gallery walls created by designers and really talented stylists/bloggers, and these inspire me to display my own pieces. But what do you do when you only have one or two vintage pieces in your collection? Unless you’re a designer or stylist who makes a living out of finding treasures, it can take a while to curate a collection of art you love. And it’s hard know when you have enough pieces to complete your collection.
This week I helped a friend tackle her eclectic art filled gallery wall. I’m sharing my process so you can follow along and get your art out of storage and onto the wall, Plus, I’ll show you how to style the gallery in a flexible way, so you can add in more collected treasures later.
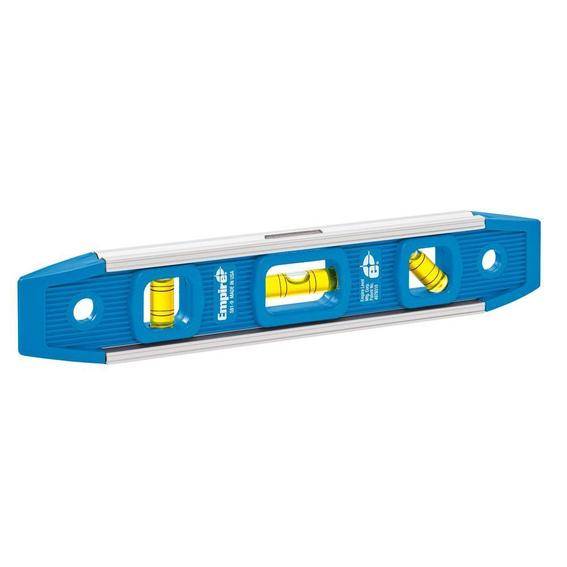
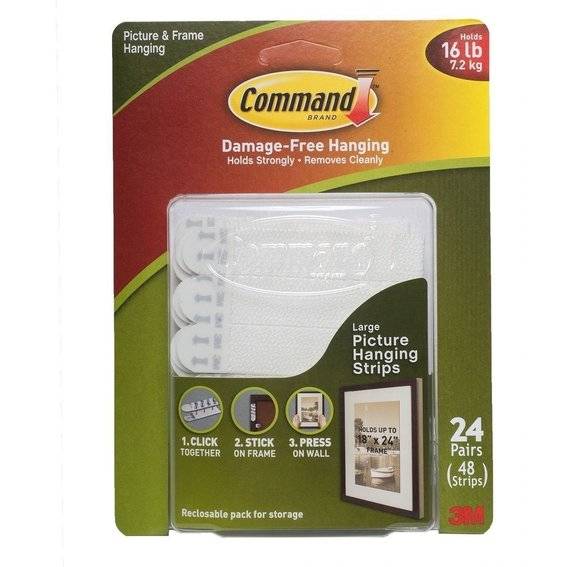
Here are my go-to tools for hanging an eclectic gallery wall:
- Small level
- 3M Velcro Command strips to hold 16 lbs
- Nails and hooks (or screws) with wall anchors for those heavy pieces of art
- Scissors
- Two sets of hands
- Two sets of eyes
Step
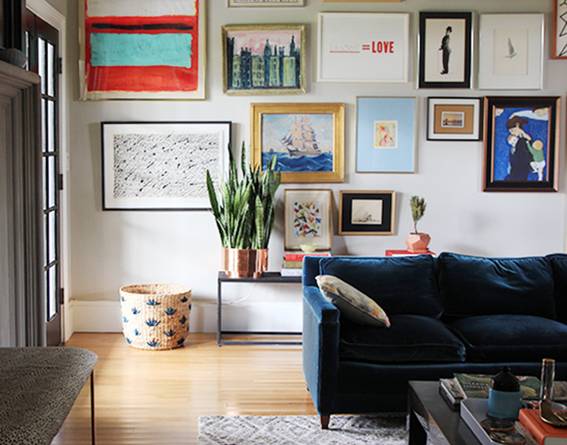
Find some inspiration
The style of art in Jenny Komenda’s living room gallery wall is a little different than the look we were going for, but we loved that it wasn’t “matchy-matchy” and my friend loved that there was a table underneath. We also loved that every gap didn’t need to be filled.
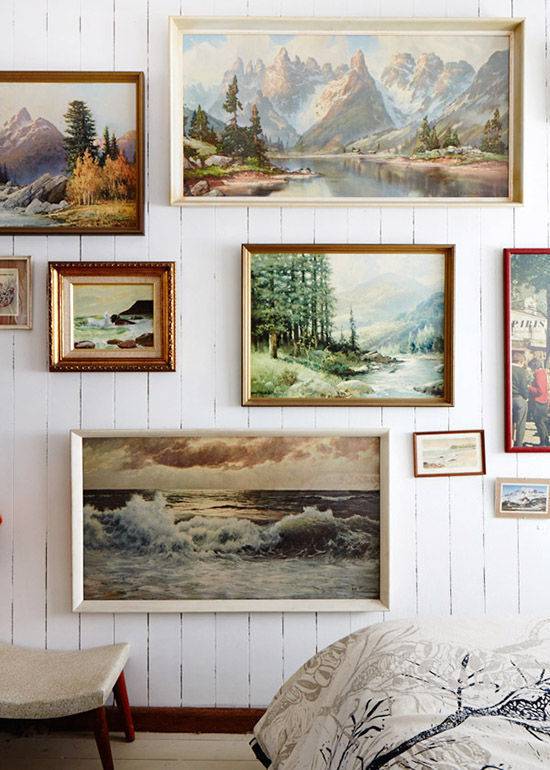
The above photo from Design Love Fest had the look and feel we were going for with this gallery wall, since my friend’s art was mostly painted landscapes and portraits.
Step
Put everything out
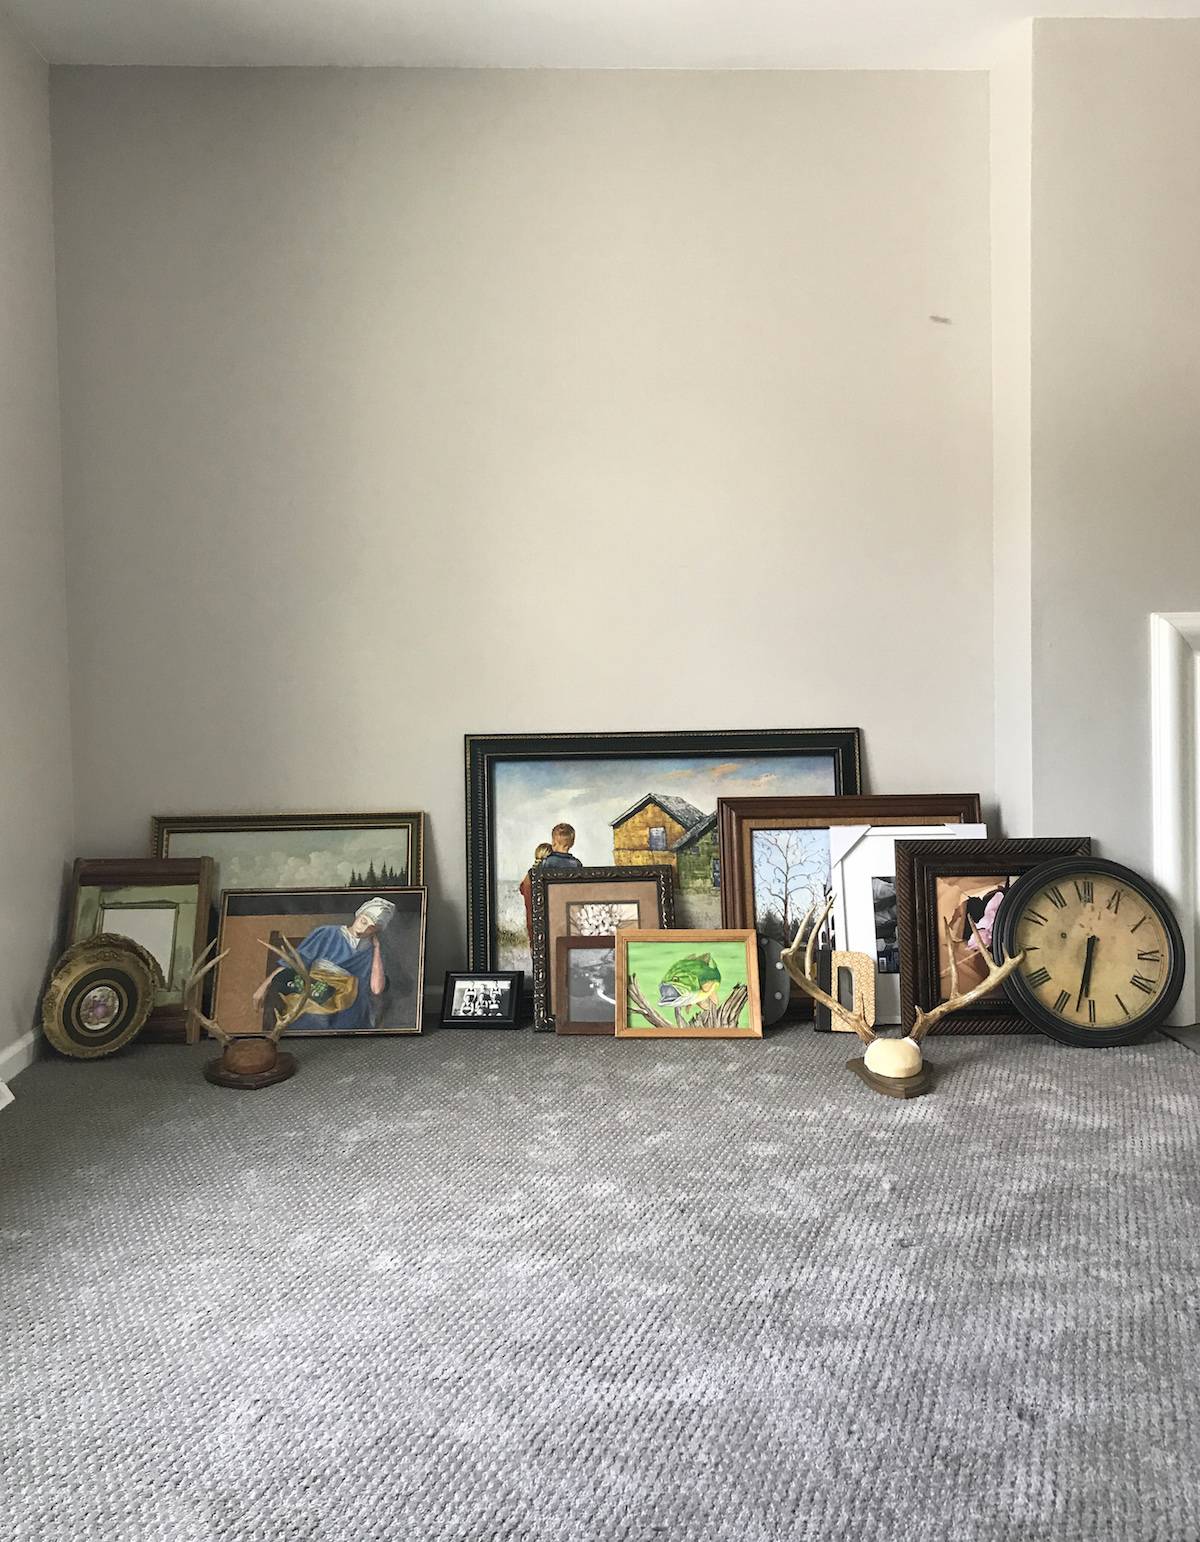
Set out the art, pictures, and collectibles you’d like to include in your gallery. Don’t over-think this, don’t edit anything, just get all your pieces out of boxes and storage.
For reference, the above photo is the left side of my friend’s living room. The space we wanted to fill exists on both sides of her fireplace and she wanted a gallery wall to flank both sides of the hearth. Most of what you see did not end up on the wall, but it was good to evaluate it all.
Step
Find a cohesive element or two
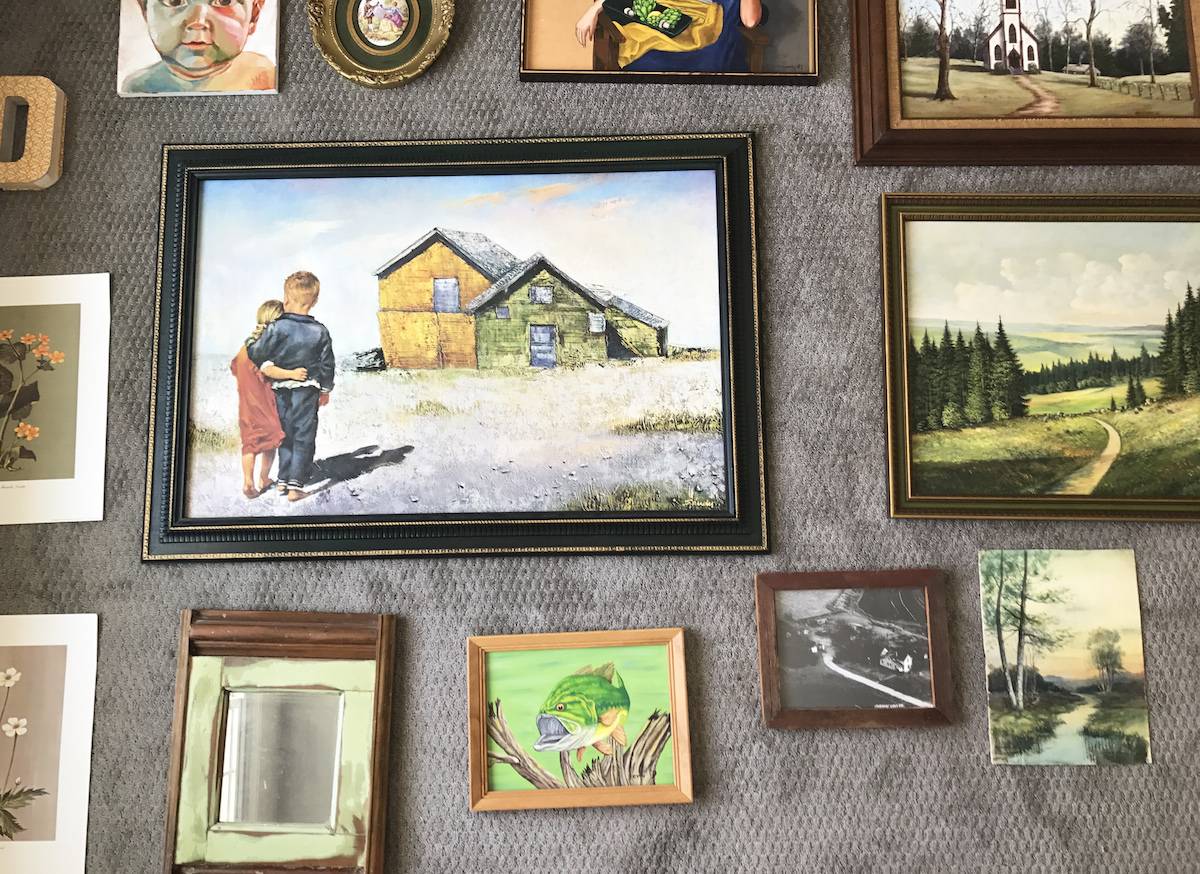
Here is my trick for how to find the cohesive element: lay out every piece of art on the floor, gallery wall style. Don’t worry about making it look like it will on the wall, just lay it out loosely starting with the largest or most important piece.
Once we laid everything out on the floor we were quickly able to see which pieces felt cohesive. Color, theme, frame type, texture, and even style of art help determine the cohesion of a gallery wall. I know it might seem overwhelming, but I promise setting everything up on the floor will help you visualize your layout. For this gallery wall, we quickly found a nature theme: We live in Kansas. My friend’s granddad was a painter who loved nature. Her husband grew up on a farm. Boom! Cohesion!
Not every piece had to have a “nature” vibe, but any non-nature artwork or object needed to fit the color palette of the landscape scenes. Her grandfather’s art was so detailed and colorful we were able to determine easily that any “mass production art” was out.
I believe that carefully-selected photos can fit in an art gallery wall, and my friend immediately recognized that she wanted family photos elsewhere. There are no hard rules or absolutes here, but sometimes you just need to get it out in front of you to make your own personal rules. Every time I’ve laid out pieces for a gallery wall on the floor, I’ve watched indecisive homeowners quickly become decisive.
Step
Create a template with your frames
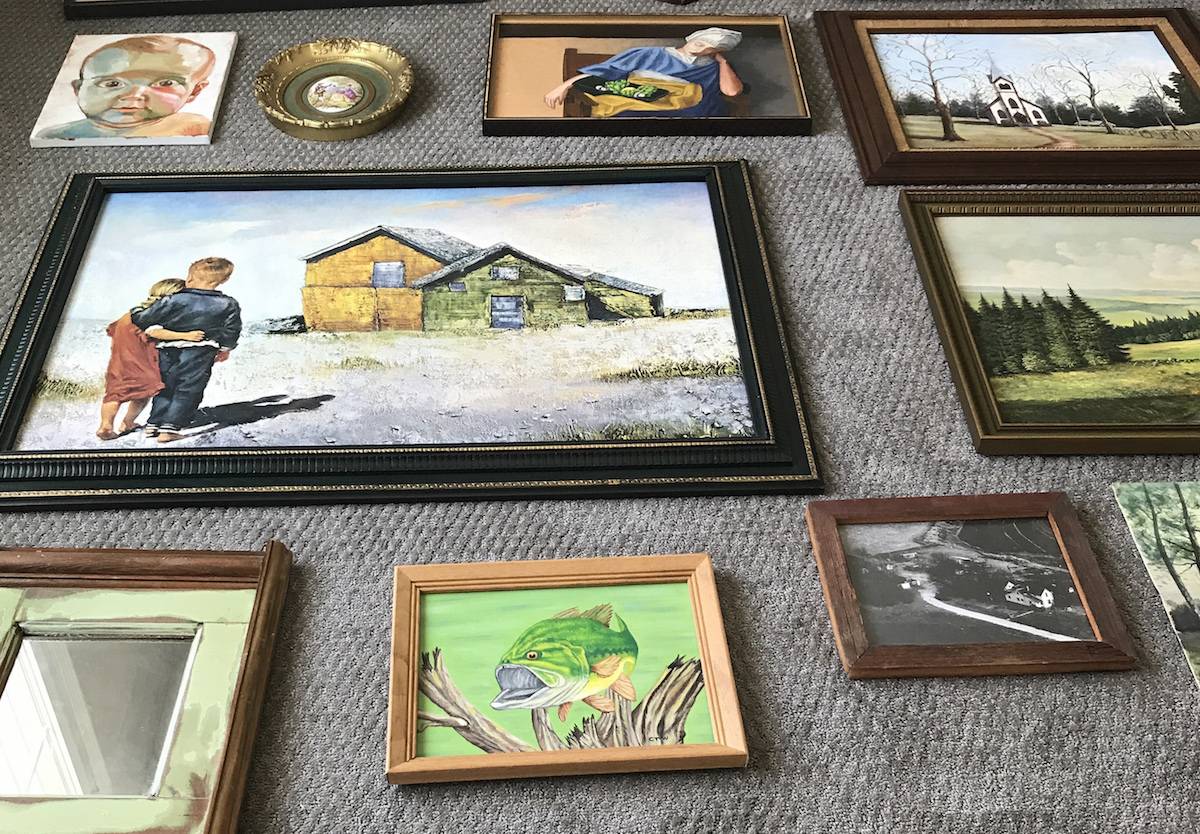
Once you’ve arranged the art on the floor and you’re happy with the look of the gallery, I recommend creating a template with paper and taping it to the wall. Depending on the size and scale of your gallery, this process isn’t always necessary. I’ve found that if I can figure out the central pieces of the gallery and get them on the wall, the others fall into place without the template step. For this wall, we decided the central three pieces would be the larger paintings.
Step
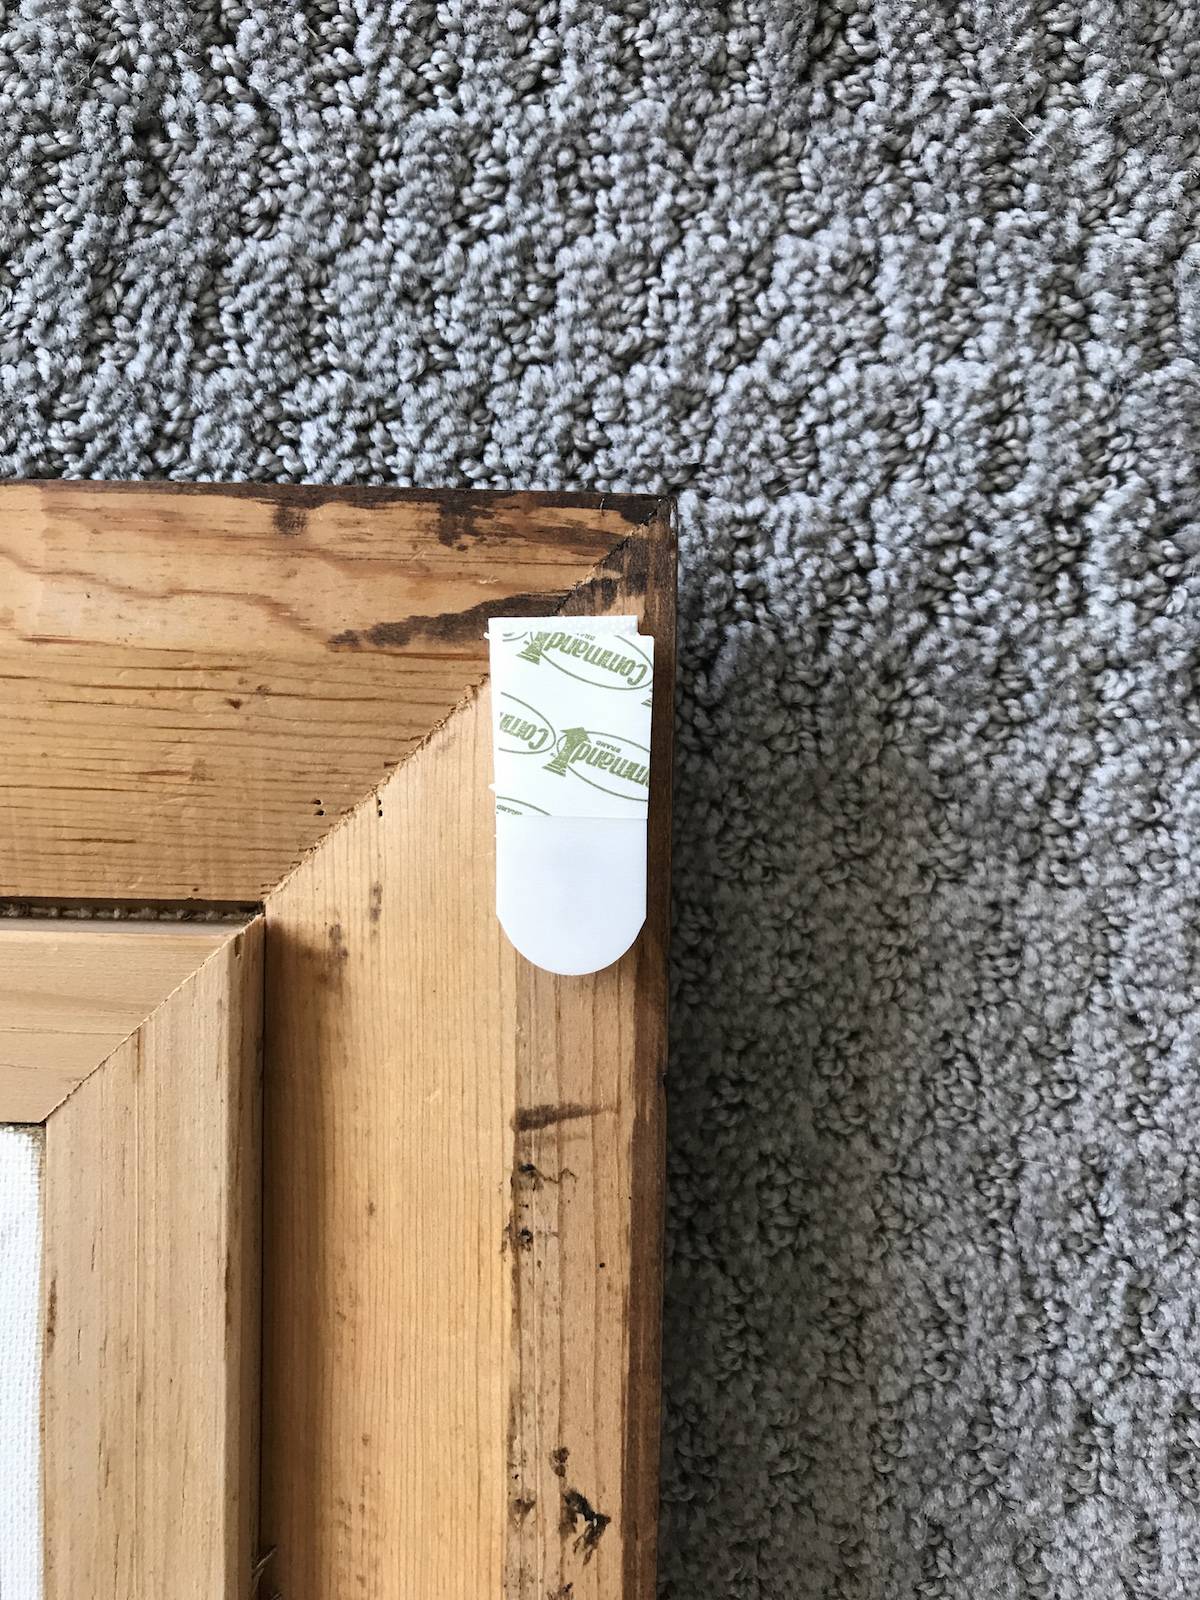
It’s time to hang your art!
My go-to gallery wall tip is to not use nails at all (or at least, at first). I use Command Strips for all items less than 16 lbs. If the item is over 16 lbs. I make a template. In this case of my friend’s wall, we didn’t have artwork over this weight, so I didn’t need to make a template.
After the full gallery wall is in place I lightly mark where the frames will go with a pencil, take the frames down, install the nails, and re-hang the frame.
Step
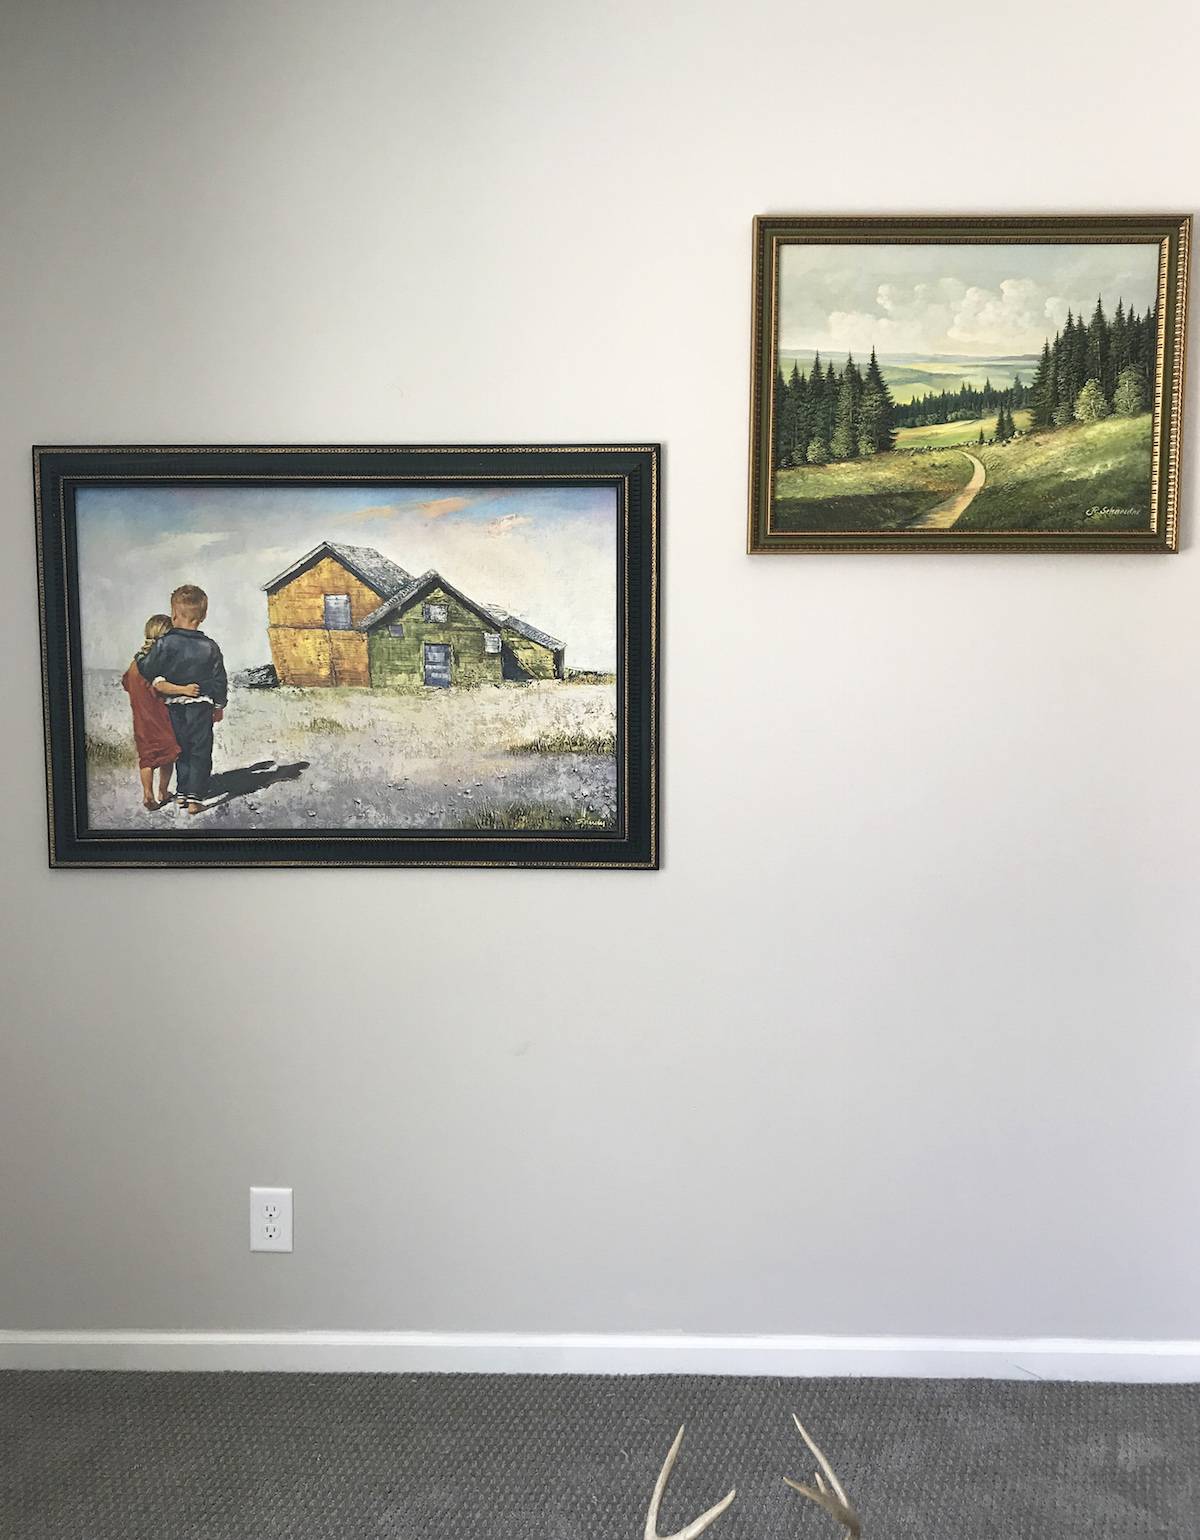
For an non-symmetrical gallery wall, first hang the pieces that you want to anchor the entire space.
When art/photos have matched frames or are the same size, I tend to like symmetrical and centered gallery walls. When the gallery wall is more eclectic, I embrace the quirk by adding flexibility in how it’s hung. These pieces were not created to be displayed together, so why should I subscribe to the rules of symmetry in hanging them? Logically, I should center the largest piece on the wall with the center being eye level. I added movement to this quirky wall by hanging the largest piece a little low (but not too low), and a little off center. Once that piece was set, I organically started to hang the other two.
Step
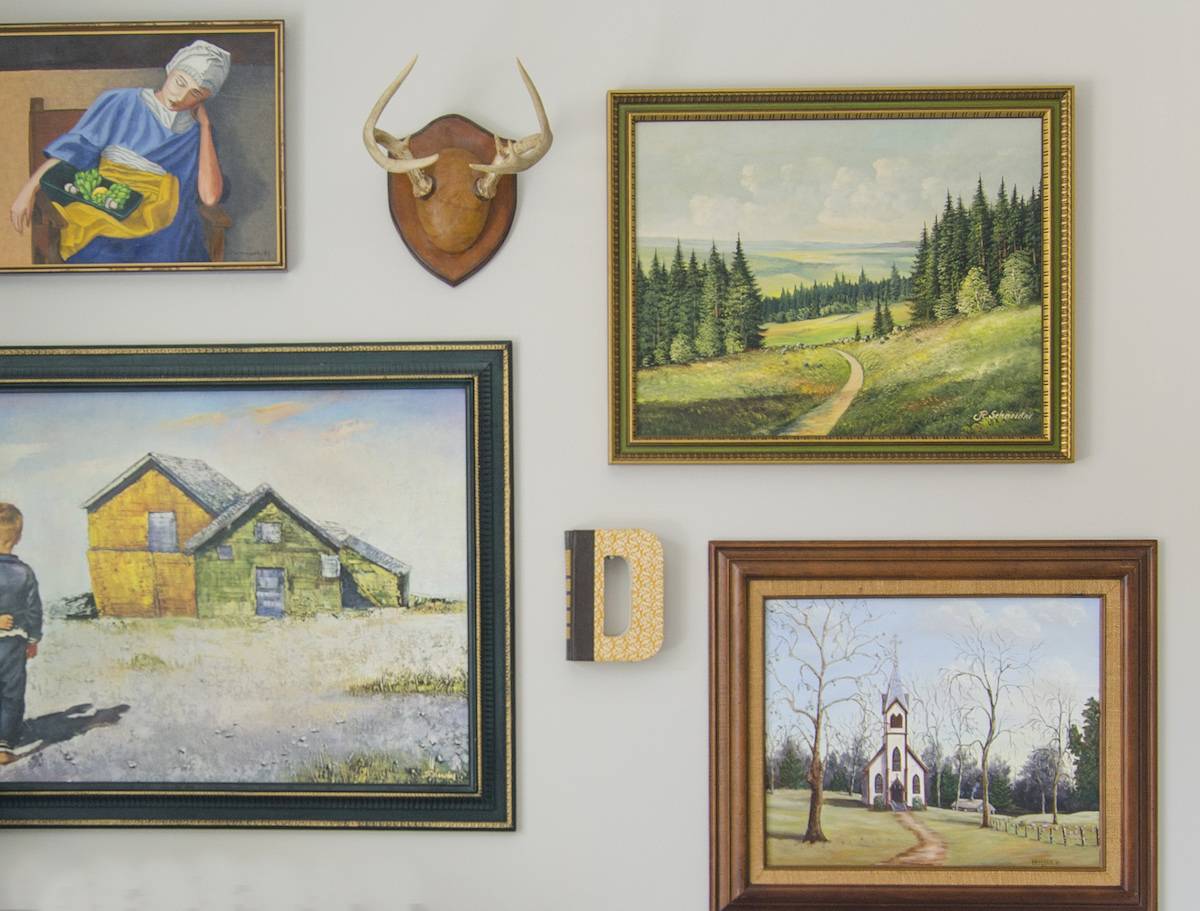
Add in the rest of your pieces
This is where two sets of eyes are helpful. One person holds the art in place, while the other tweaks it. Then you switch to confirm or tweak some more. To me, the two-person system helps the wall feel more organic.
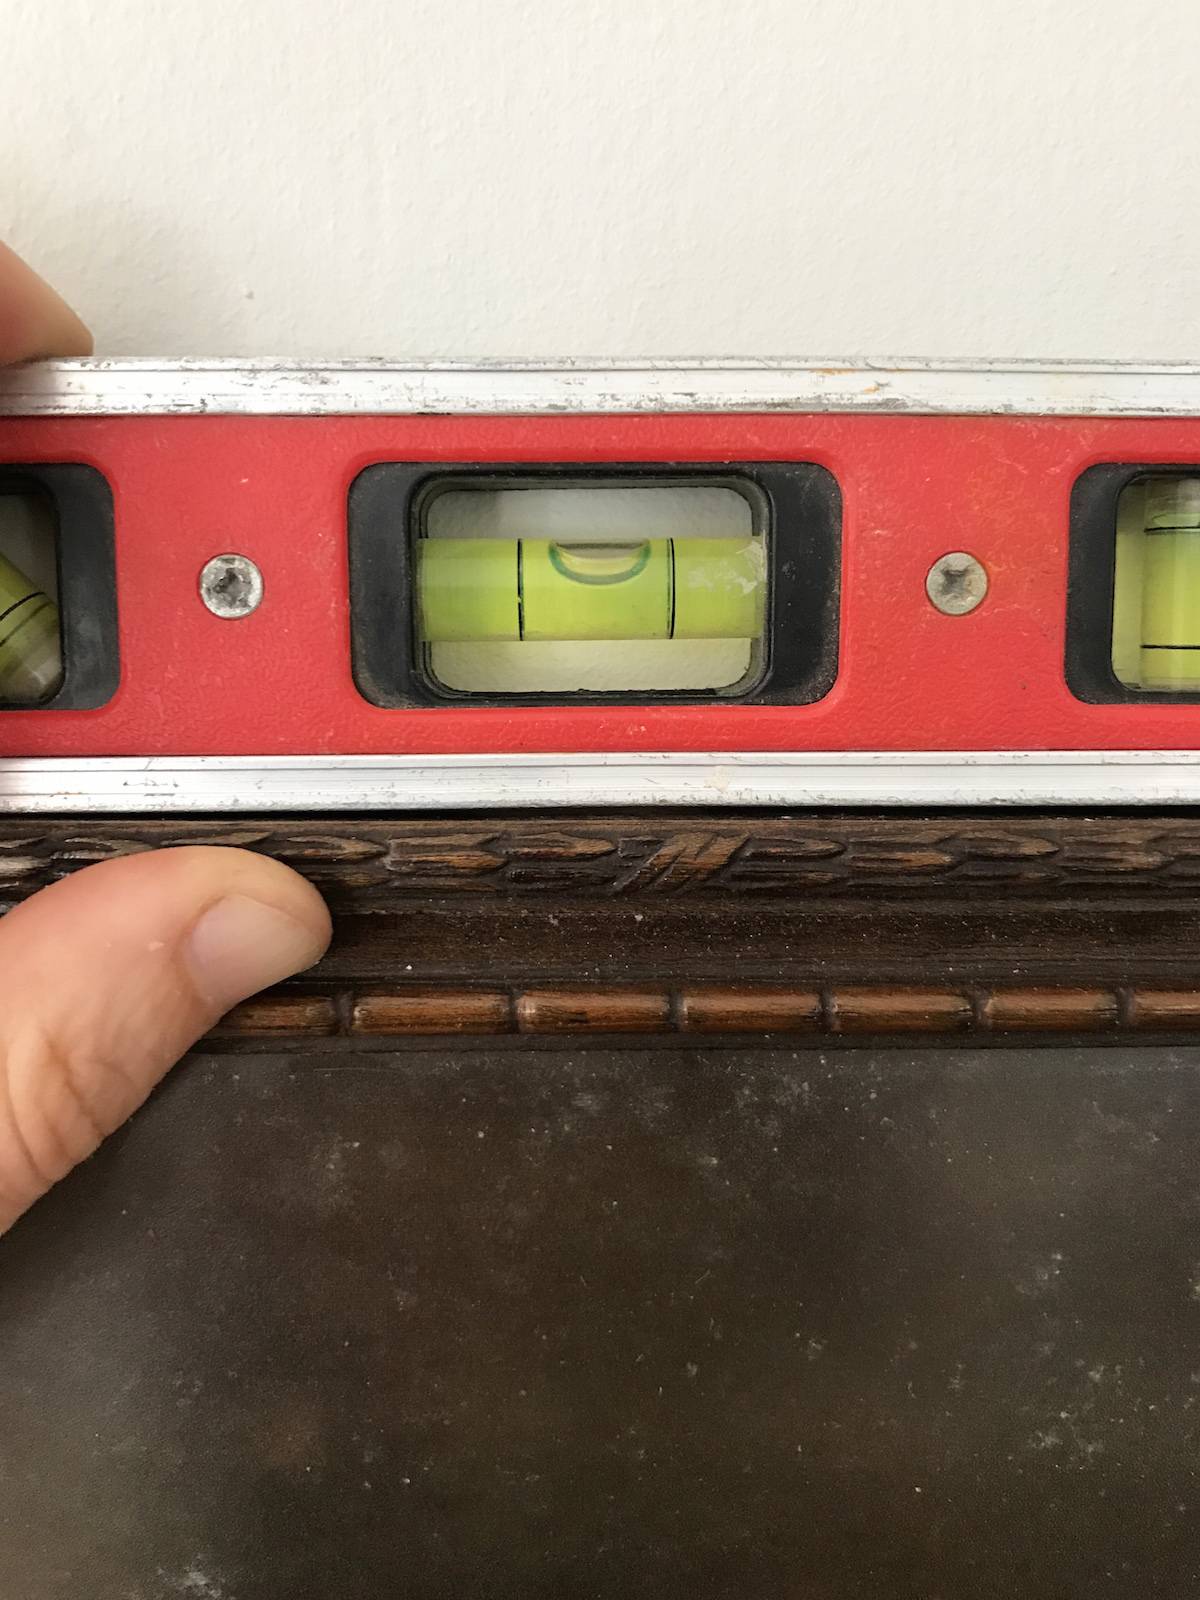
Once you’ve found an item’s perfect place, mark where the top of the frame should go, and place your Command Strips on the back of the frame. Before you take the backing of the command strip, place the frame back up on the wall and use your level to straighten it. Once it’s right, use a pencil to lightly trace the top corners of the frame on the wall. Pull the backing off, line up the frame’s top corners and adhere it to the wall.
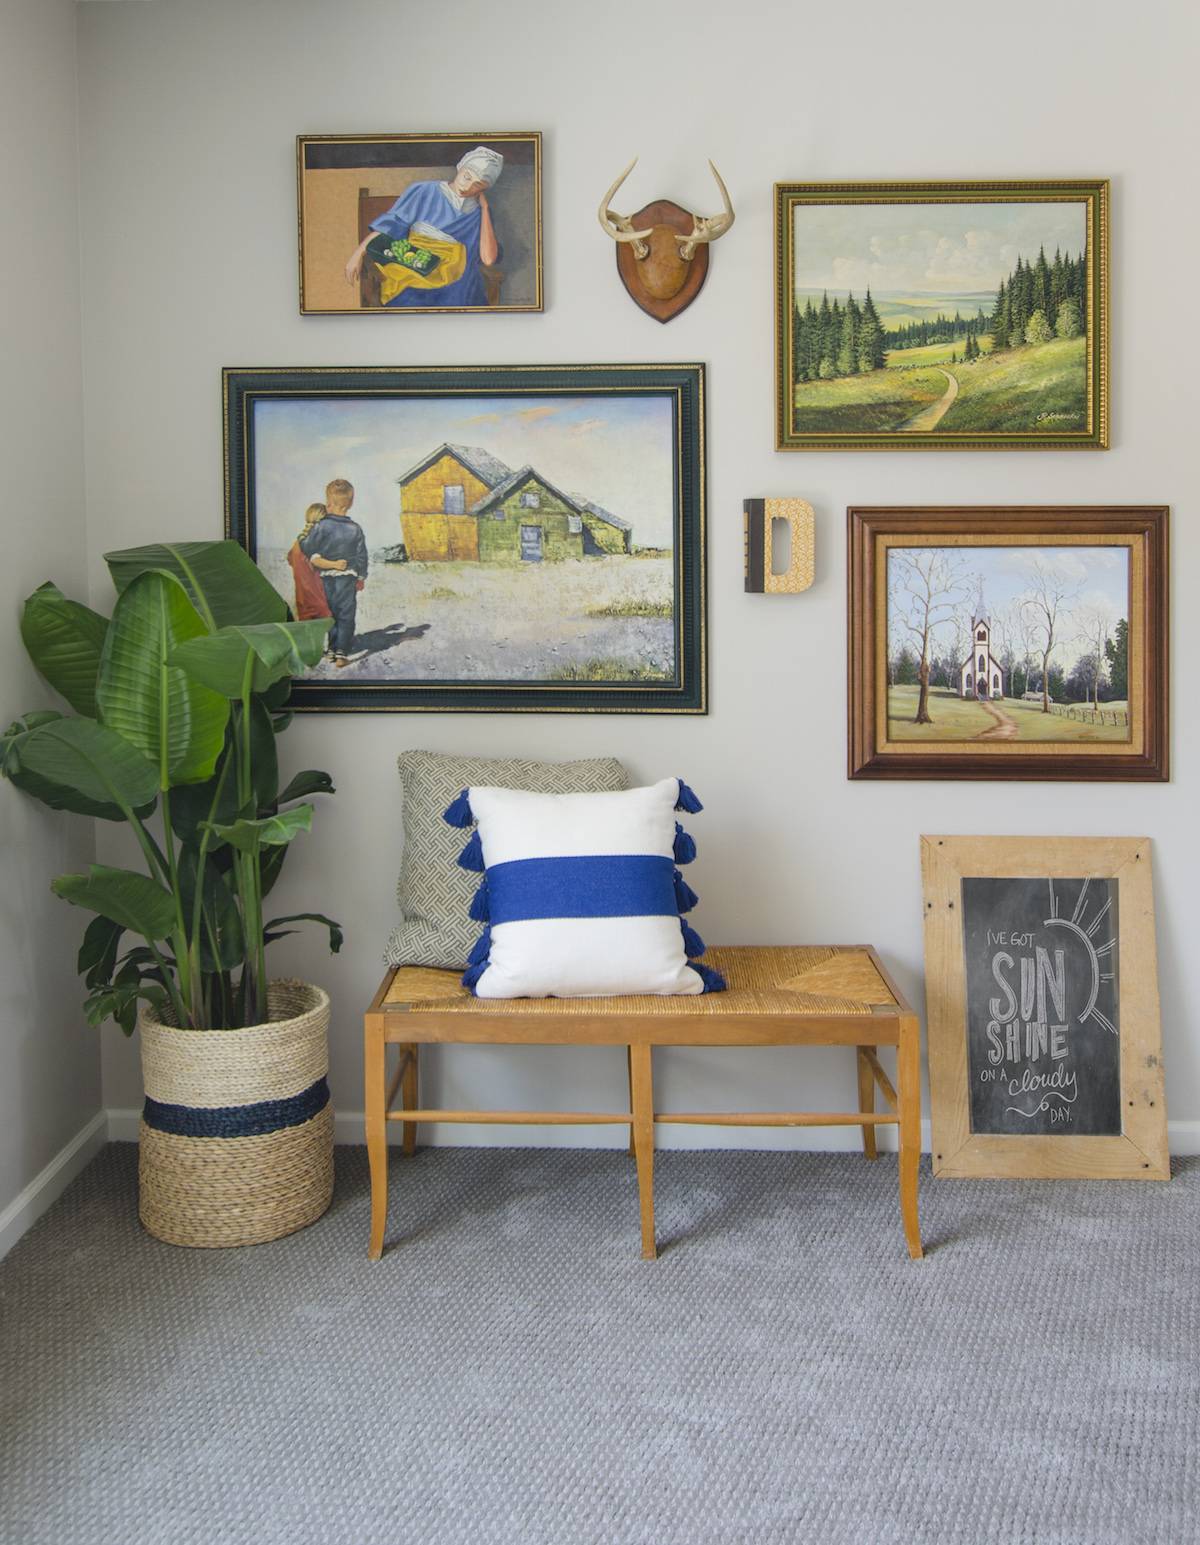
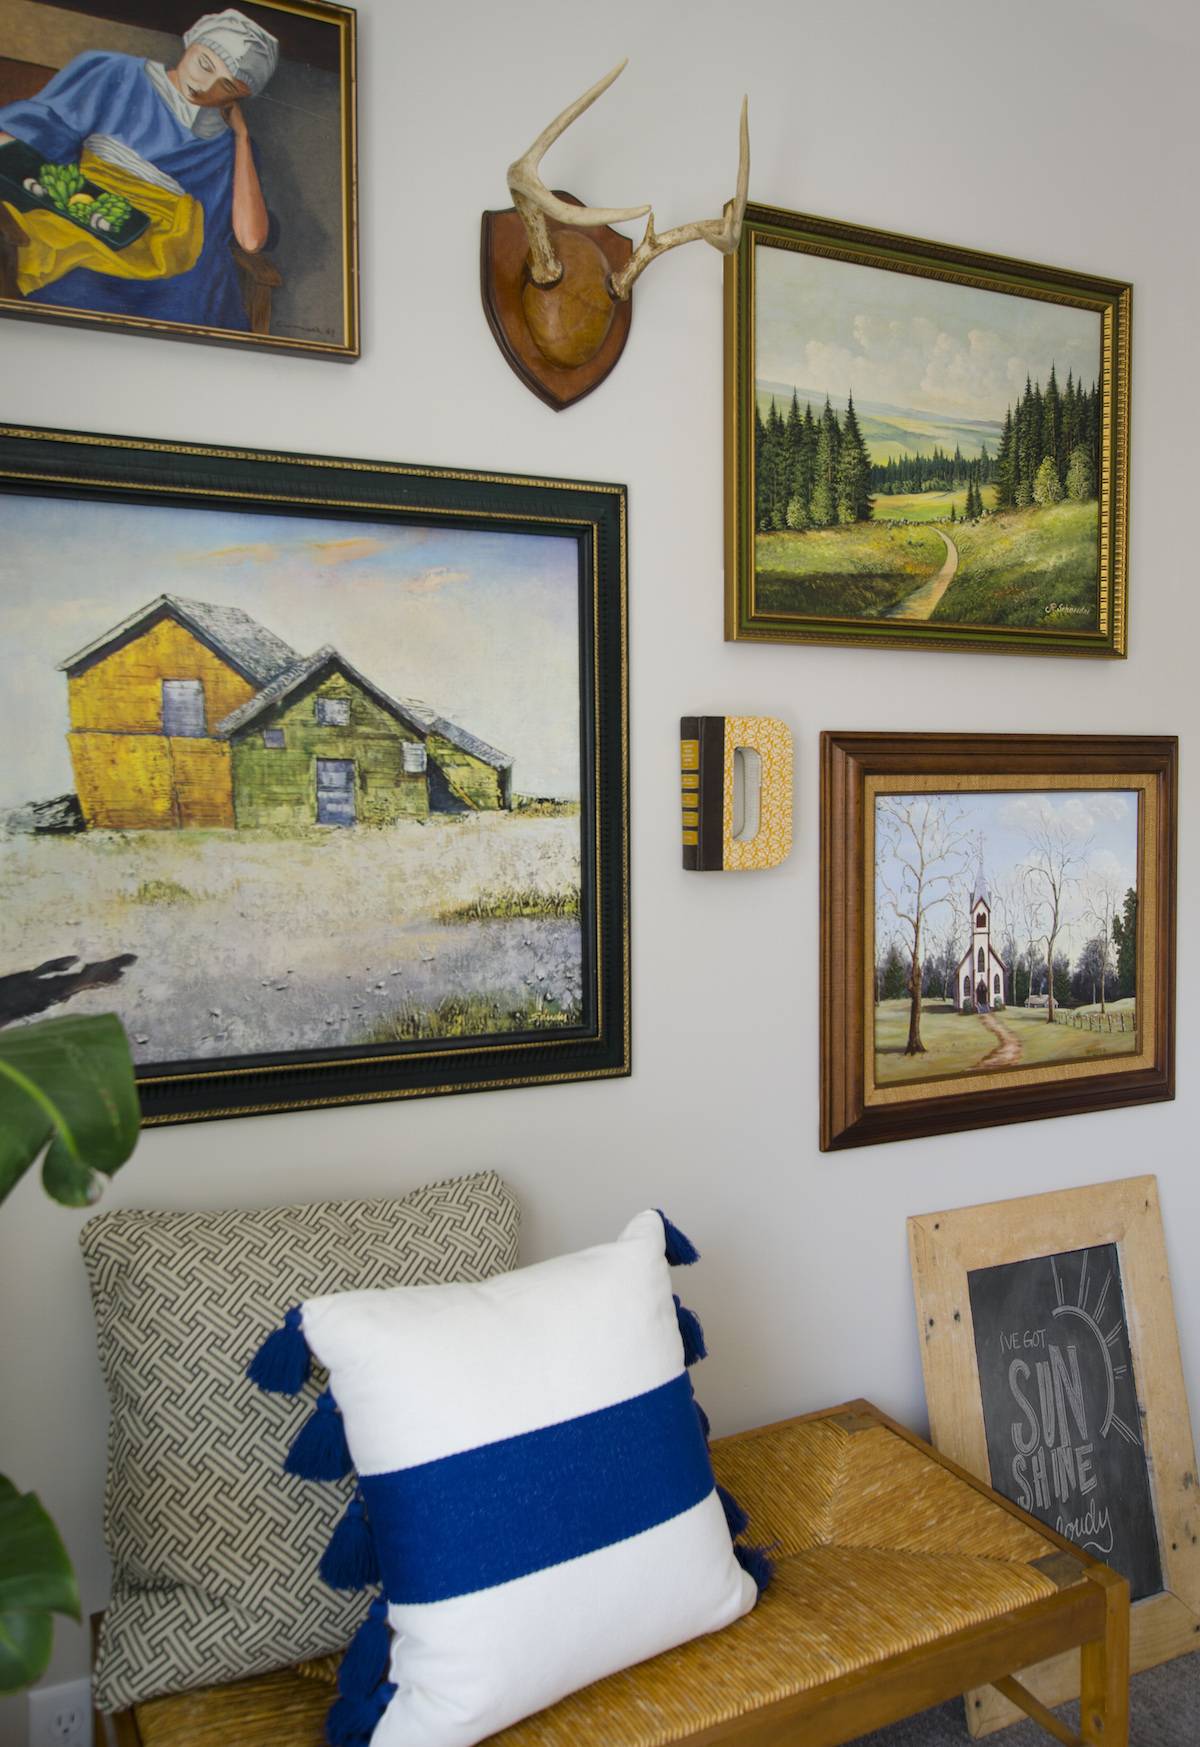
As I stated above, we needed to use some of the art on the opposite side of the fireplace. After editing it all out we didn’t really have enough. My friend plans to find two longer benches or lower console tables and add art all around. To fill in the gaps while the wall is in progress we added in a bench, a plant, and a leaning chalkboard.
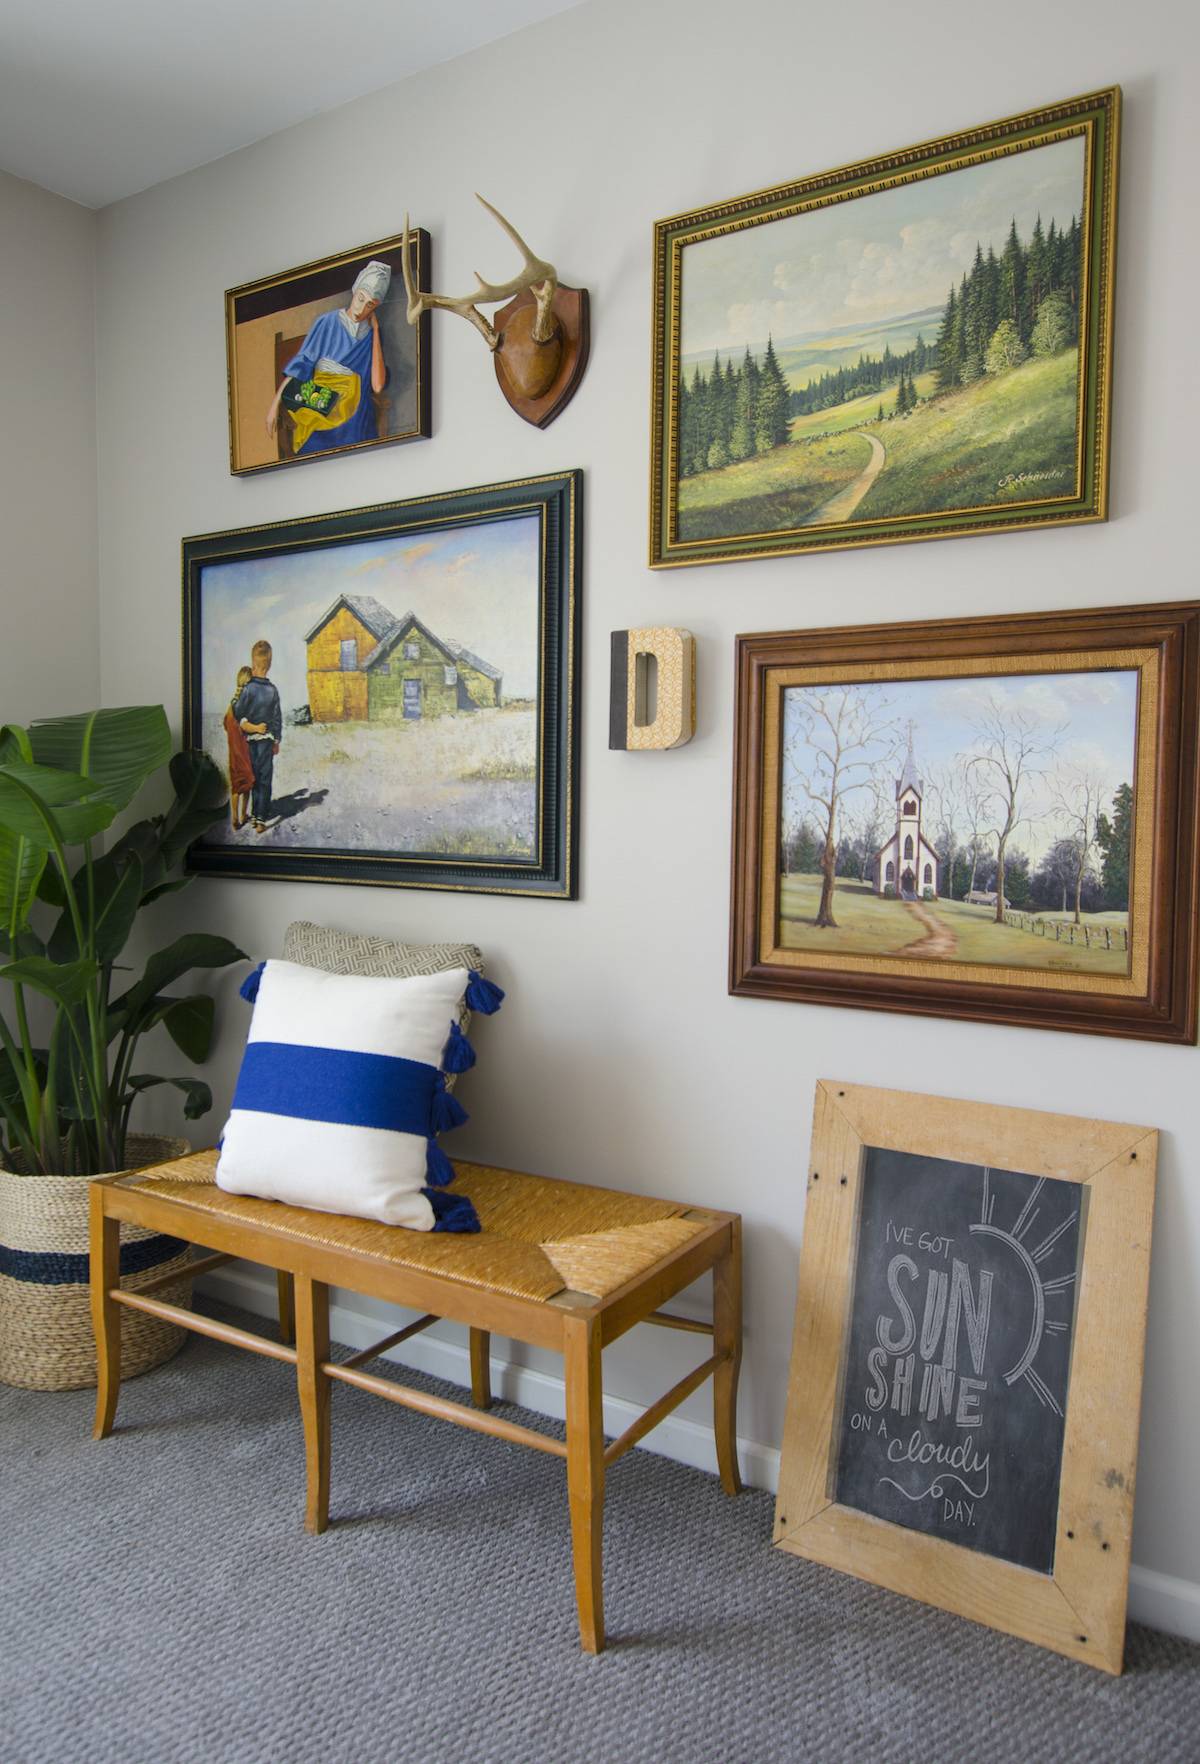
The leaning chalkboard doesn’t fit, but it looks cute and is a good placeholder until my friend finds something taller to hang on the wall.
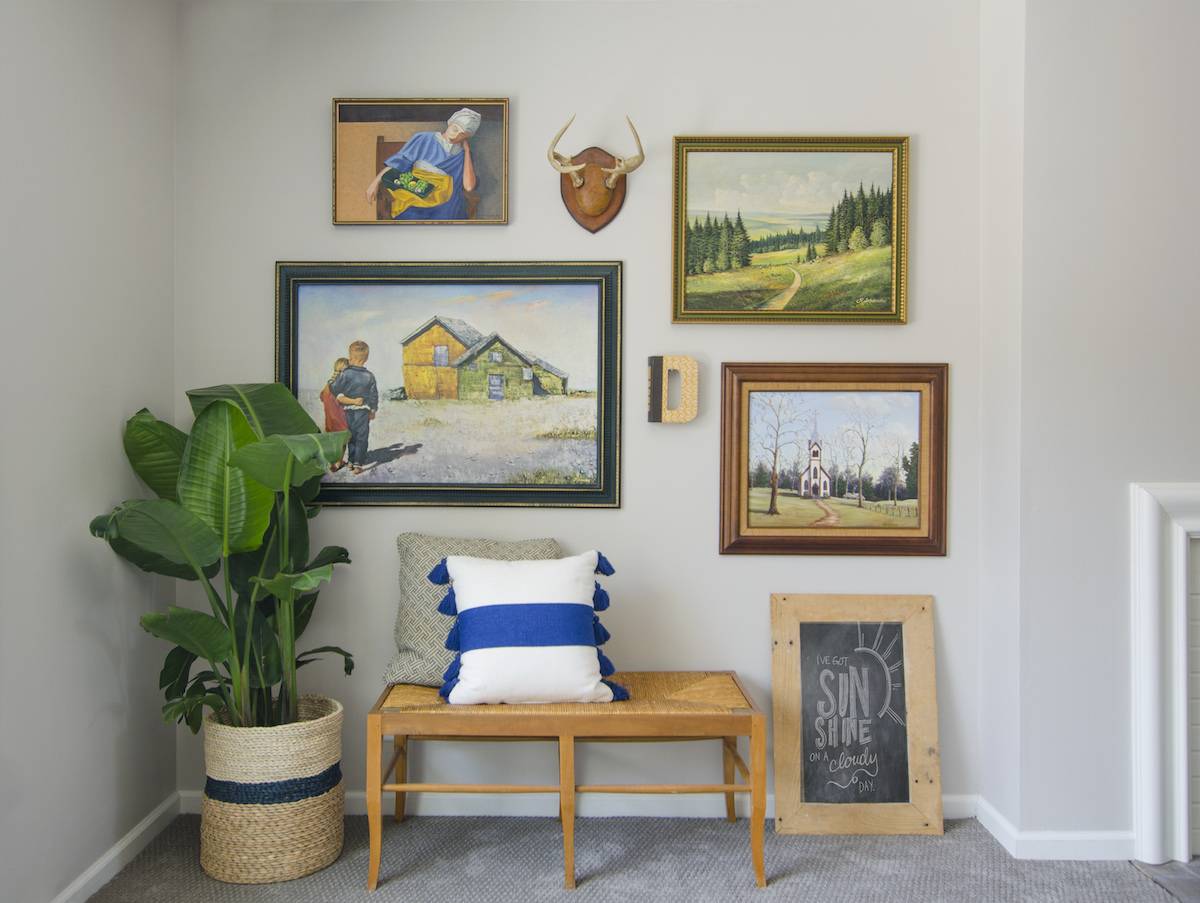
My friend is excited to find something to hang under the ‘D’ to help fill in the narrow space. I’ve found that not having enough art is a common problem for most people who want to create a gallery wall. But it doesn’t mean you can’t start with the few treasures that you already have on hand. If you patiently wait, you will end up with a wall of meaningful, truly collected things … and I promise you will love it so much more!
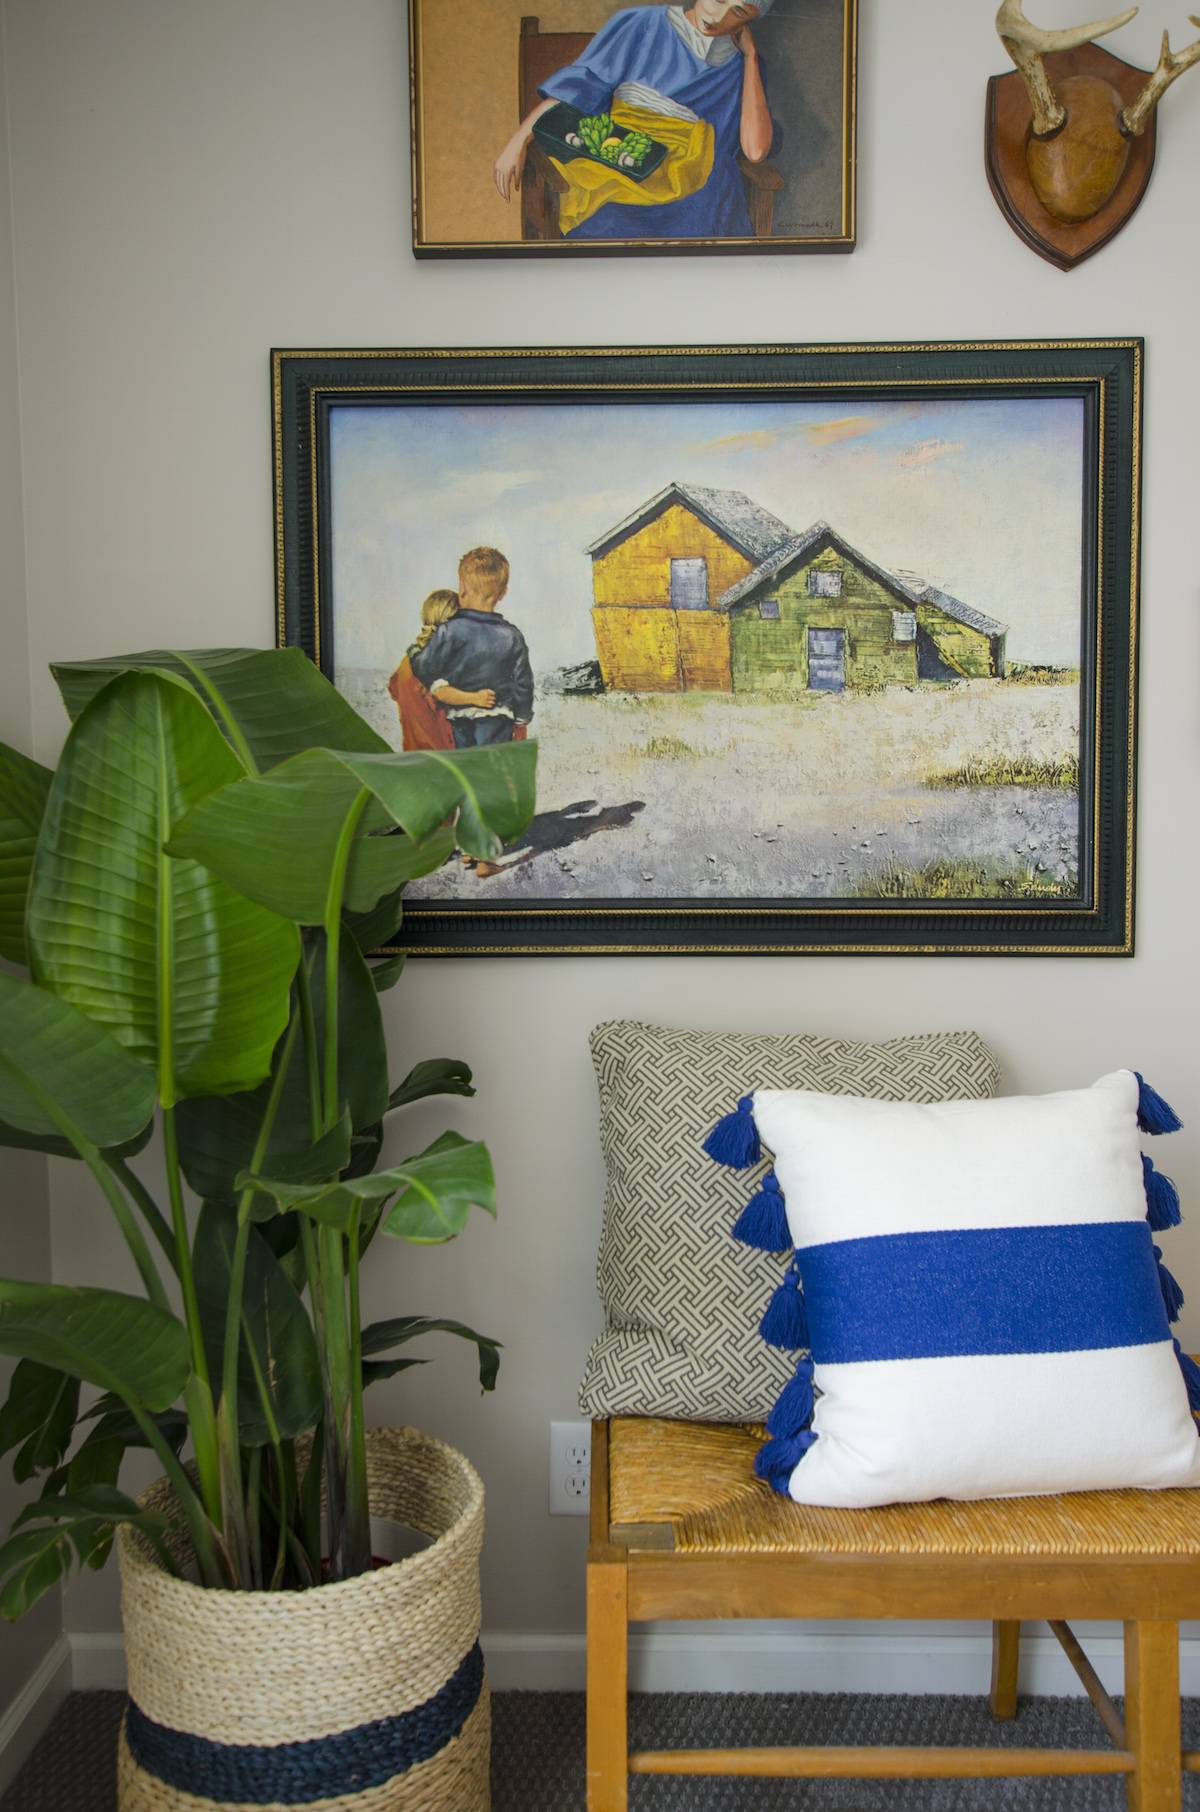
I love how the blue pillow from Target pulls out the blue in the painted lady above.
Now it’s time for you to grab your collection … even if it’s not complete … and start hanging!
