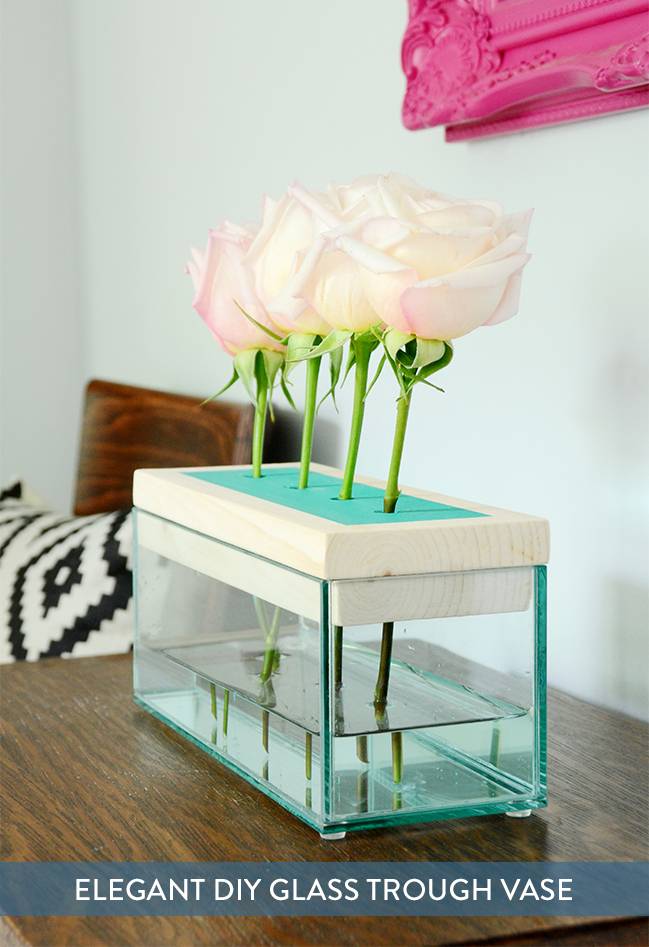
As a borderline obsessive flower lover, I’m always on the hunt for new vases and centerpiece ideas. So when I ran across a beautiful rectangular glass container on Amazon, I knew I had to have it (and make something out of it, of course). Click through to check out the resulting trough-style vase that I came up with.
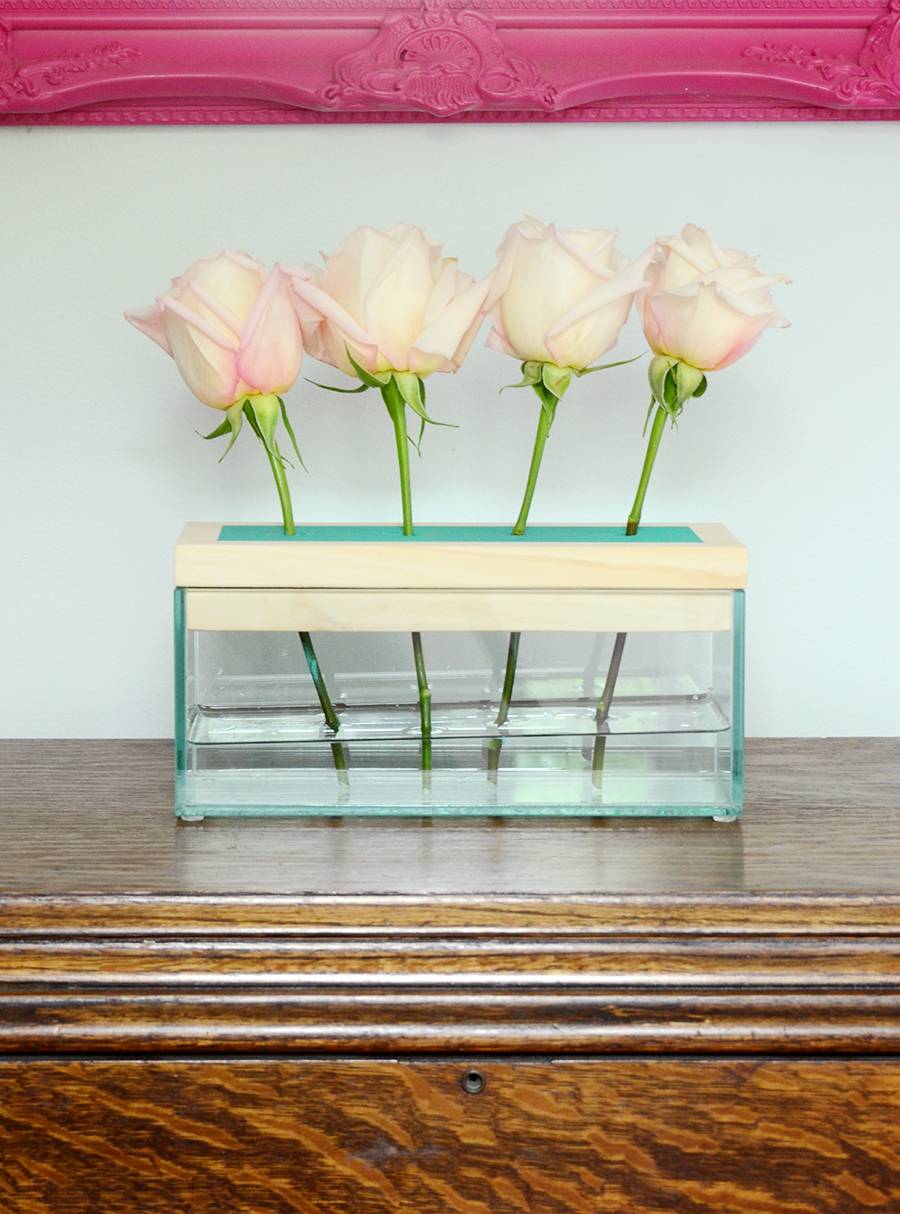
It has space for four stems, and all four draw from the trough of water below. The wooden top is removable, and keeps the stems securely in place. And it’s really quite simple to make! So let’s get started.
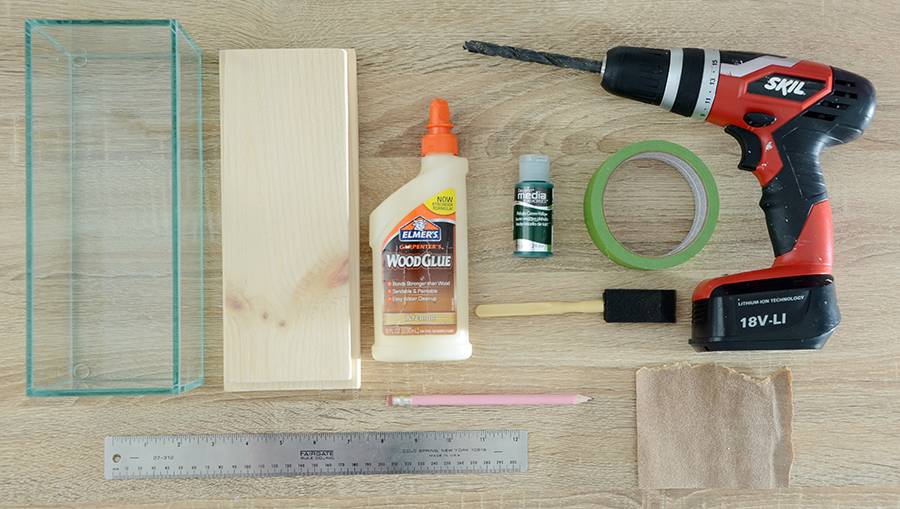
Here’s what you’ll need for your trough vase:
- Rectangular Centerpiece Vase
- Two pieces of wood, size 10×4″ and 9.5 x 3.5″
- Wood glue
- Acrylic craft paint
- Painter’s tape
- Drill with 1/2″ drill bit (or similar)
- Foam brush
- Pencil
- Ruler
- Sandpaper
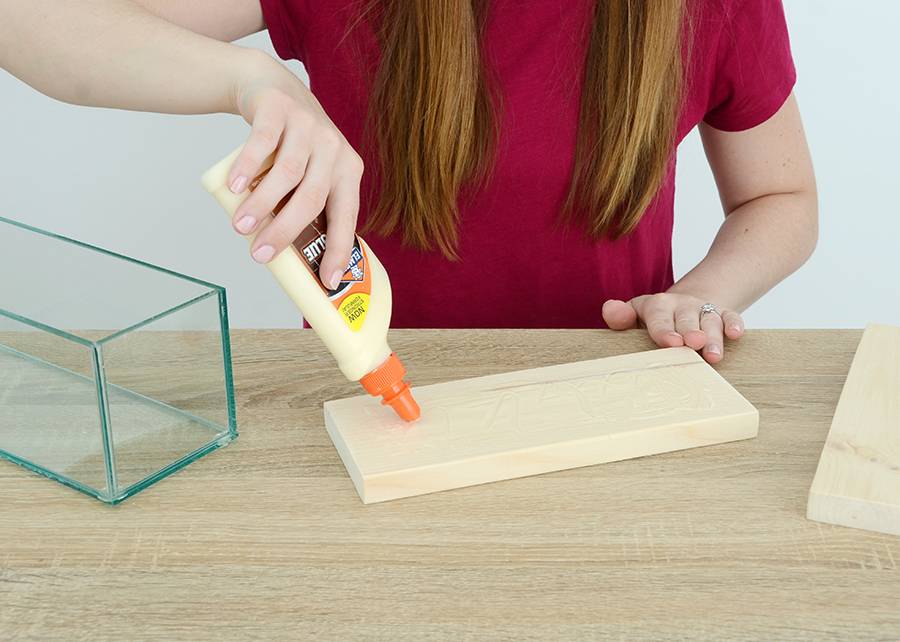
Before you begin, make sure that the larger piece of wood has the exact same measurements as the outside of the glass centerpiece vase and that the smaller piece fits snugly in the interior of the top of the glass vase. If not, sand it down so that it fits nicely. Apply a healthy dose of glue to the larger piece of wood, leaving about a 1/2 inch glue-less around the edges.
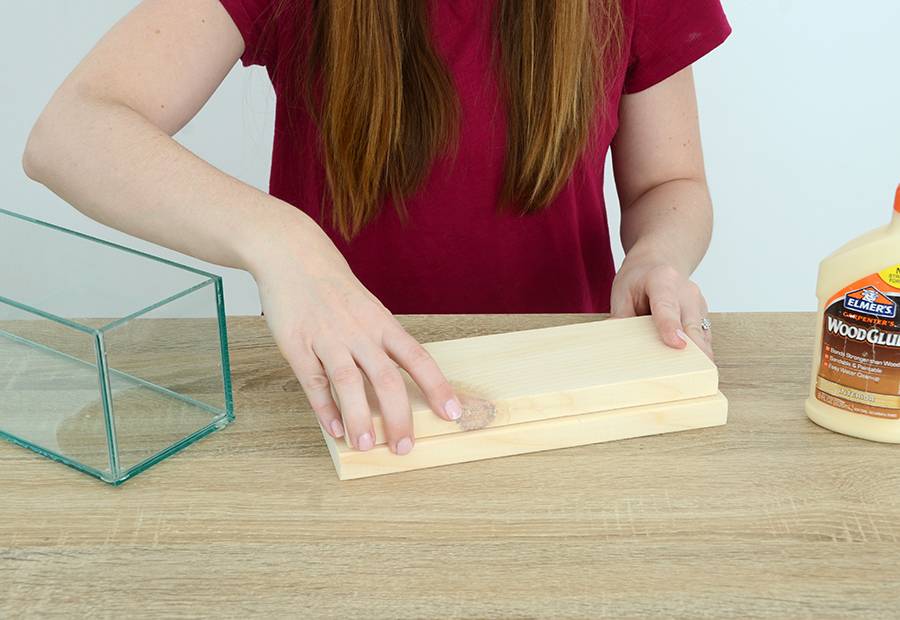
Place the smaller piece of wood on top of the larger one, pressing down firmly. Make sure it is centered. Let it dry for a minute or two until it is quite tacky but not completely adhered.
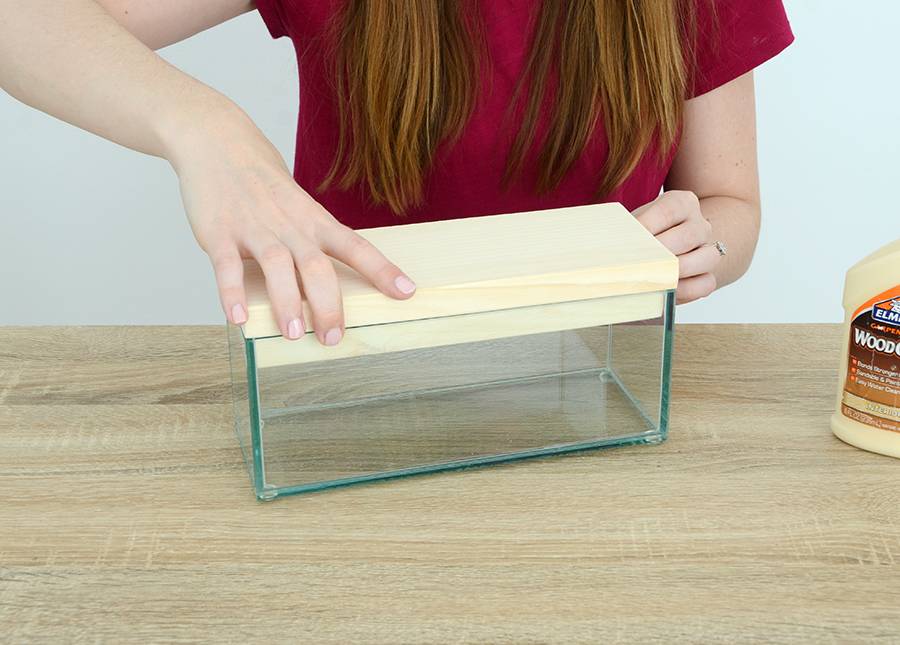
Place it on top of the glass centerpiece vase to make sure that the wood pieces are aligned so that they fit perfectly into the top of the glass vase. Remove it and let it dry for a couple of hours.
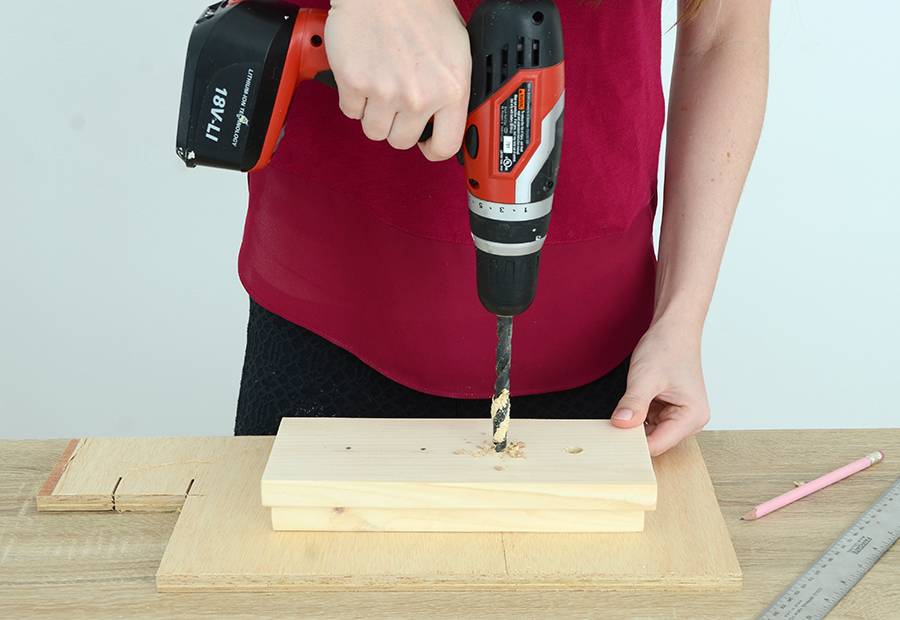
Next, find the horizontal center line of the wood and place four dots along that line as shown above. They should be evenly spaced, with two inches between each dot. Drill a hole down through each mark. Don’t forget to place a piece of scrap wood underneath. Sand any rough edges.
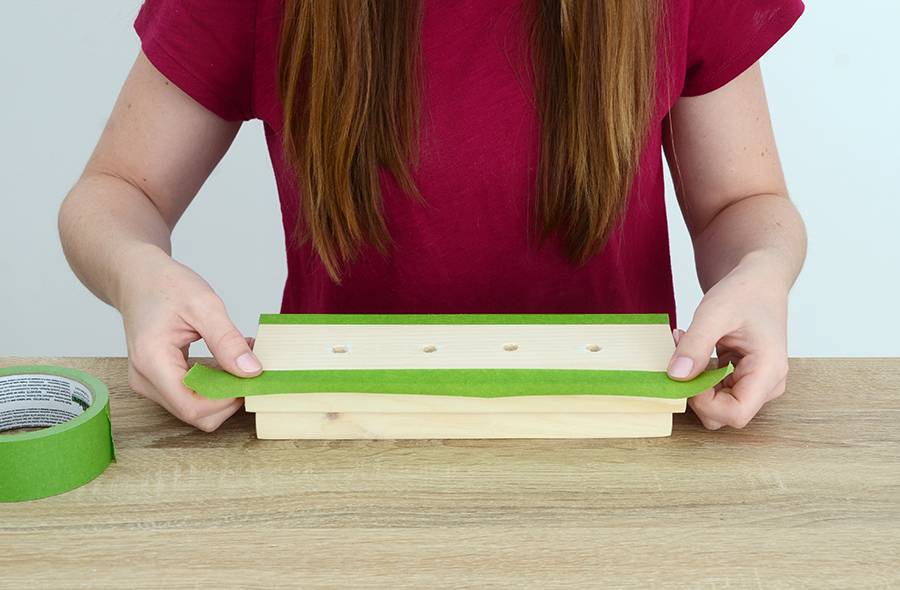
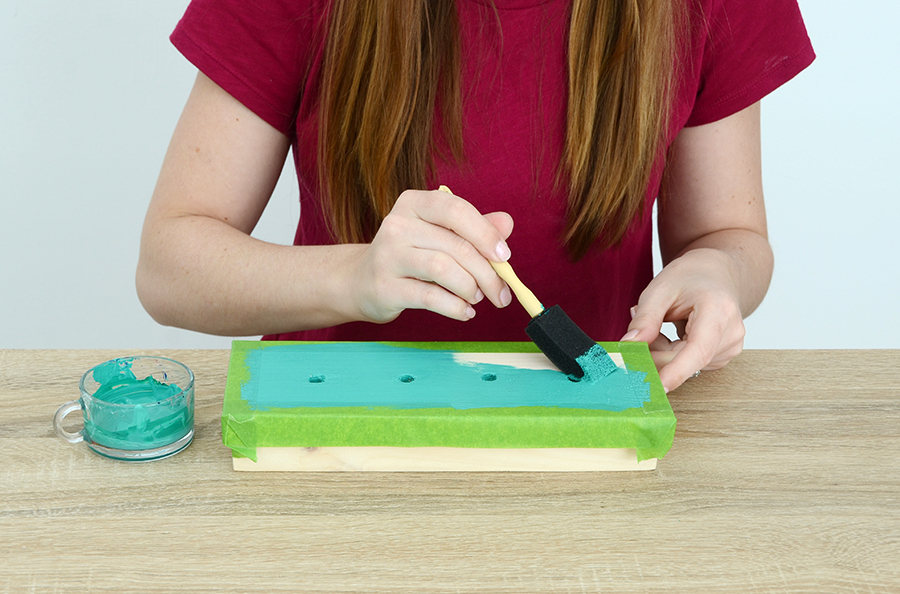
Mask off a 3/4 inch perimeter around the top using painter’s tape. Press firmly around the edges so that they form a strong bond to the wood.
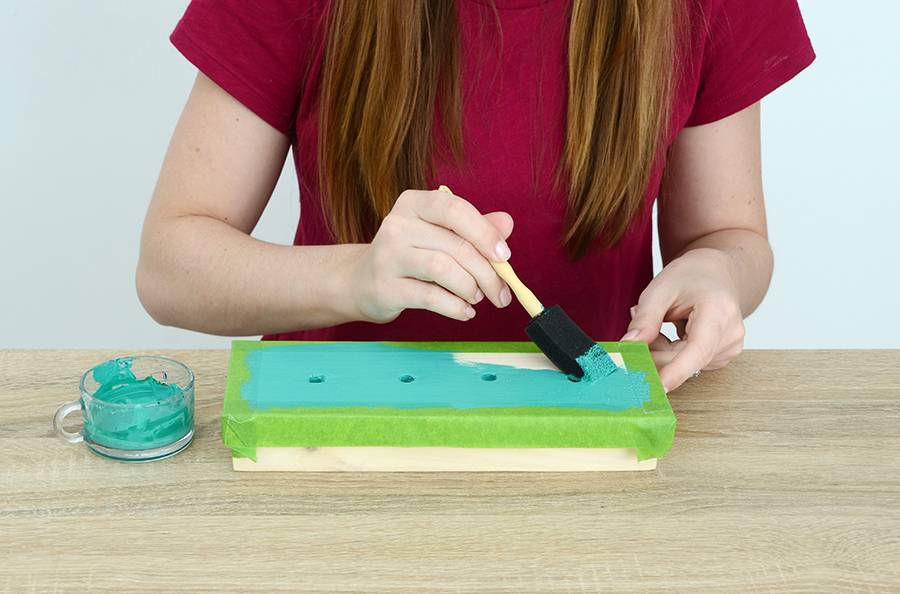
Paint inside this taped-off rectangle with acrylic craft paint in the color of your choice.
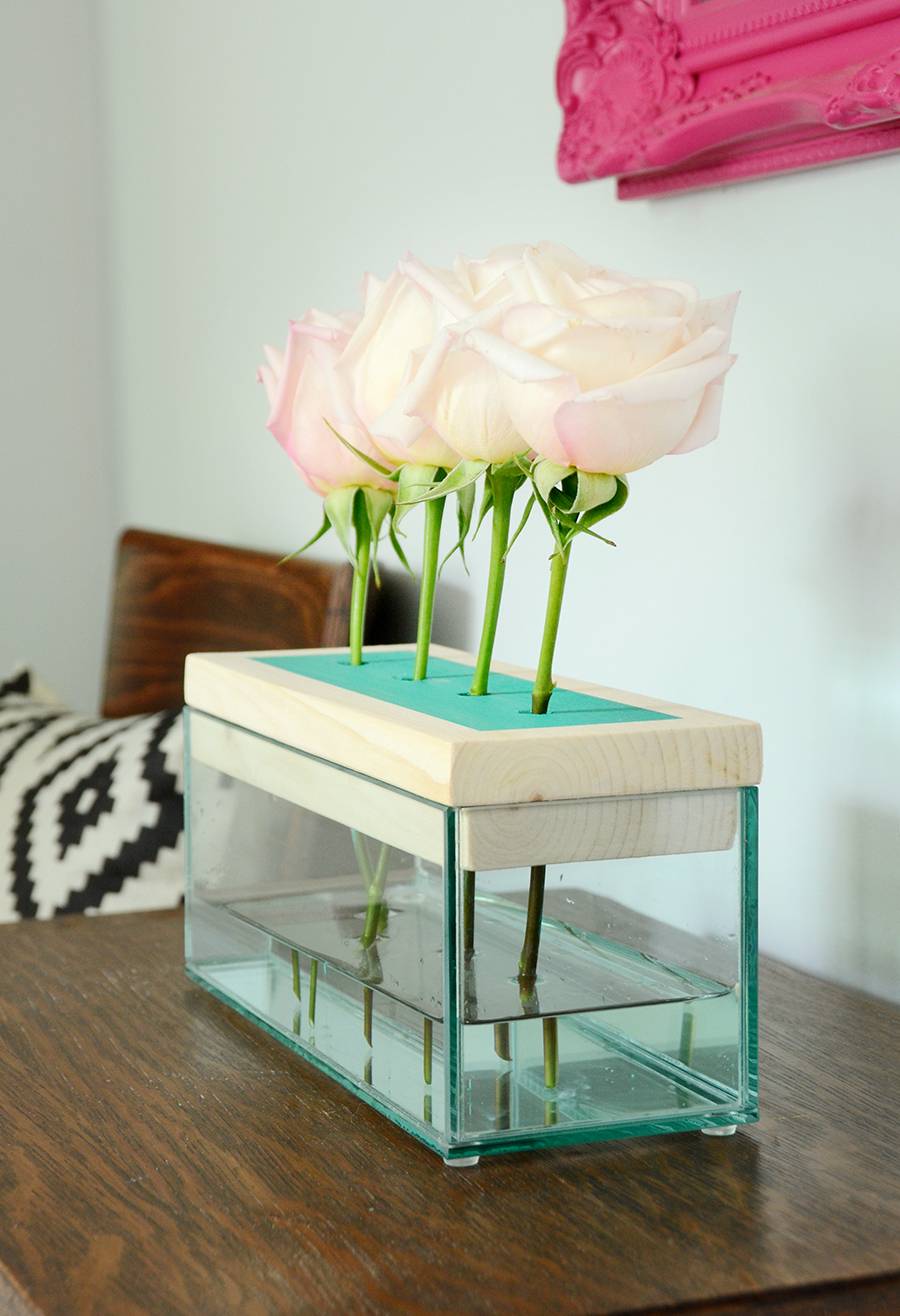
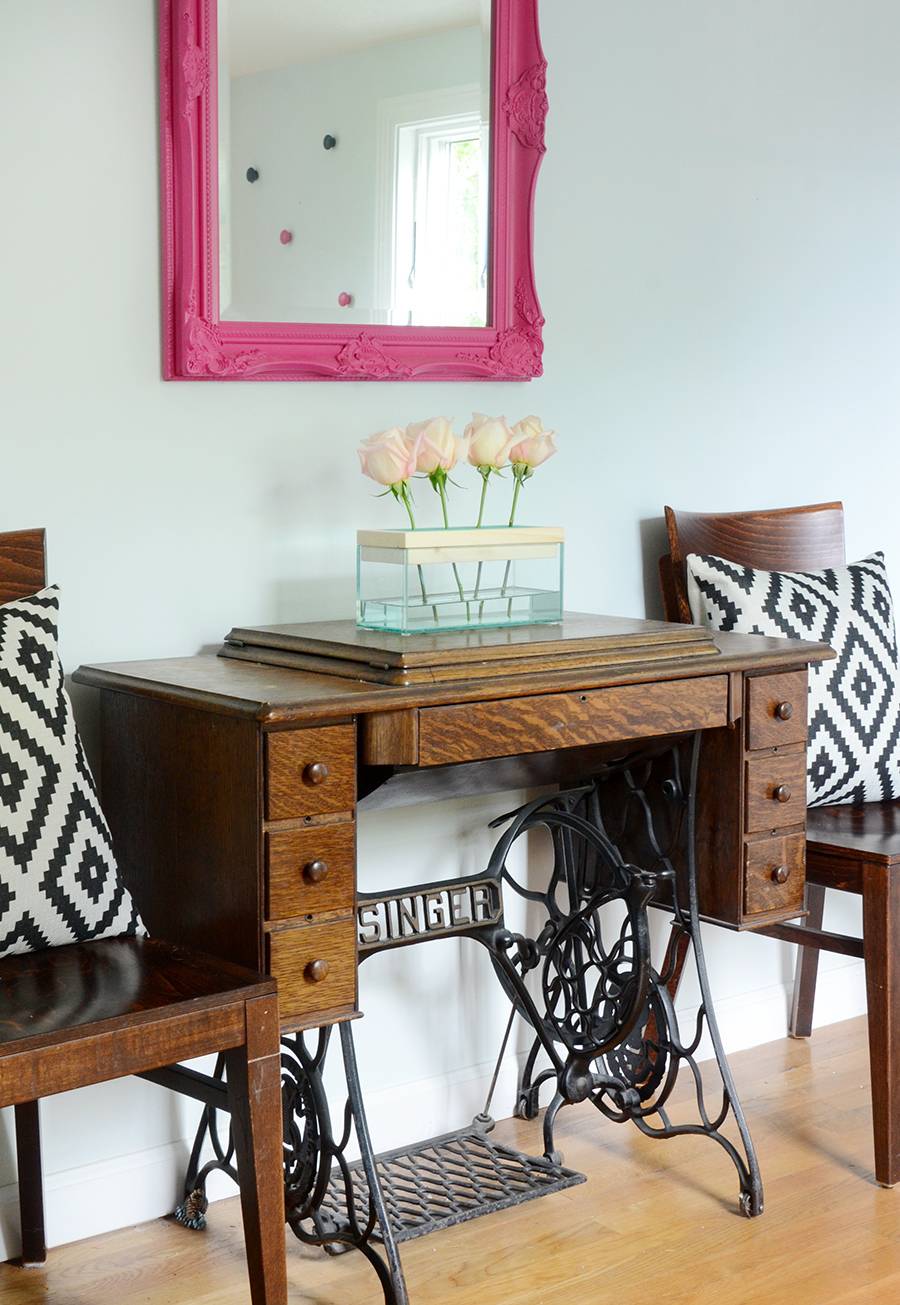
Remove the tape, let the paint dry, and you’re finished! Fill the glass vase with water and insert four stems for a unique centerpiece for your dinner table, kitchen island or accent table.
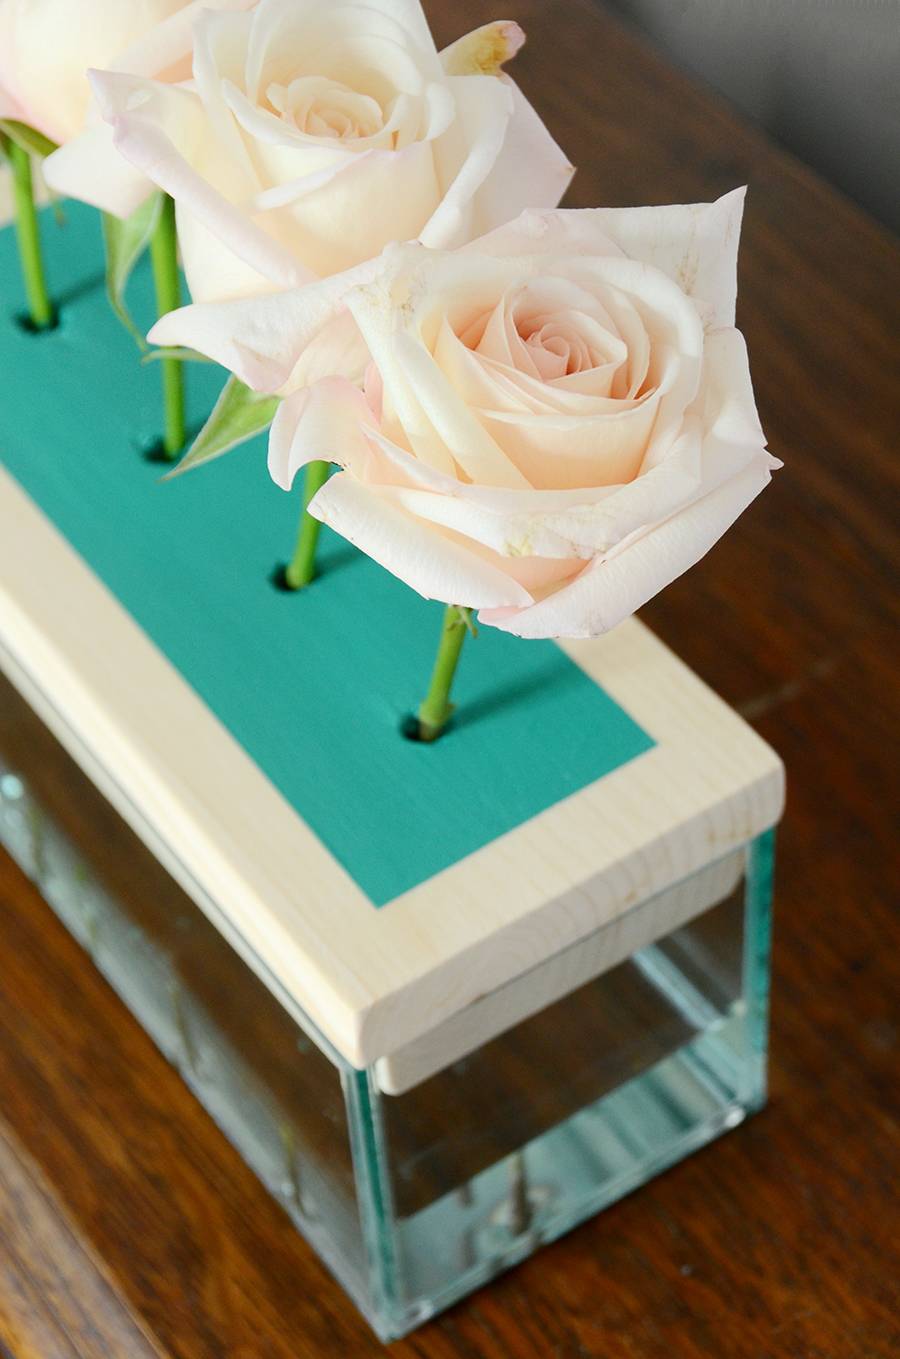
This is sure to be a conversation starter, thanks to its unusual design and contemporary vibe. You can change the look of it by trying different types of flowers… calla lilies would lend a modern feel, while daisies would give it a more rustic sensibility.
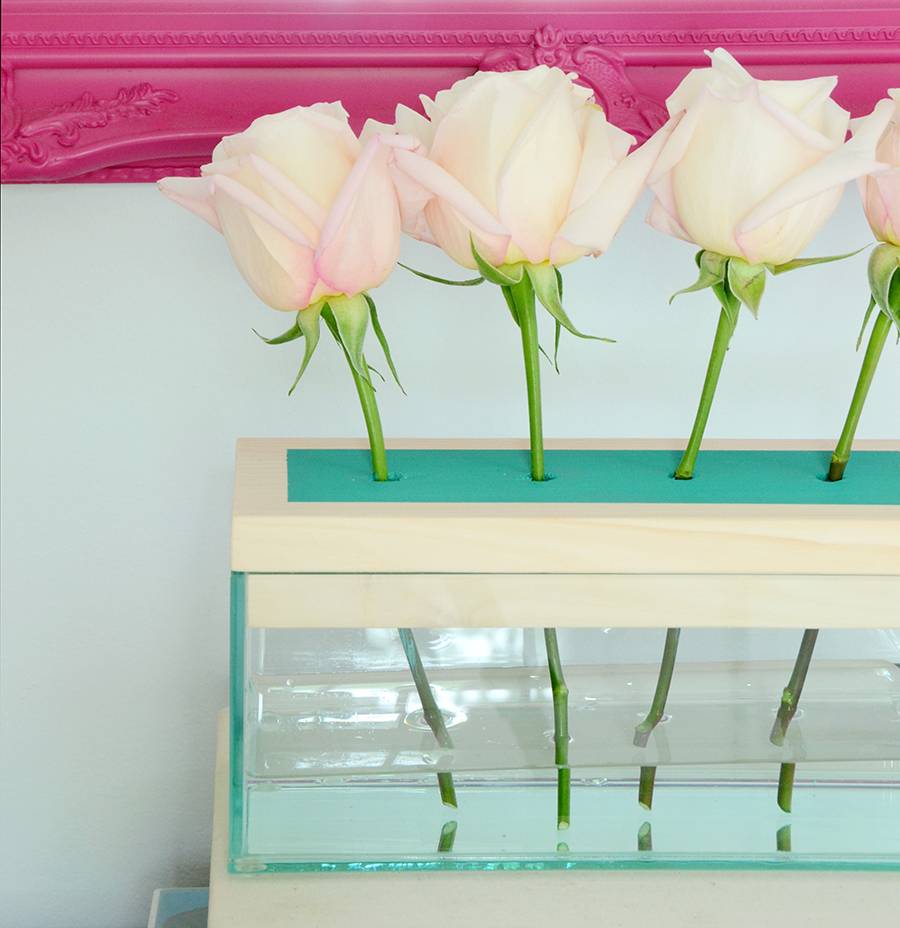
You might also consider a different color or even a different finish for the top part – a dark stain would be beautiful, or a metallic rose gold would look super glam.
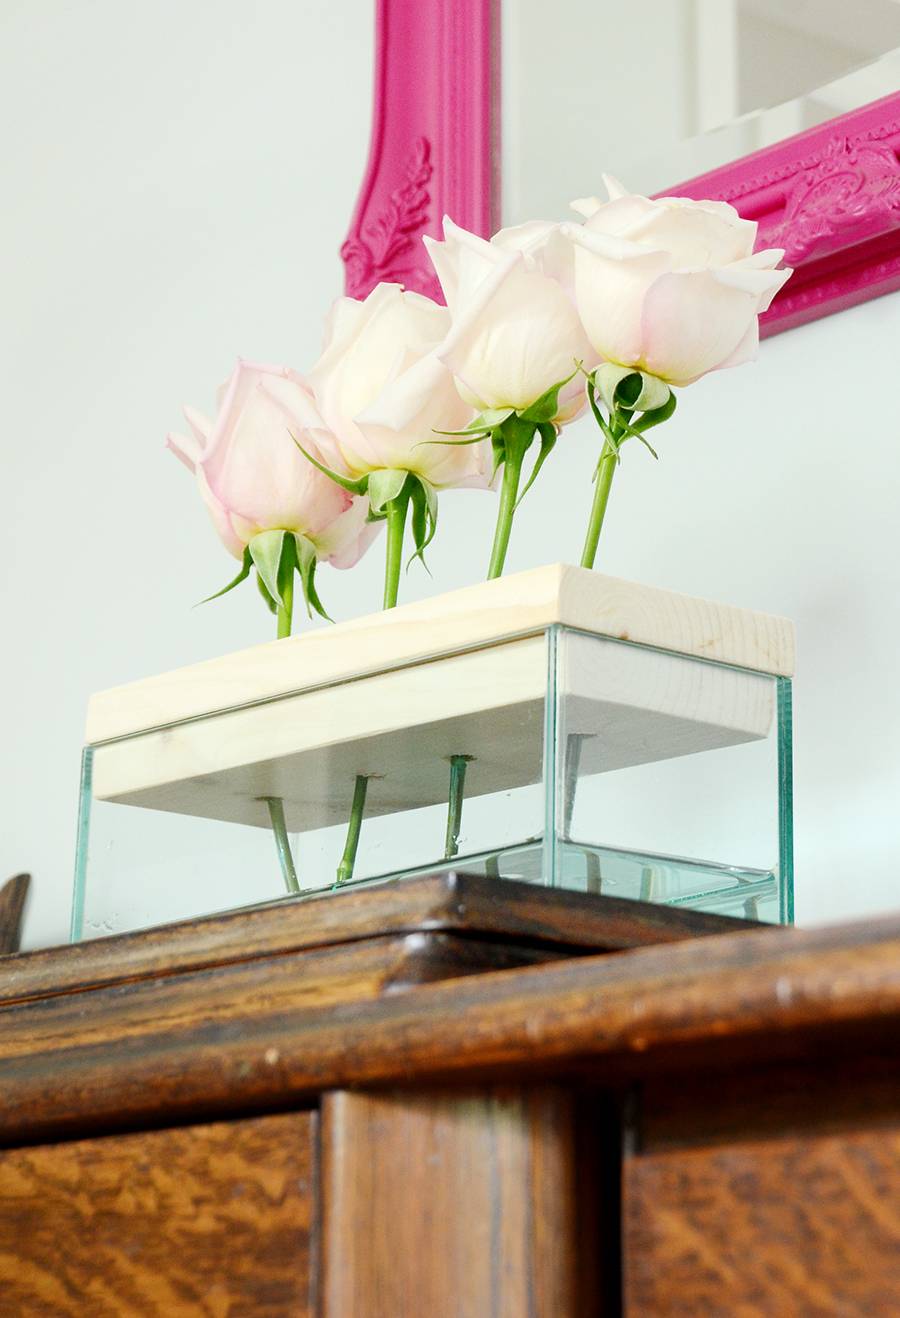
While this project looks like it would be difficult to complete, it’s actually surprisingly simple and quick to finish. You should be able to do it in an hour or two (not including drying time), depending on how quickly you work. Feel free to post questions or links to your own versions in the comments section below!
That’s such a pretty idea. I think I will make one for my girlfriend