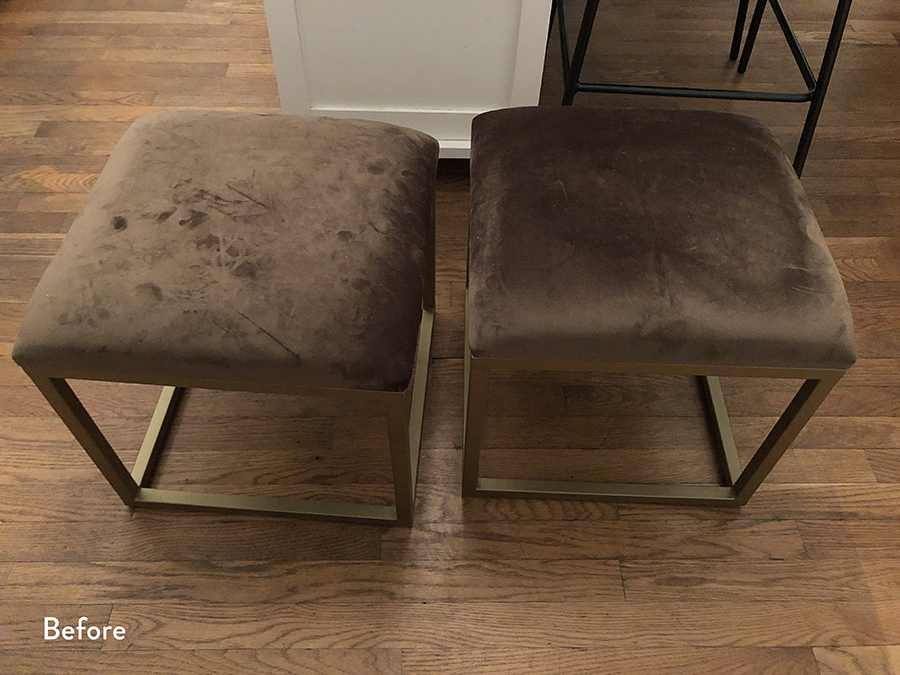
I’ve had these ottomans for a while, but I’ve never quite loved them. I recently updated my bedroom, and realized that they would be perfect at the foot of the bed… if only they were a different color. So I painted and reupholstered them and now they’re perfect! Click through to check out the whole process.
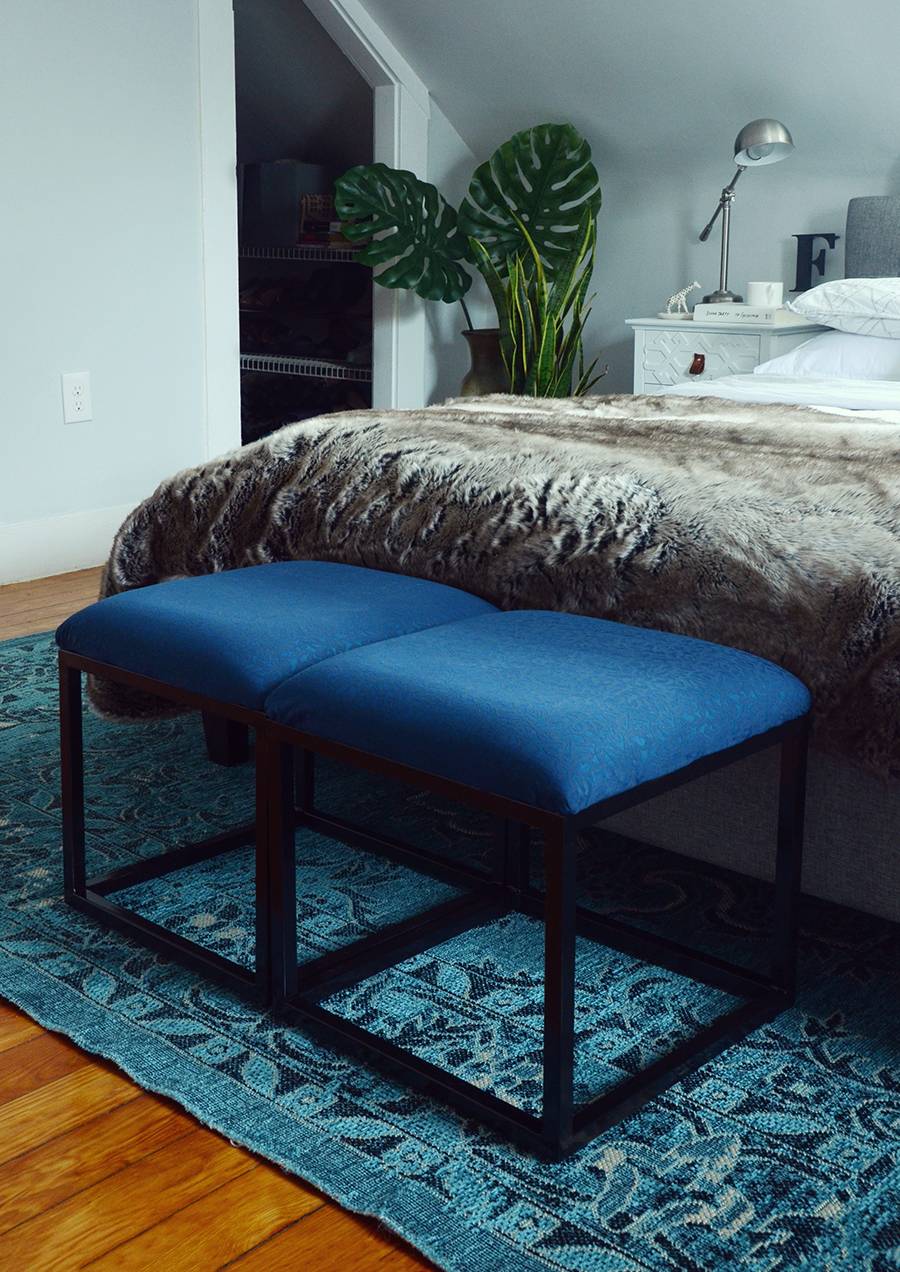
The new ottomans fit perfectly into the color scheme in the bedroom, and they feel a bit more contemporary. Here’s how to do it.
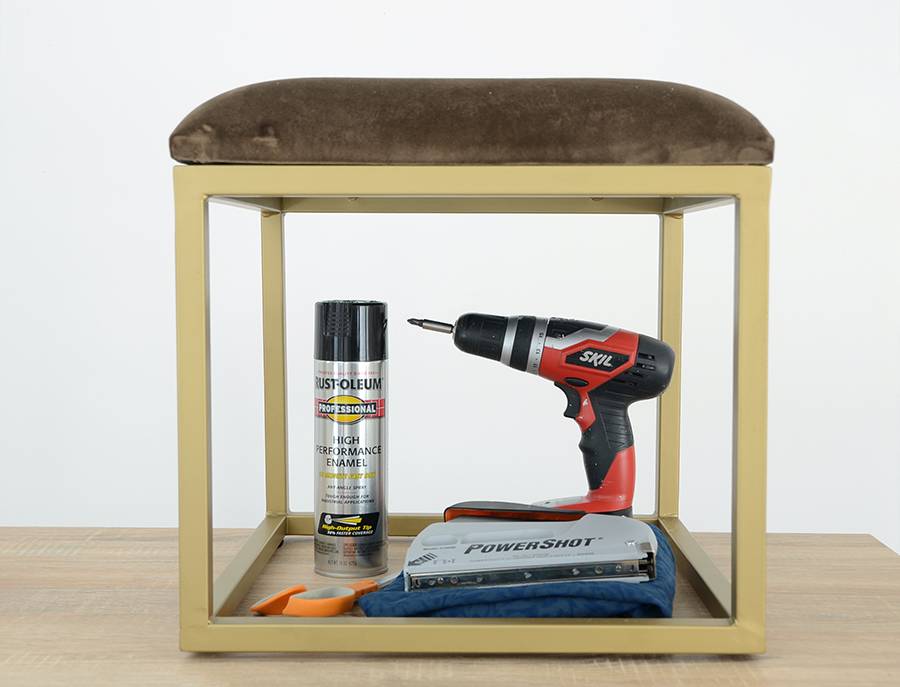
Materials
- Ottoman with a removable upholstered seat
- Black spray paint
- Fabric
- Staple gun
- Scissors
- Electric drill (or a screwdriver)
Step
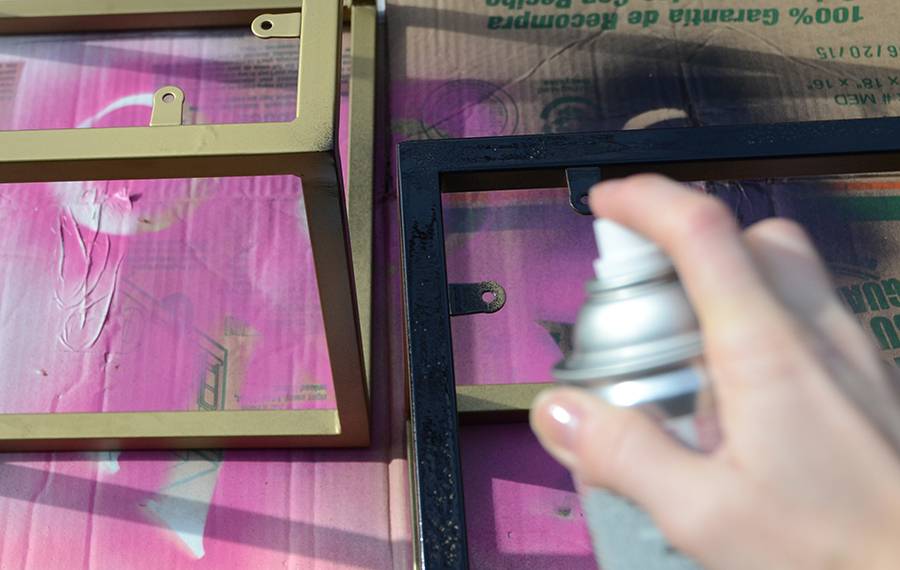
Begin by removing the top of your ottoman with an electric drill or screwdriver, and spray paint the base black. Do a couple of thin coats rather than one thick one.
Step
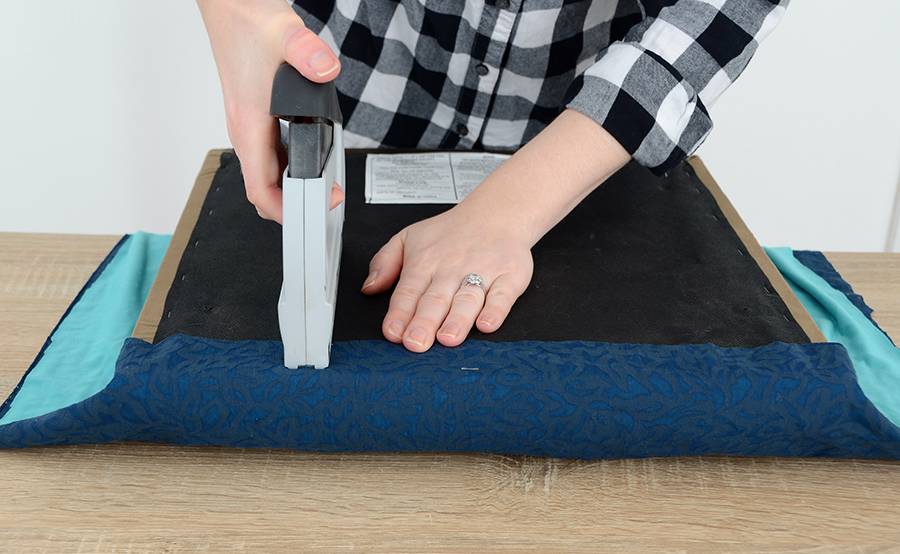
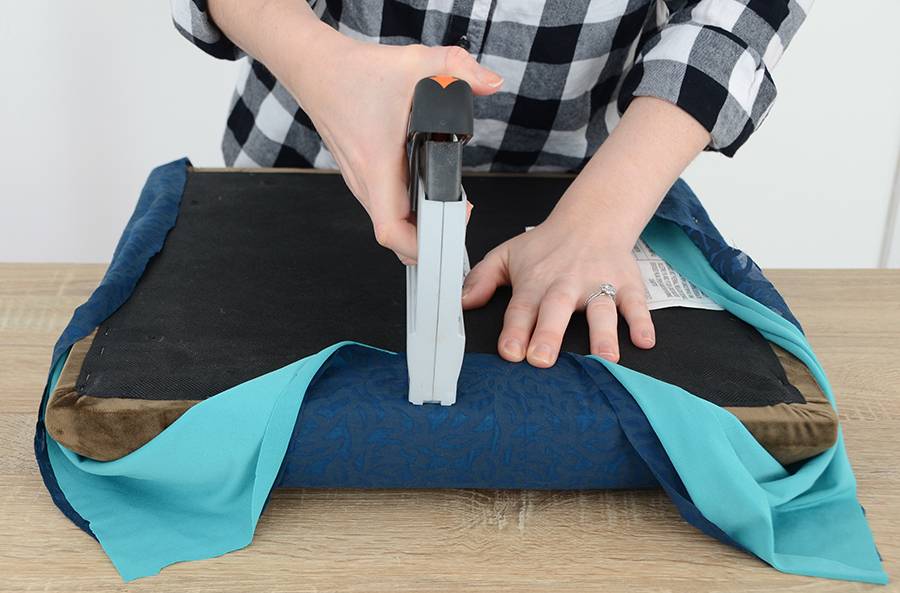
While the base is drying, get started on your upholstered cushion. Cut a piece of fabric that is about 2 inches wider than the cushion on all sides when you pull it up and over as shown above. I used two pieces of fabric because the top one was see-through and I liked the look of it layered over the turquoise color… but the process is the same regardless of whether you have one or two layers of fabric.
Starting in the center of one side, staple about a half inch from the edge. Pull the fabric taut (but not tight) and staple again about three inches over from the first. You may need to use a hammer to get the staples to lay flat. Repeat the process about 3 inches to the other side of the first staple as well.
Turn the cushion 180 degrees, repeating the process on the opposite side. Again, pull the fabric straight across and taut.
Step
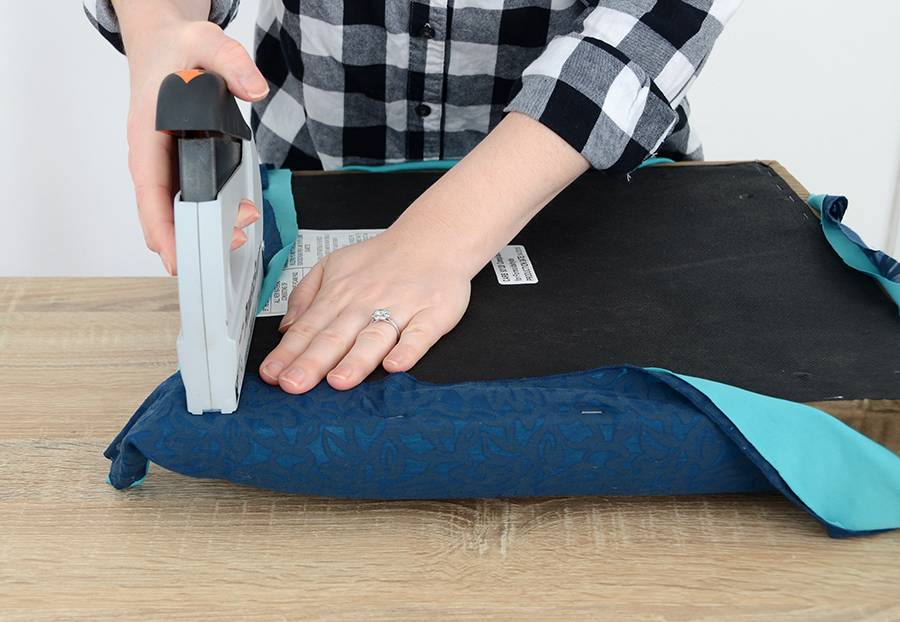
Next, turn the cushion 90 degrees and staple that side in the same manner. Repeat on the last side.
Step
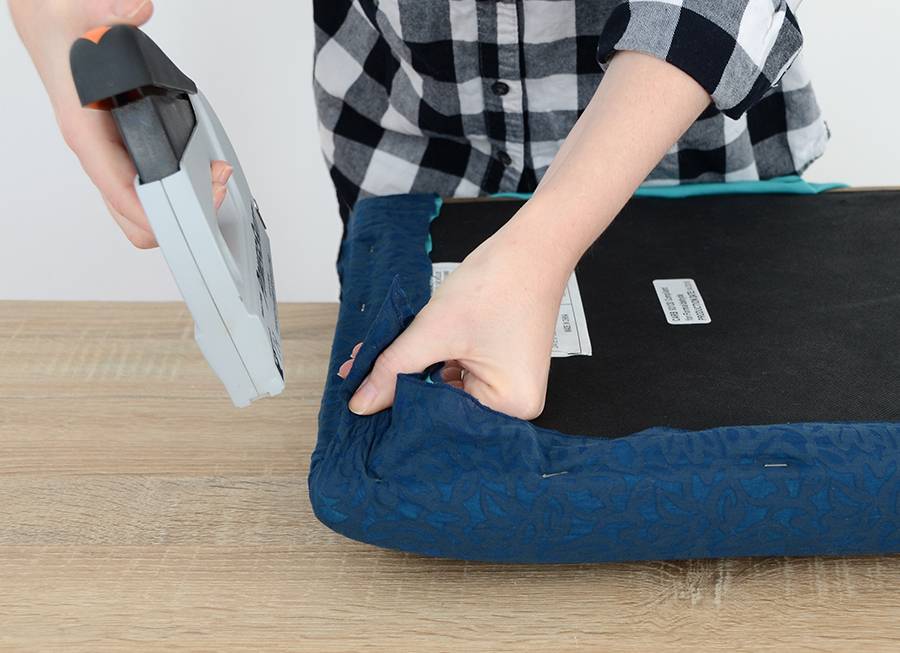
For the corners, staple parallel to the edge as far over as you can go, as shown above. Then flip the flap of fabric over and do the same on the spot perpendicular to that one.
Step
Pull the flap quite tight, twisting it a bit and staple it down in a couple of spots (stay near the edge of the cushion though). Repeat the process on the remaining three corners. Trim off the excess fabric all the way around.
Step
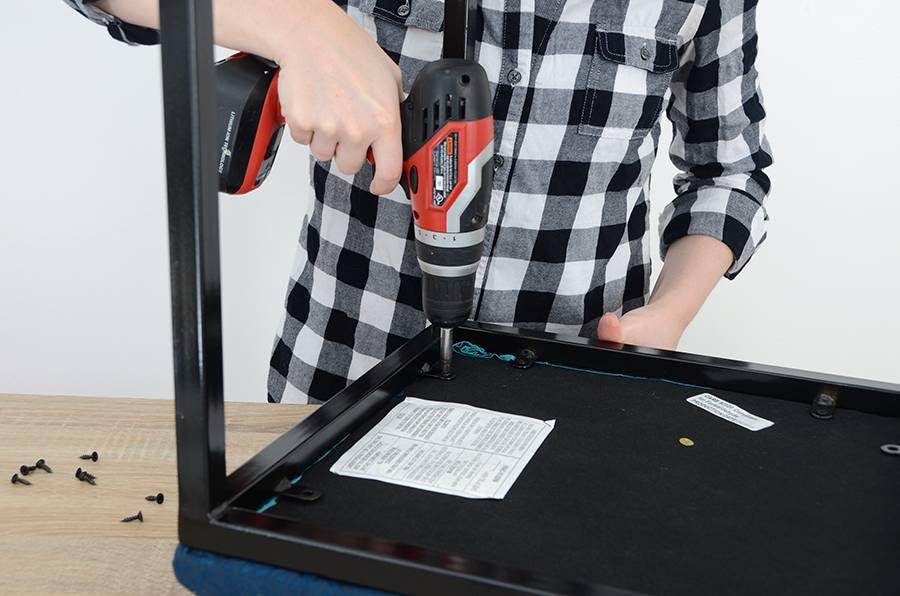
Re-attach the base to the cushion with your drill, and your ottoman makeover is complete!

I did the same process for the other ottoman, and placed the matching set at the end of my bed.
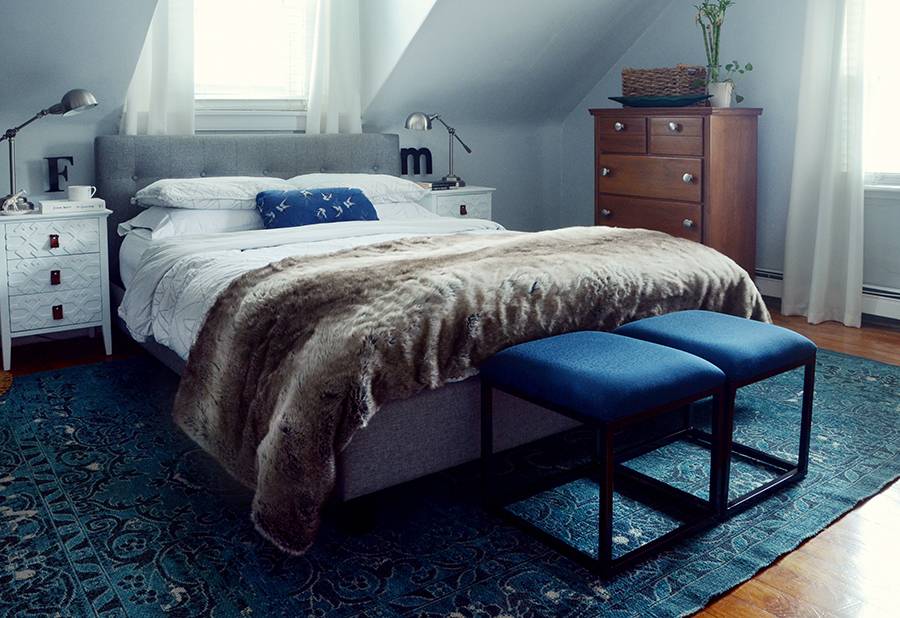
They’re really quite useful – I often grab one to sit on when I’m picking out the day’s outfit, and sometimes I’ll use one to stand on if I need to reach something up high.
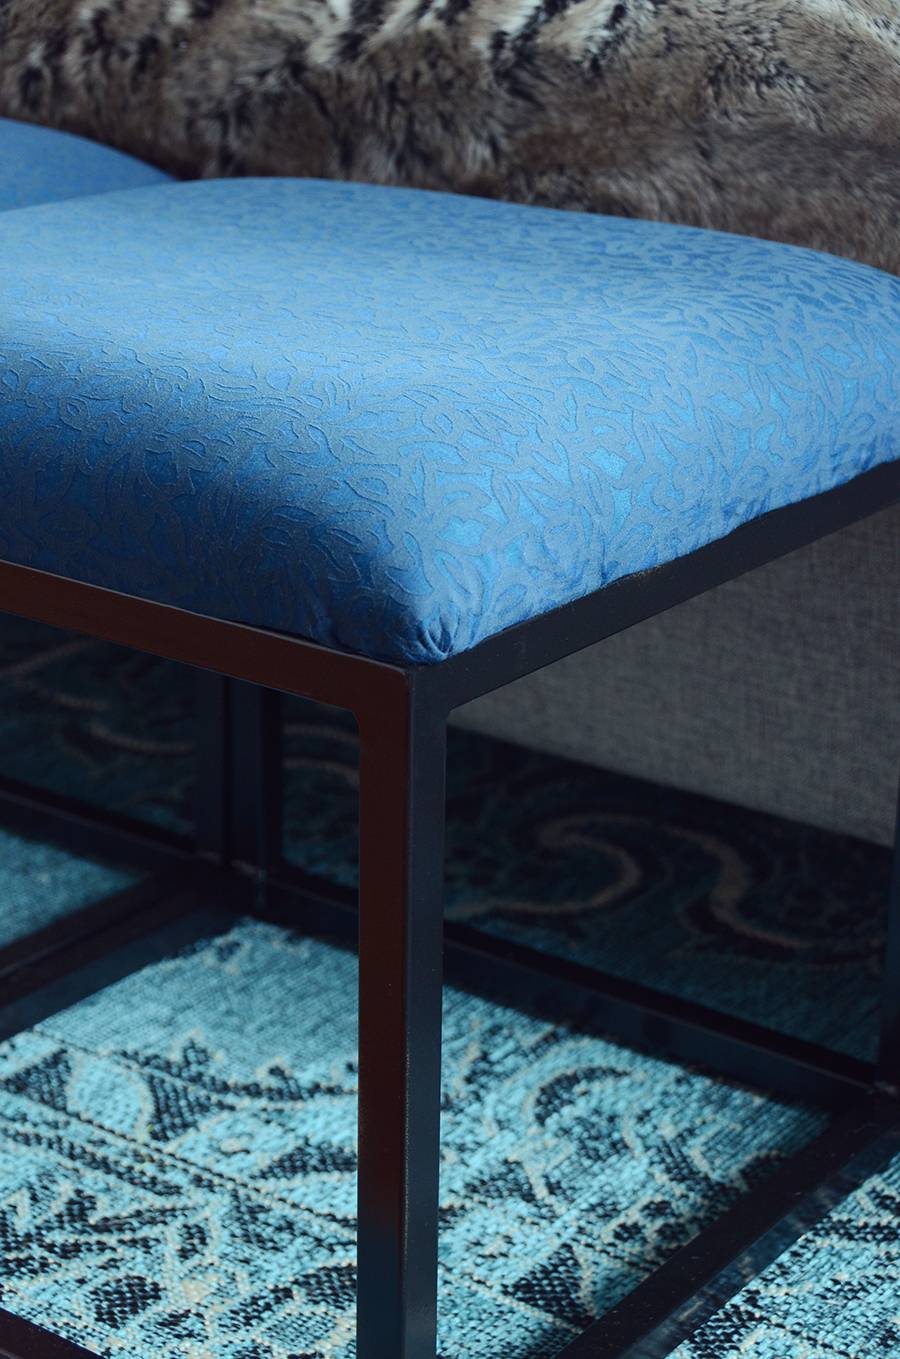
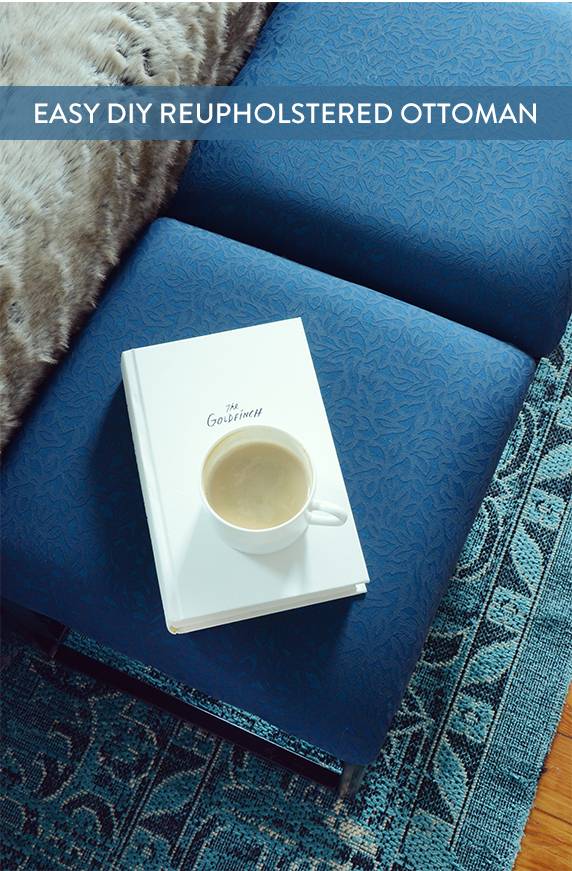
This basic reupholstering technique works quite well, and it can be applied to many different situations… it would be great for upholstered dining chairs as well. You can combine any paint color with any fabric, so there are infinite combinations. And the whole process only took about an hour!
Thanks for using our PowerShot staple gun in this project. It turned out great! #MadeWithArrow