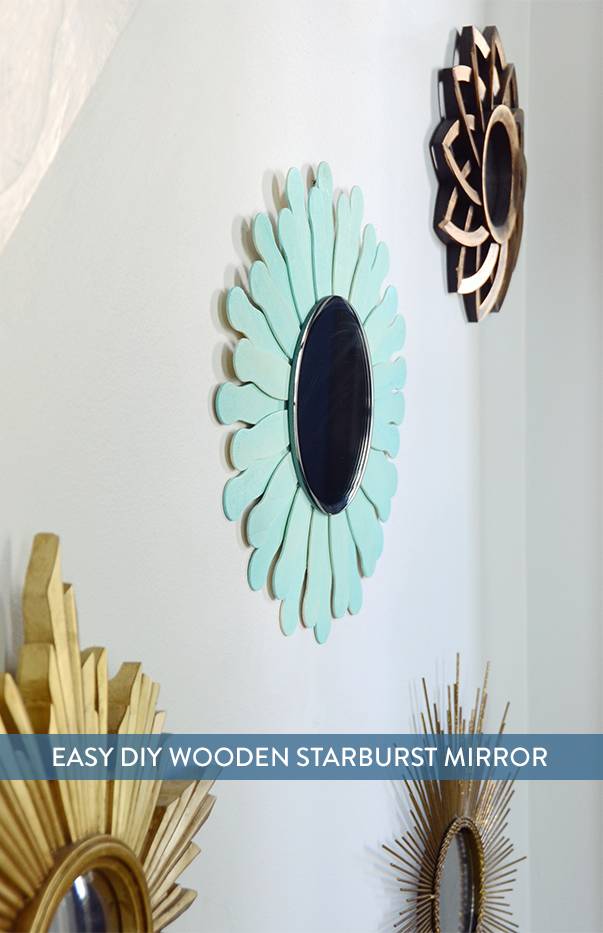
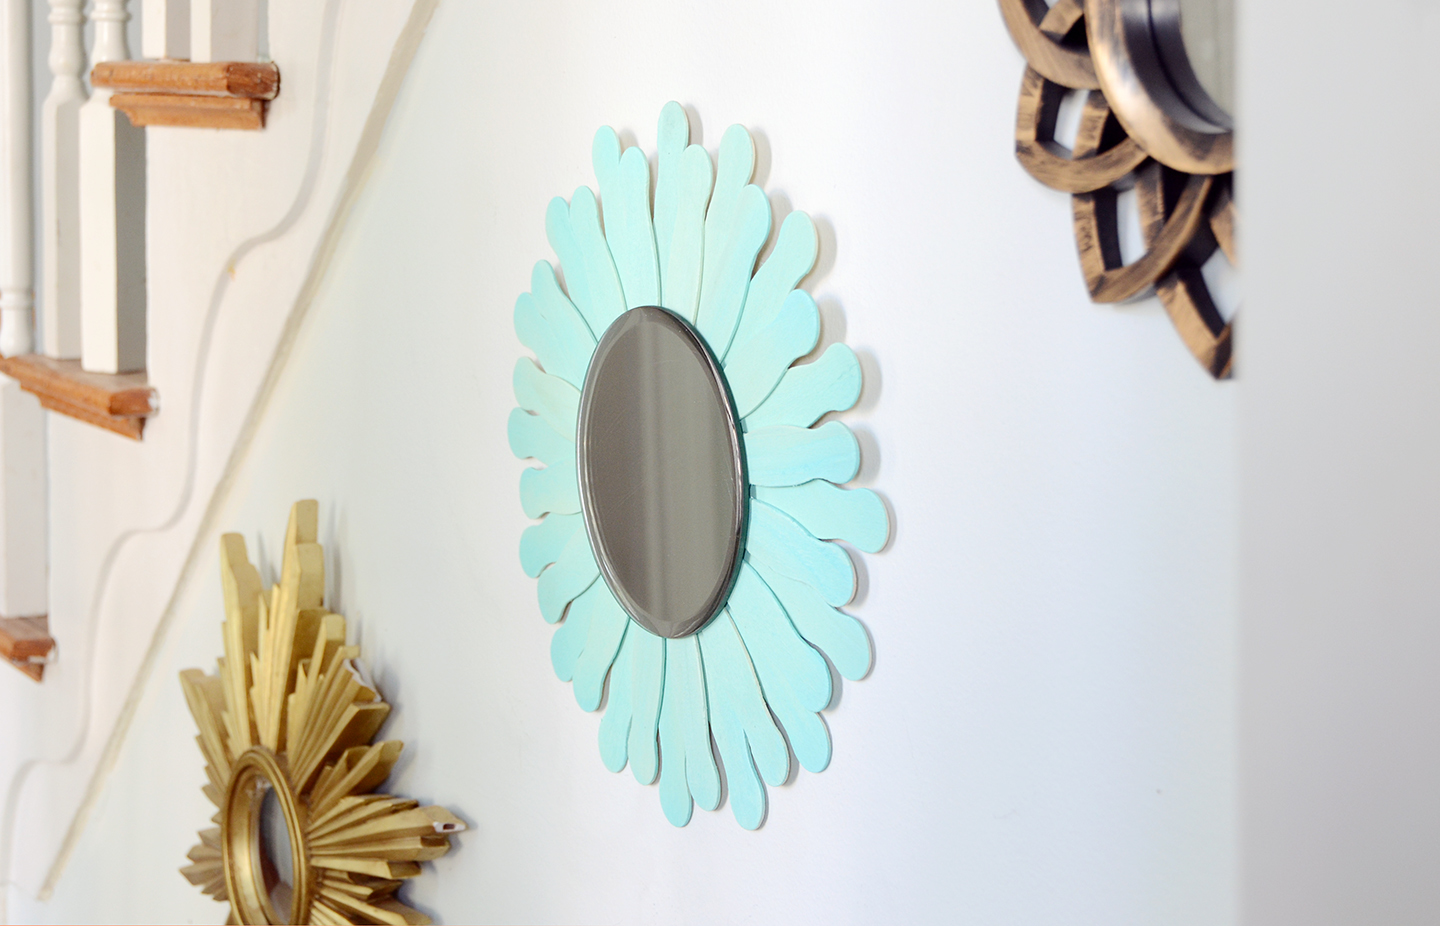
After getting married last summer, I had all kinds of leftover materials… one of which being these wooden fan waves that looked like wavy tongue depressors. I knew there must be something fun I could make with them, but I couldn’t figure out what. And then it hit me – a retro style starburst mirror! And the rest is history. Keep reading to check out the full tutorial.
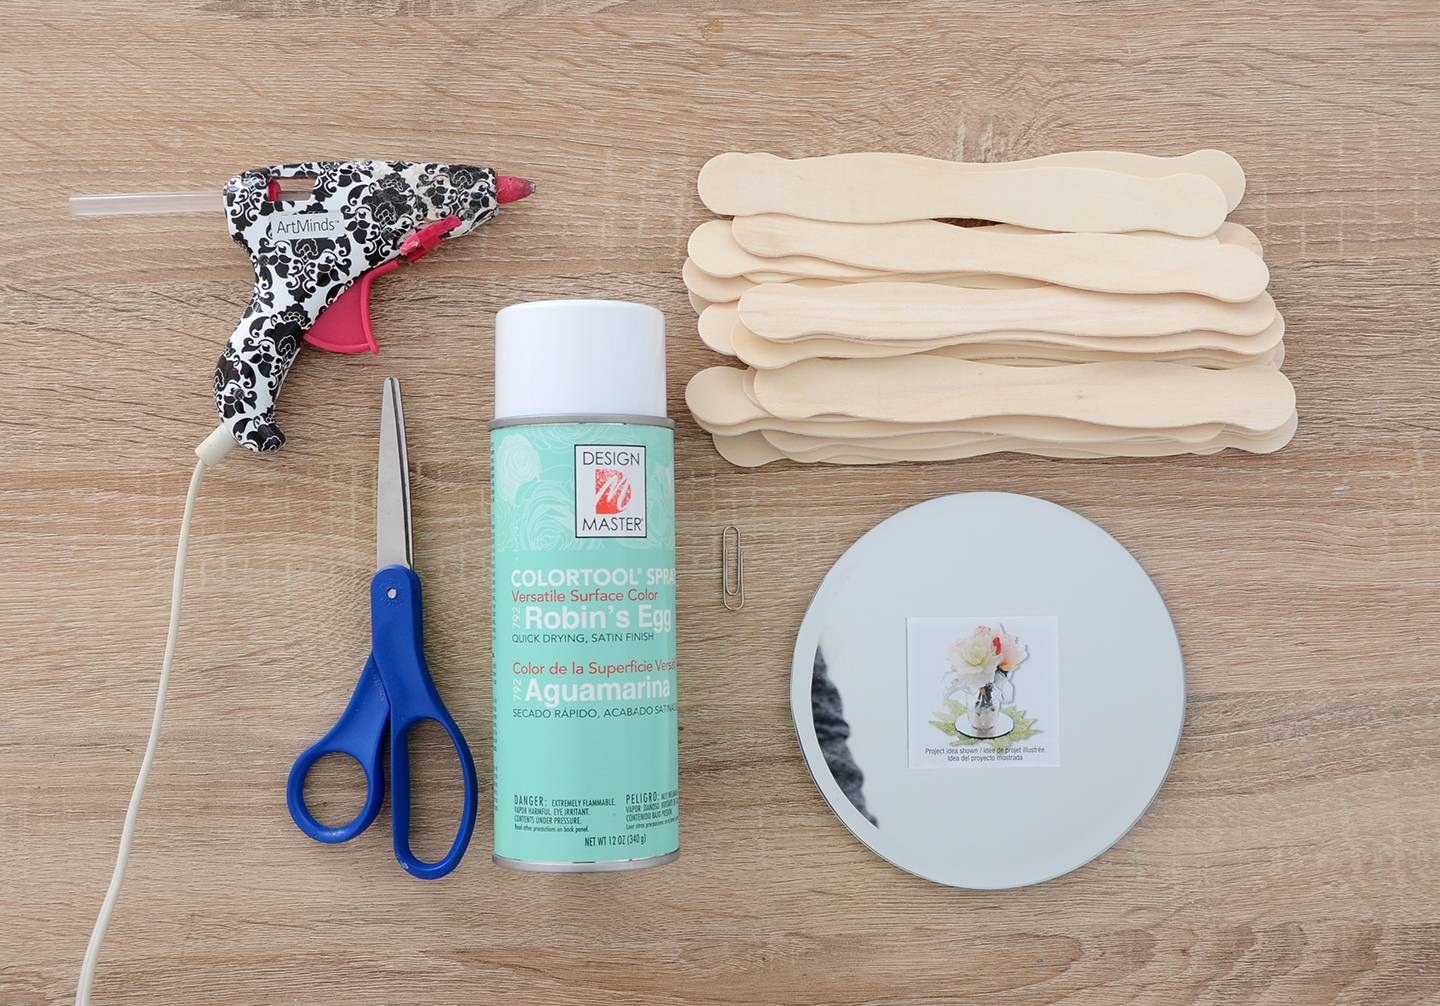
Materials
- 17 wooden fan waves
- 6 inch diameter beveled edge mirror (I bought mine at my local craft store)
- Paperclip
- Spray paint
- Old scissors
- Hot glue gun
Step
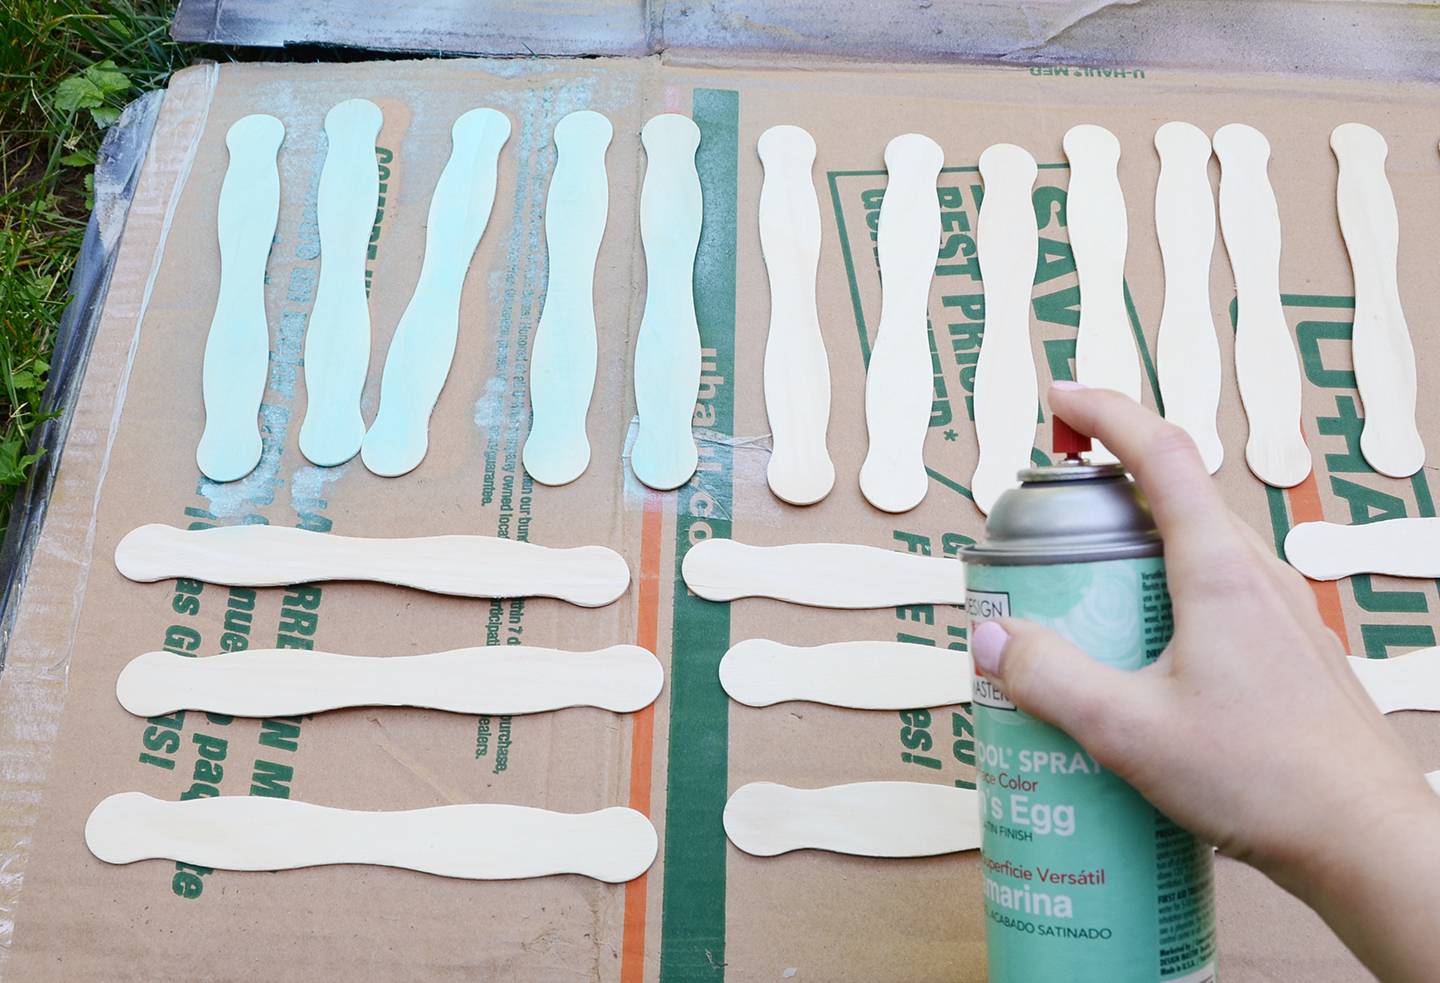
Begin by spray painting your wooden fan waves with two light coats of paint, letting them dry in between.
Step
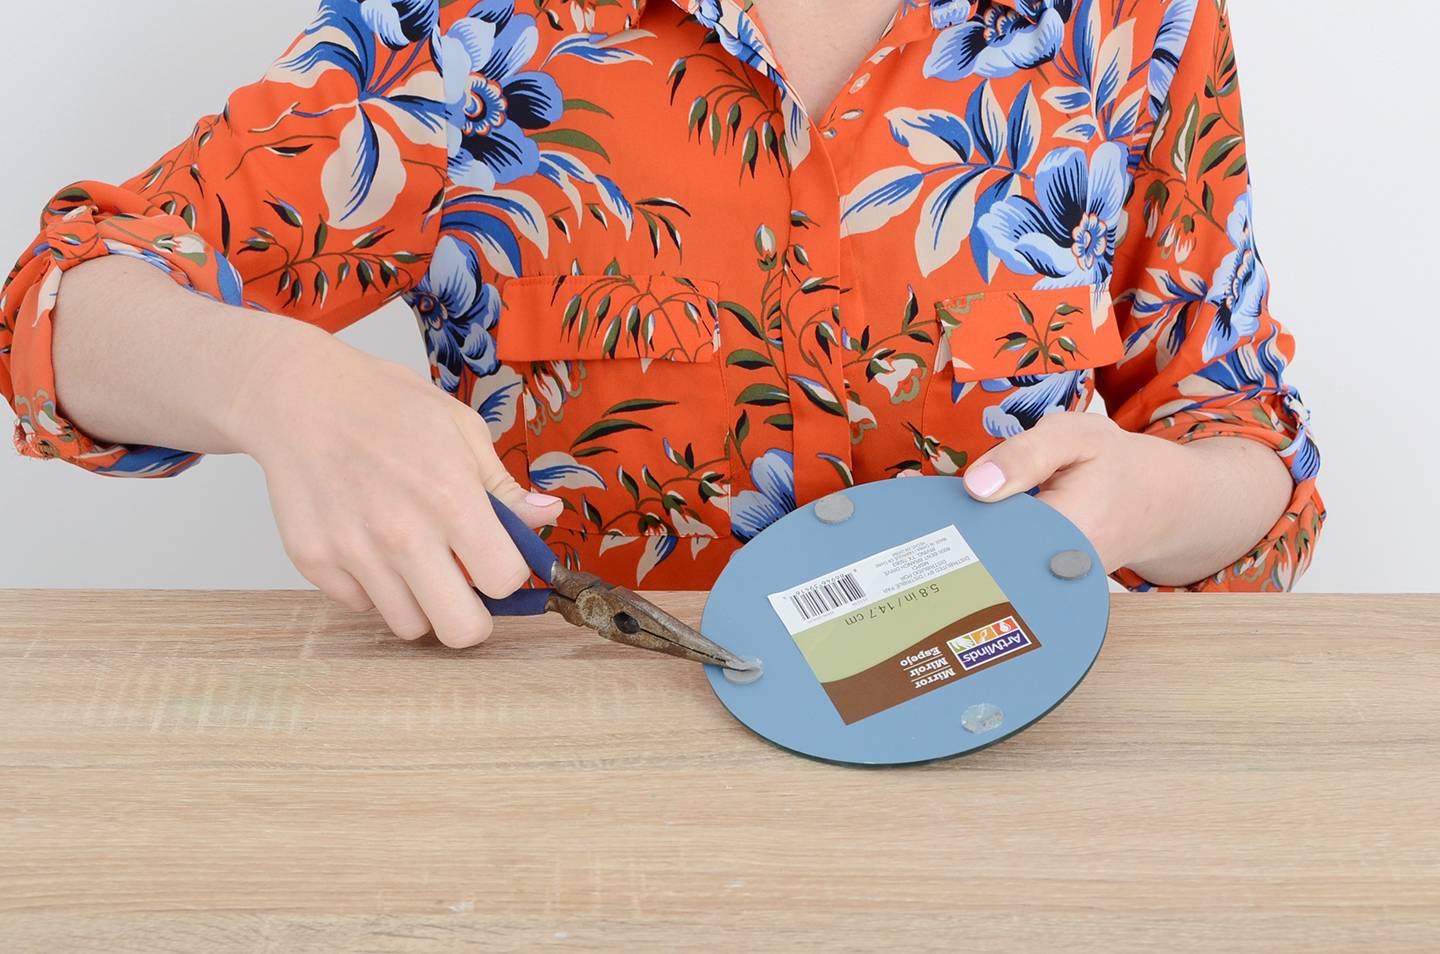
If your mirror has small foam circles on the bottom like mine did, remove them with pliers, tweezers or any tool that will help you peel them off easily.
Step
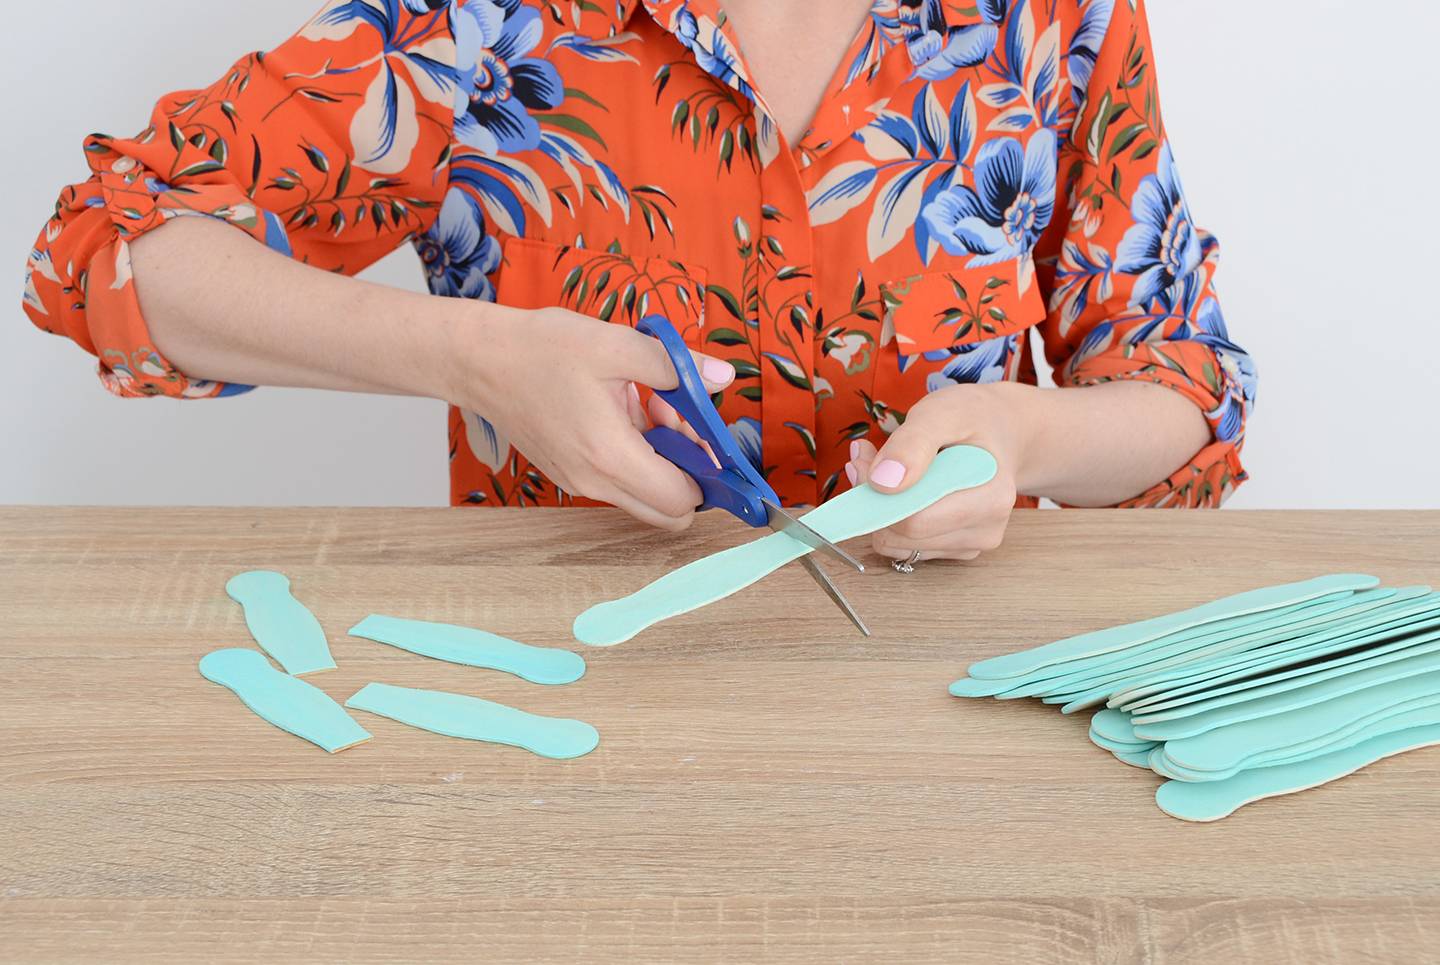
Next, cut your fan waves in half with a pair of scissors (this will dull the scissors a bit, so use an old pair).
Step
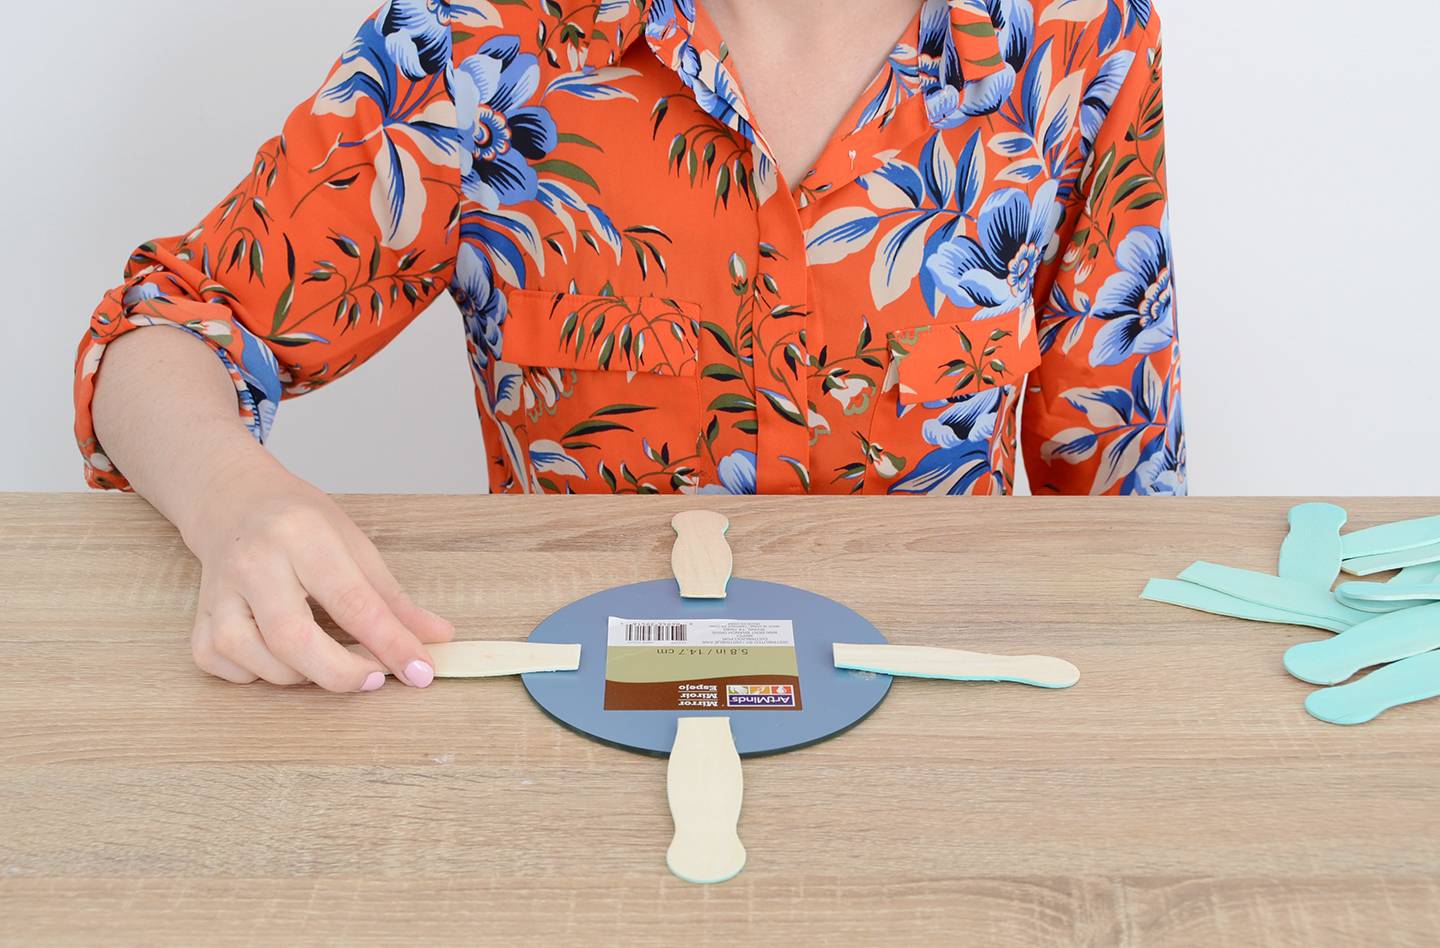
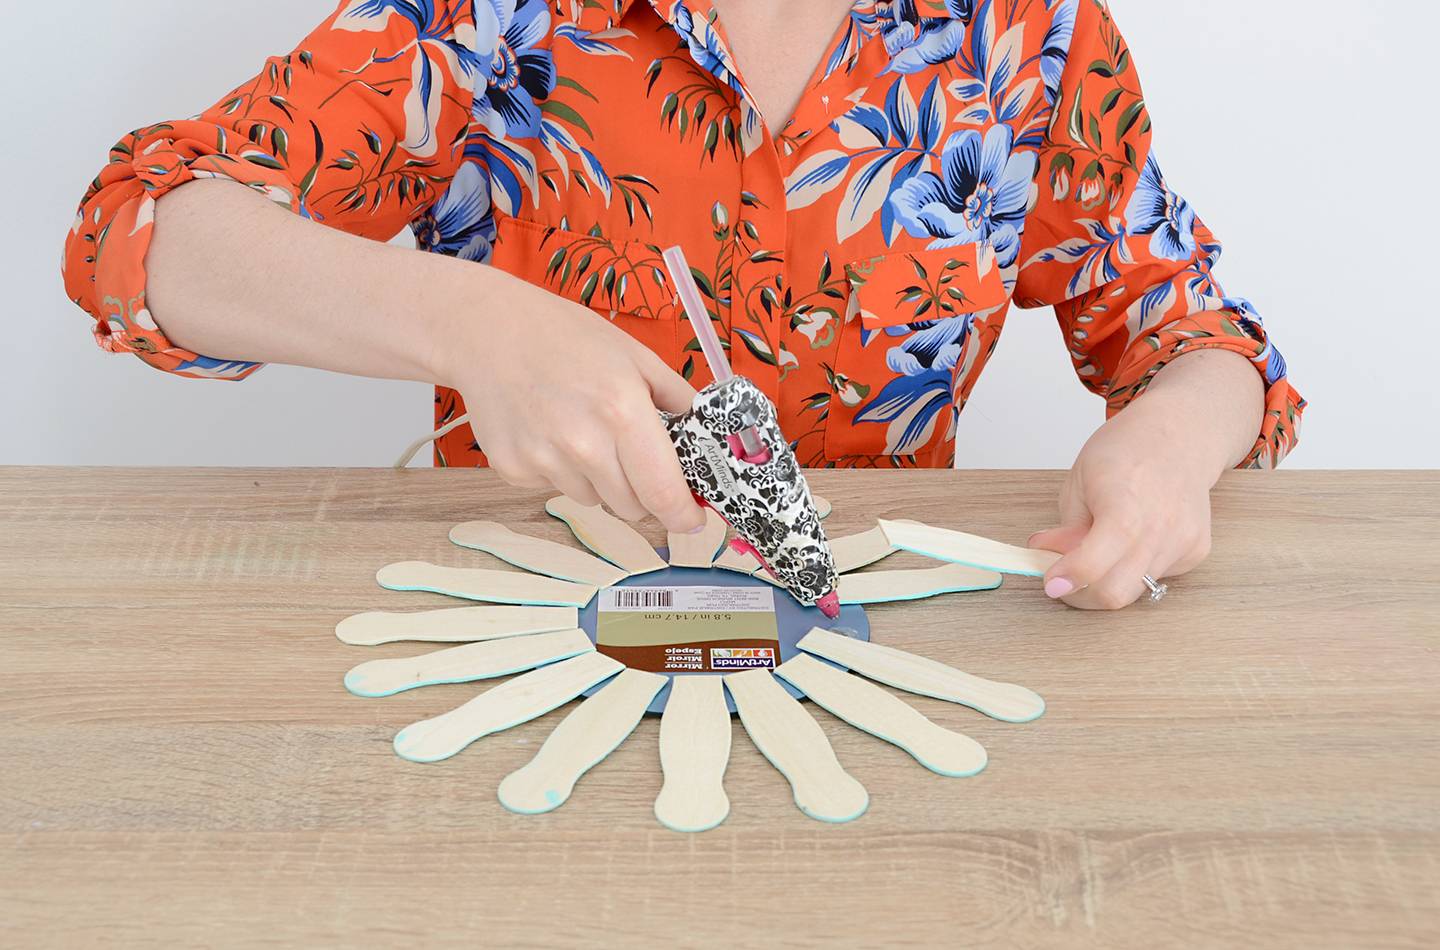
Now lay out your fan waves upside down on the back of your mirror. Begin with four as shown above, and then fill in the remaining spaces. The cut ends of the fan waves should overlap the edge of the mirror by one inch. If you use the same size mirror and fan waves that I did, you should use 16 full fan waves (I recommend painting 17 just in case).
Step
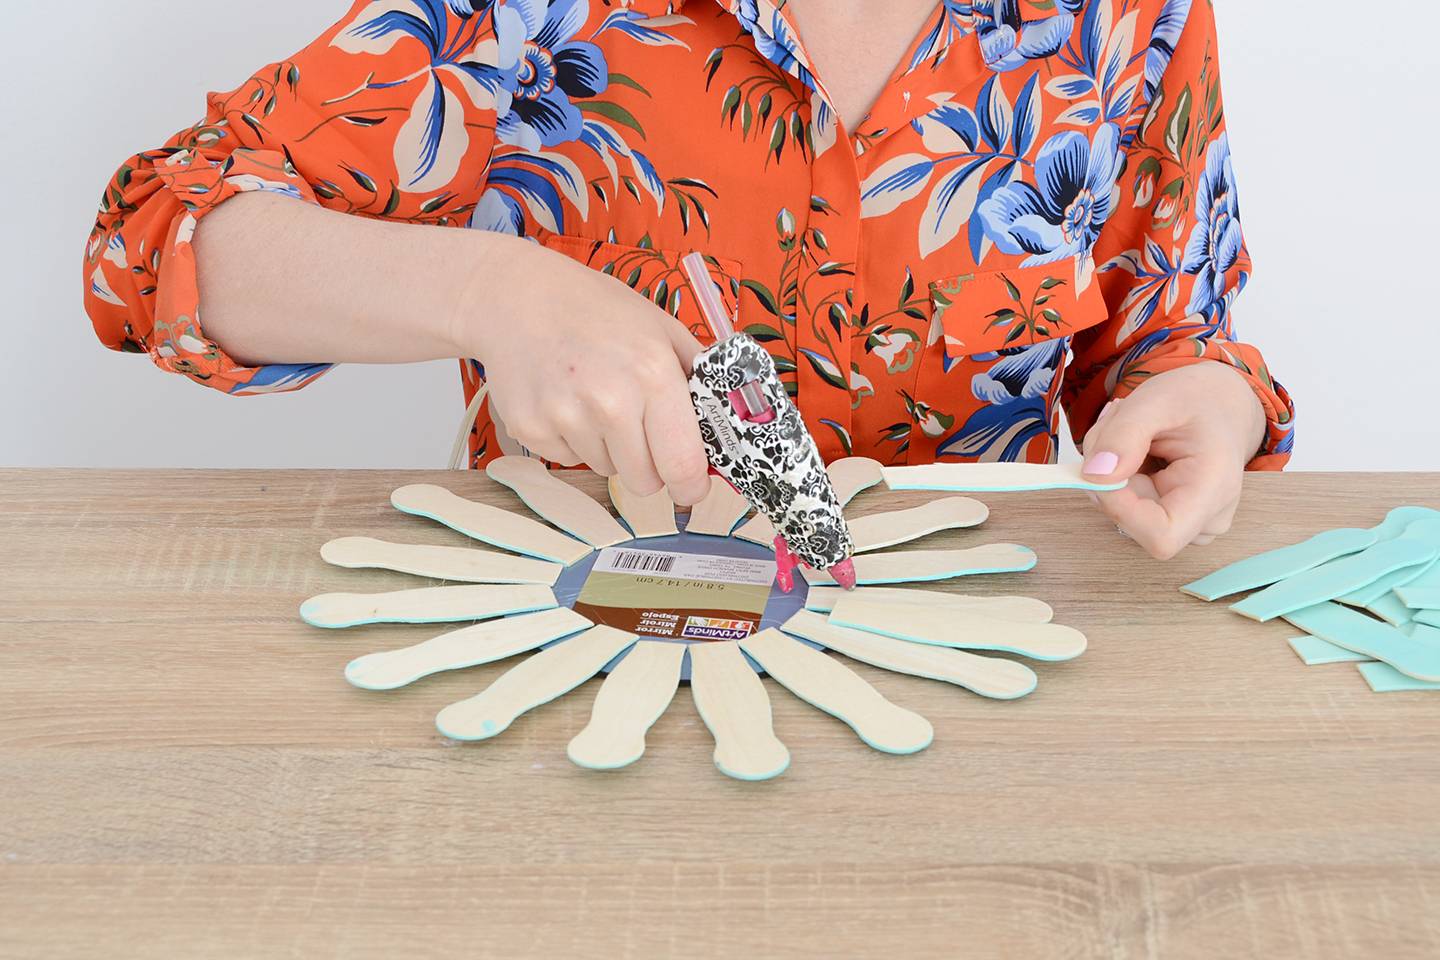
Use your hot glue gun to attach them to the mirror. Push down on the glued end so the the fan wave doesn’t droop downwards onto your work surface.
Step
After you’ve gone all the way around, begin attaching the second layer. Each fan wave on the second layer should be positioned between the two below it, and the cut end should overlap the edge of the mirror by only half an inch this time.
Step
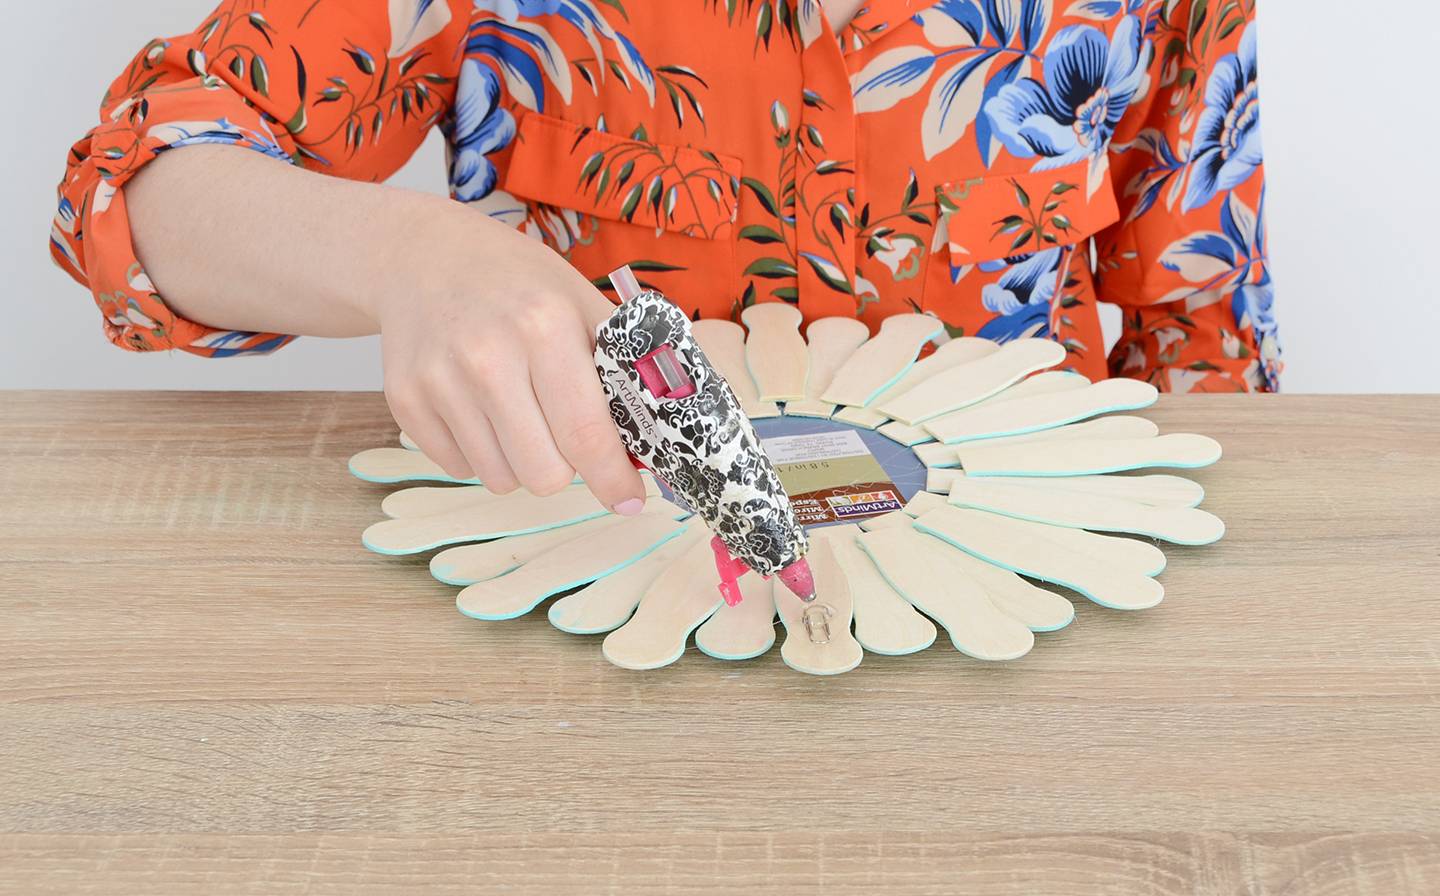
The last step is to attach the hanger… a paperclip! Bend the clip in half just a bit, and then glue the bottom half down to the top of one of the fan waves as shown above. Add a bit of extra glue to the part of that fan wave that attaches to the other waves below it as well, just to make sure it’s firmly attached since it will be supporting the weight of the whole mirror.
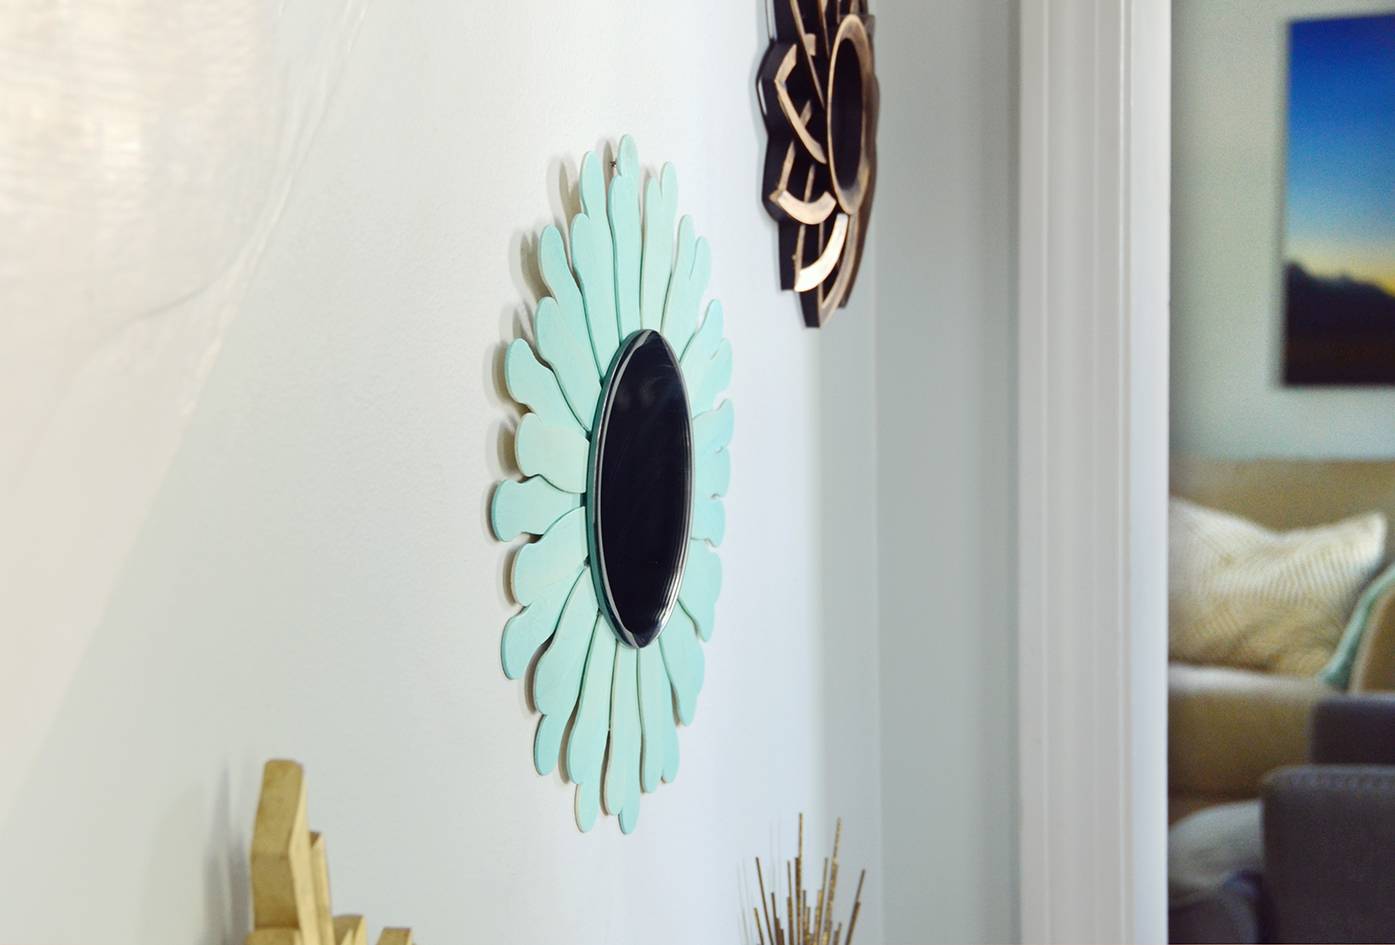
Now go hang up your mirror! I added mine to the mirror gallery wall we have in our entryway.
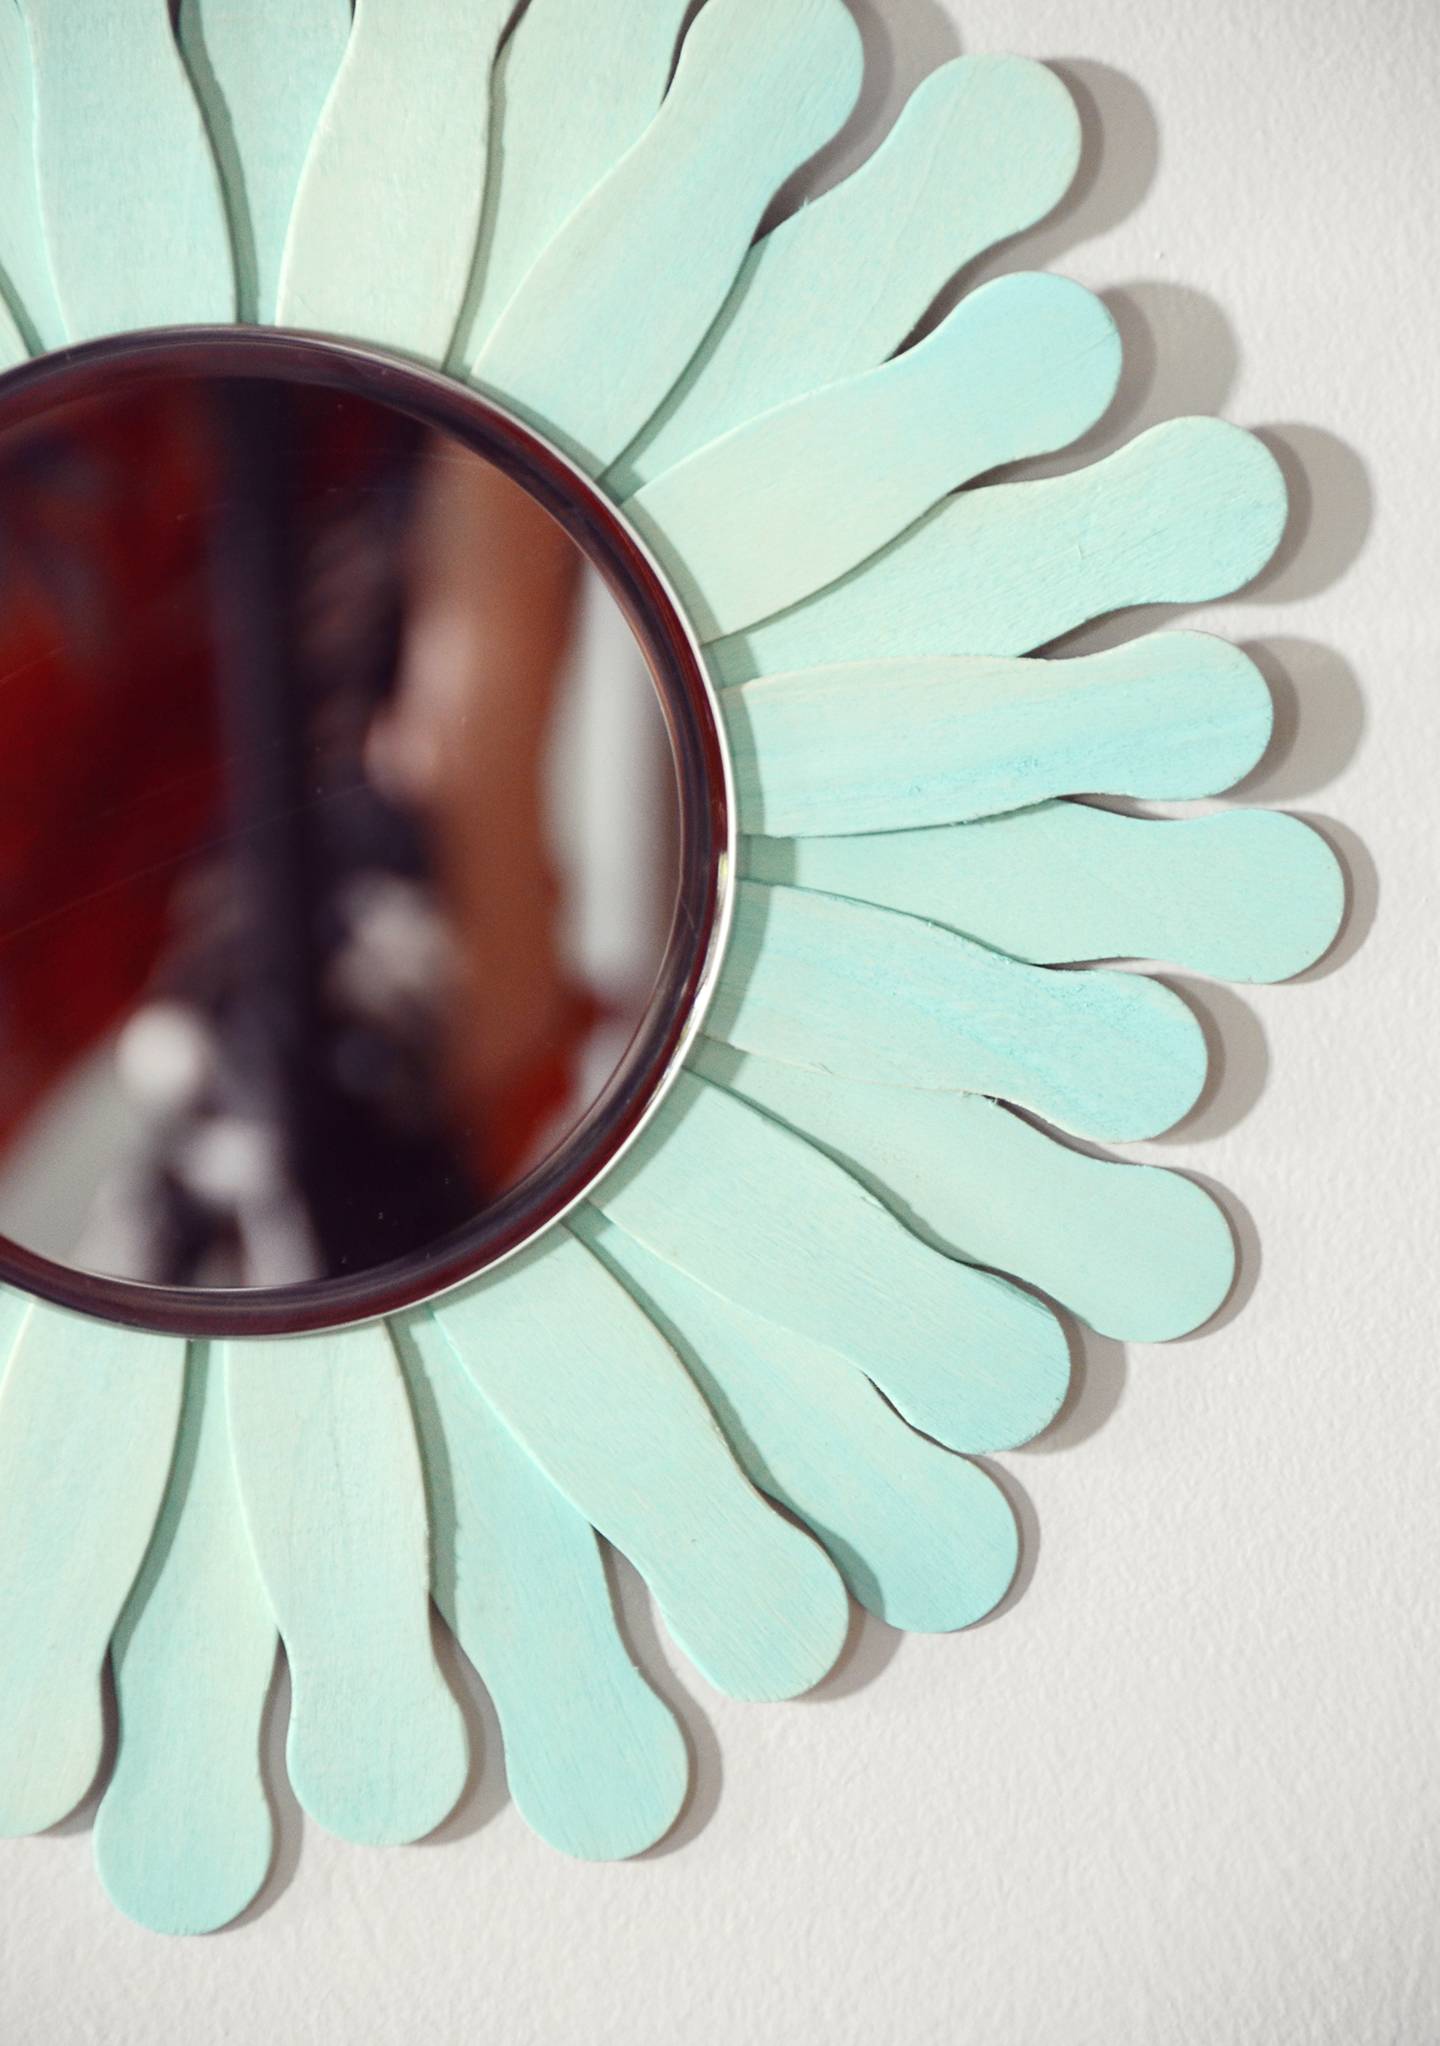
The final piece is a bit part retro with a contemporary vibe to it… and it has a bit of a floral feel thanks to the shape of those fan waves.
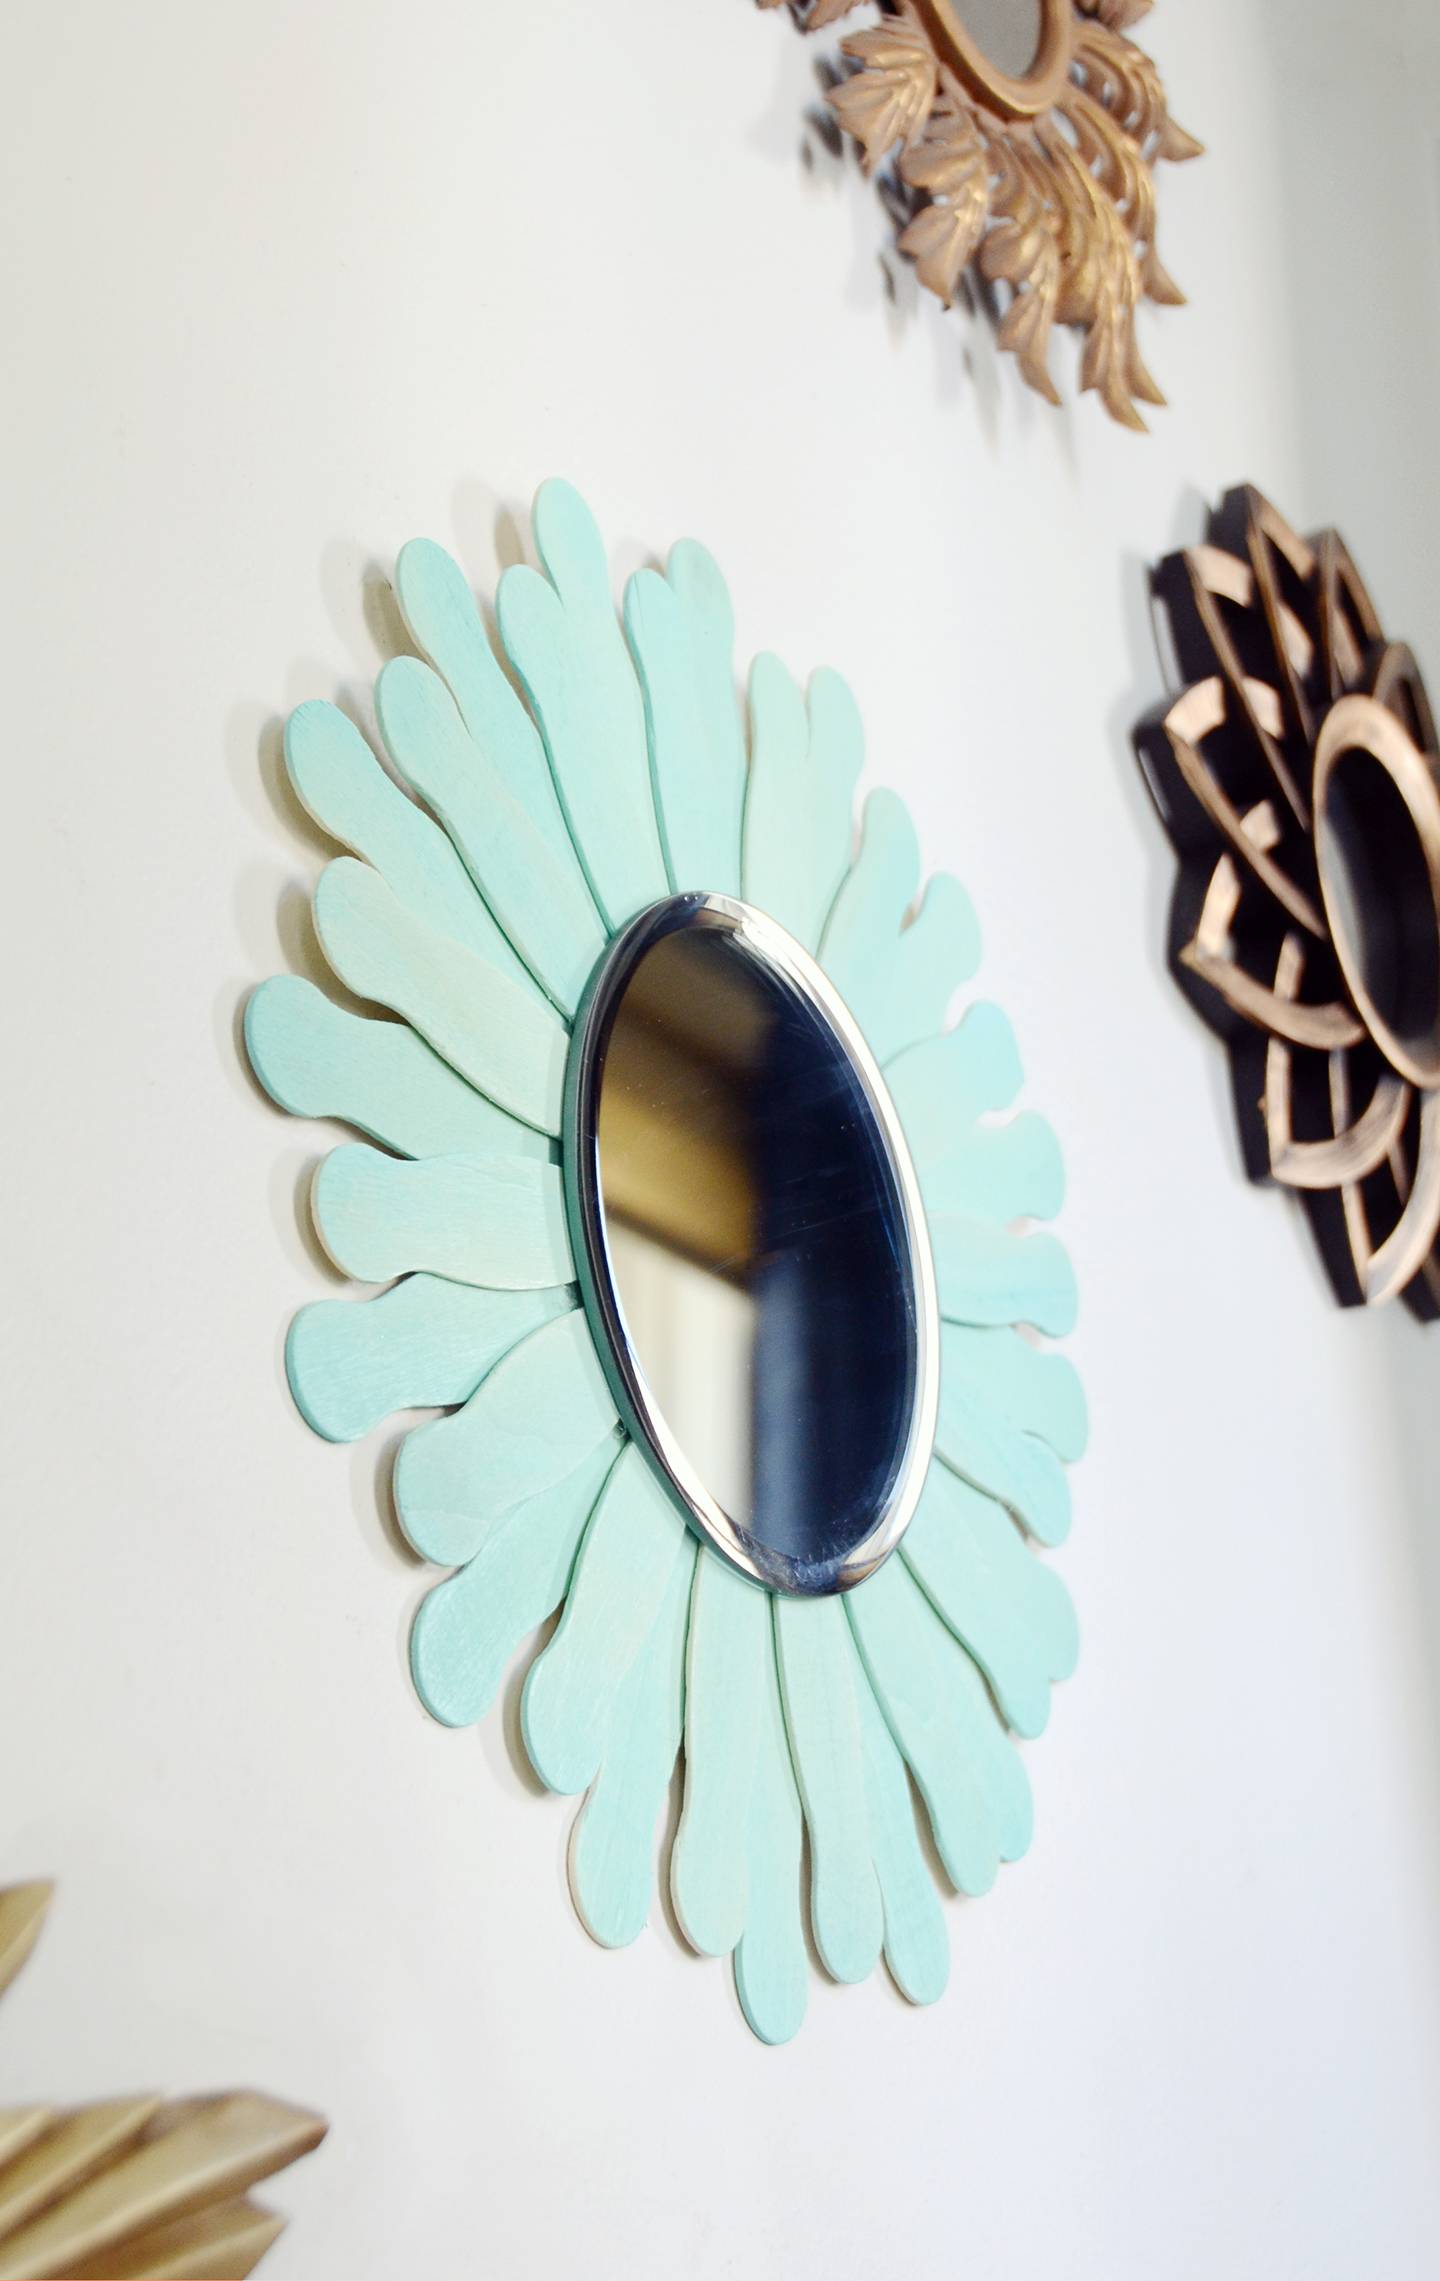
This project is quite customizable… choose different paint colors, a larger mirror (don’t forget you’ll need more fan waves), or you might even try a metallic finish on the wood. Have fun with it!
