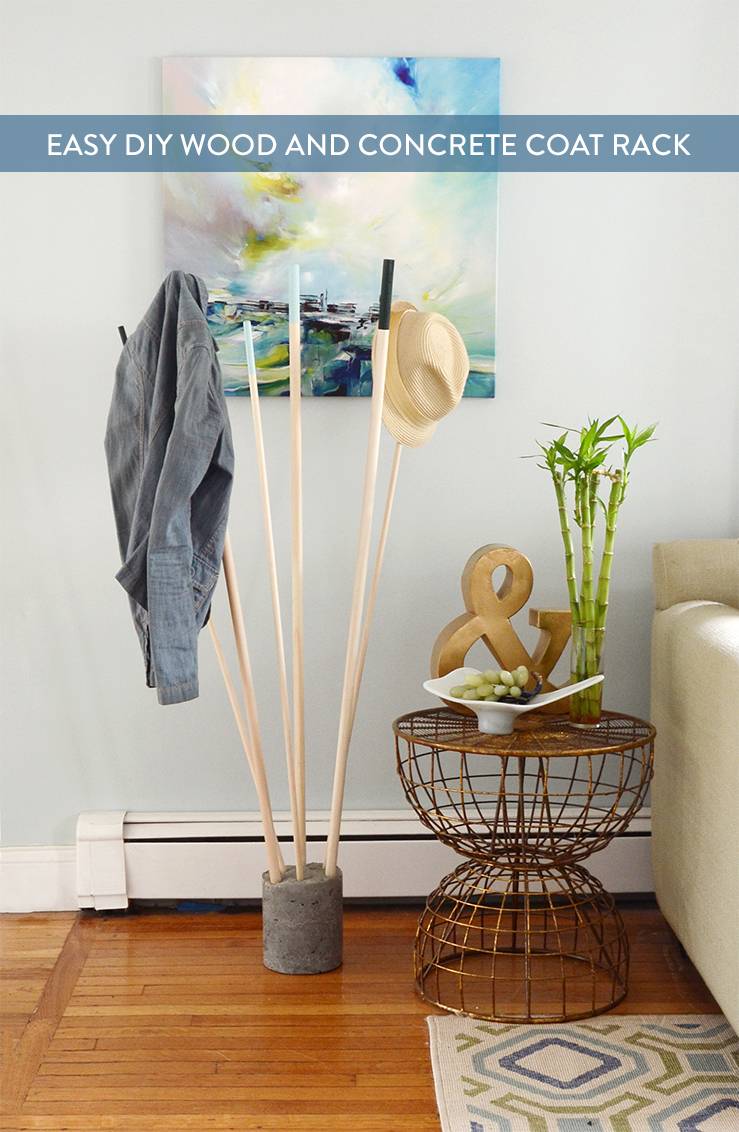
Our house lacks closet space, especially by the entryway… so I’ve always wanted a fun coat rack that I could put near the door. But if you’ve ever tried to buy a coat rack online, you know that it’s hard to find a cool one – and the ones that are attractive usually have crazy price tags to match. So of course I decided to make one! Keep reading to check out the instructions for this super easy wood and cement coat rack.
Materials
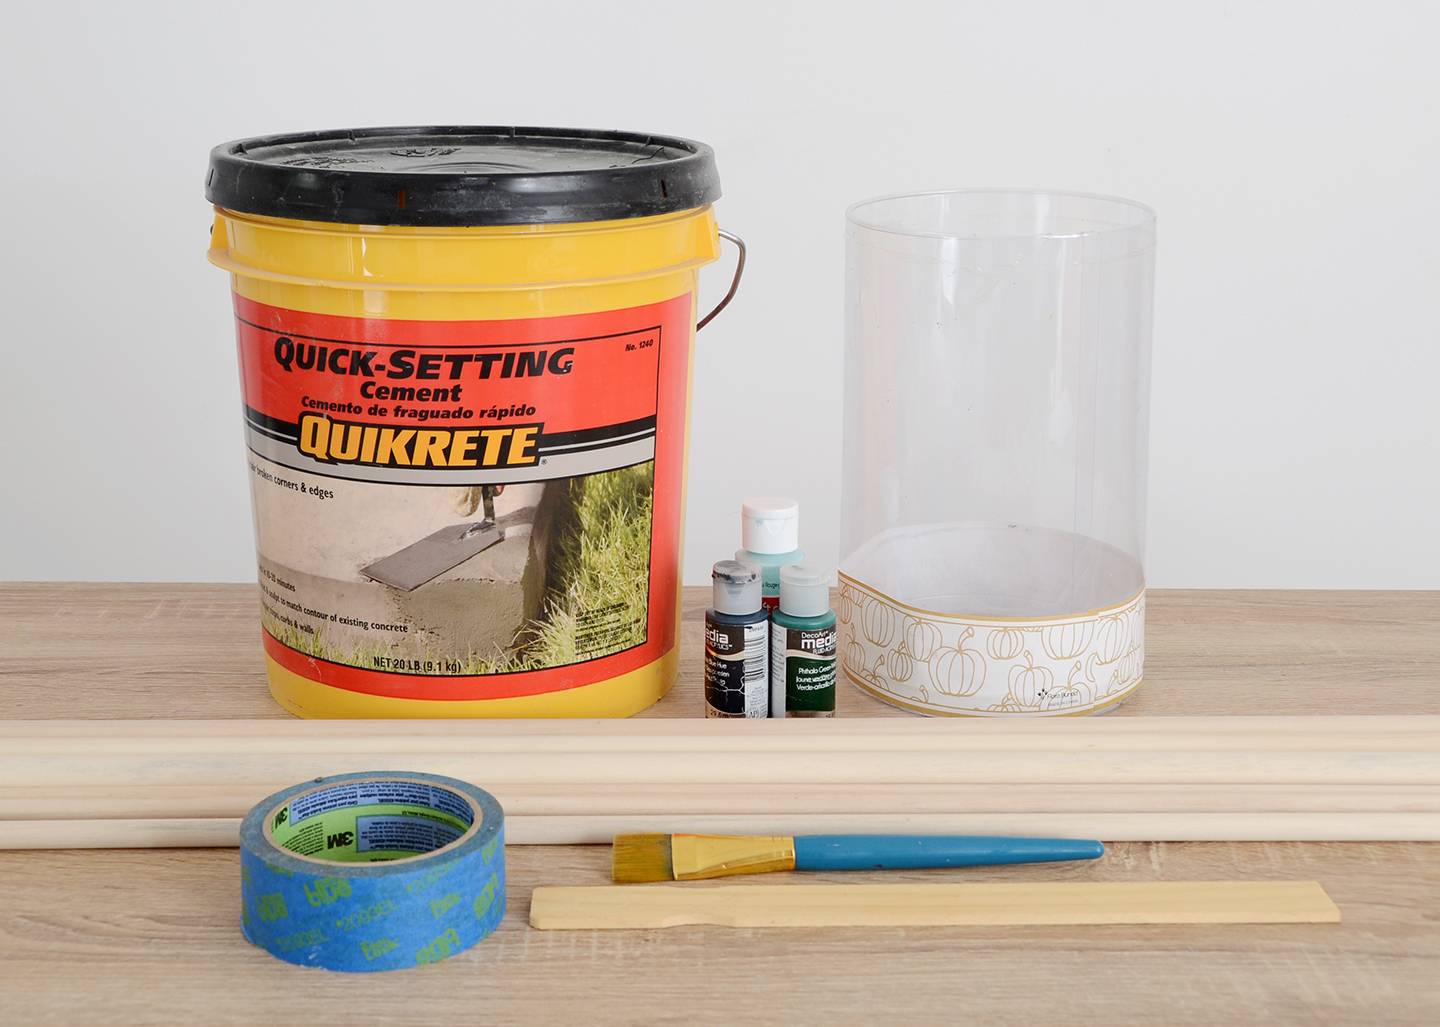
- 20 pound container of Quikrete Quick Setting Cement
- Acrylic craft paint in multiple colors
- Tube-shaped plastic container (for mold)
- (6) 48″ long dowels in a variety of diameters
- Painter’s tape
- Paintbrush
- Stirring stick
- Water (not pictured)
Step
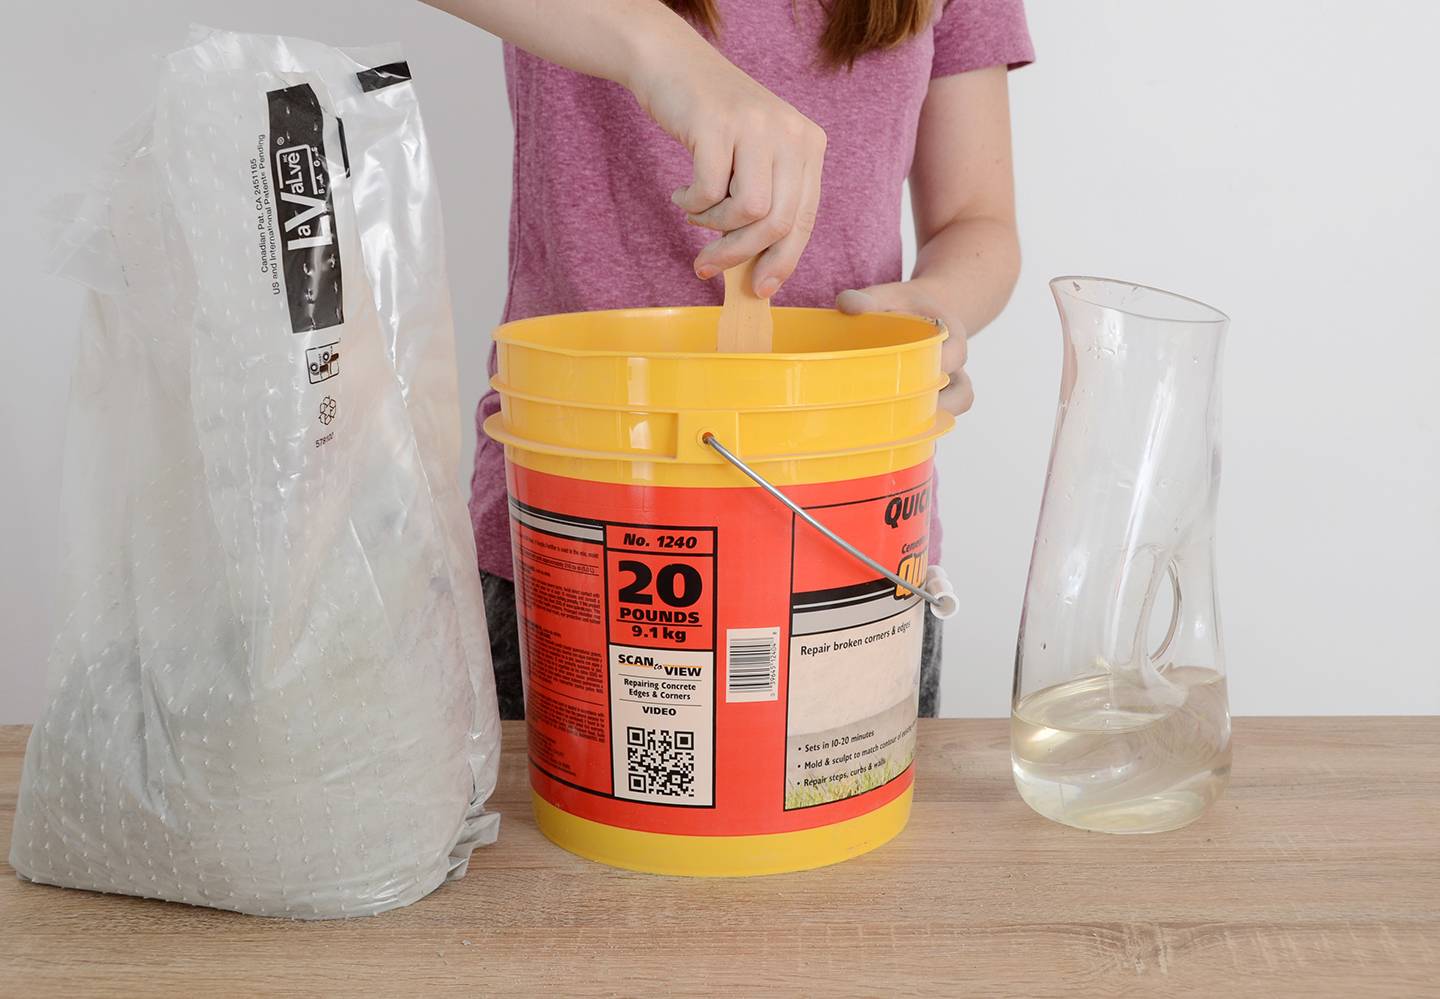
Begin by pouring about half of your Quickrete powder into the bucket that it comes in and pour in some water according to the instructions (I used a bit more water than directed and then just let it dry longer). Stir quickly and thoroughly.
Step
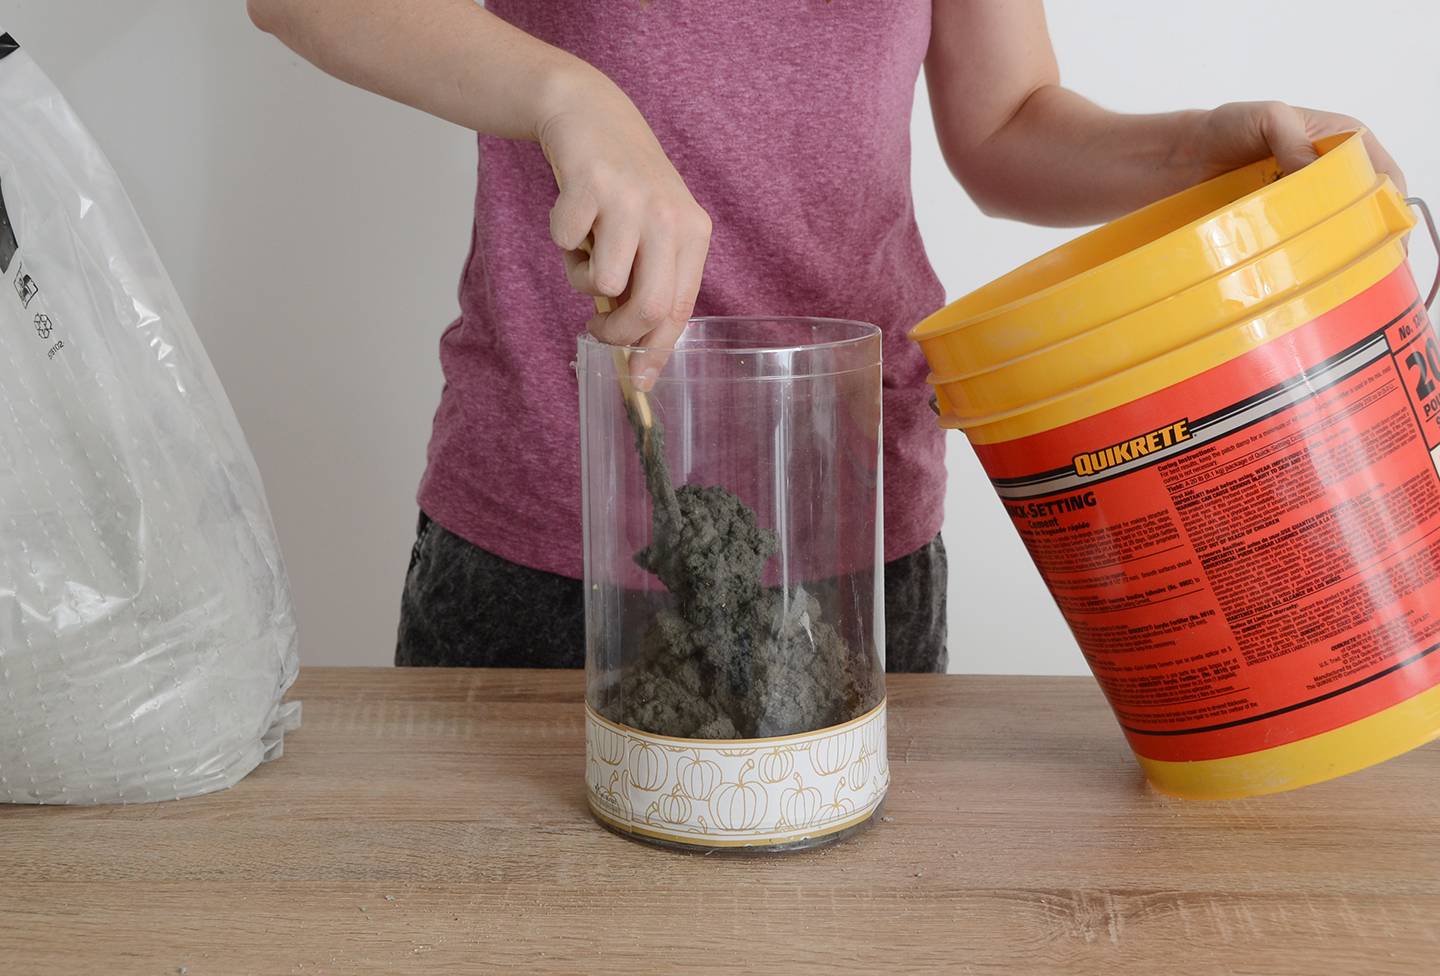
Scoop the cement mix into the plastic container and push it down with your stirrer so that it lays flat. Quickly mix up another batch and add it to the top if you want the base of your coat rack to be taller.
Step

Once it is your desired height, use a paper towel or put on a pair of gloves and flatten the top of the cement so that it is smooth and the edges are even.
Step
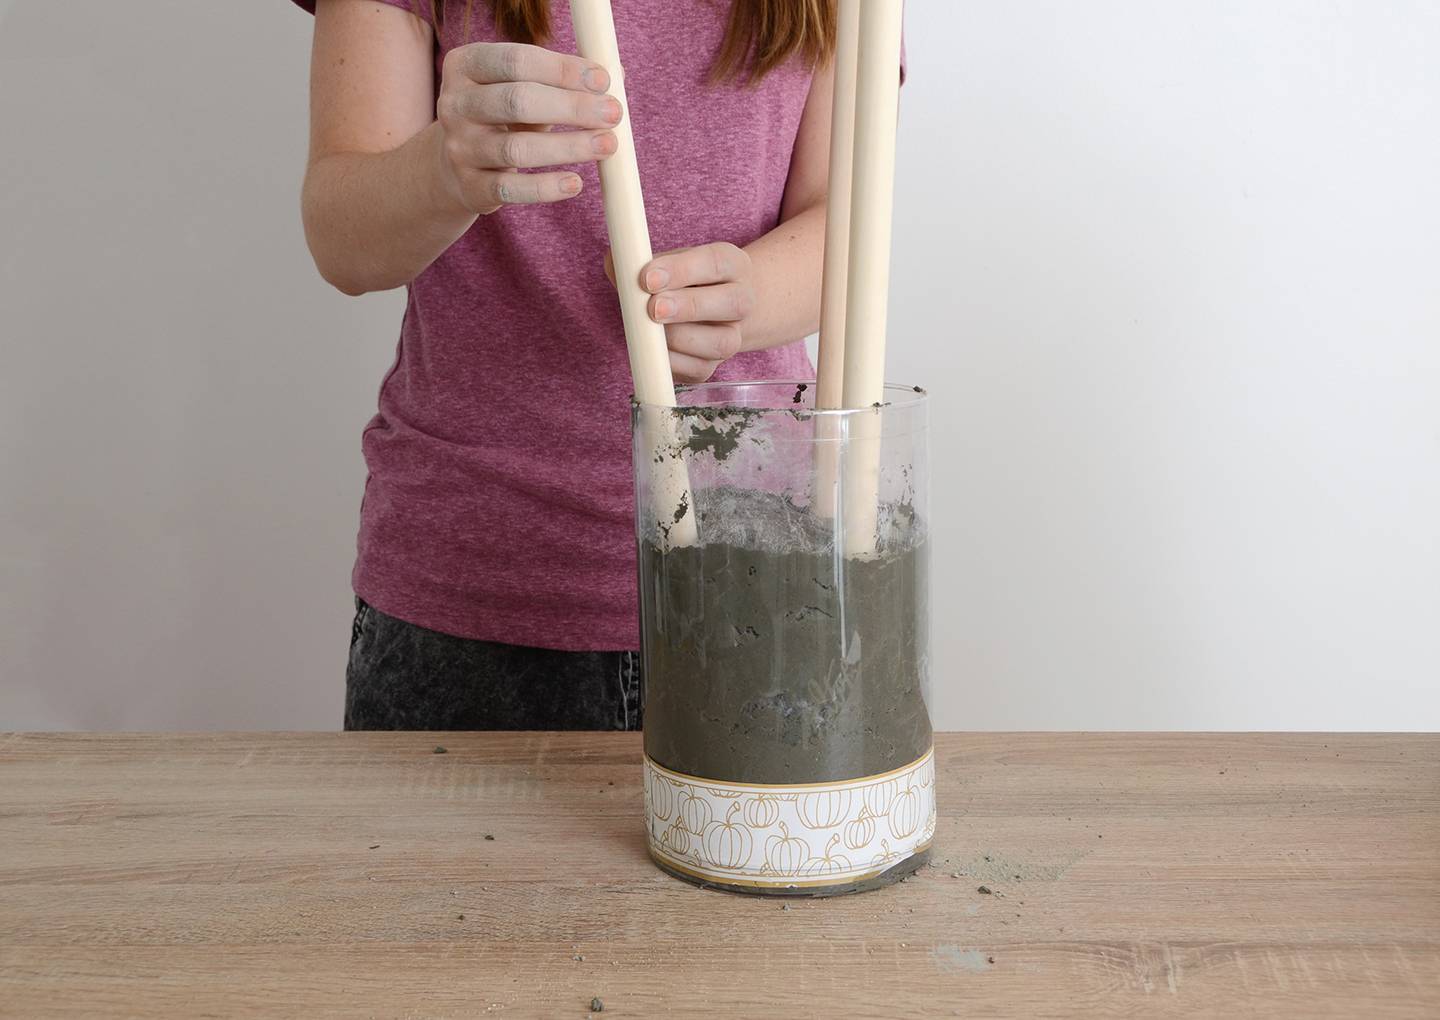
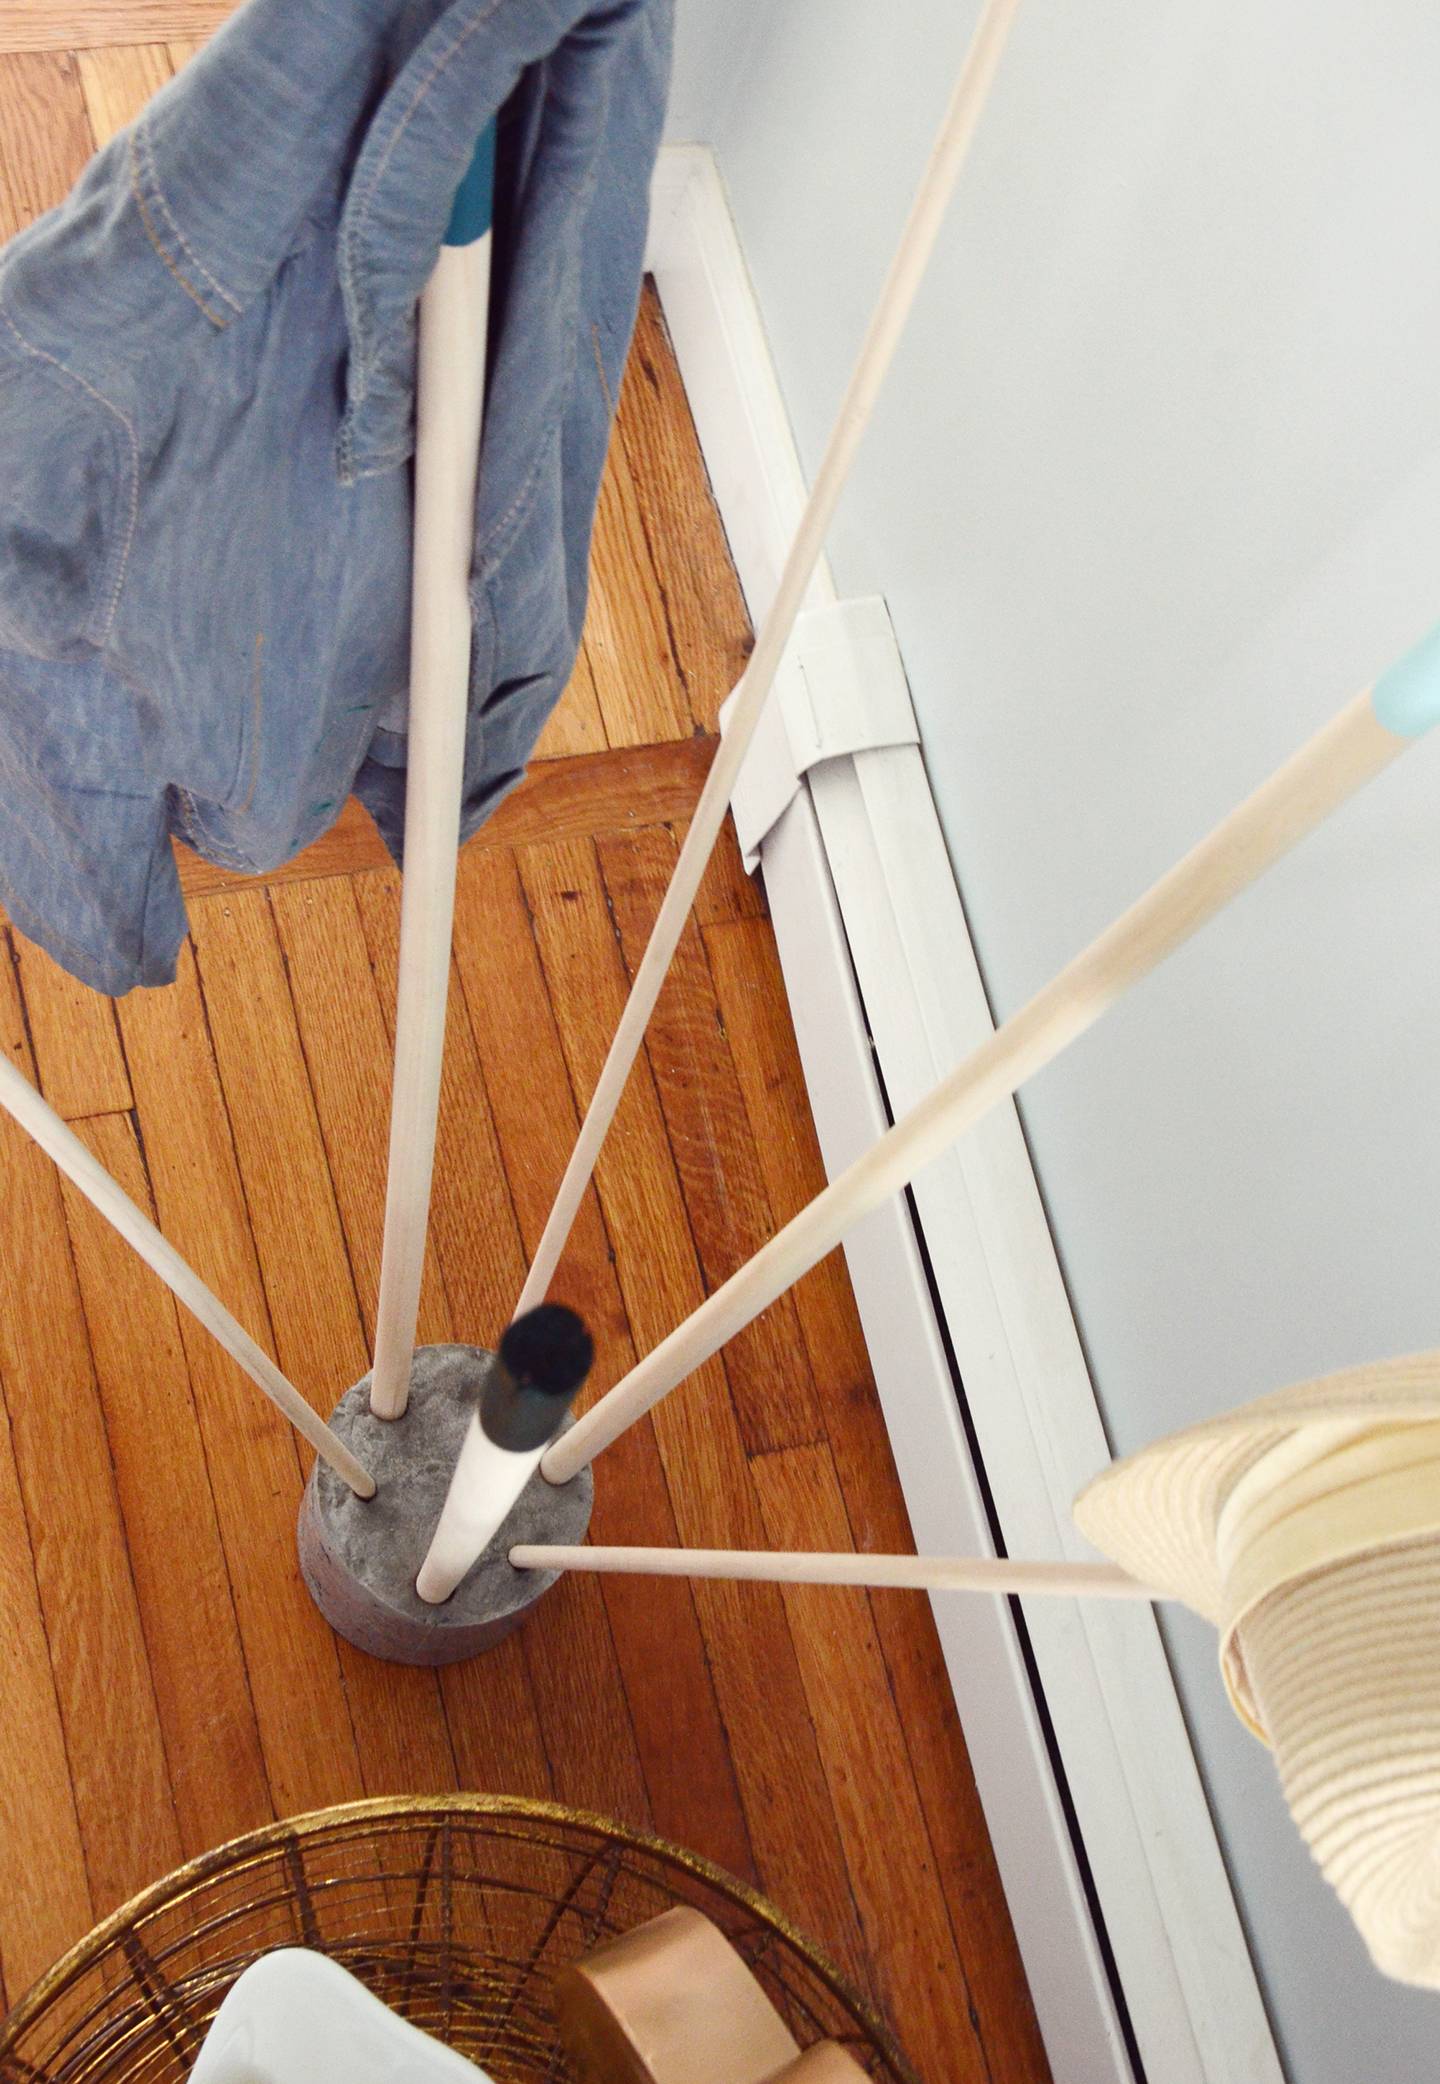
Next, insert the wooden dowels into the cement. The cement should be so thick that they stay in place without any extra support.
Step
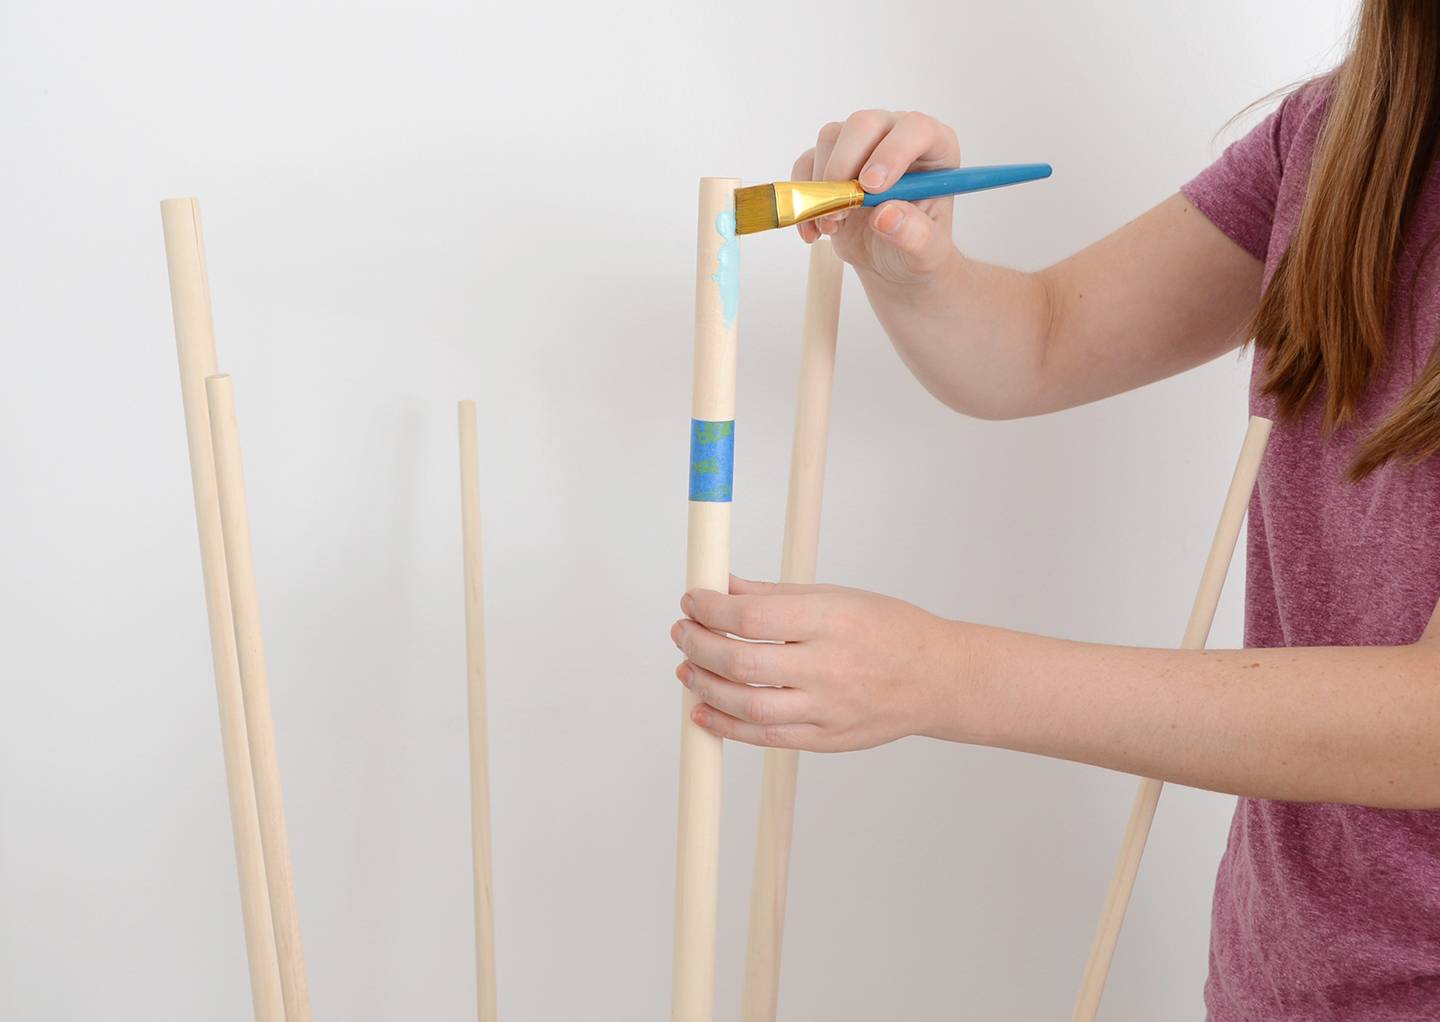
Let the cement dry for a couple of hours before you paint the dowels. Wrap a piece of painter’s tape 6″ from the top of the dowel. Add a coat of acrylic craft paint above the tape. Repeat for the rest of the dowels using different paint colors. Remove the tape after a few minutes.
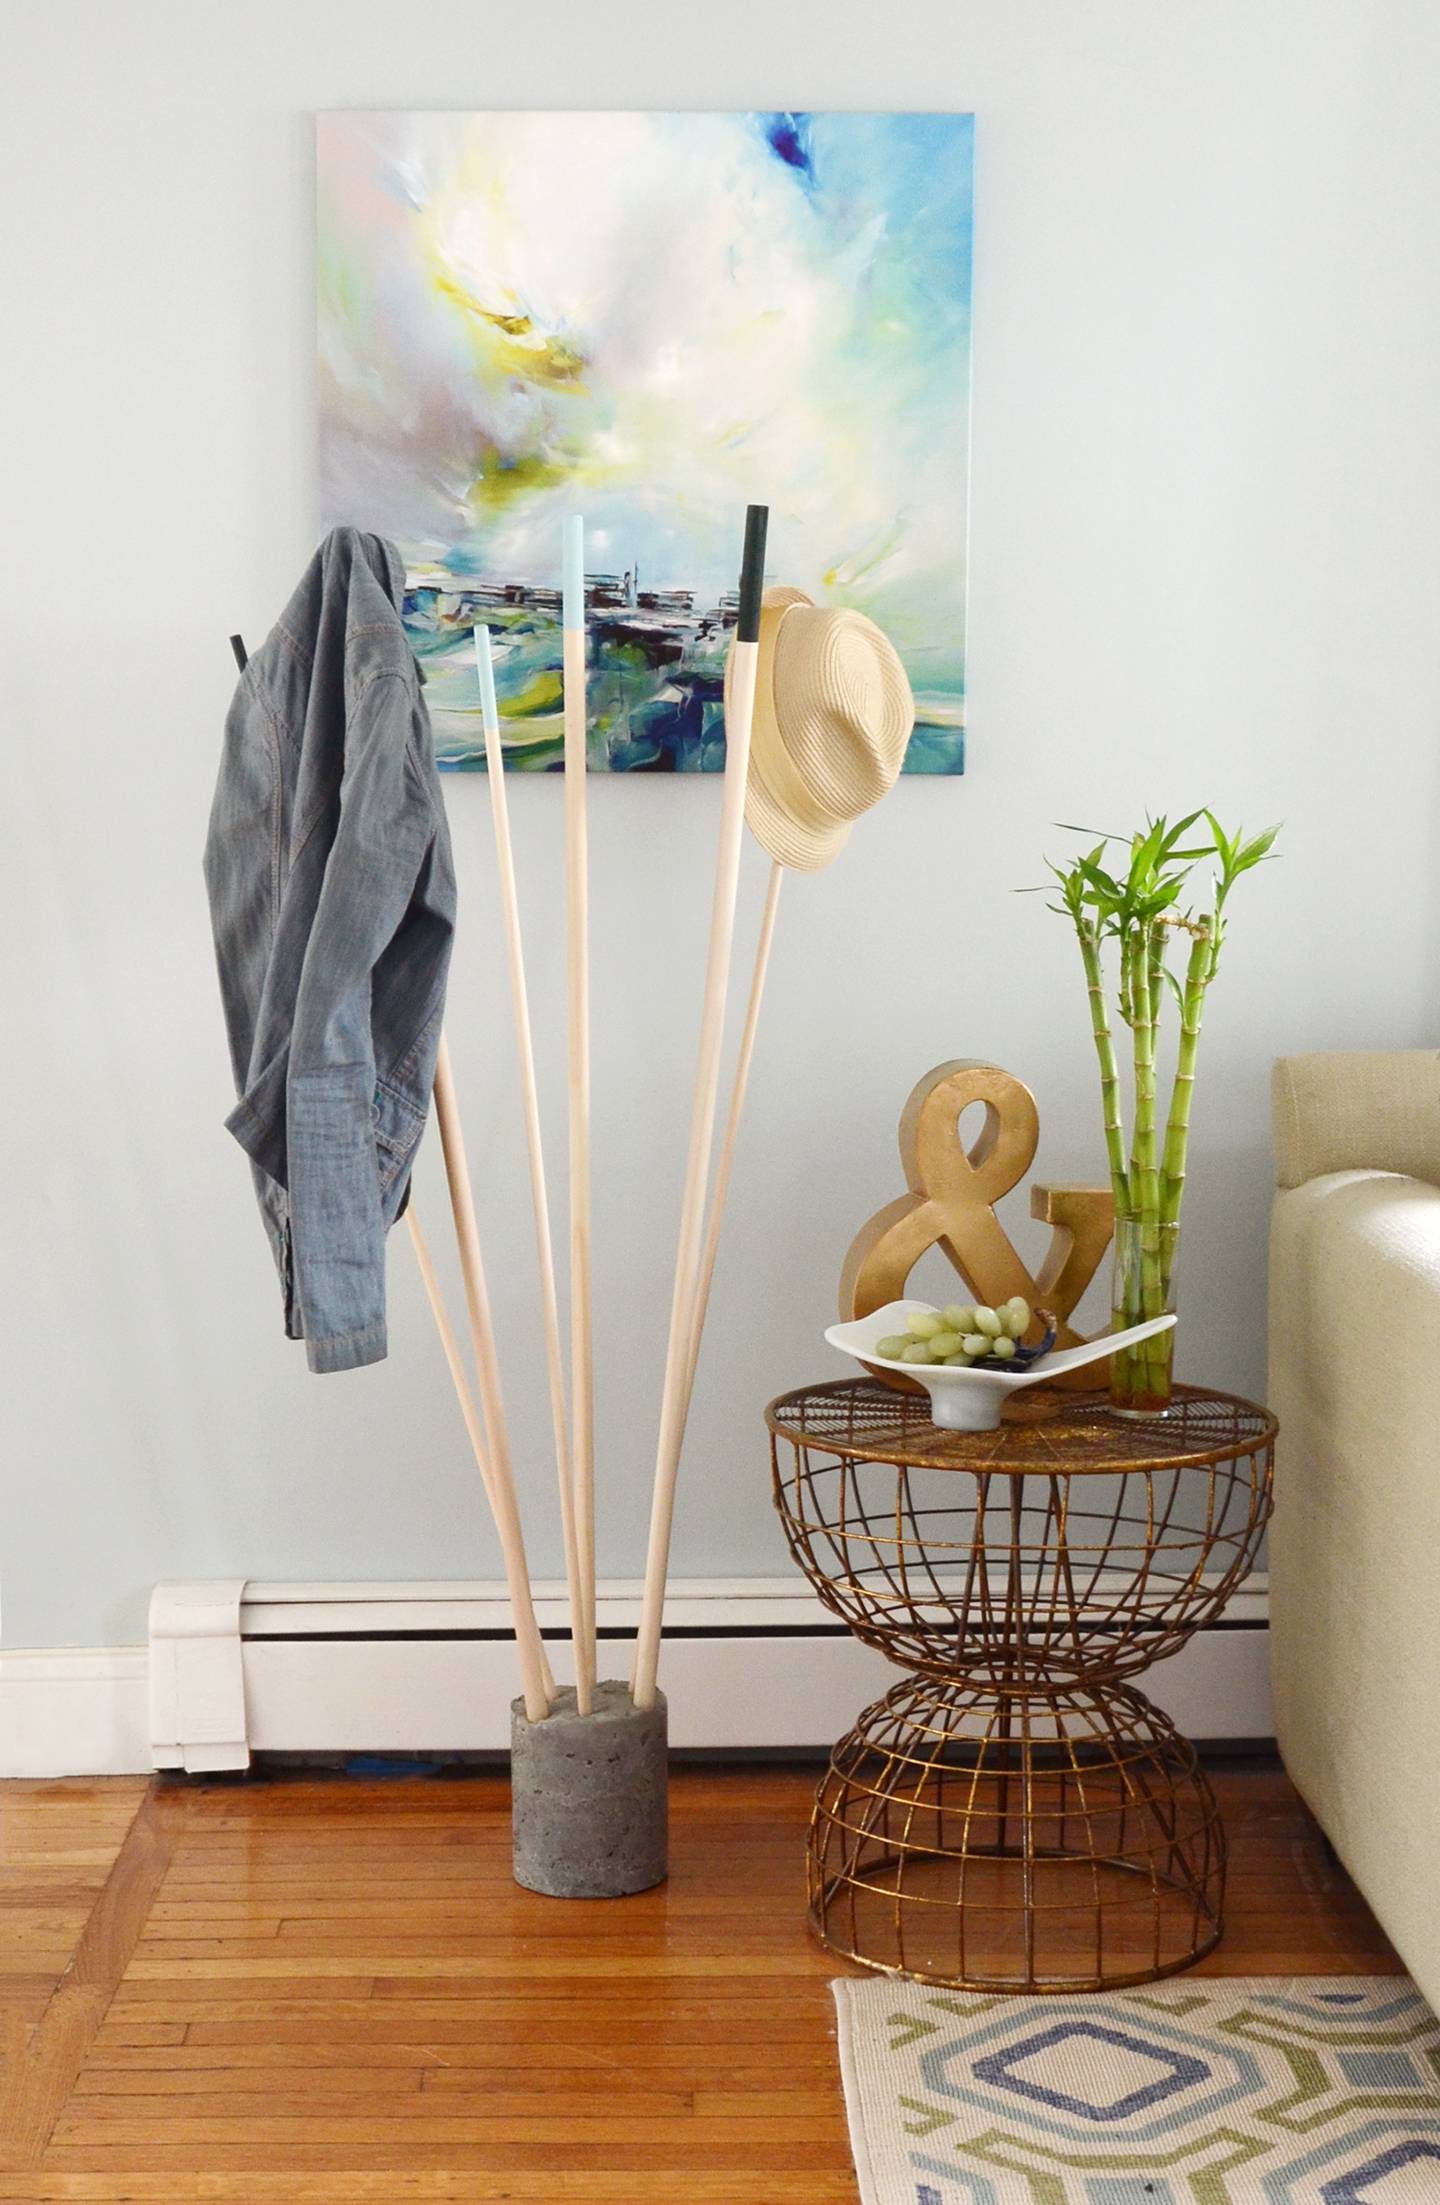
Let the cement dry thoroughly and then cut the plastic container away from the cement. And voilà! Your coat rack is complete.
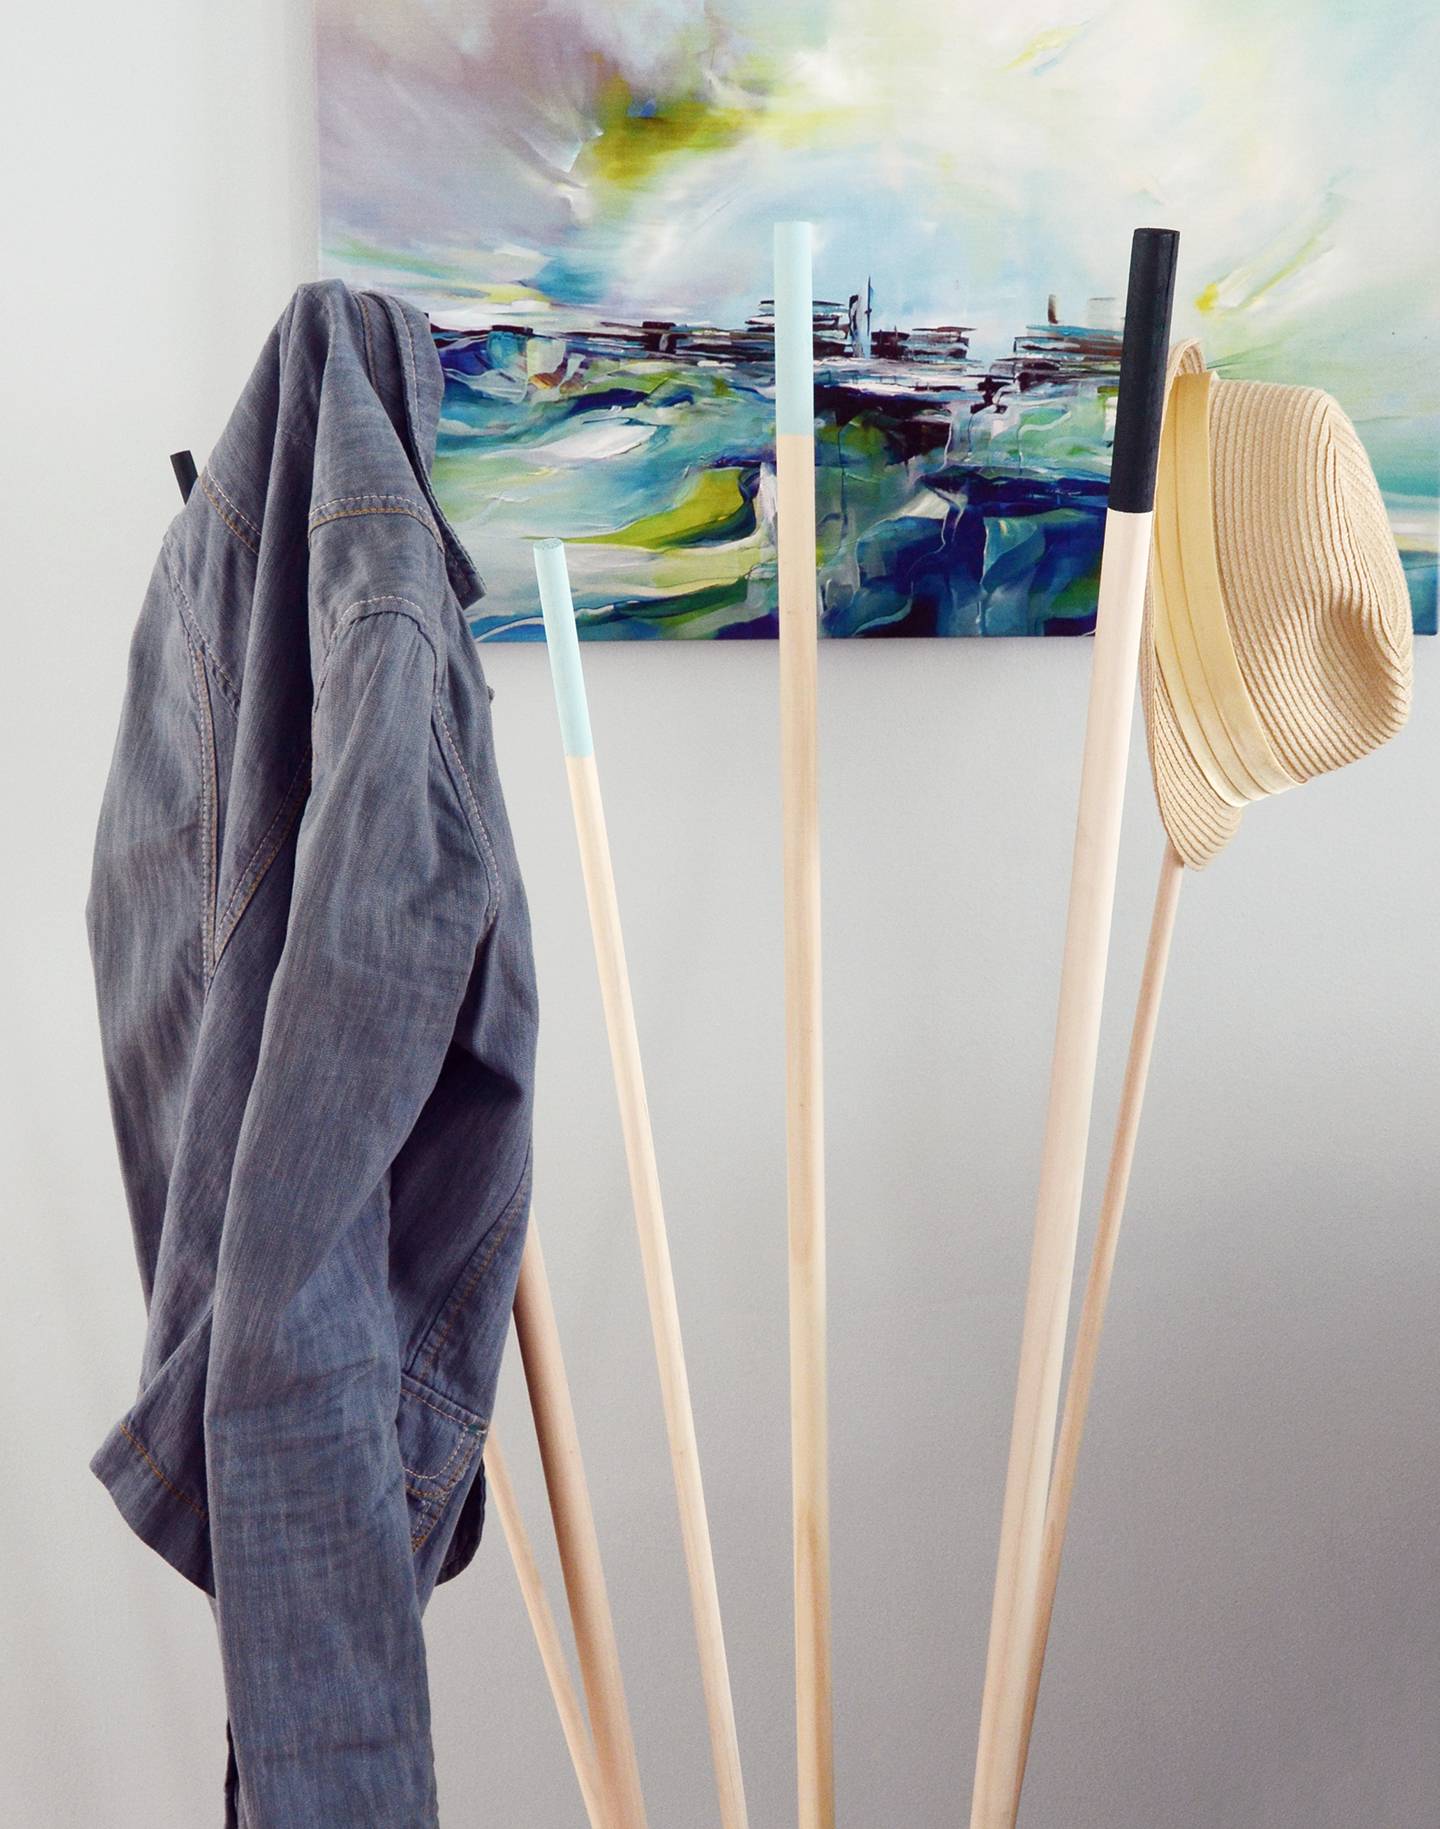
It’s a really unique way to store a few of your favorite coats and accessories out in plain sight… which means you’ll have extra space in your closet!
I love mixing materials, so wood and cement have been an intriguing combo for me… but I’ve always been intimidated by cement. But this was really user-friendly! So if you share my hesitancy toward cement and concrete, give this one a try.
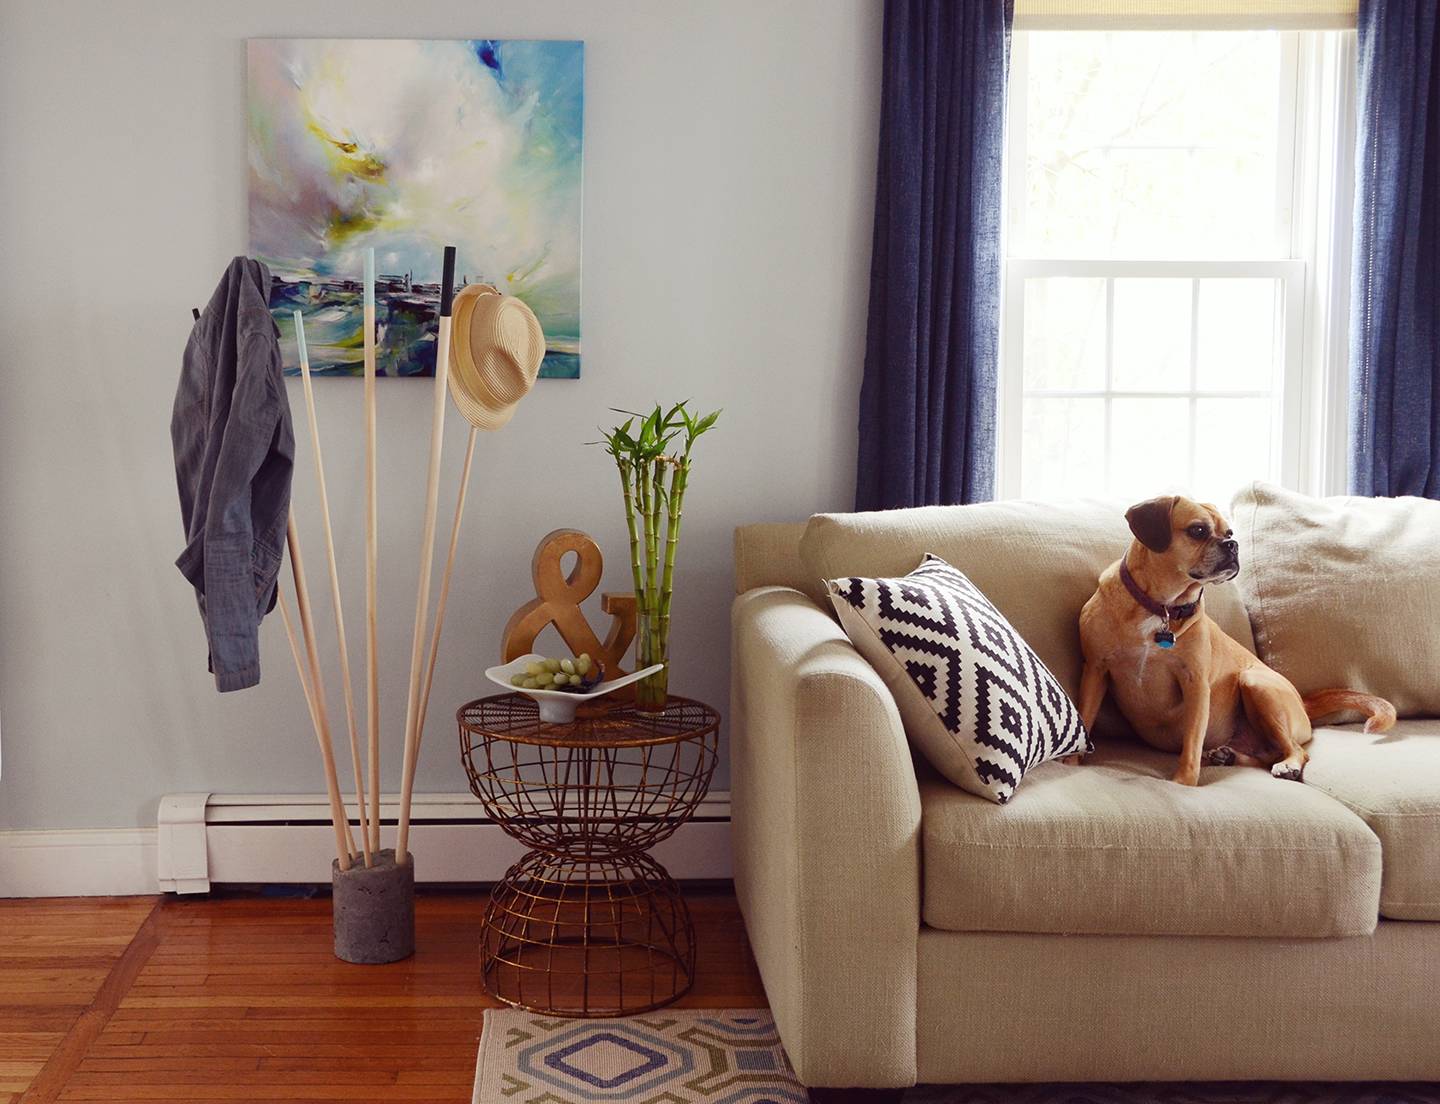
And you can really get creative with it – try using different length dowels, other paint colors, or you might even paint the cement base. Have fun with it!