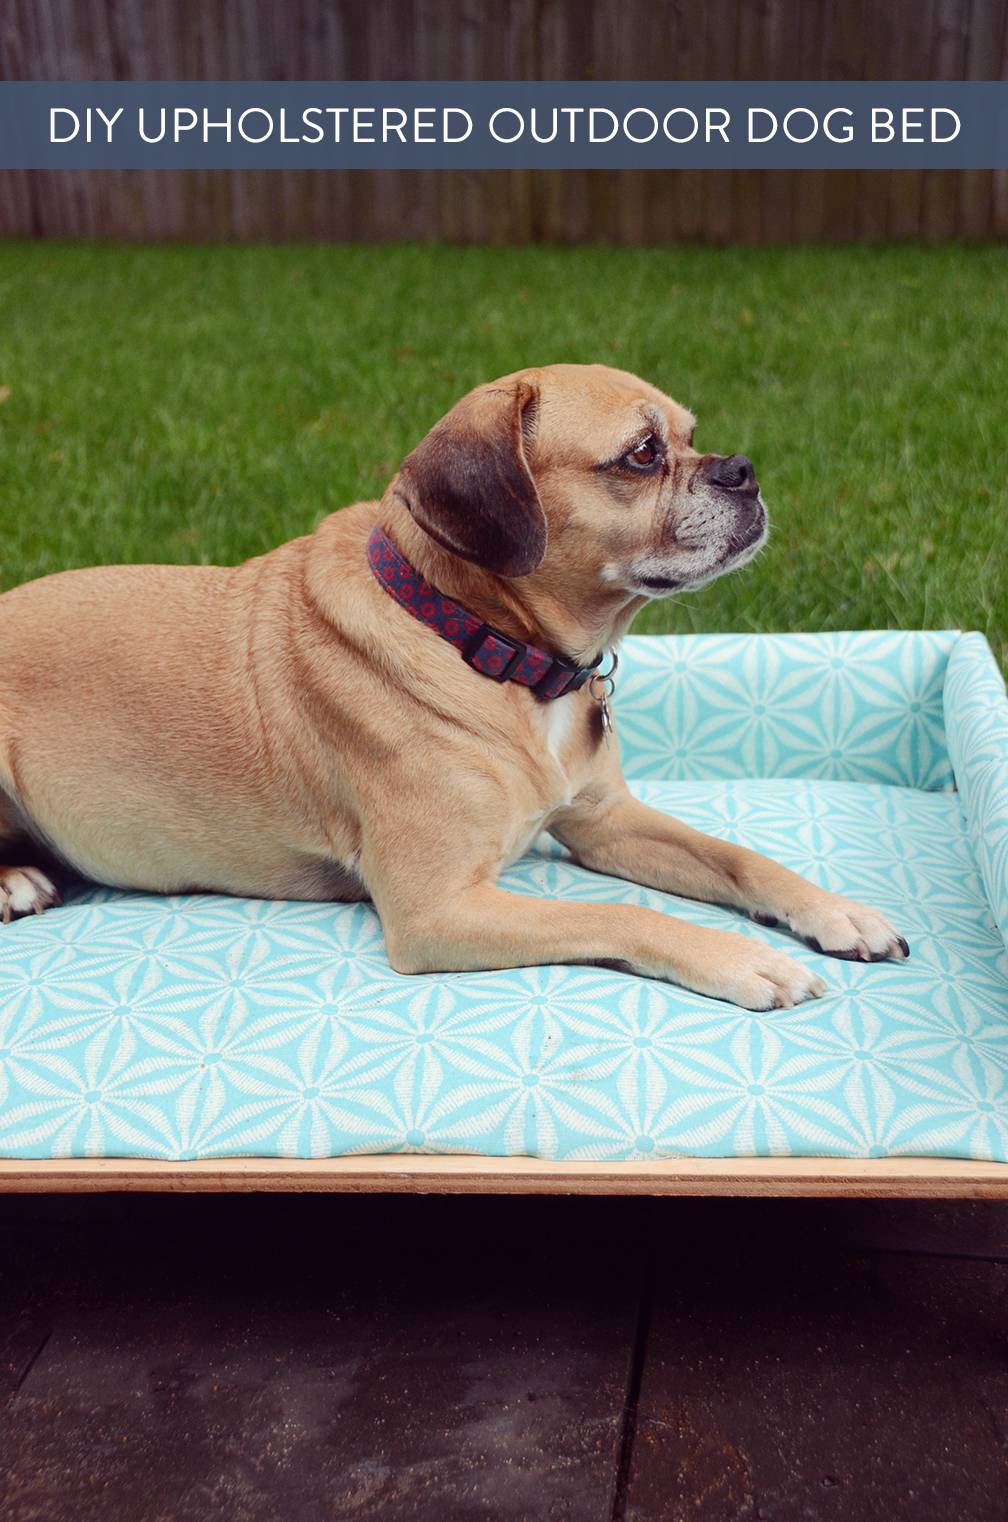
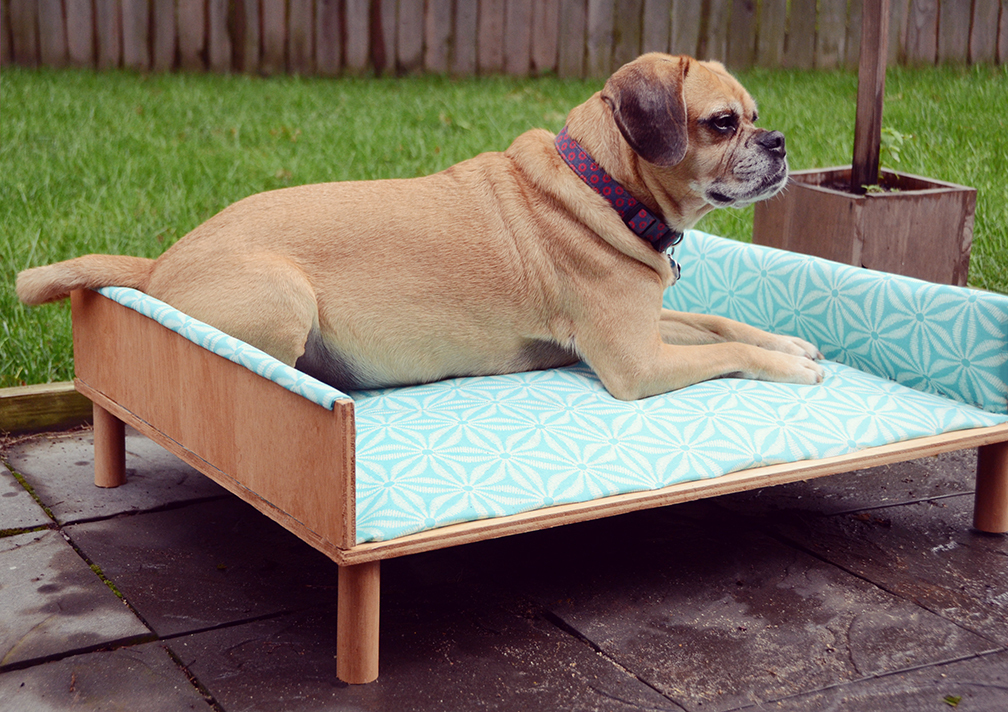
My dog Charlie loves to sit outside just as much as I do, but he’s a bit too big to lay comfortably on a chair or ottoman. So, I thought it would be fun to make an outdoor daybed for him. Click through to find out how to make an upholstered bed for your own furry friend!
Materials
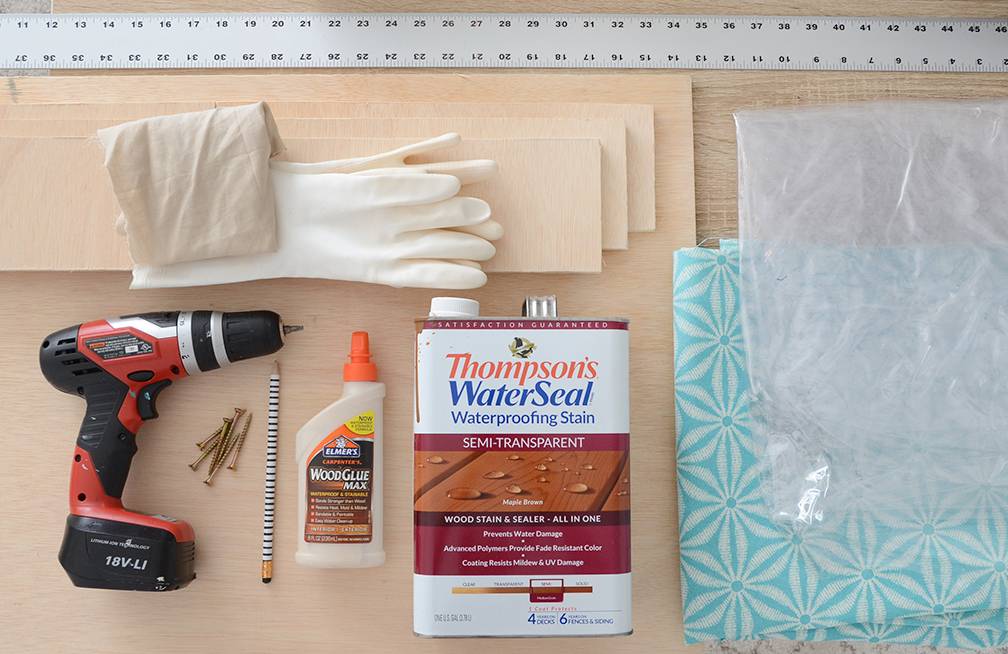
- 3/4 inch thick wood cut to sizes 30 x 20, 28 1/2 x 8, and 2 pieces that are 20 x 8
- 1 inch diameter dowel, 5 pieces of 5 inch tall pieces (not pictured)
- 1 yard of outdoor fabric
- 1 yard of clear vinyl material (available at most fabric stores… or a clear shower curtain will work)
- Scissors (not pictured)
- Thompson’s WaterSeal Wood Stain & Sealer All In One
- Rubber gloves
- Old rag
- Pillow stuffing (not pictured)
- Wood glue
- Pencil
- Ruler
- Staple gun (not pictured)
- Screws
- Electric drill
Step
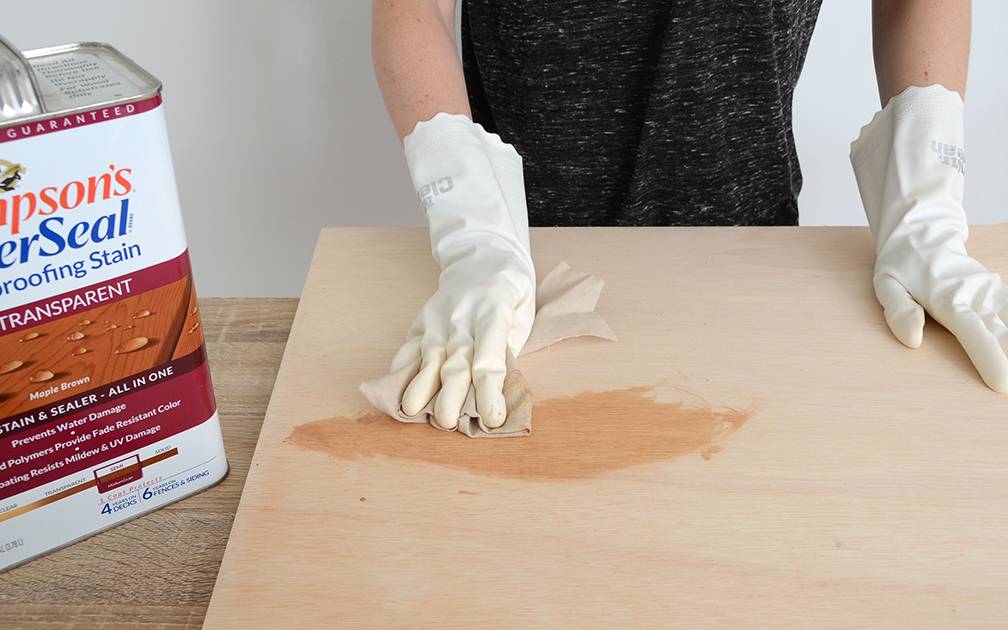
Begin by staining your wood. Put on a pair of protective rubber gloves and wipe the stain and sealer across all of the wood pieces with a rag. Be sure to do this in a well ventilated area, and protect your work surface because the stain will do just that – stain!
Step
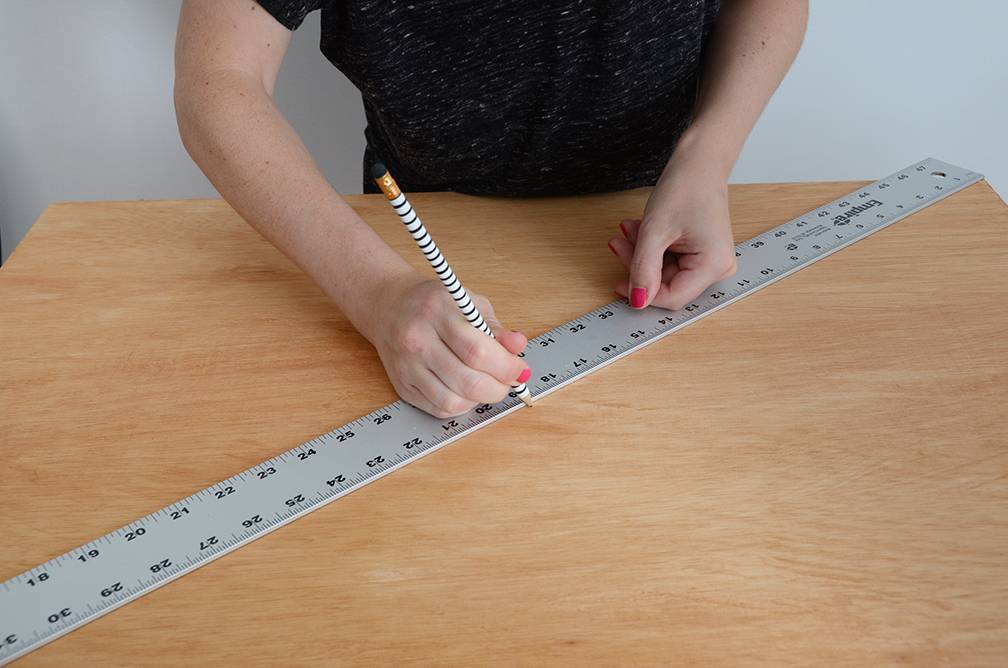
Once the stain dries, take some measurements for the leg placement. Find the center of the diagonal line from one corner to the opposite corner on the largest piece of wood. Flip it over and find the center point in the same manner on the back side.
Step
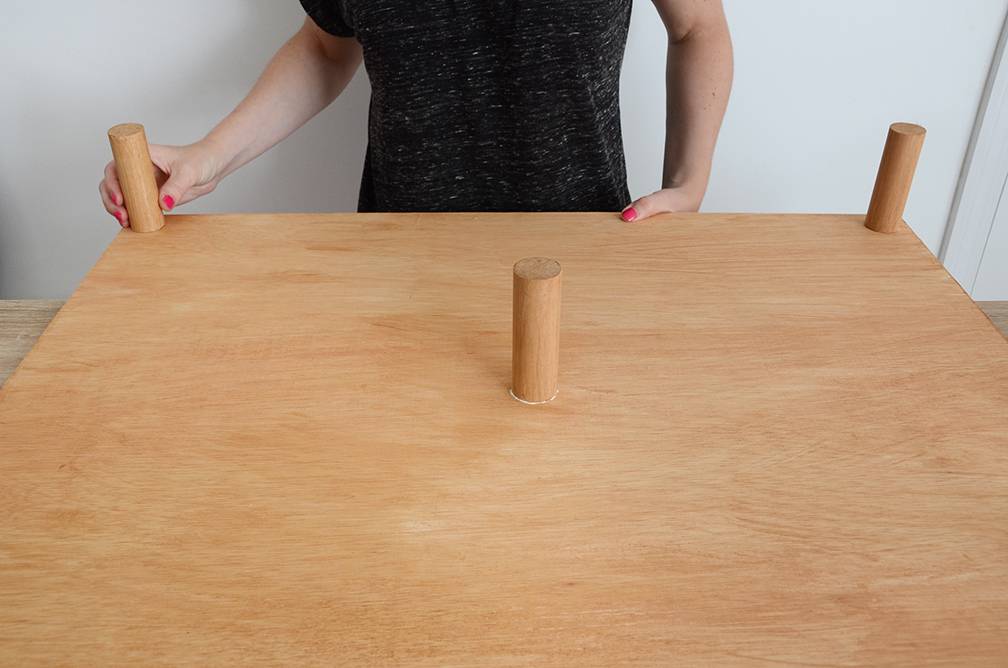
Glue one of the legs on that center point, and place the other four in the outer corners. Make sure to place those four half an inch in from the edges.
Step
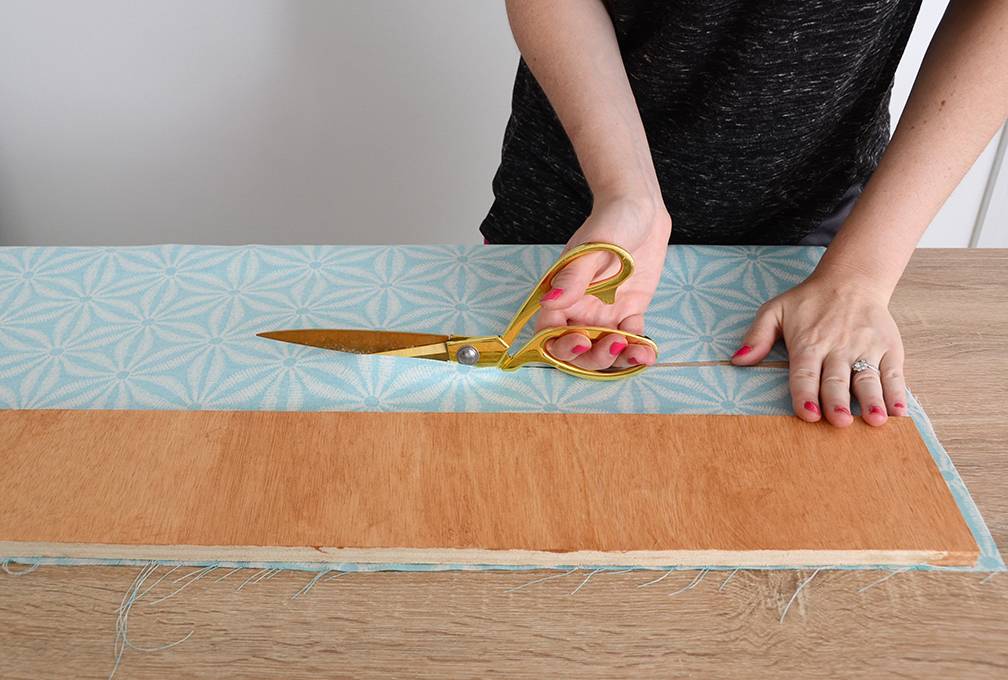
While those are drying, begin cutting your fabric. Cut two pieces of outdoor fabric to 20 x 8, one that is 30 x 8 and one that is 32 x 22. Cut the exact same size pieces from the clear vinyl fabric.
Step
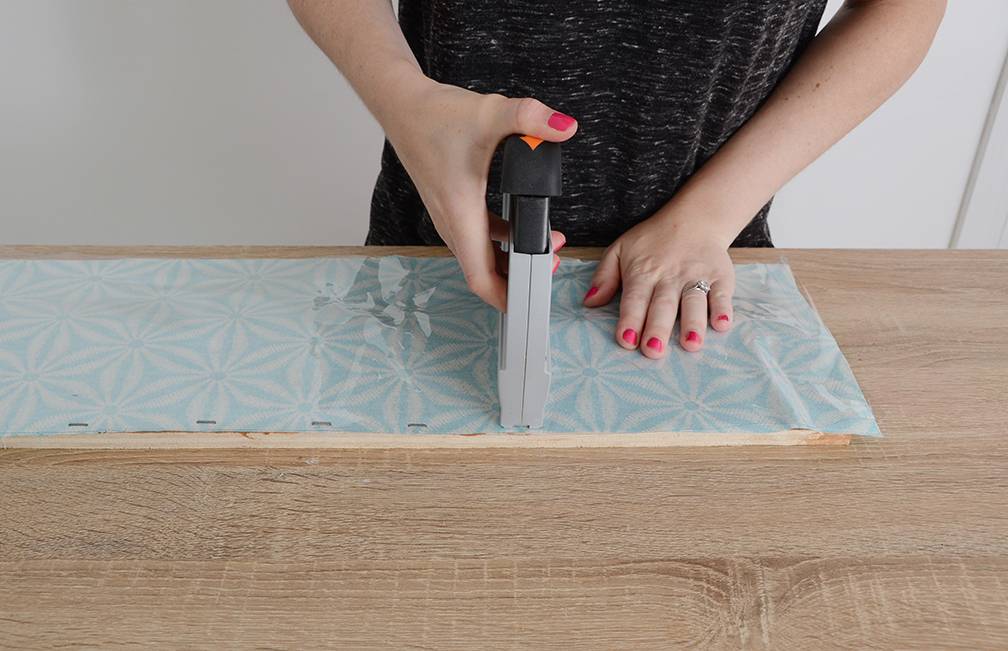
Lay the 20 x 8 piece of outdoor fabric right side down on the 20 x 8 wood, and lay the clear fabric on top of that. Staple across the top edge, 3/8 inch from the edge. Place a staple every two inches, stopping half an inch from each end.
Step
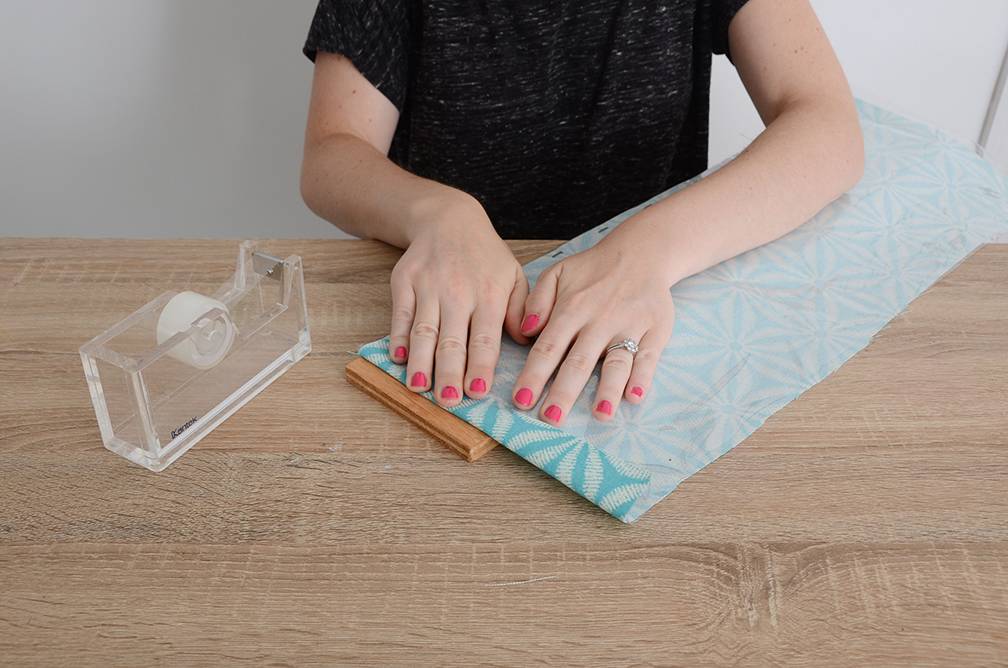
Fold the edge over by half an inch as shown above. Do the same on the other edge. Feel free to use Scotch tape to keep them folded.
Step
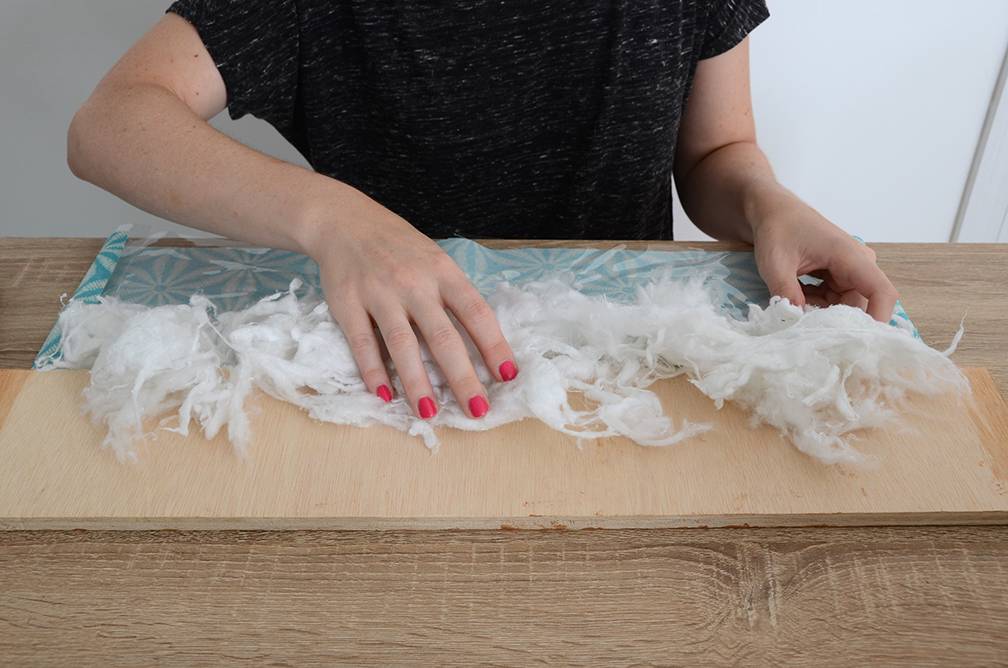
Flip the wood and fabric over and place stuffing on the surface of the wood.
Step
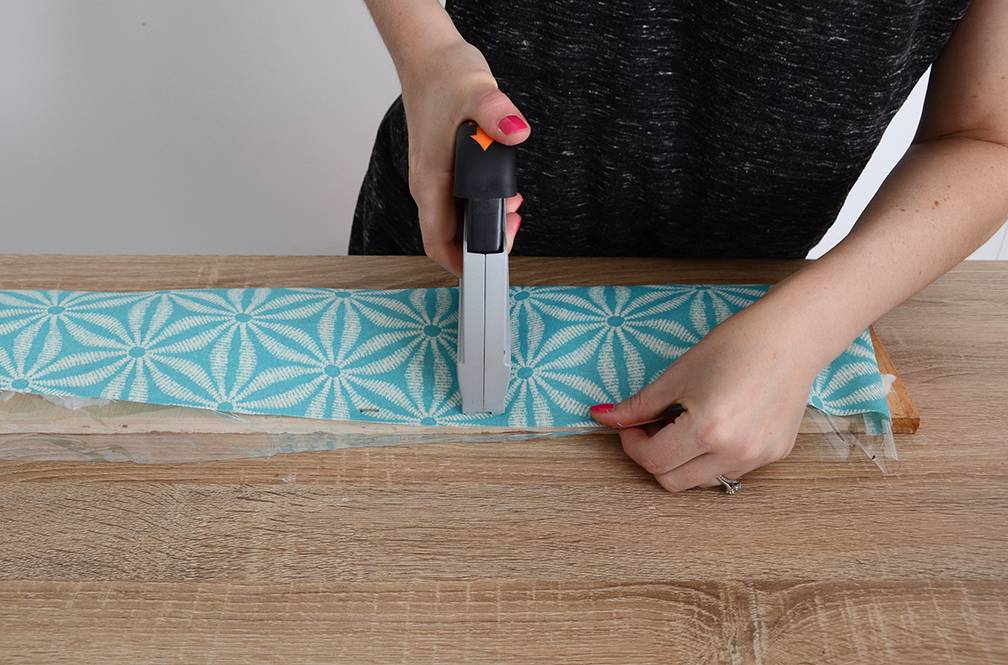
Pull the fabric taut over the stuffing and staple it down as close to the edge as possible. Staple every two inches, and staple the sides down as well so there are no spots for the stuffing to escape.
Step
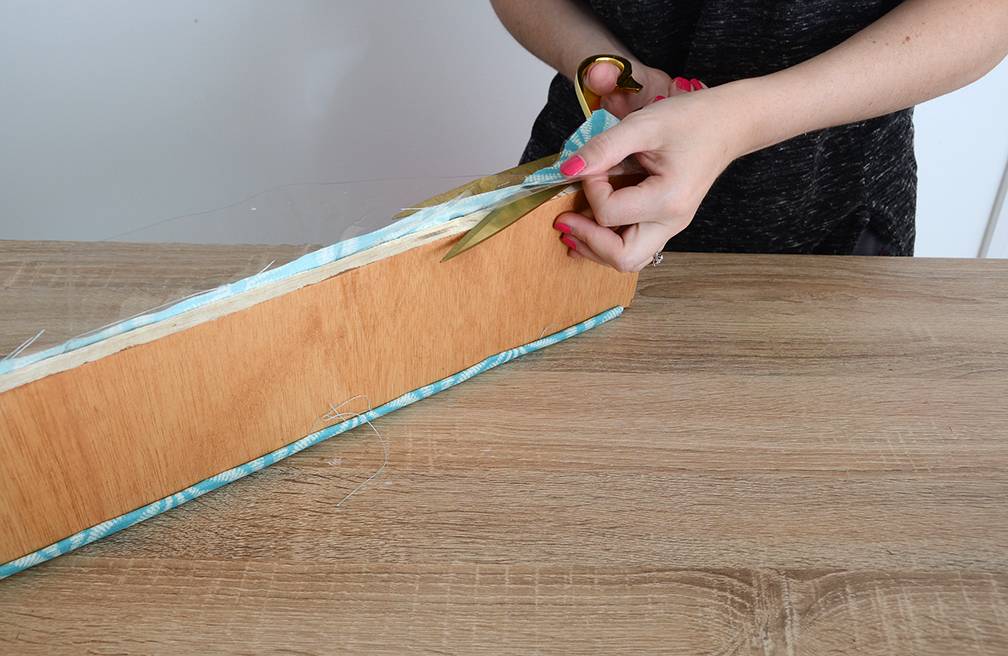
Trim off the excess. Repeat steps 4 through 8 on the other 20 x 8 piece as well. Do the same for the 28.5 x 8 piece too, but staple the fabric all the way to the edges on this one.
Step
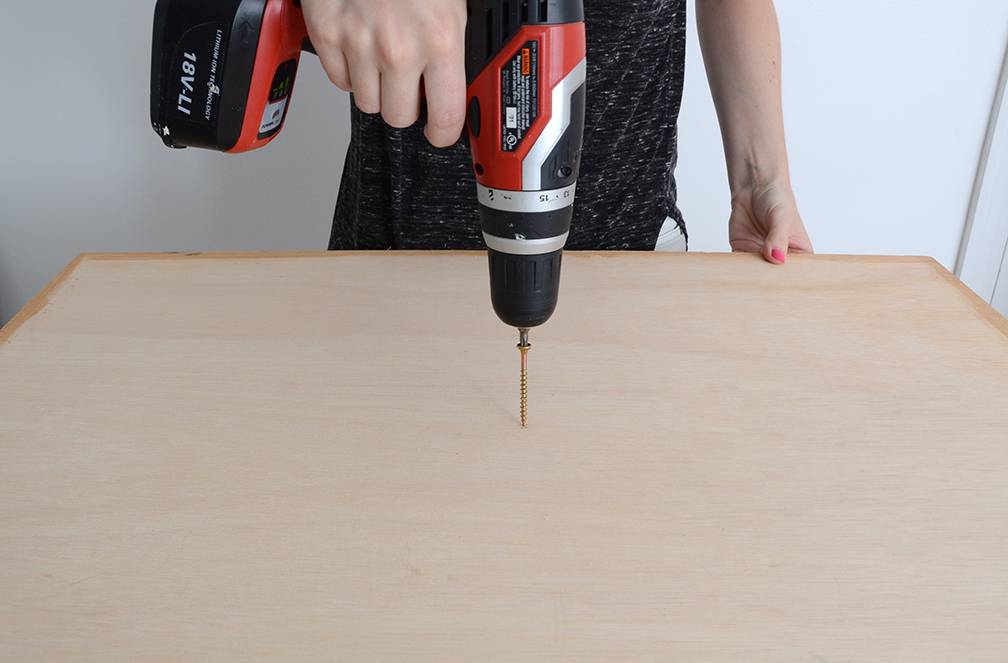
Now that your legs should be securely glued to the wooden base, reinforce the legs with screws. This is why you made that mark on both sides of the base. Screw through that middle mark from the top side, and it should go directly through the wooden leg below. Do the same for the four corner legs, placing the screw one inch from the edges so they go right through the center of the legs below.
Step
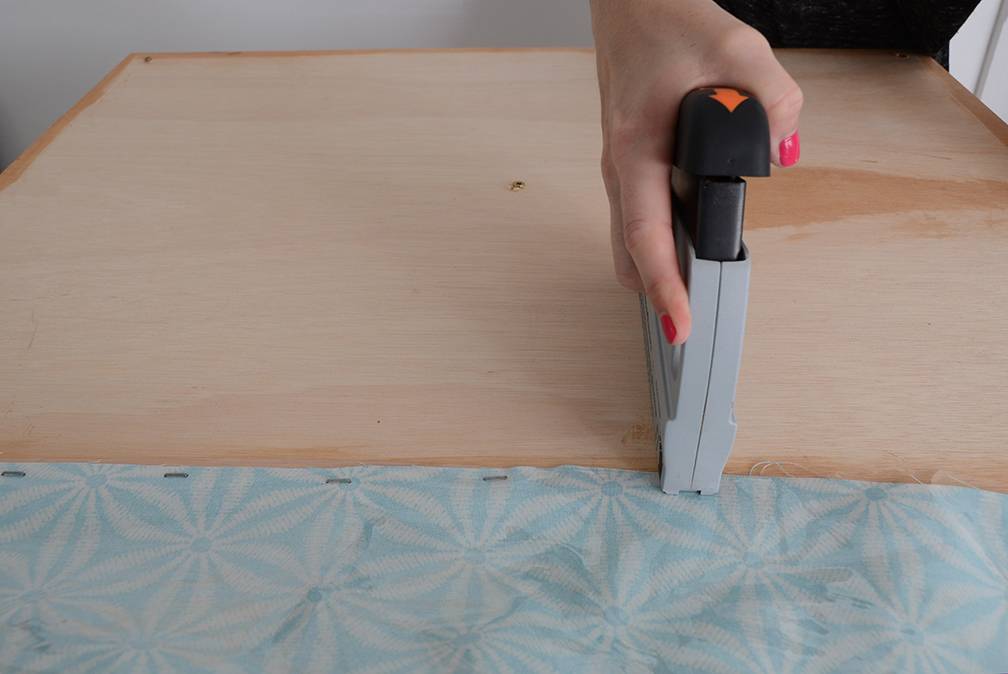
Place the edge of the large remaining piece of fabric face down as shown above, with the matching clear piece on top. Make sure it is face down so that when you flip it up, you won’t see the staples on this front edge where they would be most noticeable. Staple every two inches, 3/8 inch from the edge.
Step
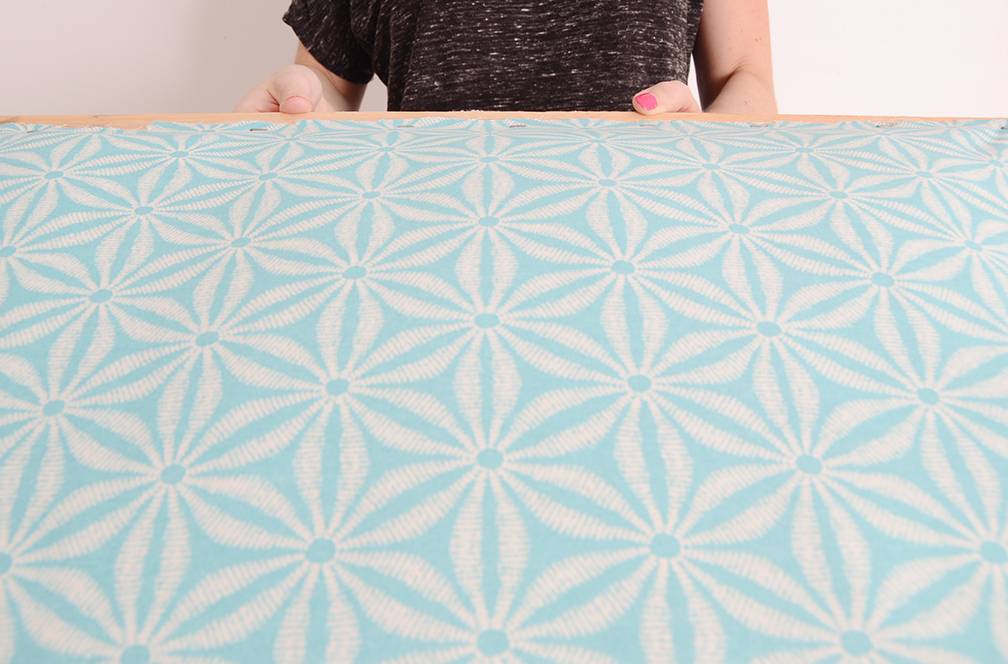
Place stuffing on the whole surface of the base and then stretch the fabric across the top and staple all the way around, an inch from the edge. Cut off the excess fabric… this should leave 3/4 of an inch open for you to glue the three side pieces down. Once the glue has dried thoroughly, reinforce them with screws in the back corners.
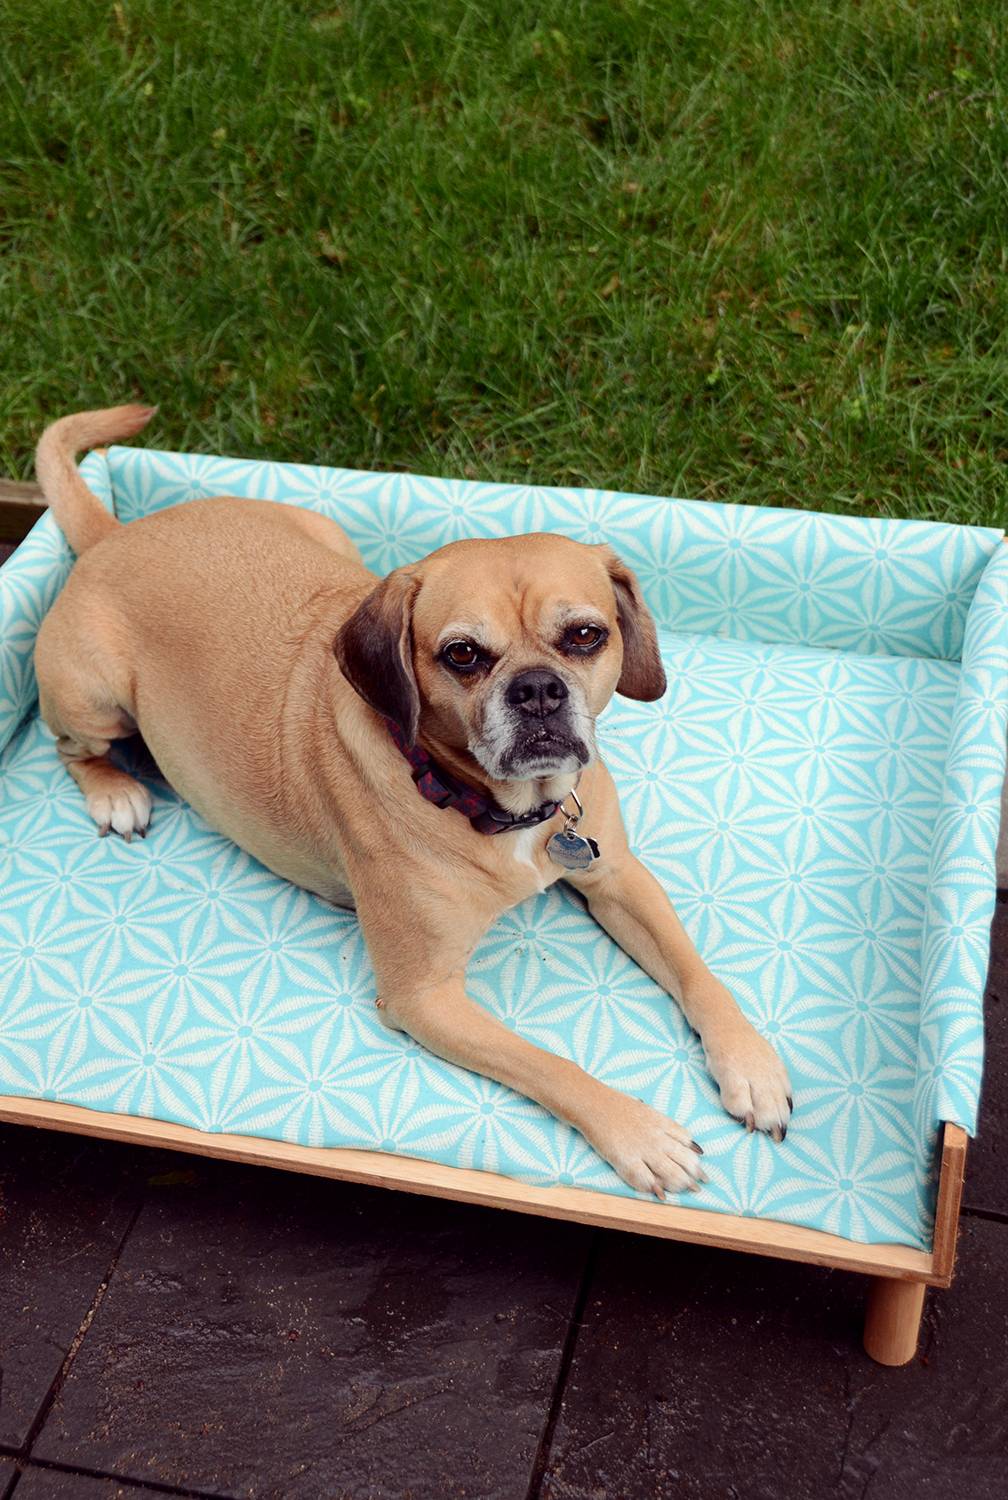
And you’re finished! Your pooch will love his new comfy outdoor bed… my dog Charlie can’t get enough of it.
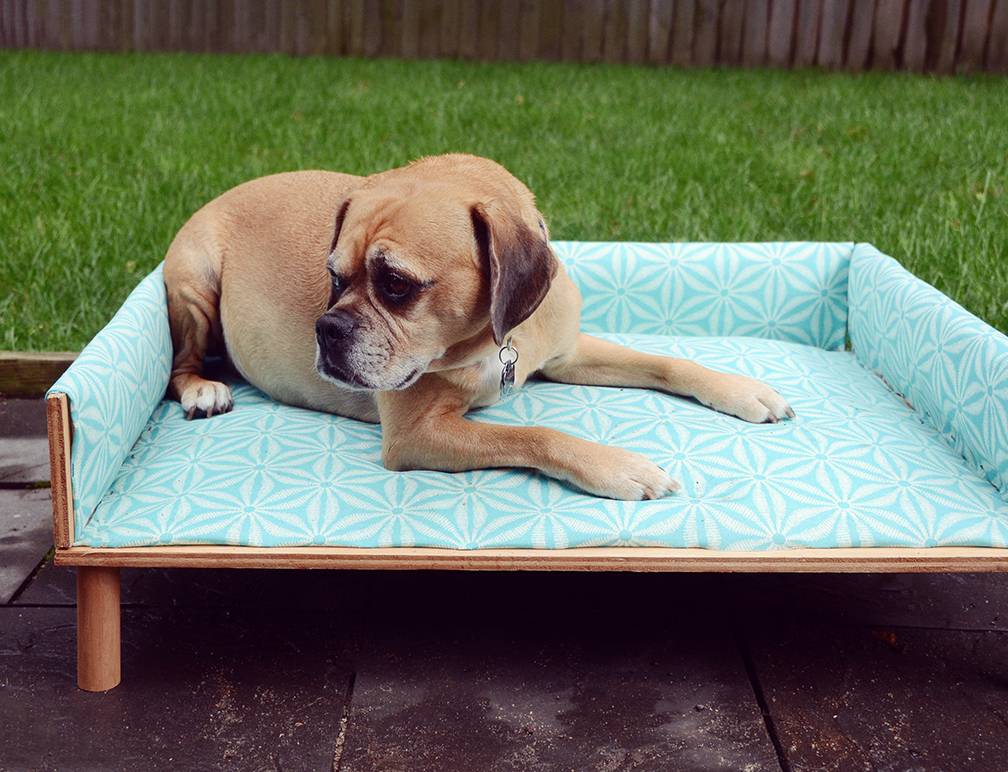
I would recommend bringing it inside when not in use so it lasts longer, but it will stand up to the elements thanks to the durable fabric and Thompson’s WaterSeal.
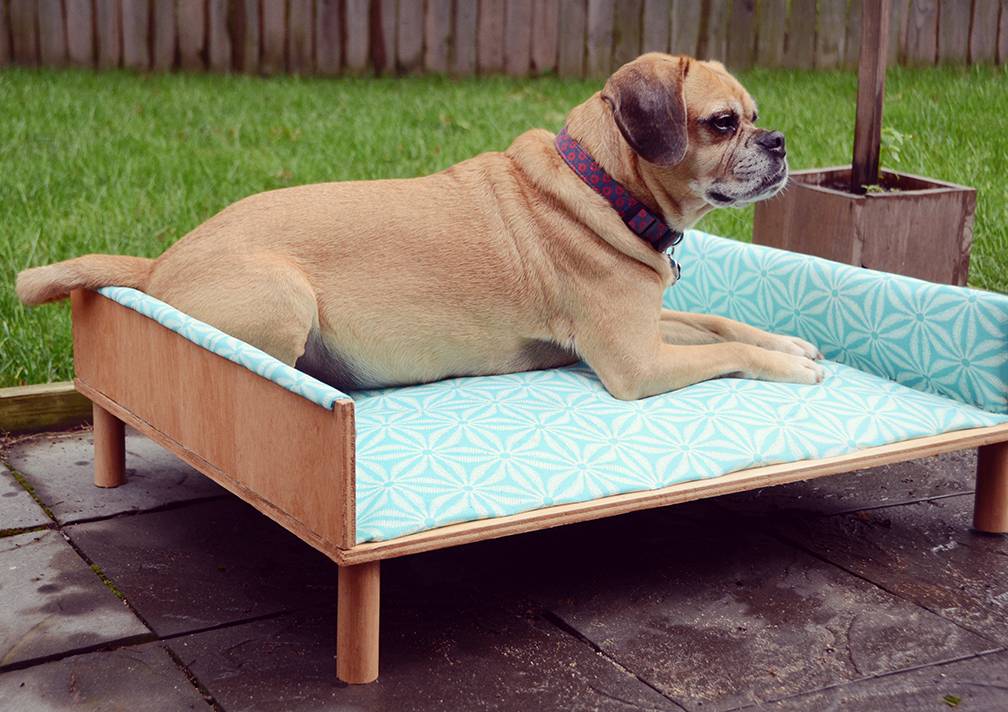
Your furry friend will want to stay outside all day, now that he has a stylish new daybed!
Thanks @Vritika Reddy… good luck with it!