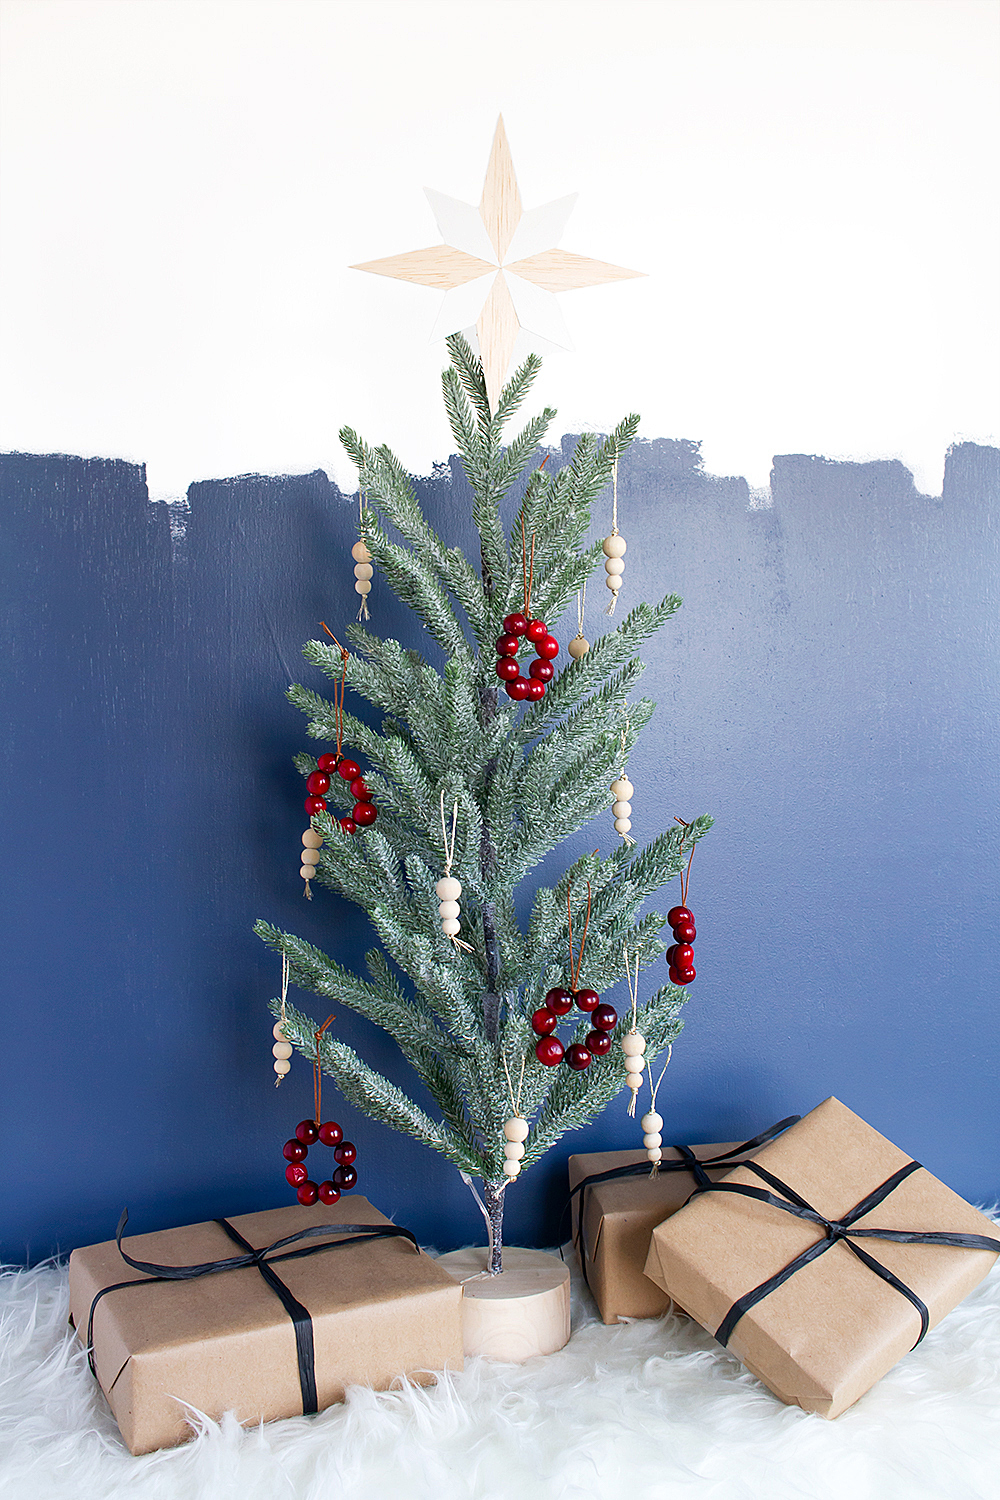
Finding minimal holiday decorations isn’t always the easiest. Let’s face it, this is not a season known for restraint!
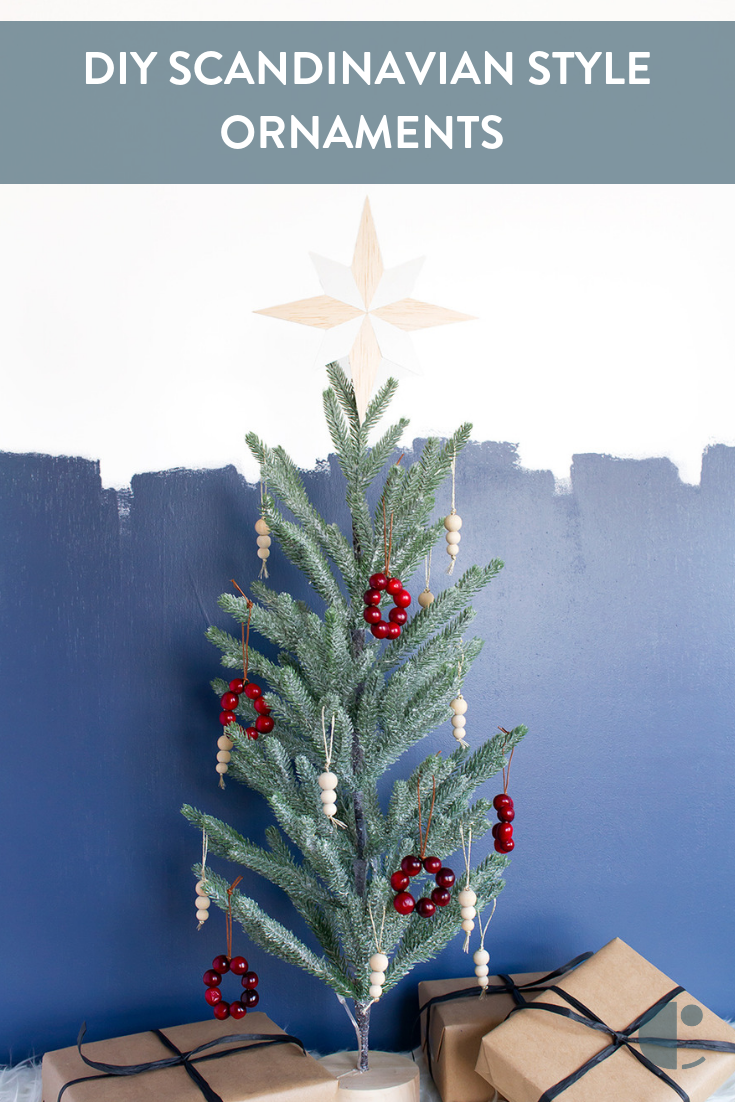
As my own decorating tastes are turning ever more minimal, I decided to take a cue from my favorite design style and make a few DIY Scandinavian-inspired ornaments. I just love how simple and natural this look is, while still being festive.
Keep reading to see how to make all three decorations so you can style your own minimal holiday tree!

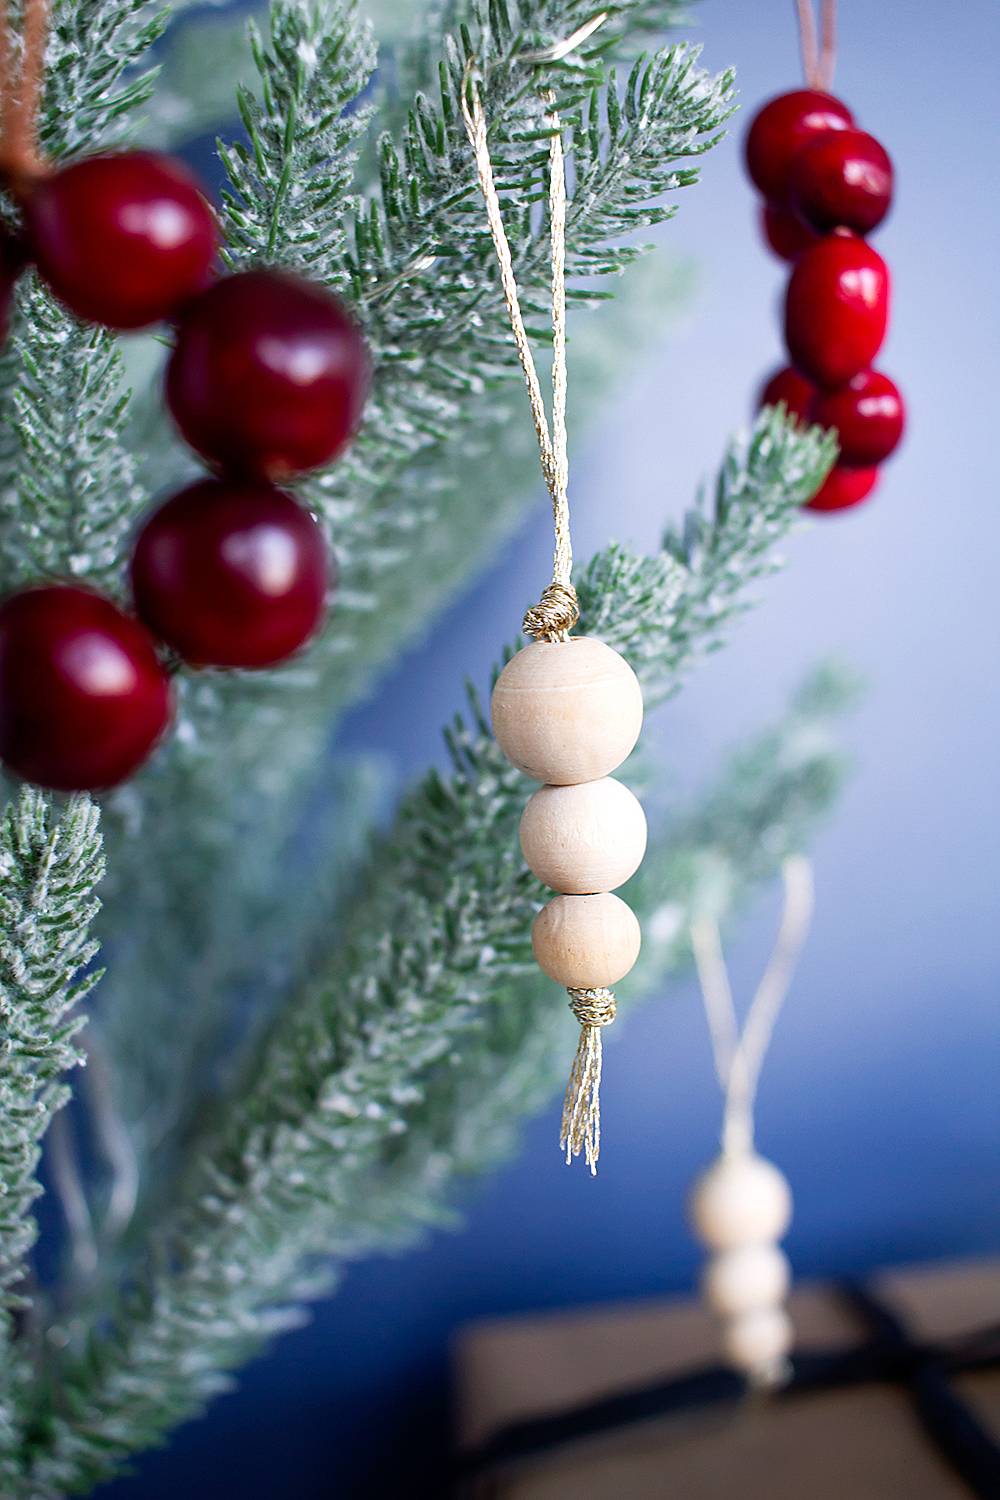
First up we’ll make a super simple DIY wood bead ornament. It’s so easy you don’t even really need instructions, but for the sake of thoroughness, read on!
Materials
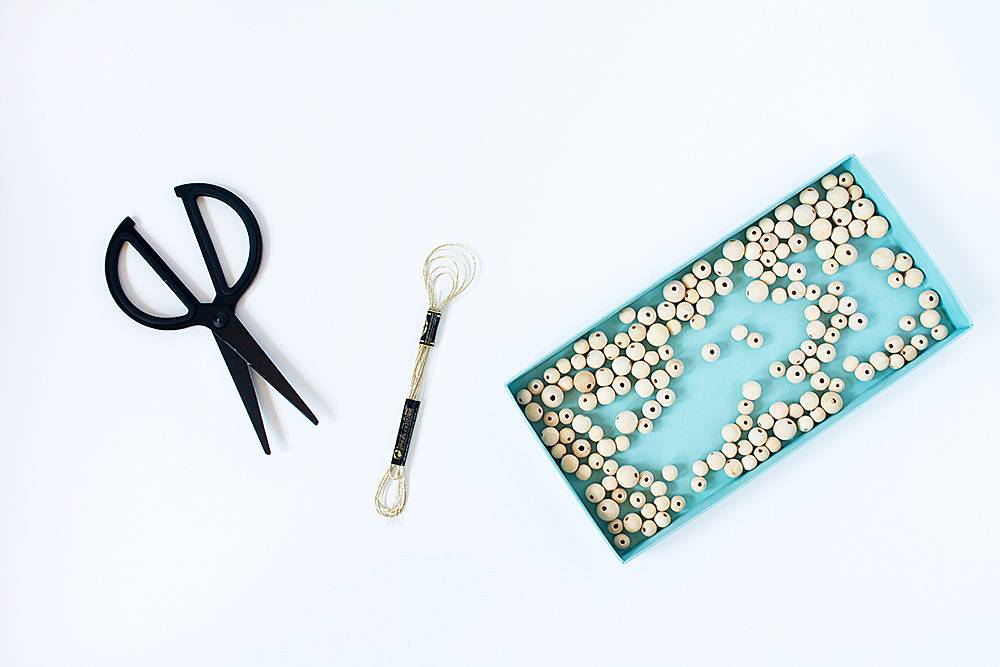
- Wood beads in three different sizes
- Metallic embroidery thread, or other string for hanging
- Scissors
- Optional: a needle with a large eye
Step
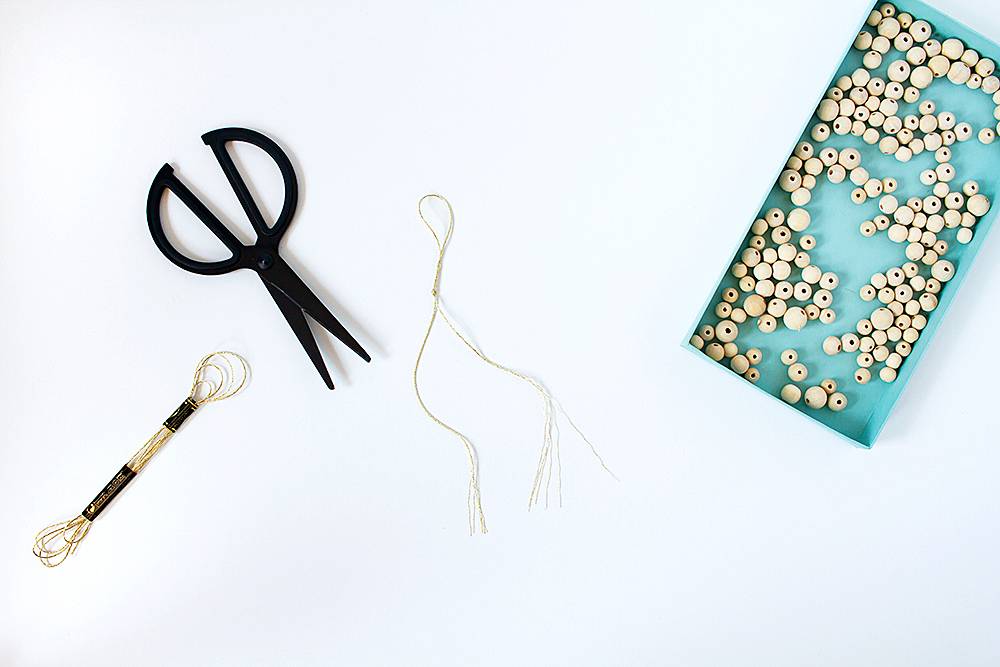
Cut a length of thread about 10 inches long, fold it in half, and tie a double knot about 1/3 of the way down. This forms the hanging loop.
Step
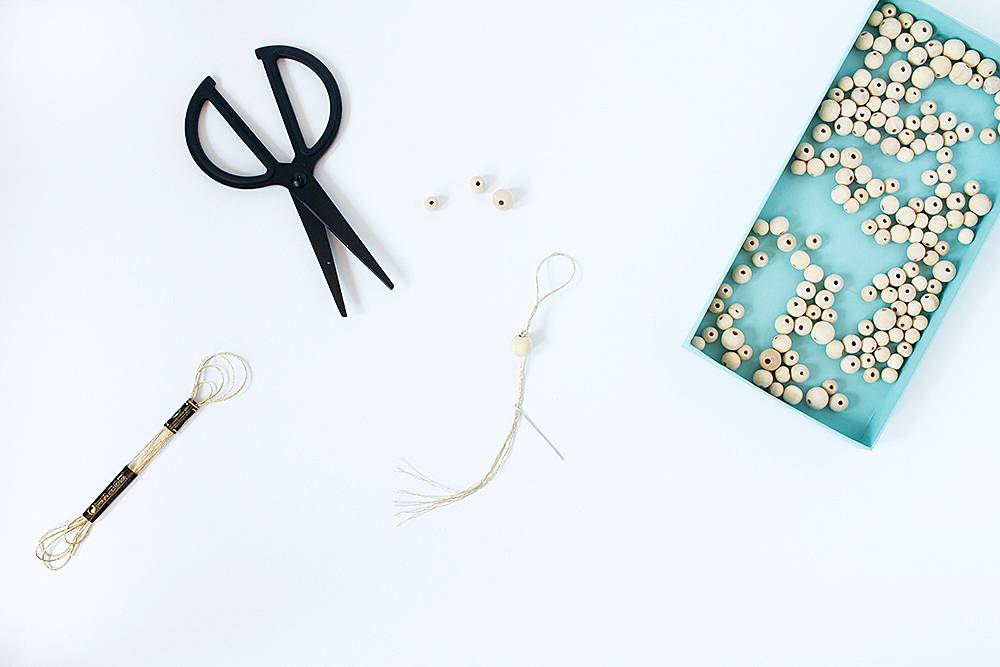
Thread three beads onto the string, largest to smallest. If you are using metallic embroidery floss, which unravels easily, it can be helpful to use a needle to guide the beads onto the thread.
Step
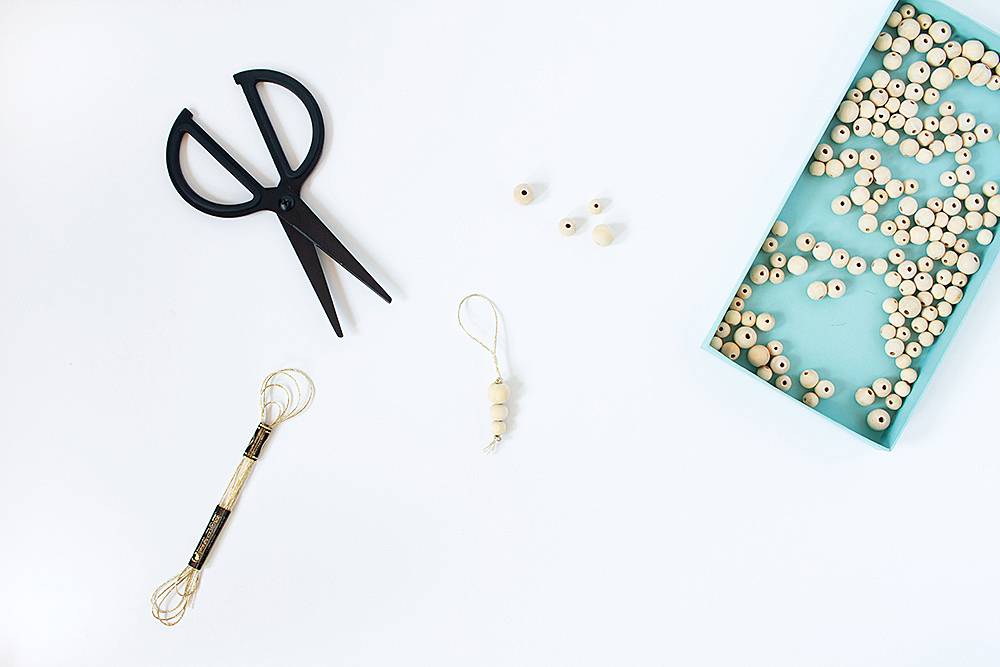
Tie a double knot under the last bead, then trim the ends. Voila!
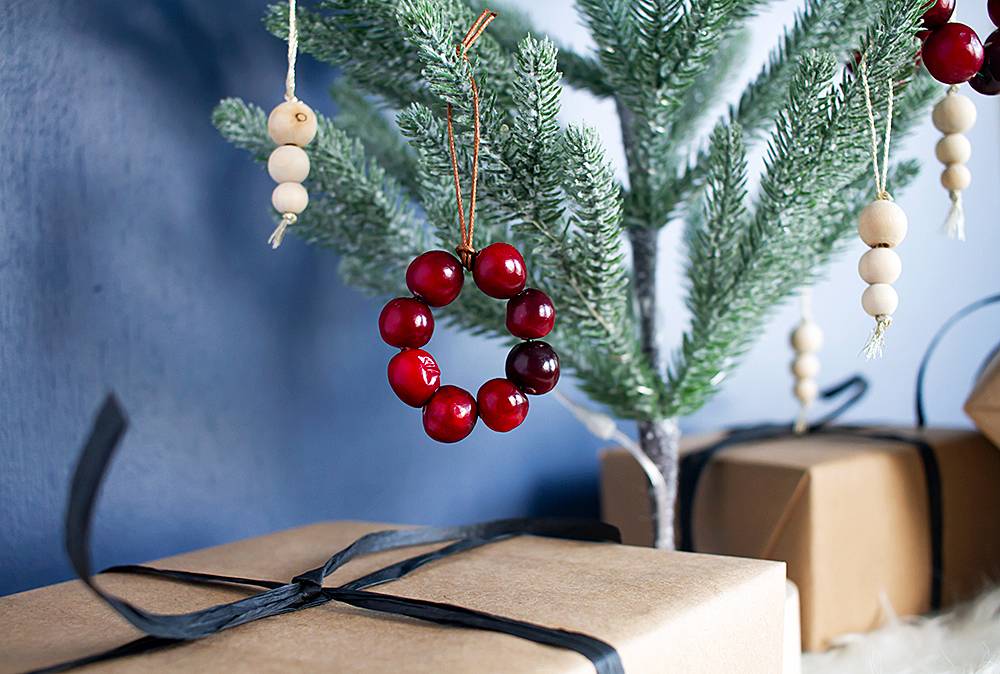
Now let’s add a little color to our minimal Christmas tree with these DIY mini cranberry wreath ornaments. Aren’t they just the cutest?
materials
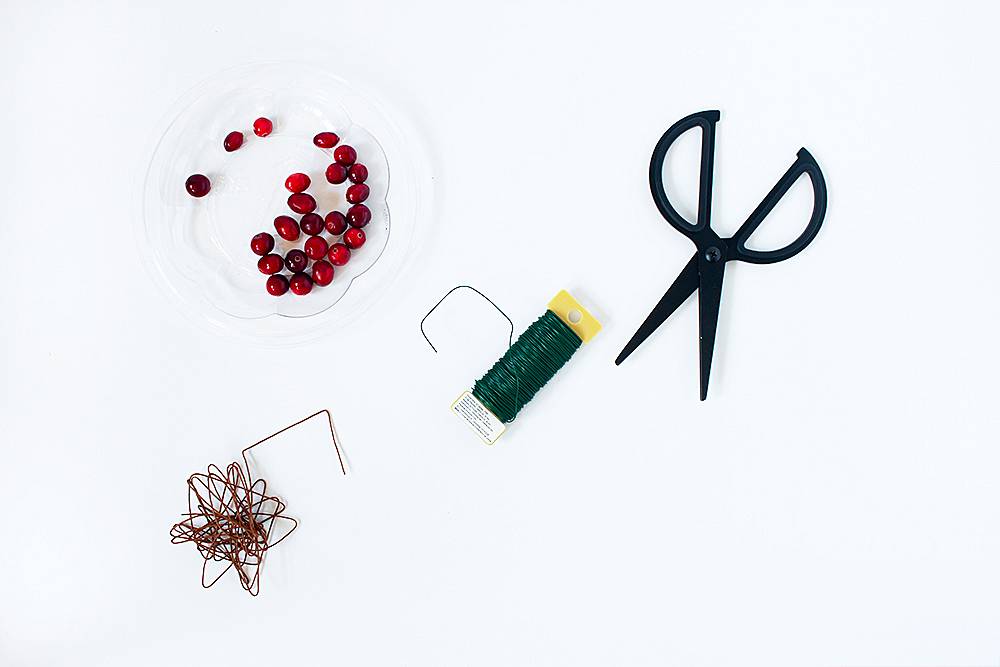
- Fresh cranberries
- Floral wire
- Strong scissors or wire cutters
- Waxed cotton cord, or other string for hanging
Step 1
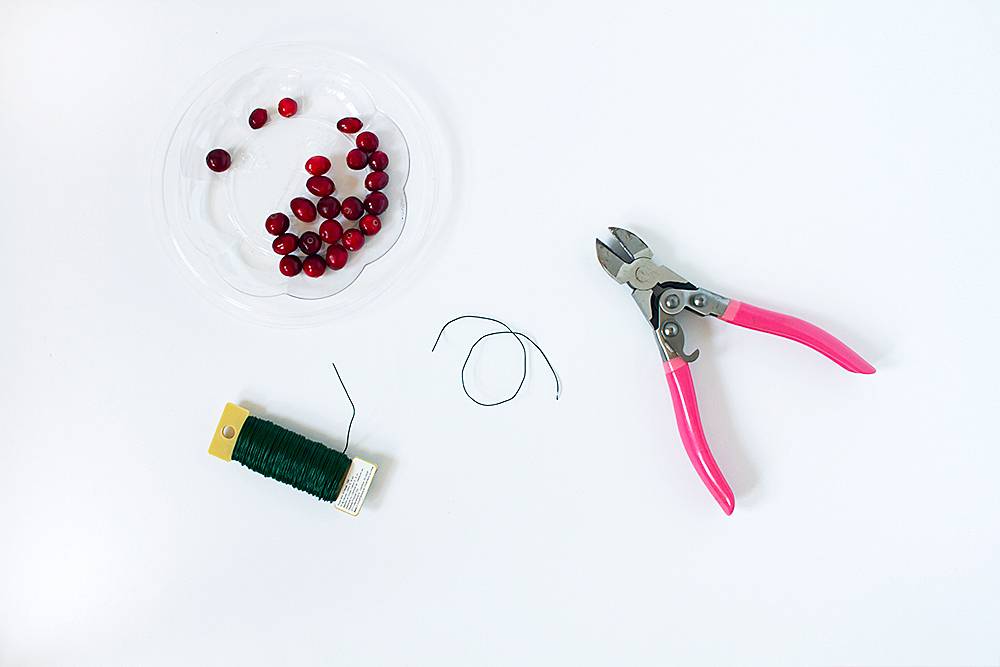
Cut a length of wire about 10 inches long, and form it into a circle.
Step 2
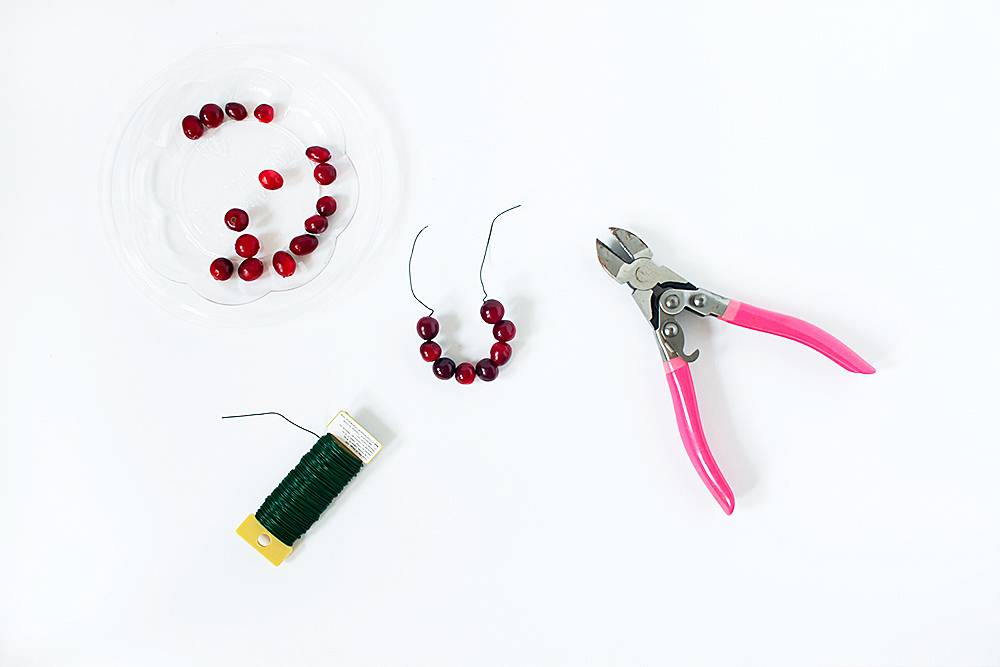
Thread cranberries onto the wire until the ornament is the size you want.
Step 3
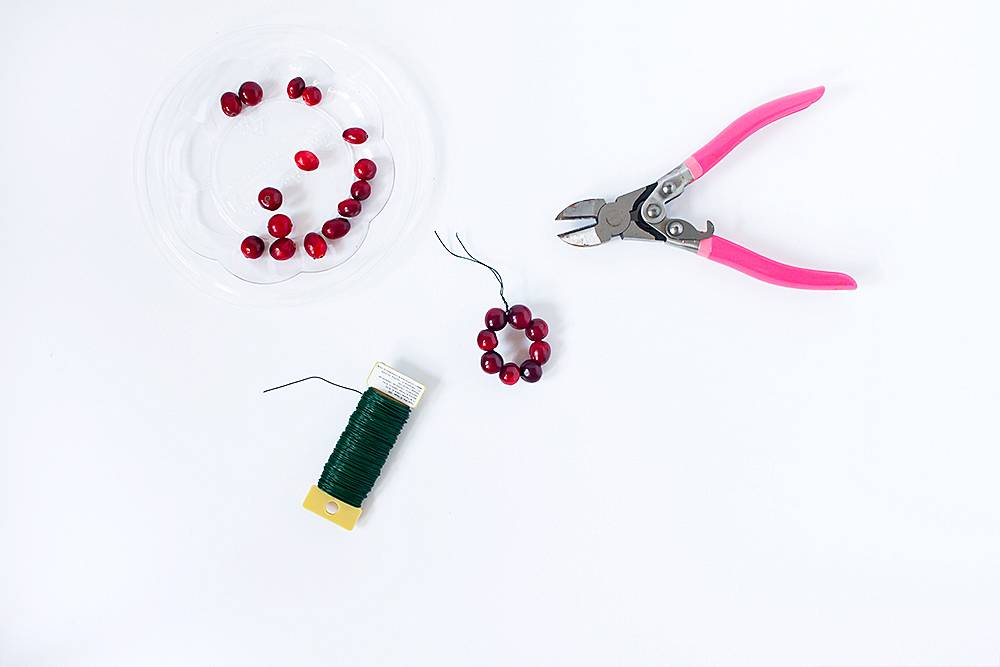
Close the “wreath” by twisting together the ends of the wire, like a twisty-tie.
Step 4
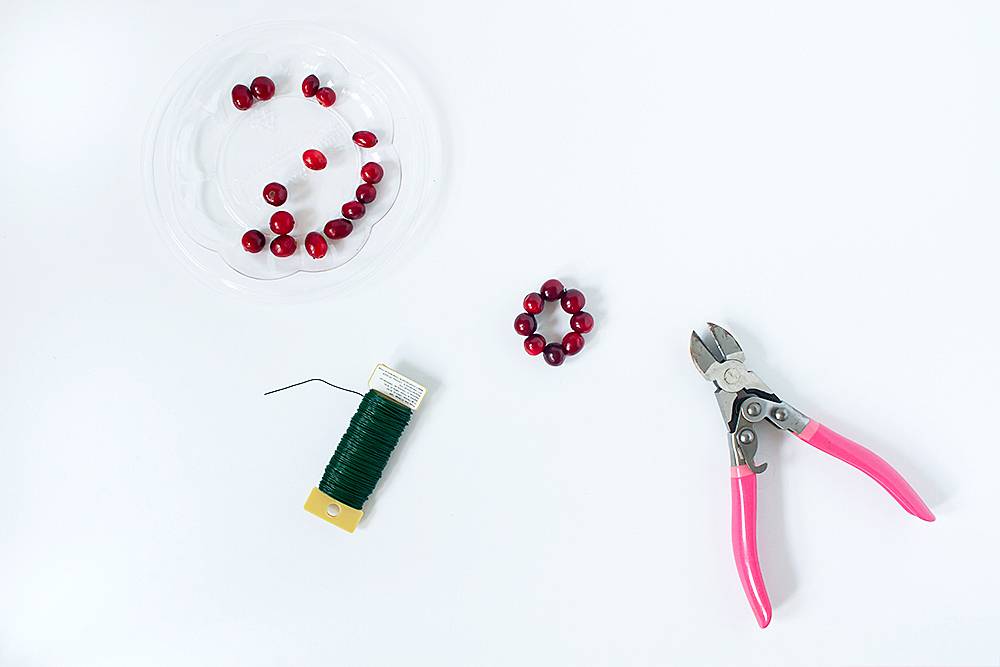
Snip off the wire ends.
Step 5
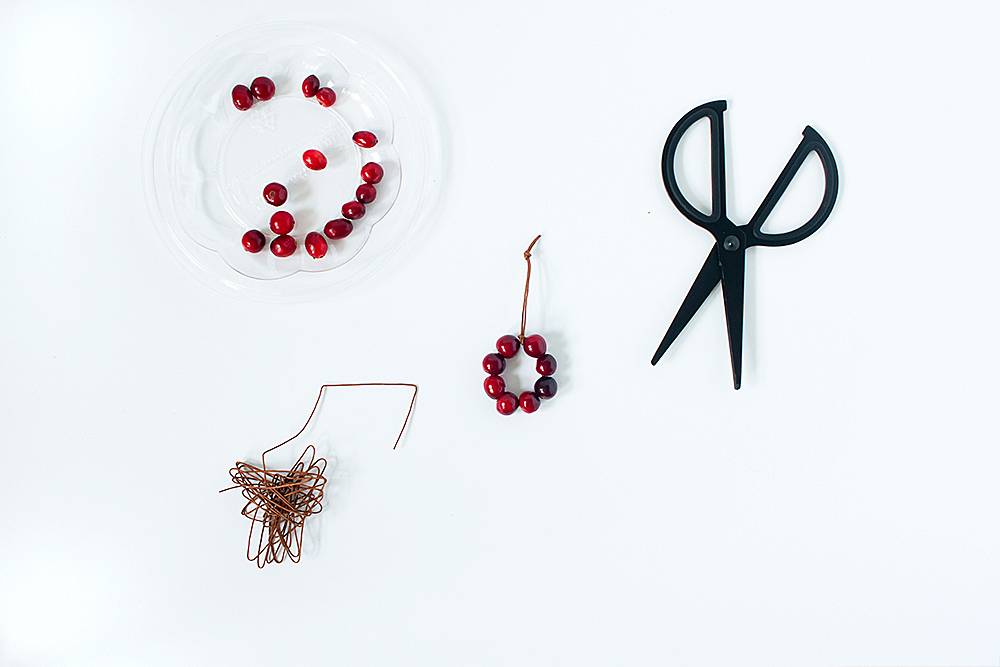
Then attach a length of cord to hang the ornament. Done!
Finally, every tree needs a star or two. This DIY wood star tree topper looks fancy, but is really simple to make, promise. And I’ve included a printable template!
materials
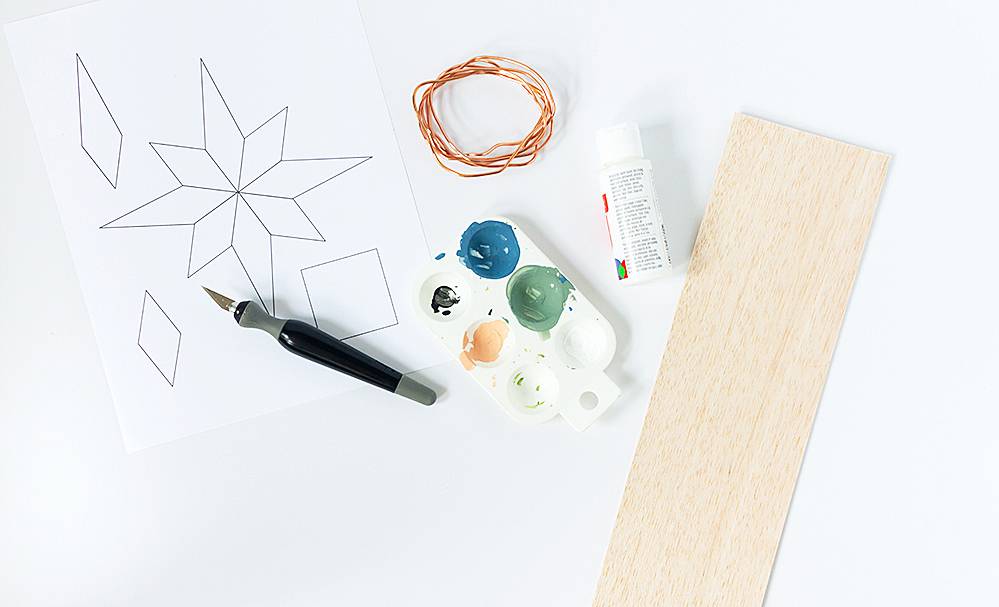
- 8-pointed star template
- Balsa wood (I’m linking to it so you can see what I used, but balsa wood is much cheaper when purchased in a craft store, so you don’t have to buy such large quantities!)
- Craft knife
- Pencil
- Paint and brushes
- Thick jewelry wire, 14 gauge or lower
Not pictured: a sturdy ruler, cutting mat, wire cutters, and a hot glue gun.
Step 1
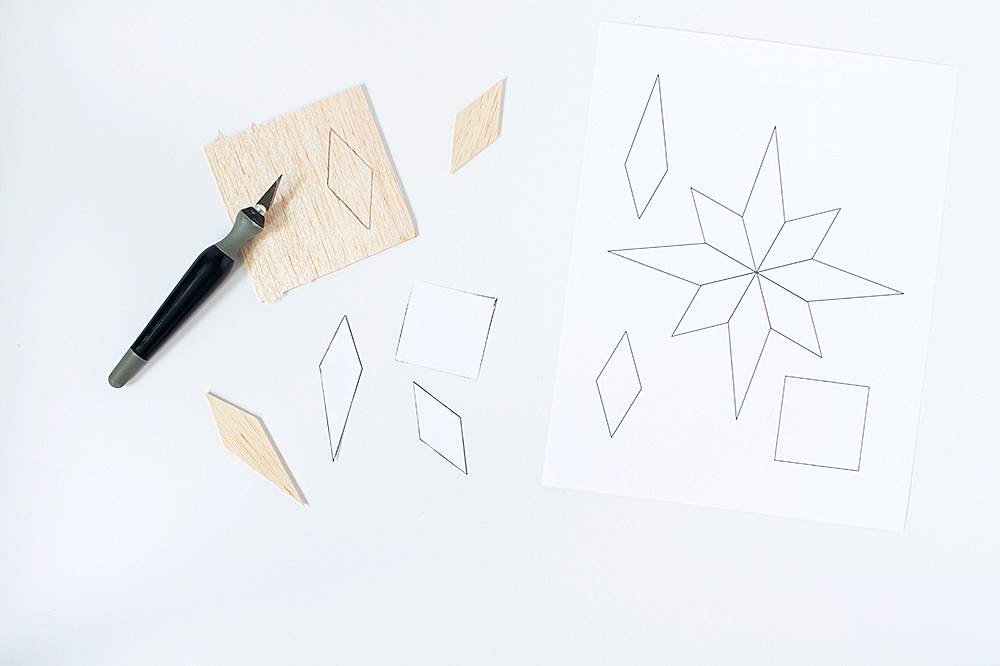
Print the template onto cardstock, and cut out the three shapes (the square and the two points). You don’t have to cut out the whole star, I just included it so you would know what the final piece should look like.
Trace the shapes onto balsa wood, and cut out using a craft knife and ruler. In addition to the square, you will need 4 large points, 4 small points, and 1 square.
Step 2

Paint the 4 small points with two coats of white paint. A shimmery metallic paint would also look nice!
Step 3
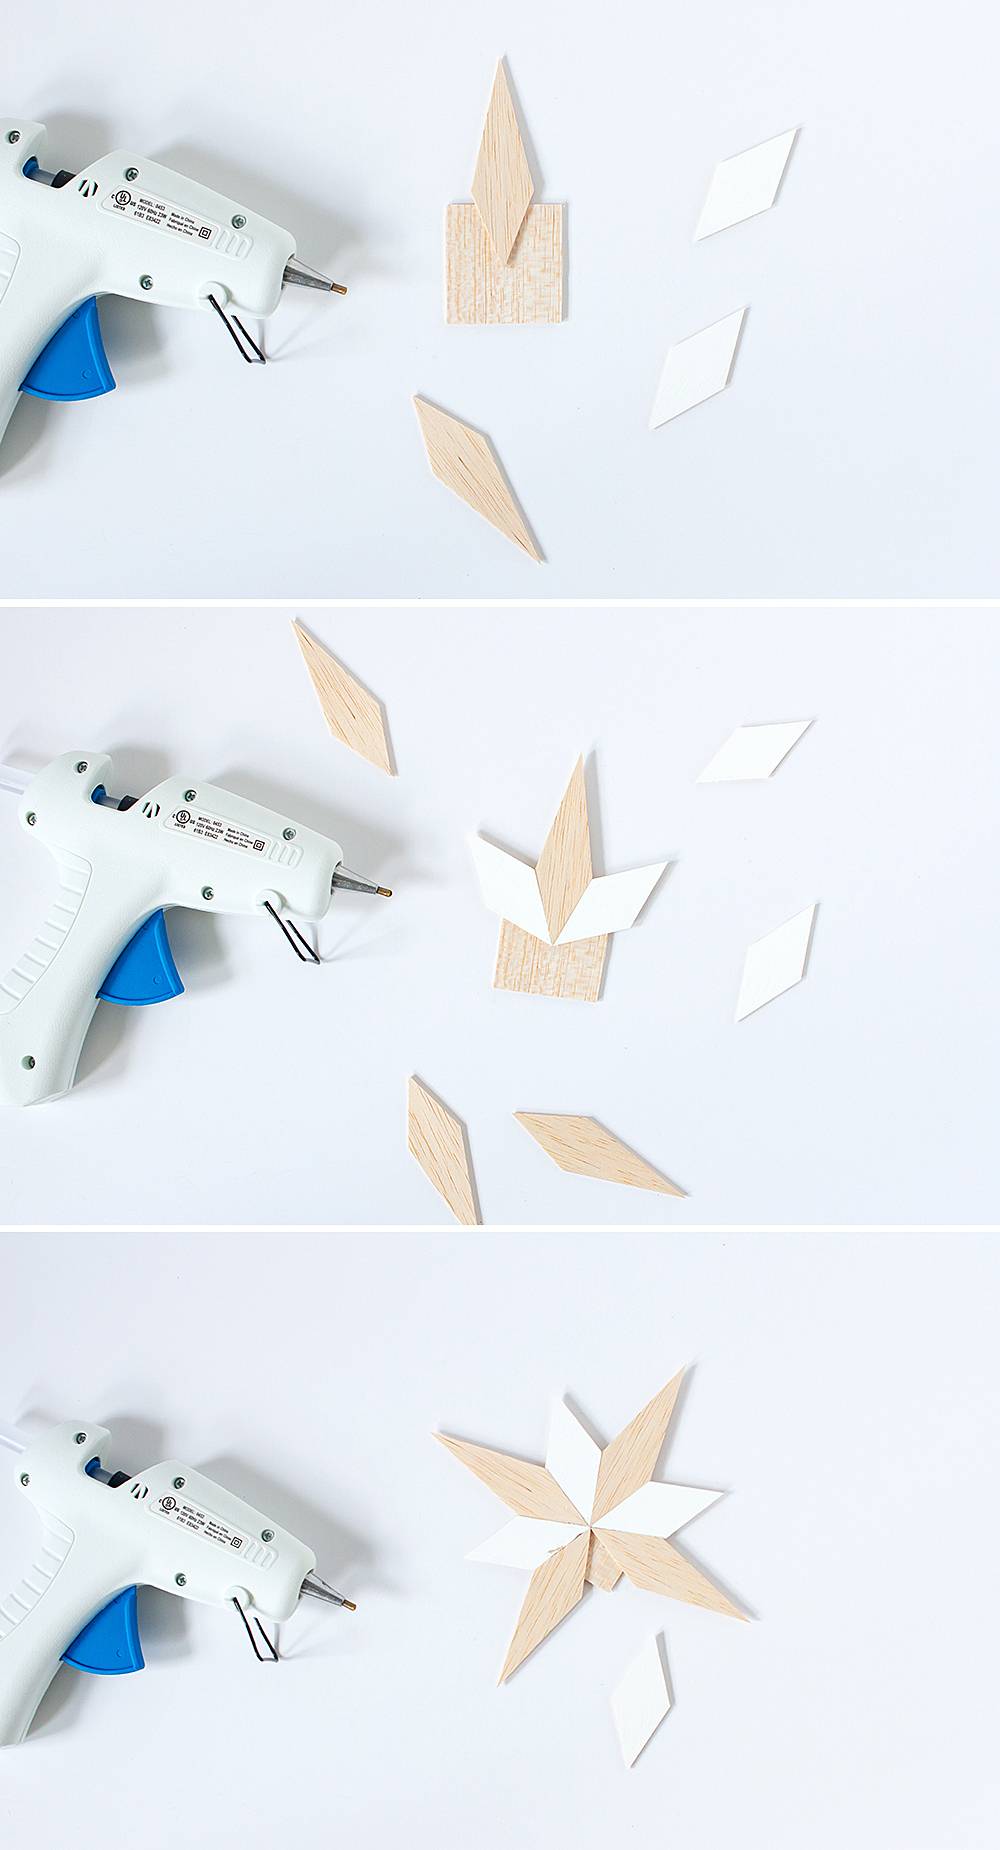
Glue the points of the star to the square, alternating the large and small points.
If your cuts aren’t completely accurate, you may have to trim the last piece a little to get it to fit. Don’t worry, that happened to me, too!
Step 4
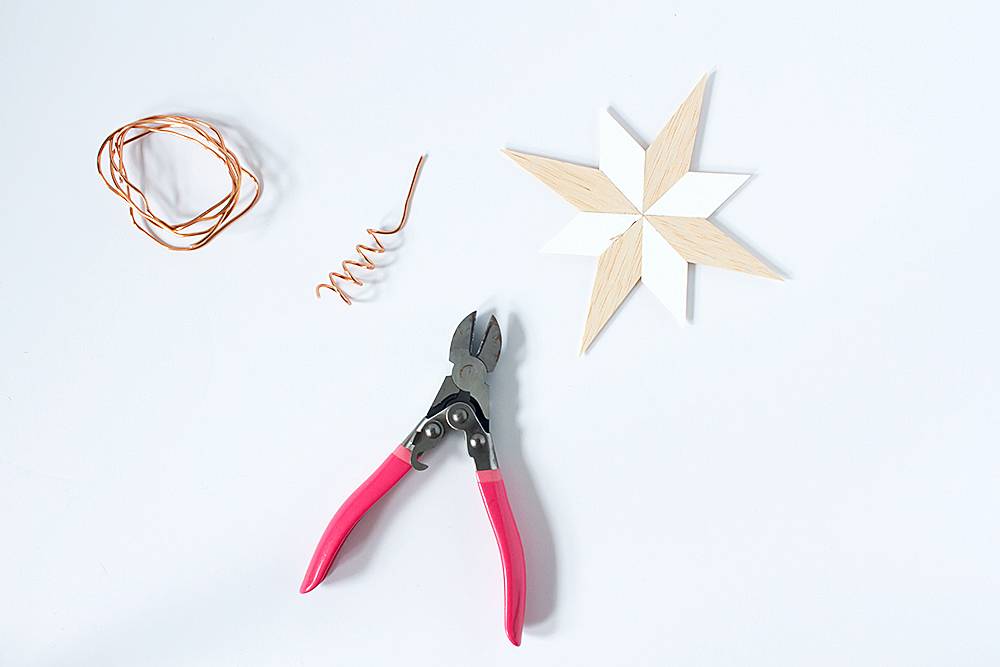
Cut a length of wire about 10 inches long, and form it into a spiral. I wrapped the wire around my index finger since that was about the size of the top of my tiny tree. Make sure to leave a long tail on the narrower end of the spiral.
Step 5
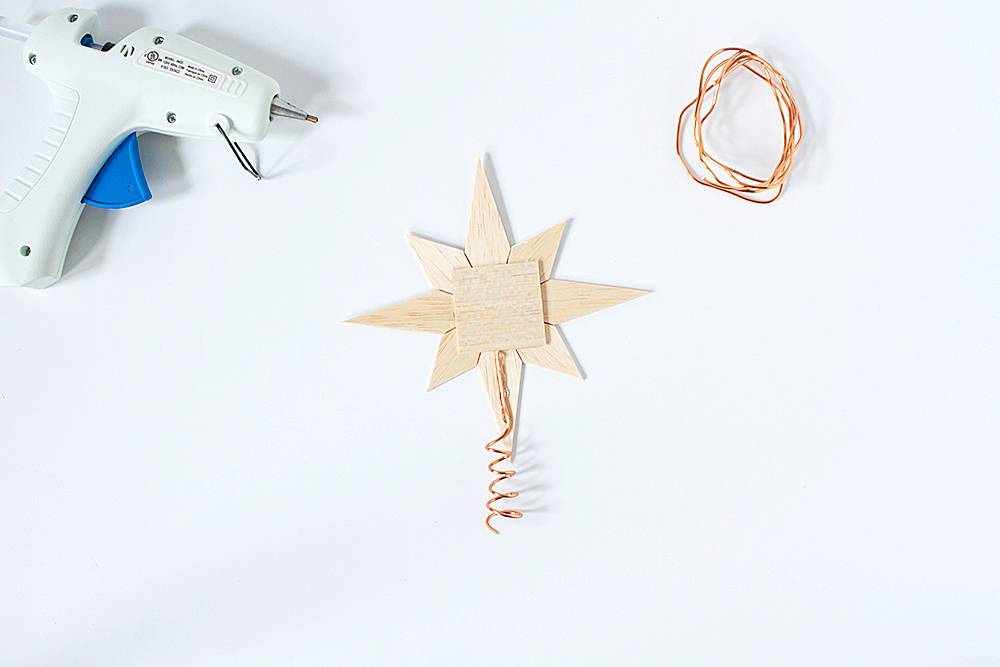
Glue the “tail” to the back of the star. You can adjust the width of the wire spiral to fit your tree. That’s it!
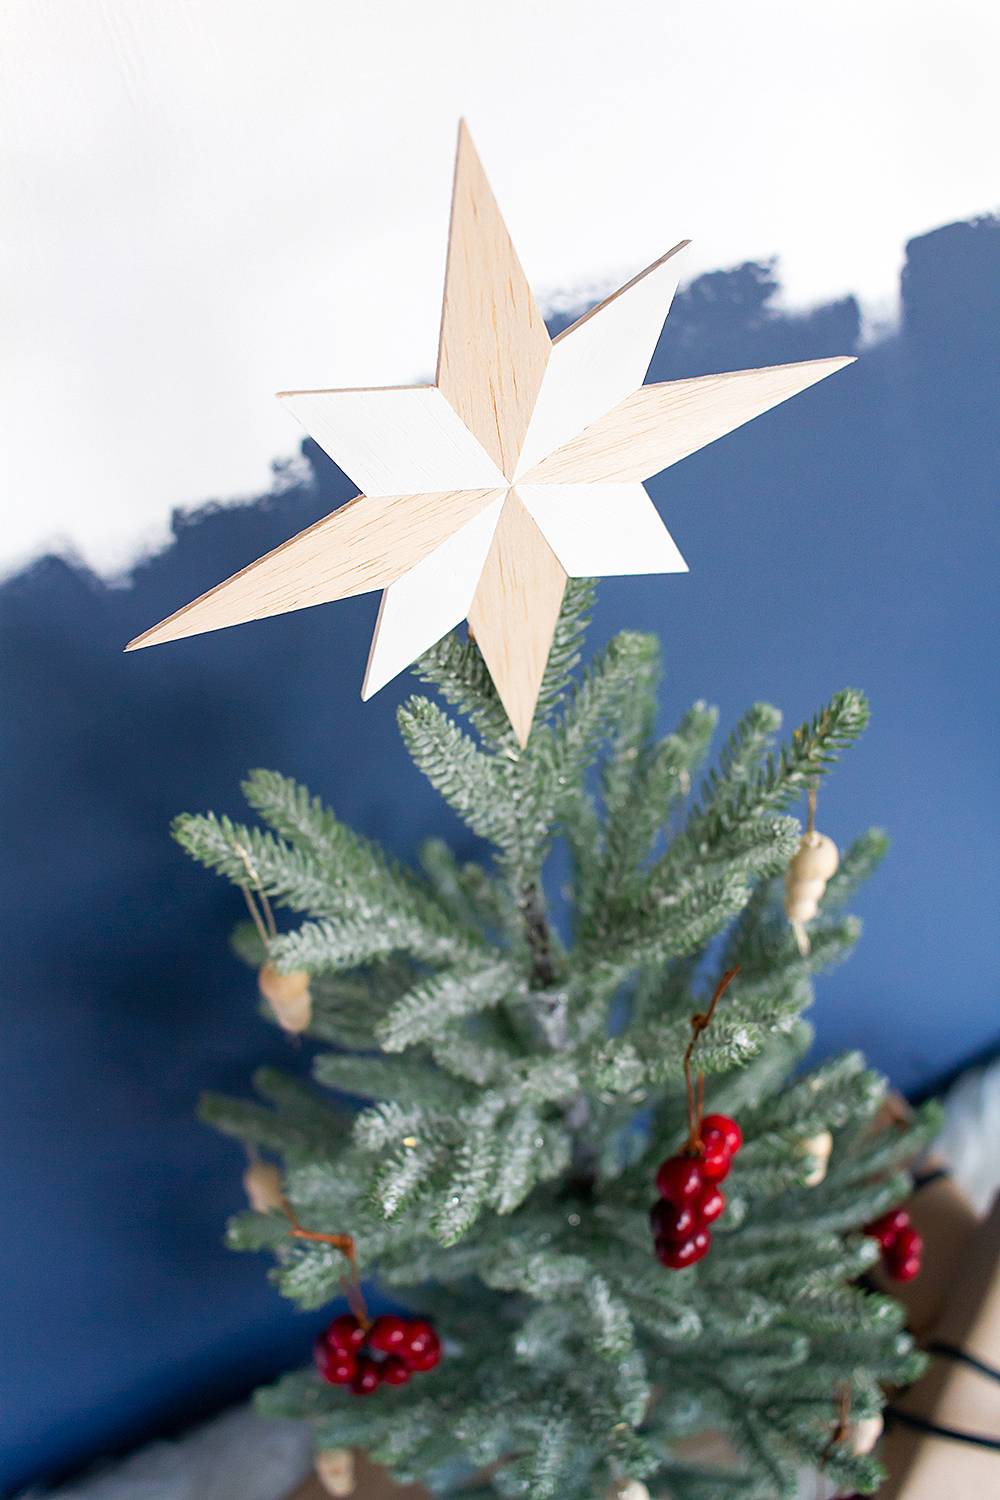
And just like that, you have a gorgeous, Scandinavian style tree for the holidays!
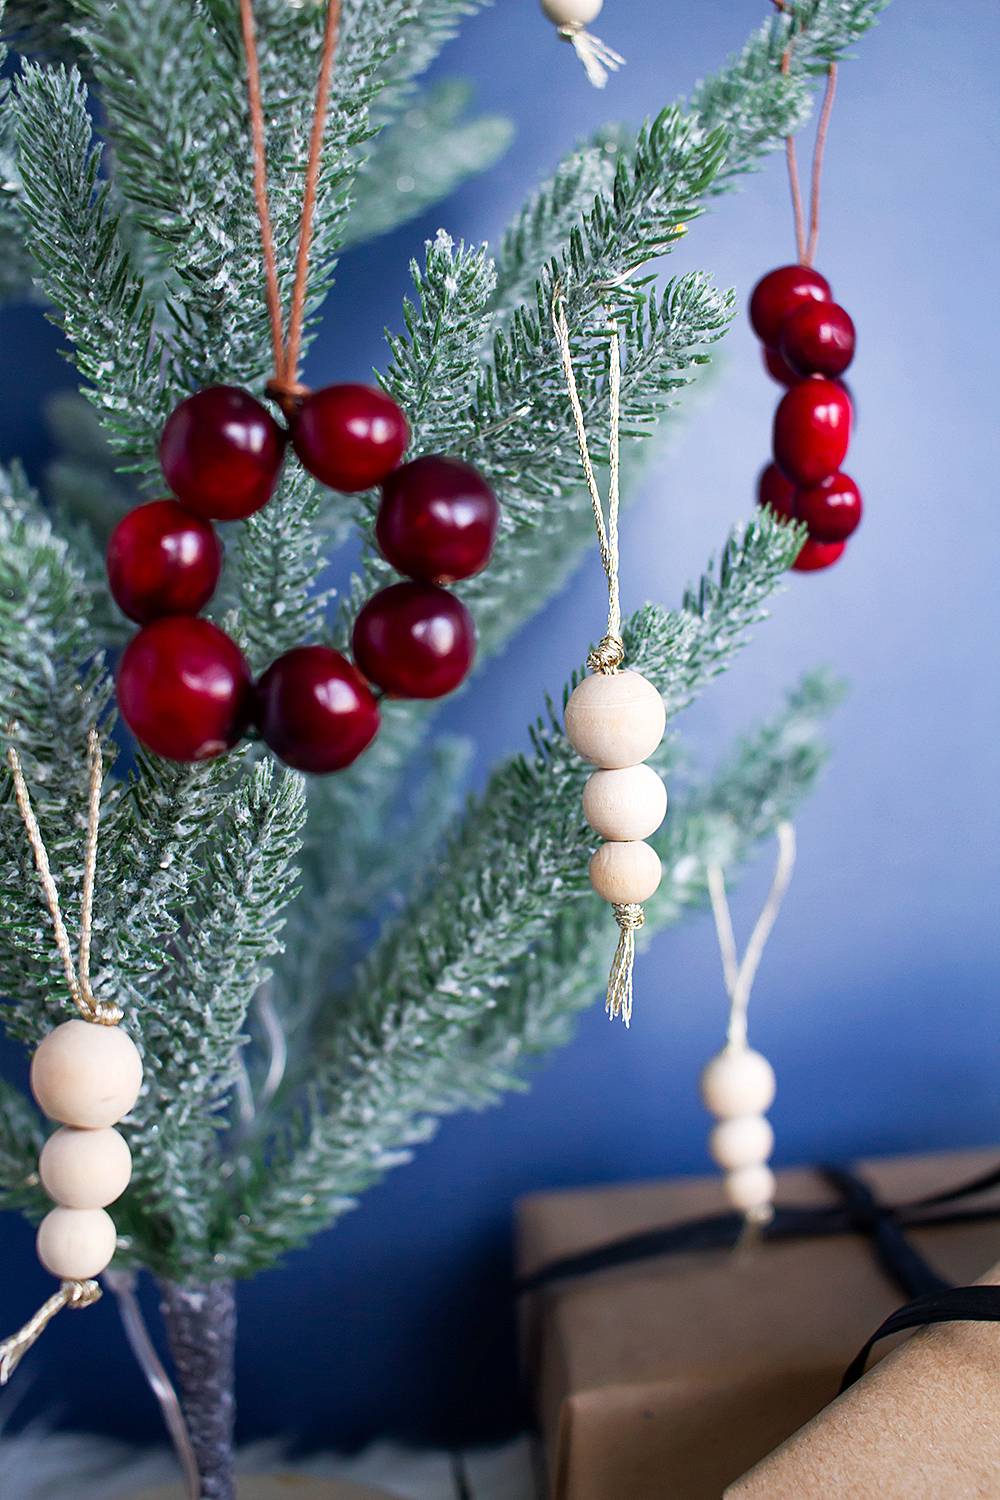

How do you like to decorate for the holidays? Are you a minimalist, or a maximalist?
