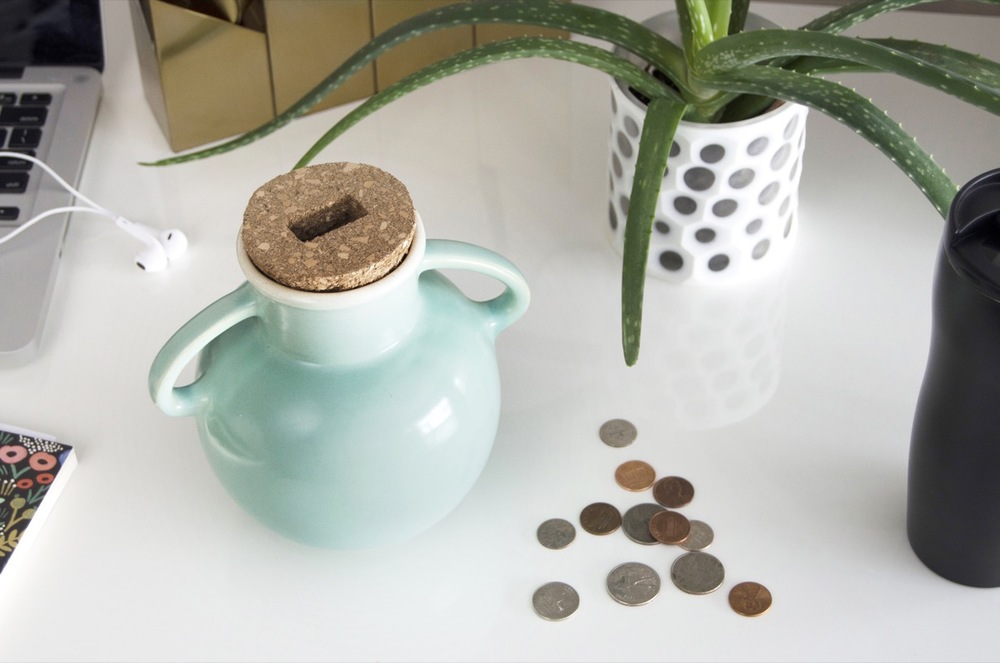
On my New Year’s Resolutions list, there are always some standards: Drink more water, eat out less, exercise more, and save money. I have gotten pretty good at most of these things (with the exception of eating out less – does ordering more takeout count?), but I could always stand to save more money. Holding onto loose change is my go-to method for putting a little bit of dough away every day, but there’s always the question of what to keep all those loose pennies in. If you don’t feel like buying a porcelain piggy, you can turn any vase, jar, or container into a DIY savings bank in a few quick steps.
The great thing about using a pretty vase as a coin bank is… well, that it’s a pretty vase. It’ll still look good in your living room or on your entry way table. I made this cork topper for my vase with a slot on the top for quicker cash deposits, but if you are wanting a more inconspicuous look, you can always omit the slot and just uncork the vase when you need to store coins.
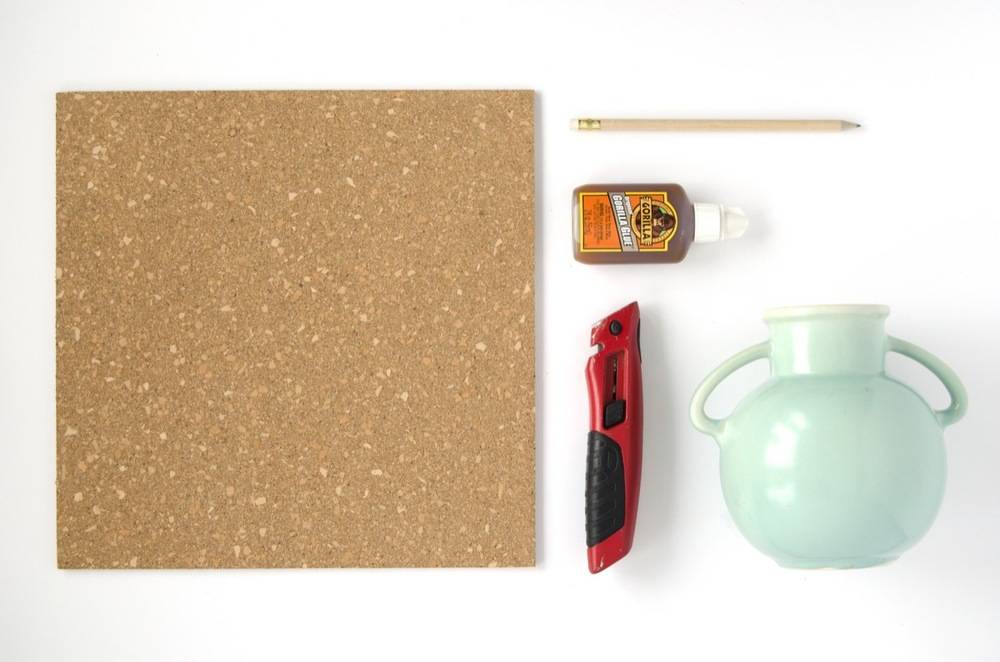
Materials
- Cork tiles
- Pencil or marker
- Gorilla Glue
- Box cutter or X-ACTO knife
- Surface to cut on (i.e. cutting board or cardboard)
- Container (vase, jar, canister, etc.)
Step
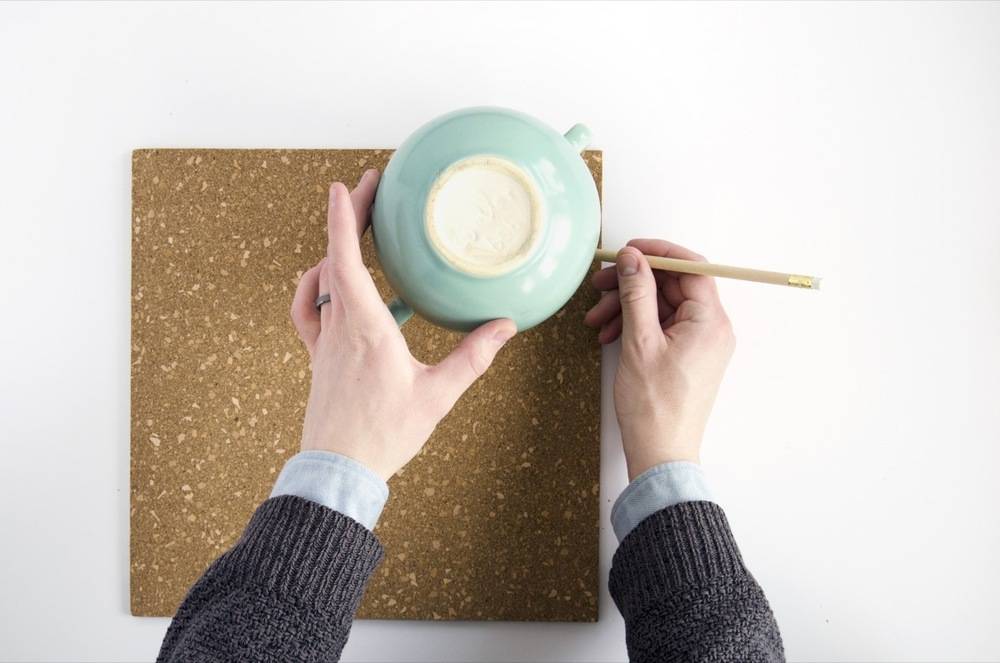
Begin by tracing the opening of the vase onto a piece of cork. Next, take into account the lip of the vase, and draw a smaller circle inside the one you traced. This will the the circle you cut out in the next step.
Step
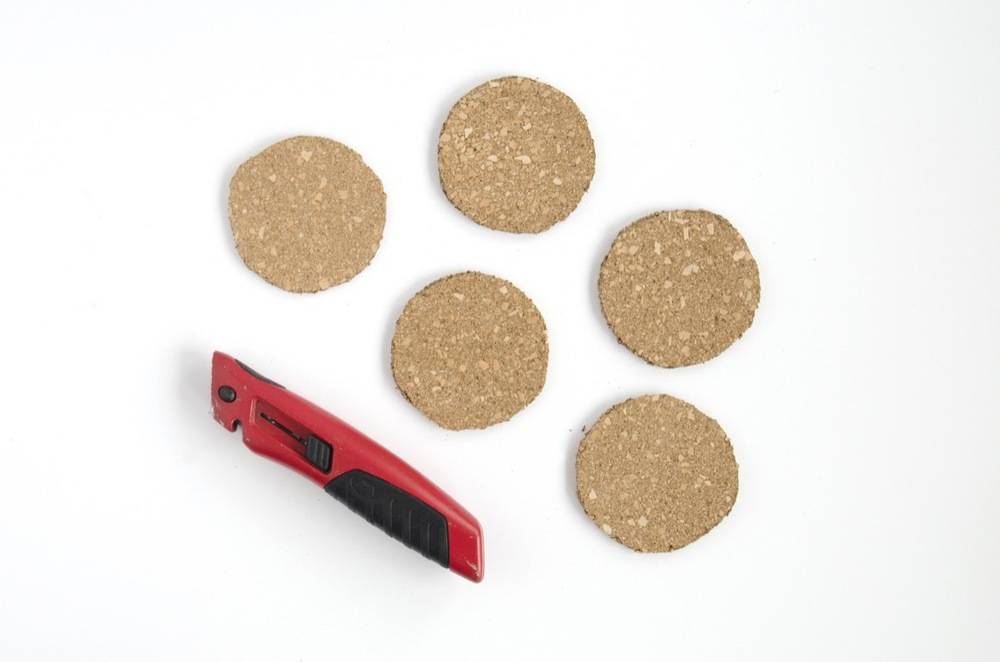
Cut out the cork circle using a box cutter. Using the first circle as a template, trace five other cork rounds, and cut them out too.
Step
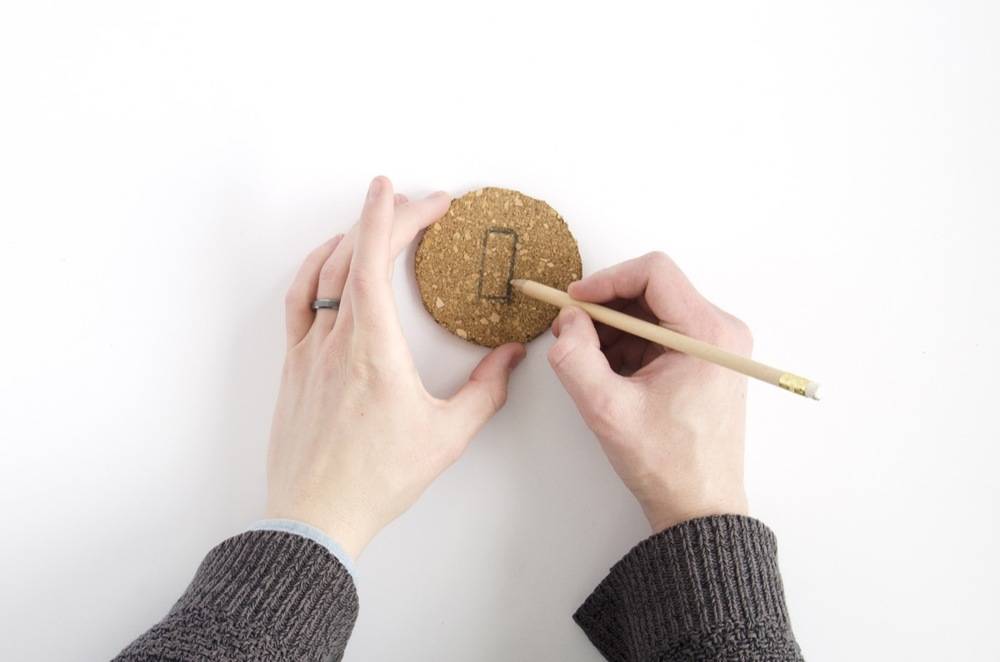
Draw a slot on the back of one of the cork rounds. Make sure to draw it large enough for a quarter or dollar coin to fit through.
Step
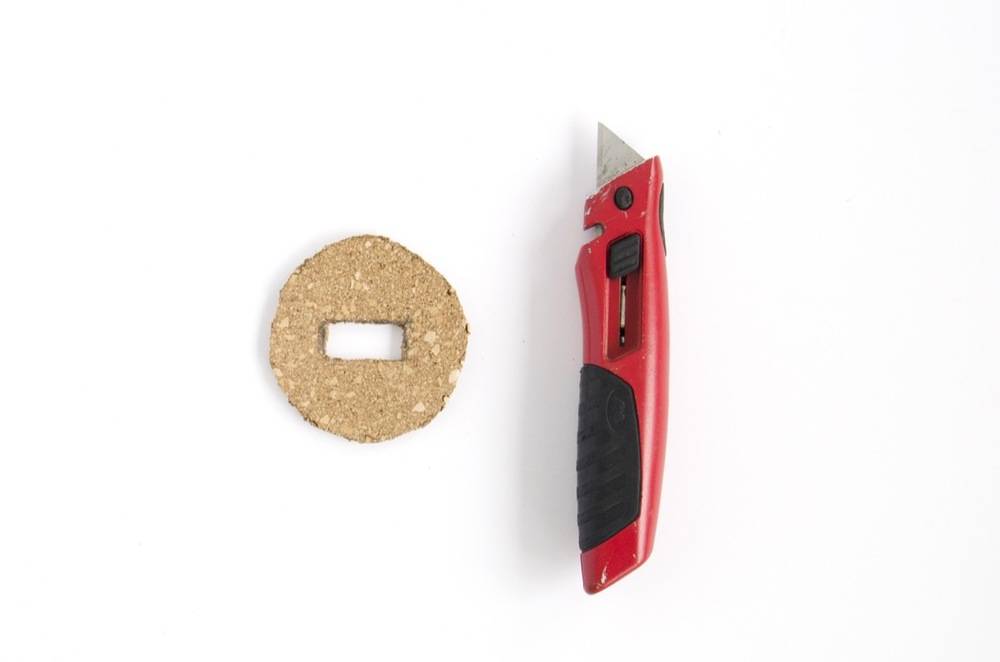
Carefully cut out the slot.
Step
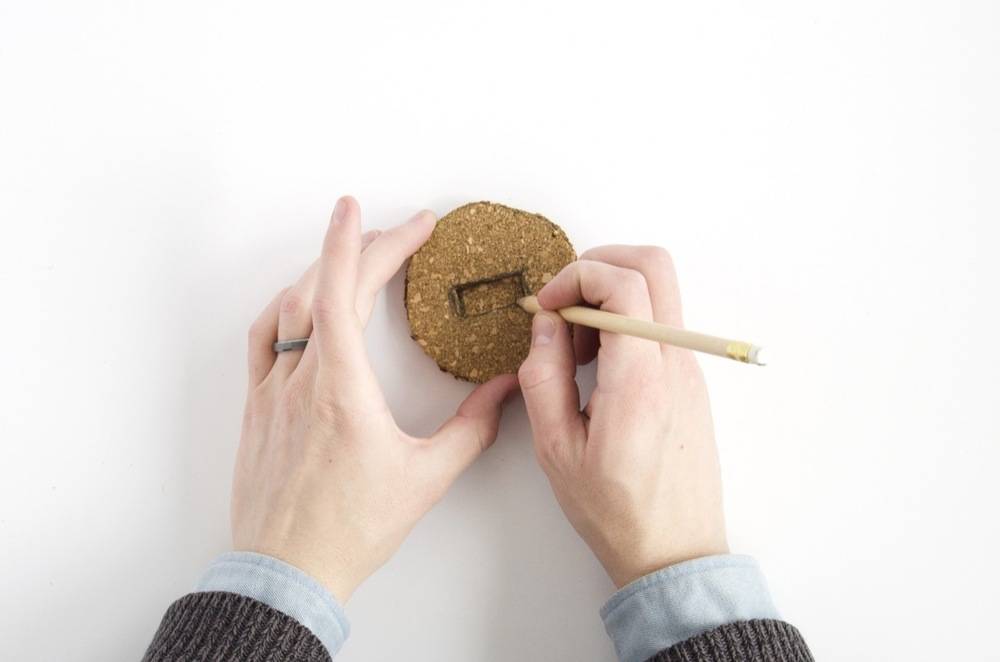
Using the slot opening as a template, trace the slot onto the other cork rounds. Cut out the slot openings.
Step
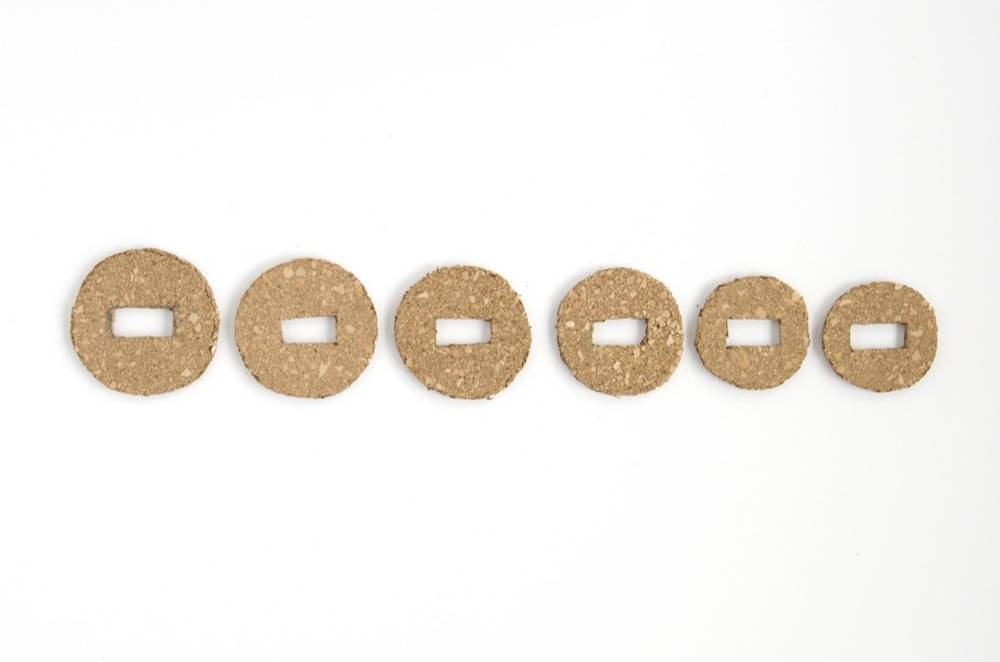
Trim the rounds so that each circle is a little smaller than the other. You can trim using the box cutter, or a pair of scissors.
Step
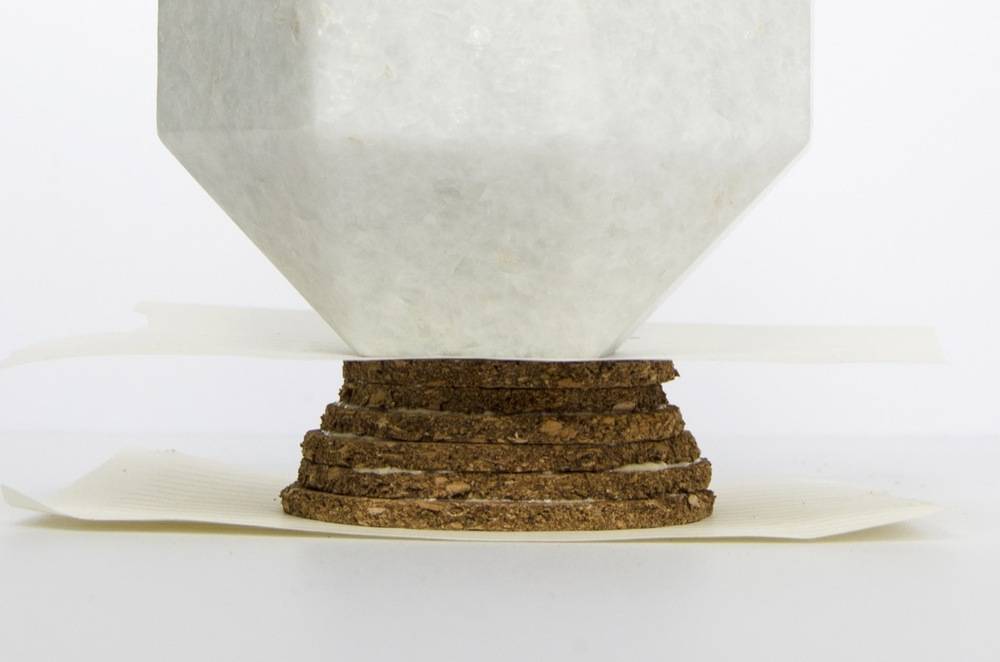
Stack the rounds together in order (i.e., smallest to largest) with the slots lining up. Following the instructions on the Gorilla Glue, dampen each round and glue together (like a layered cake). Place the rounds under something heavy while they dry. I sandwiched my cork rounds with paper to avoid mess, then set them under a paperweight.
Step
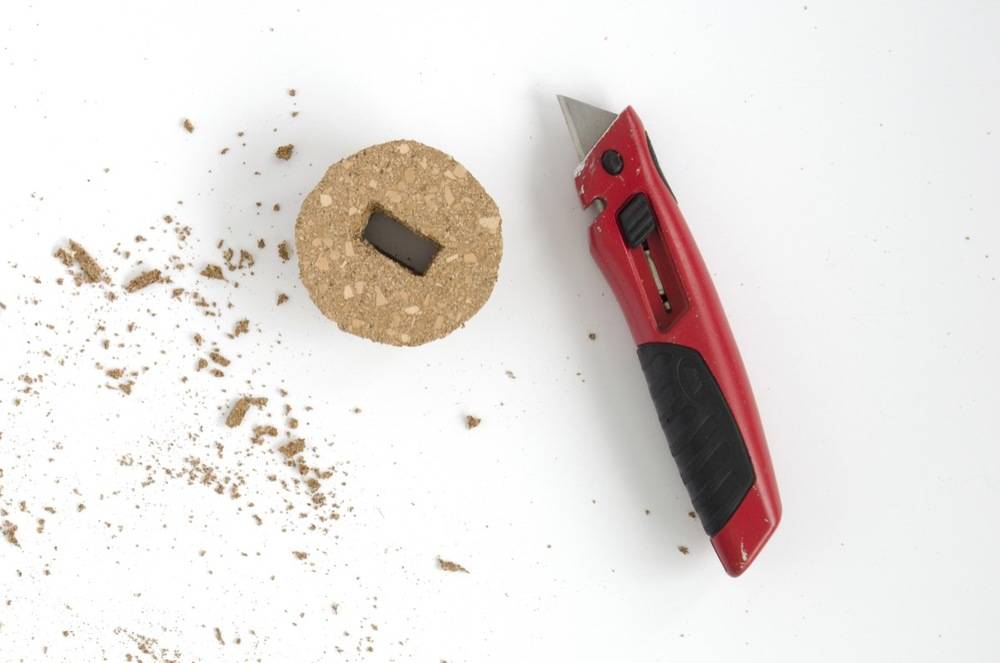
Once the glue has dried, further trim the edges of the round, creating a smoother, conic shape. Done!
Now it’s just a matter of motivating myself to fill up my DIY savings bank!
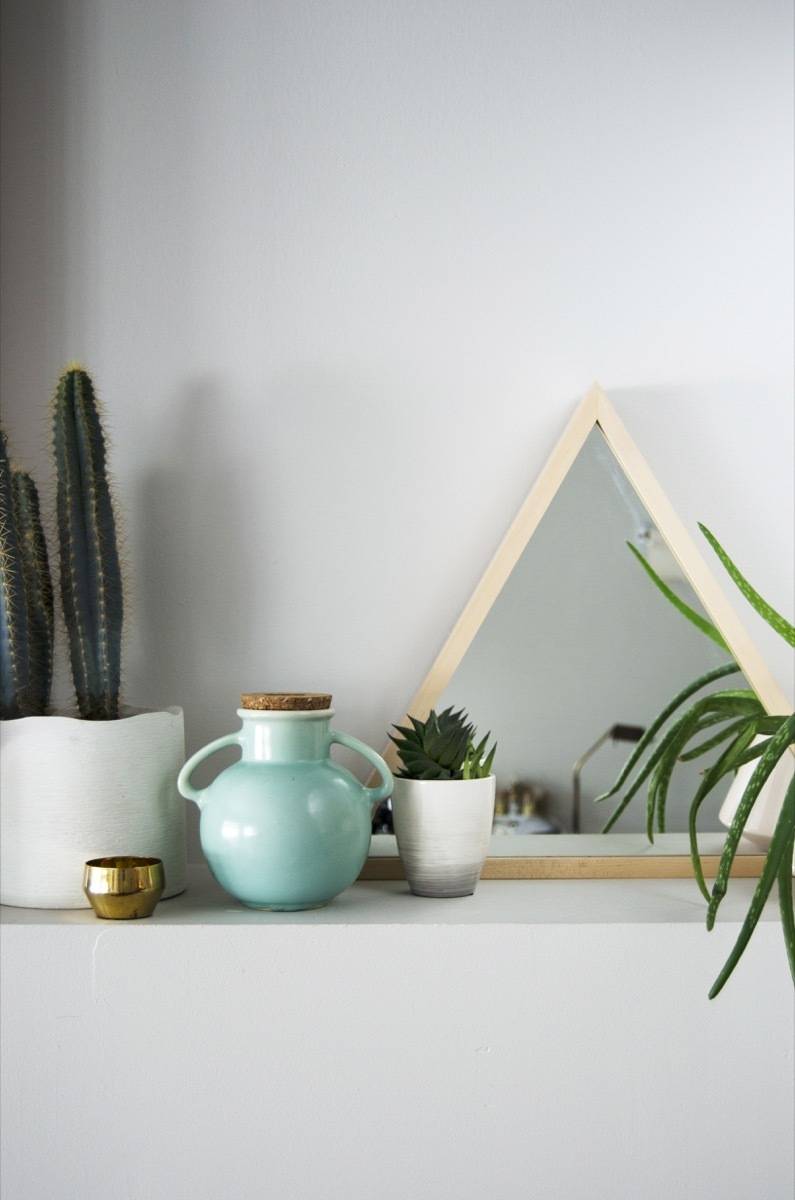
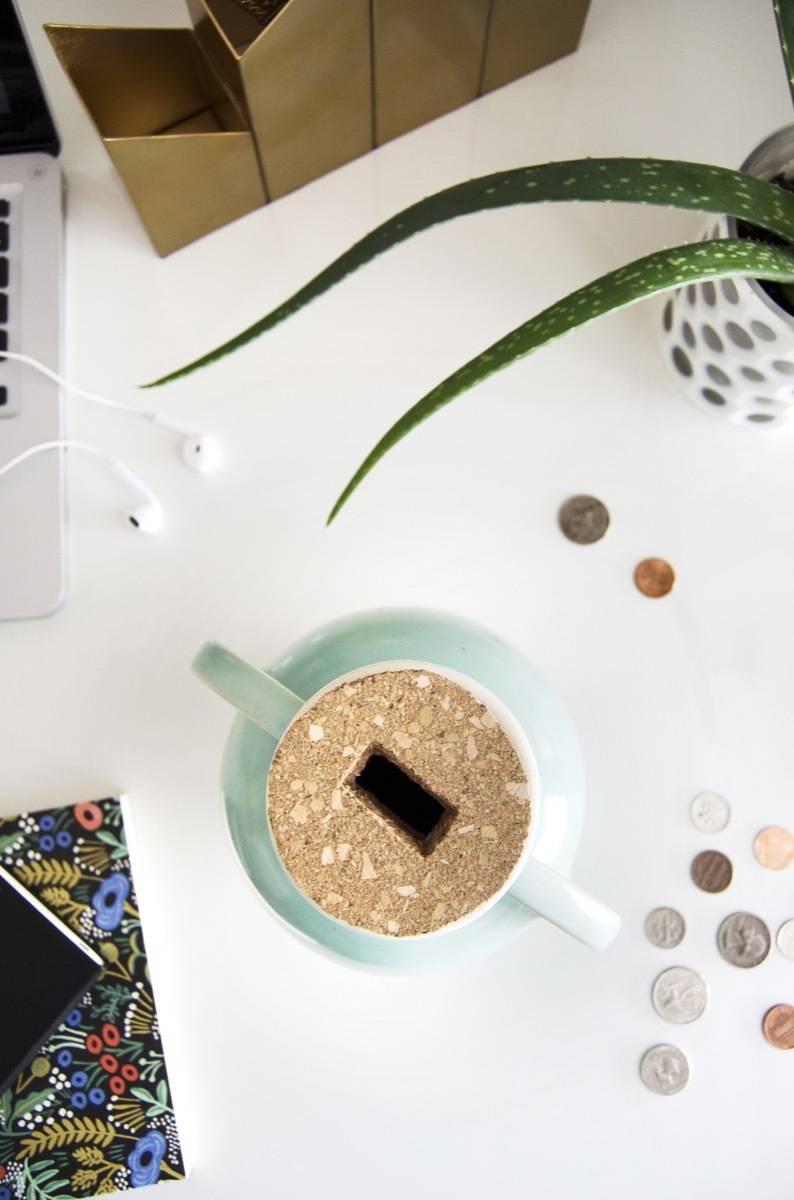
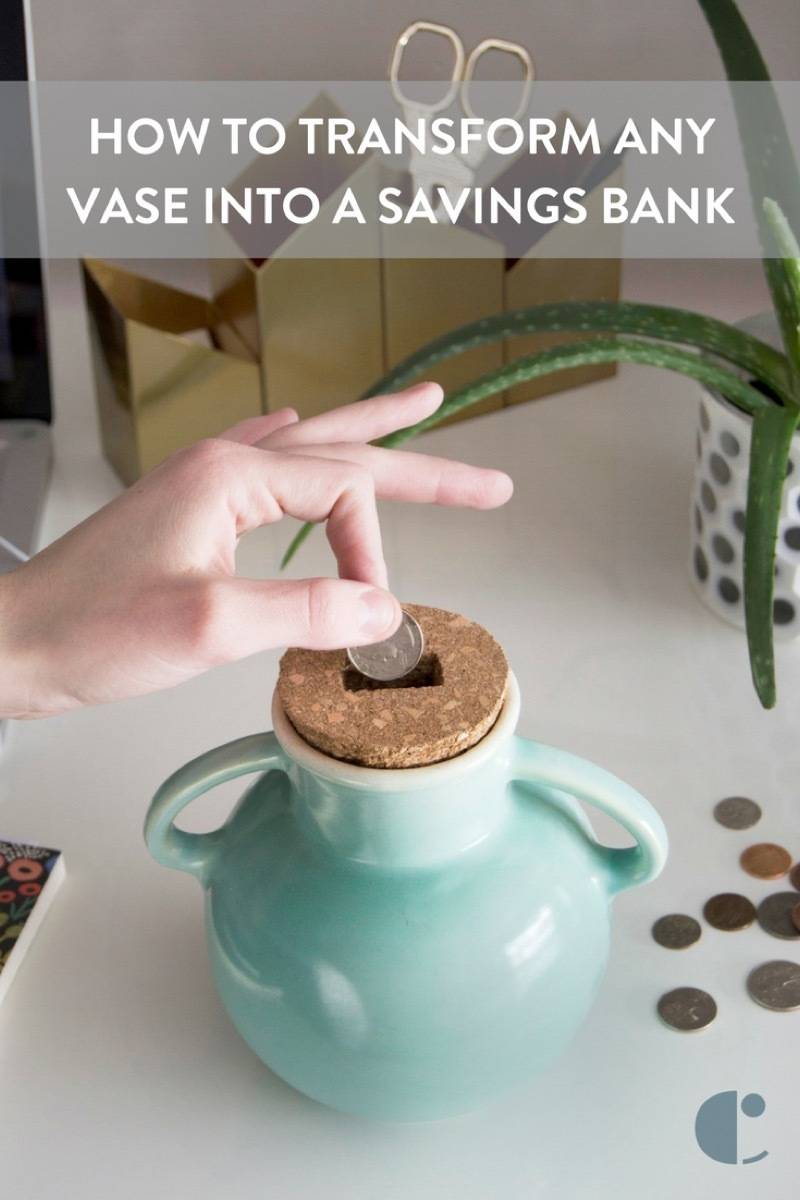
The plus side of putting your coinage into a DIY savings bank like this one is that you can’t actually see the money pile up because the glass isn’t clear. Until now, I had been keeping my extra cash in a see-through jar. The money just stared at me from behind the glass daring me to spend it. So it’s a positive thing that my cash is inconspicuous.
