My parents basically live in their backyard. It’s large and lovely, with carefully tended flower gardens, enviable vegetable beds, and fruit trees galore. It’s a take-your-breath-away kind of space you’d never expect when you look at their quiet suburban street. But when you enter the backyard, you feel the magic.
One of the last items on their landscaping to-do list was to add a water feature. Last summer my dad built a three-season gazebo (they lovingly call it the “tea house”, a reference to the Japanese tea house it’s modeled after). And they’ve been slowly plugging away at pages and pages of garden plans. Those plans have always had a space marked ‘pond’, but the initial bids they received for putting one in seemed crazy (one was over $15,000!). So, Bruno and I offered to help them make their pond dreams a reality buy DIY-ing one with the help of a pond building components from smartpond.
Here’s the thing: a backyard pond is an extremely DIY-able project, and the cost doesn’t even approach quintuple digits. Sure, you can make it as fancy as you want, but at the end of the day, the hardest part is just digging the hole in the ground. The smartpond product line carries everything you need to get your pond started: a lightweight, puncture-resistant reinforced-mesh liner, a professional-grade pump, tubing, filtration, and even lights.
Here’s how we helped my parents build a backyard water feature that really adds the finishing touch to their amazing outdoor experience:
Thinking of DIYing your own pond? Here are some of the benefits:
1. The sound! The sound of rippling water will soothe your soul. This was a top priority for my parents and the reason they placed it in close proximity to the gazebo.
2. They’re beautiful! A pond adds visual interest to any yard. It helps break up gardens and adds dimension and texture. The rocks and stones that line the pond reflect strength and weight, offering a beautiful balance to the delicate greenery that surrounds.
3. They’re easy to care for! Aside from periodically cleaning the pump (a straightforward process), there’s really not much to do. You never have to mow or weed a pond! They can also help you take care of wasted space issues in the yard. If you have a patch of yard where nothing grows, or an awkward section of yard that you want to hide, a pond is a gorgeous solution.
4. They’re great for wildlife. You can choose to add fish to your pond, but even if you don’t, the water will be a haven for birds, frogs, dragonflies and other small creatures.
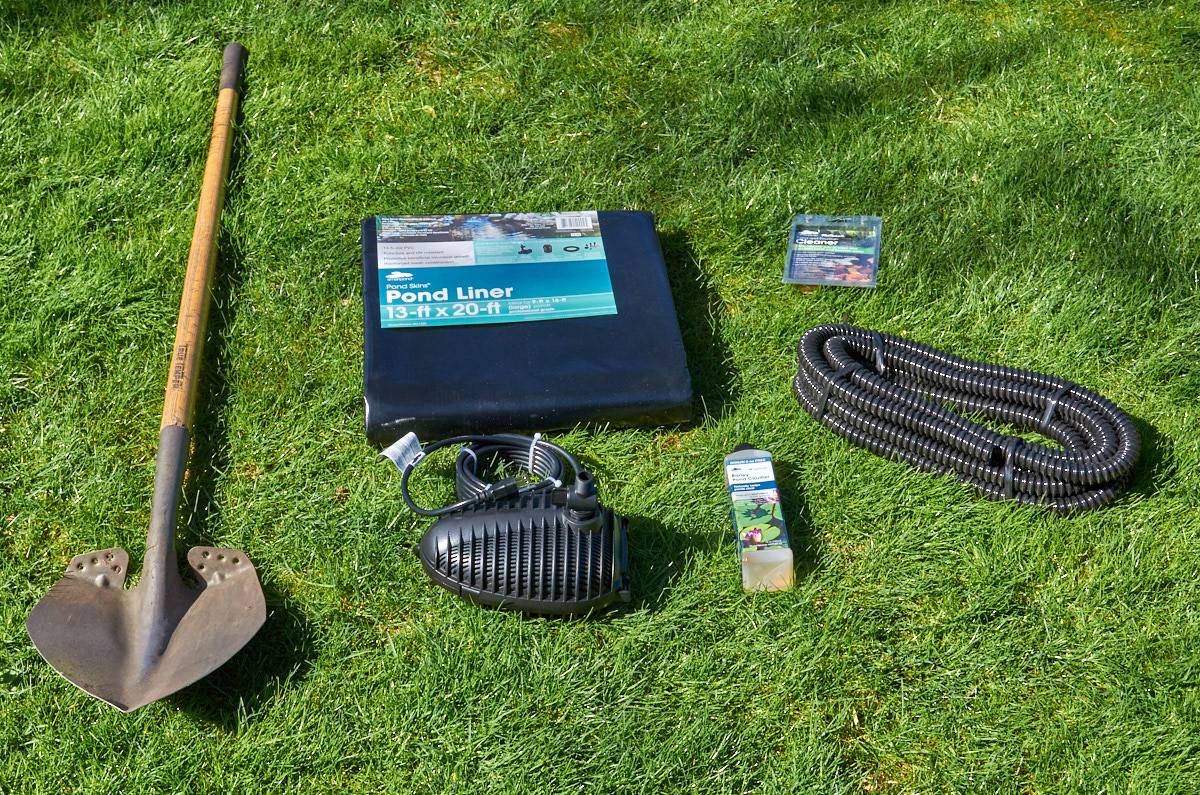
Step
Mark out the location of your water feature. We used stakes and spray paint, but you can use any method that works for you (a garden hose, string, etc.)
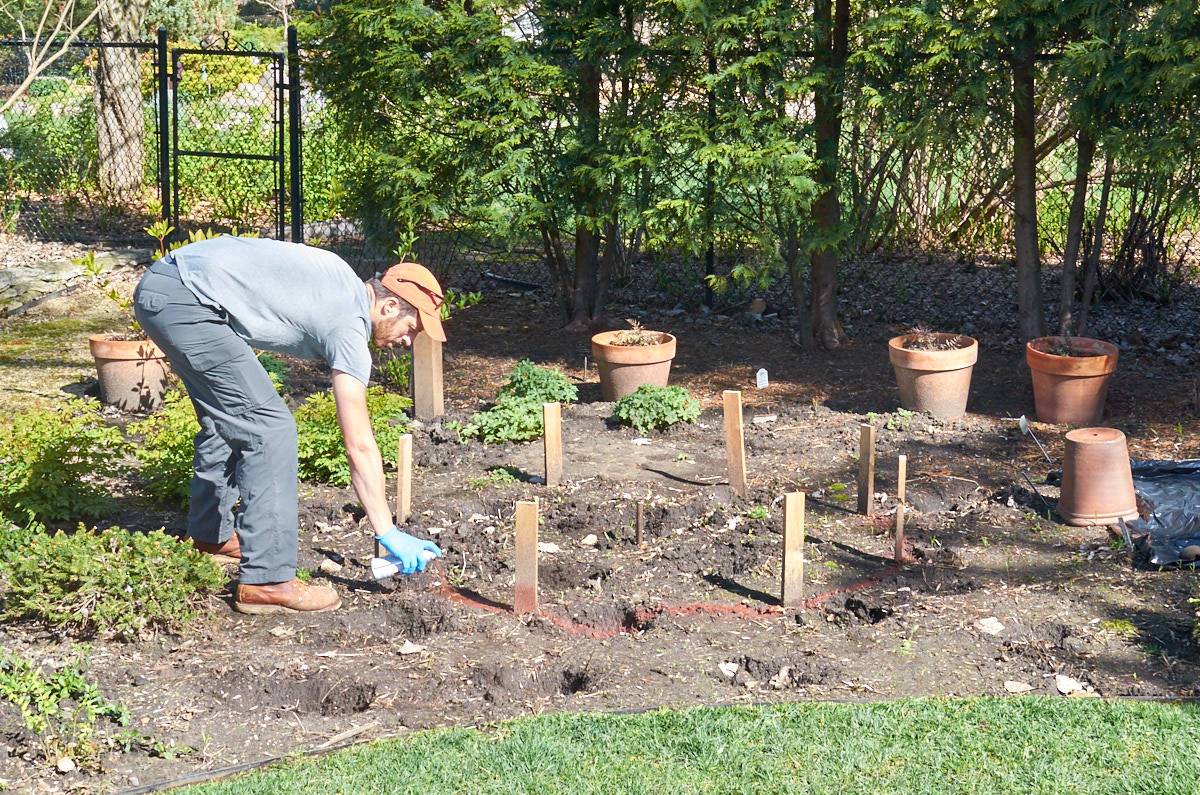
Step
Start digging! The depth of the hole you’ll dig depends a bit on your preferences. If you’ll be adding a fountain or waterfall, you’ll need to be sure you create enough of a water reservoir for the pump to operate efficiently. A common error is building the pond too small, or too shallow. Generally speaking, it’s better to err on the side of greater depth. We might have gone a little overboard, digging ours 2.5 feet deep, but we knew we’d be building a cool fountain, and we wanted to make sure the pump had plenty of water to move through it.
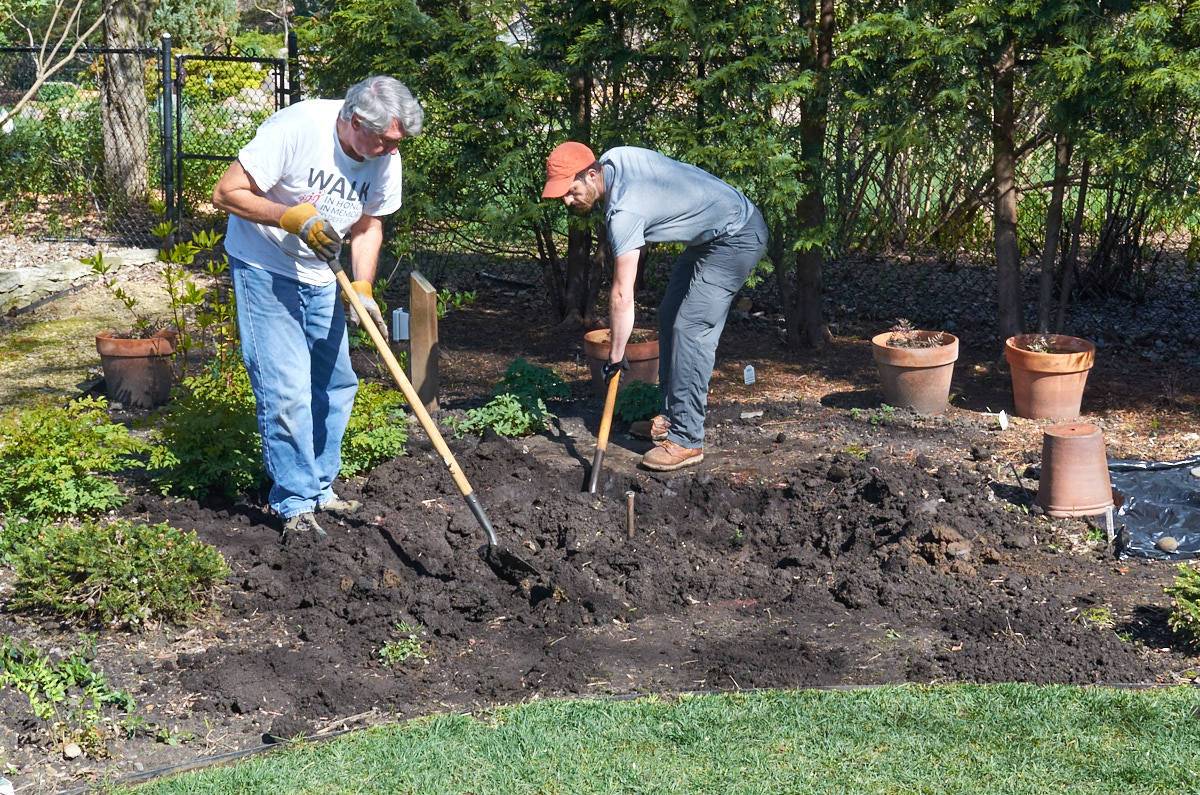
Step
Level the pond hole, and level the edges of the pond. Use some of the excavated dirt to build up the edges so that they’re higher than the surrounding area. Pack everything down (using a tamper or by just walking around on it). Next, add a two-inch-thick layer of leveling sand (basically playground sand) to the bottom of the pond. This will level the base and provide some added protection for the pond liner.
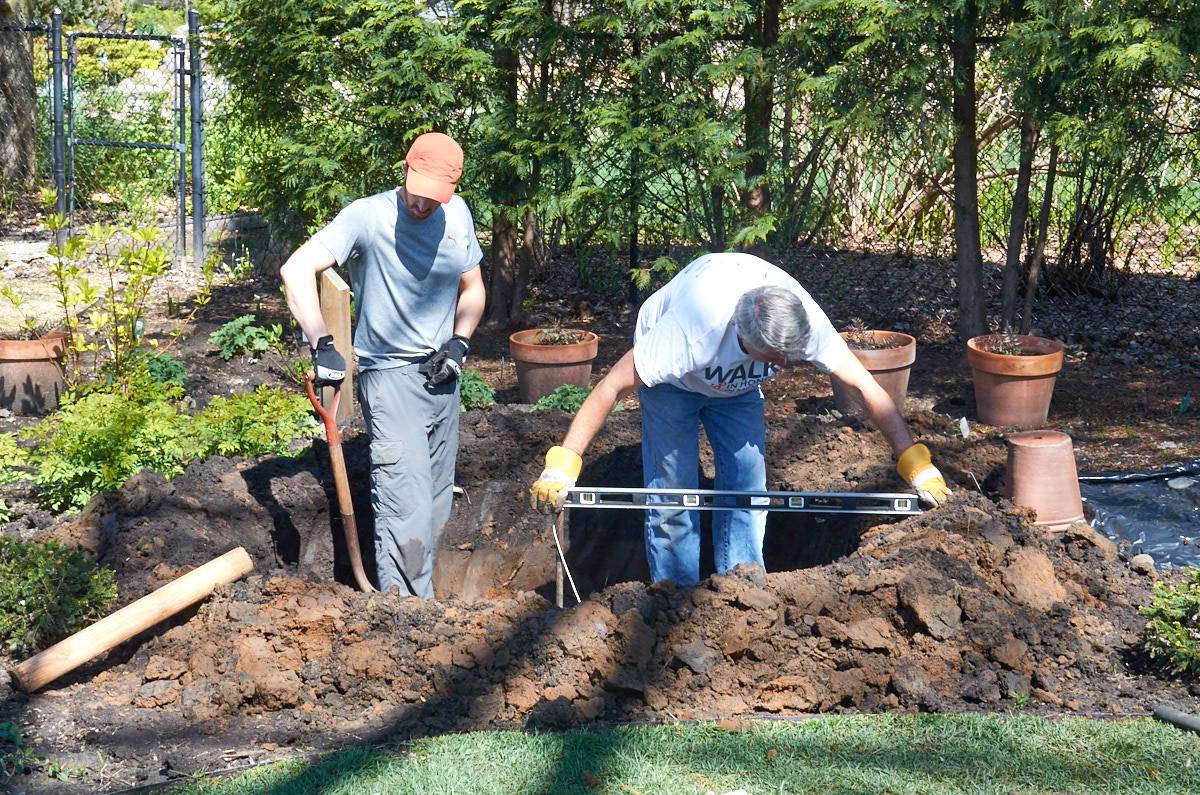
Step
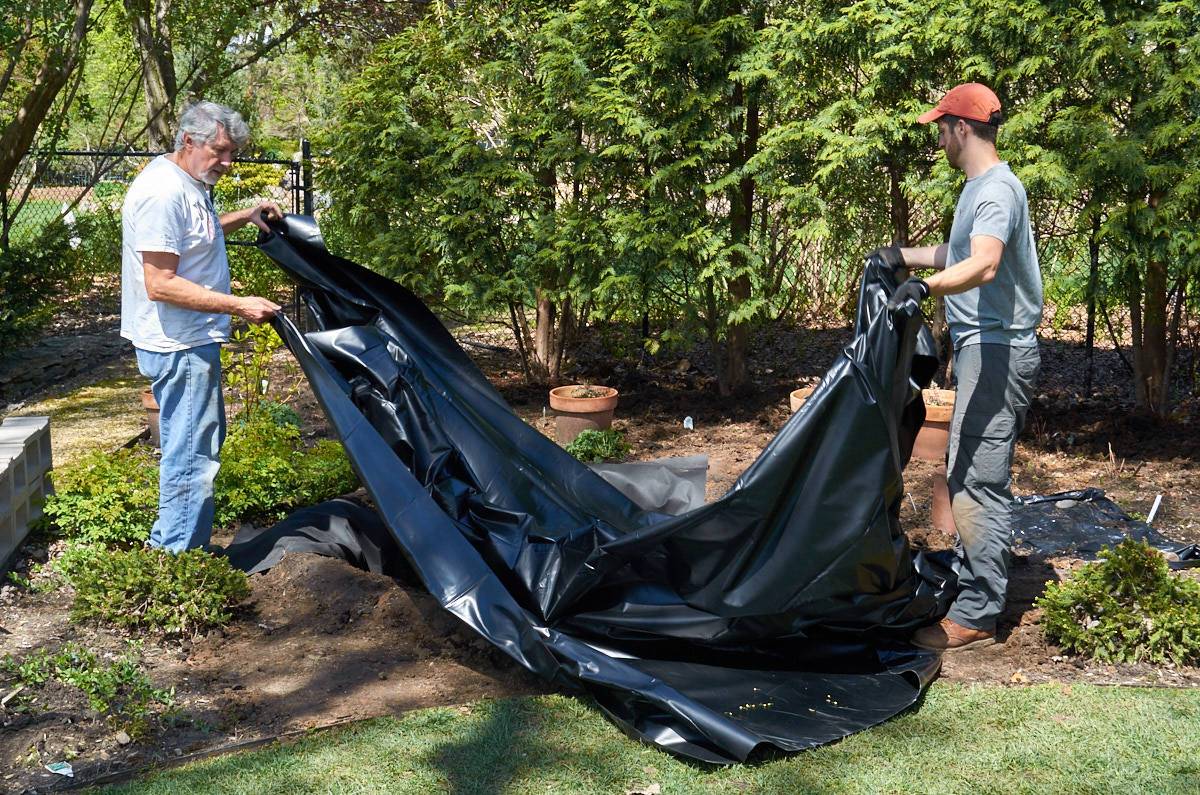
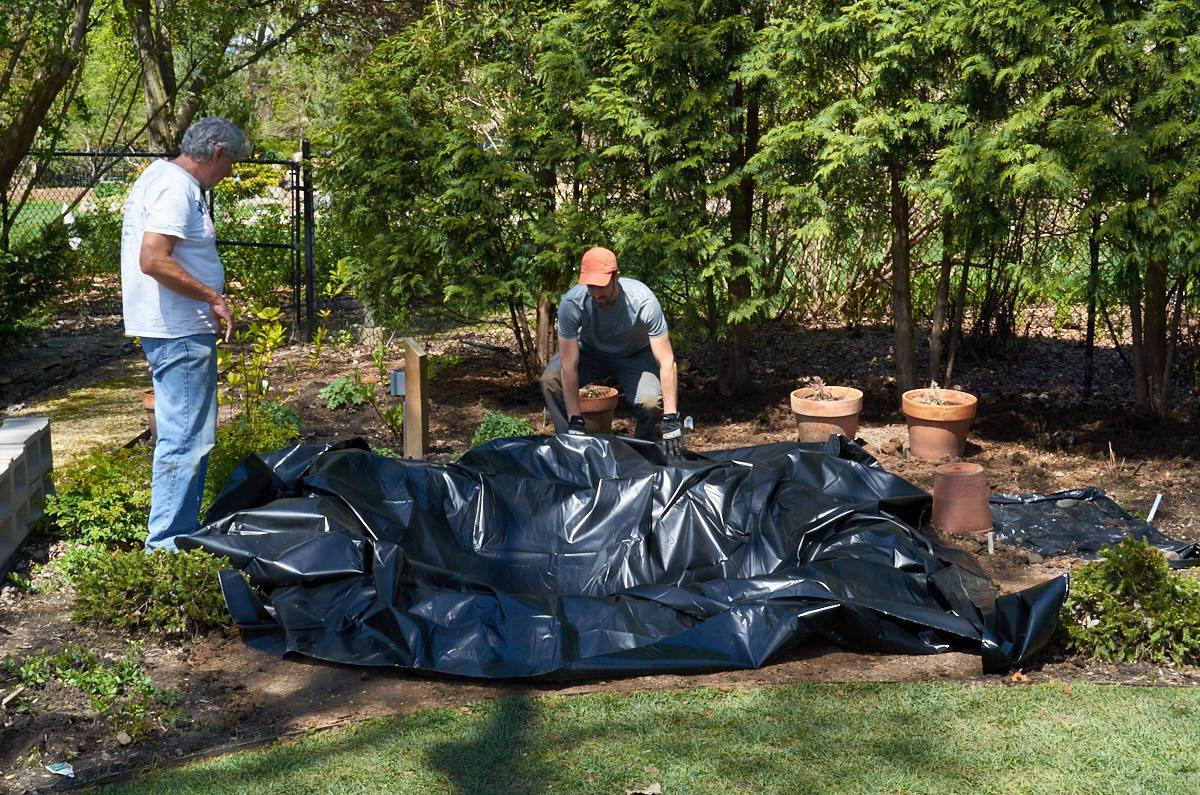
Install the pond liner. This is easy! Just cut it to size (make sure to leave some extra), and lay it in the hole. You can hold it down around the edges with rocks.
Step
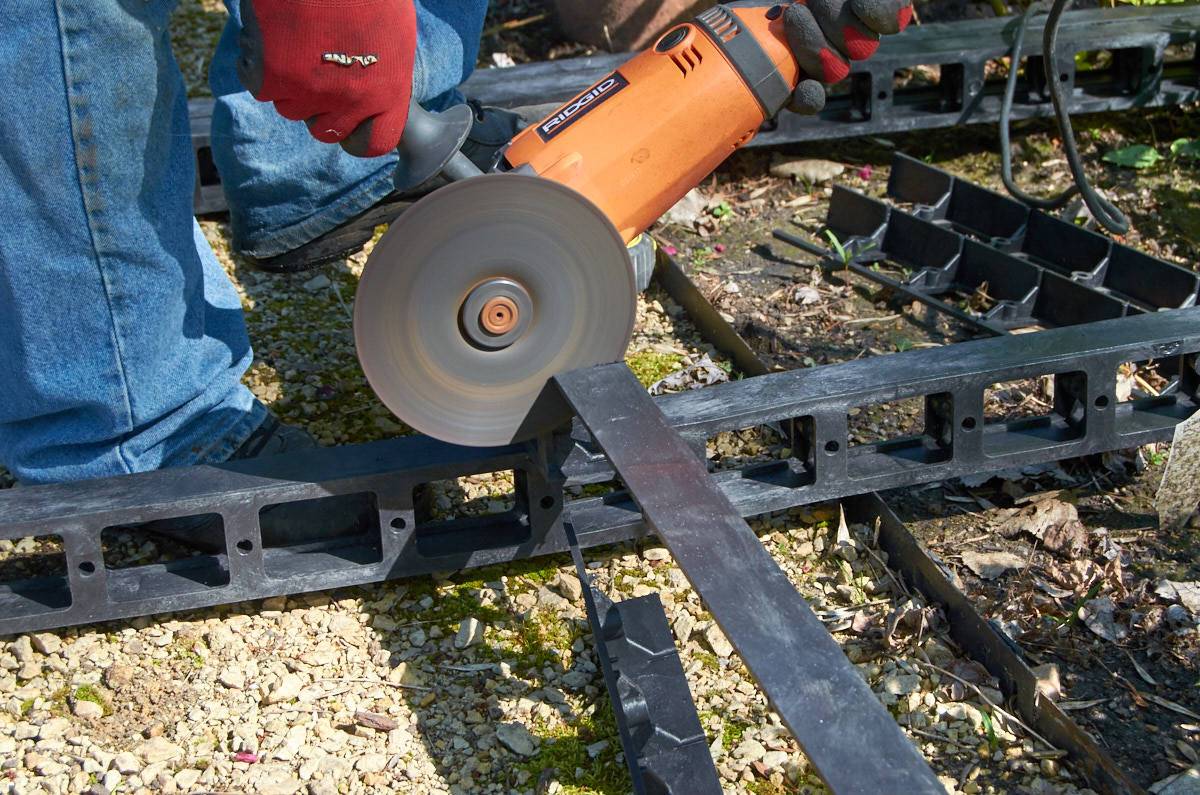
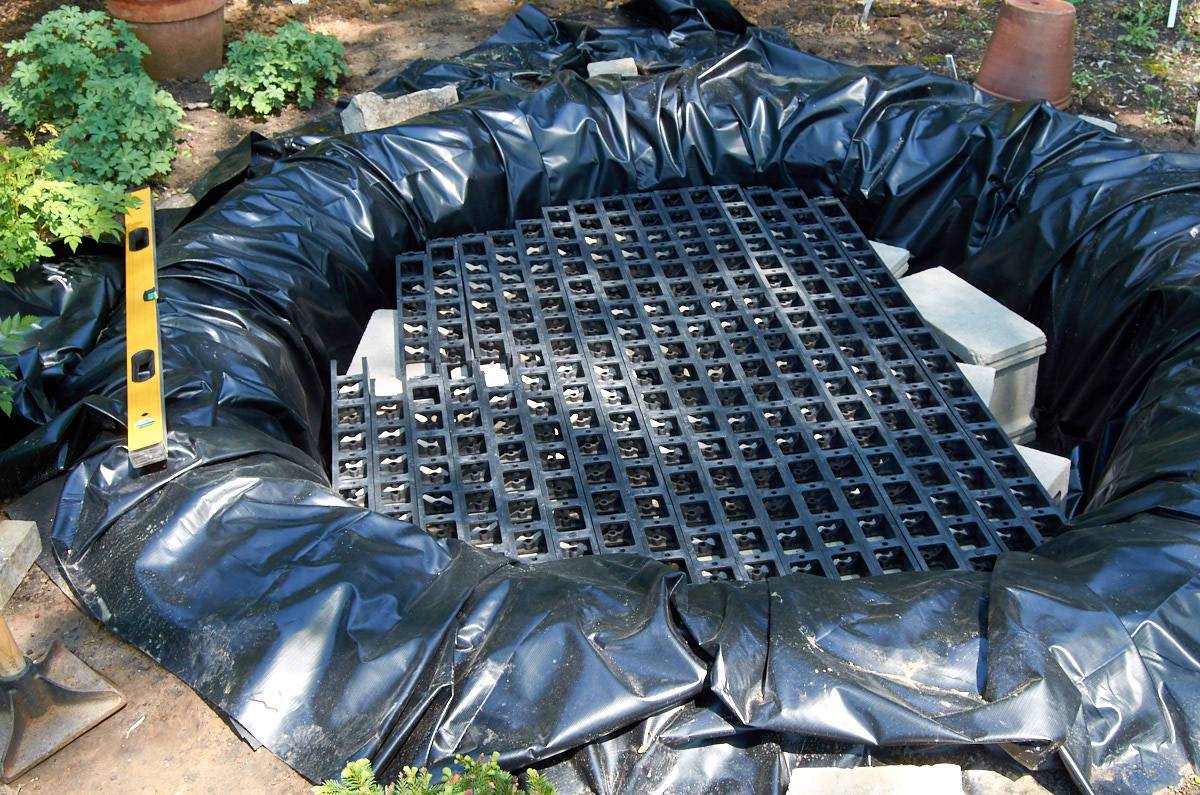
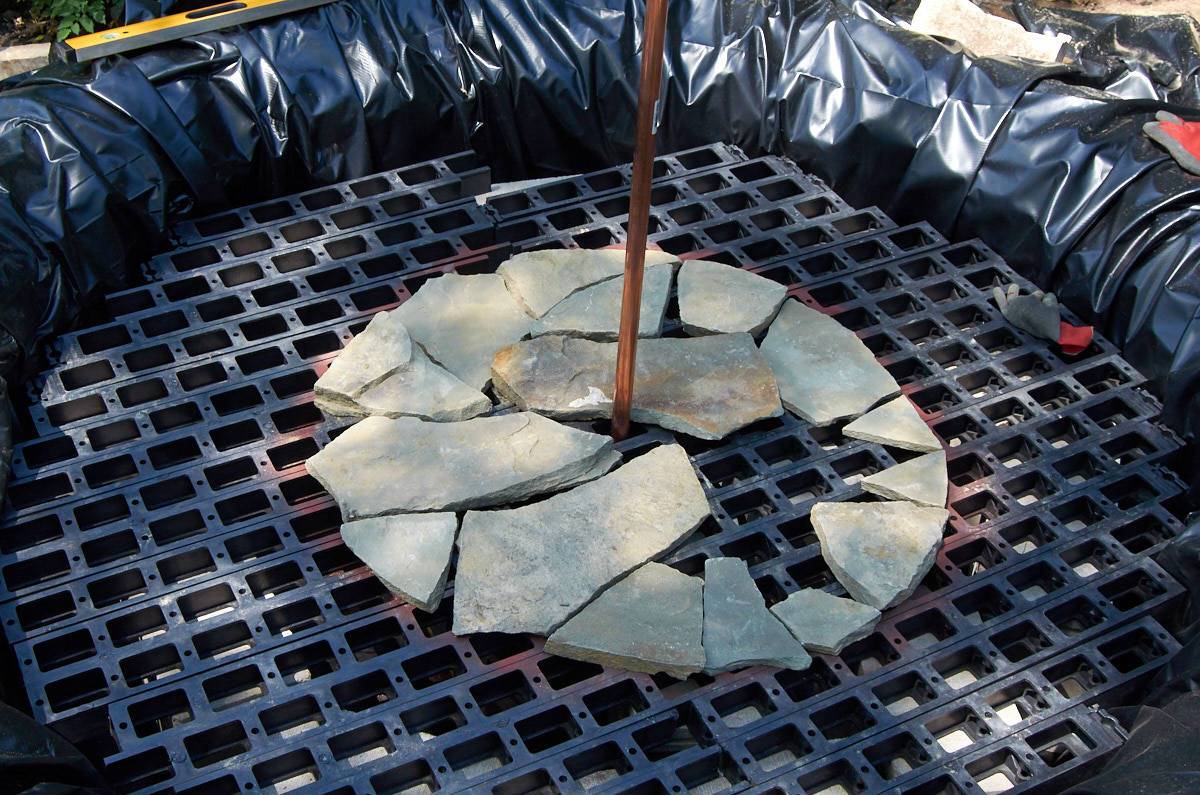
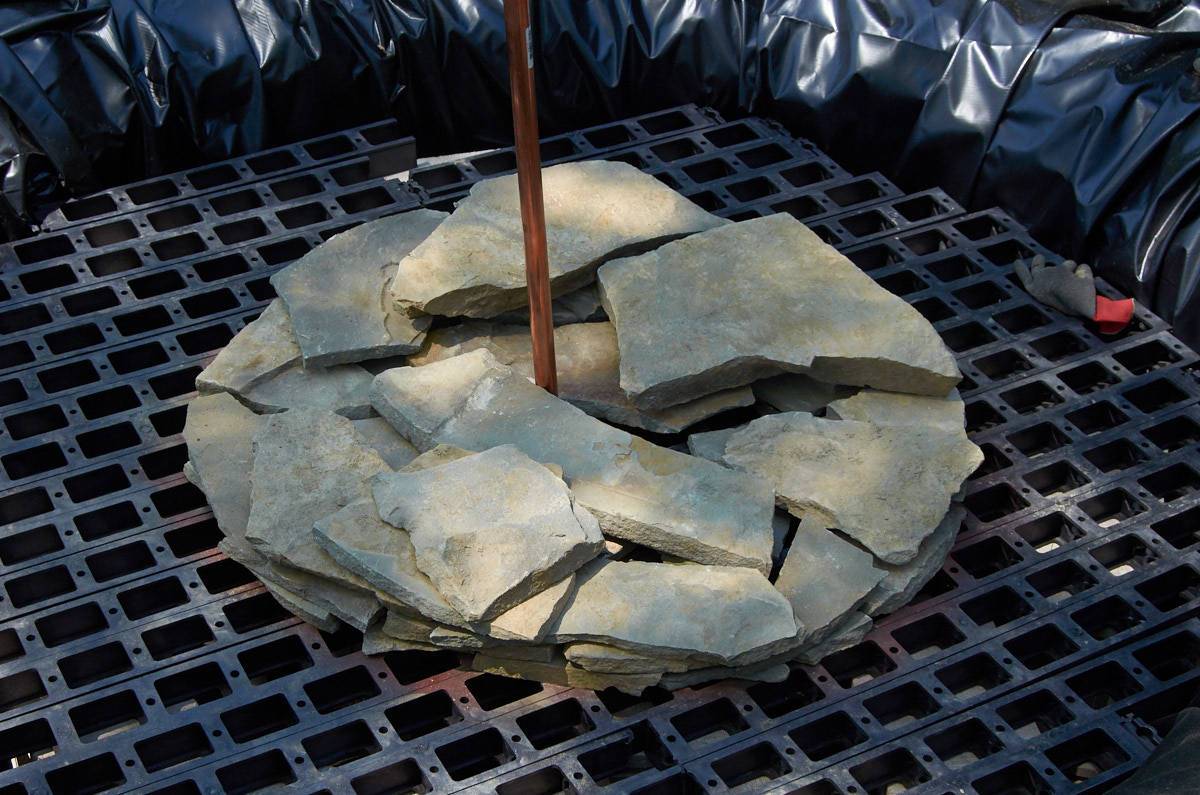
Here’s where our pond gets a little more complicated than the usual one. If you’re just building a simple pond, you can probably skip this step. We added a platform built out of cinder blocks and rigid plastic garden edging. Here’s why: we wanted to build a stacked stone fountain protruding from the middle of the water feature, and that fountain would require a big water reservoir to draw from. But we wanted the pond itself to be quite shallow and filled with river rocks. So, to avoid having to fill the entire 2.5-foot-deep hole with rocks, we created a ‘faux-bottom’ for the river rocks to sit on. Beneath the platform, there’s lots of water to power the fountain.
Step
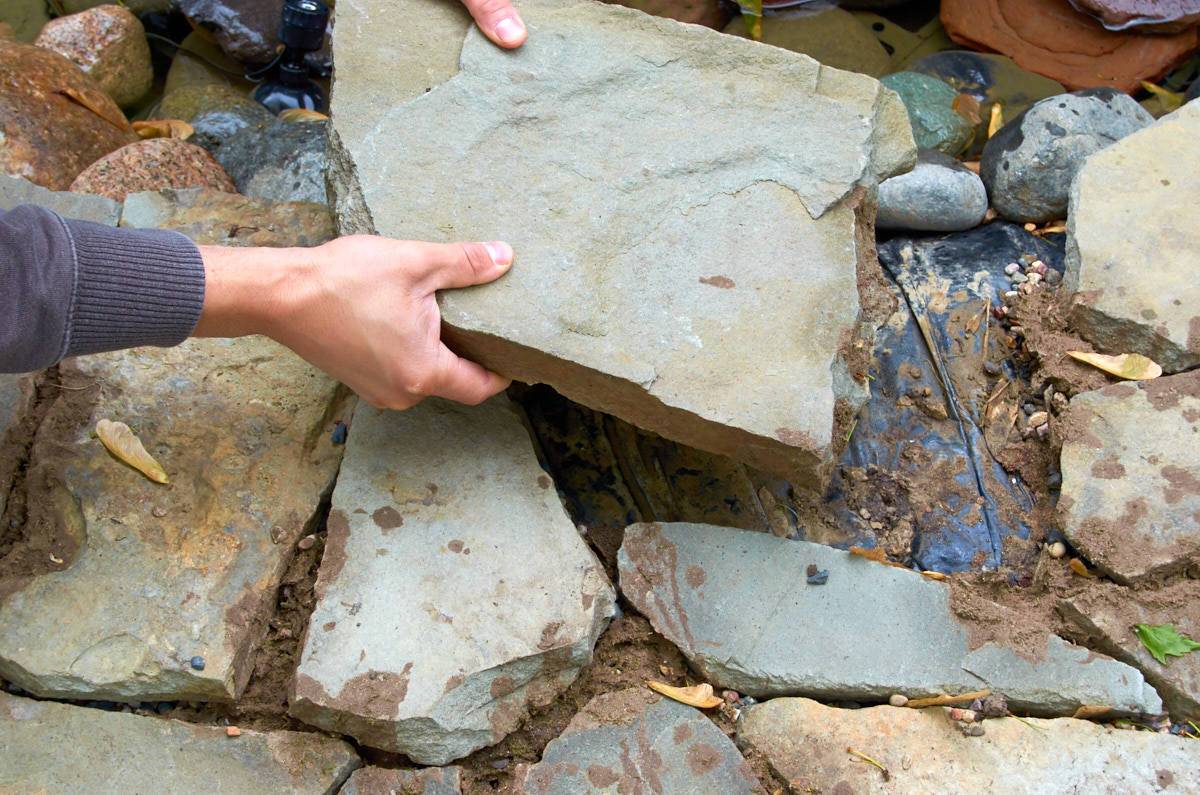
Add stones to the pond. In most cases, this means adding aesthetically-pleasing rocks and stones to the pond and the edges of the pond to hide the liner and integrate the whole water feature with its surroundings.
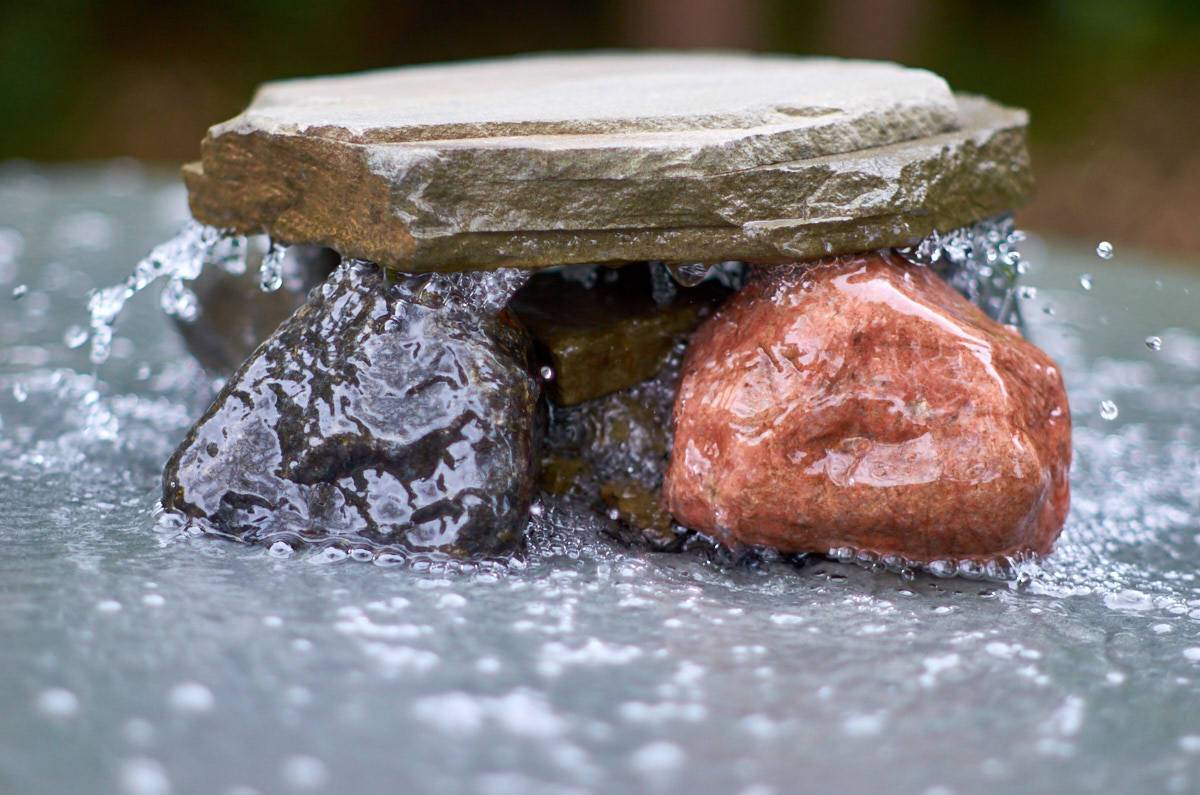
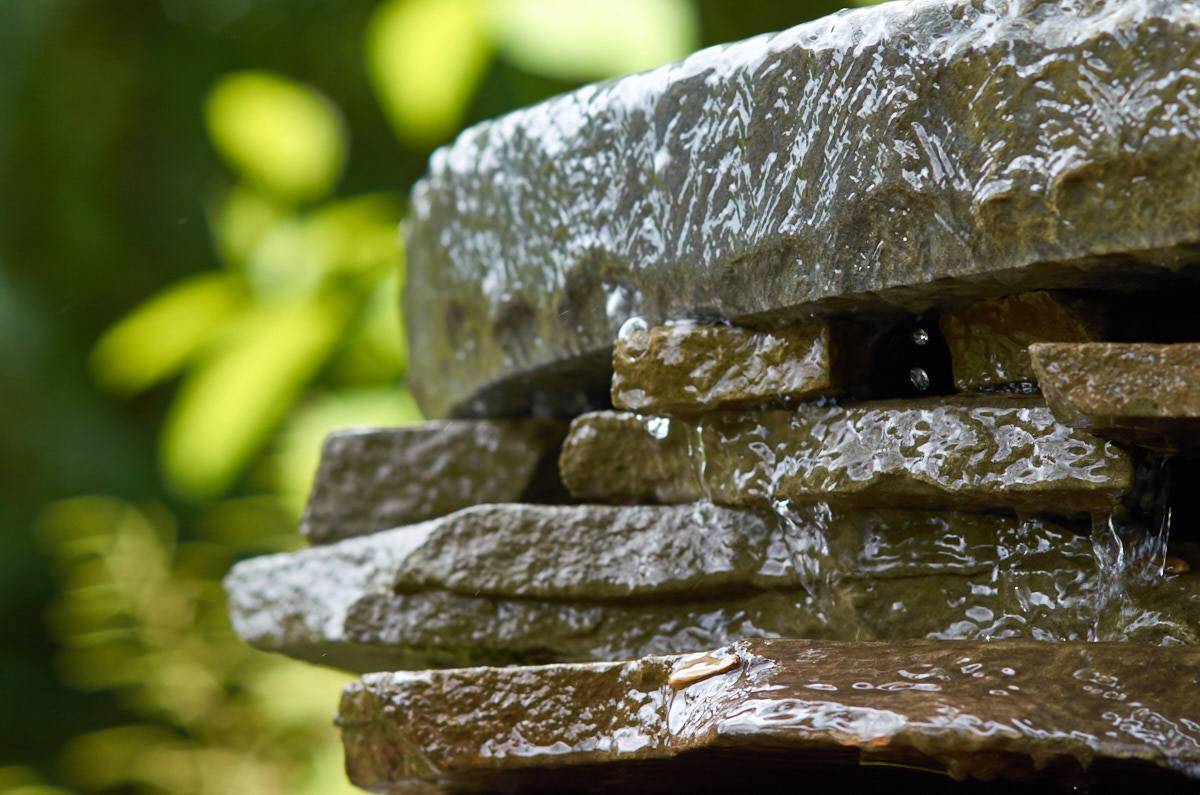
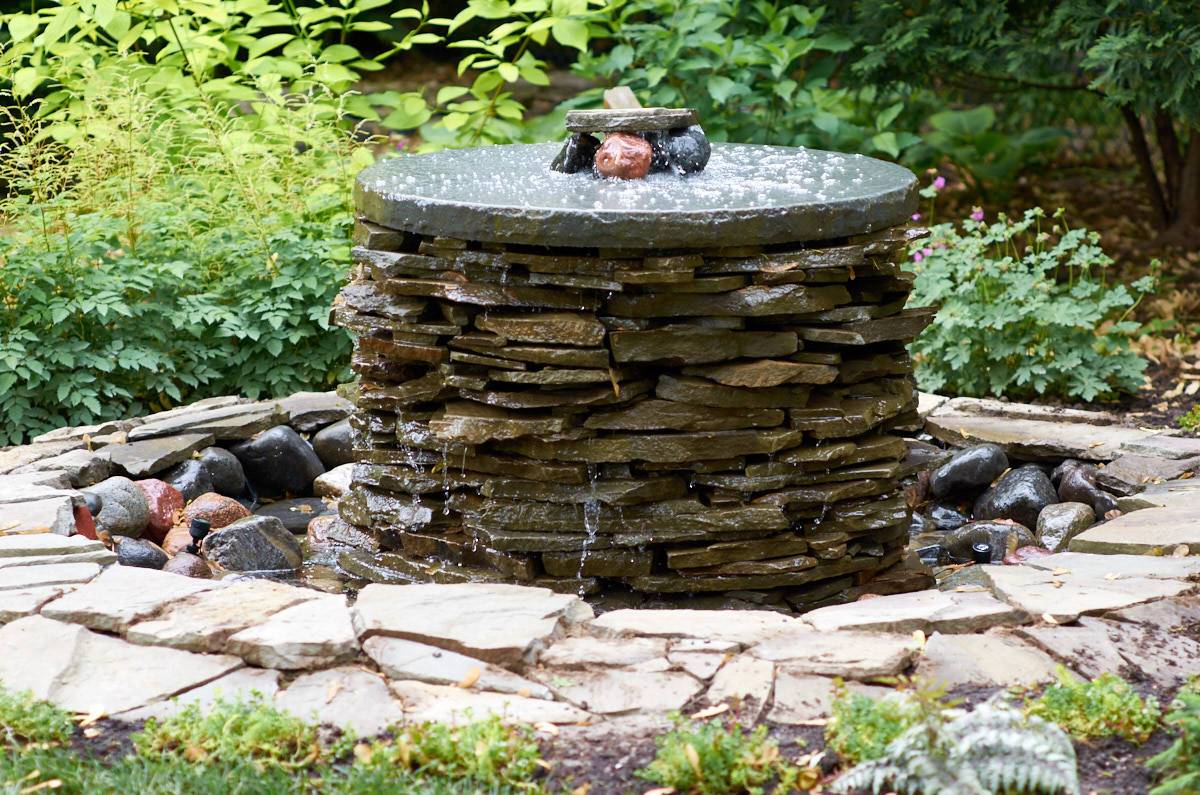
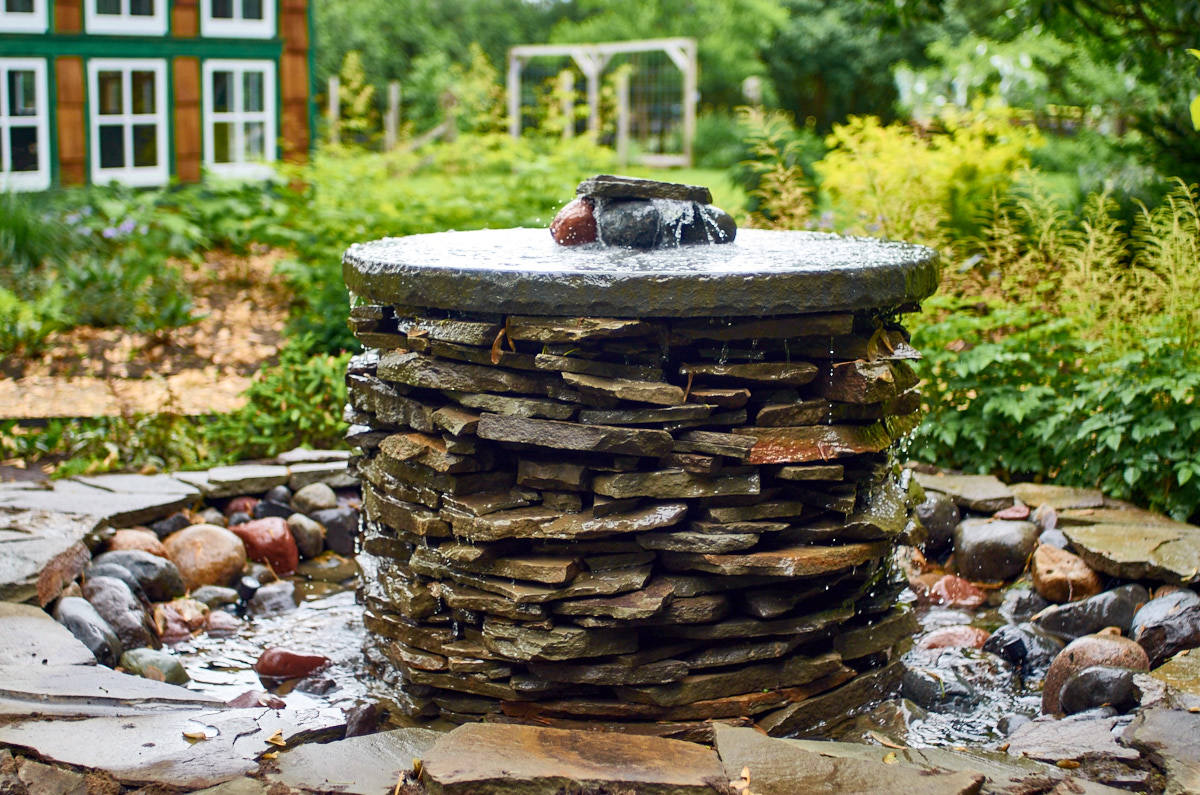
In our case, we first had to build our fountain! So we dry-stacked New York Bluestone stones into a cylinder, with a copper pipe running up the center. To top it off, we had a local stone cutter fabricate a 39-inch diameter capstone out of another slab of bluestone. The water runs up the middle of the cylinder and out over the capstone, and then down the sides.
Mind you: this was just an additional step my parents wanted to take (and were happy to pay extra for). If you wanted to complete a project like this without using the capstone, you could simply continue arranging stones to top off the cylinder, or, better yet, use one of smartpond’s fountain nozzles to spread the water out over the edges.
Step
Add the lights, fill the pond, and turn on the pump!
Here’s how it turned out:
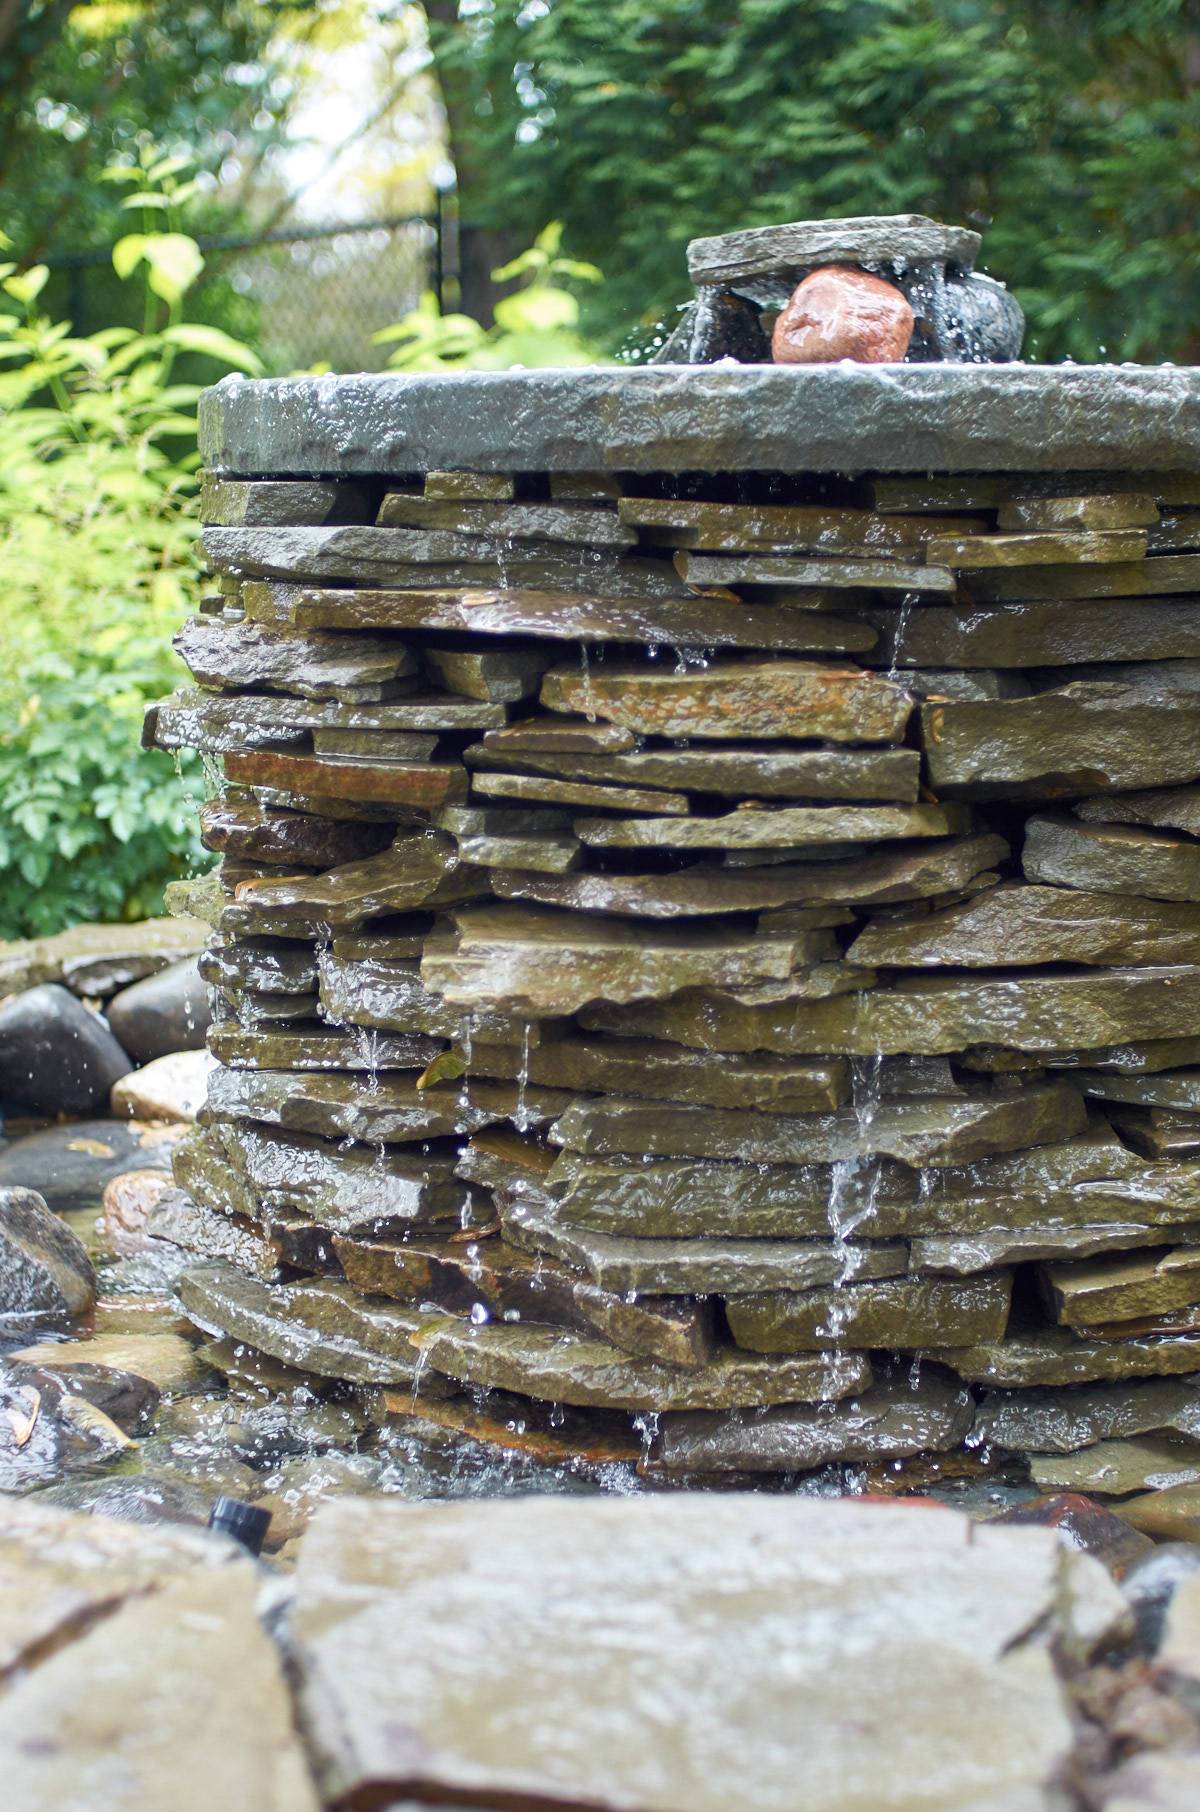
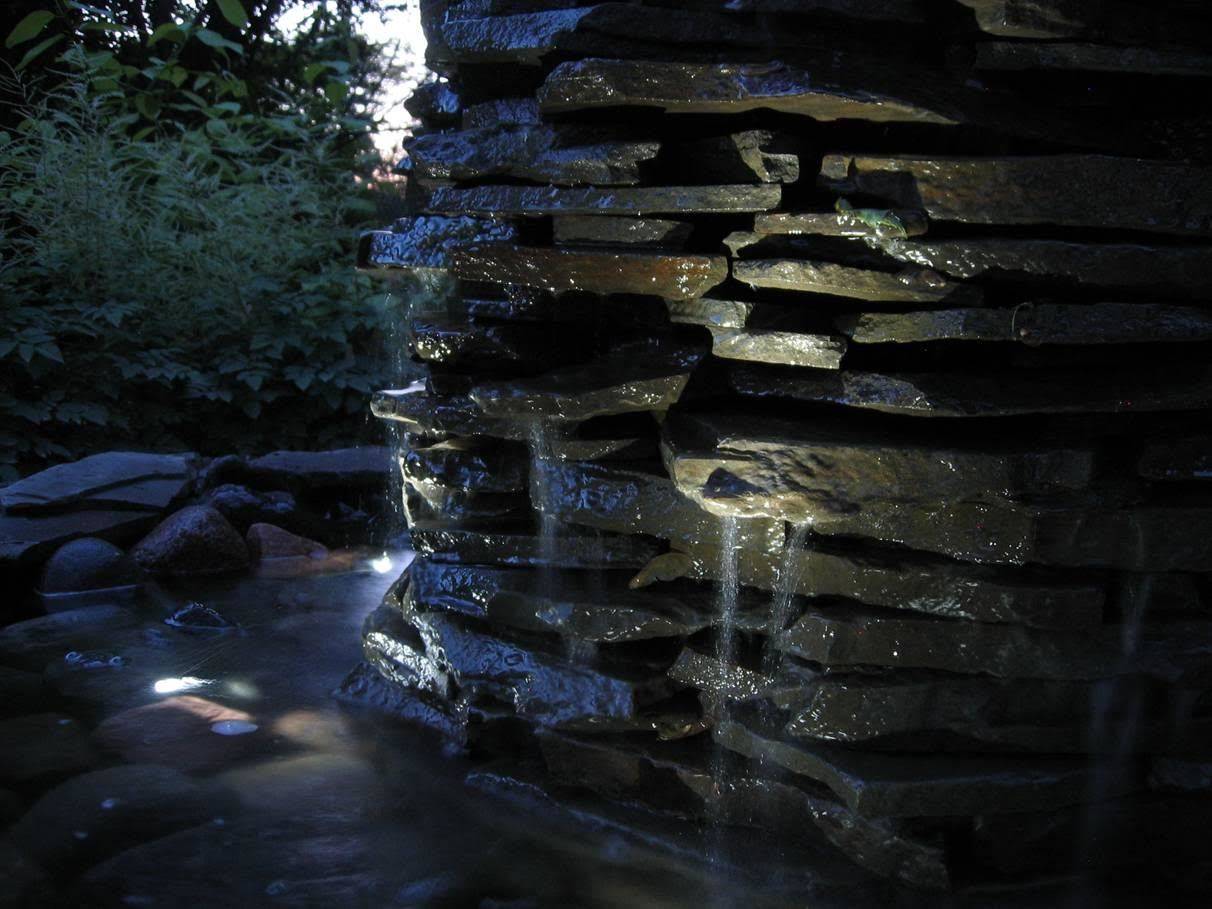
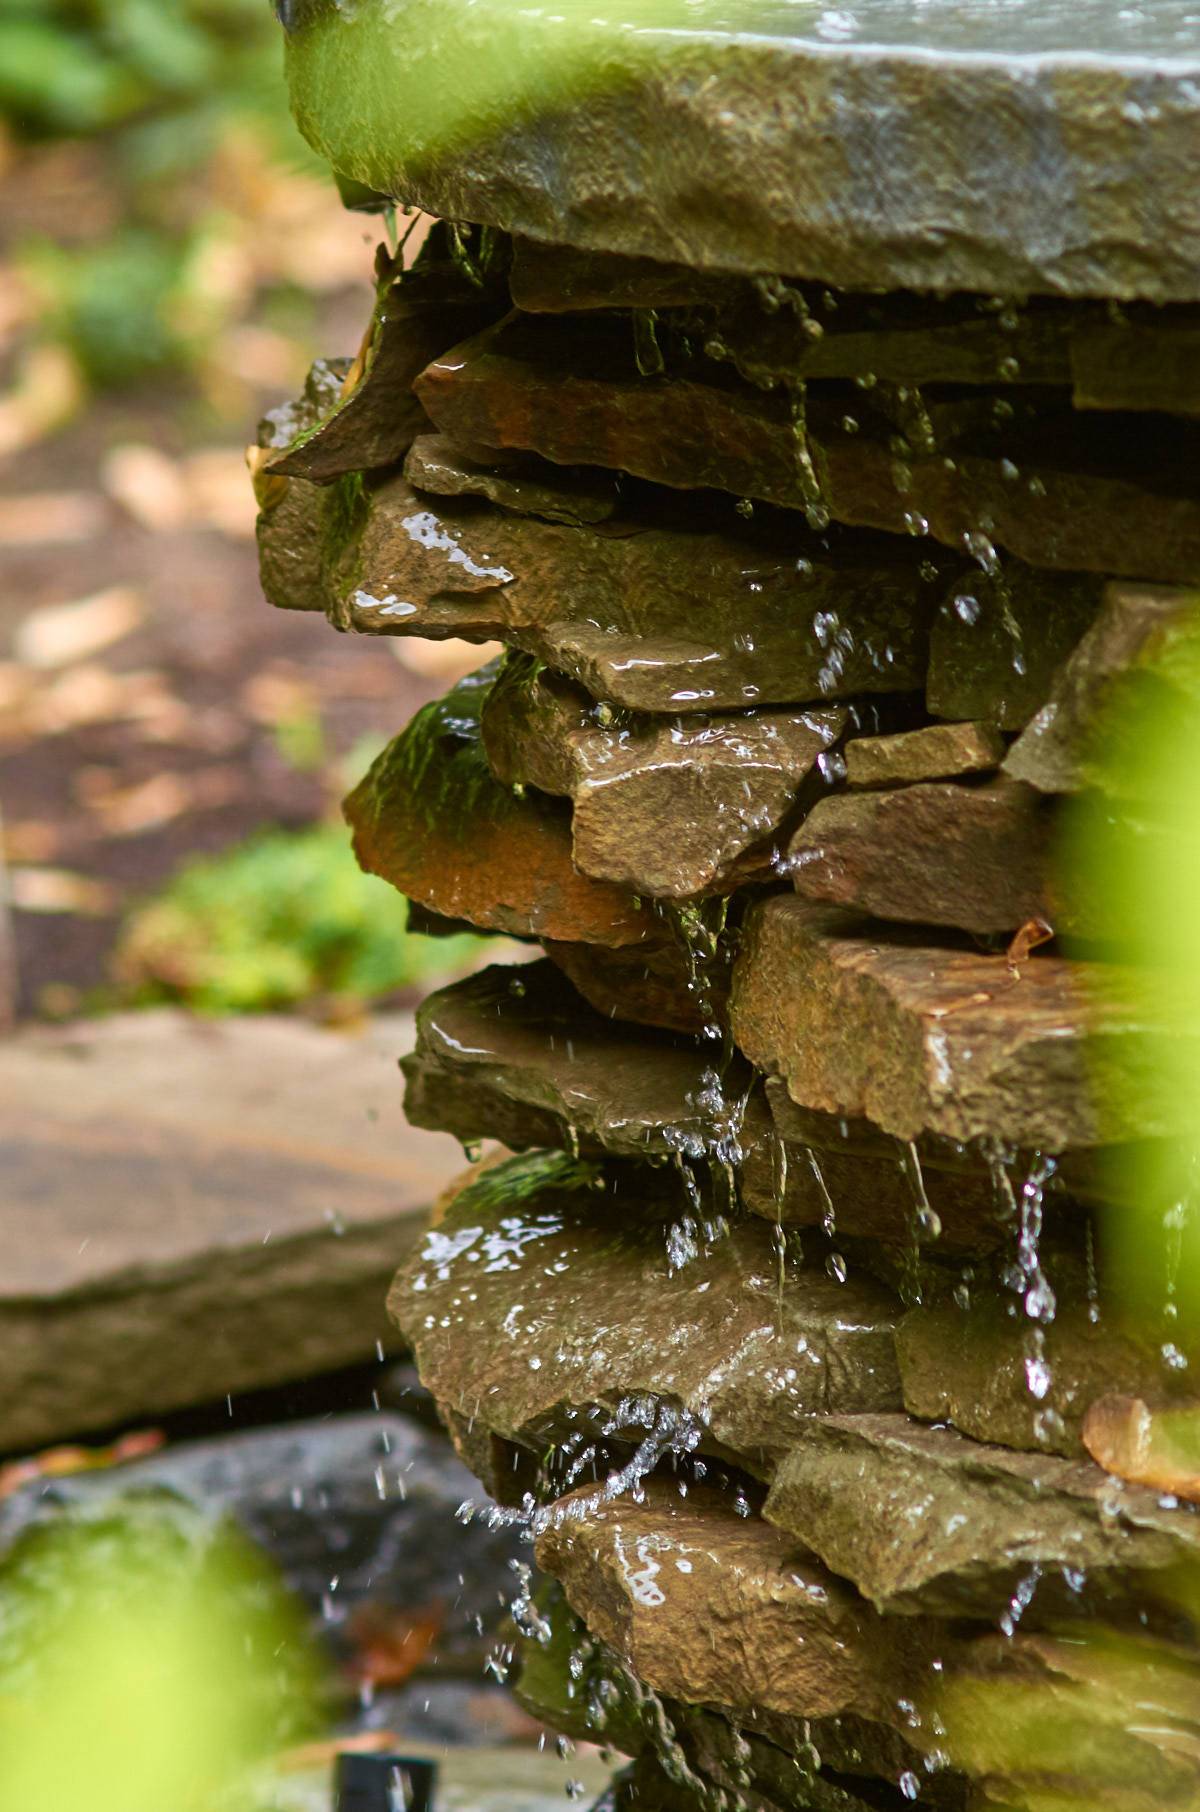
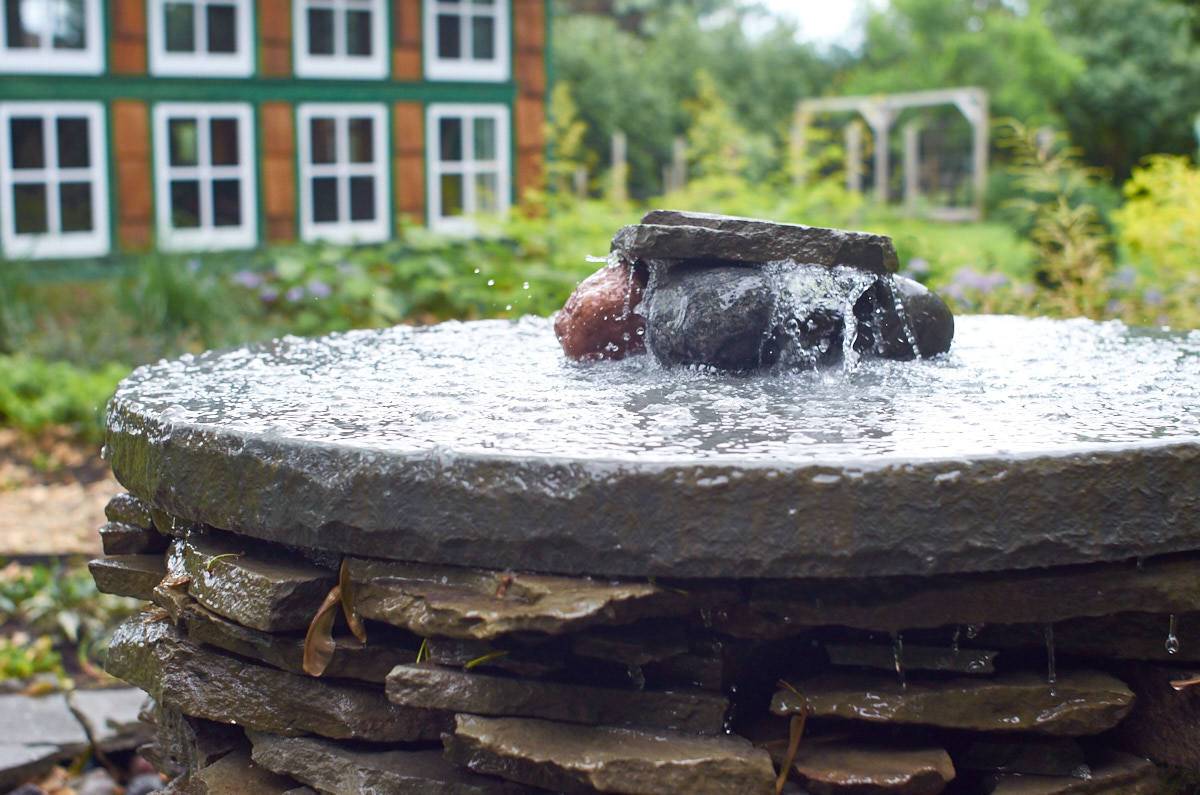
This post is sponsored by smartpond. Thanks for supporting the brands that help make Curbly possible (or, should I say, “pond-sible”?). Sorry.
It’s new for me I have a pond in my home and I have pond pro 2000 for its solution so I know about ponds which can make at home but you are telling about natural-swimming-pool sealing oh! Not an understandable buddy. Would you like to explain?
You say the only maintenance is cleaning the pump, but don’t you have to drain fountains before freezing weather sets it?