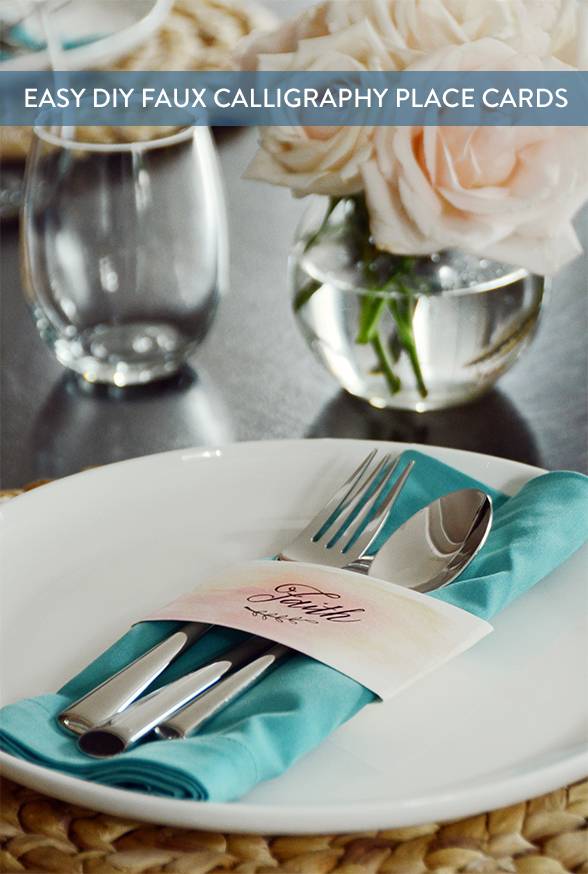
So you love the look of calligraphy, but you don’t have the time to learn how to do it? Or the patience, or the steady hand? Well there’s an easy way to fake it ’til you make it… today I’m going to show you how to make your own faux calligraphy place cards for Thanksgiving, Christmas or your next dinner party.
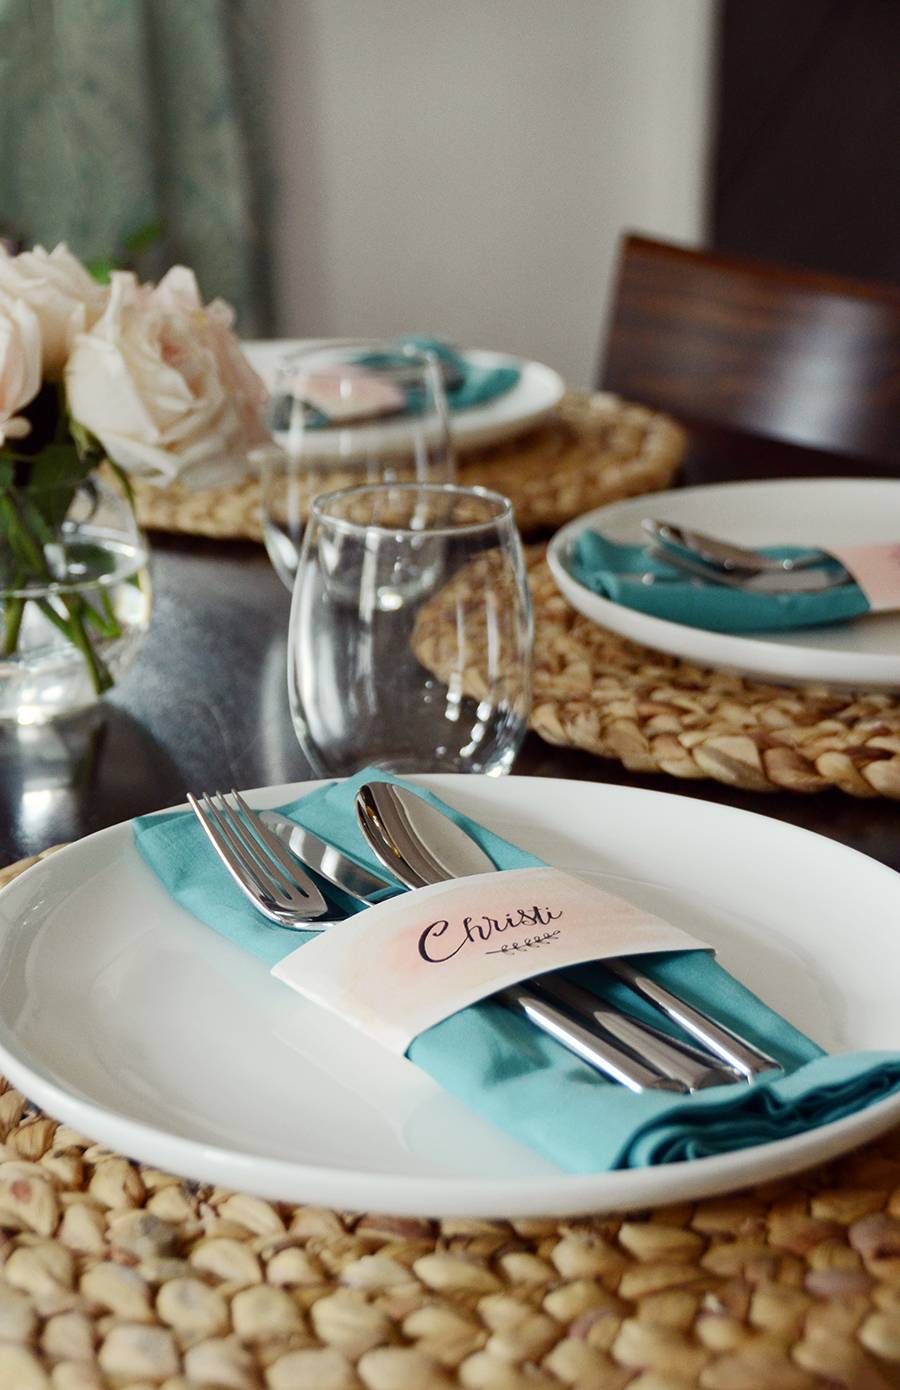
The end result is totally elegant and surprisingly easy to achieve. So let’s get started!
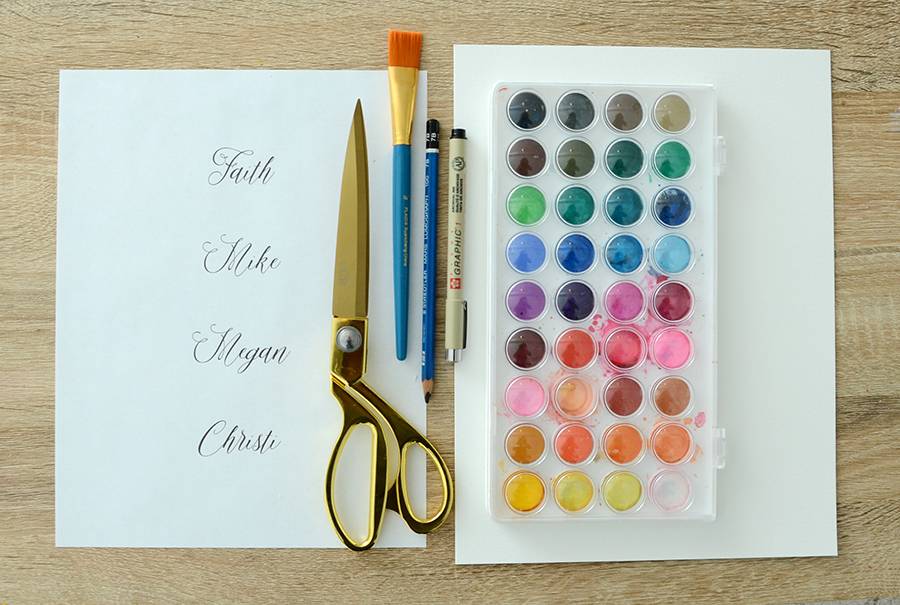
Materials
- Printout with names typed in your favorite font
- Watercolor paper
- Watercolor paint
- Scissors
- Paintbrush
- Soft pencil
- Pigma Micron Pen in black, size 005
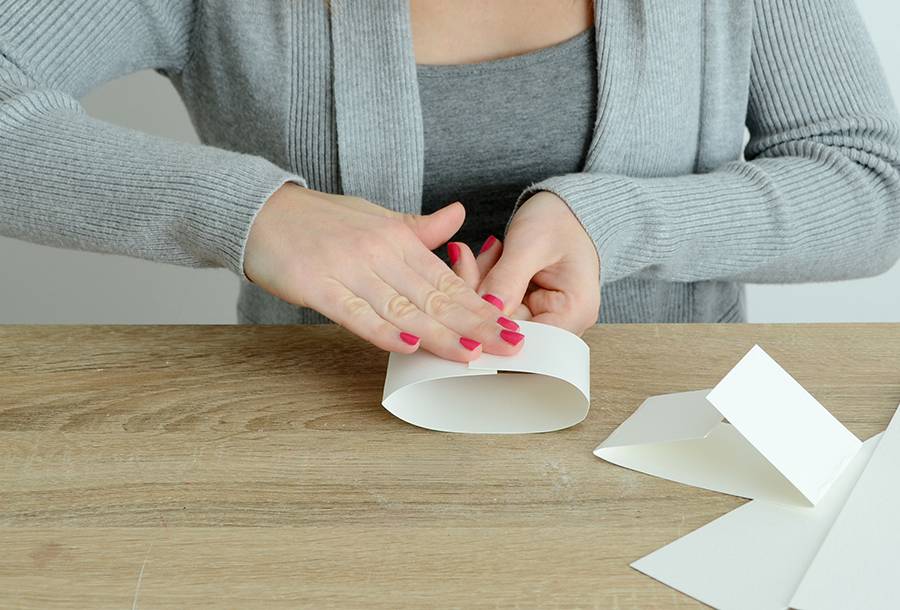
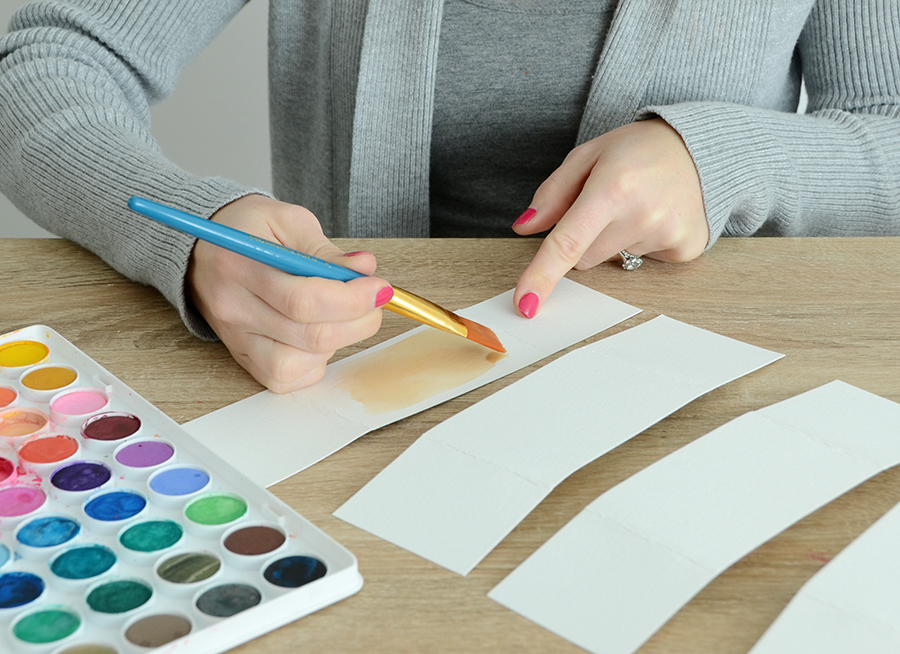
Begin by cutting your watercolor into strips that are approximately 3 x 10 inches. Fold them as shown above, so that the back flaps overlap by about 1/2 an inch.
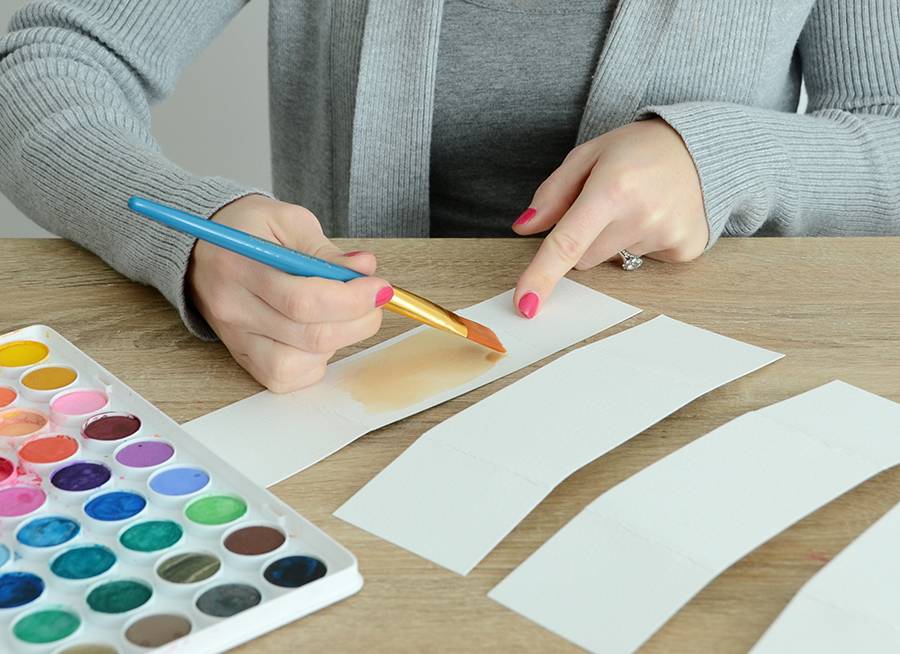
Unfold them and begin painting the middle section of each strip. Choose any color scheme you like, and feel free to paint the side sections for a more natural look. Let them dry thoroughly.
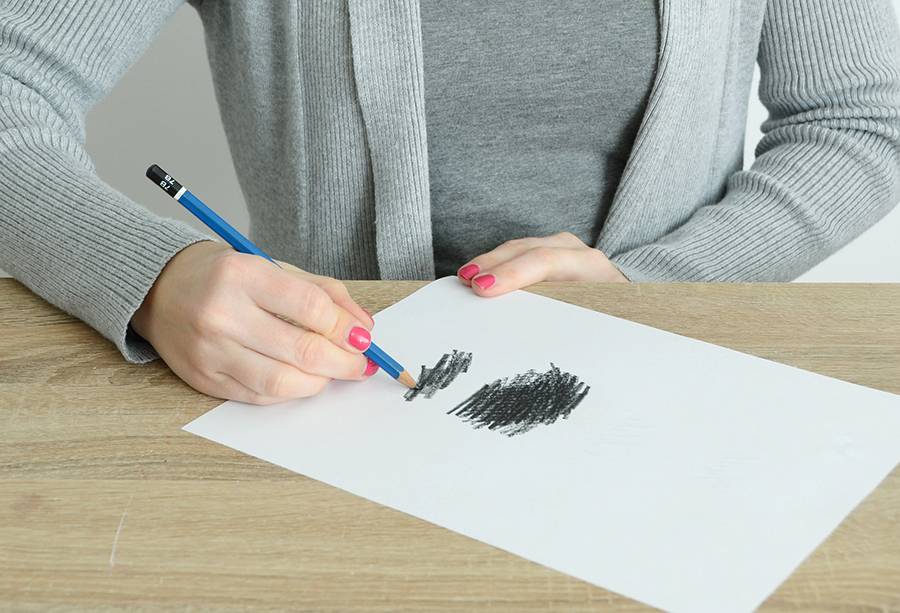
Next, use a soft pencil (the softer the pencil, the darker it is) to color over the names on the back side of the printout. I used a 7B, but you could use anything in the 4B to 8B range.
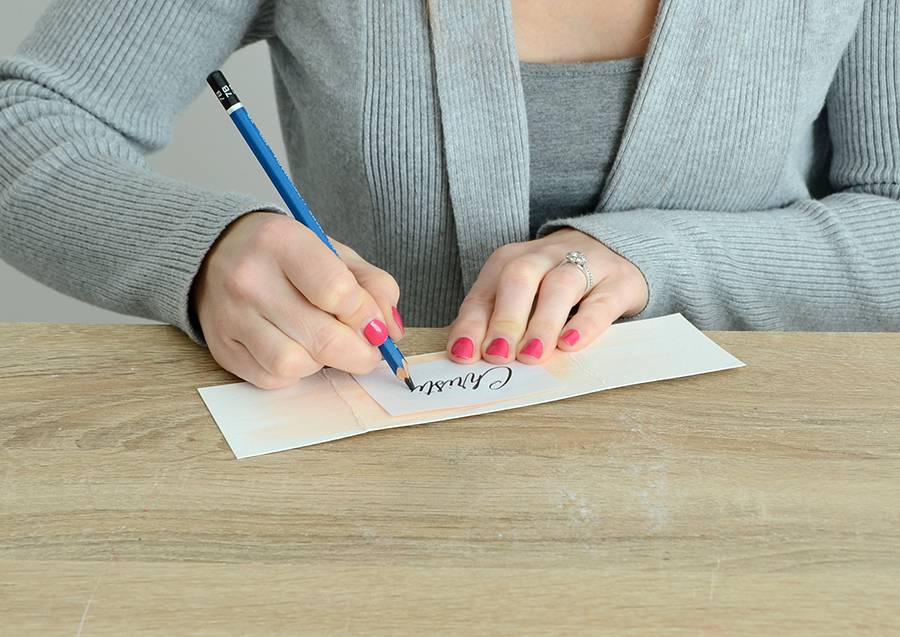
Cut out each name and place it over the center of the place card with the pencil-covered side down. Hold it in place with your non-dominant hand, and use the pencil to trace the name. When you lift it up, you will see that the pencil has transferred down onto your painted surface!
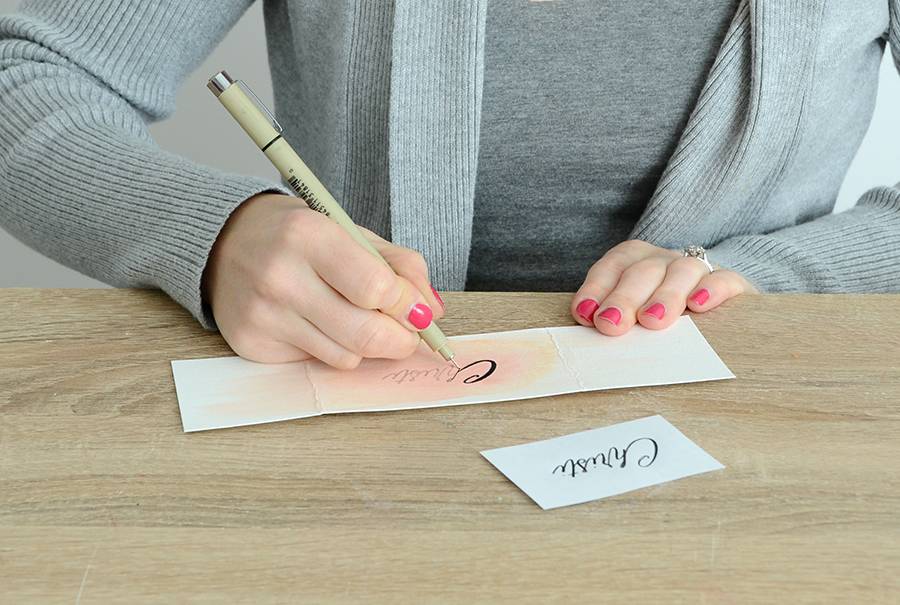
Use a fine pen to trace over the pencil lines. Add thickness to the lines as necessary, using the printed font as a guideline. You can leave it as is, or add a flourish underneath like I did. To make the branch motif that I used, start by drawing a curved line underneath the name. Then draw small ovals down one side, and back up the other. Add a bit of thickness to one end of the stem.
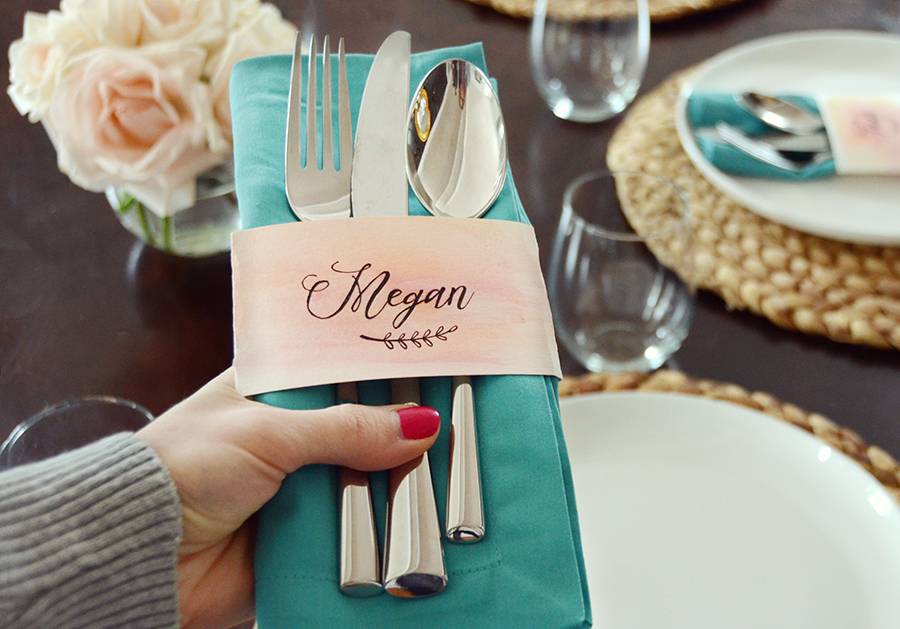
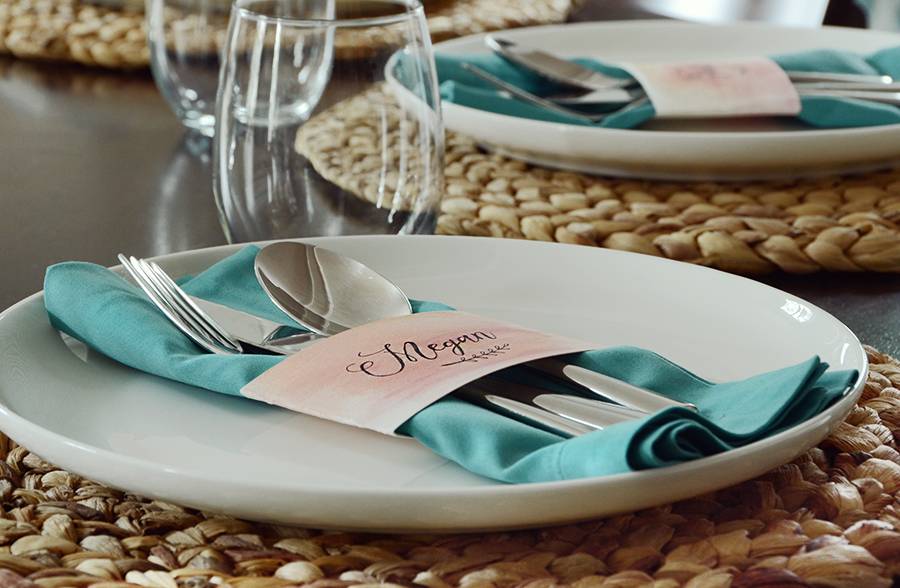
Wrap it around a napkin, tape the back and place the silverware in between. The end result is elegant with a bit of a playful vibe. Your guests are sure to rave about them!
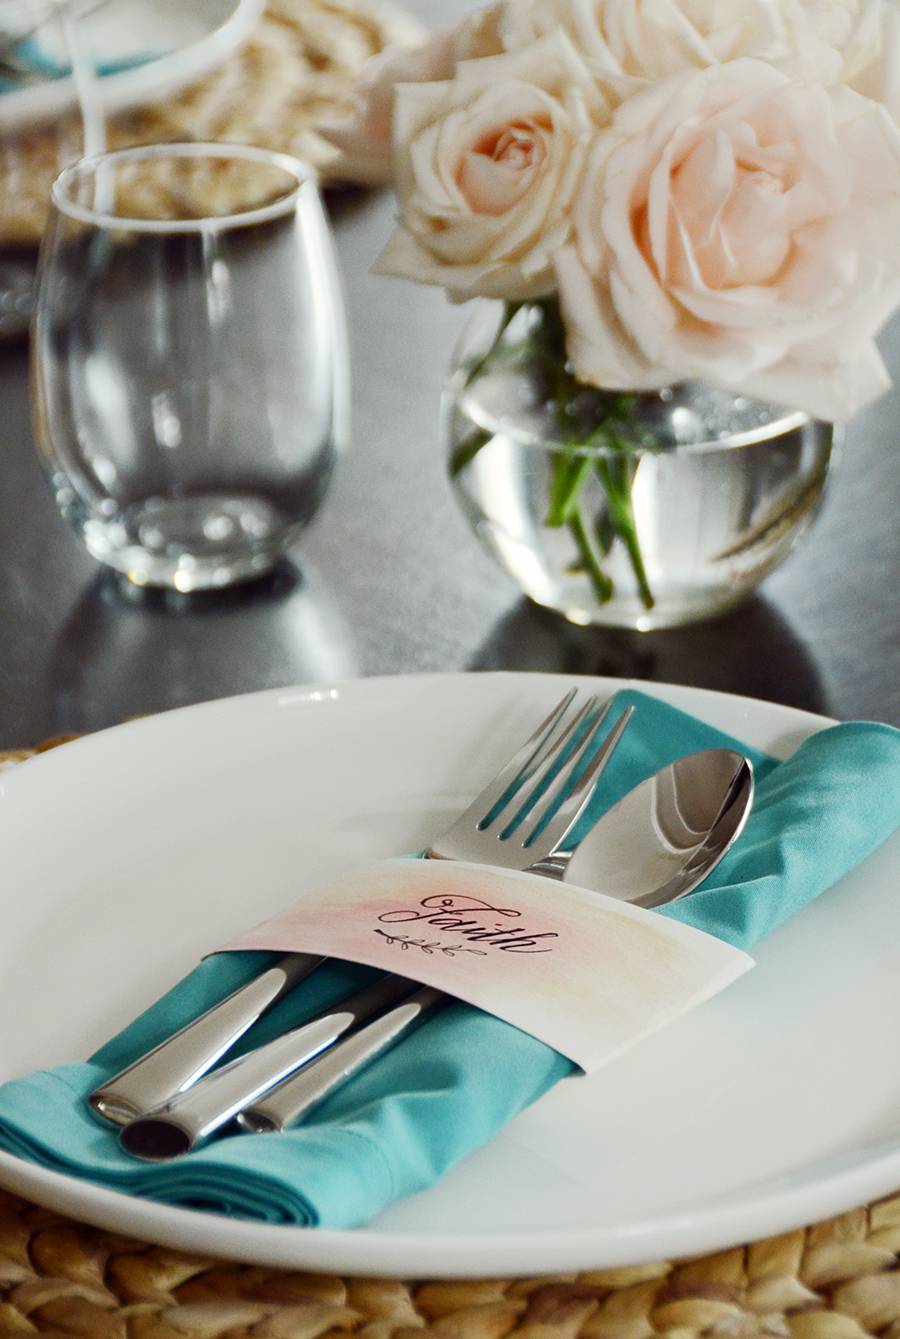
You can easily customize these by choosing different paint or ink colors, different fonts and perhaps ever different paper colors.
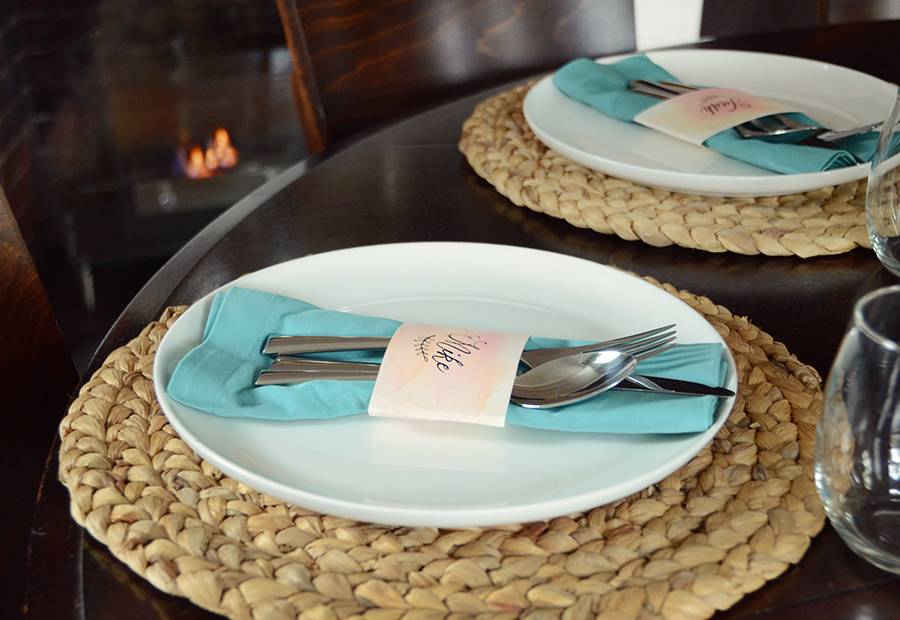
If you’re short on napkin rings for your next gathering, these take their place – problem solved!
And who knows, maybe this will inspire you to get into calligraphy… it’s a fun way to up your creativity without having to buy a ton of materials. Happy lettering everyone!
