These days, no party is complete without a diy photo booth. They’re not only a fun addition to any shindig, but they’re a great way to capture memories and they create the most meaningful party favors in the world.
While renting an old-timey booth or hiring a company to run one are both nice options, they cost a pretty penny. The reality is, creating a custom photo booth using the electronics most of us already have around the house (e.g. your computer, digital camera, printer, phone) isn’t very complicated. In fact, it’s relatively straightforward. And, when you combine the “photo taking device” with some custom photo props or easy DIY backgrounds, your photo booth becomes the life of the party.
Follow along as we share everything you need to know about creating a custom diy photo booth for the party of your dreams!
Curbly’s Ultimate DIY Photo Booth Props Collection
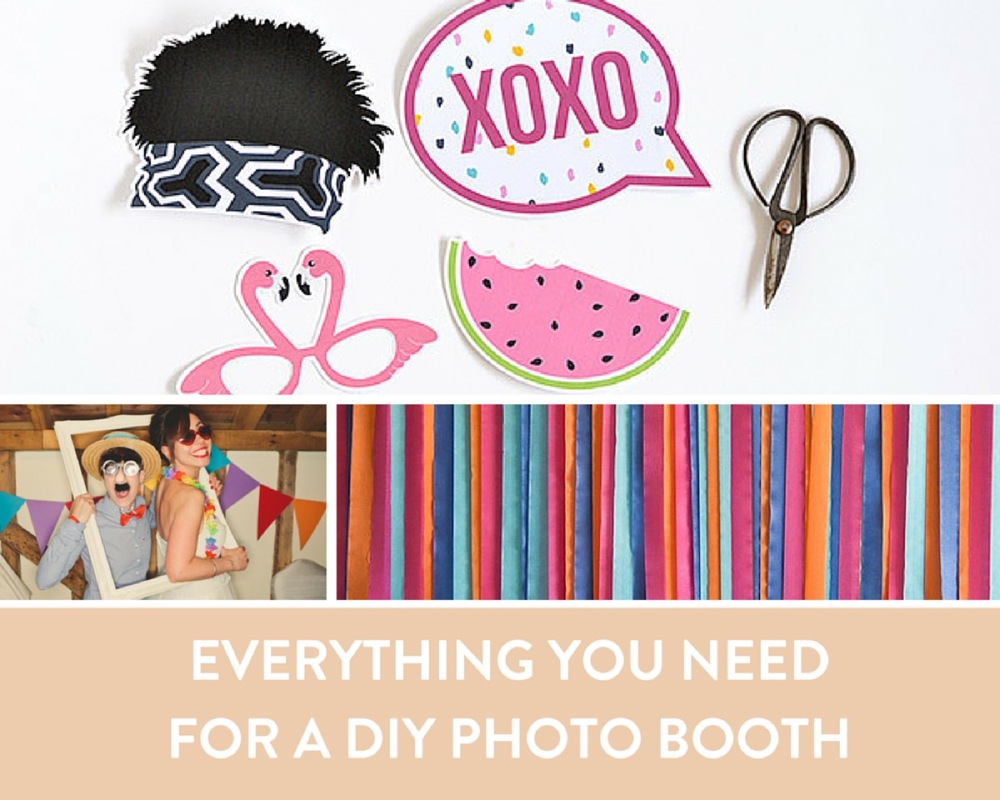
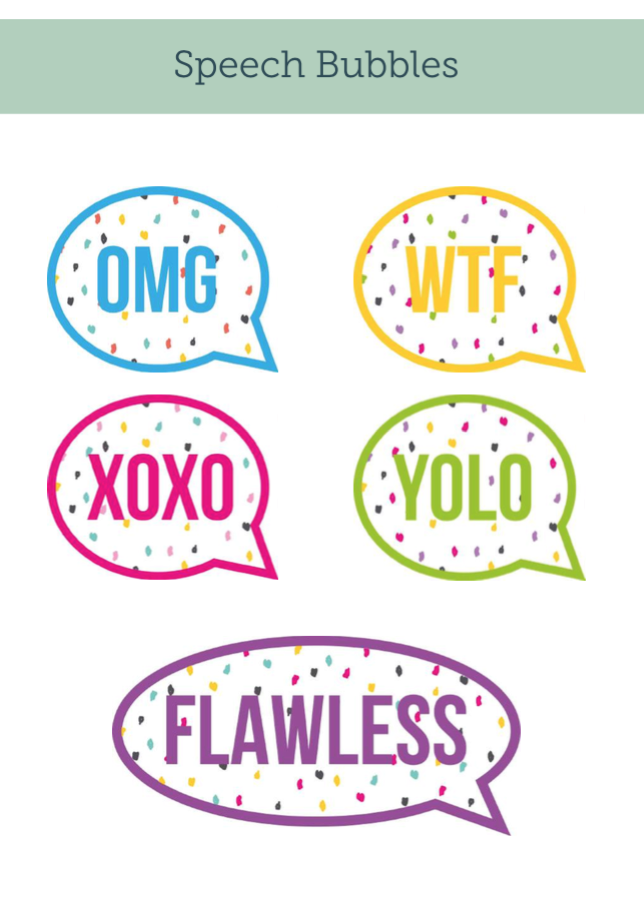
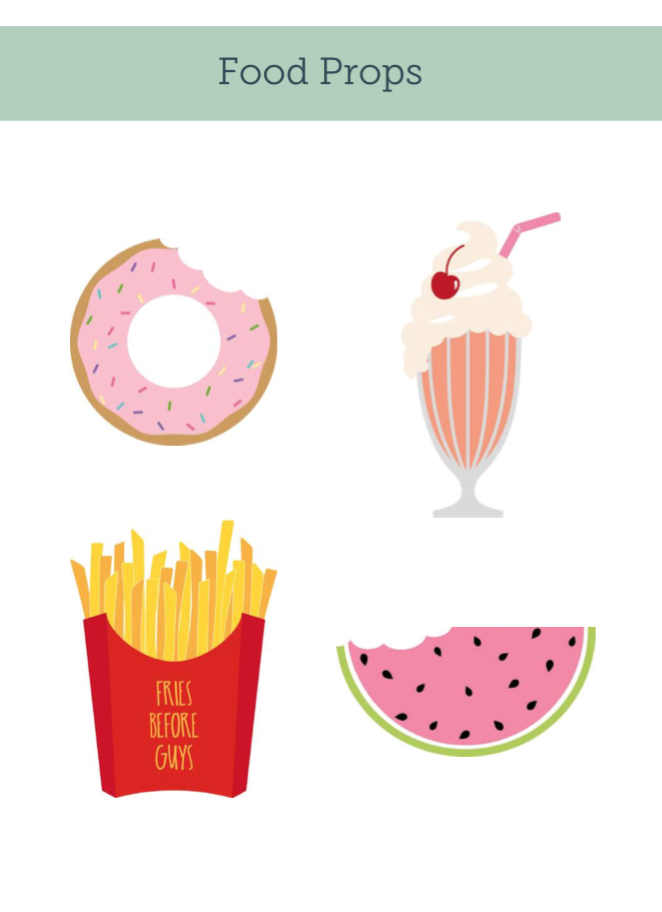
For just $1.99, you’ll get 30 ready-to-print photobooth props, including:
- Food
- Emojis
- Social media frames
- LOL speech bubbles
- Crazy hair styles
- Funny eyes and glasses
DIY Photo Booth – Taking the Photos
Apparently, since we wrote our DIY Photobooth post (four years ago!), the world has caught on and there are now hundreds (thousands?) of results in Google for this sort of thing. Our photo booth seems to work fine on Mac OS X 10.6 and 10.7. Newer versions may get glitchy (sorry!).
Here’s the thing; a diy photo booth is not a person standing there with a camera taking pictures of people in front of a backdrop. But that’s what many of the solutions out there offer (like this one, from HGTV, for example). Ideally, what you want is a real photo booth! A “booth” where you press a button, and then the camera takes three or four pictures of you, automatically (and without warning … that’s how you get those fun candid/weird/awkward moments that photo strips are known for). We also think your version of a “booth”, should put the photos into a vertical strip, and print them!
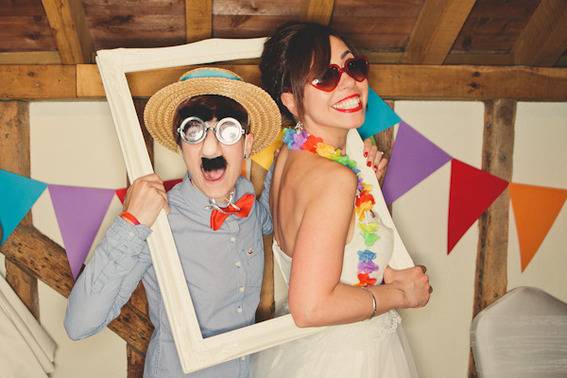 We Heart Pictures
 There are a million ways to do this, and if you want to spend some time, you can figure out a way to make your own for free (you could start with our Apple Automator script and see if you can update it). But, honestly, there are some great paid options out there that don’t cost much:
- Sparkbooth – This seems to be the most popular option, and costs $55. It allows you to customize the photo layout, print automatically, and auto-post to Facebook, Flickr, etc. ($55 might seem like a lot, but depending on how you value your time, you’ll definitely spend at least that much DIY-ing something like it).
- DSLR Photo Booth – This looks great for those of you who don’t want to use a web cam. The basic version starts at $50, and you can try before you buy!
- Pocketbooth for iPad, iPhone and Android is only $.99! It can print (via AirPrint) or upload to your social networks. Unfortunately, all of this has to be done manually, so it’s not an ideal setup for a party.
- And finally, RasterWeb sells a pretty awesome USB button you can hook up to your computer to give your digital photo booth an analog vibe.
Going to use a full-featured camera? You’ll need these gadgets:
Intervalometer: This handy accessory connects to your camera (find the one that works for your camera) and with easy setup becomes a button you can press for timed shutter release, giving you that “four-photo strip” you want. Buy for around $15-$20.
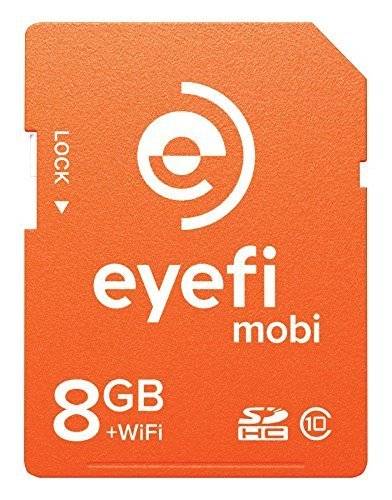
Eye-fi SD card: Configure this card’s built-in WiFi network to beam images straight to your computer, and with an Automator script, or one of the apps mentioned above, print them in a flash. Buy for about $30 for the smallest memory capacity. Set to auto delete after printing if storage capacity is a problem.
Backdrops to Set the Stage for your DIY Photo Booth
Creating a backdrop for your photo booth is essential because it adds a ton of personality to your photos. The best thing about backgrounds is that the possibilities are endless and they are easy to DIY. We recently shared 11 clever backdrop ideas, but here are a few more of our favorites:
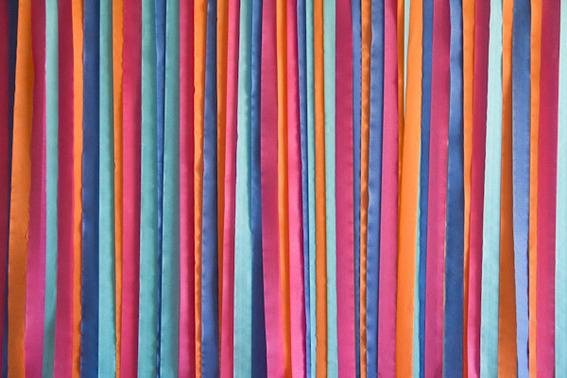 Lovely Indeed
DIY Streamers Backdrop from Lovely Indeed: Nothing says par-tay like a boatload of streamers.
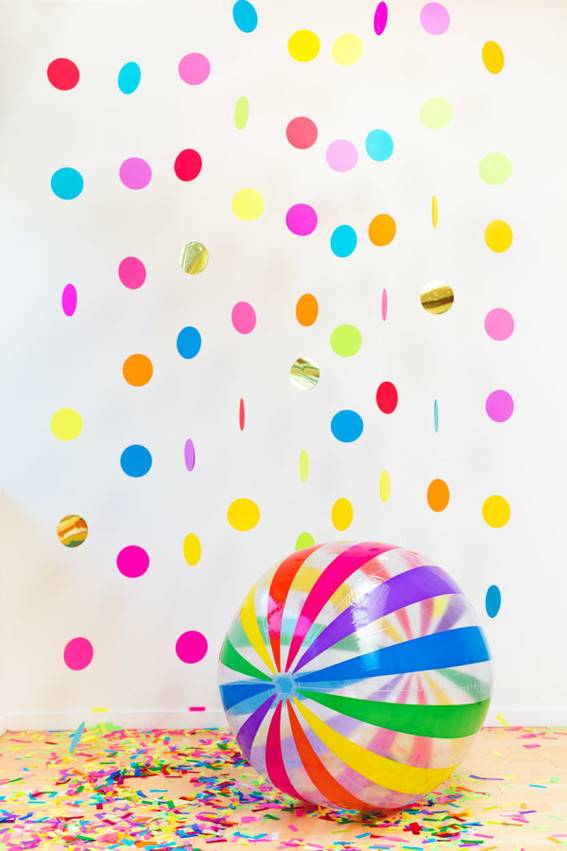 Studio DIY
DIY Confetti Backdrop from Studio DIY: Confetti + Parties = A match made in party heaven.
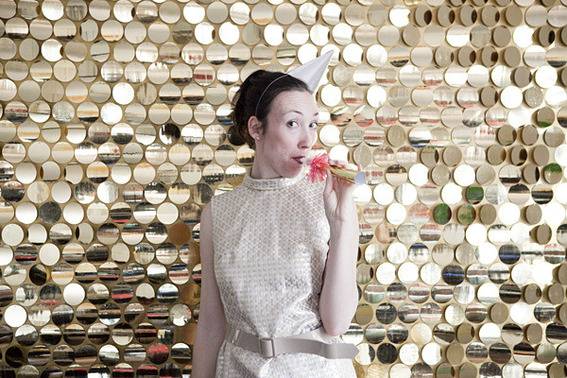 Oh Happy Day
DIY Sequin Backdrop from Oh Happy Day: Adding shimmer and shine to your bash is never a bad idea.
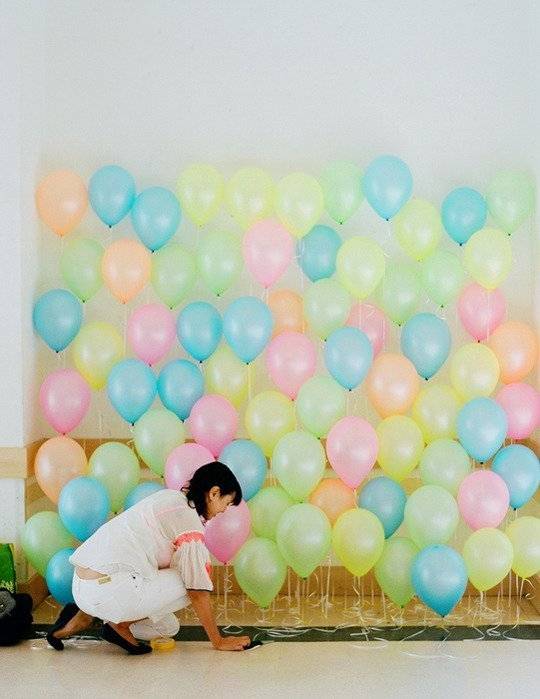 Modern Kids Co. for Hello!Lucky
Neon Balloon Backdrop: No party is complete without a bunch of balloons!
 Wedding Bee
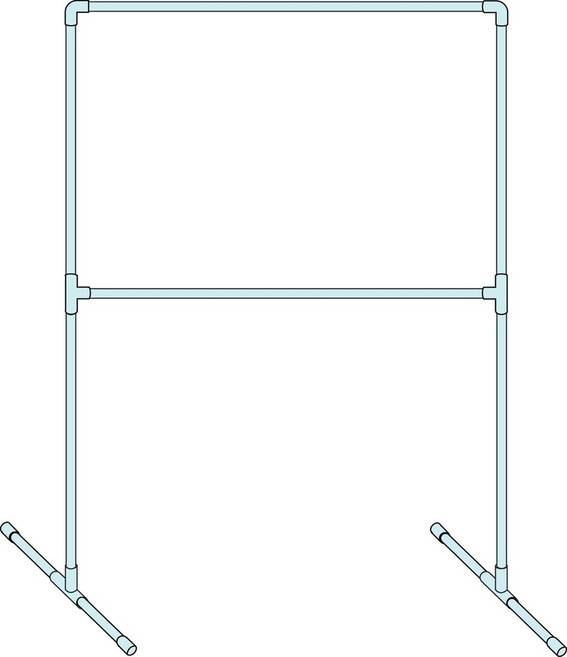
If your party is outdoors or you don’t have a wall to dedicate to a backdrop, making a freestanding one out of PVC piping is surprisingly easy to do. Here’s a great tutorial!
Props to Set the Tone
Photo props are an important addition to your DIY photo booth because they give people something to do! They are easy to customize to your party’s theme, and they are simple to put together using a printer, tape, wooden dowels or party straws.
Now, there are plenty of free printables out there, and we list some of the ones we like below. But if you want to skip the searching, check out our Ultimate Photo Booth Collection, which you can buy for just $4.99.
Here is a collection of some of our favorite free printable props:
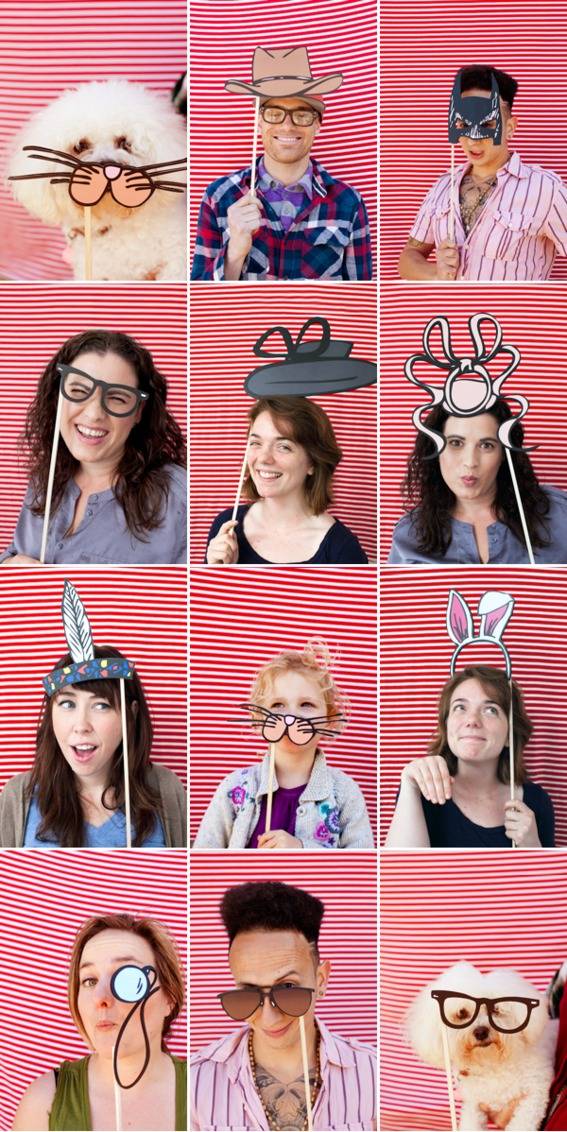 Oh Happy Day
DIY Props from Oh Happy Day: This adorable set features cartoon-y hats and headpieces that are perfect for every age! The super creative Oh Happy Day has several general and themed sets to choose from; take a look at them all!
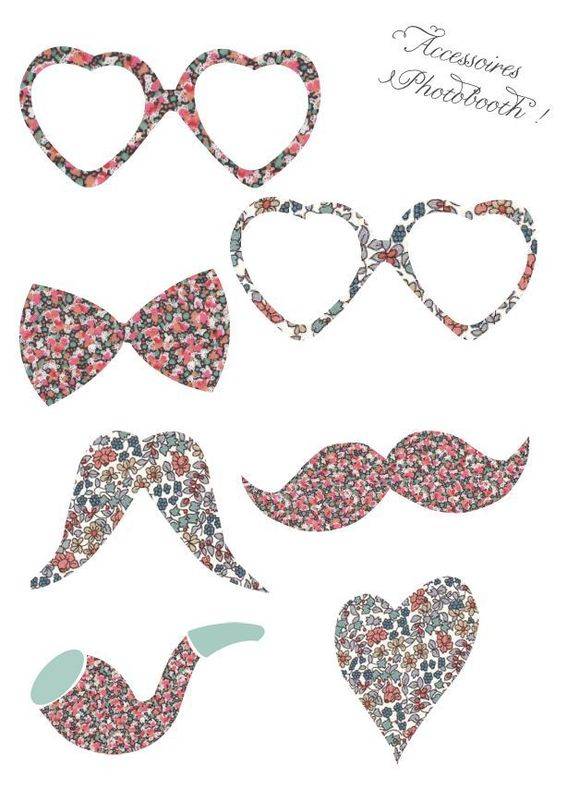 Le Blog de Madame C
DIY Liberty Print Props from Le Blog de Madame C: These printable props in a Liberty print are garden-party-gorgeous!
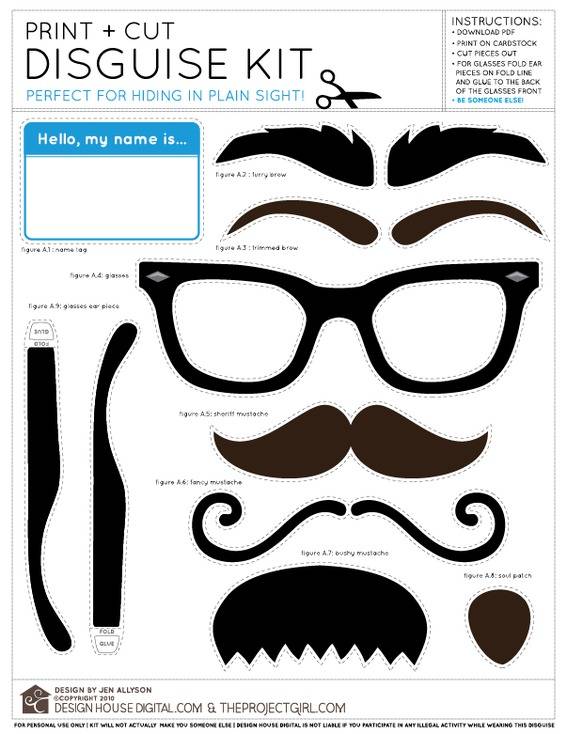 Jen Allyson
DIY Disguise Kit: Spies, secret agents, and April-foolsters rejoice; your party is now perfect. It appears the original downloadable file for this is no longer available, but you should be able to expand and print the image using good ol’ fashioned trickery.
Photo Booth Signage to Set the Direction
Adding a sign to your photo booth is the cherry on top of your booth’s sundae. Because, frankly, it makes your booth legit! Here are some free printable signs to point your guests in the right direction:
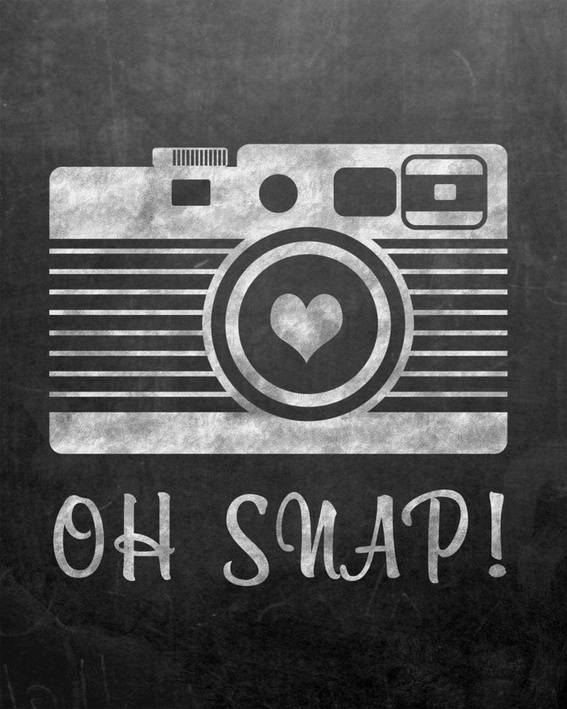 No. 2 Pencil
Oh Snap! Sign from No. 2 Pencil
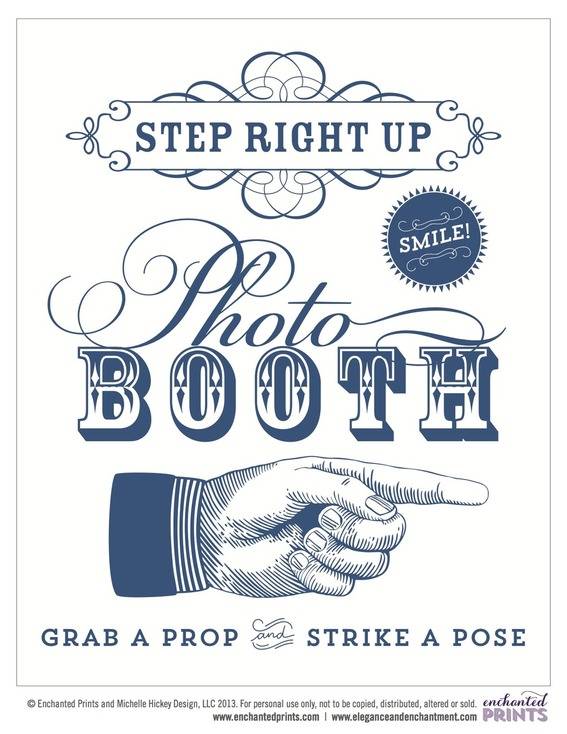 Elegance and Enchantment
Step Right Up Sign from Elegance and Enchantment


Hi!
Love your conecpt but am having trouble getting the Worlflow to work on my Mac. I’m running OS X 10.9
Hi. I’m running 10.6.8 on my imac core duo and the workflow is choking. It gets as far as taking the 3 pictures and creating a pdf with the 3 photos turned sideways. I am getting the message “New PDF Contact Sheet encountered a problem”, even after replacing it with the one from the resource folder. Any suggestions?
the funny bit here, is… the first image is not done with an ipad or webcam cheap DIY set up. you can clearly see the AB Ring Flash in the reflection of the glasses. You will NOT get that kind of quality photo from an ipad DIY booth.
Geez. Louise.
Cool! I’m turning 14 and setting up a photo booth for me and my 4 guests, Where do u think I could buy some cheap, silly props and costumes?
Any way to also print onsite?
this is a *great* article–but why can’t i pin it? no matter what image i choose, i receive an error message from pinterest saying “cannot fetch the image.” :-(((
I really love photobooths and jumped on this software to be able to have a photo booth at my graduation in mid june, however now that I have a printer that is working it is saying error “rotating images” check properties and run again? I can’t seem to figure it out. HELPPPP!
Thank you for sharing an informative blog with us !