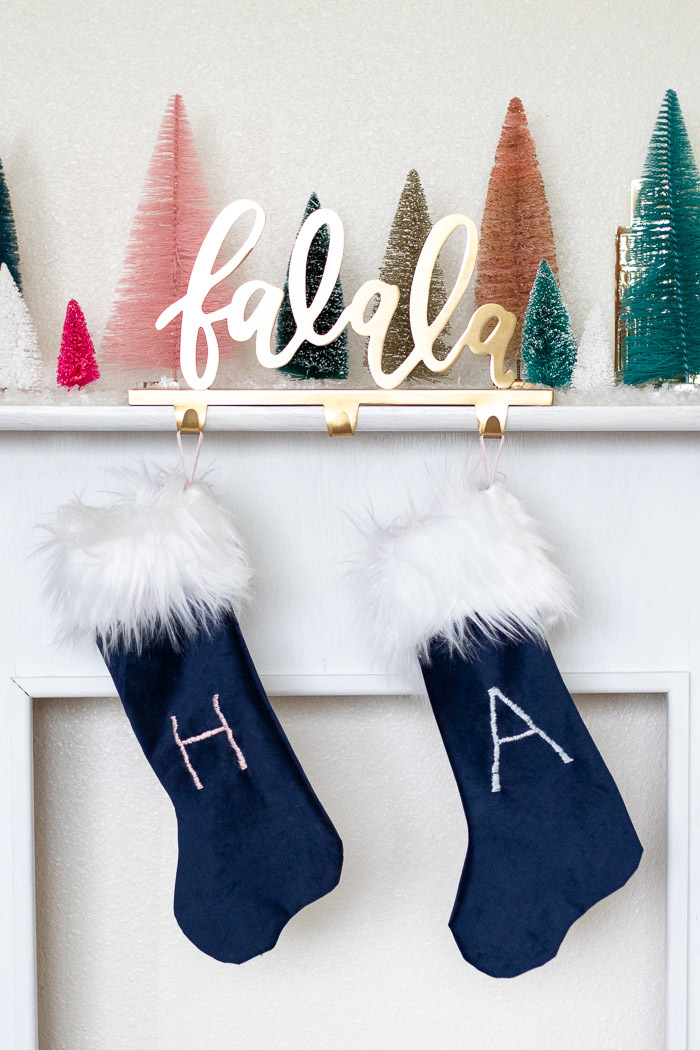
If there’s one thing that I think needs to be personalized for everyone in the family, it’s Christmas stockings! Come Christmas morning and everyone is swapping stockings, it’s the perfect way to organize whose stocking belongs to whom (and to make sure that Santa doesn’t get confused, of course). With this simple embroidery stitch, it’s easy to personalize stockings for only $5! Whether you’re sewing your own Christmas stockings or buying your favorite color at Target, the personalized embroidery makes them elegant but cute for everyone in your house!

I personally find that the satin stitch used for filling in large areas is the easiest way to make bold letters that will help identify your stockings. Embroidery is such an inexpensive hobby to take up, and this embroidered stocking project is a great way to start!
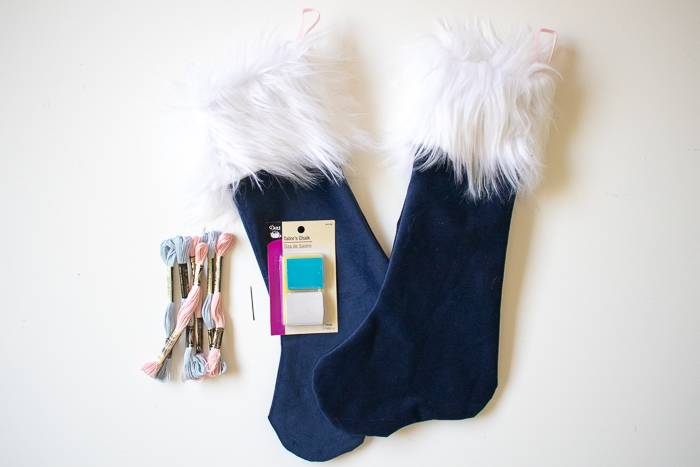
Materials:
- Christmas stockings
- Fabric chalk
- Embroidery thread
- Embroidery needle
Step
Cut a long piece of embroidery thread. Thread the needle with it and knot the end.
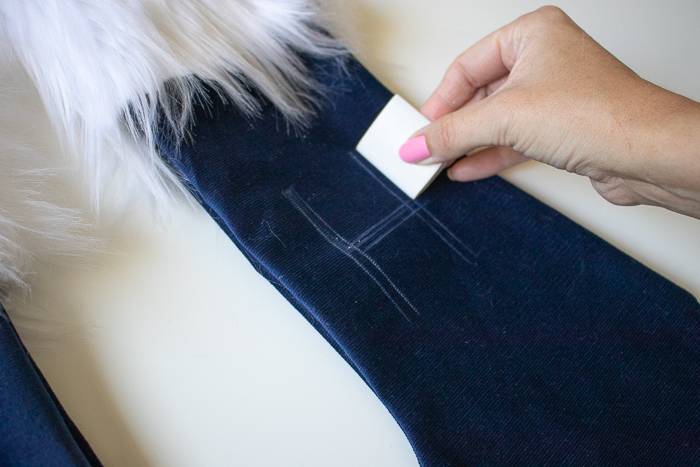
Step
Use the chalk to outline a block letter on the front of each stocking. They should be about 1/4-inch thick so that they’ll be clear once embroidered.
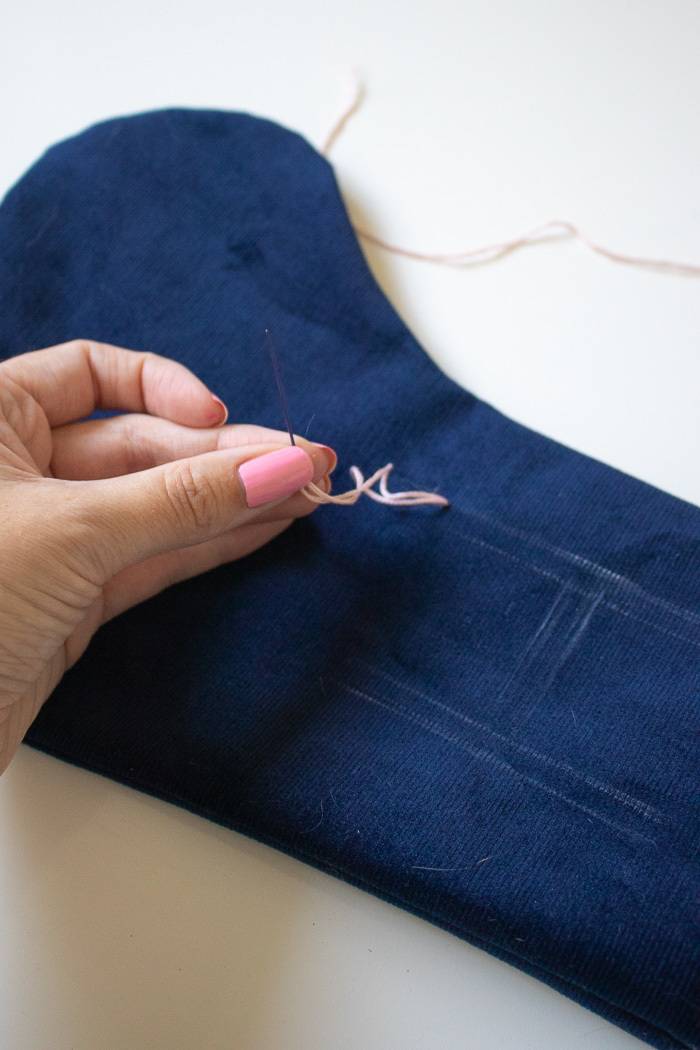
Step
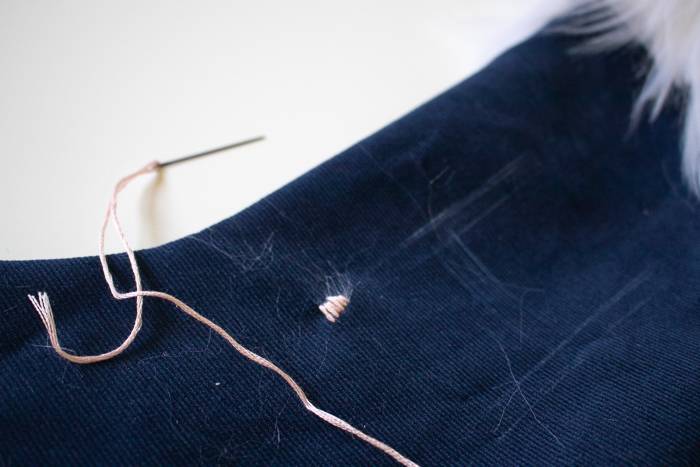
Beginning at the bottom corner of the letter you’ve outlined, poke through the stocking from the inside. Pull until the knot catches.
Step
Create a satin stitch by reinserting the needle to the other side of the letter and repeat, creating a block of stitching that fills in the block letter.
Repeat all the way up the letter, then knot the string from the inside and cut. Repeat along all sections of the letter until completely filled in.
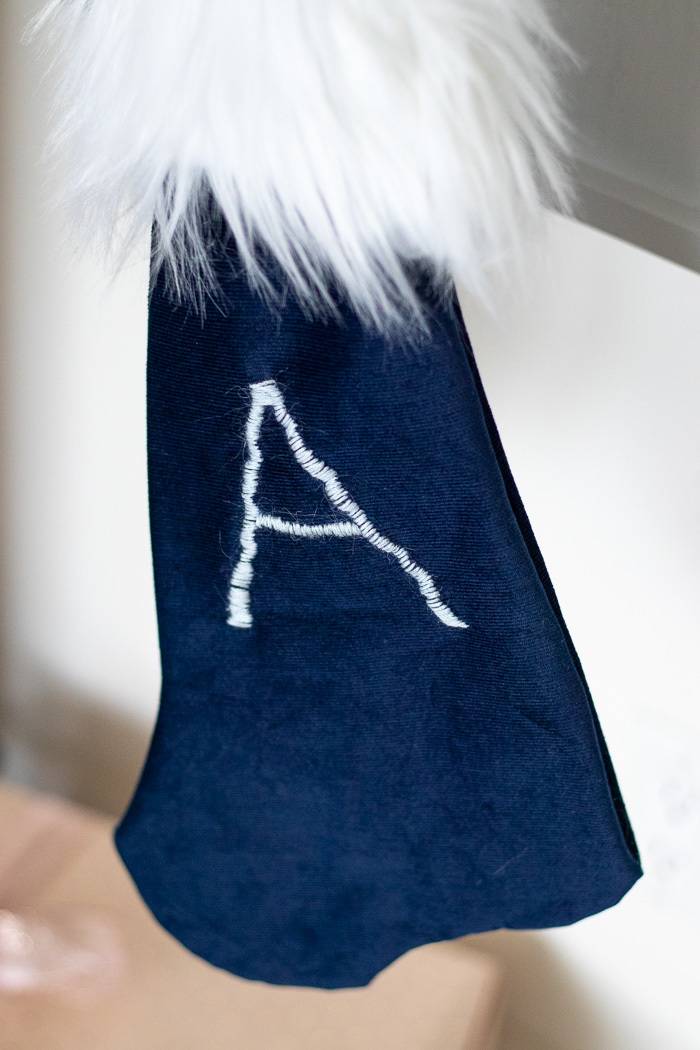
Now your simple embroidered stockings are ready to hang until Santa comes to fill them up on Christmas Eve!
