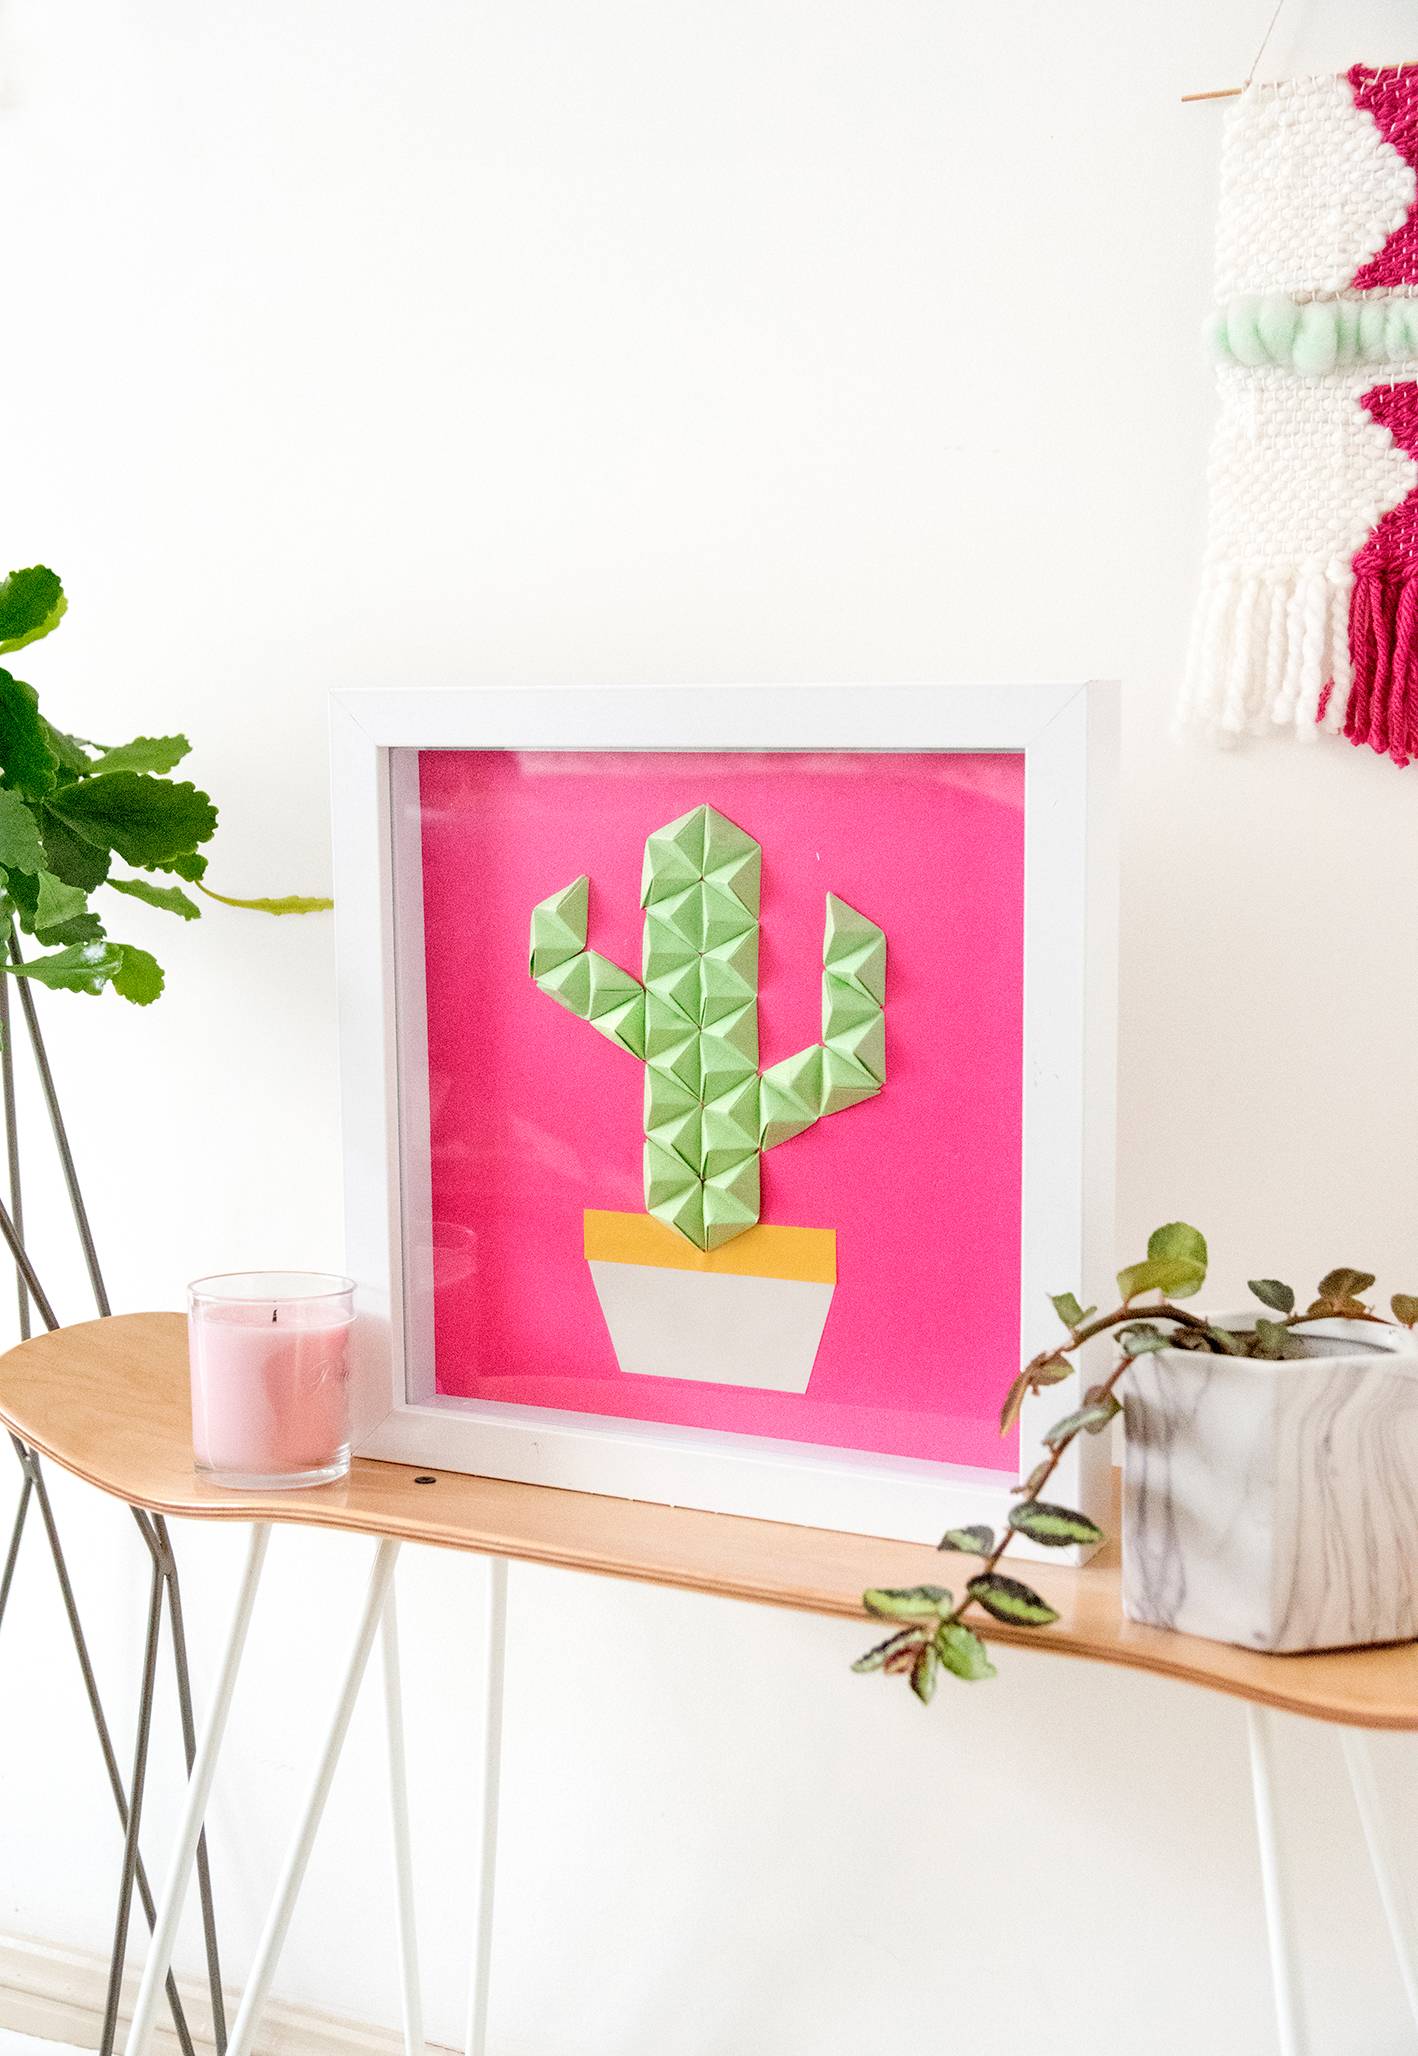
While I’m a firm believer that everyone is creative, I understand that many people aren’t comfortable with the idea of painting or drawing their own wall art. Heck, I’ve worked with paint all my life and sometimes I still don’t feel completely at ease with a paintbrush in hand!
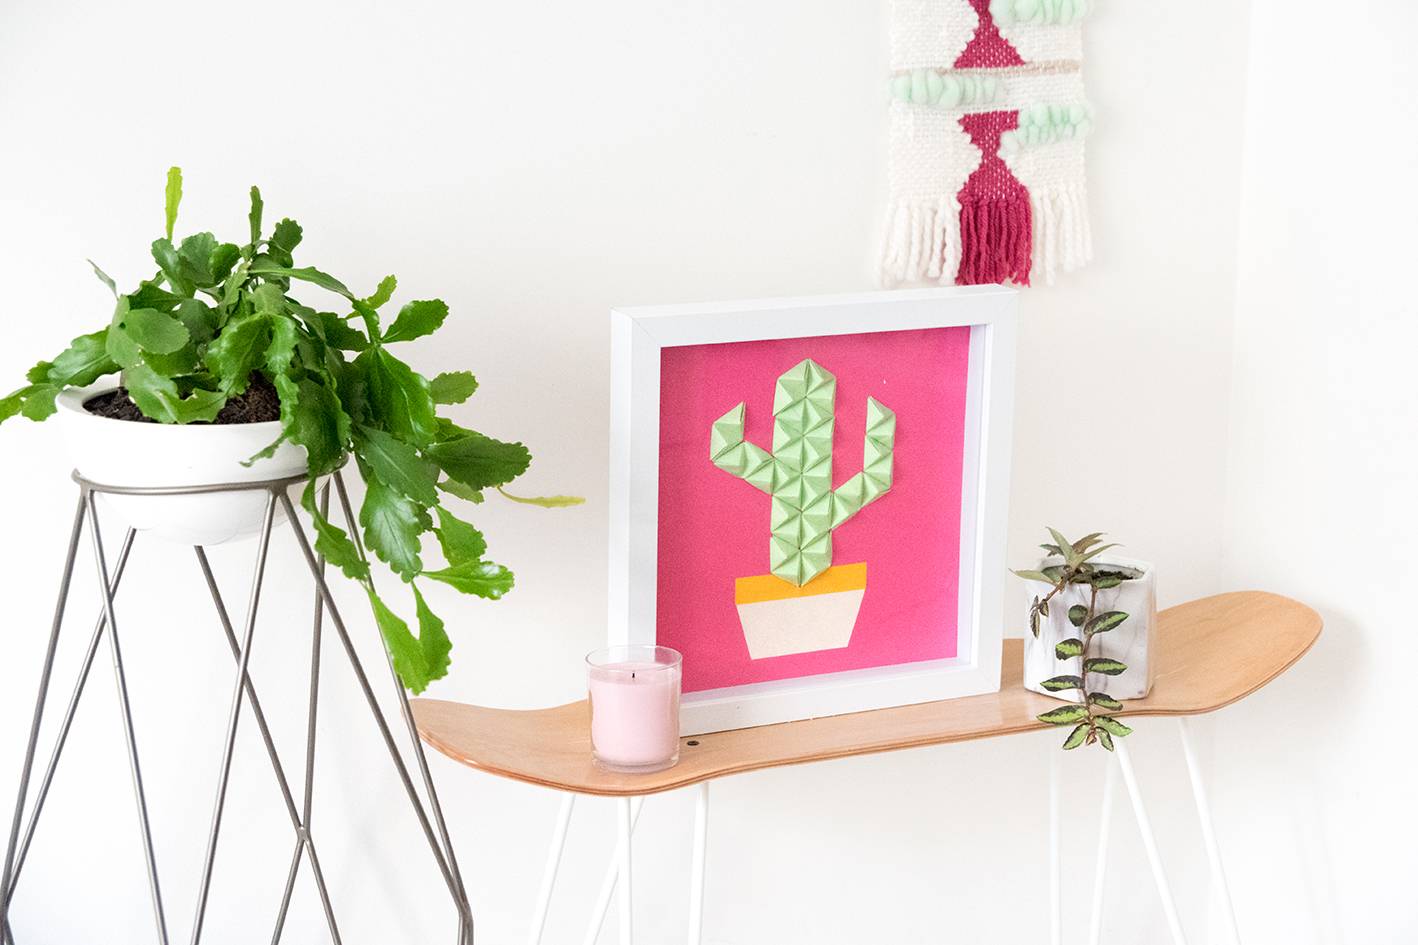
The wonderful thing about art is that you can make it out of pretty much anything. So if you’re looking for a way to decorate your walls, instead of going down the traditional painterly route, why not think outside the box and craft your way to beautiful art instead? All you need are some pieces of paper and a spare half hour… it’s easy, I promise!
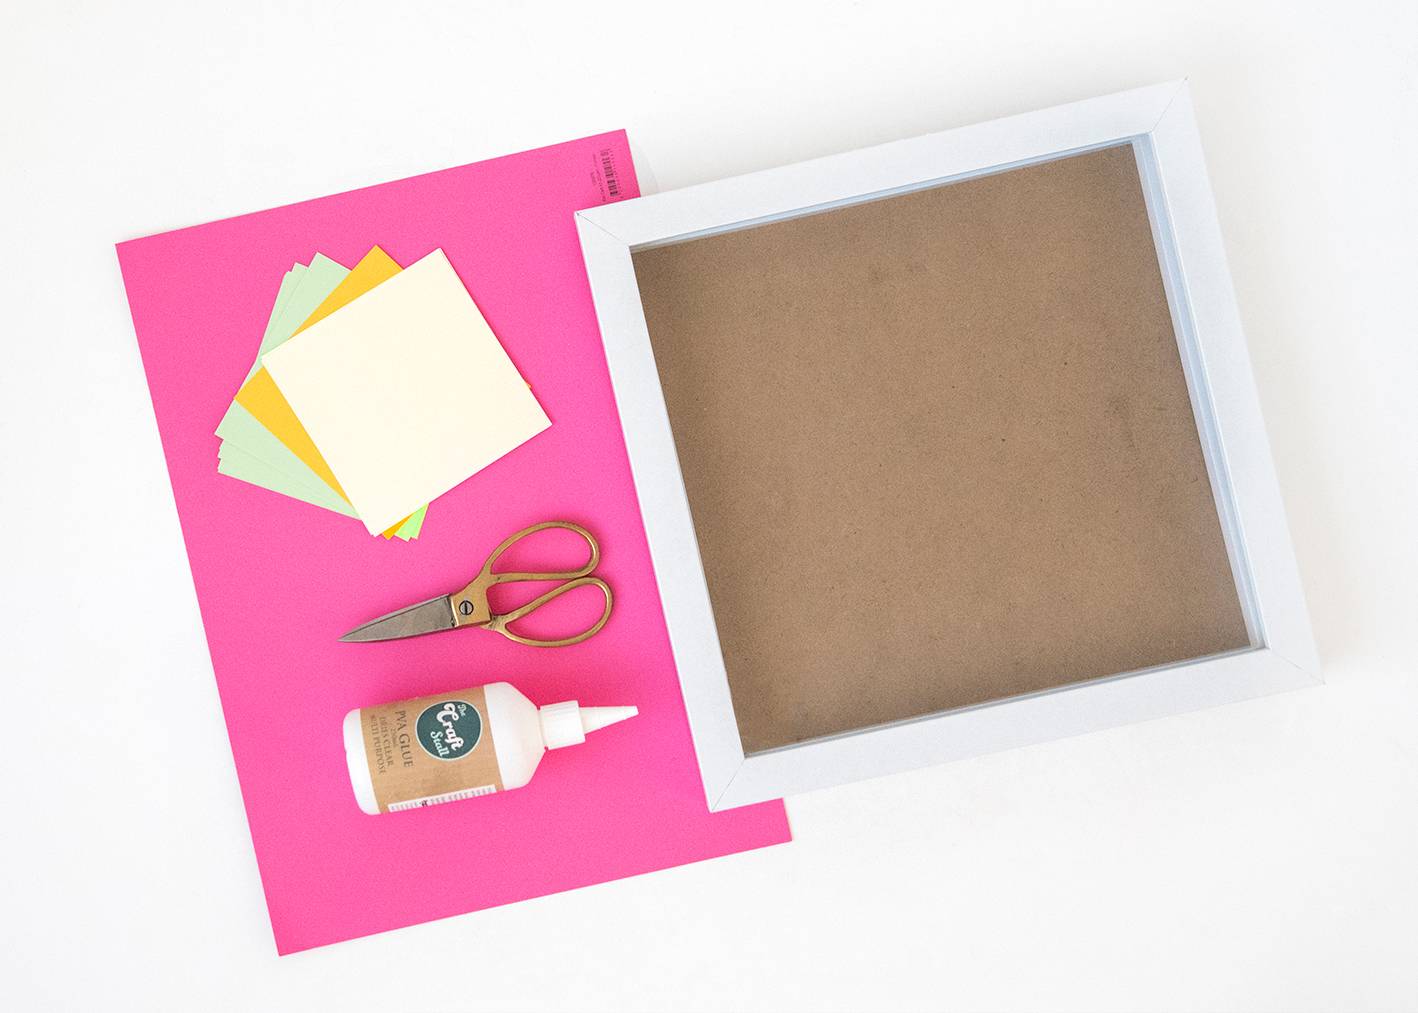
Materials
- Green origami paper (or any green-coloured paper cut into small squares)
- A small piece of light yellow paper
- A small piece of dark yellow paper
- A large sheet of bright pink cardboard
- A picture frame (shadow boxes are great for this project)
- Craft glue
- Craft knife or scissors
Step
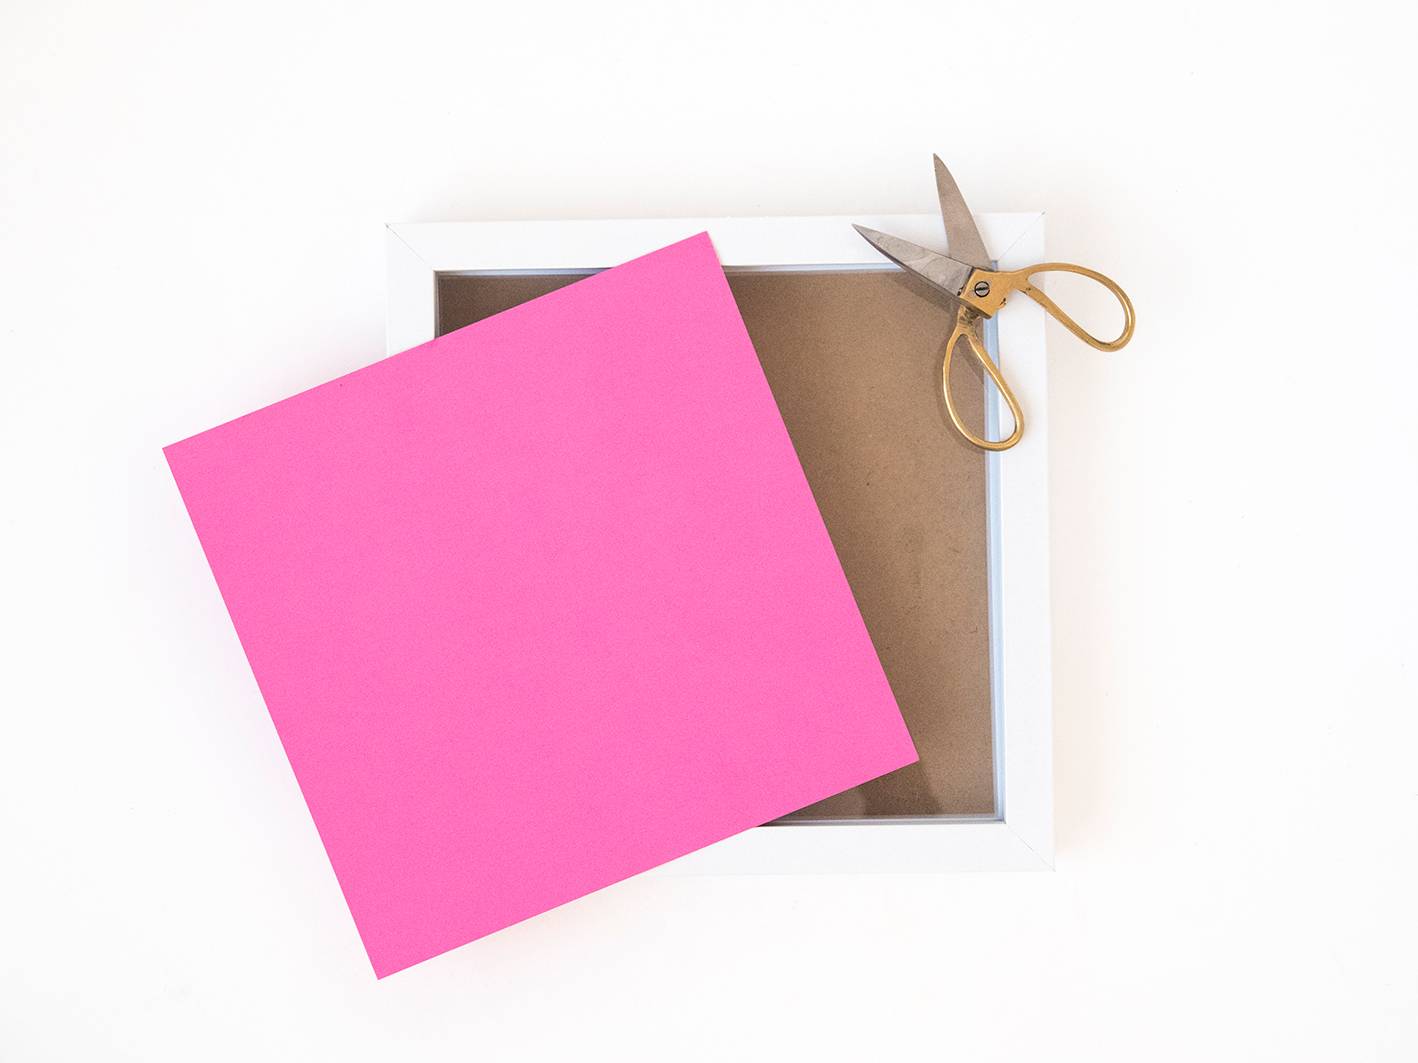
Trim a large sheet of pink cardboard so that it fits nicely in your frame.
Step
Take one of your green paper squares and fold it into an origami double-pyramid by following these steps:
a) Fold your square of origami paper in half and then unfold it.
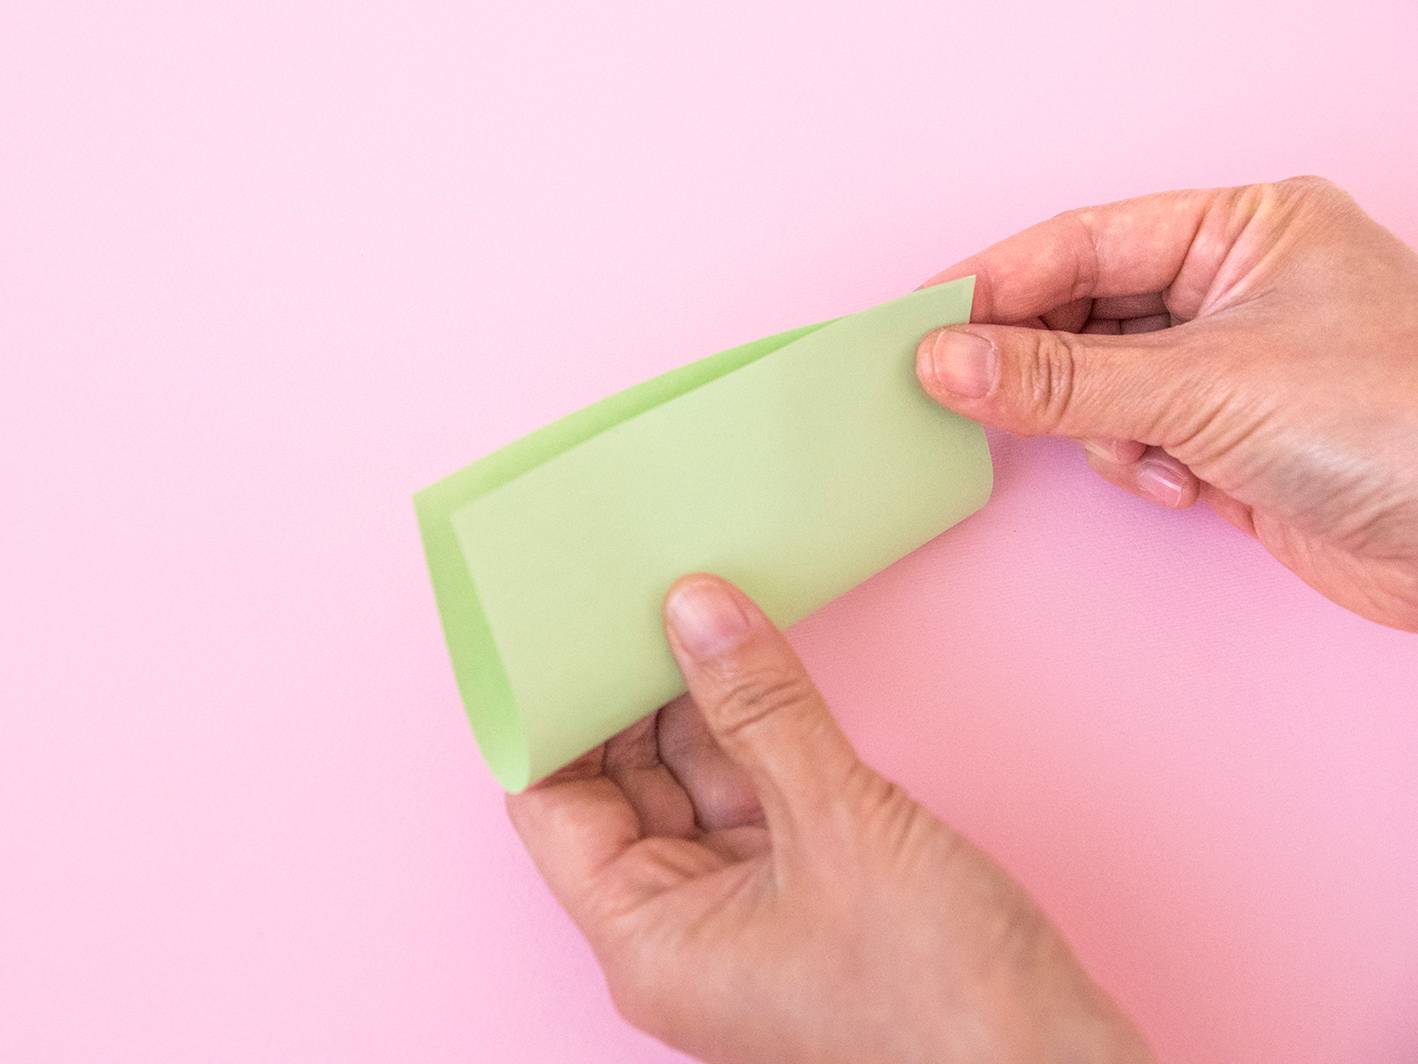
b) Fold 2 opposite edges of your square inward so they meet in the middle. You will now have a long rectangle.
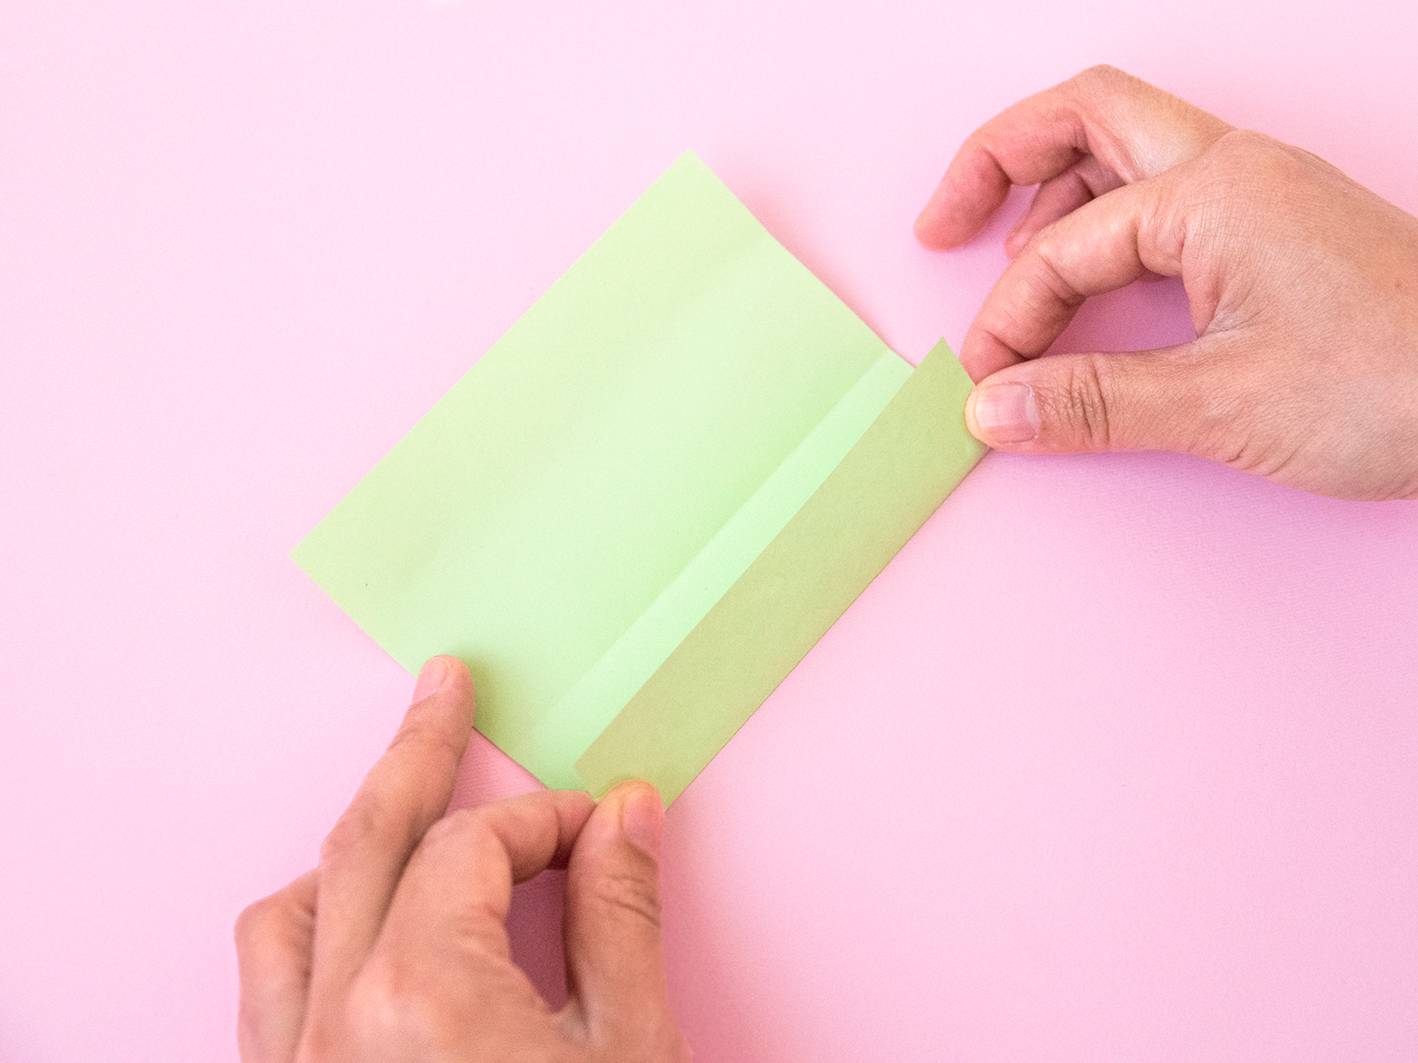
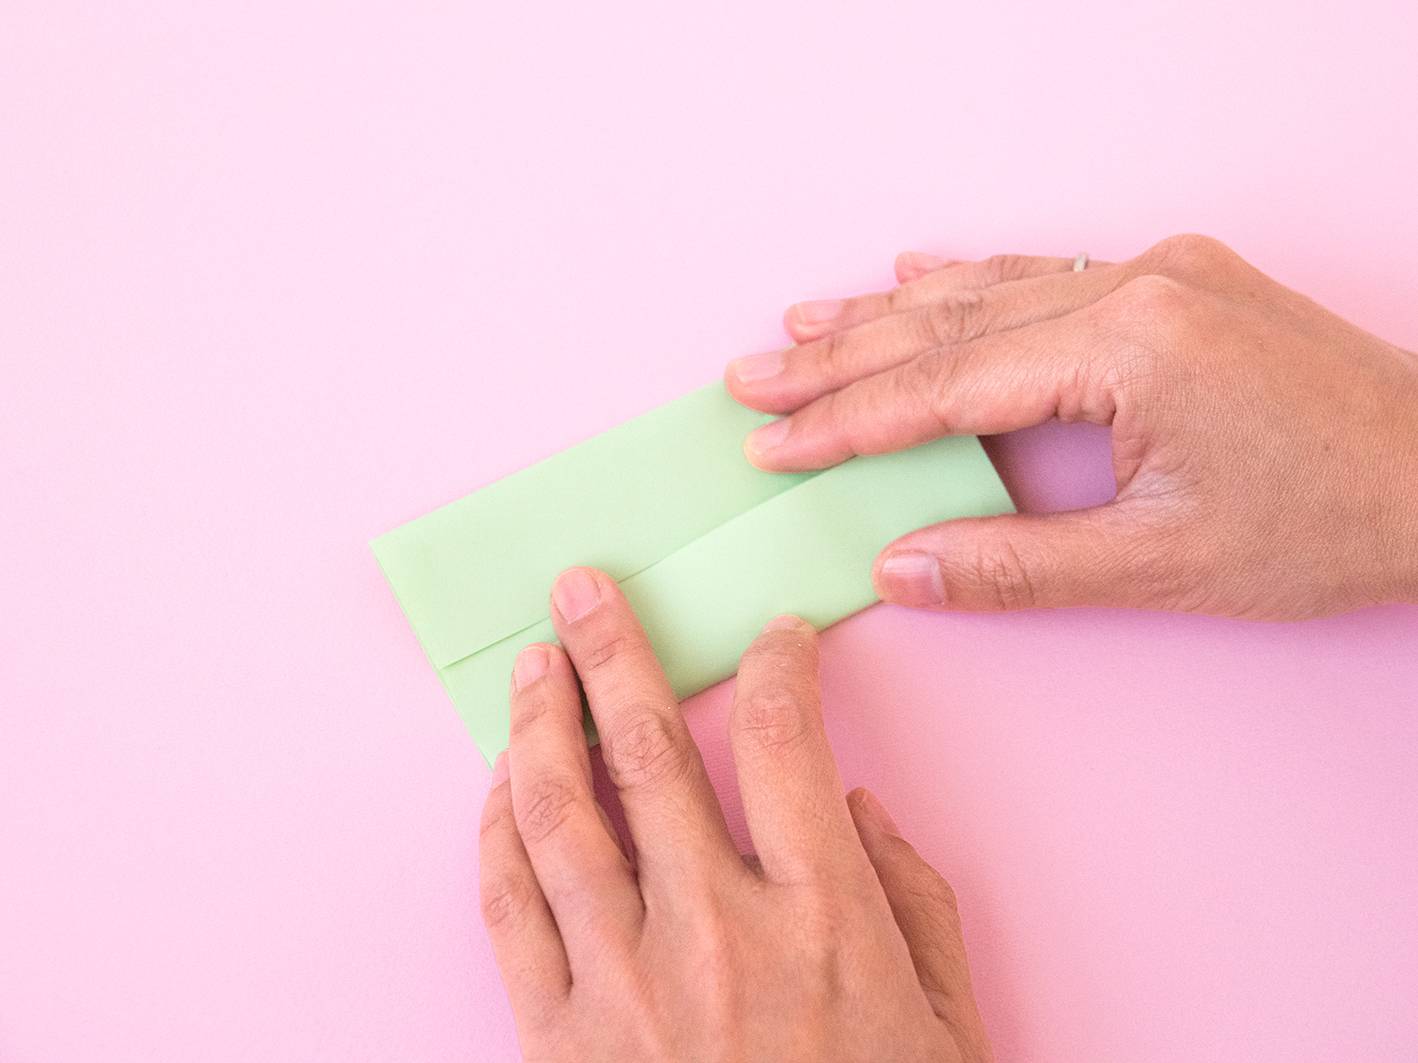 c) Fold your long rectangle in half and then unfold it.
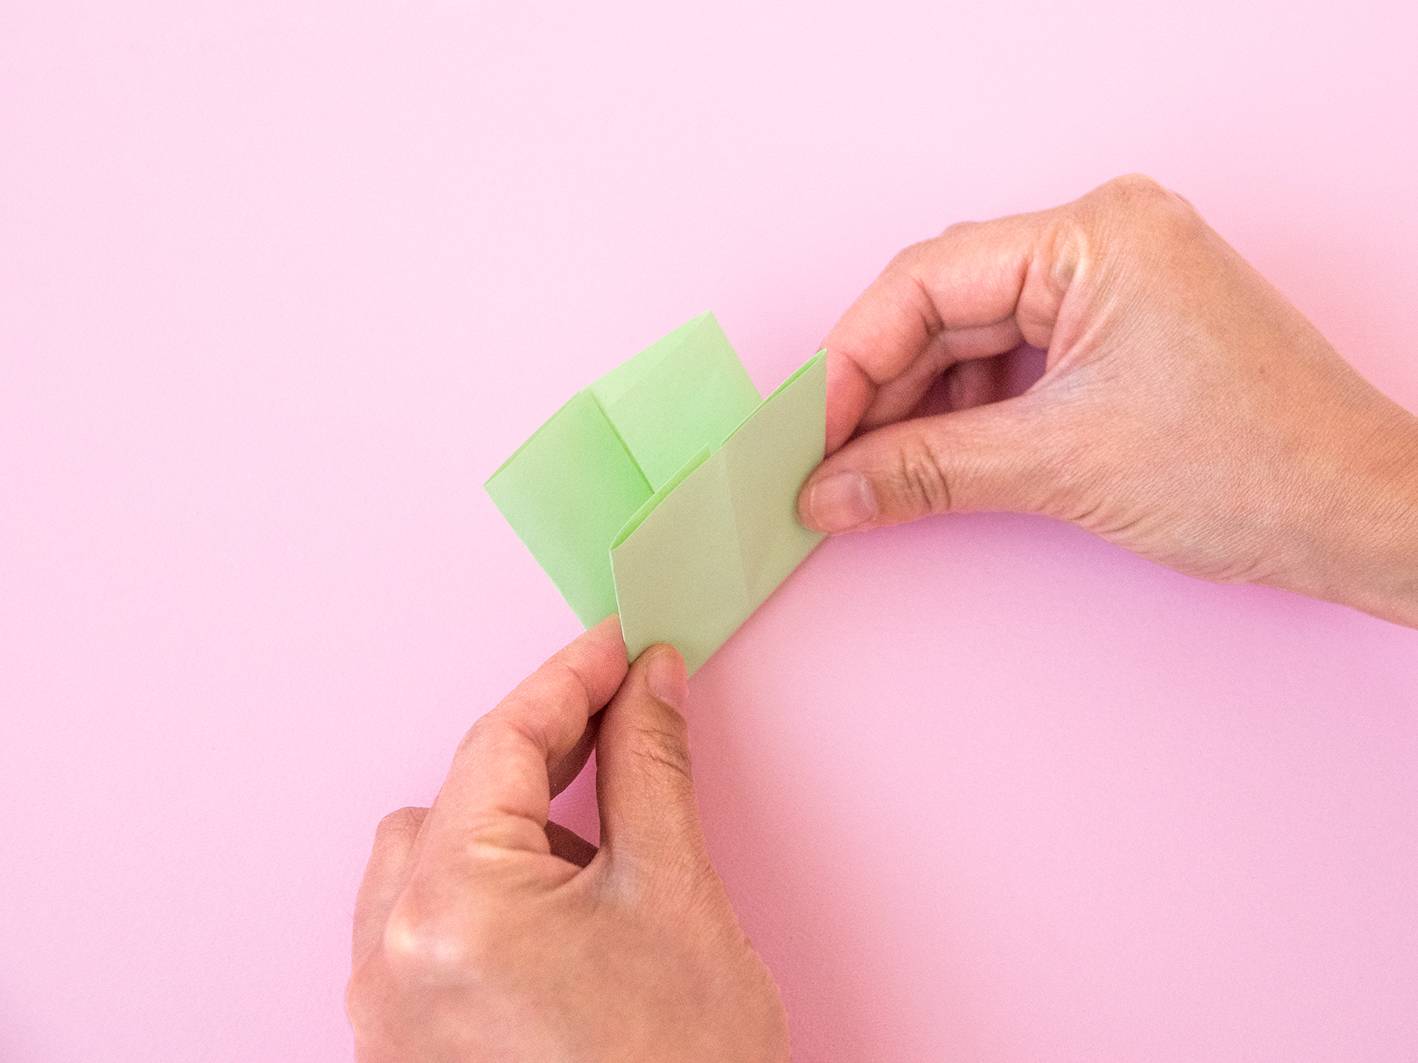
d) Fold the 4 corners of your long rectangle diagonally across so that they meet the middle line, then unfold them.
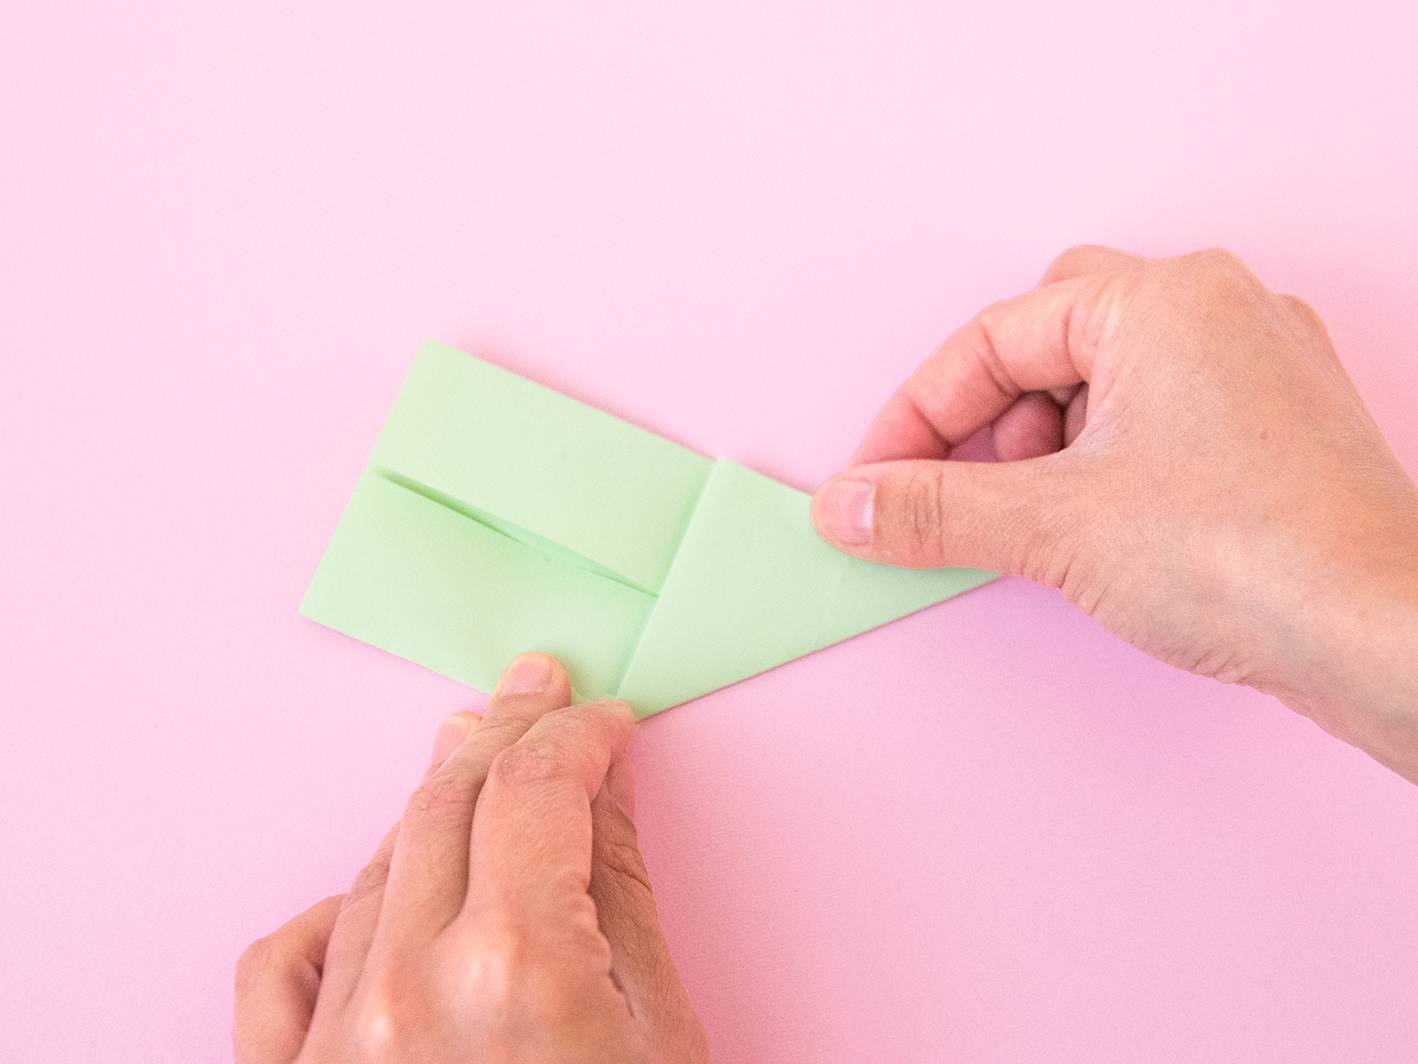
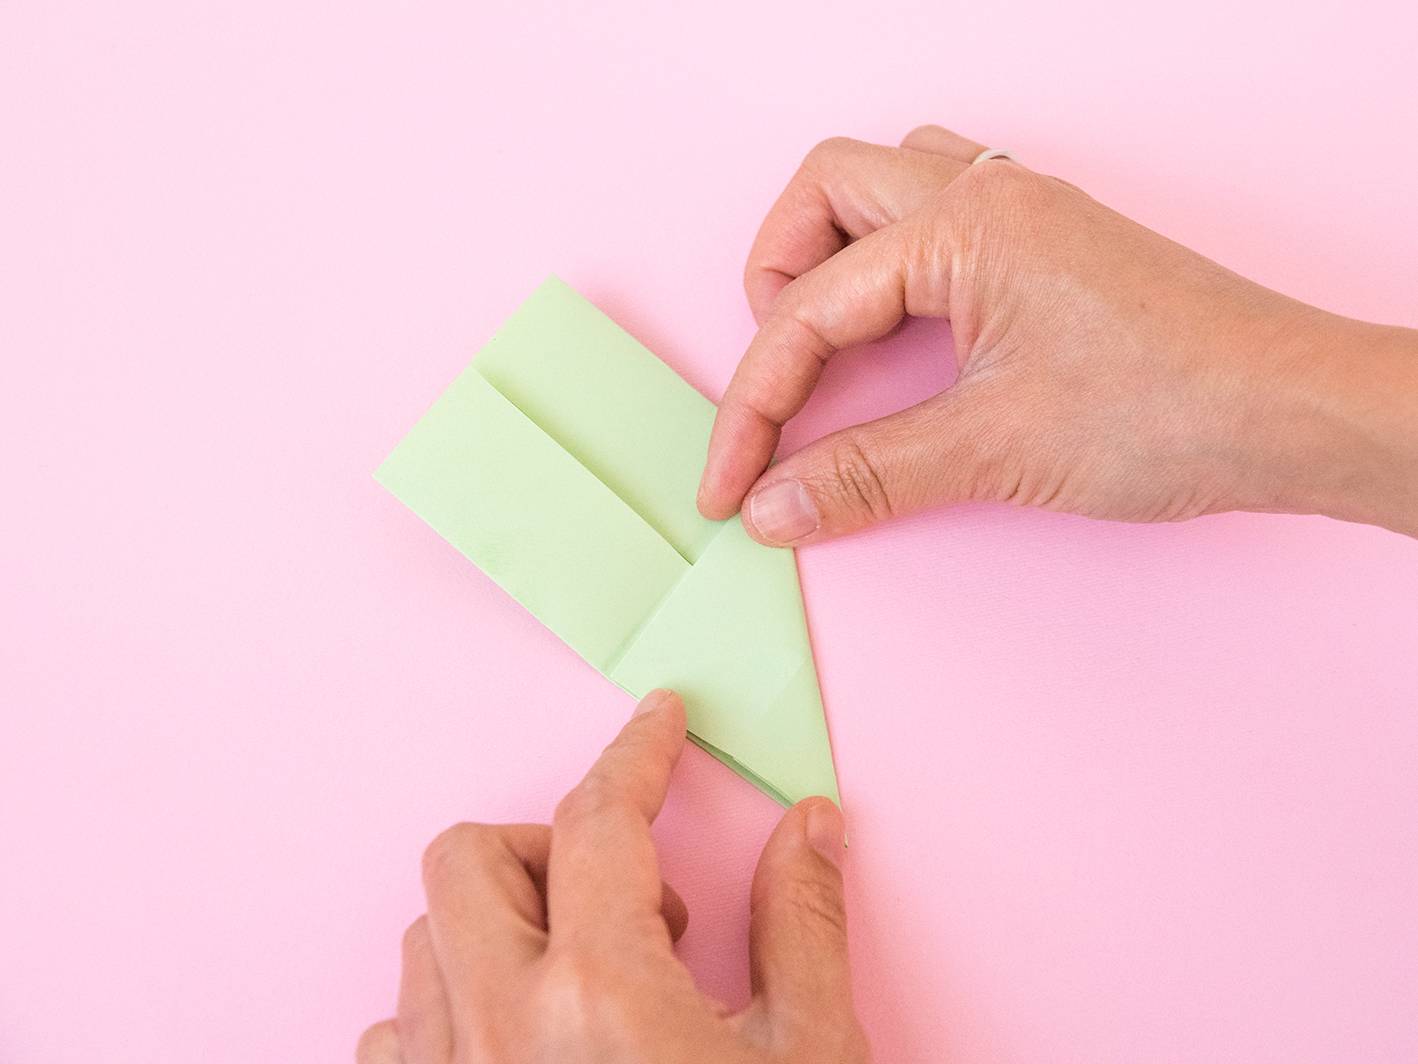
Once you’ve folded and unfolded all 4 corners, you should have a set of diagonal lines marked on your rectangle.
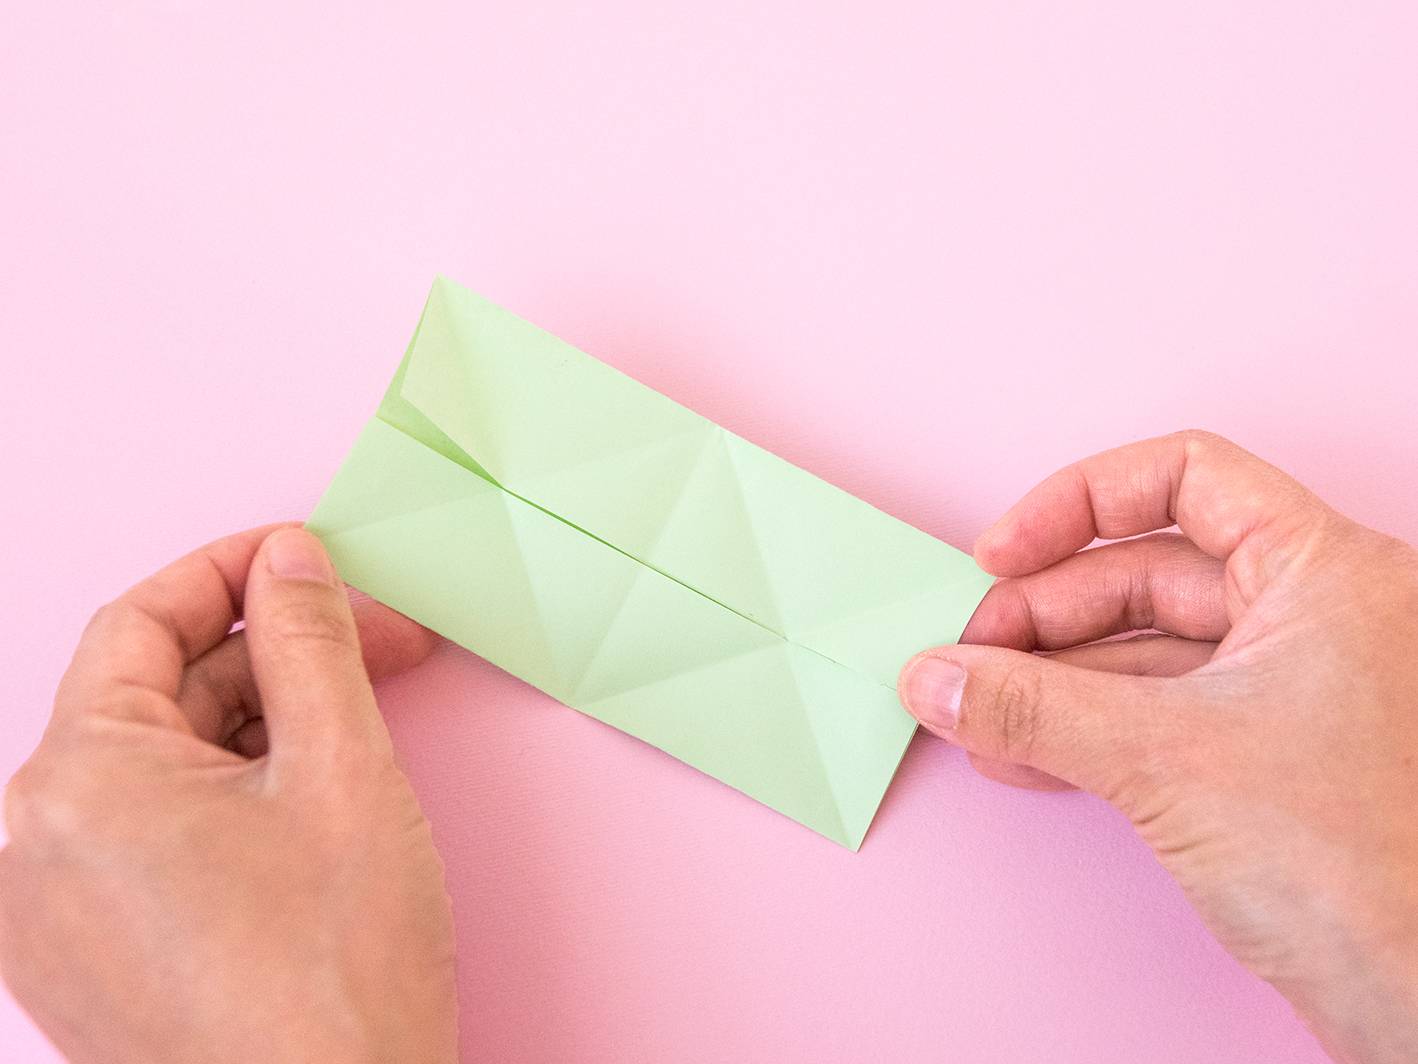 e) Using your diagonal lines as a guide, fold a small triangle inwards at the top left-hand corner.
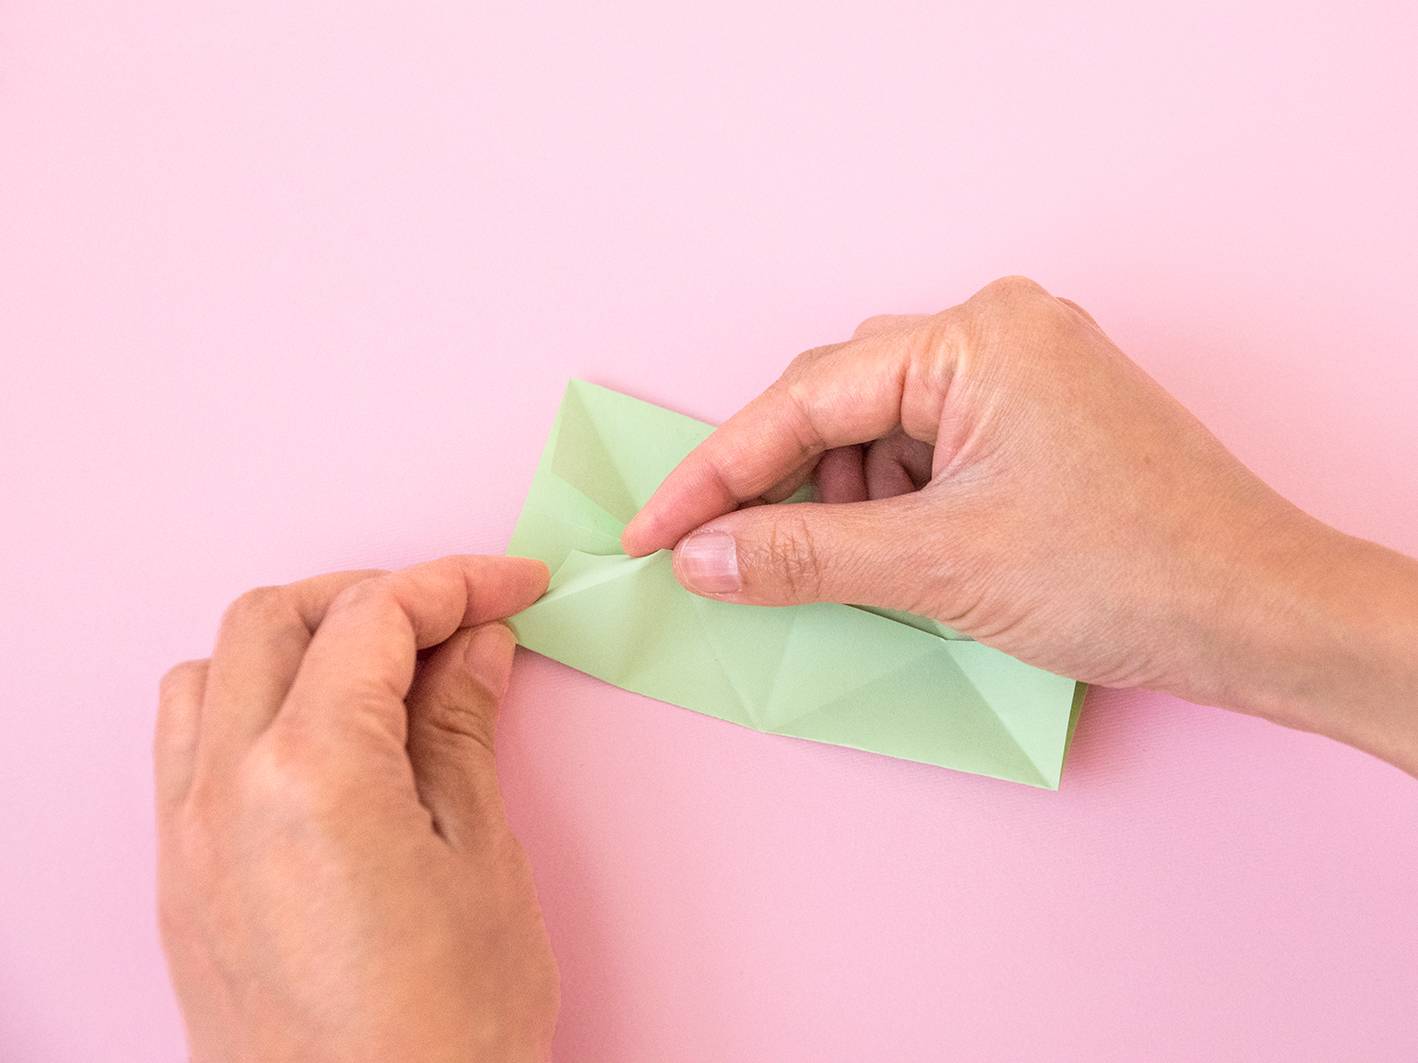 f) Pinch the top middle of your rectangle so that it points towards you. Then tuck the pinched section under the small triangle you folded earlier. This will create a pyramid.
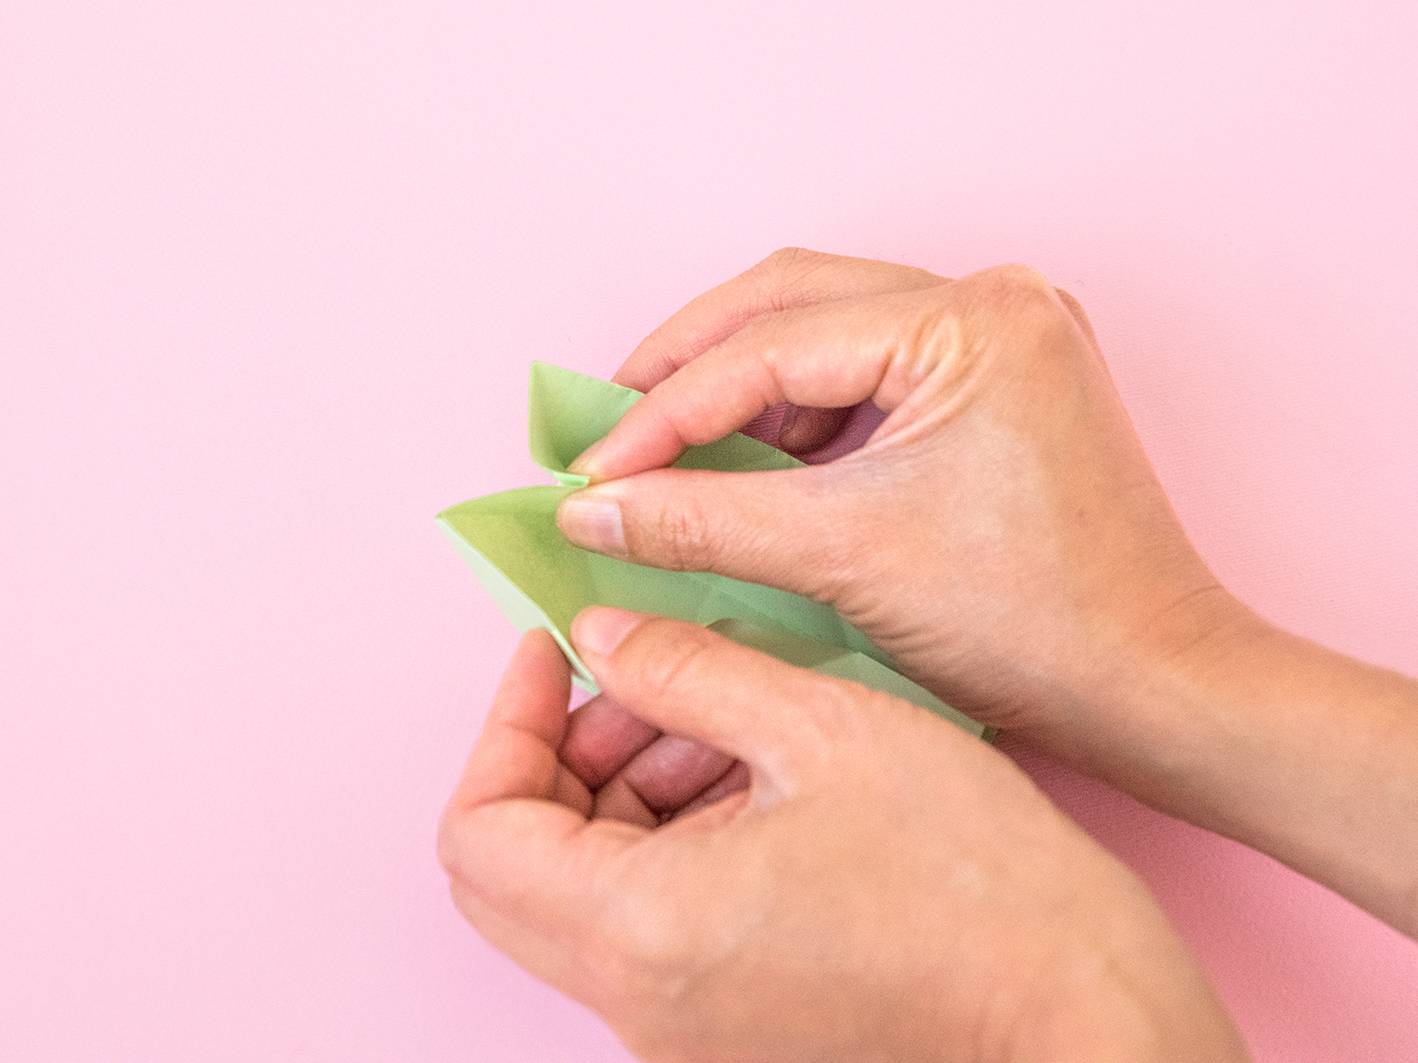
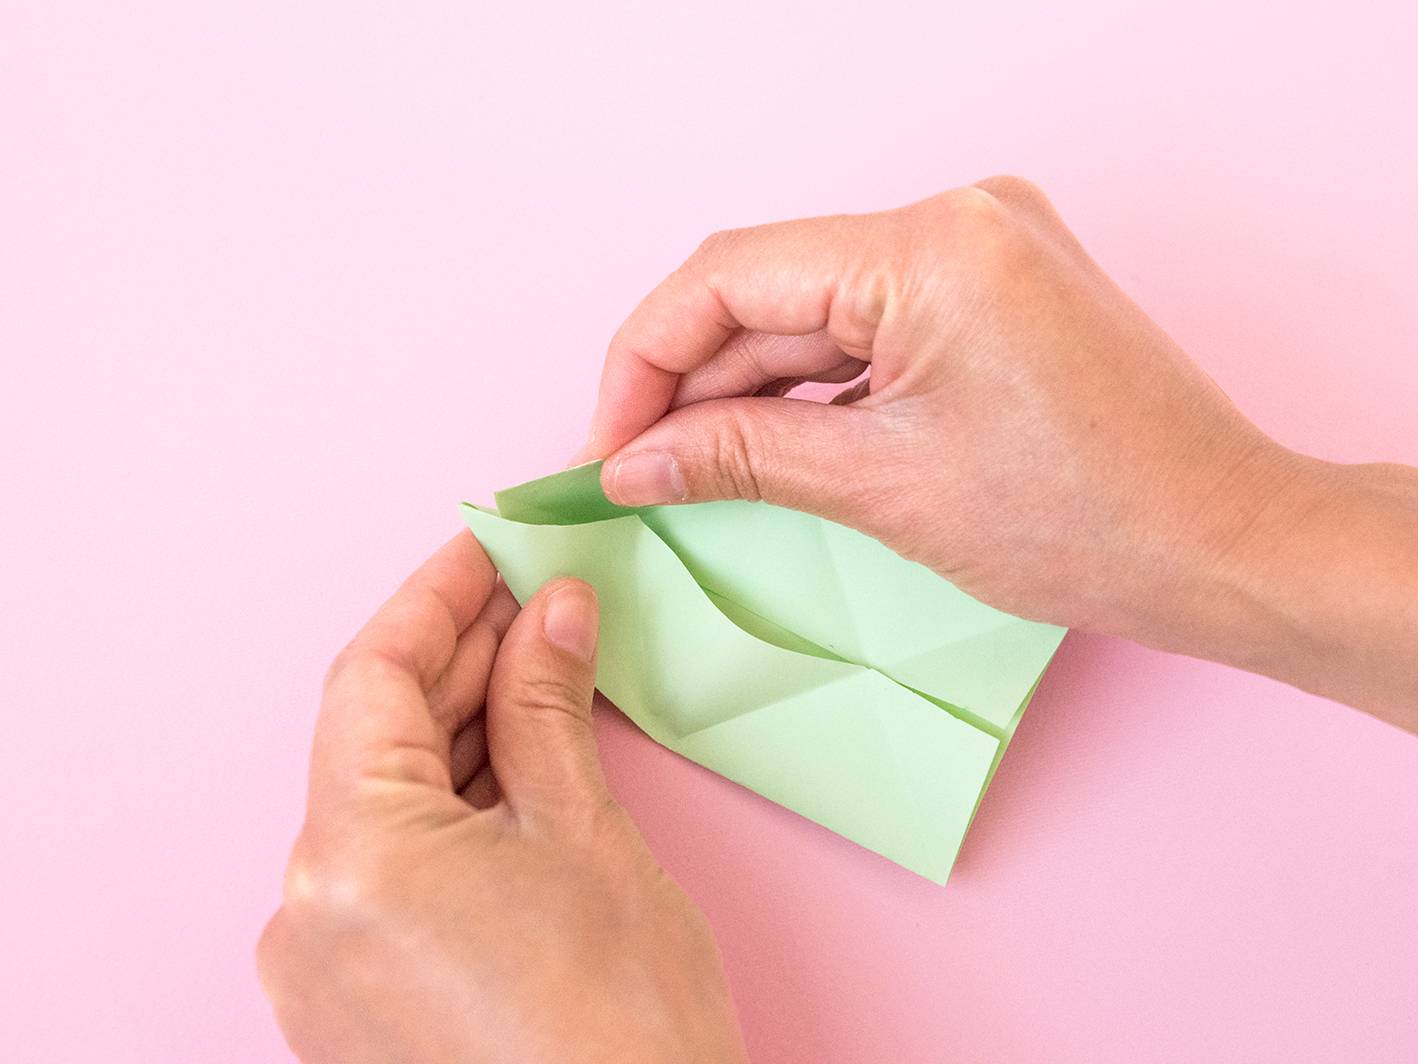
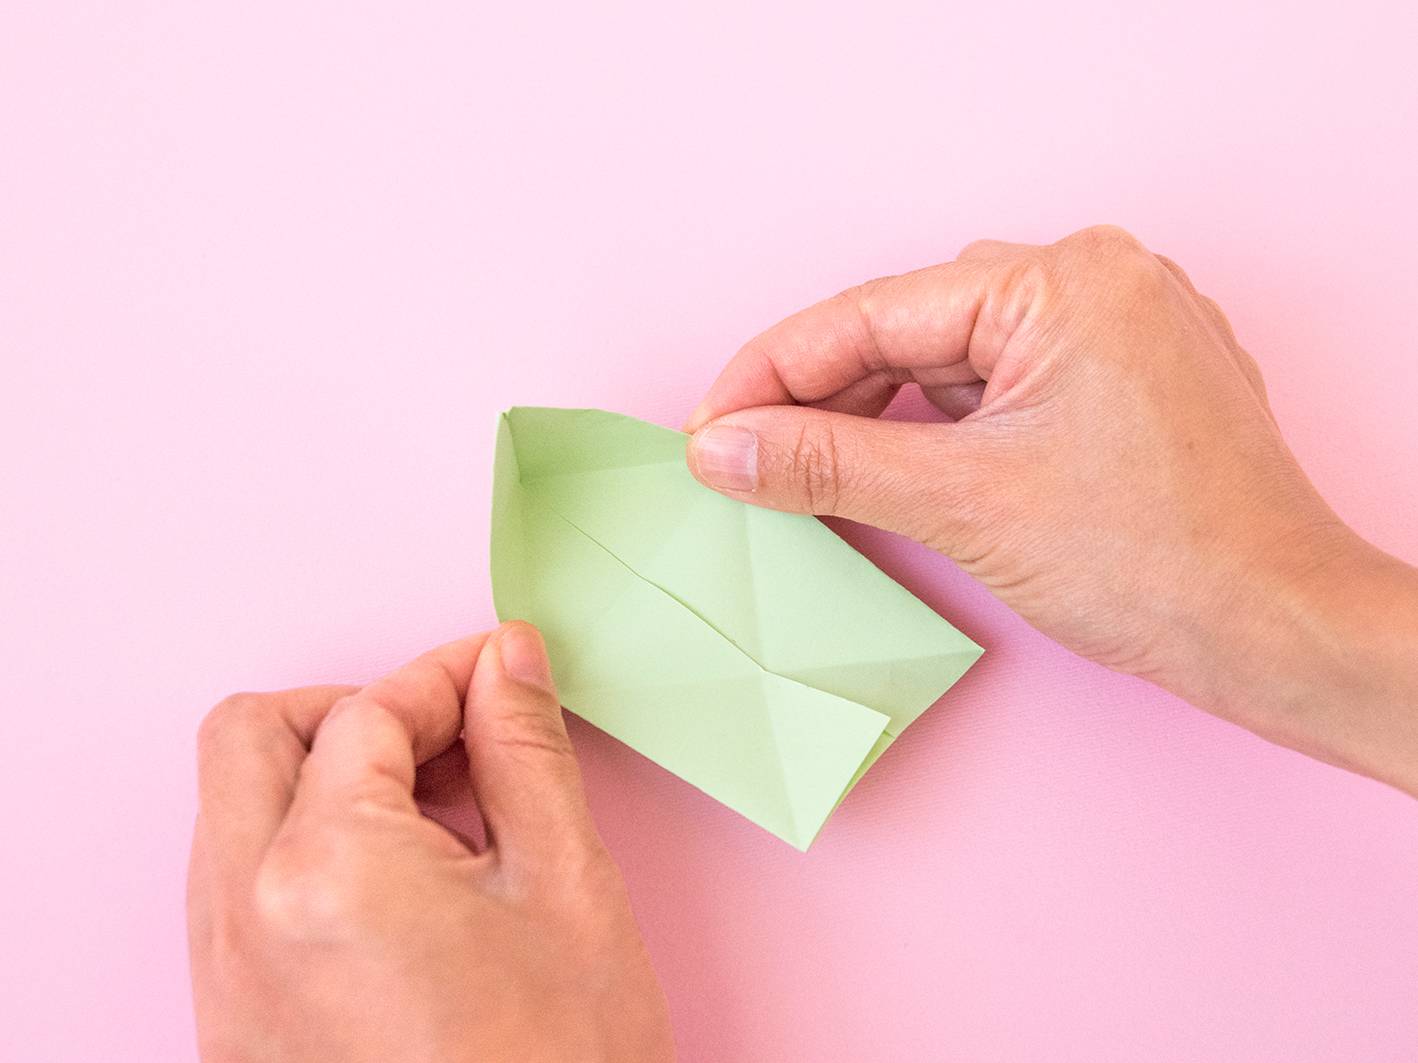 g) Turn your rectangle around and repeat the pyramid fold on the other side so that the rectangle becomes 2 pyramids.
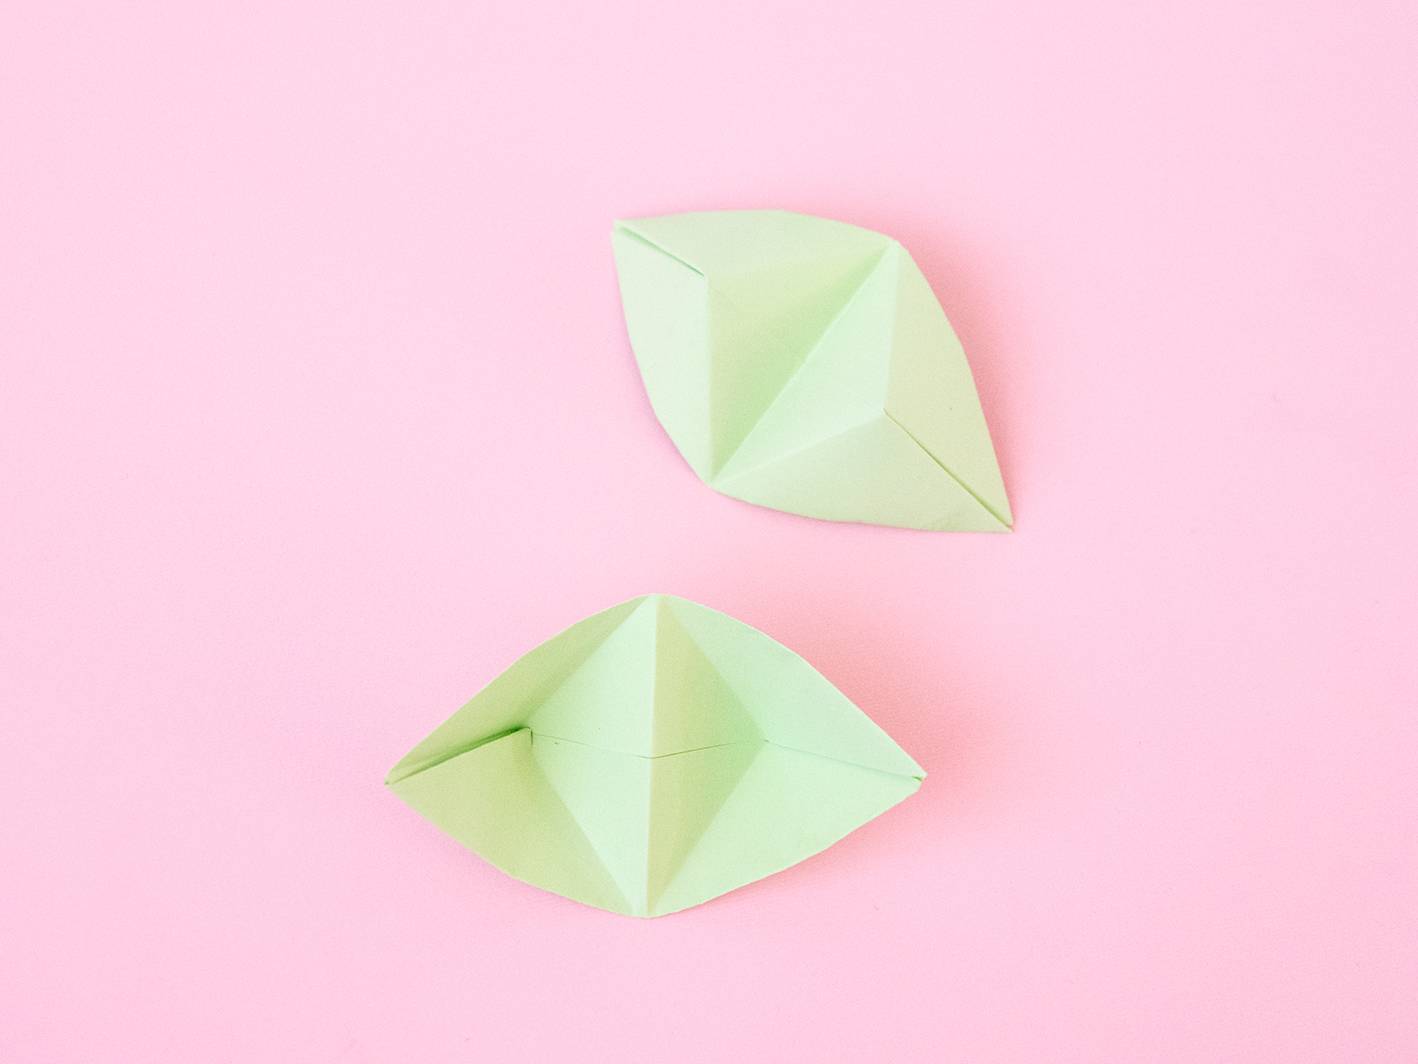
Step
Repeat Step 2 to construct more double-pyramids so that you have roughly 20 in total.
Step
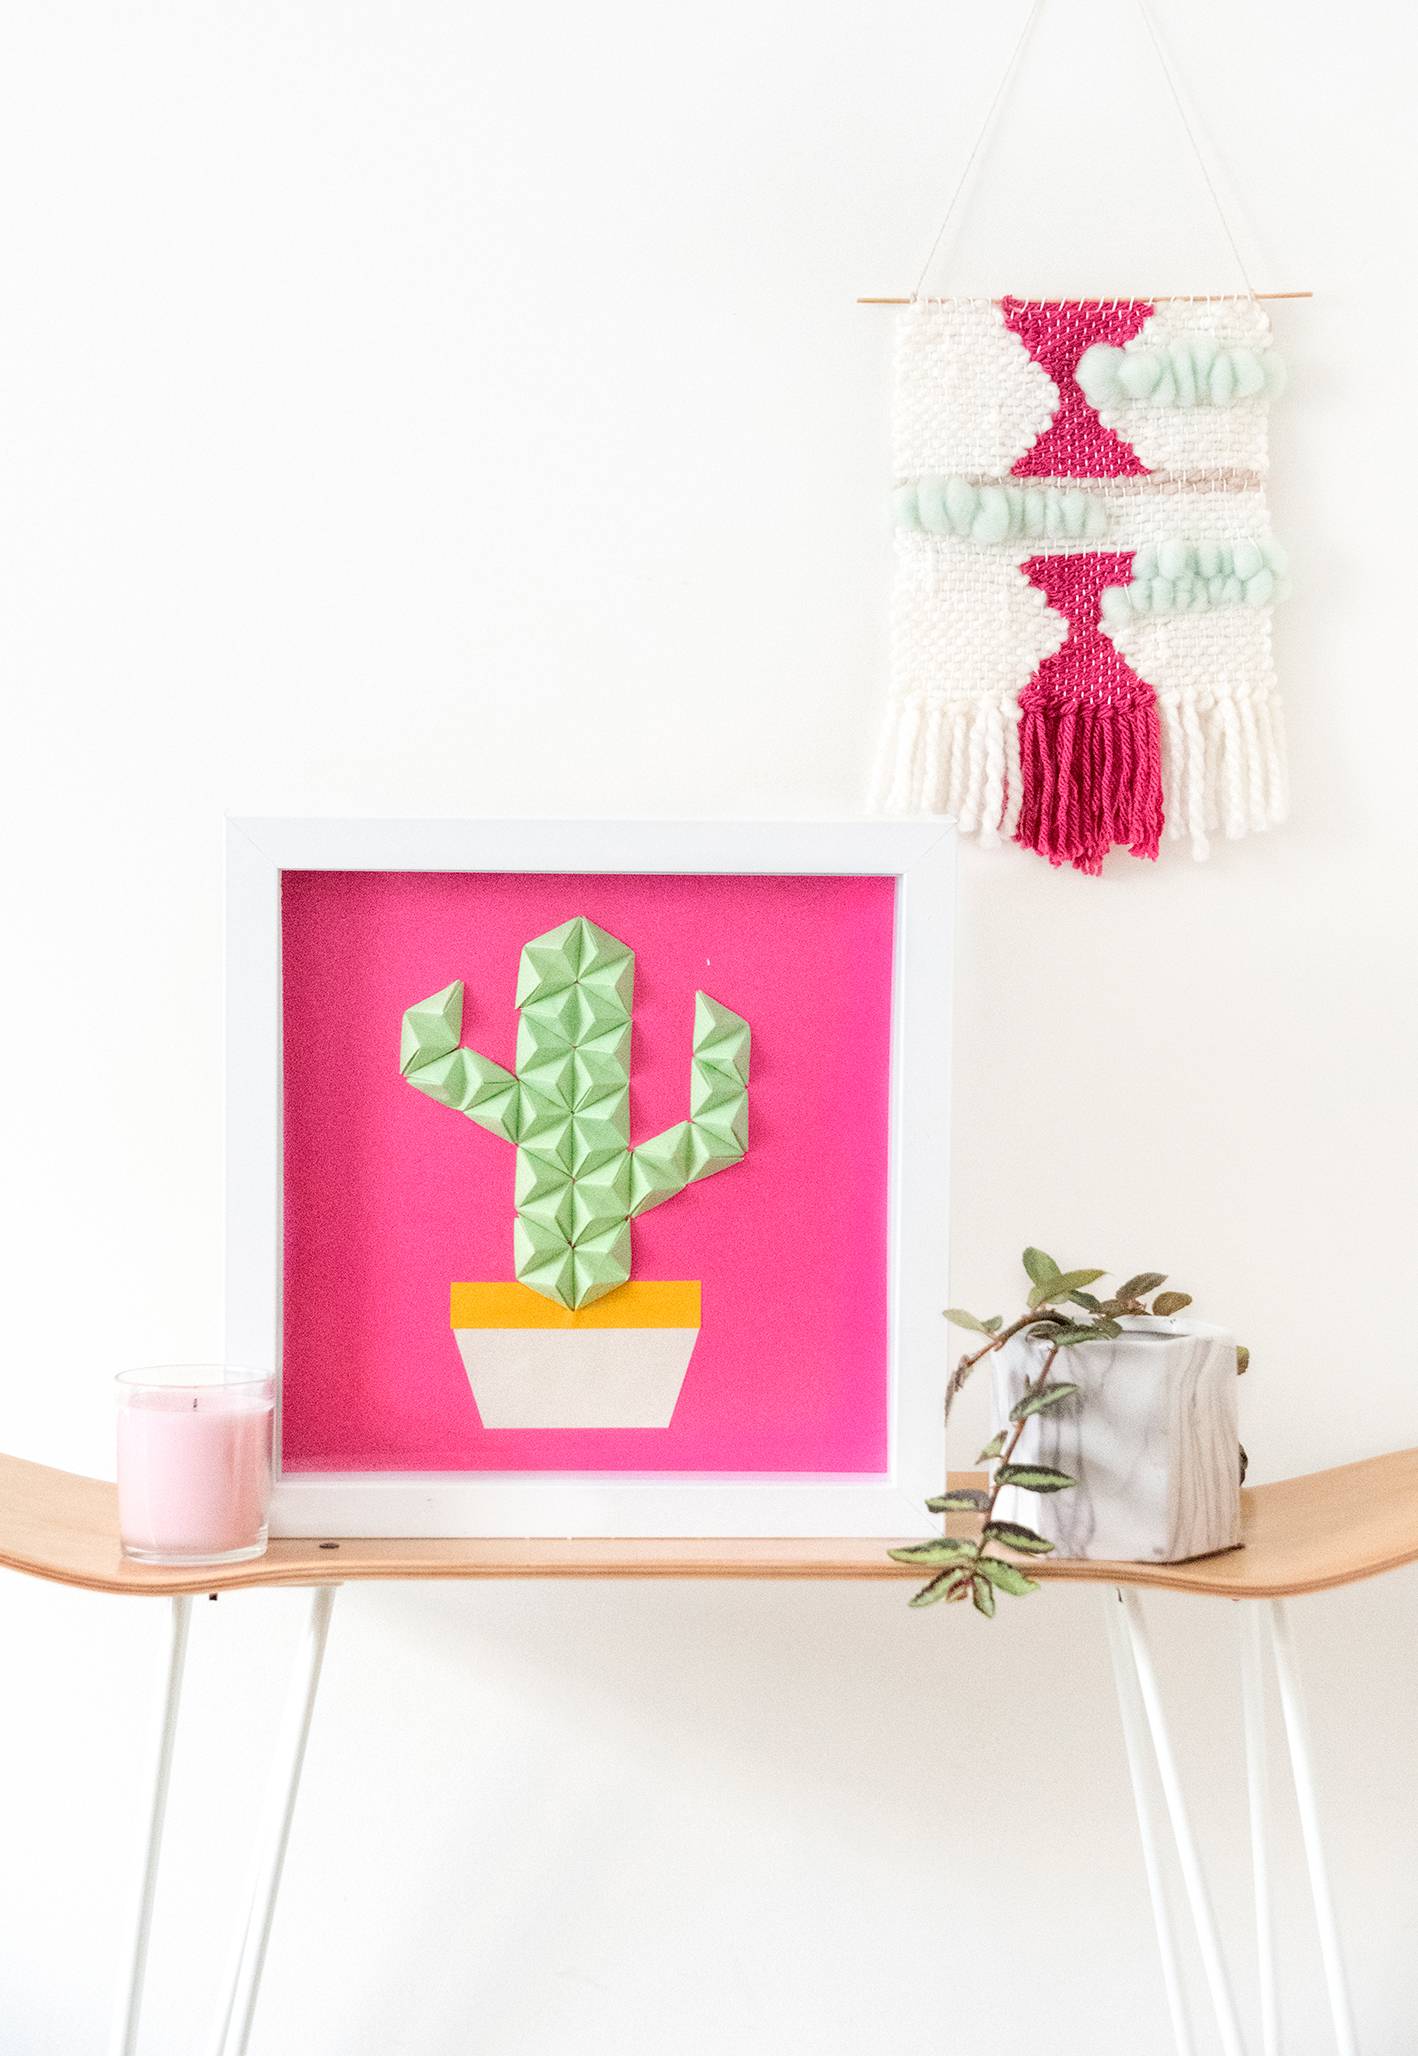
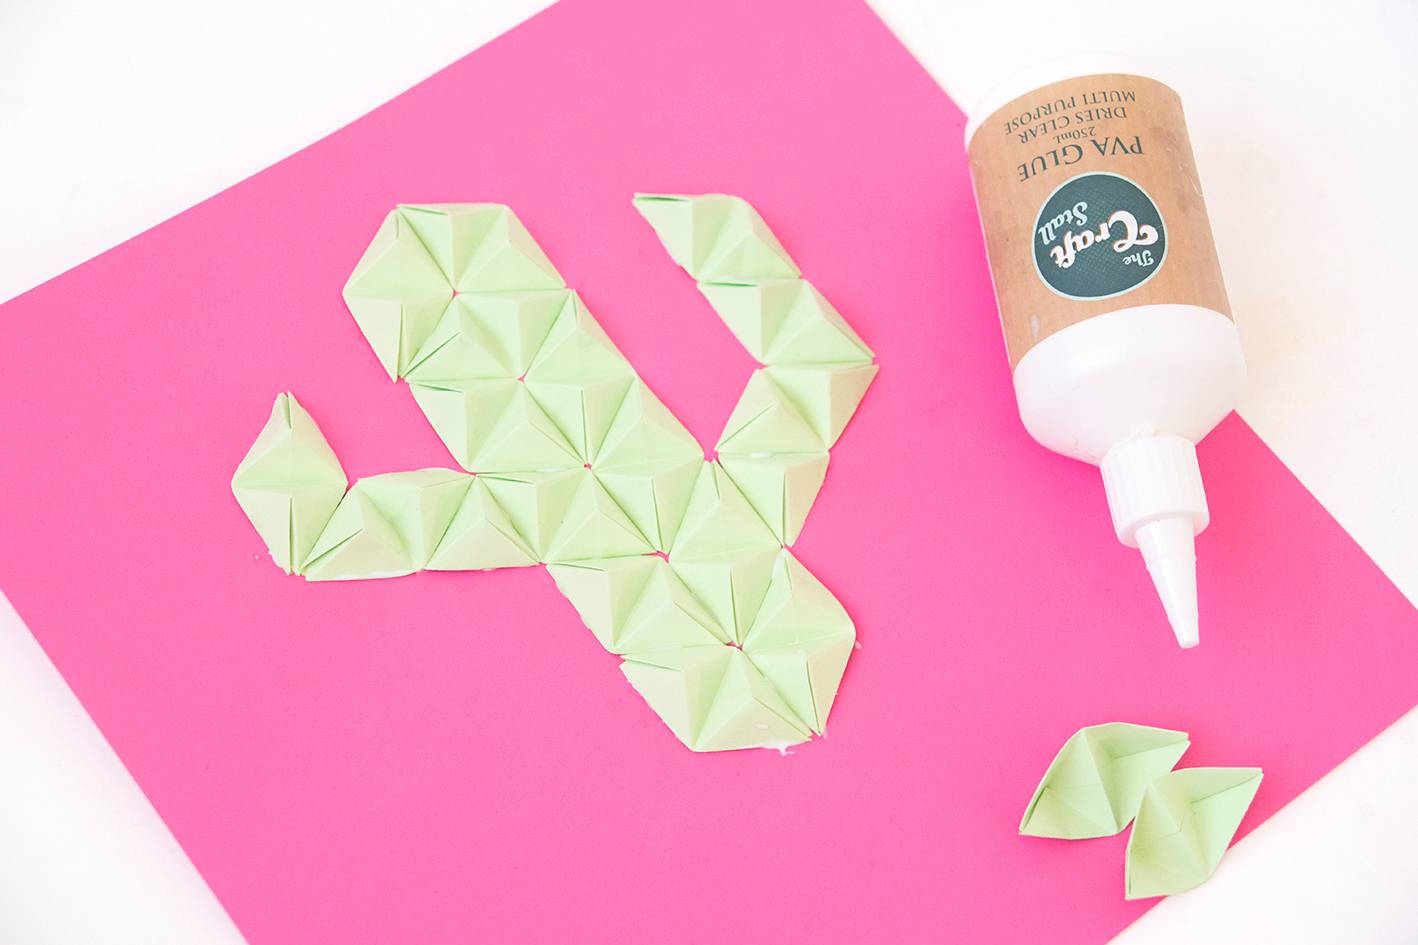
Begin gluing the pyramids to your large sheet of cardboard to form a cactus.
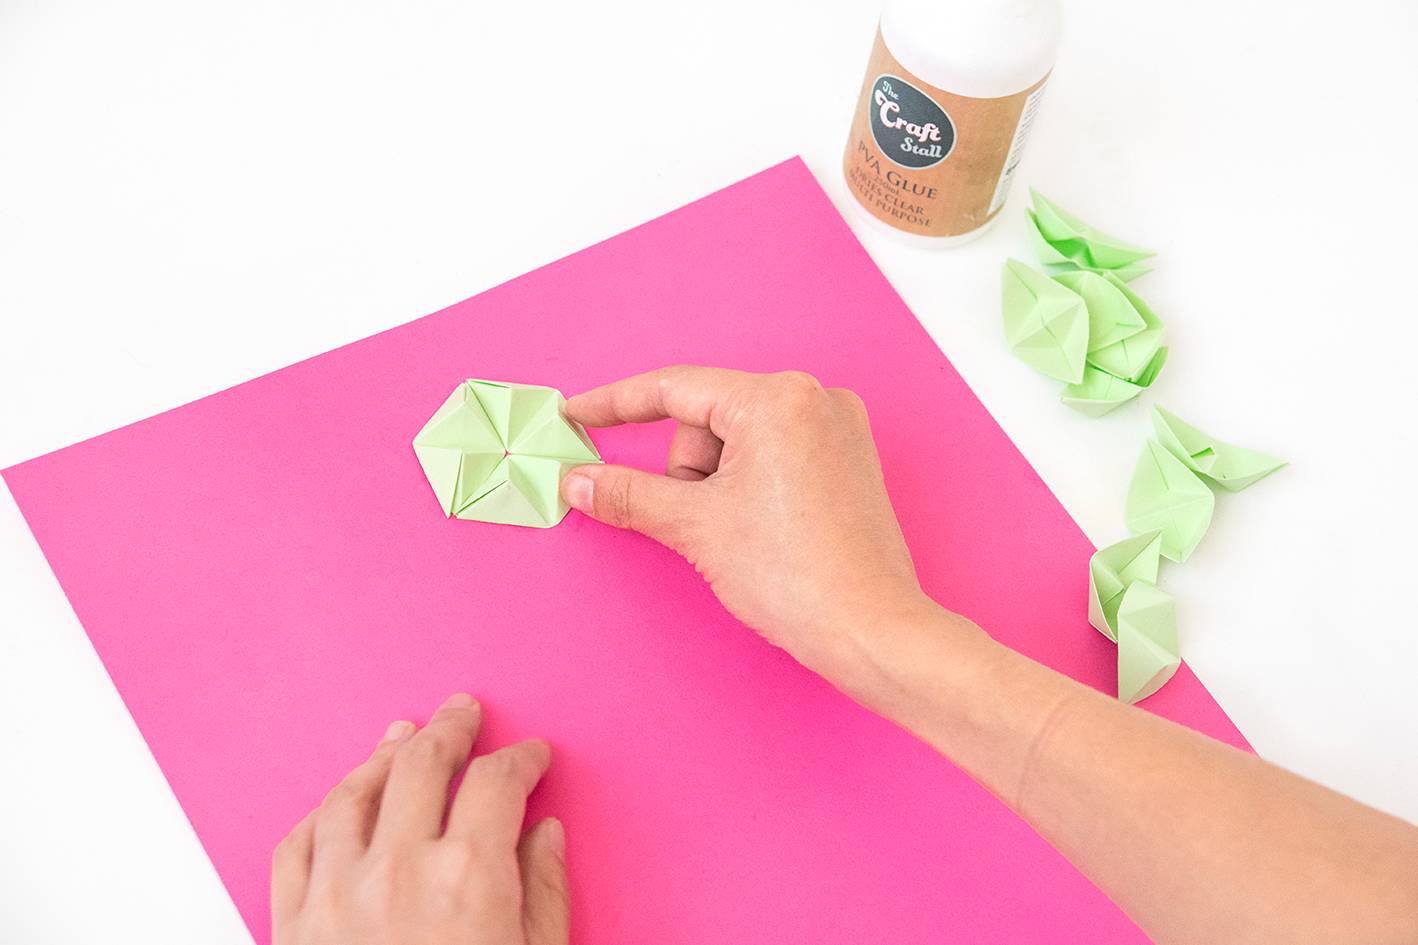
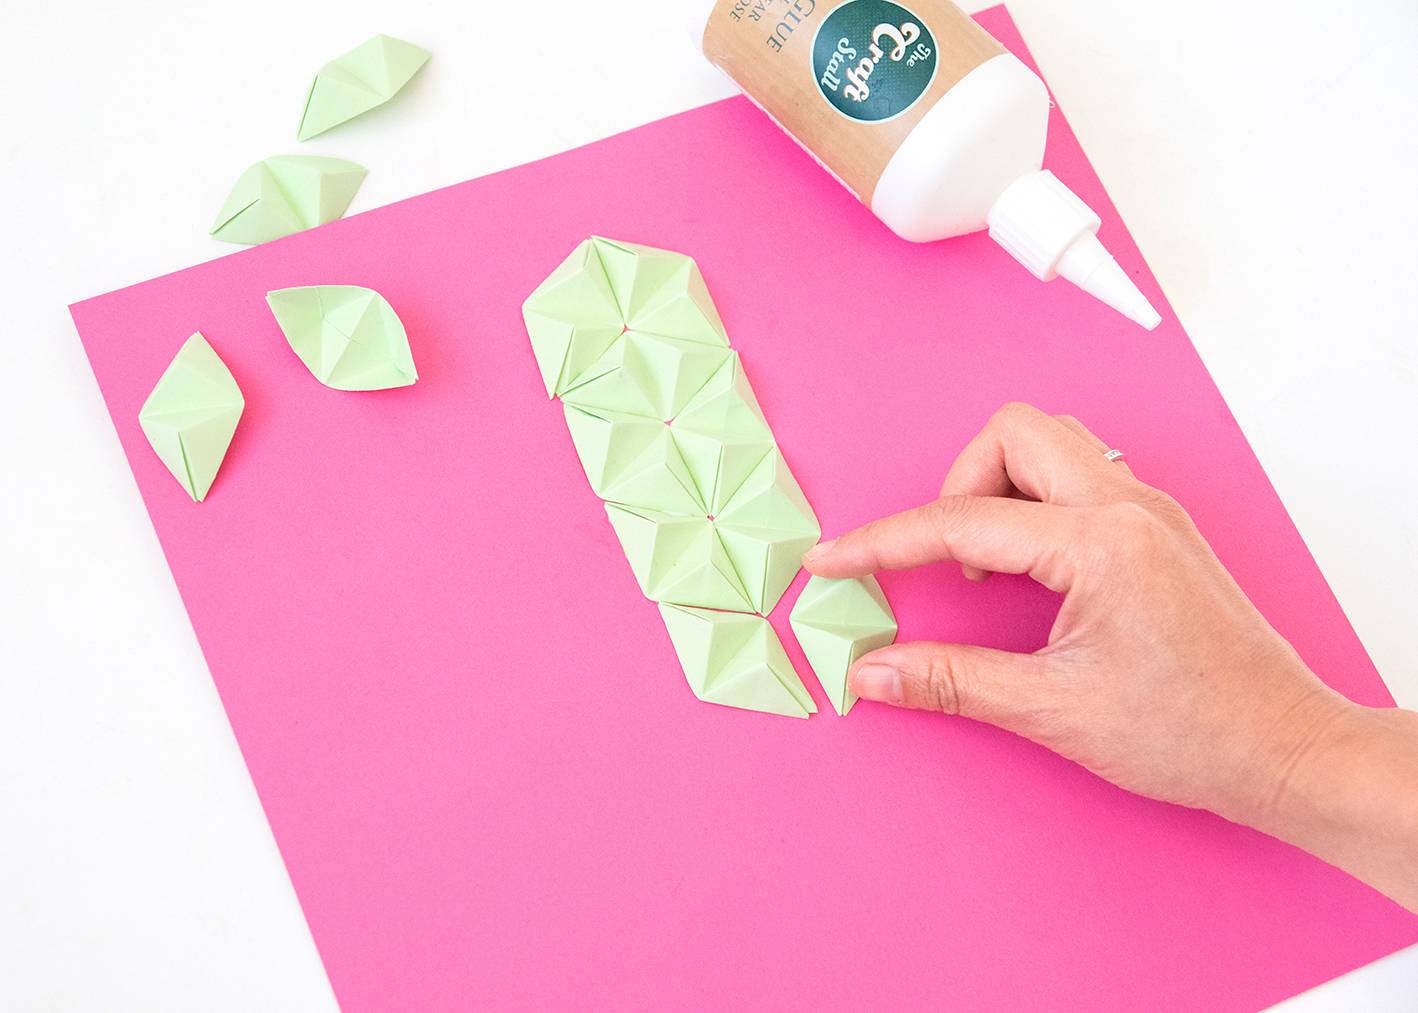
Start by gluing 3 together to form a hexagon. Then continue sticking double-pyramids underneath the hexagon, 2 at a time, until you have a column. This will be the middle section of your cactus.
Step
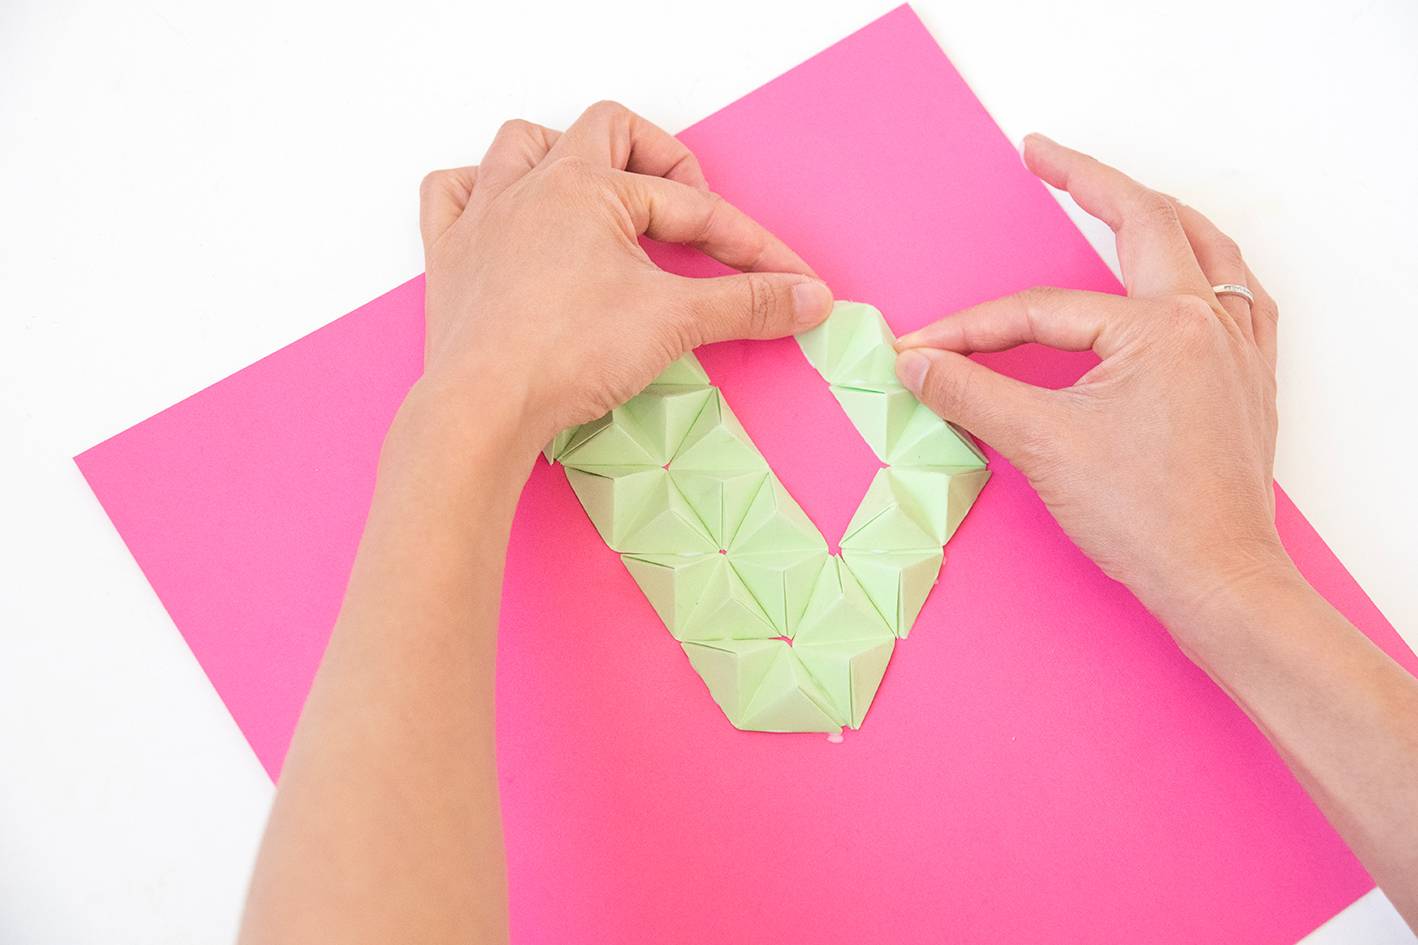
Once your main column is stuck down, glue double-pyramids to either side of it to create ‘arms’ for your cactus. I added 2 arms at differing heights.
Step
Cut a rectangle from of a piece of dark yellow paper and a trapezium from a piece of light yellow paper. These 2 pieces of paper will become the pot for your cactus.
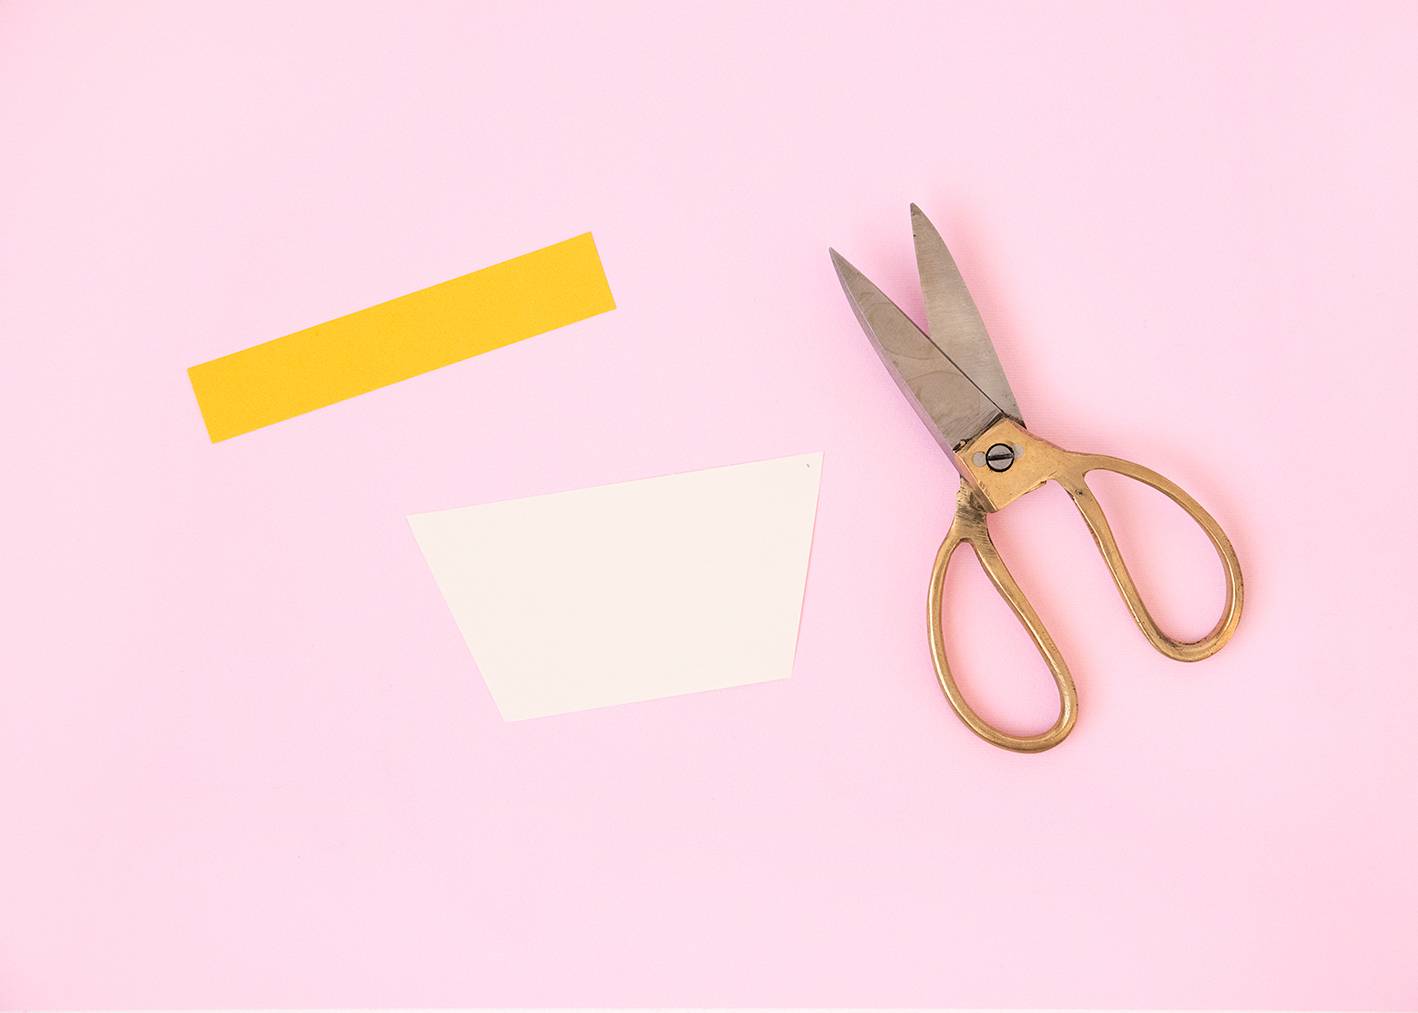
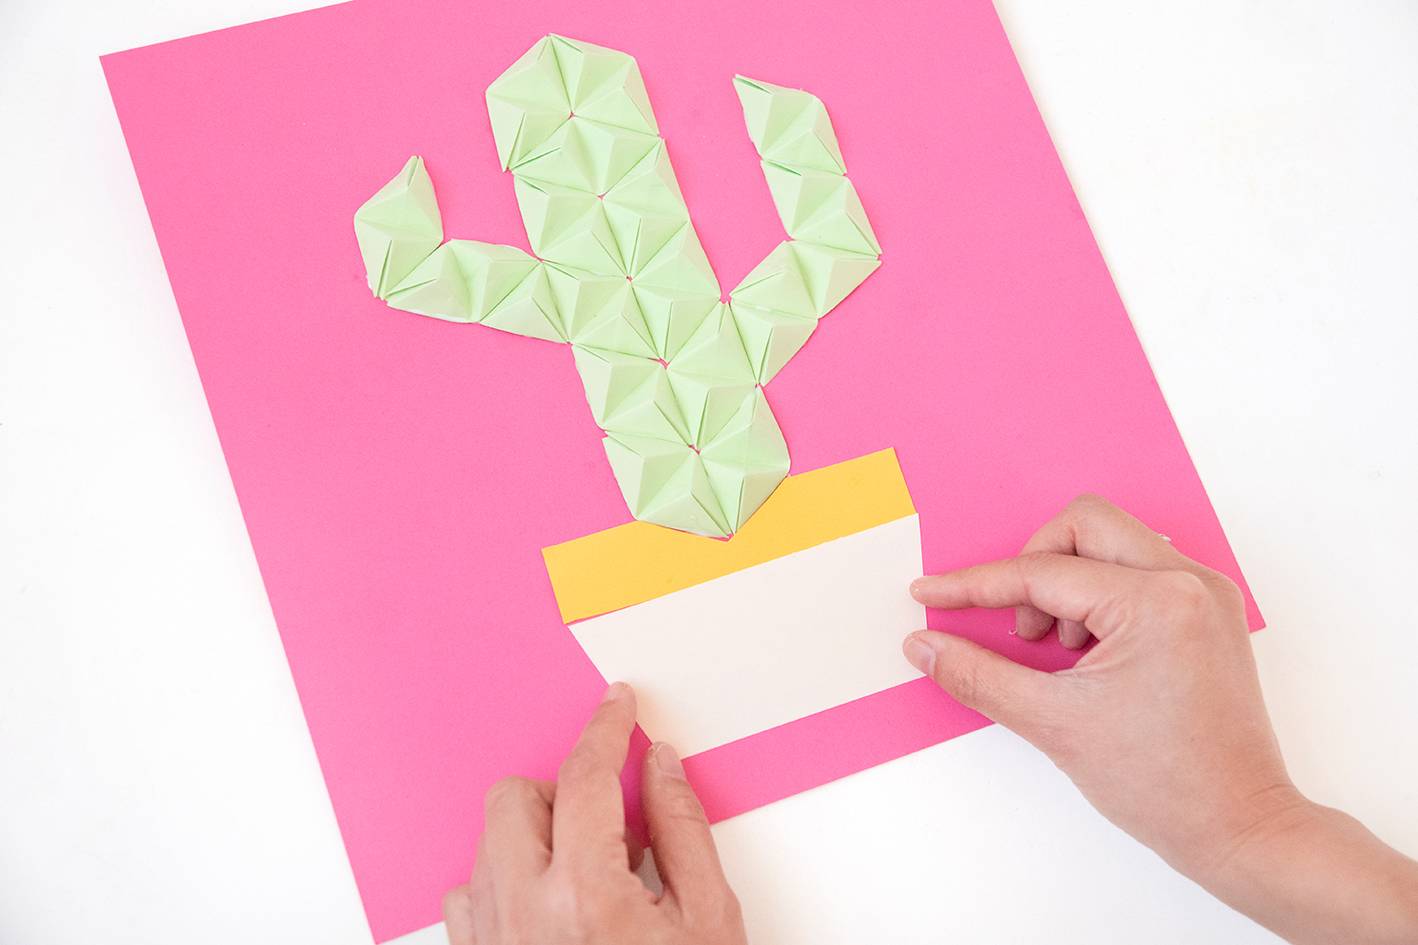
Trim a small triangle from the dark yellow piece of paper so it fits around the base of your origami cactus.

Then stick both in place with glue.
Step
Once your pyramids and plant pot are all in position and the glue has dried, insert your finished art into a picture frame and then sit back and admire your handiwork!
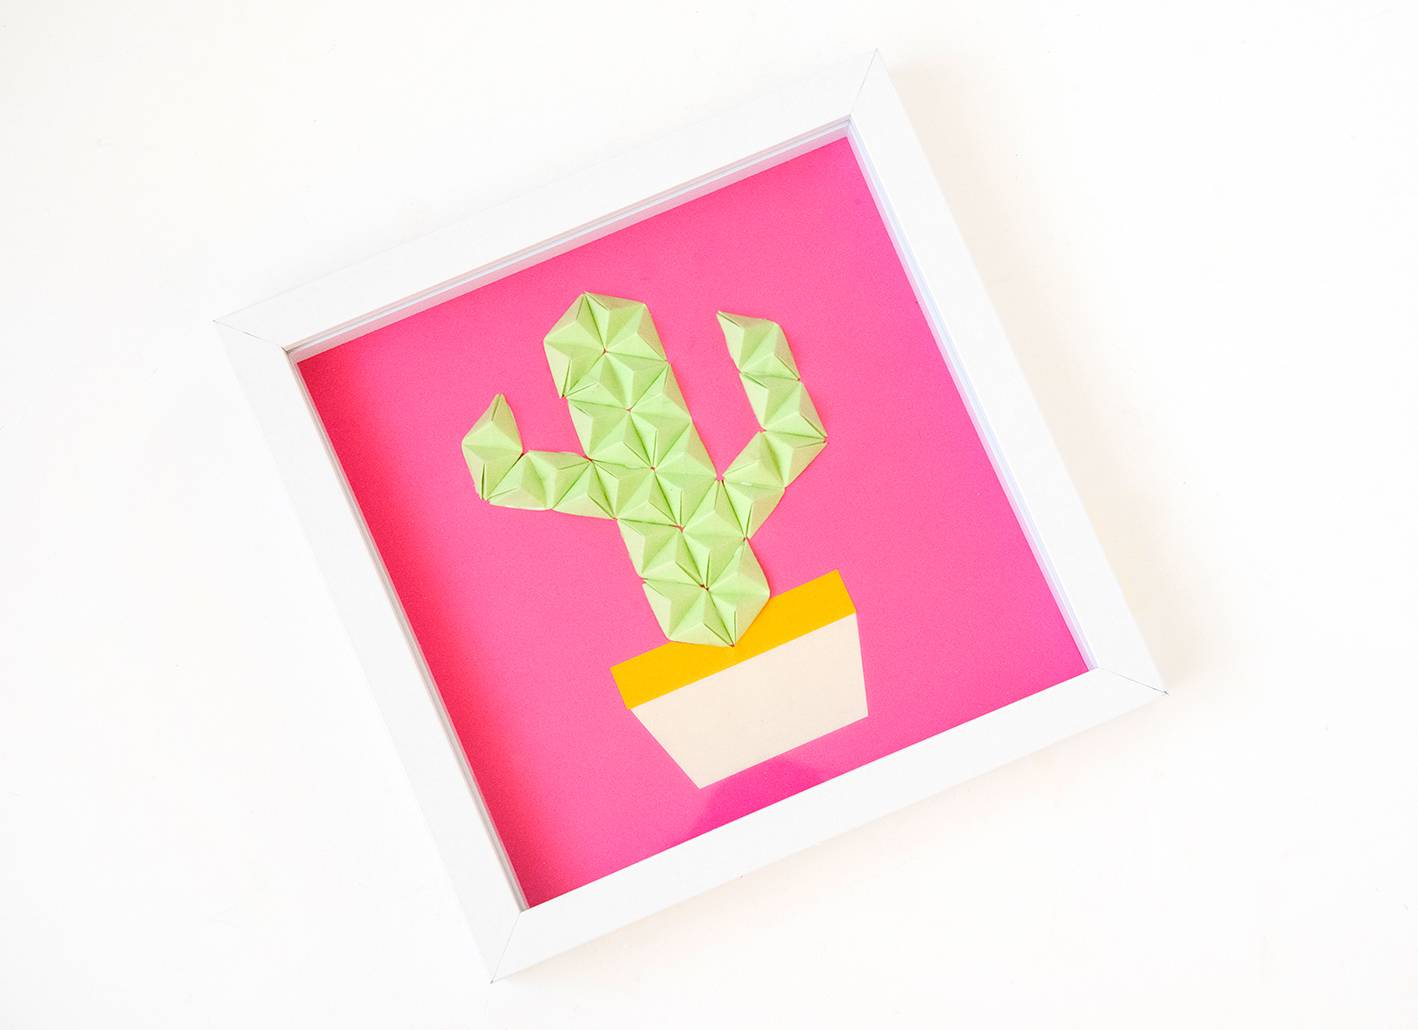
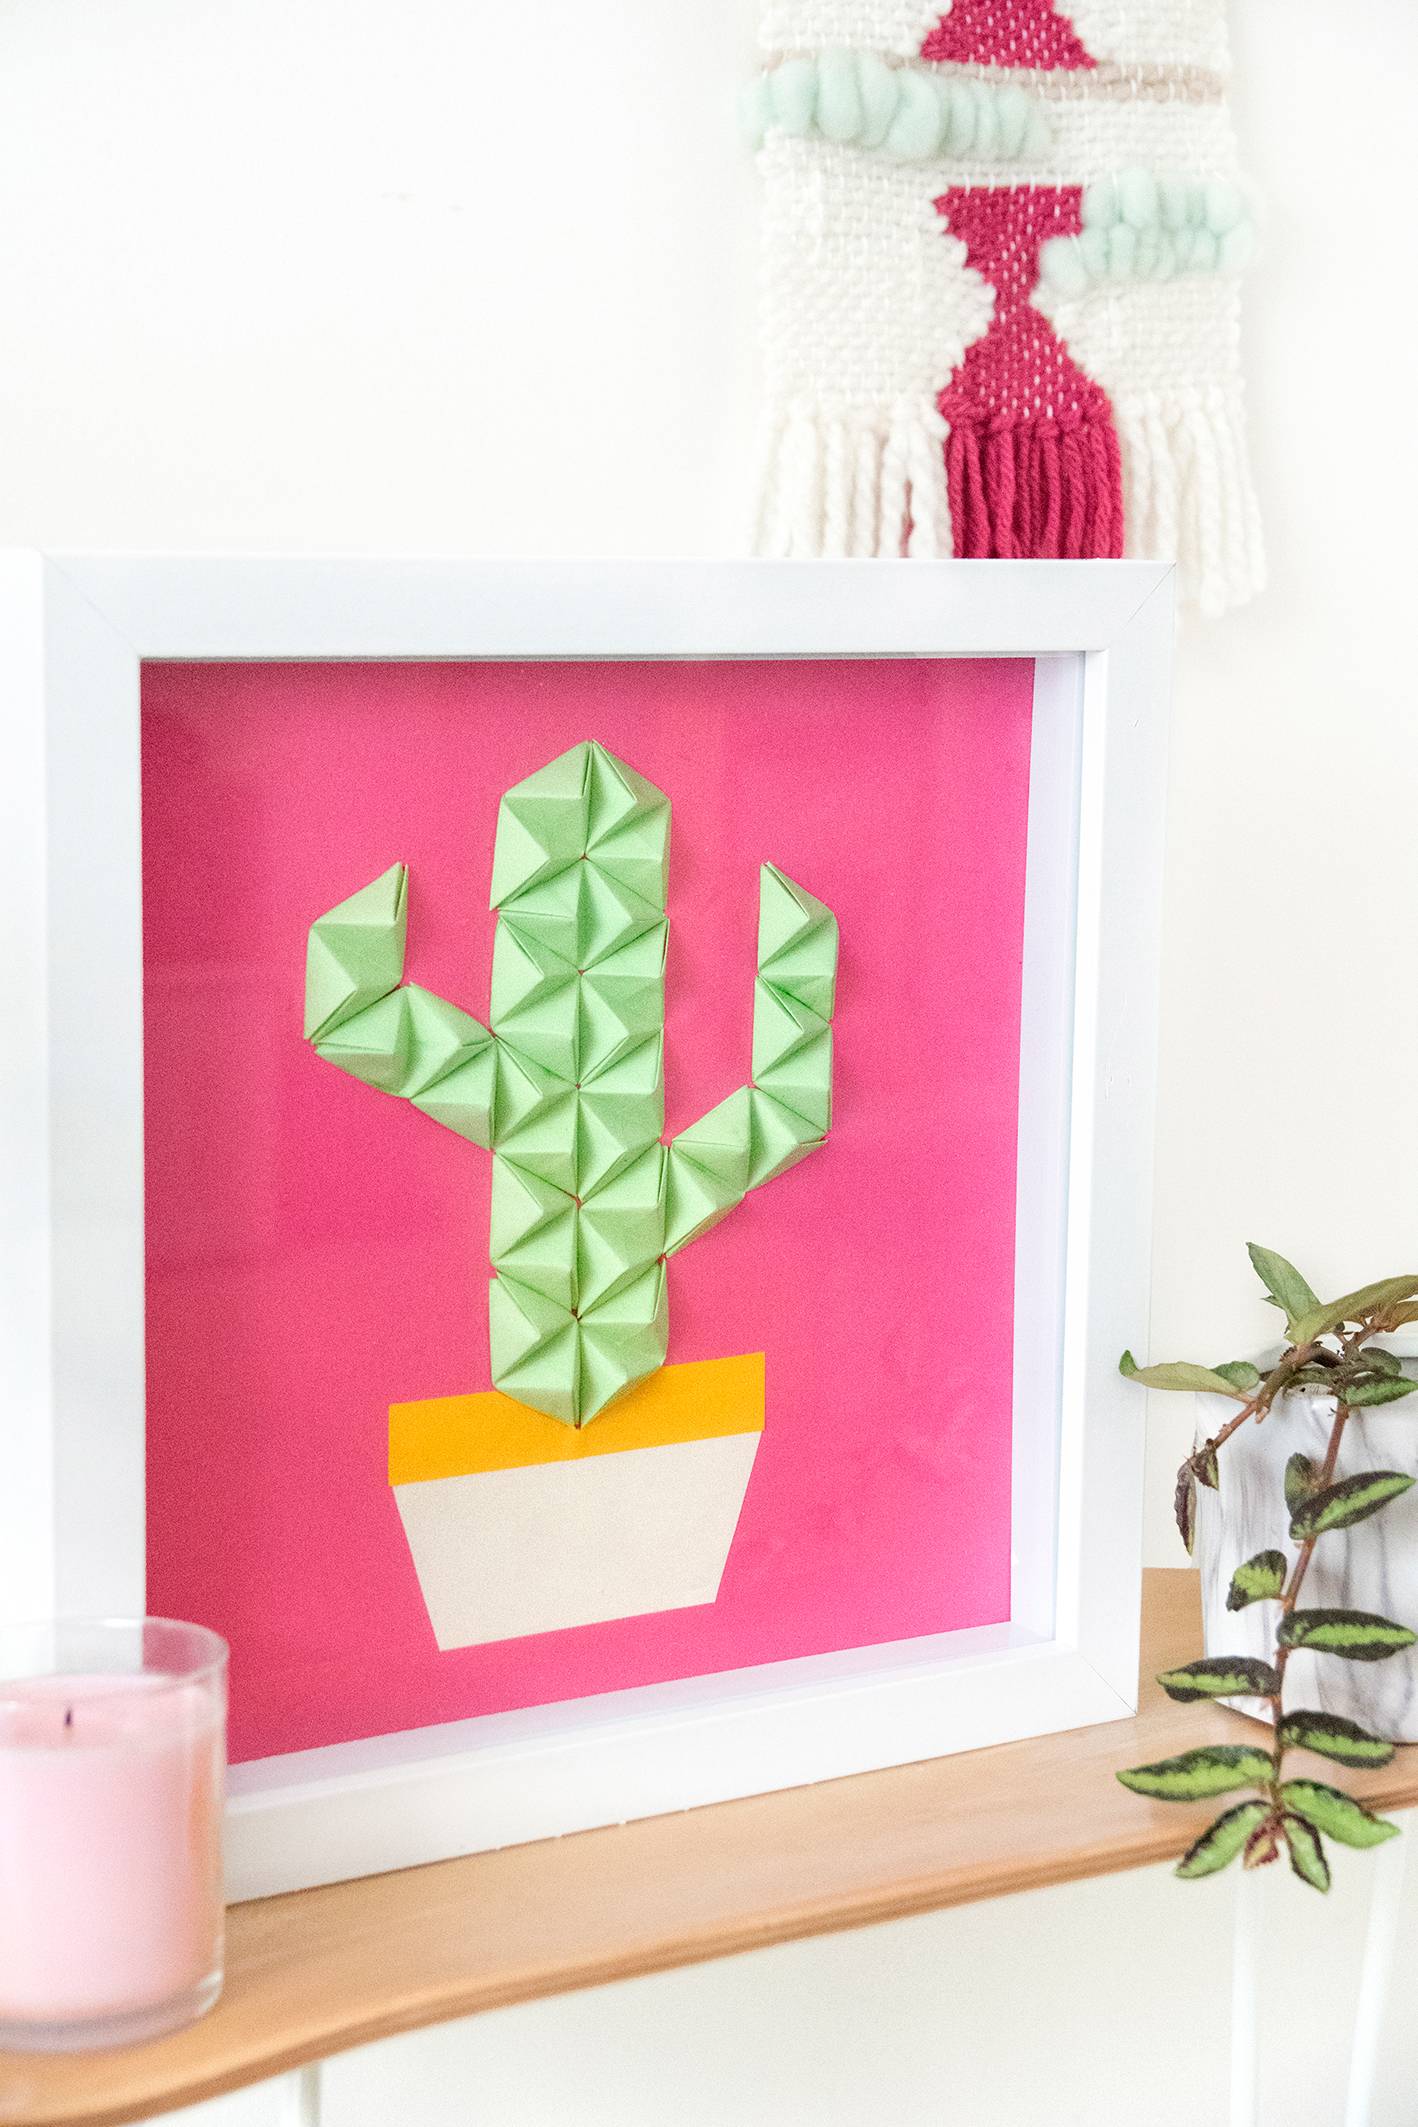
If cactii aren’t your thing, why not try creating an origami artwork without a specific shape? You could stick different coloured pyramids together until you have an abstract formation that looks nice and fills your frame. Or you can get creative and make something entirely different, like a pineapple or rainbow instead!
