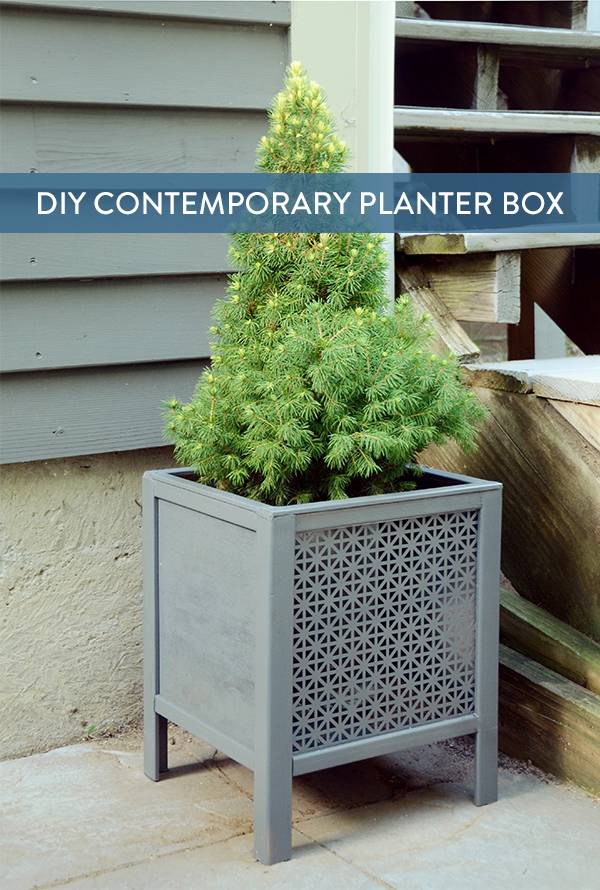
Have you ever tried to buy a contemporary planter box for your patio or porch? If you have, you probably know that it’s difficult to find an attractive one at a reasonable price. So of course, I decided to make one out of wood and a piece of metal radiator cover for a geometric touch. Click through to check out the whole project!
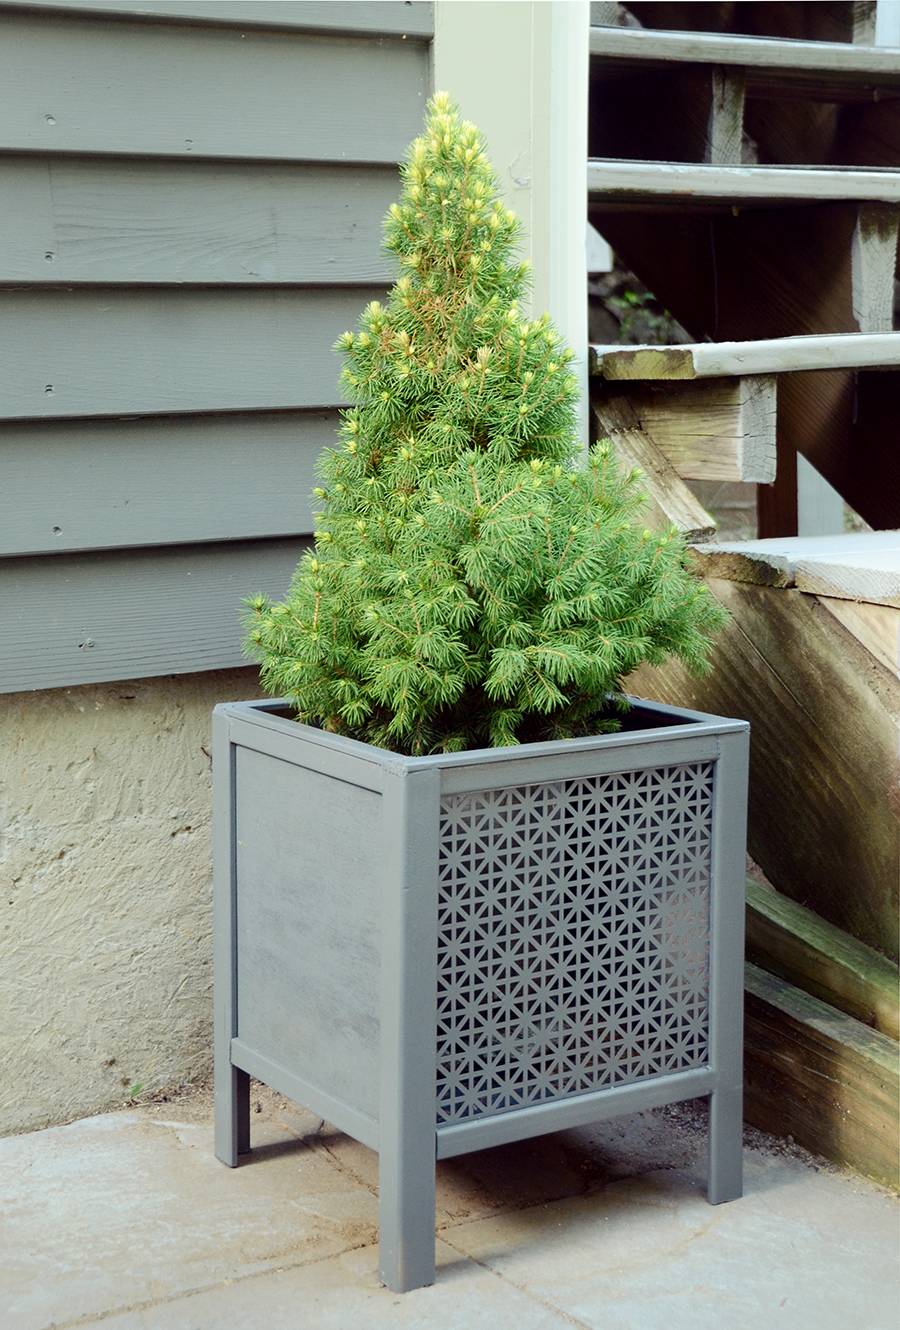
It’s a nice mix of plain and decorative, with just a touch of that geometric pattern on the front. So let’s get started!
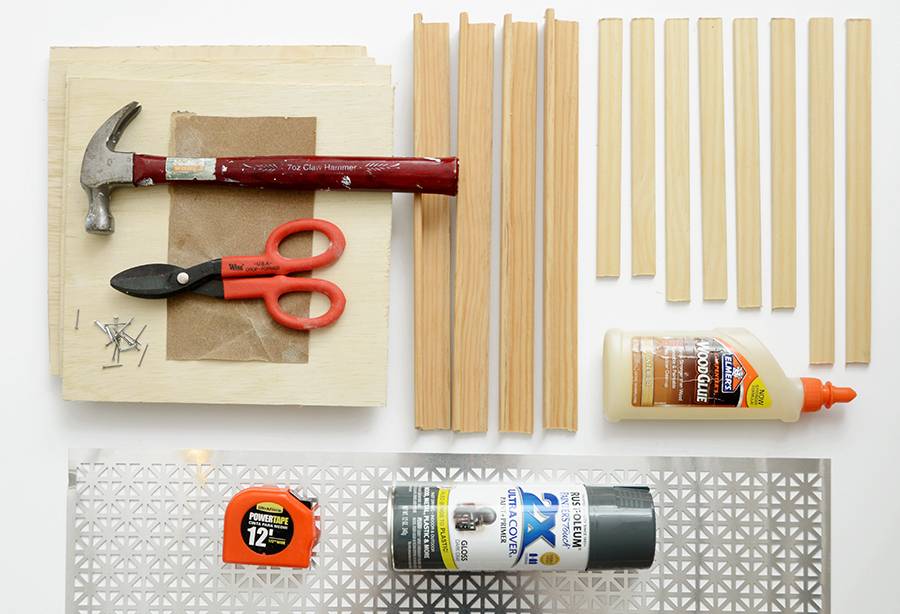
Here’s what you’ll need for your planter box:
- Wood (see cut list below)
- Radiator cover (1 foot square will be enough)
- Drill with 1/2 inch bit (not pictured)
- Wood glue
- Hammer
- Tin snips
- Sand paper
- 1/2 inch nails
- Tape measure
- Gray spray paint
Cut list:
- (1) 10 x 10 inch piece of 1/2 inch thick wood
- (2) 10 x 10 inch pieces of 1/4 inch thick wood
- (1) 10 x 10 1/2 piece of 1/4 inch thick wood
- (4) 13 inch tall pieces of 1 1/8 inch corner moulding
- (2) 11 x 3/4 inch of 1/4 inch thick moulding
- (2) 9 3/8 x 3/4 inch of 1/4 inch thick moulding
- (4) 8 7/8 x 3/4 inch of 1/4 inch thick moulding
- (4) 8 5/8 x 3/4 inch of 1/4 inch thick moulding
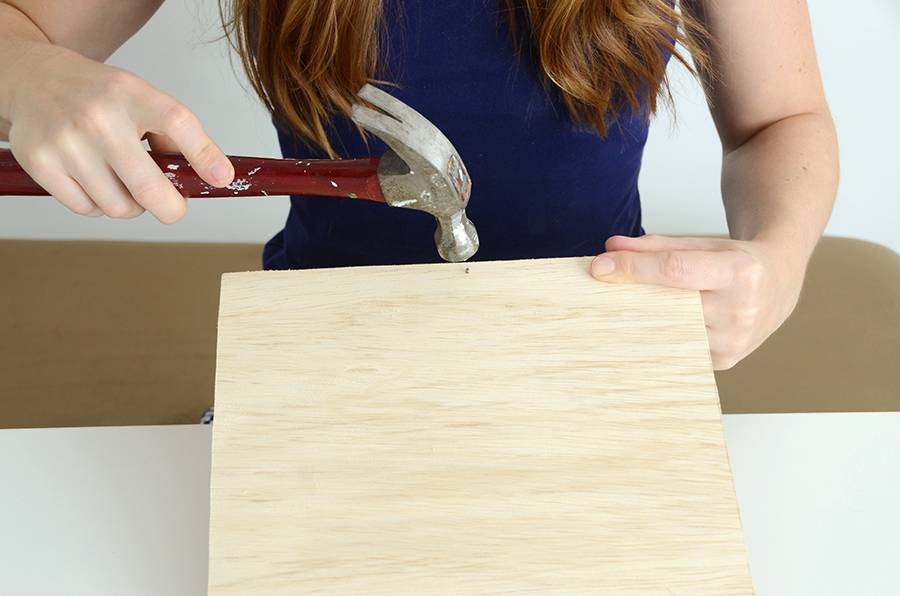
Begin by cutting all of your wood to the proper size, according to the cut list above. The 10 x 10 inch piece of 1/2 inch thick wood will act as the base for your planter, and everything will be attached to that. So begin by attaching one of the 10 x 10 inch pieces of 1/4 inch thick wood to the 10 x 10 inch piece with a small nail. Secure it by adding another nail in each corner.
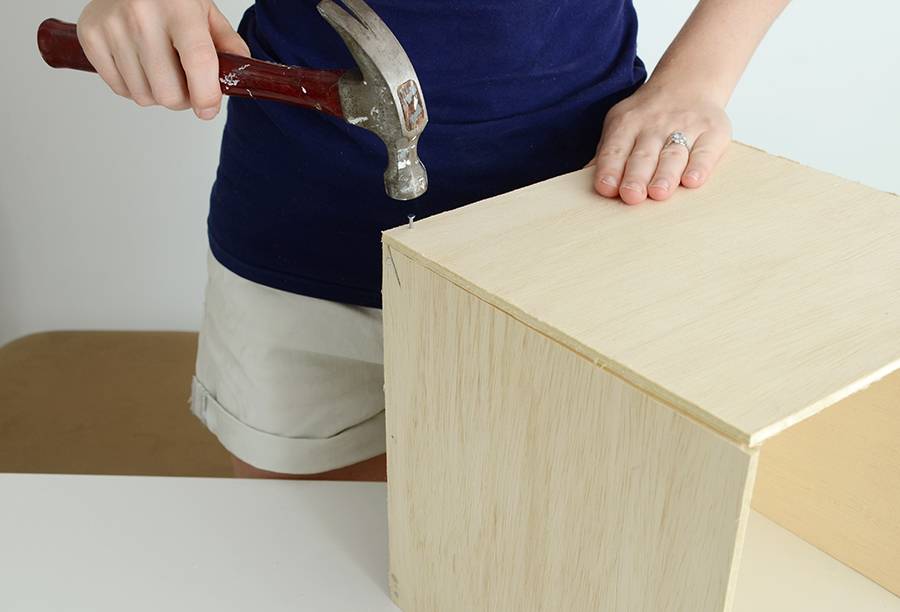
Attach the other 10 x 10 inch piece of 1/4 inch thick wood to the opposite side of the 10 x 10 inch piece so together they create a U shape, and then attach the 10 x 10 1/2 piece of 1/4 inch thick wood to the backs of those pieces as shown above (the 1/2 inch thick base piece is closest to me in the photo, not visible).
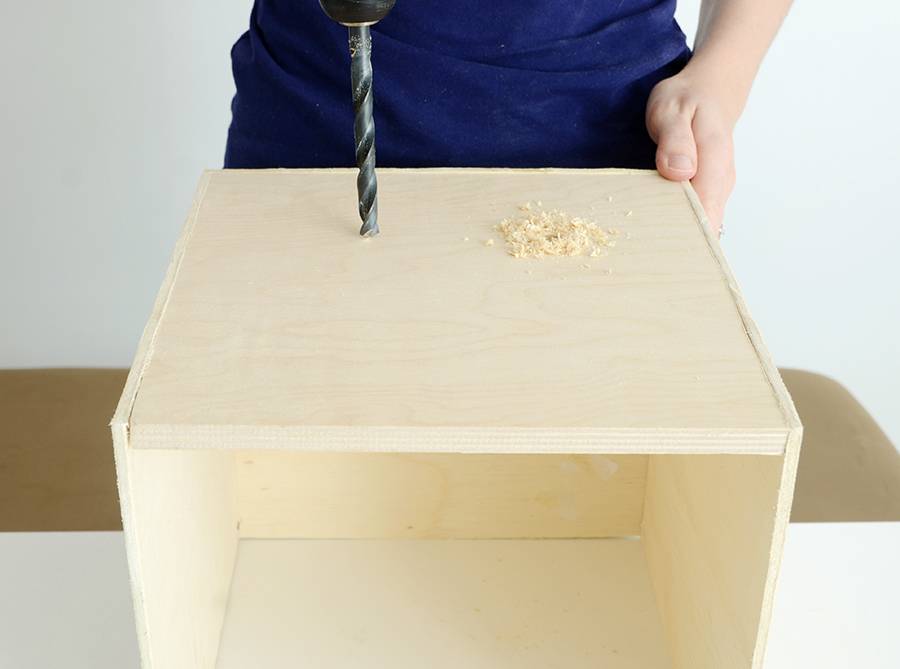
Flip it upside down and create a few drainage holes in the base using a 1/2 drill bit (or similar).
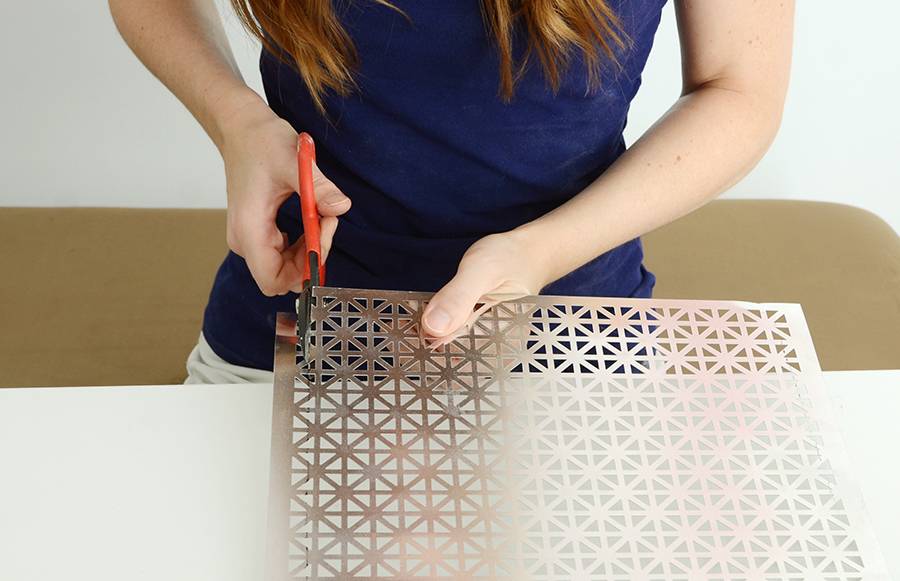
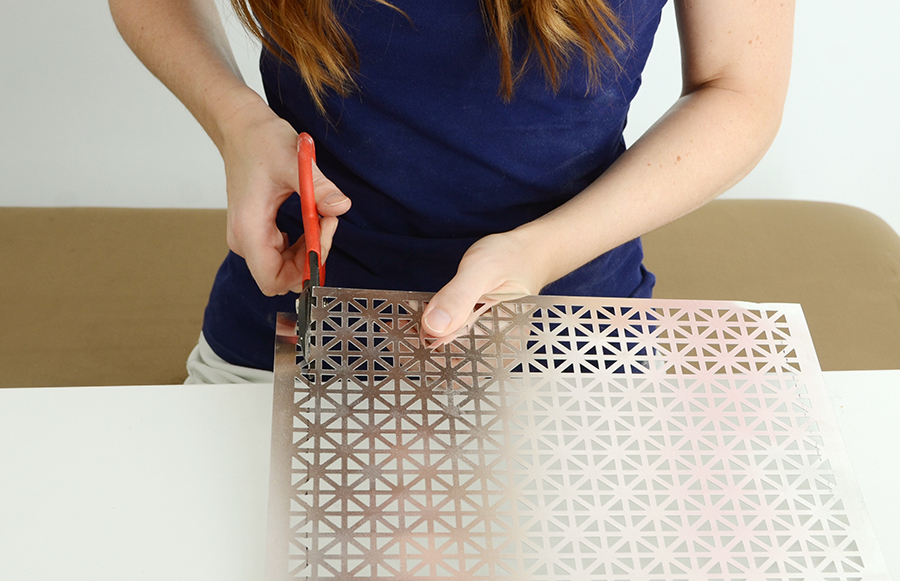
Next, cut a piece of radiator cover that is 10 1/4 x 9 1/4 inches using a pair of tin snips.
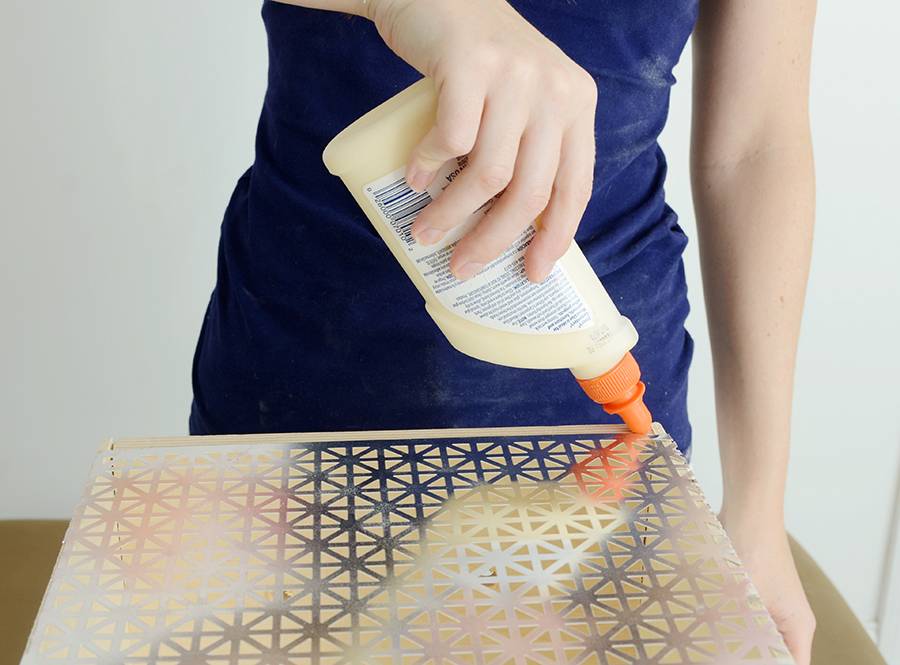
Glue it to the edges of the base and two side pieces (opposite the 10 x 10 1/2 piece of 1/4 inch thick wood).
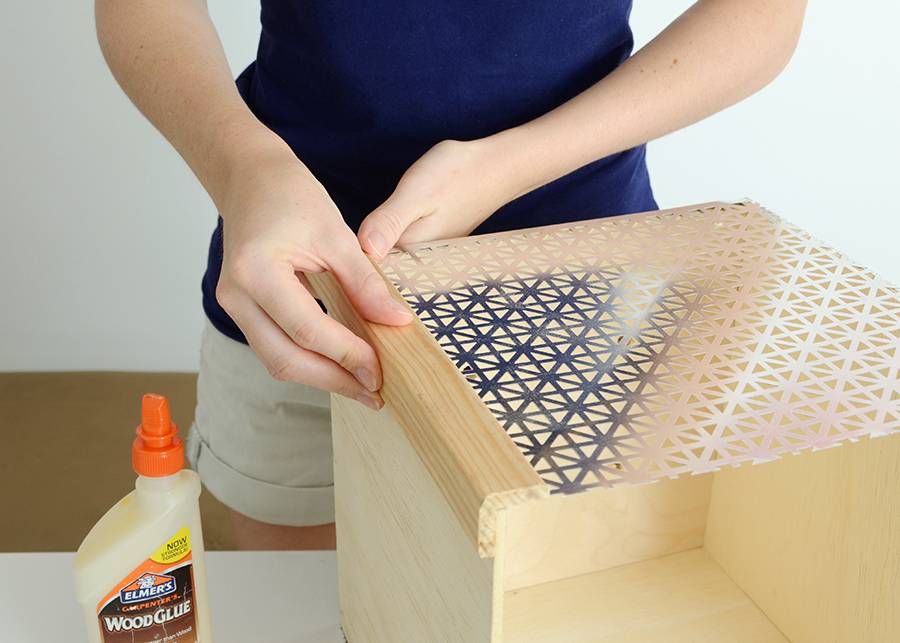
Let it dry and then glue the corner moulding pieces onto the corners as shown above, allowing the excess to be on the bottom. These will be the legs.
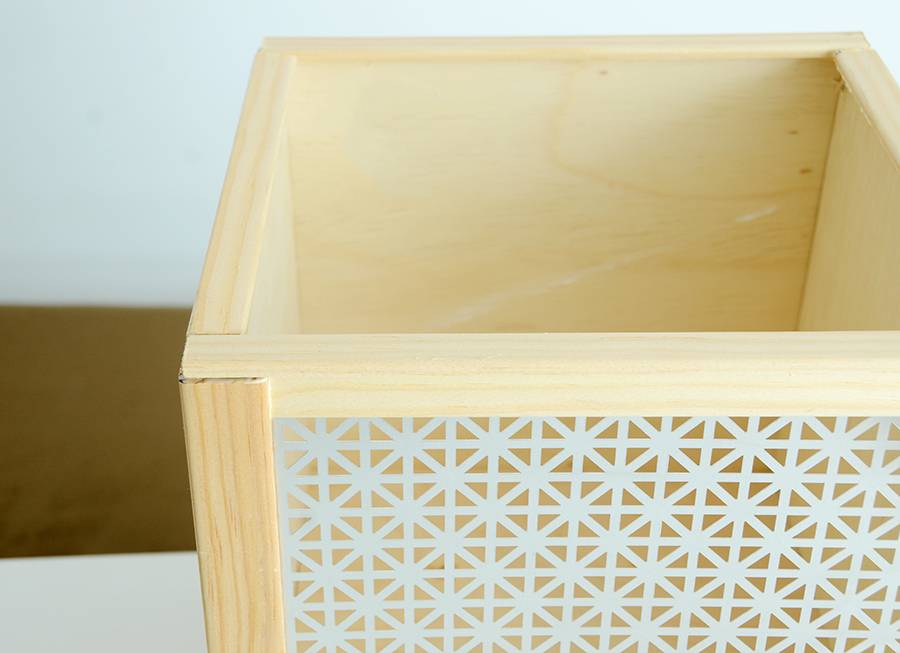
Once the corner moulding pieces are dry, flip the piece right side up and glue the rest of the moulding pieces into their proper places. The 11 x 3/4 inch of 1/4 inch thick moulding and 9 3/8 x 3/4 inch of 1/4 inch thick moulding go on the top, shown above.
The 8 7/8 x 3/4 inch of 1/4 inch thick moulding pieces go at the top and bottom of the radiator cover side as well as the top and bottom of the opposite side. And the 8 5/8 x 3/4 inch of 1/4 inch thick moulding pieces go on the remaining sides.
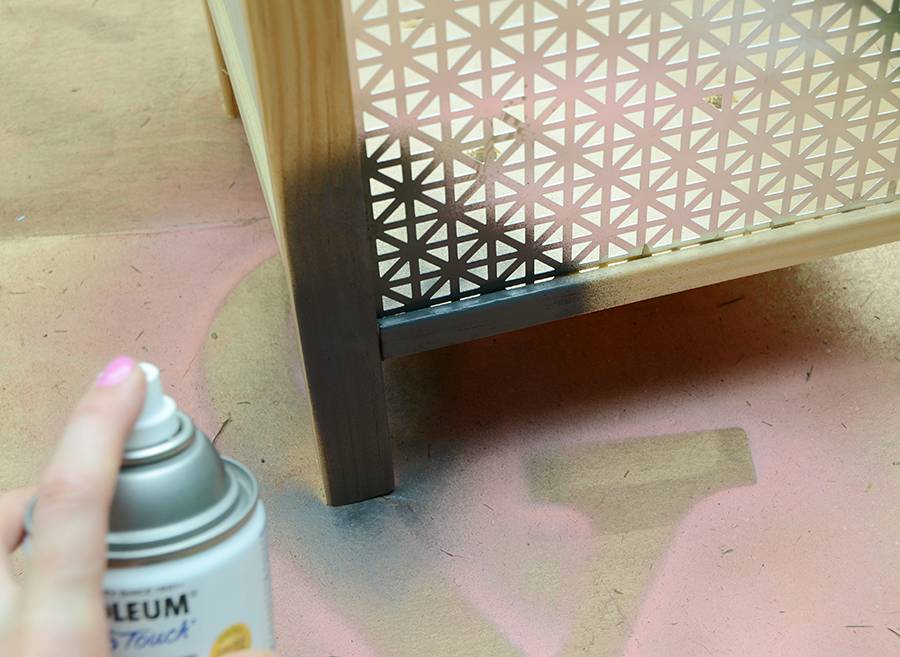
Sand down any rough edges once all the glue has dried, and use a bit of spackle if there are any gaps where there shouldn’t be. Spray paint the entire piece in your desired color (I used gray to match the siding on our house), doing two to three thin coats.
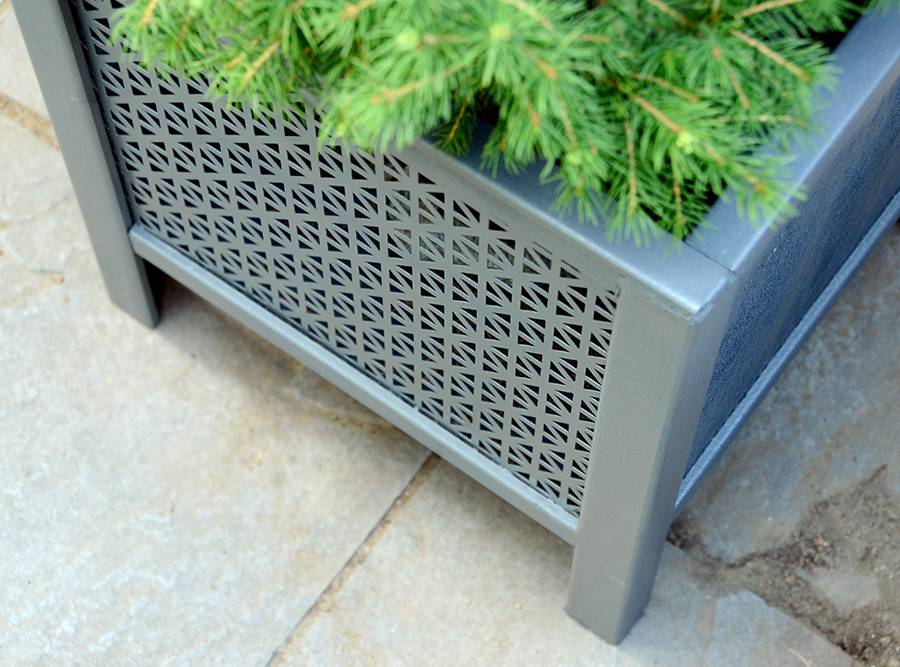
And you’re finished. It’s surprisingly easy, actually!
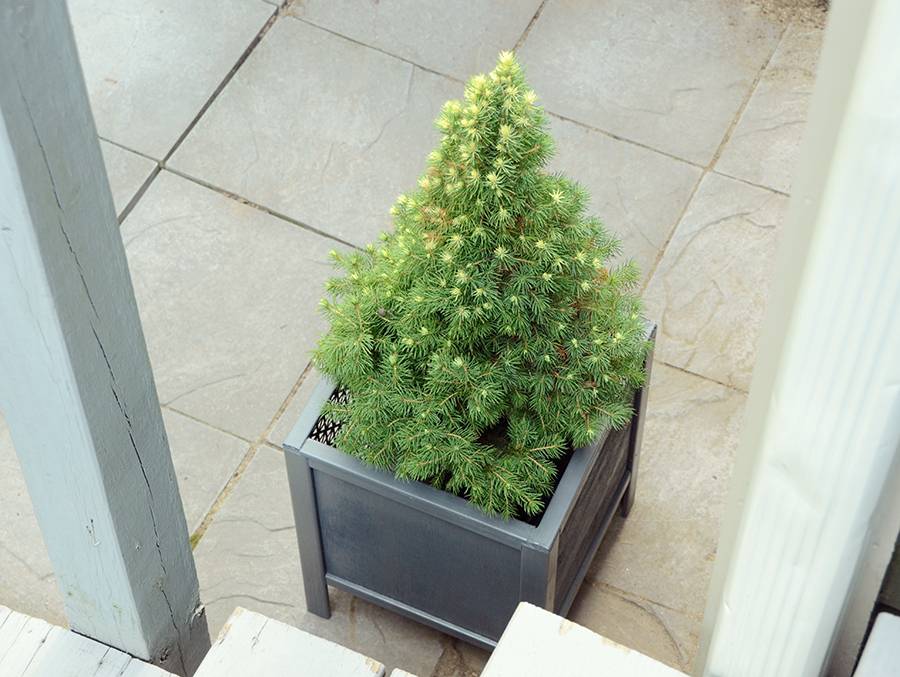
It’s a lovely accent piece for your porch or patio, and can be customized by using a different paint color or a different radiator cover pattern on the front.
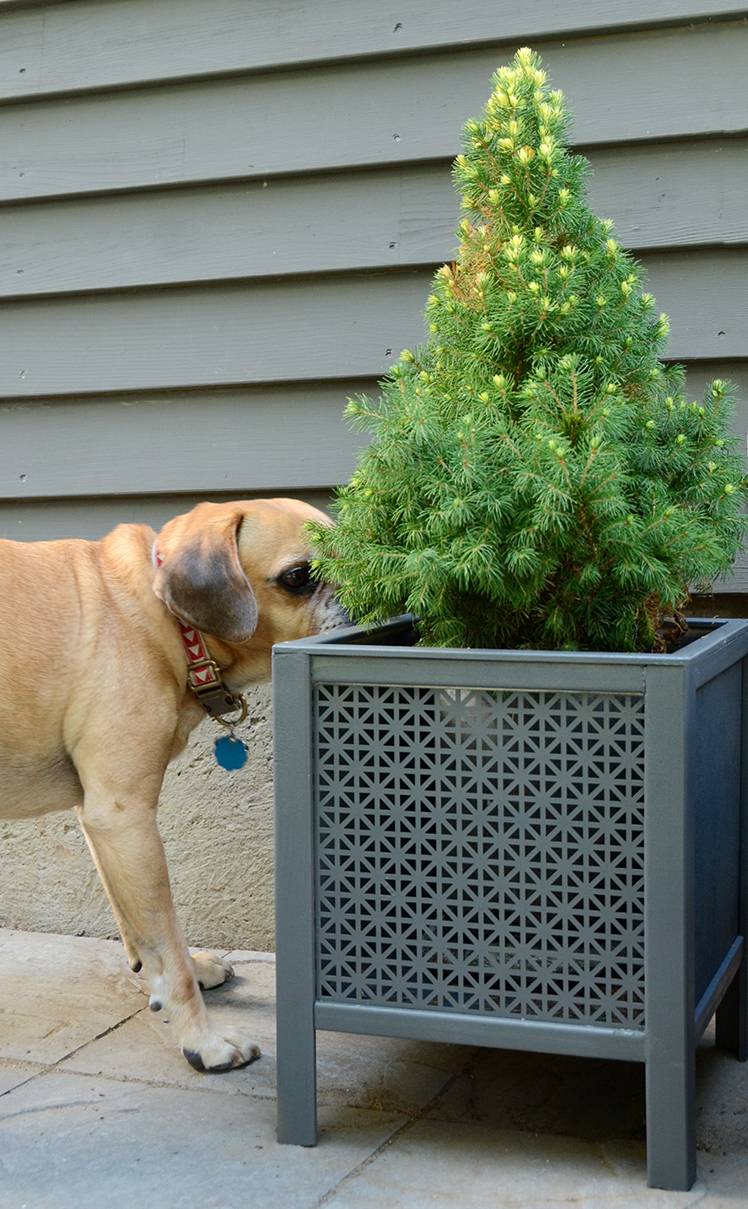
My dog Charlie even seems to approve of it!
Faith! Holy cow. This is so cute and clever. One of my all-time favorites of your projects. Awesome job!
Thanks so much @Chrisjob! I think I might make another one so I have a pair 🙂