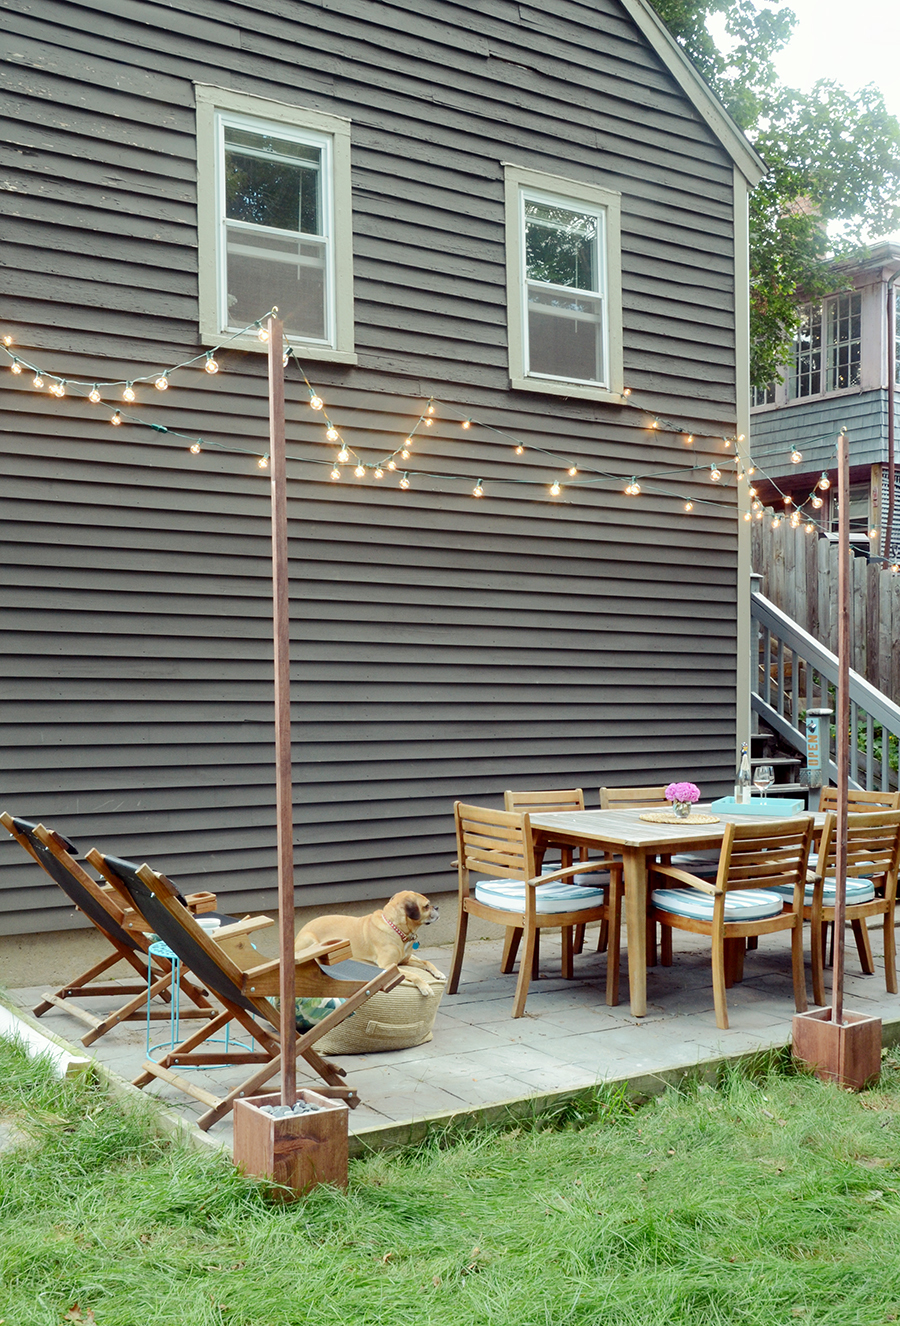
I’ve always loved the look of bistro lights in outdoor spaces, but our patio didn’t have anywhere to attach the string lights. But now it does! Click through to find out how to hang outdoor lights without attaching them to your house or surrounding trees.
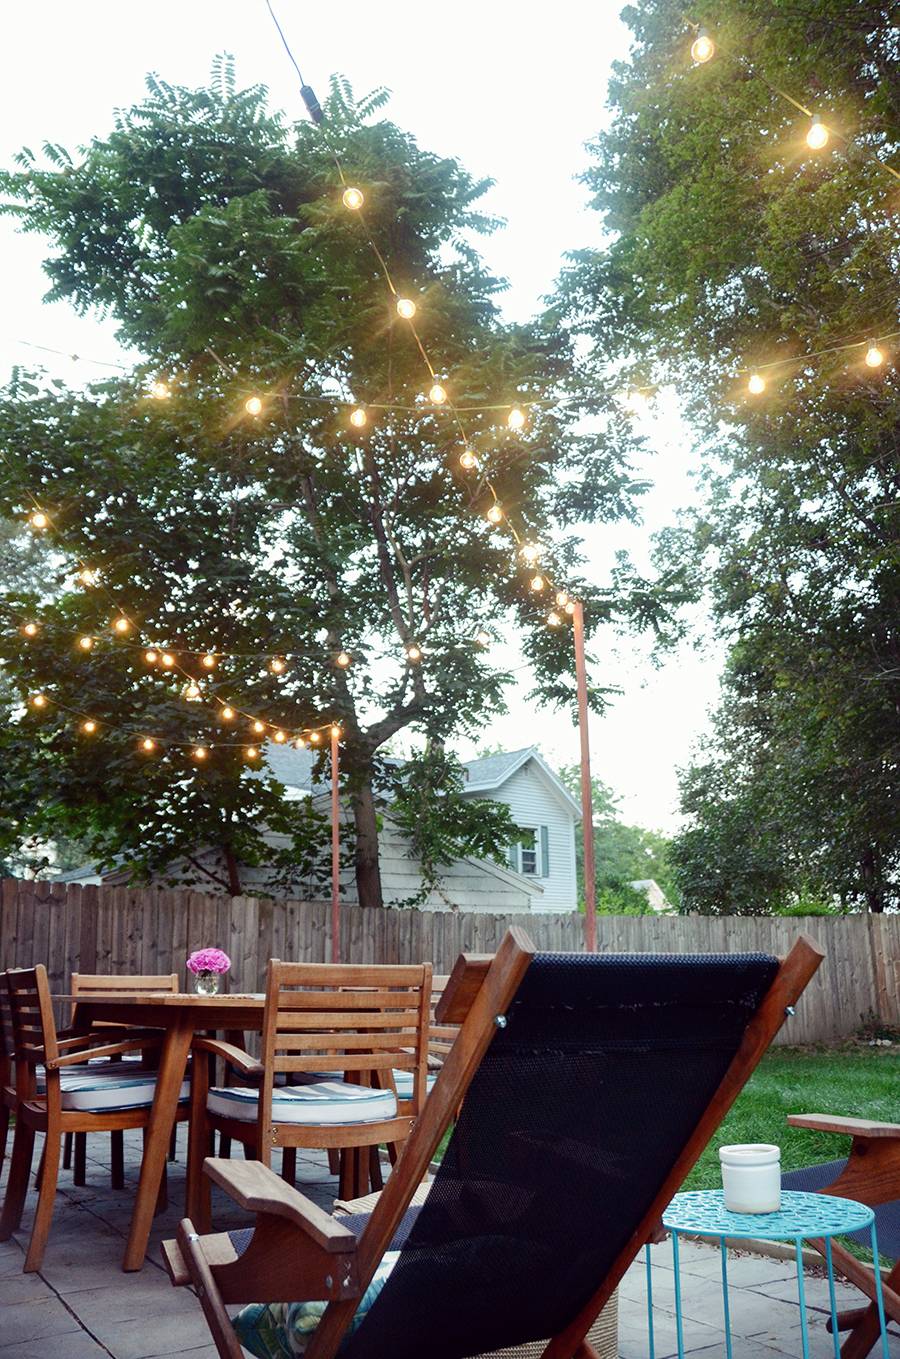
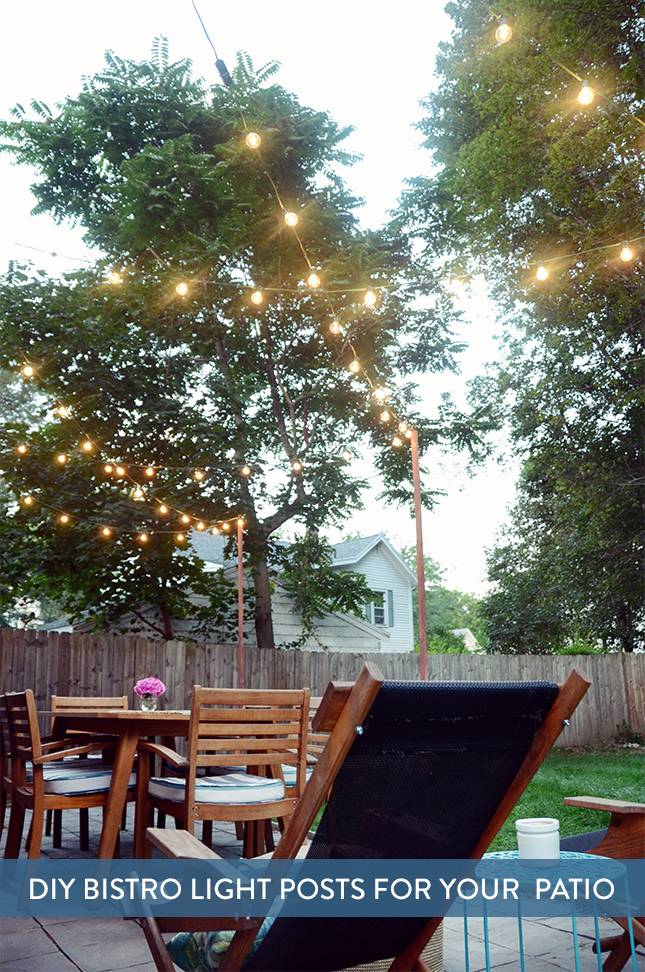
I was thrilled with the final result… they cast such a pretty glow over the patio once the sun has gone down.
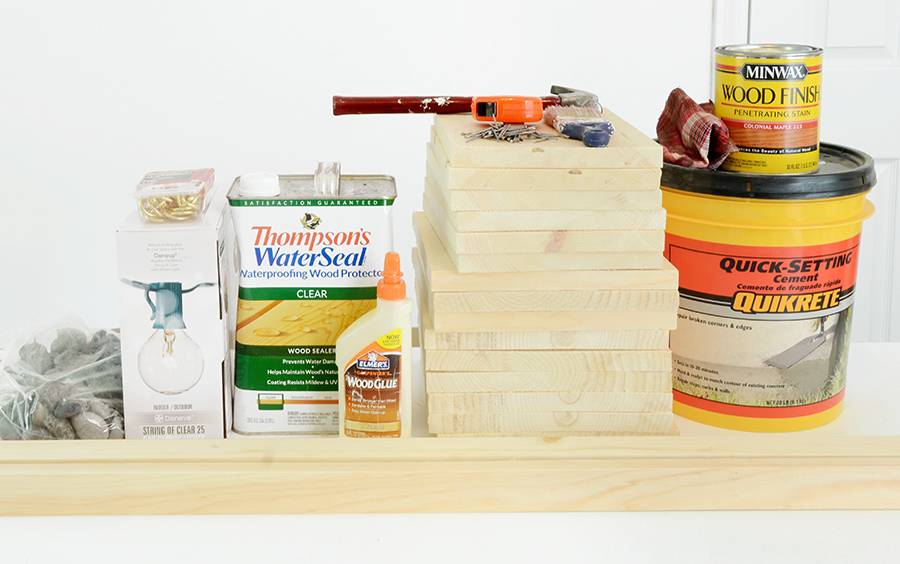
Here’s what you’ll need:
- (2) buckets of Quikrete cement
- Wood stain and a rag
- Rubber gloves
- Hammer
- Nails (1 inch long)
- Measuring tape
- Level
- Paintbrush
- Wood glue
- Thompson’s WaterSeal
- 6 cup hooks (1 inch)
- Large bag of smooth stones
- Bistro lights
- Ladder
Wood:
- (3) 8′ x 1″ x 2″ (or similar)
- (3) 9.25″ x 9.25″ x .75″
- (6) 9.25″ x 10″ x .75″
- (6) 7.75″ x 10″ x .75″
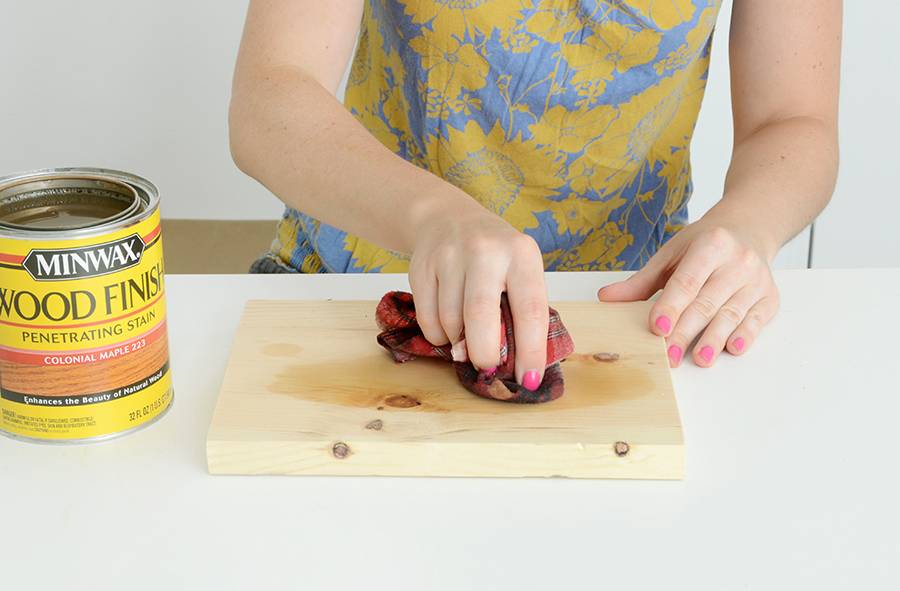
Begin by cutting and staining all of your wood. Use an old rag and rubber gloves to apply the stain (I forgot about this while taking the picture, but then soon remembered why it’s called stain. Because it stains). I used a combination of a couple of stains I had because I was trying to match our existing patio furniture, so it ended up being darker than the Colonial Maple color that you see in the photo above.
Let the stain dry thoroughly. Brush on a coat of Thompson’s WaterSeal to all of the wood as well, and let it dry.
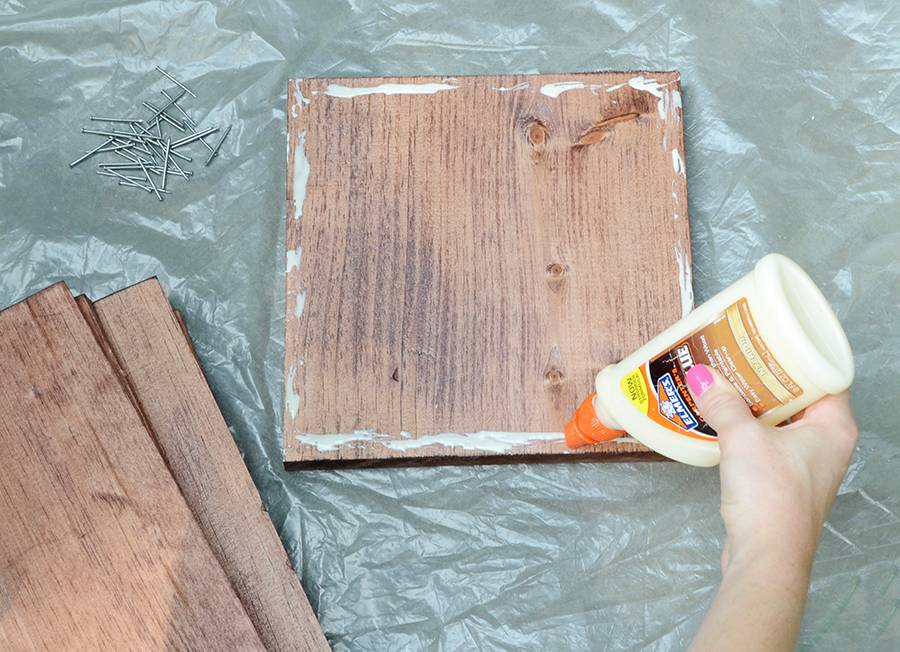
Next, apply a bit of wood glue around the perimeter of one of the 9.25″ x 9.25″ x .75″ piece of wood. This will be the base of the box.
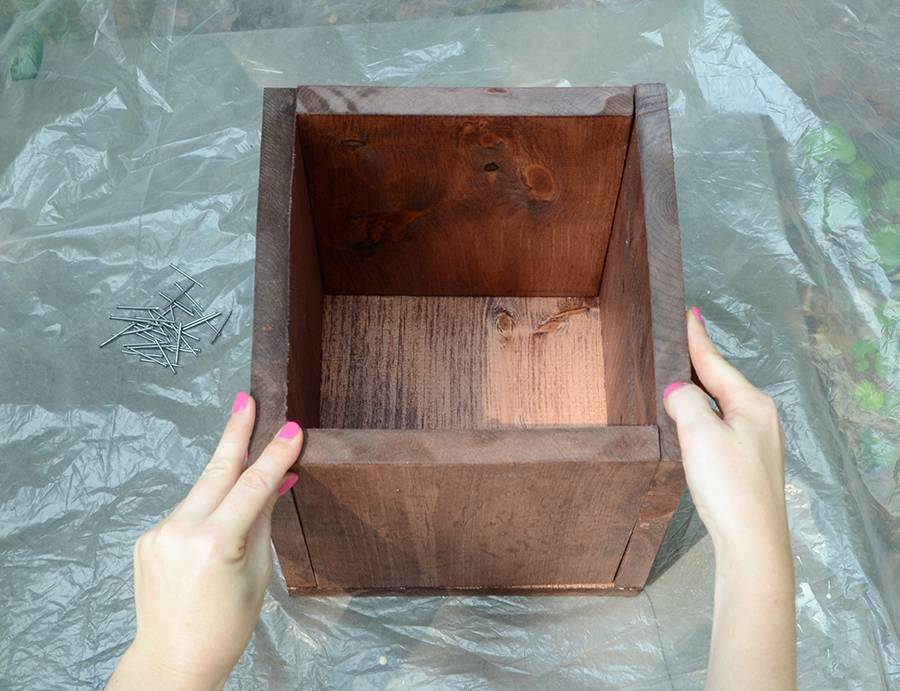
Place two 7.75″ x 10″ x .75″ on opposite sides, and two 9.25″ x 10″ x .75″ on the remaining sides. Secure the edges together with glue. Lean a couple of items up against the sides of the 9.25″ x 10″ x .75″ pieces to keep everything in place while they dry.
Repeat the process for the other two boxes.
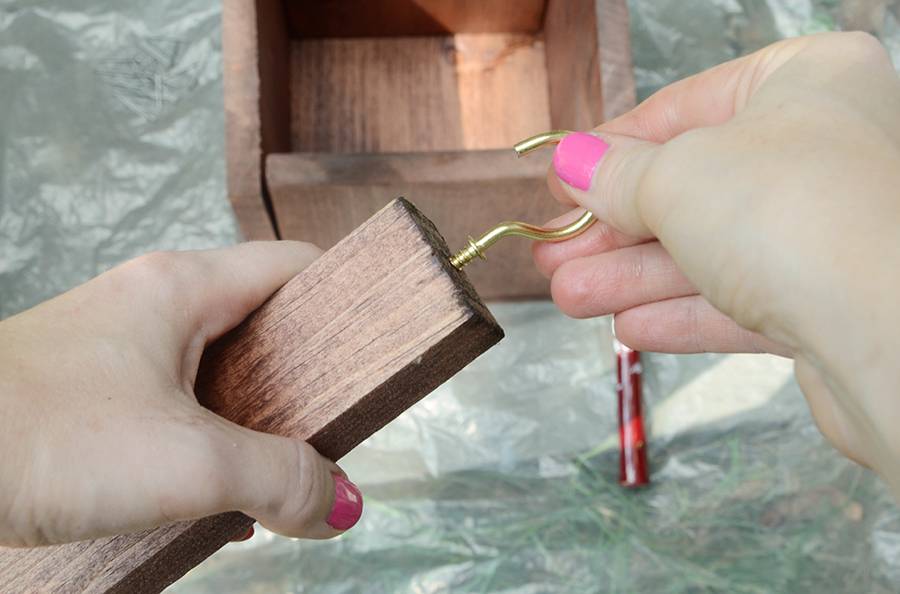
While you’re waiting for the boxes to dry, screw one cup hook into the center of the top of each 8′ x 1″ x 2″ piece of wood.
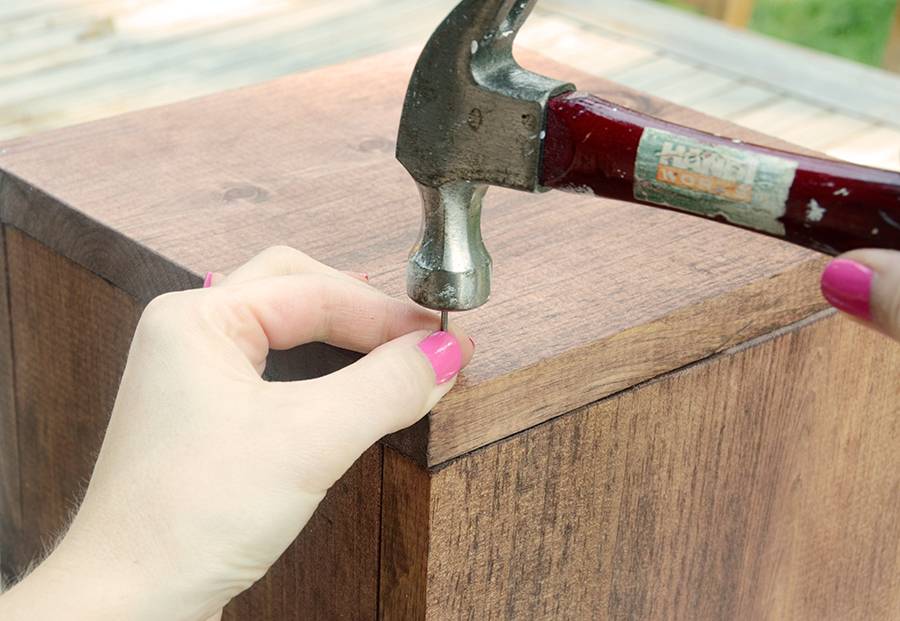
Once your boxes are dry, secure them with nails at all connection points.
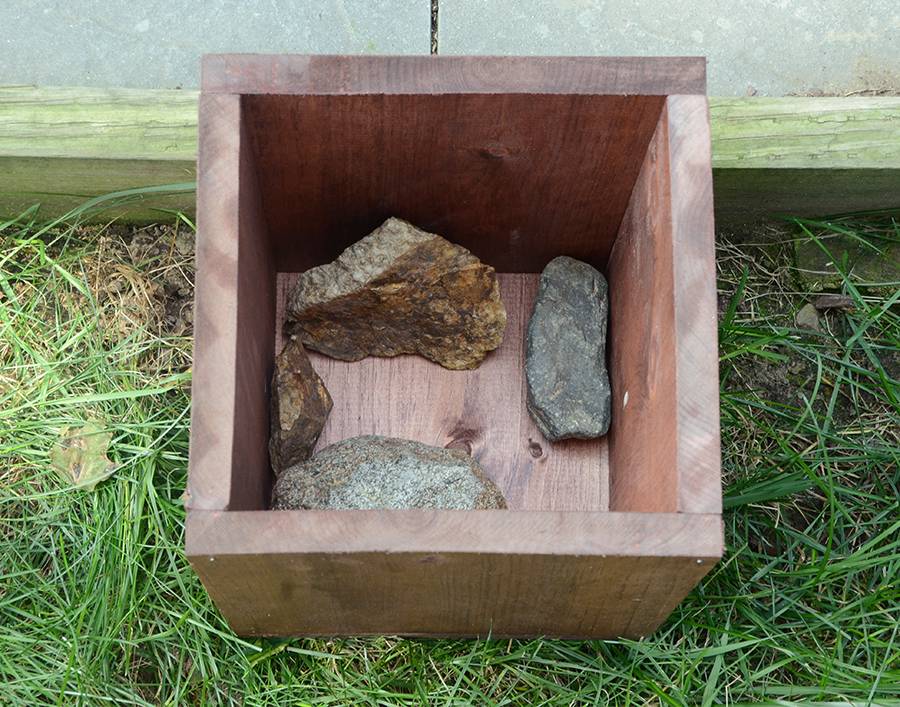
Place the boxes along the edge of your patio, evenly spaced. I put a few rocks around the perimeter of each box so I would use less cement.
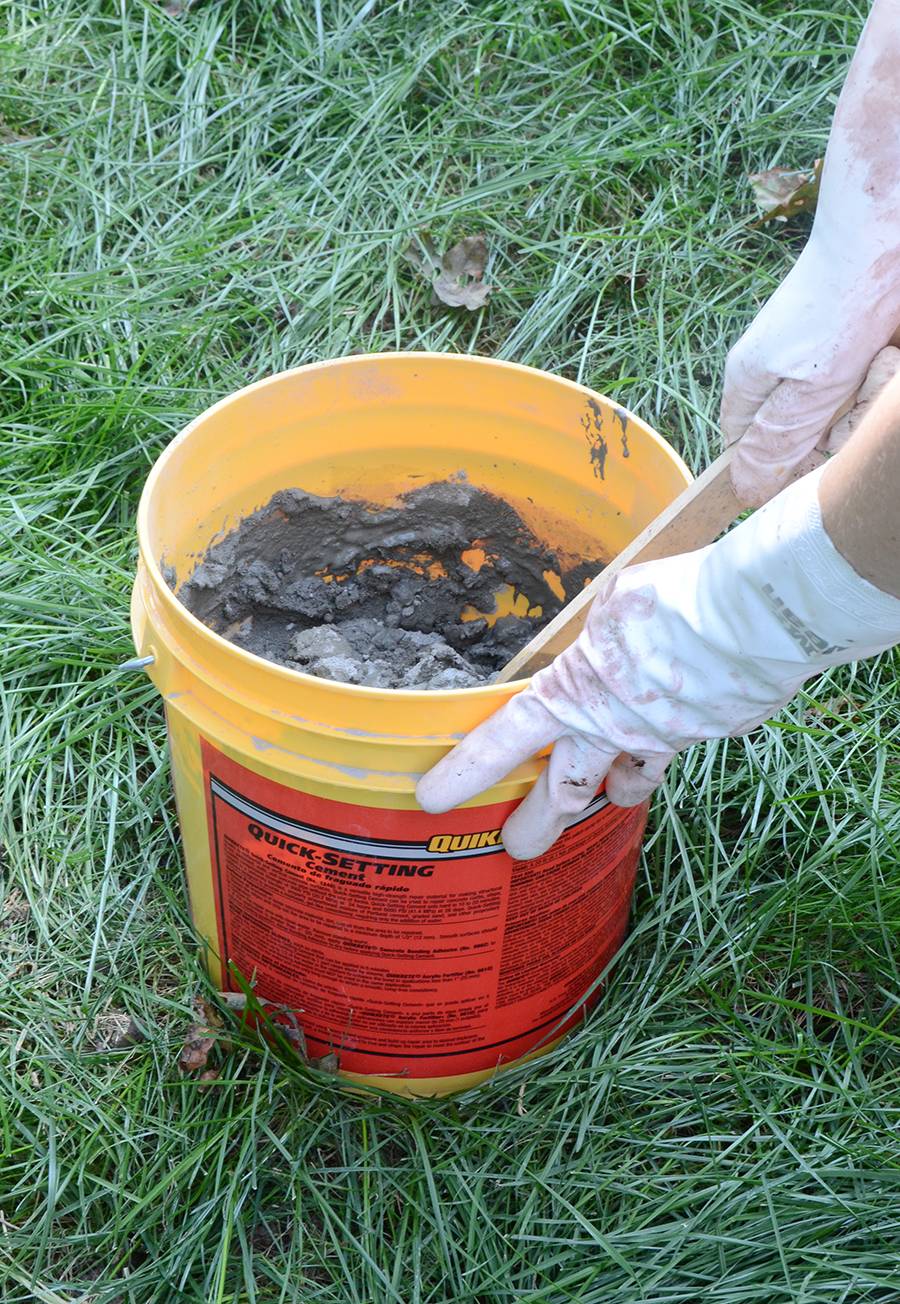
Mix up your cement according to the instructions on the container. I used approximately one bucket per box. I mixed up about 3/4 of the cement and poured it in, then inserted one of the 8′ x 1″ x 2″ posts (make sure the hook is on the top).
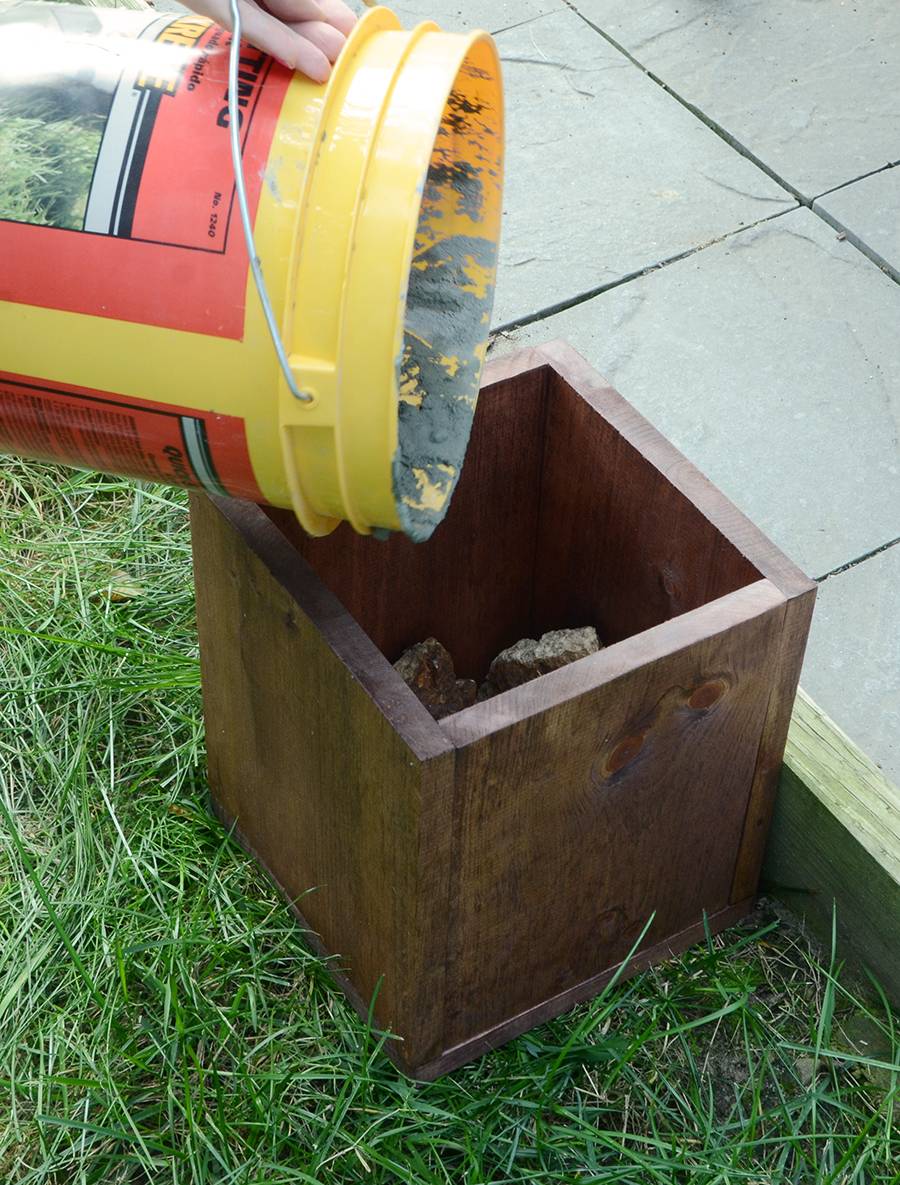
Then I mixed the other 1/4 with a bit of extra water to make it a bit smoother, and I used a trowel to shovel it onto the top. Clean any rogue cement off of the wood with a wet cloth. Ensure that your post is perfectly vertical by using a level.
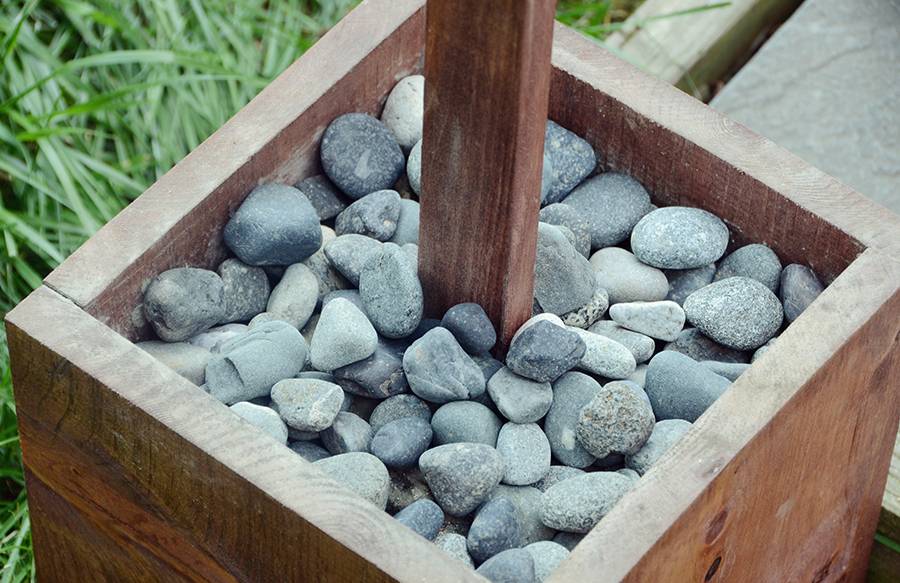
Let it dry and place a layer of rocks on top. Repeat the same process for the other two boxes.
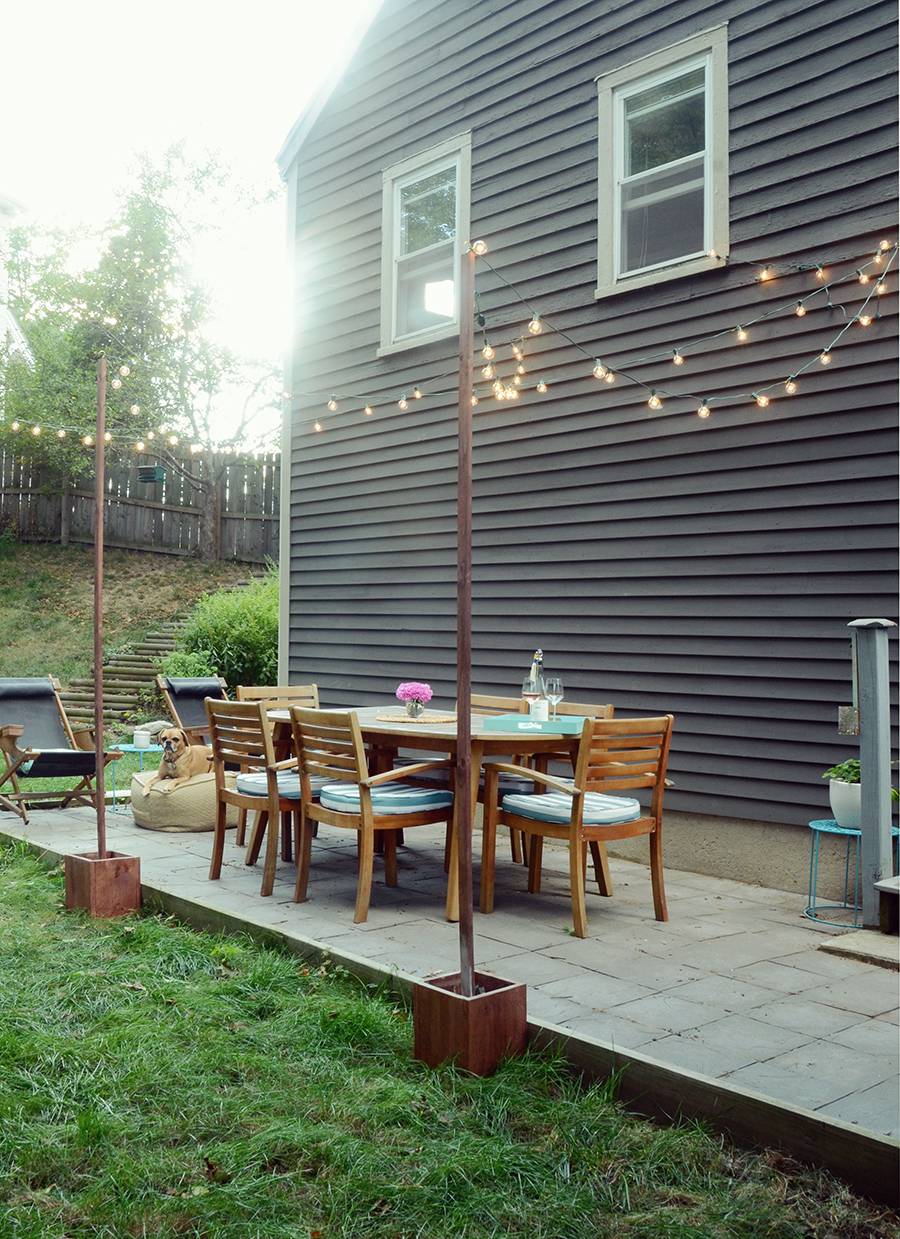
Lastly, I attached three cup hooks to the side of our house… but if your patio isn’t next to your house you could attach them to trees or even just lay out the posts so that they form a triangle.
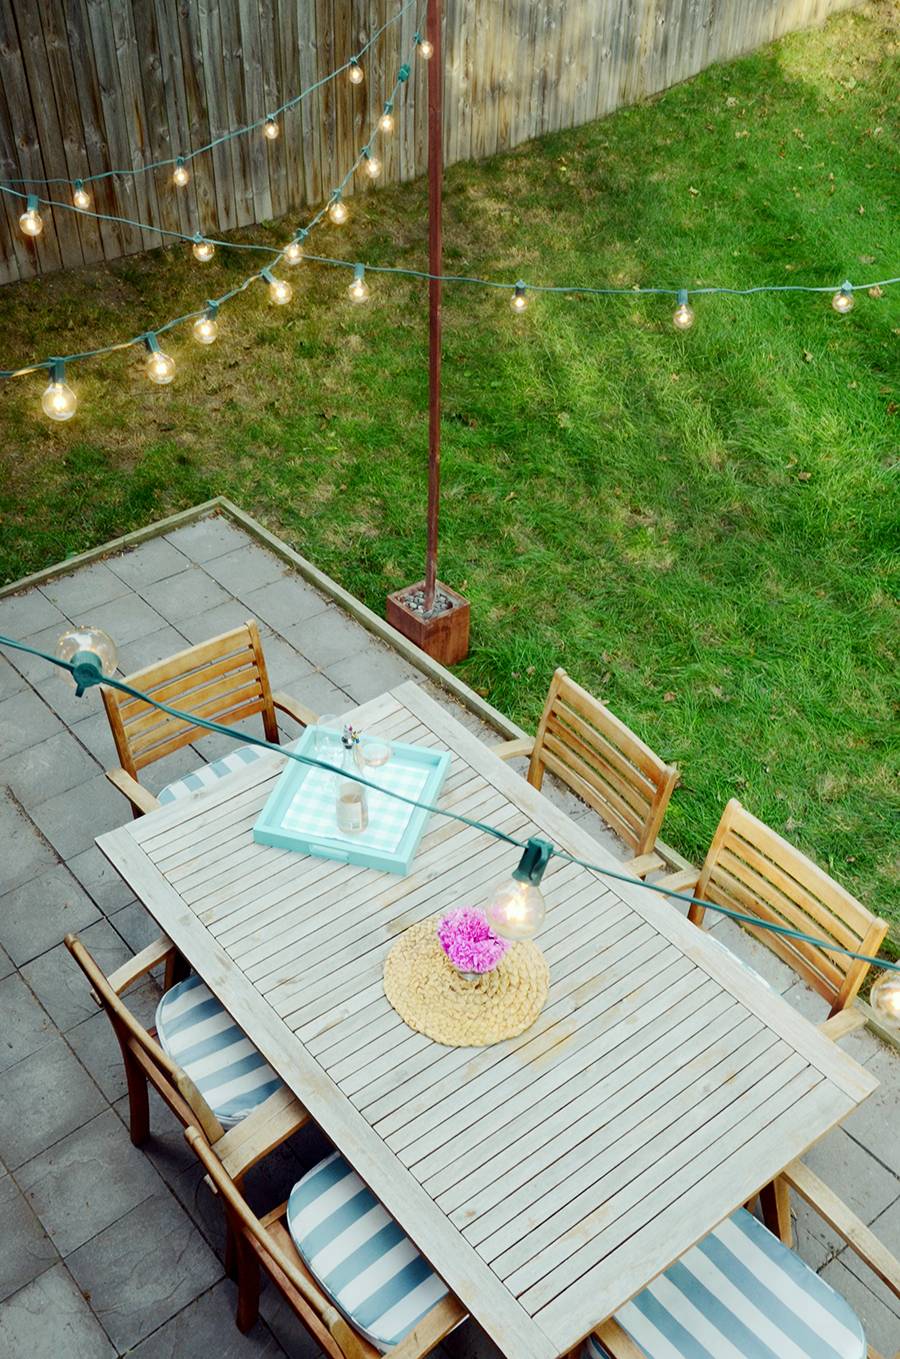
By this time your cement should be dry (that’s the beauty of Quikrete). String your lights across using a ladder, and you’re finished!
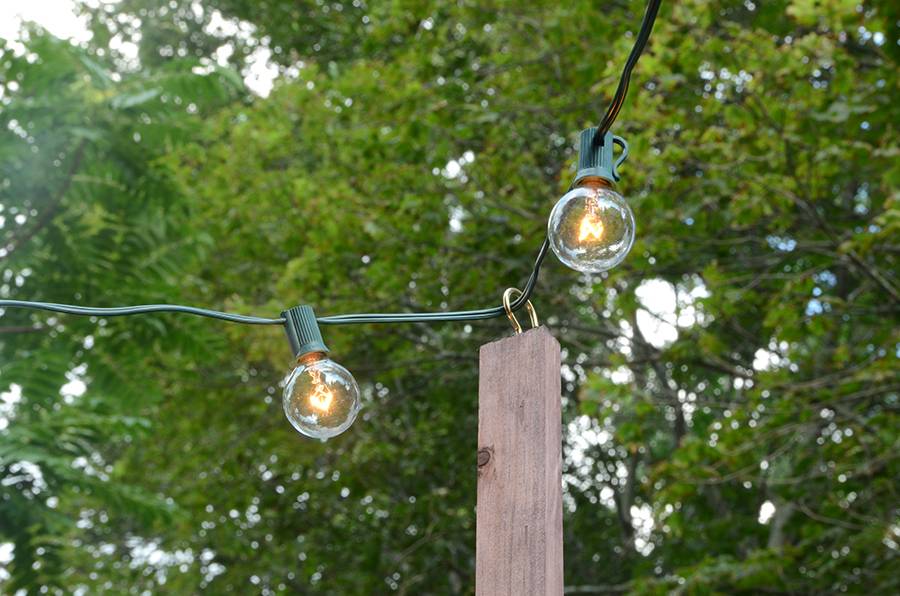
The posts look very clean and contemporary, while the stained wood gives them just a hint of that rustic appeal that looks so pretty on a patio.
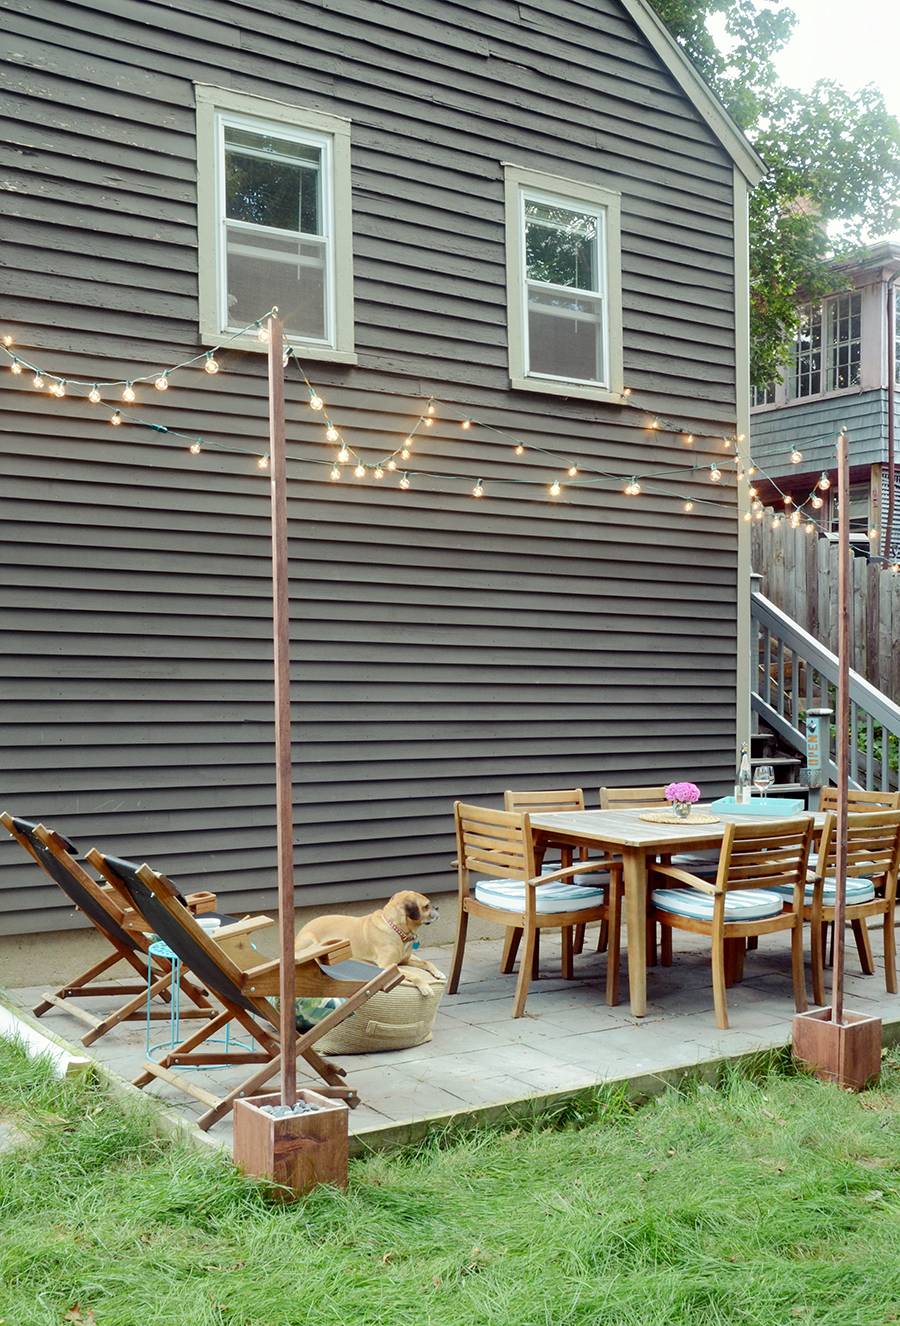
My dog Charlie seems to like them too!
Whoa, Faith! You totally nailed it. Awesome job 🙂
Thanks so much @chrisjob! I’m loving the way it turned out 🙂
Future #backyardgoals! I love the look out outside lights, too. So calming.
Thanks @Cara! Yes they do lend a relaxing vibe 🙂
Hi, I’m wondering how many pounds of concrete you used for each box. The Quickcrete buckets seem to come in different sizes. Hoping to try this out soon! Thanks!