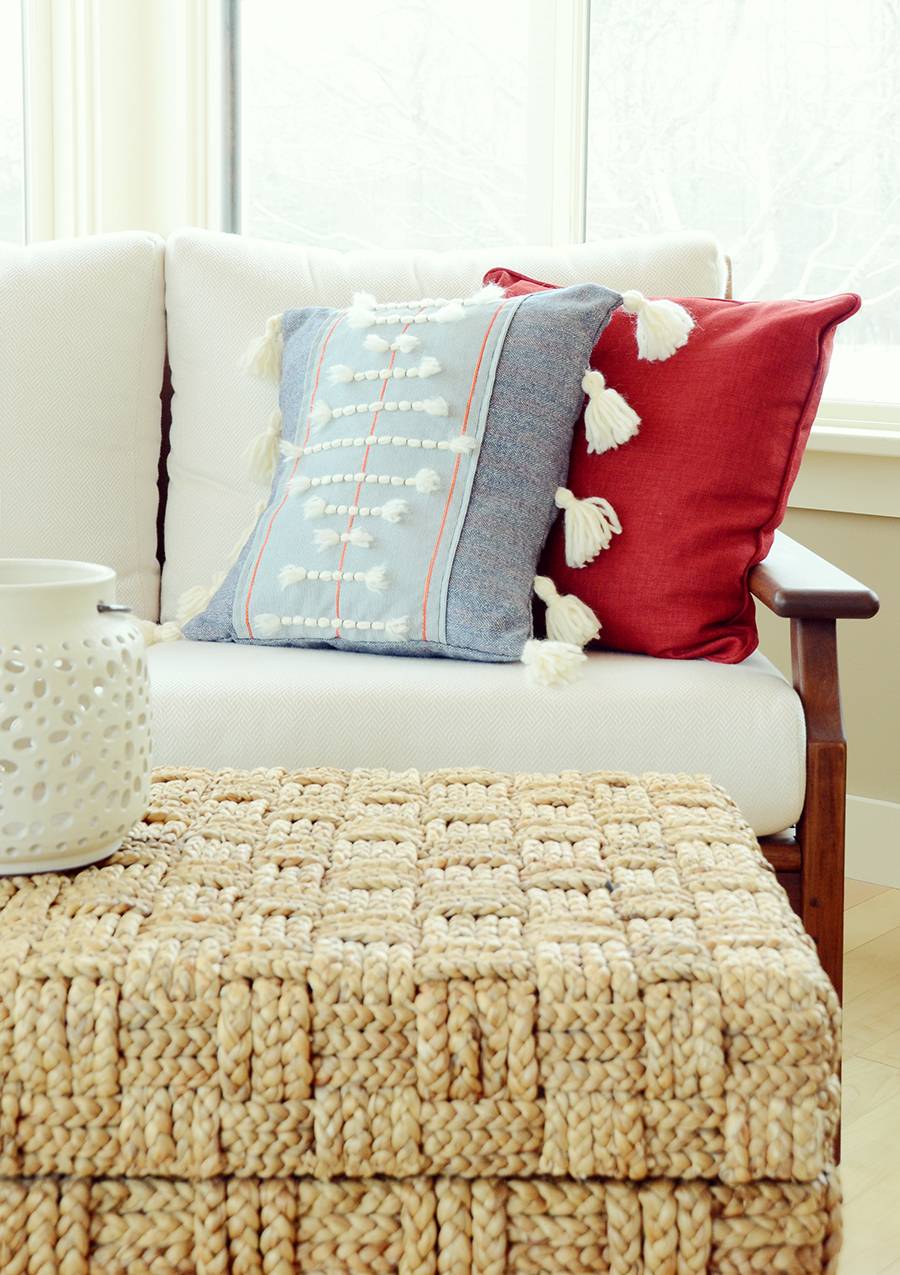
Every time I wander through Anthropologie, I leave wishing I could have bought everything in the store. And lately they’ve been selling these gorgeous eclectic throw pillows with beautiful textural embellishments… but of course they’re a bit on the pricey side. So I decided to try my hand at making my own simplified version. Click through to check out the full tutorial for these DIY Anthropologie throw pillows!
For reference, here’s the original Anthropologie pillow that inspired me to do this project:
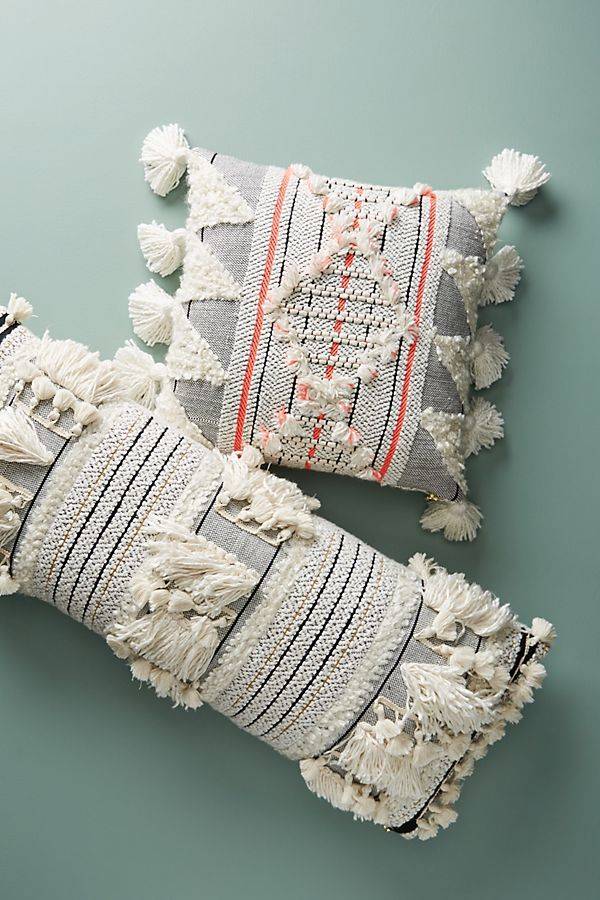
Photo: Anthropologie
Mine is less complex, but it still has that fun bohemian vibe that I loved about the original. And it didn’t cost $88! So let’s get started.
How to Make DIY Anthropologie throw pillows
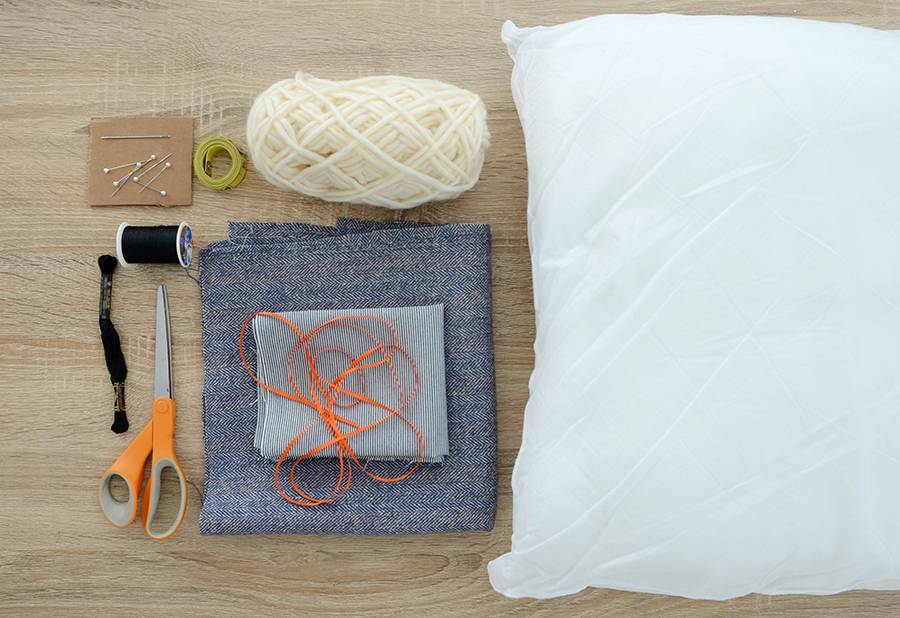
Materials
- 17 x 17 inch pillow insert
- 18 x 18 inch piece of dark blue fabric
- (2) 18 x 15 inch pieces of dark blue fabric
- 18 x 11 inch piece of lighter blue striped fabric
- 1.5 yards of orange ribbon
- Thick cream colored yarn
- Scissors
- Black embroidery floss
- Black and orange thread
- 4×4 inch piece of cardboard
- Pins
- Embroidery needle
- Measuring tape
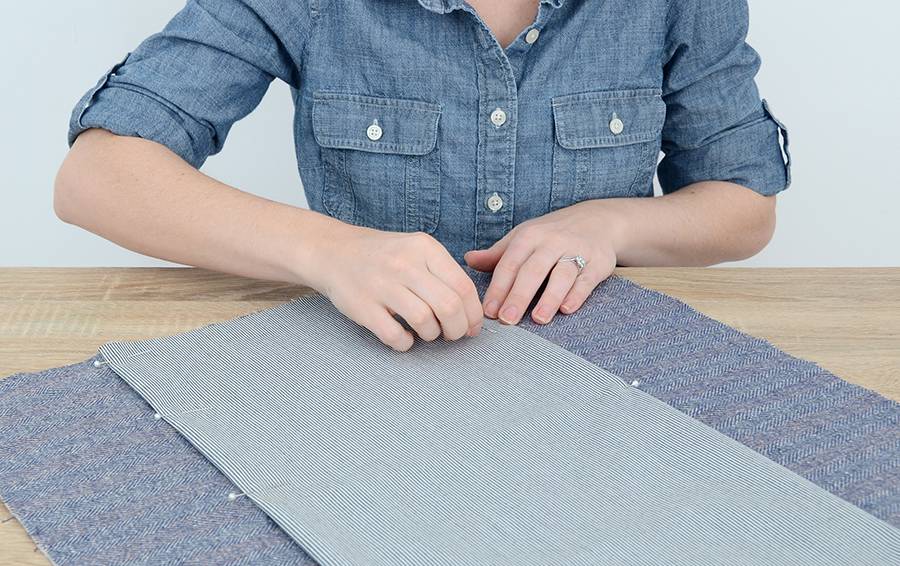
Photo: Faith Towers Provencher
Step
We’ll begin by making the front panel of the throw pillow. Center the 18 x 11 inch piece of lighter blue striped fabric on the front of the 18 x 18 inch piece of dark blue fabric. Fold the edges over by a half an inch and pin them down, as shown above. Sew along those edges with a 3/8 inch seam allowance.
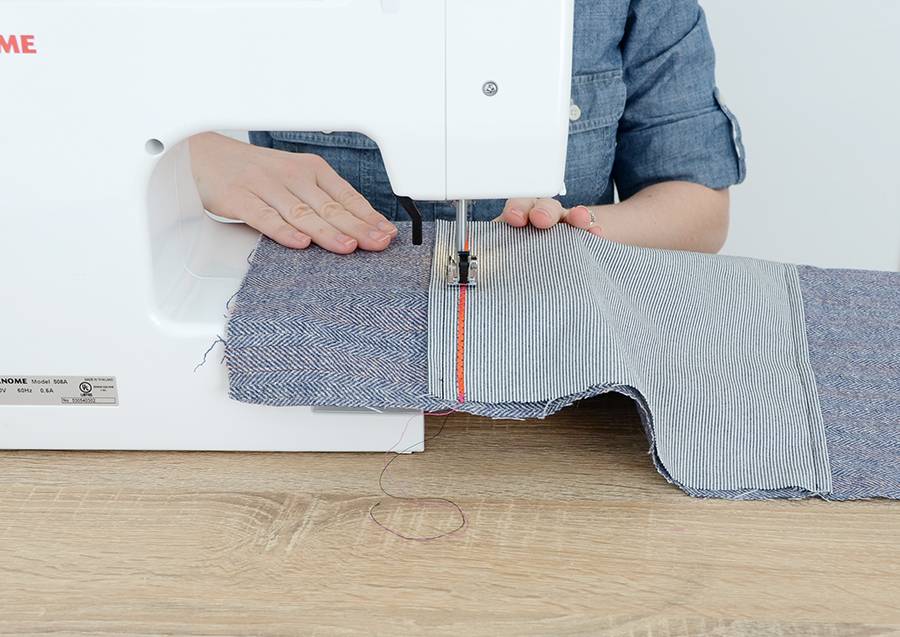
Photo: Faith Towers Provencher
Step
Next, cut the orange ribbon into three pieces of equal length. Place the first one 1 inch from the edge of the lighter blue fabric panel and sew down the length of it using orange thread and a zig zag stitch. Repeat the process on the other side of the panel and right down the middle as well, using the two remaining pieces of ribbon.
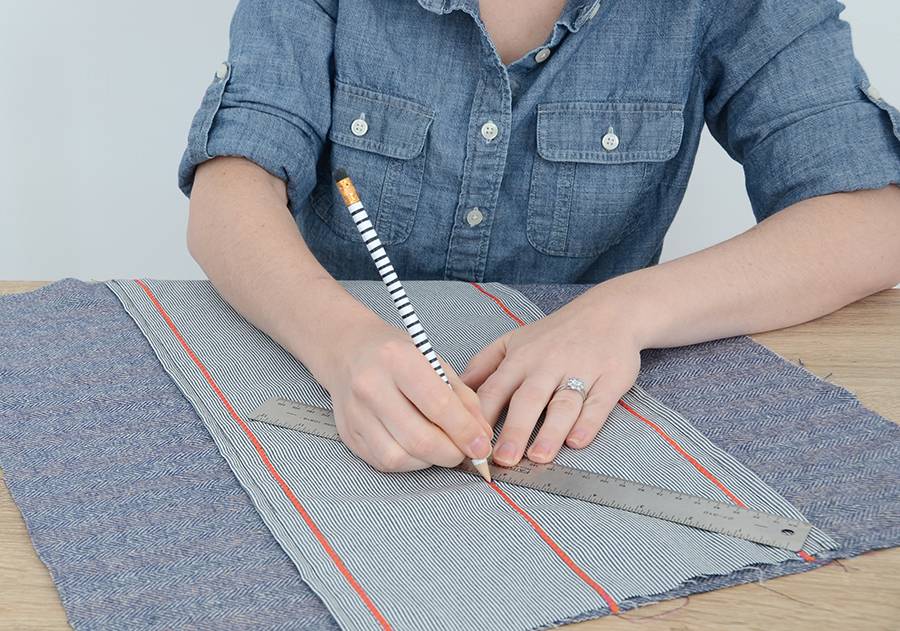
Photo: Faith Towers Provencher
Step
Next, use a straight edge and a pencil to mark off the locations for some of the yarn strips. Mark the center of the orange ribbon one the right, then place the ruler from that point to the top of the opposite ribbon on the left side, and mark the spot where the ruler crosses over the middle ribbon. Do the same on the bottom. Mark the center of the left ribbon as well.
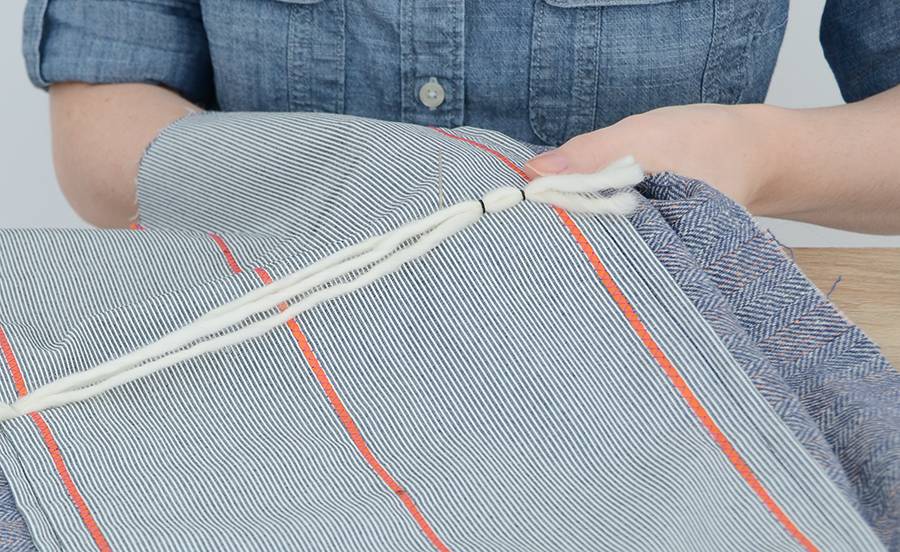
Photo: Faith Towers Provencher
Step
Now it’s time to begin sewing on the yarn strips. Begin with the longest strip, in the center of the panel at the pencil marks. Cut three pieces of yarn that are 12 inches long and pin them on either end so they are positioned across the center of the pillow from the center of the left ribbon to the center of the right ribbon. Thread the embroidery needle with a piece of black embroidery floss, knot the end and begin sewing the yarn to the panel by bringing the needle up and over the yarn using vertical stitches. Tie off the end on the back side.
Step
Next, attach a short strip of yarn to spot where you made a pencil mark on the middle ribbon. You’ll only need two embroidery floss stitches for this one. Make another one of these same small strips on the other pencil mark opposite that one on the middle ribbon.
Then fill in the space in between the strips with additional strips in ascending and descending lengths. Check out the final images for visual reference.
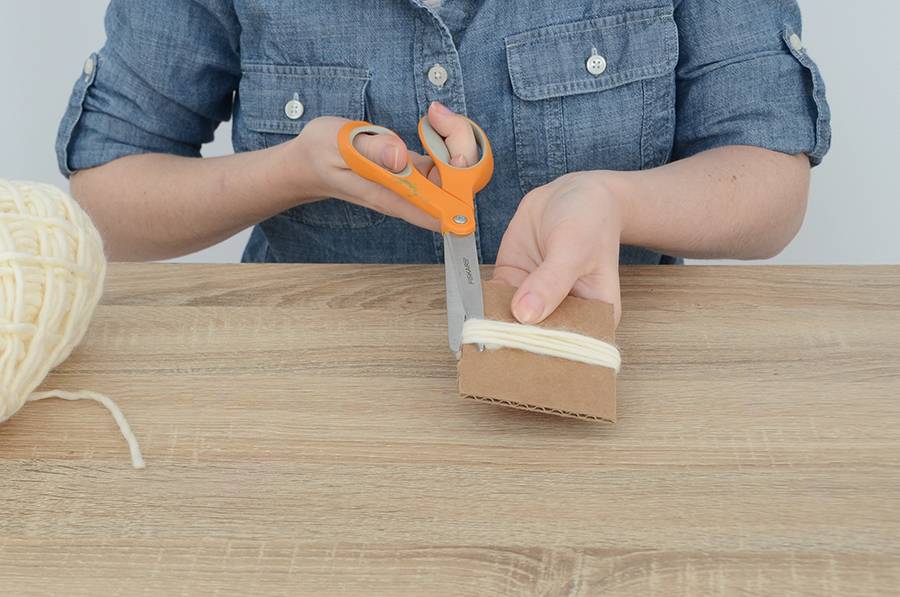
Photo: Faith Towers Provencher
Step
Now it’s time to create the tassels for the sides of the pillow. Wrap yarn around the cardboard 12 times and then cut it on one side. Lay them out on your work surface.
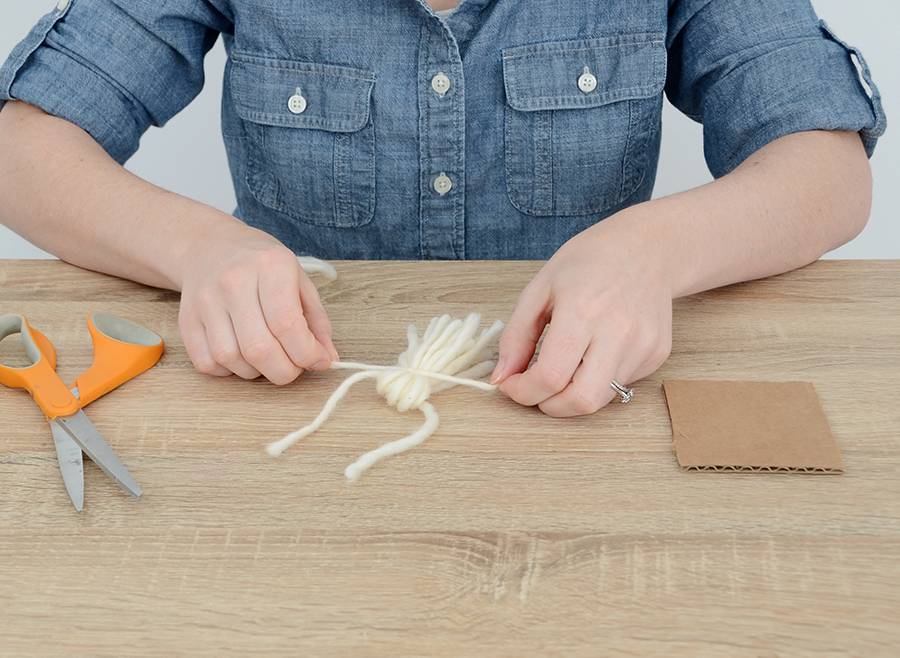
Photo: Faith Towers Provencher
Step
Cut a 6 inch long piece and place it perpendicularly across the 12 pieces you just cut. Fold those in half over the single piece and tie a 12 inch long piece around the folded top area as shown above. Wrap the tail around a couple of times and tie a double knot. Finish the tassel by knotting the 6 inch piece by the top folded edge of the tassel. Repeat this 10 times.
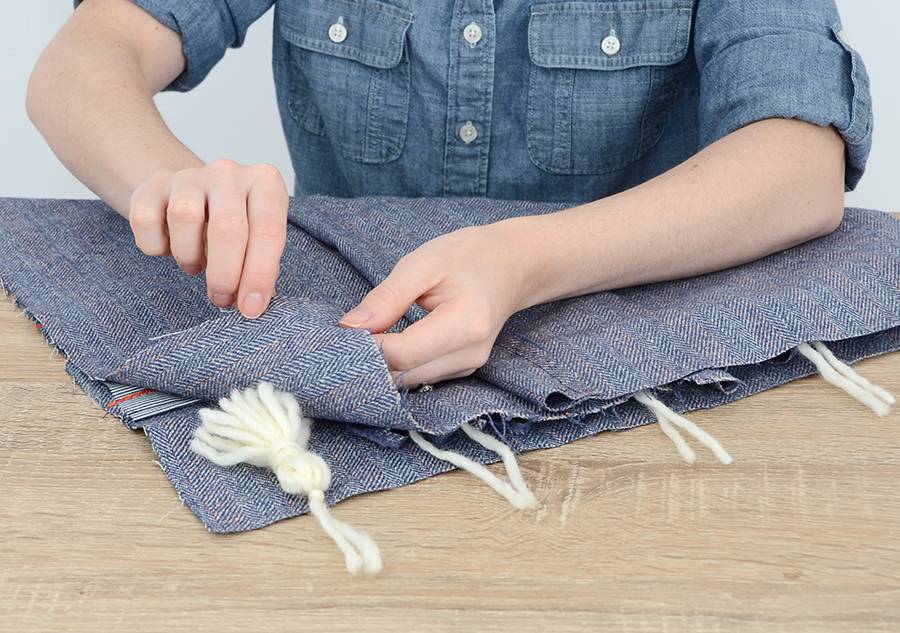
Photo: Faith Towers Provencher
Step
For the back panels, simply fold an 18 inch edge over and hem with a 1 inch seam allowance. Do this on both pieces.
The last step is to assemble the pillow. Lay the front panel down face up on your work surface. Next, place 5 tassels on each side, evenly spaced. The tassels themselves should be in between the fabric, with the tails sticking out. Then place the two back panels face down on top. Pin the edges, and sew around the perimeter with a 1/2 inch seam allowance. The goal is to sew over the tassels right where the top knots are. Be sure not to catch the tassel tails in the seams on the corners.
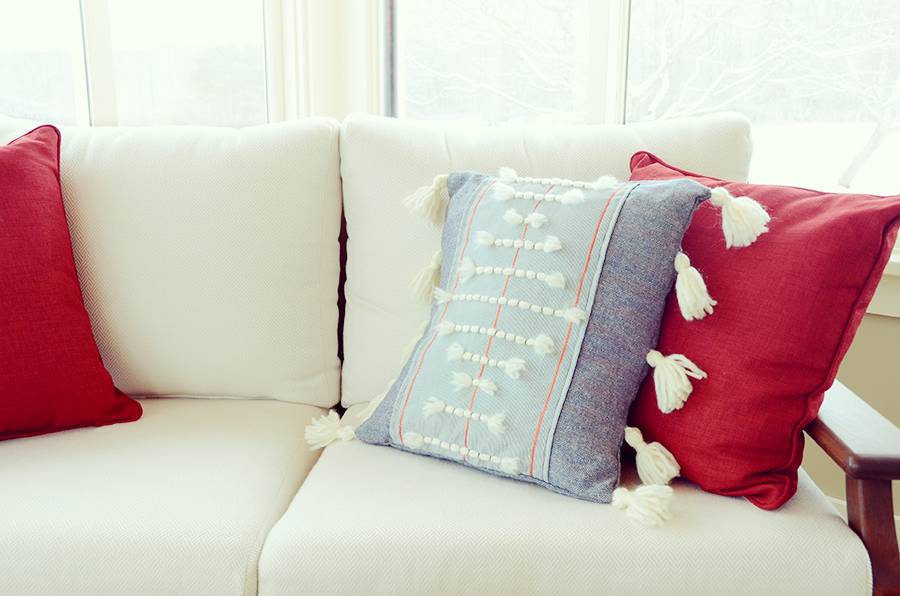
Photo: Faith Towers Provencher
Step
Turn it right side out and stuff your pillow insert inside. Trim the tassels and the ends of the yarn strips so that everything is uniform.
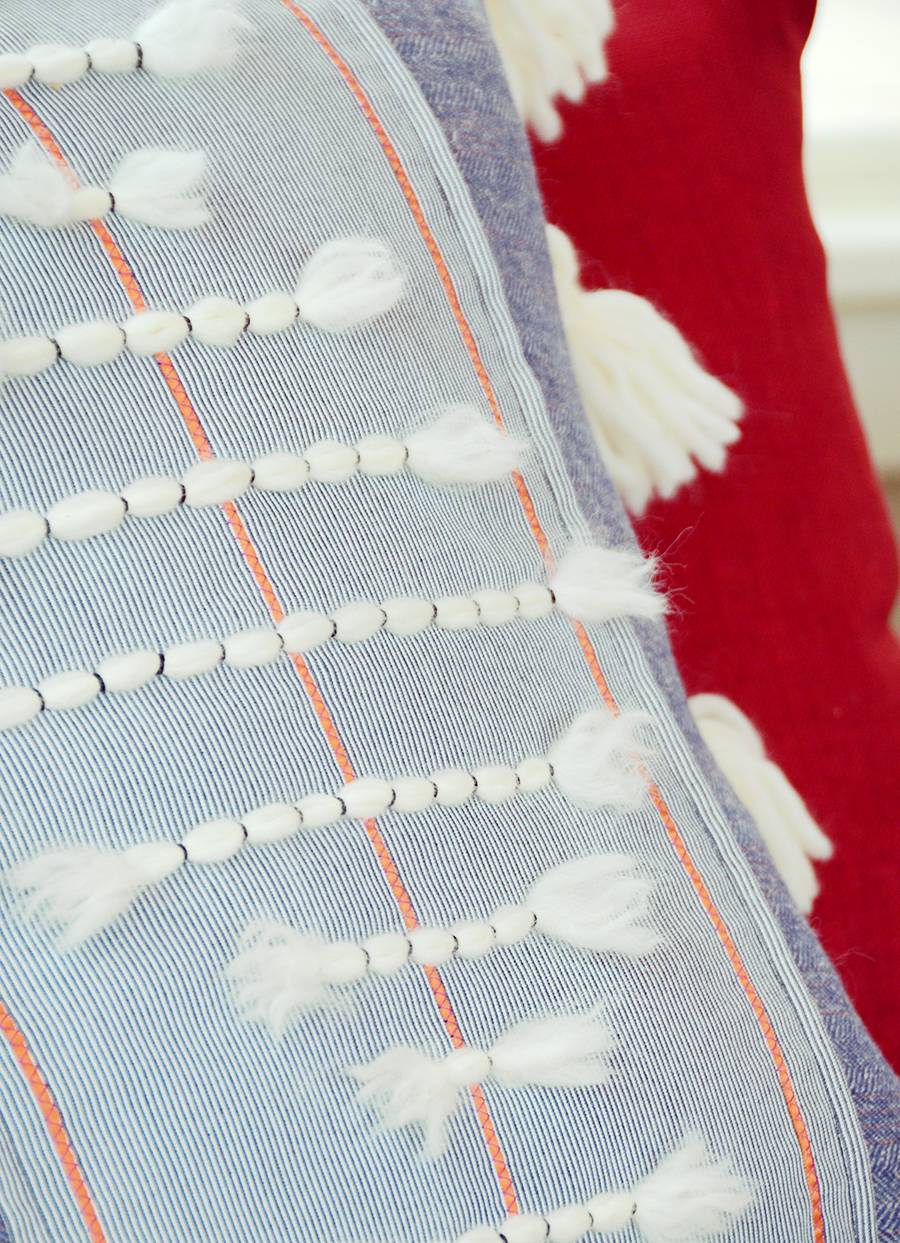
Photo: Faith Towers Provencher
The final result is unique and a bit quirky, with a playful vibe thanks to the tassels.
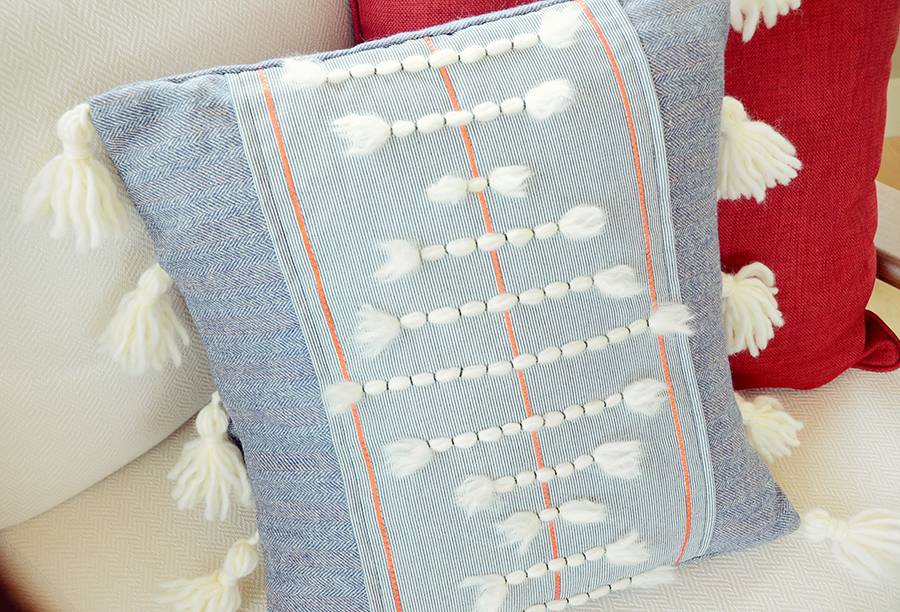
Photo: Faith Towers Provencher
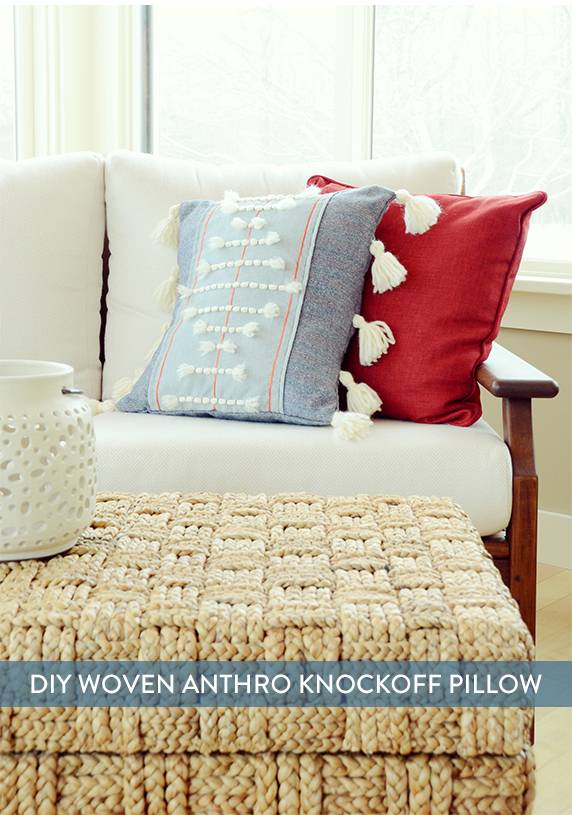
And your wallet will be happy that you didn’t spend $88! Feel free to experiment with the fabrics and colors too… the sky’s the limit!
Share this post on Pinterest! [Photo: Faith Towers Provencher]
If you’re looking for more great sewing projects, check out this collection of Simple Sewing Projects for All Skill Levels.
