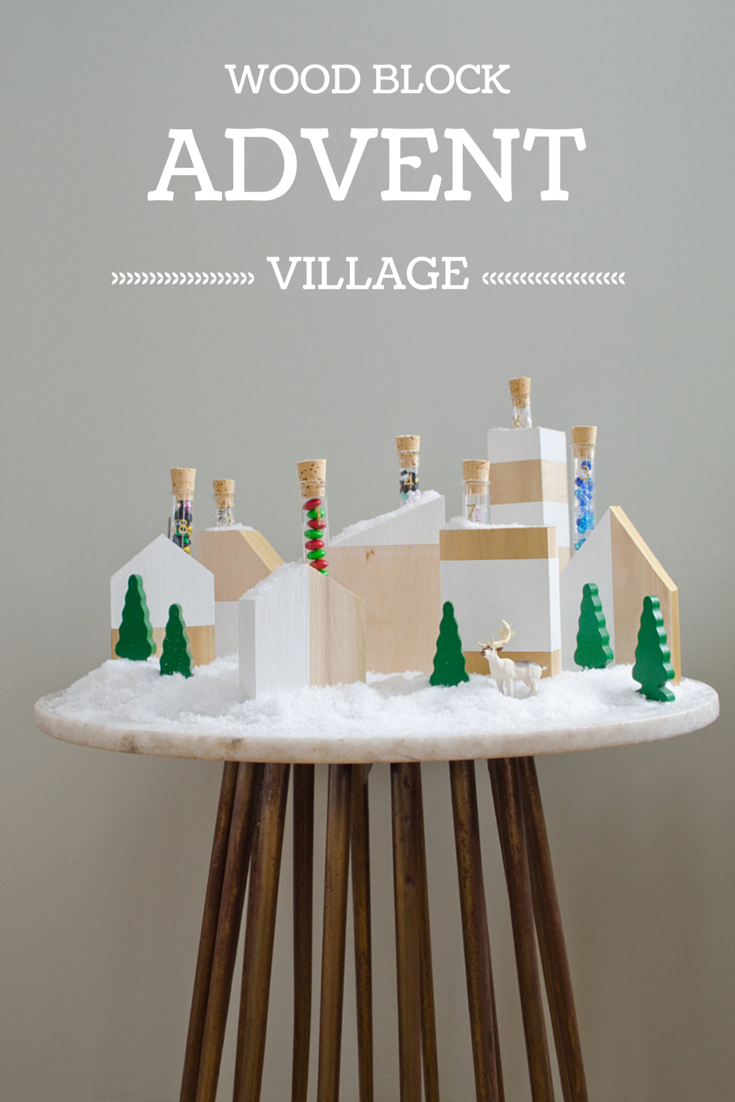
It’s advent calendar time! As I write this post, the Midwest is being walloped by a snow storm. Nothing inspires holiday decorating like many inches of snow, and to stave off decking all the halls, I created a little diy advent calendar village for our children. Read on for the full tutorial.
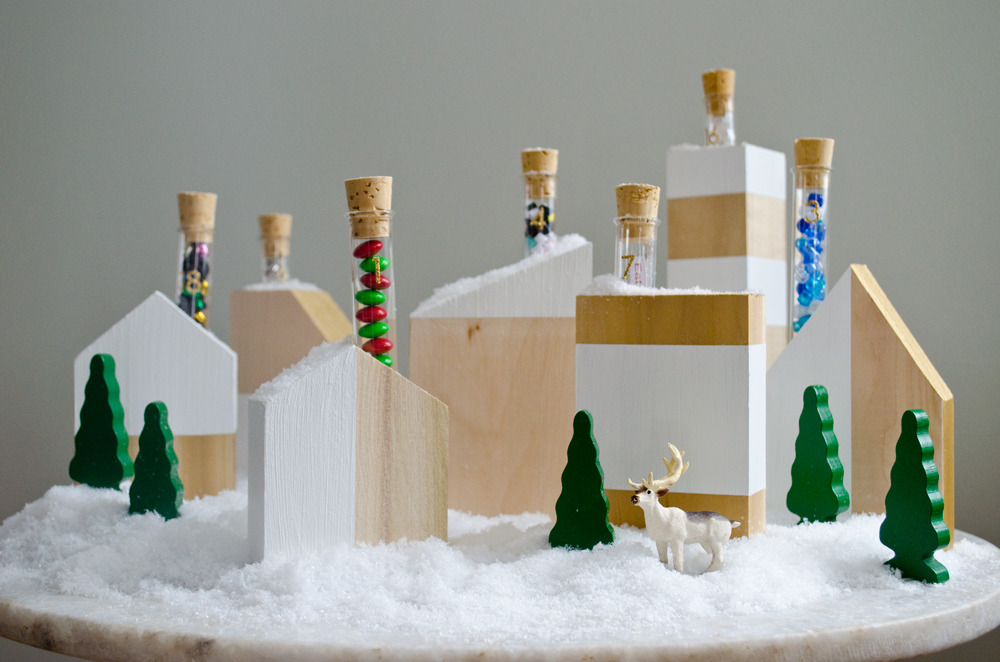
Using blocks of wood and test tubes, I assembled a village full of tiny treasures to help our family celebrate the season. The great thing about using test tubes is that it ensures each day’s surprise is small.
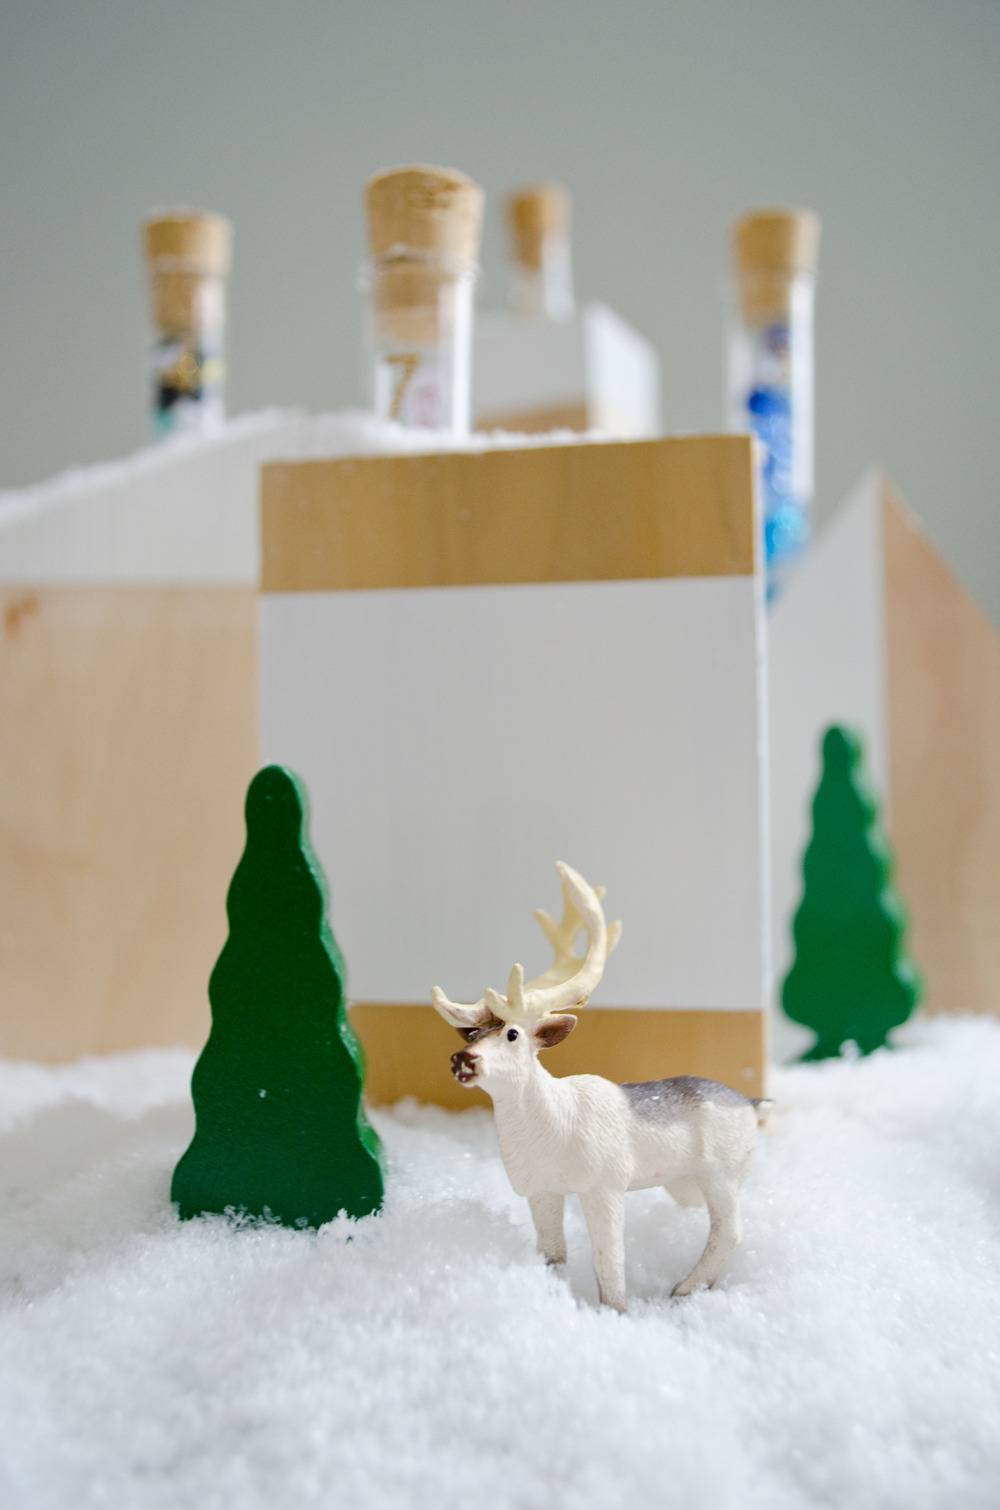
Creating your own diy advent calendar village is simple. We originally created 24 houses for this project, but the result was overwhelming, so we scaled back to a set of seven houses (to represent each week leading up to Christmas).


Materials
- Wood: We used Basswood carving blocks.
- 24 Test Tubes + Cork Stoppers
- Drill + 3/4″ Forstner Bit
- Miter Saw
- Acrylic Paint: We used gold and white.
- A set of number stickers.
- Tiny treats to fill your tiny test tubes.
Make Your DIY Advent Calendar:
- Cut your wood to size. Our houses ranged in size from 3.5″ to 6″ tall, and were about 2″ thick.
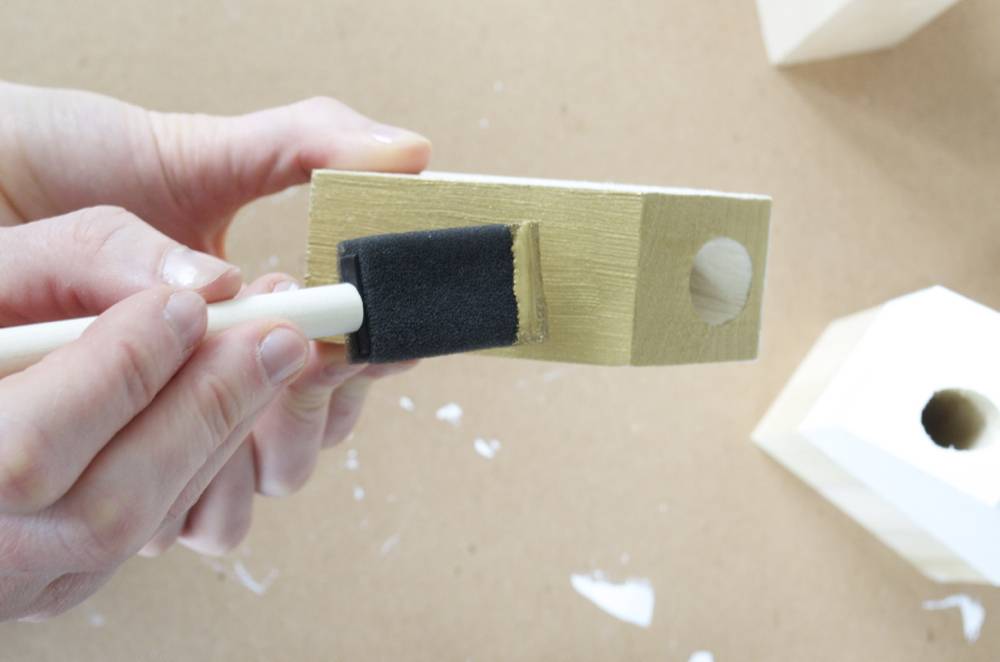
- Drill your holes into the blocks of wood. We used a 3/4″ bit. It’s important to drill the holes before you create your angled roofs because it’s much easier to keep your holes plumb this way.
- Cut angled roofs on your houses. I think it works best to create a variety of peaks, slants, angles. Because, you know, houses come in all shapes and sizes.
- Lightly sand your houses.
- Using painter’s tape, mark off the areas you’d like to paint on each house.
- Paint your houses. We used white paint on the faces of the houses and gold paint on the rooftops.
- Fill your test tubes and place them in their homes!

I used a variety of small treats to fill my tubes, and I’ll share some of my favorites with you because it was a challenge to find goodies small enough to fit inside a standard test tube.
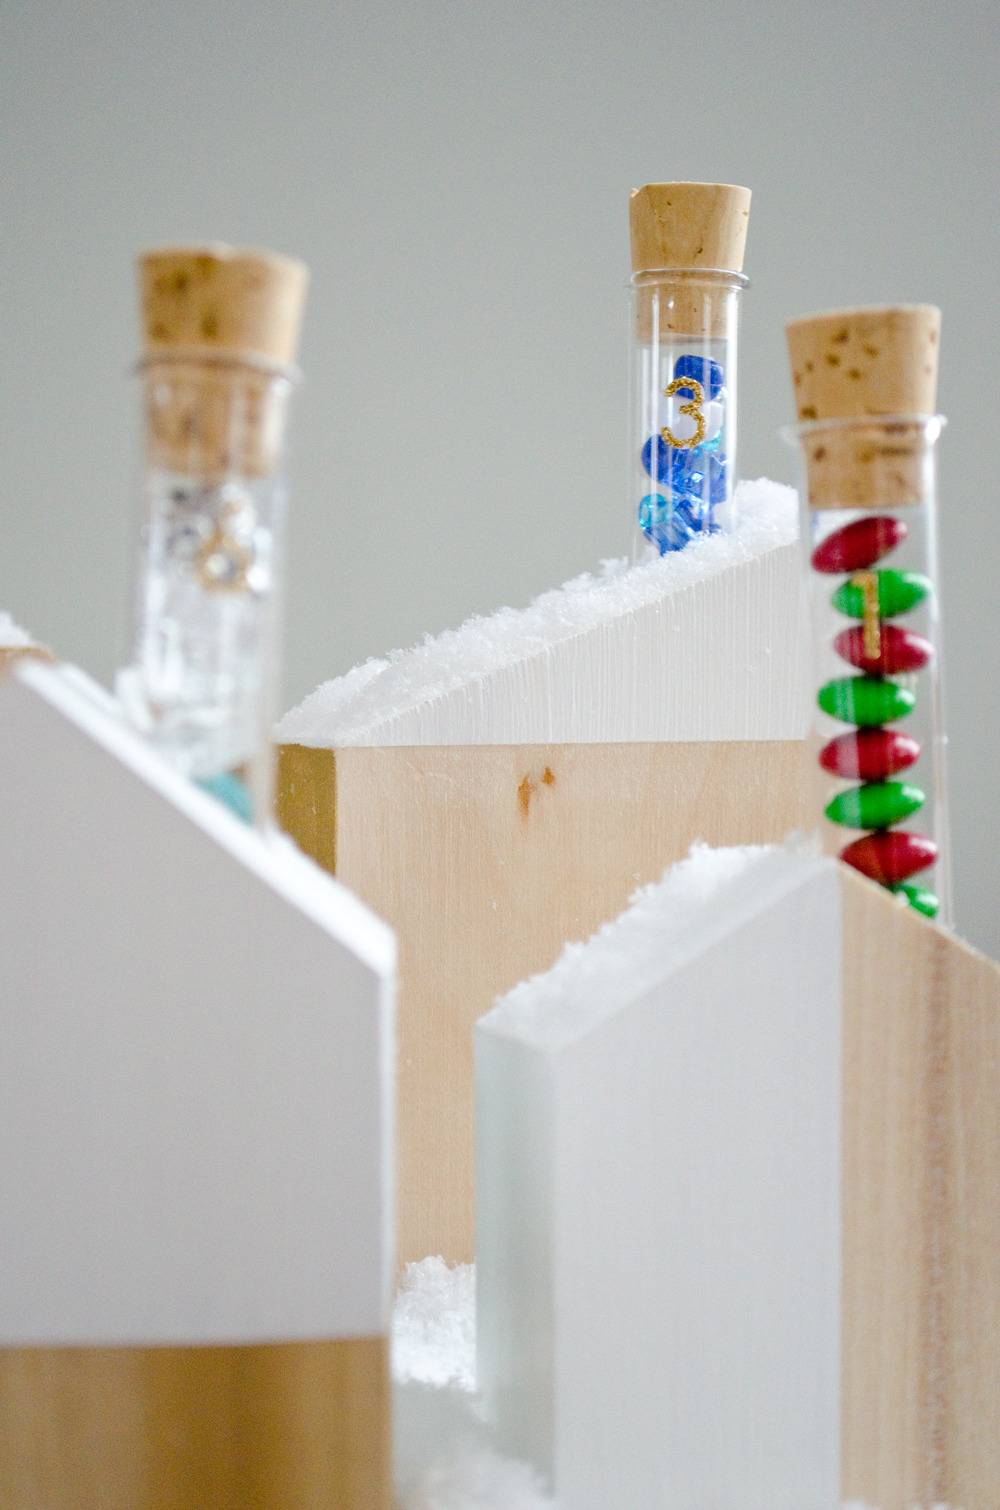

What to put in your DIY advent calendar?
- Edible Treats: Candy like M&Ms work well. Hot cocoa with marshmallows is another winner.
- Crafts: I filled many tubes with beads and ribbons that came in $1 craft store sets. Some of these sets were too big to fit the test tube, so I placed only a part of them in the test tube (e.g. mini colored pencils).
- Notes: In a few tubes, I placed a note indicating a special thing we’d do together as a family (e.g. “Bake cookies.”, “Wrap presents.”, “Take an evening drive to look at holiday lights.”). Notes are also a great way to incorporate a service component into your calendar (e.g. “Shop for gifts for children and donate them to Toys for Tots”). I filled the tubes containing notes with confetti to make them more festive.

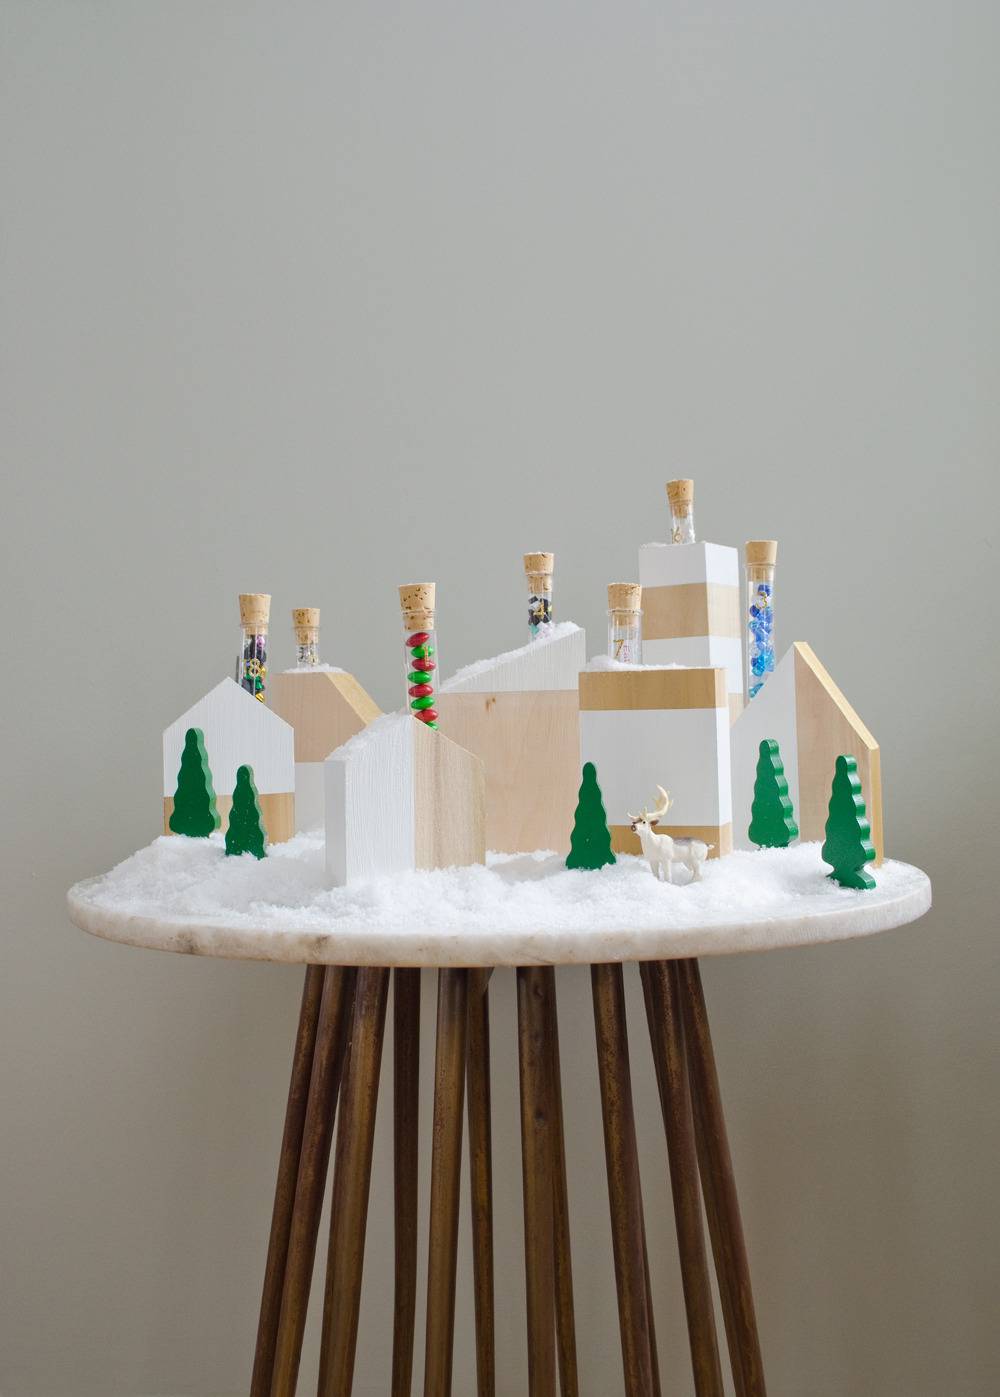
The final result is a sweet village to help us count down the days until Christmas.
If you like this how-to, do us a favor and share it on Pinterest:
This is ADORABLE.
Thanks, Capree!
I love this, such a sweet idea. Thank you for sharing!