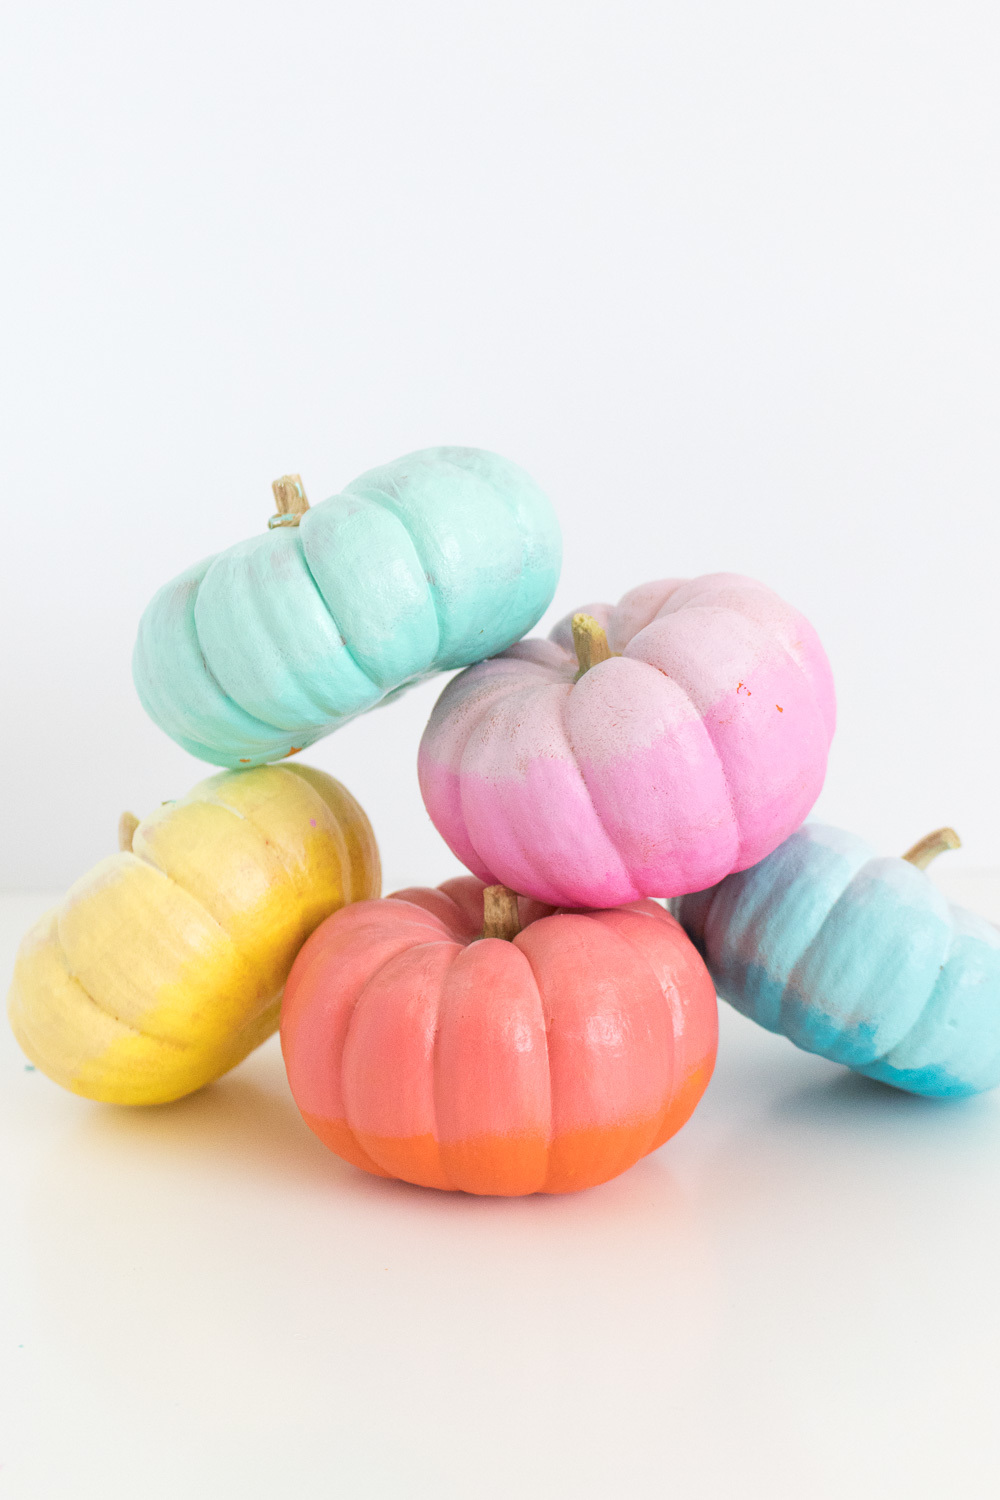
I’m all about that ombre look, so why not bring it into your fall decor and maybe even change up the color scheme this season? Rather than sticking to a traditional red, yellow, orange and brown pallette this season, you can bring in brighter versions as well as colors like pink, peach and coral. These cute, effortless mini ombre pumpkins are fun to make and decorate your home for fall.
Creating an ombre effect is easier than you’d think, and the key to achieving it on something small like a pumpkin is a sponge brush. After mixing varying shades of colors and applying it to the pumpkin, you use a sponge to blend them together to make the colors appear gradually lighter. When in doubt, a little white paint will help you create lighter and lighter versions of any color if you don’t have separate bottles of paint for each one.
Materials
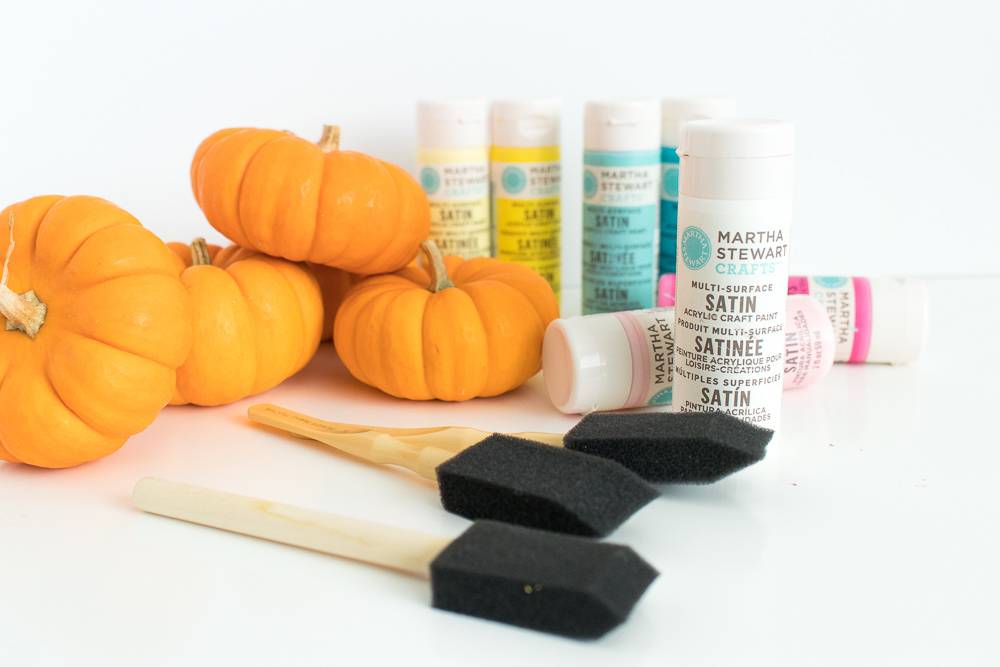
- Mini pumpkins, real or fake
- White acrylic paint
- Colored acrylic paint
- Sponge brushes
Step
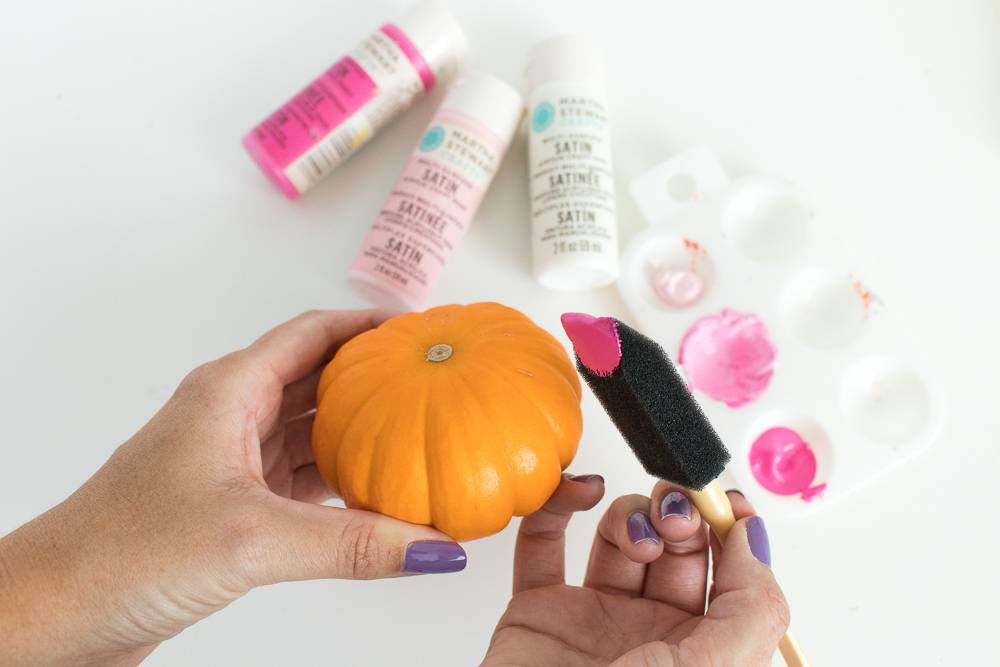
Mix the colors if needed. If you do not have bottles of three desired ombre colors, add several drops of white paint and mix to create a medium shade, then add more white paint to create a very light shade.
Step
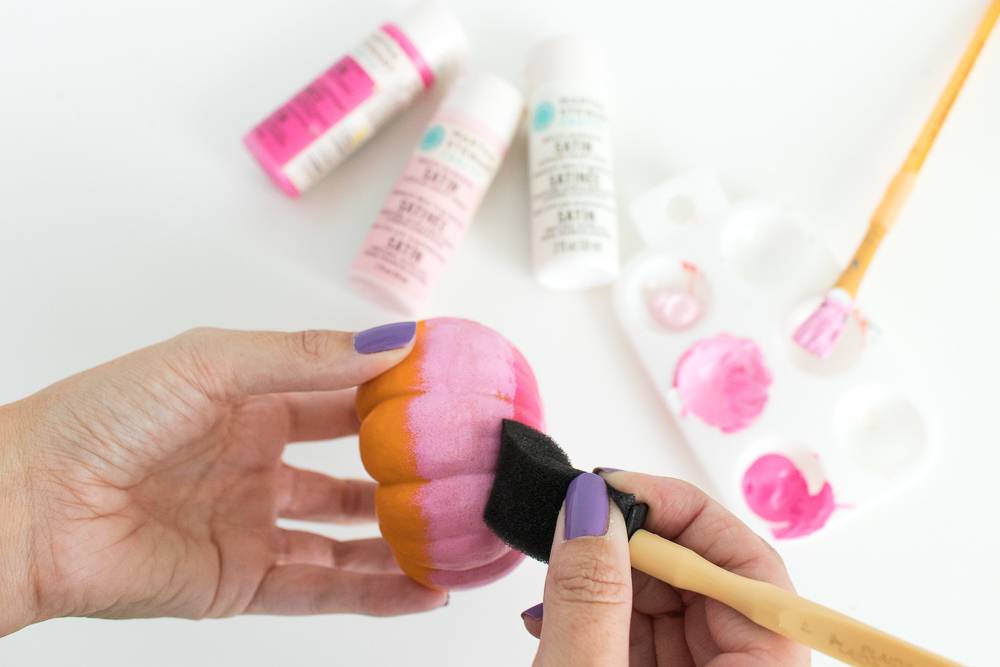
Apply the darkest color to the bottom third of the pumpkin. Because you will blend it, it does not have to be perfectly straight or even.
Step
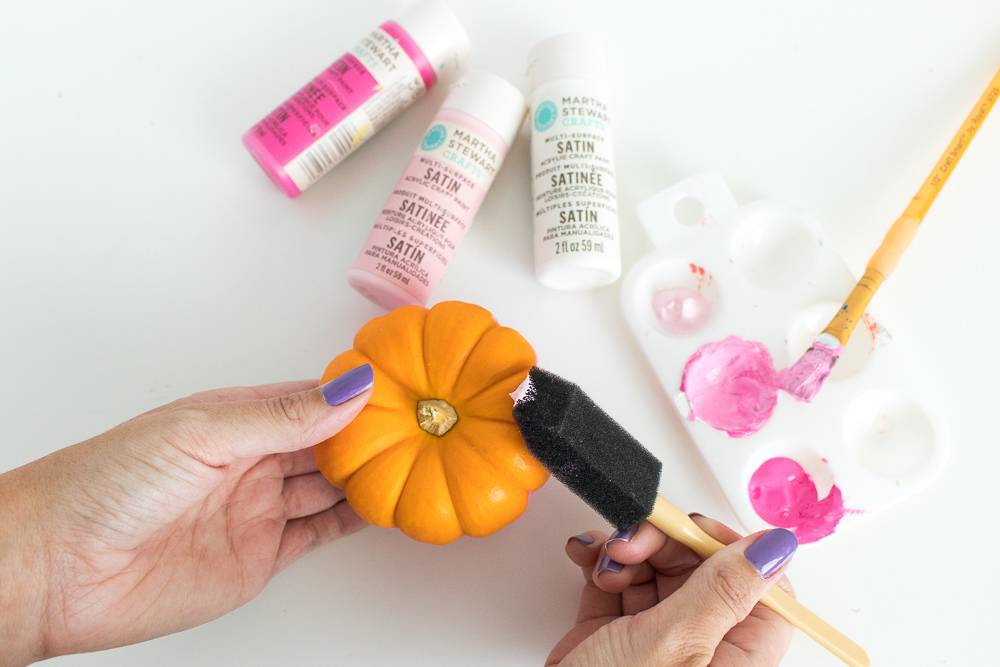
Apply the medium shade next and use the sponge to blend the two colors where they meet, applying more paint if needed to blend and make the colors appear gradient.
Note, at this point, you’ll want to leave the pumpkin upside down to dry before painting the last layer.
Step
Apply the lightest shade to the top third of the pumpkin, repeating the blending technique where it meets the medium shade. Paint stem if desired or leave unpainted, and set aside to finish drying.
For best results, you can finish the pumpkins with a clear sealant spray to prevent paint from chipping, but this is optional.
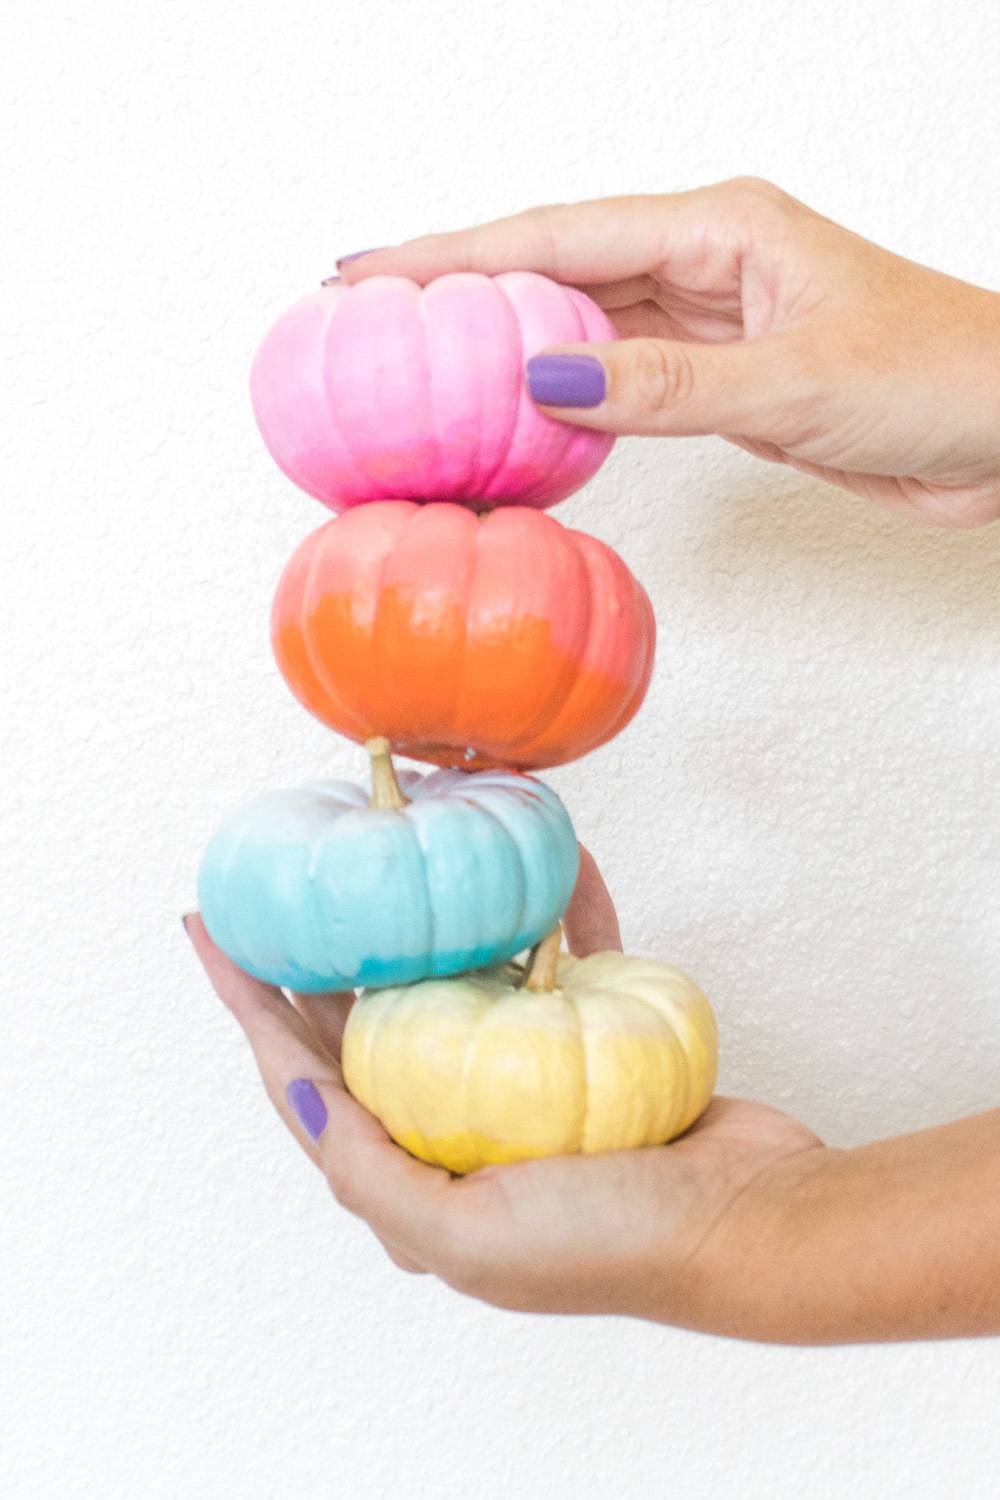
Display these colorful mini ombre pumpkins in your home, and even group them together on your table to create a colorful fall centerpiece. Cute!
