
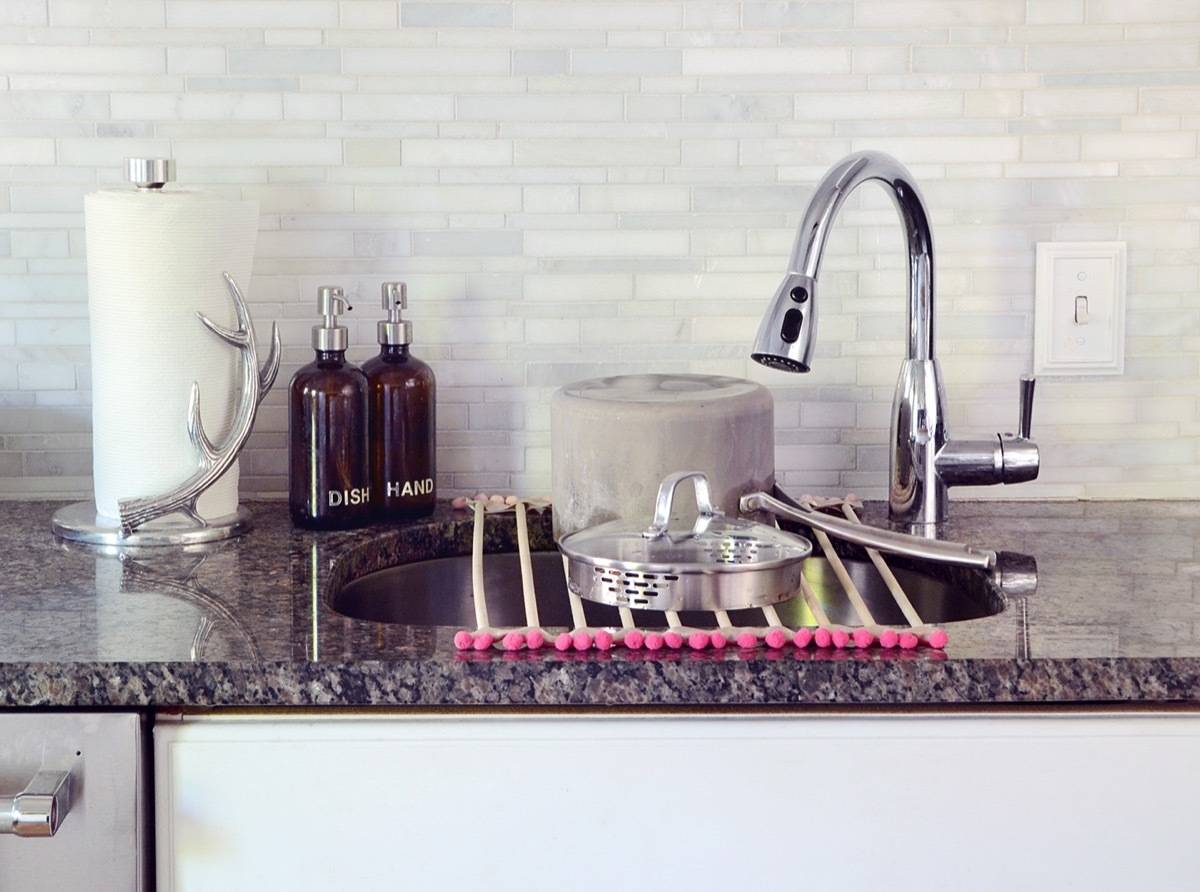
Dish drying racks that sit on your counter can be bulky and unattractive and if you have a dishwasher, you probably don’t use it on a daily basis. So I got to thinking… why not create something that can be pulled out of the cabinet when you need it, but rolled up and stashed away when you don’t? Enter the over-the-sink dish draining rack.
Materials
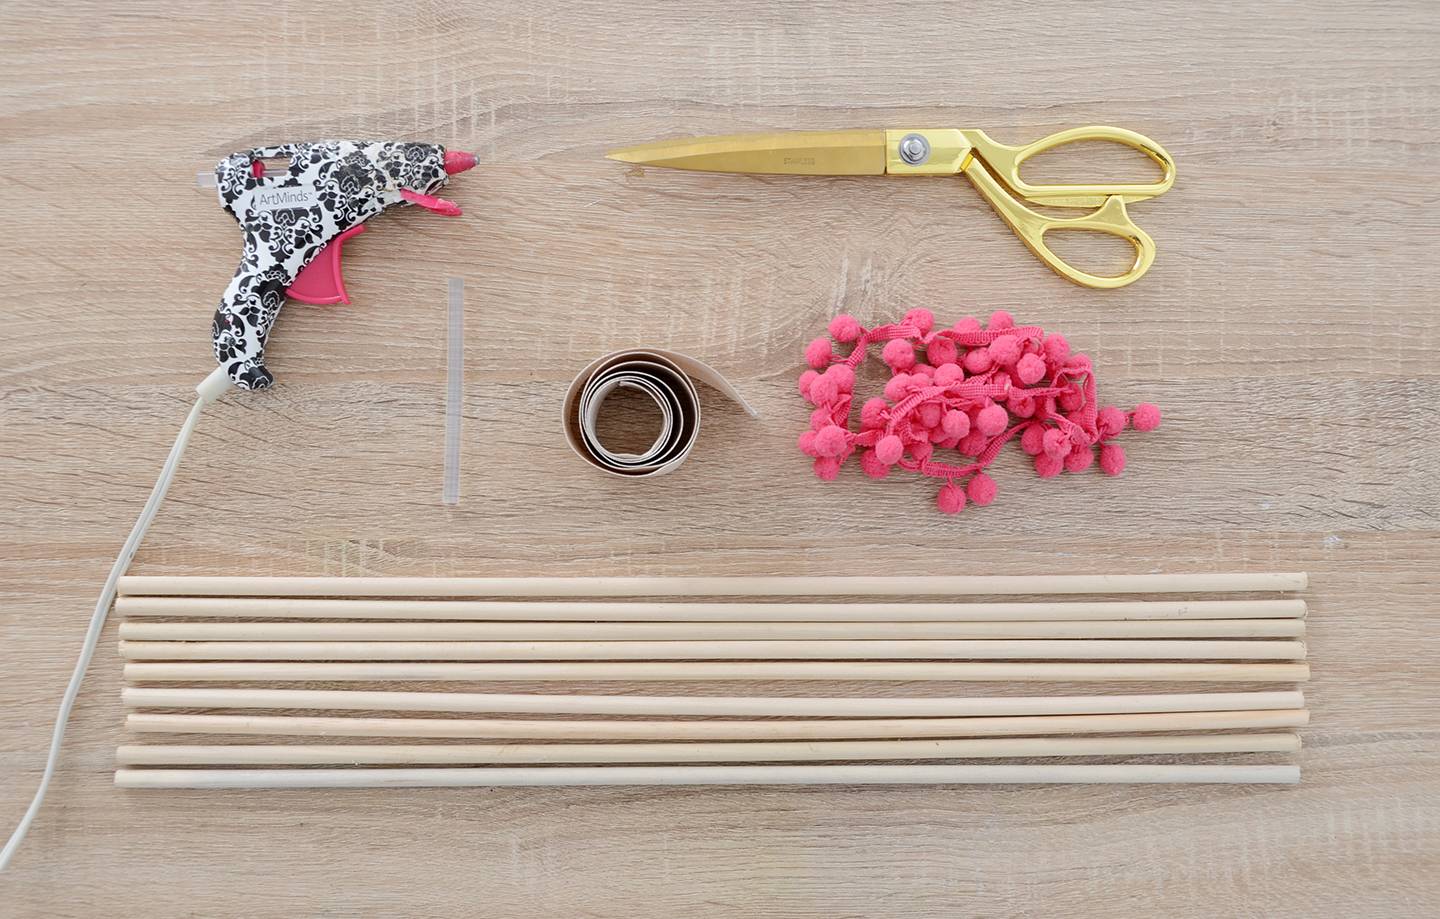
- 10 5/16 inch wooden dowel rods (length should be 4 inches longer than your sink opening)
- 1 yard of 2 inch wide ribbon
- 1 yard of pom pom trim
- Hot glue gun with extra glue
- Scissors
Step
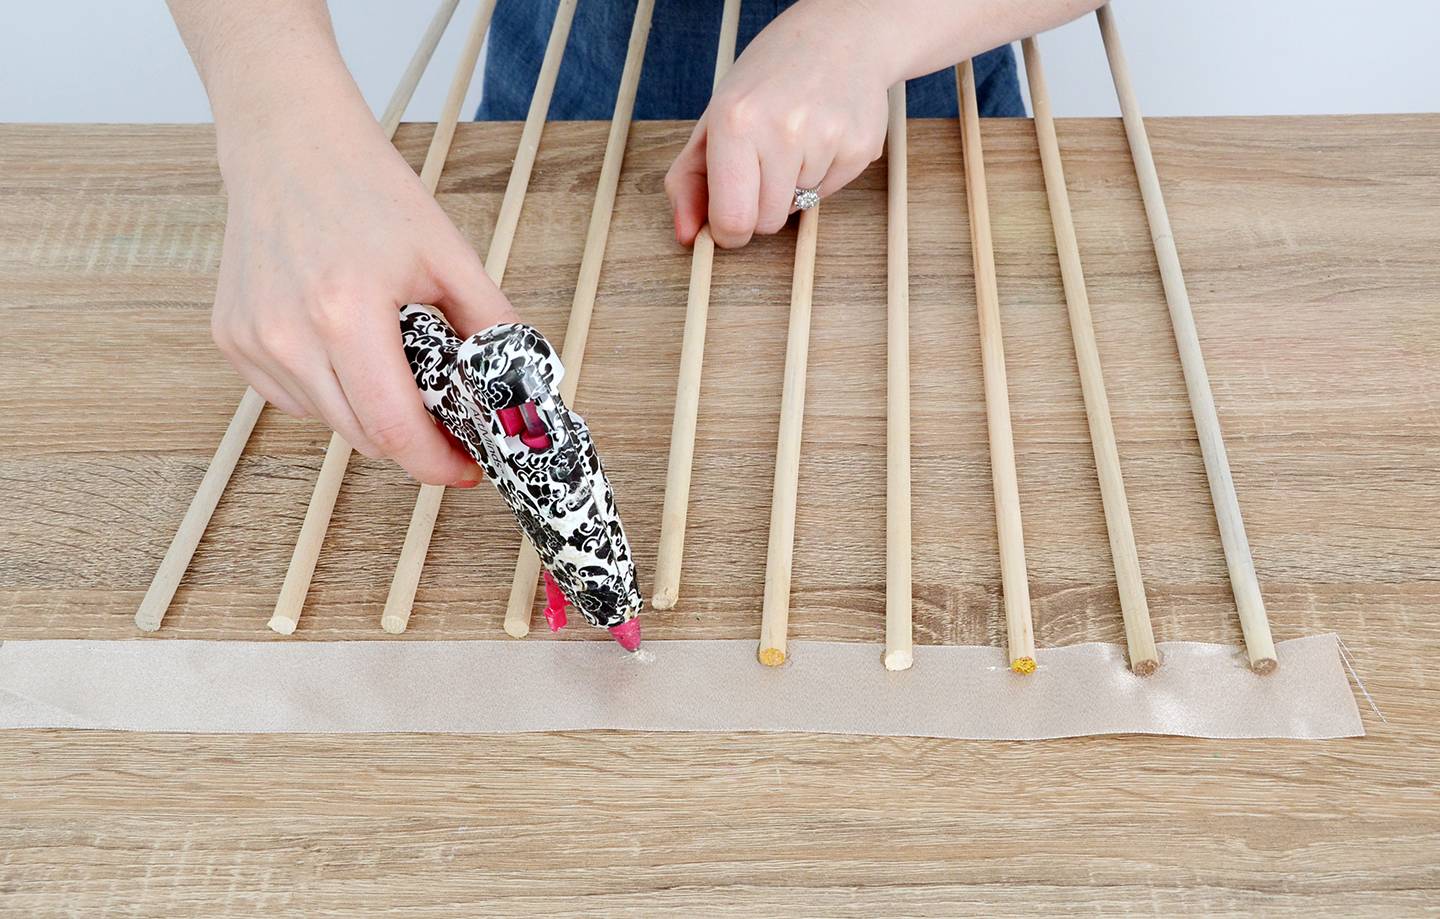
Begin by lining up your dowel rods so they are about an inch and a half apart, and set up your ribbon perpendicularly. Begin gluing the end of each dowel to the ribbon. Position them about 1/3 of the way up on the ribbon. Glue all 10 dowels in the same way.
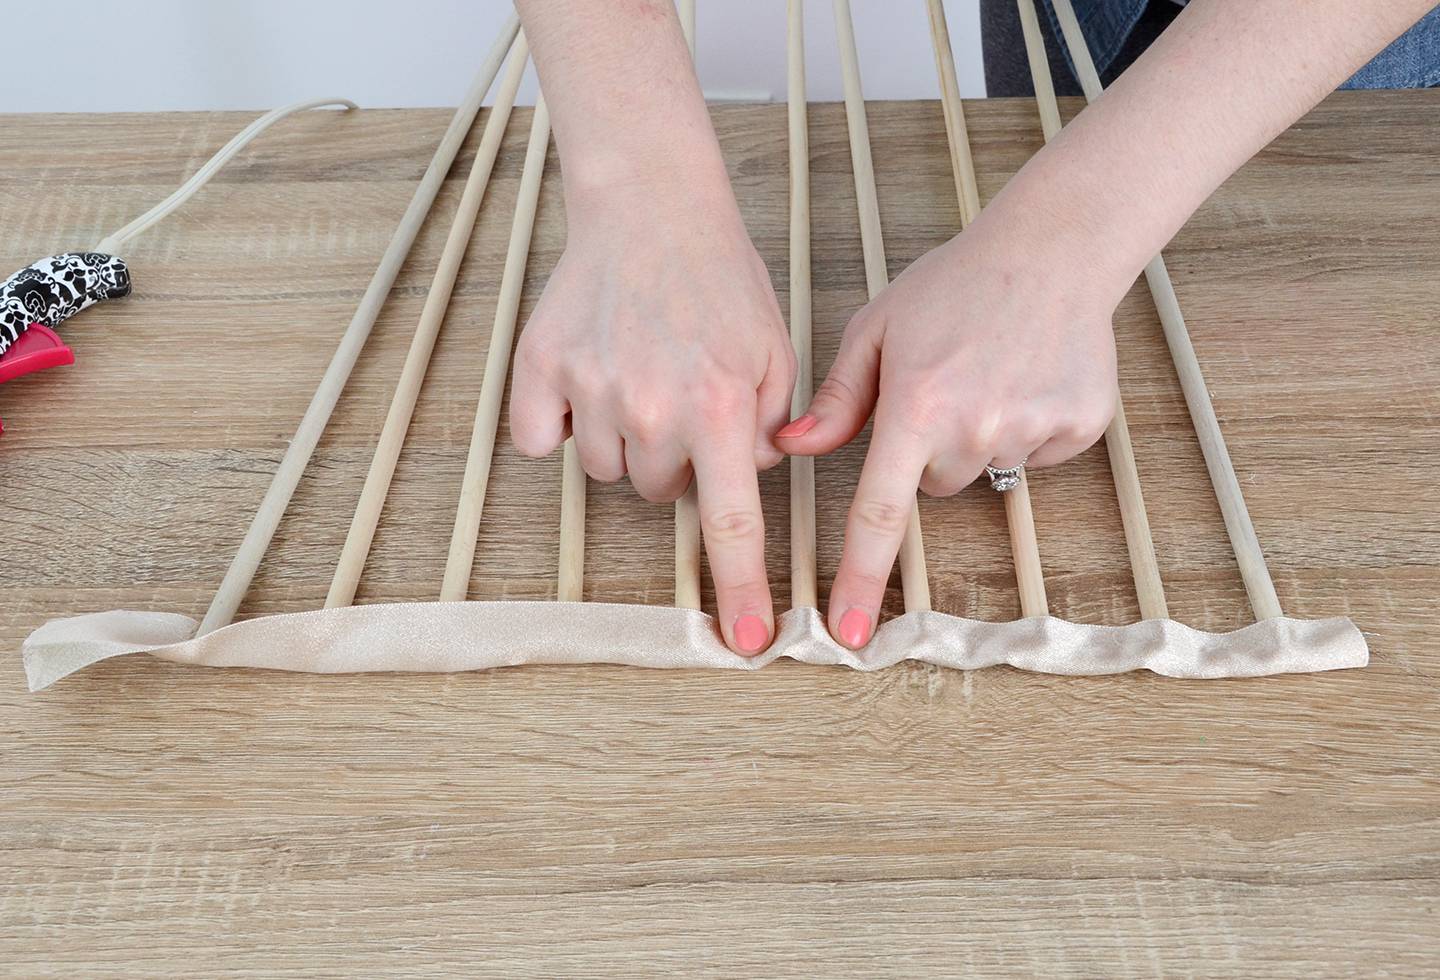
Step
Next, fold over the ribbon and attach it to the tops of the dowels with glue. Put a dot of glue on the dowel and in between each one as well. Work on a couple of dowels at a time, or else the glue will dry before you get to it. Repeat steps 1 and 2 on the other end.
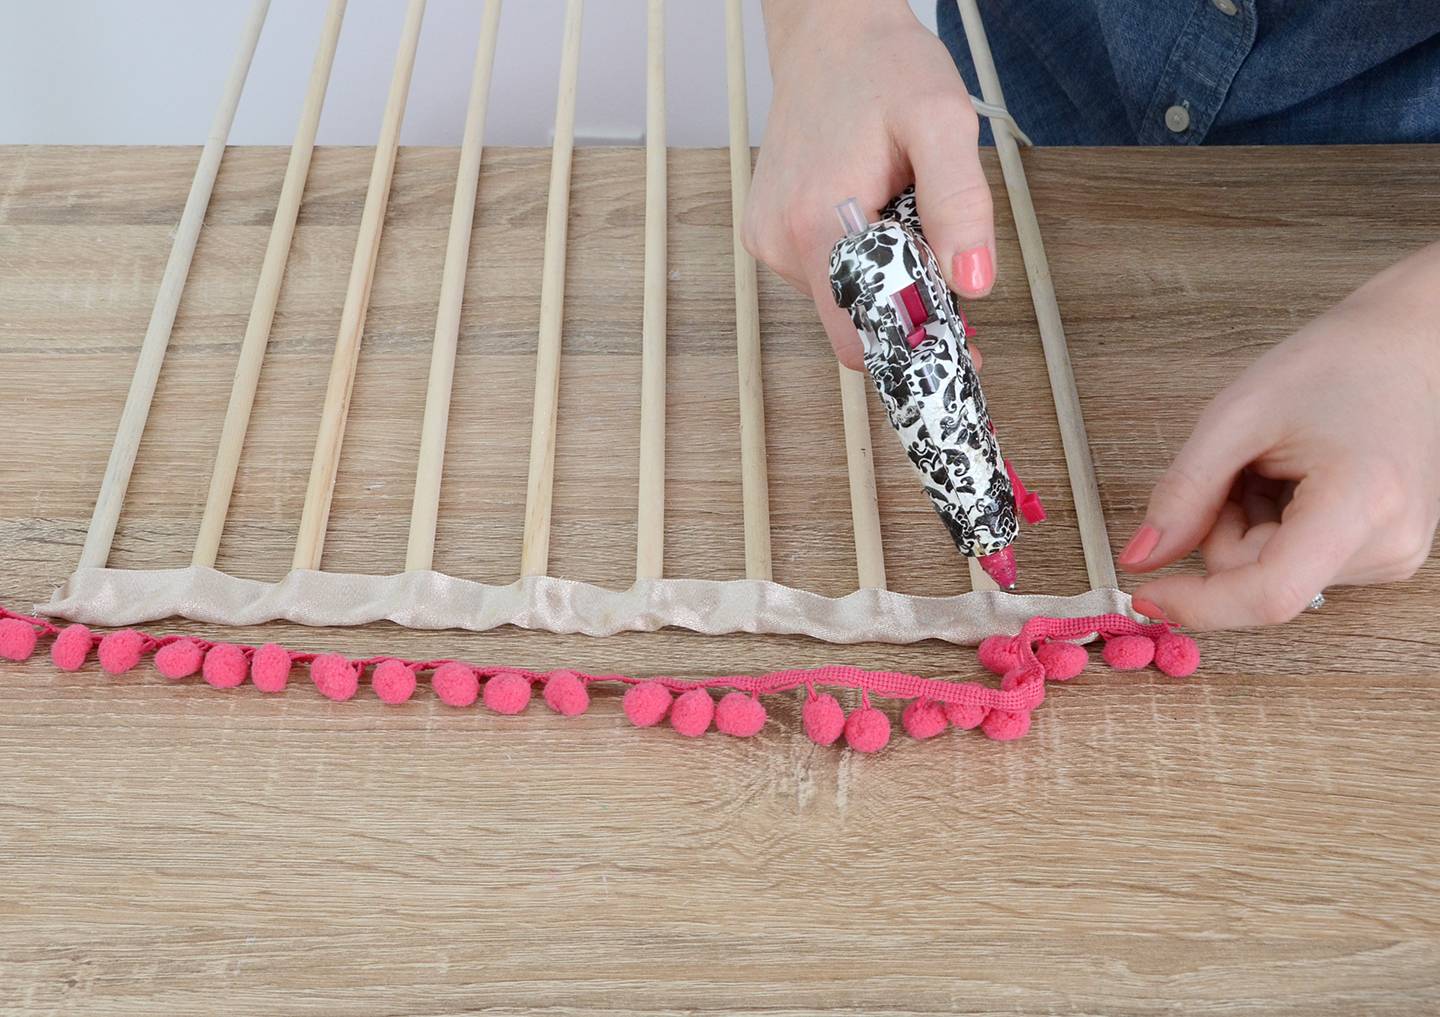
Step
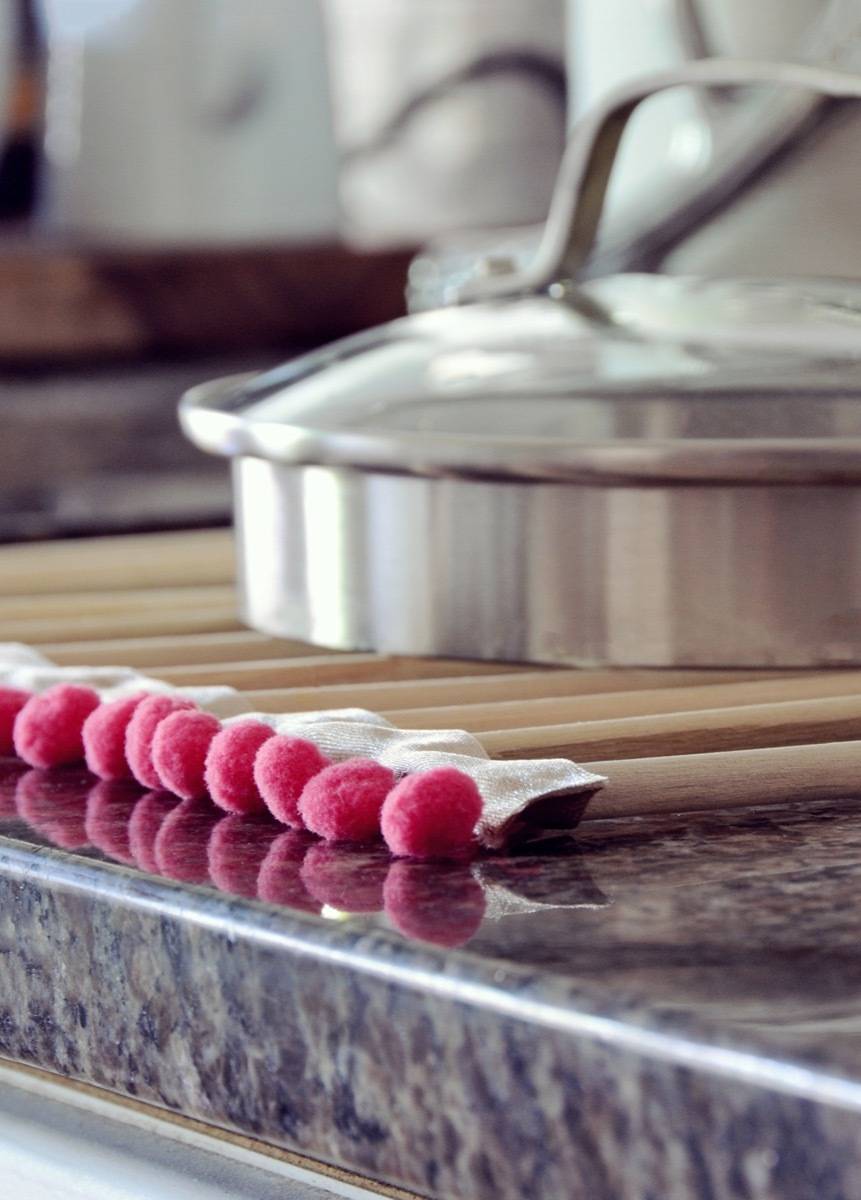
Last, glue the pom pom trim to the ribbon, gluing a couple of inches at a time. Repeat on the other end. Trim off the excess trim and ribbon, and your dish drying rack is finished!
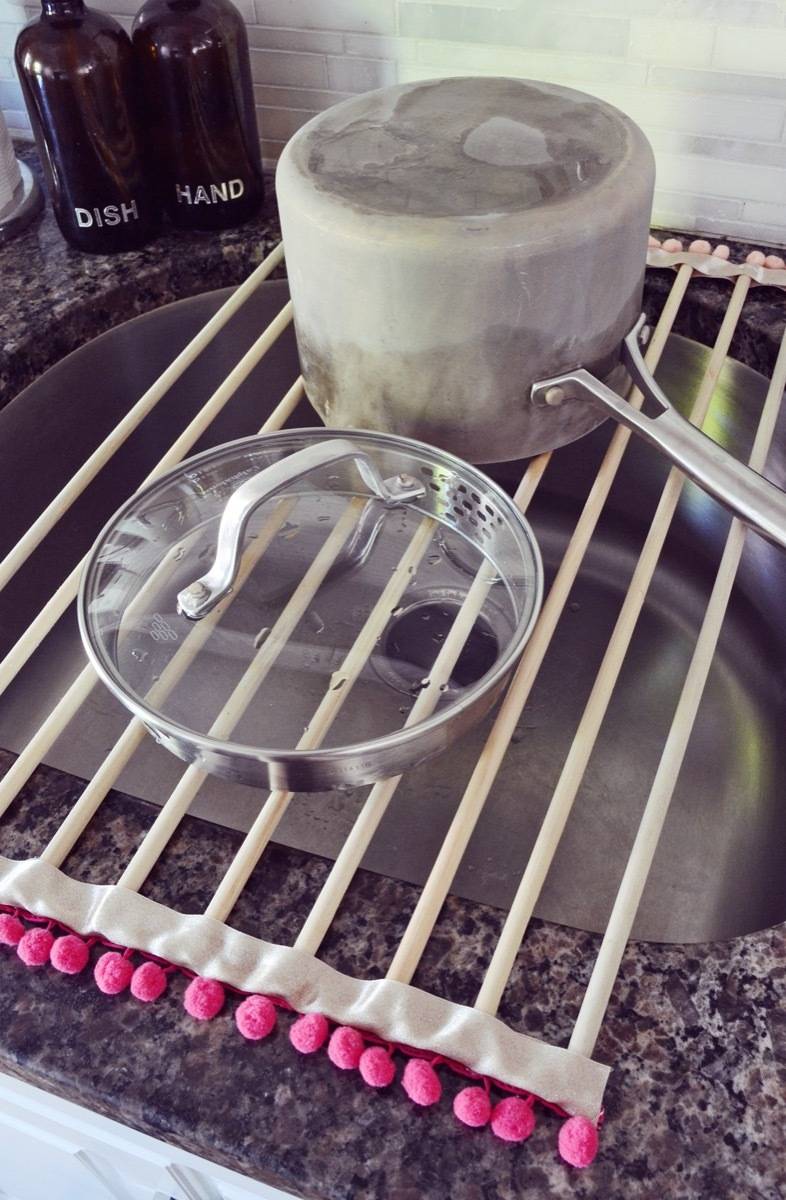
The dowels span right over the sink, creating the perfect spot for a few pots and pans to drip dry… right into the sink basin!
And I’m a big fan of form and function, so of course I had to add a decorative element… hence the pom poms. But you could easily try other types of trim or leave it off for a more clean look.
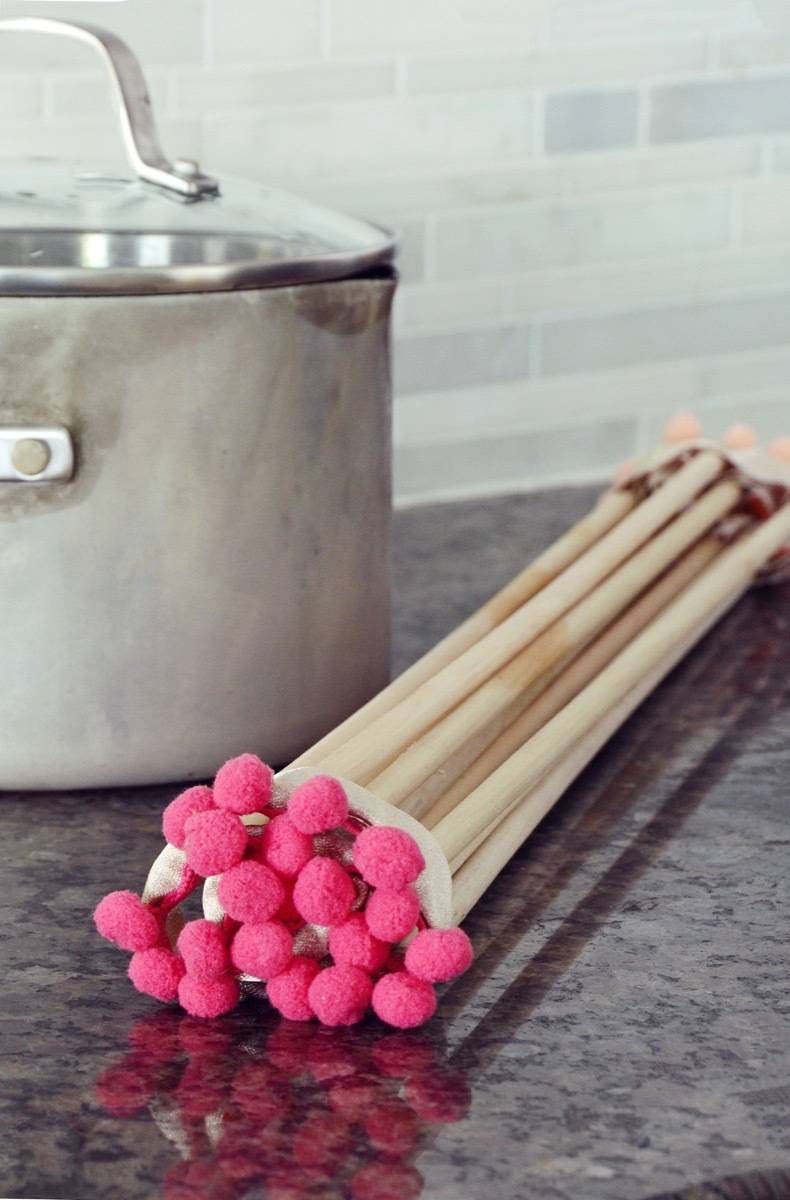
The dish drainer rack rolls up into a neat little package that will fit in the corner of your cabinet or pantry.
You could customize this project in so many ways… you might consider painting the dowels, or mix up the look of the ribbon and trim using different color combinations. Have fun!
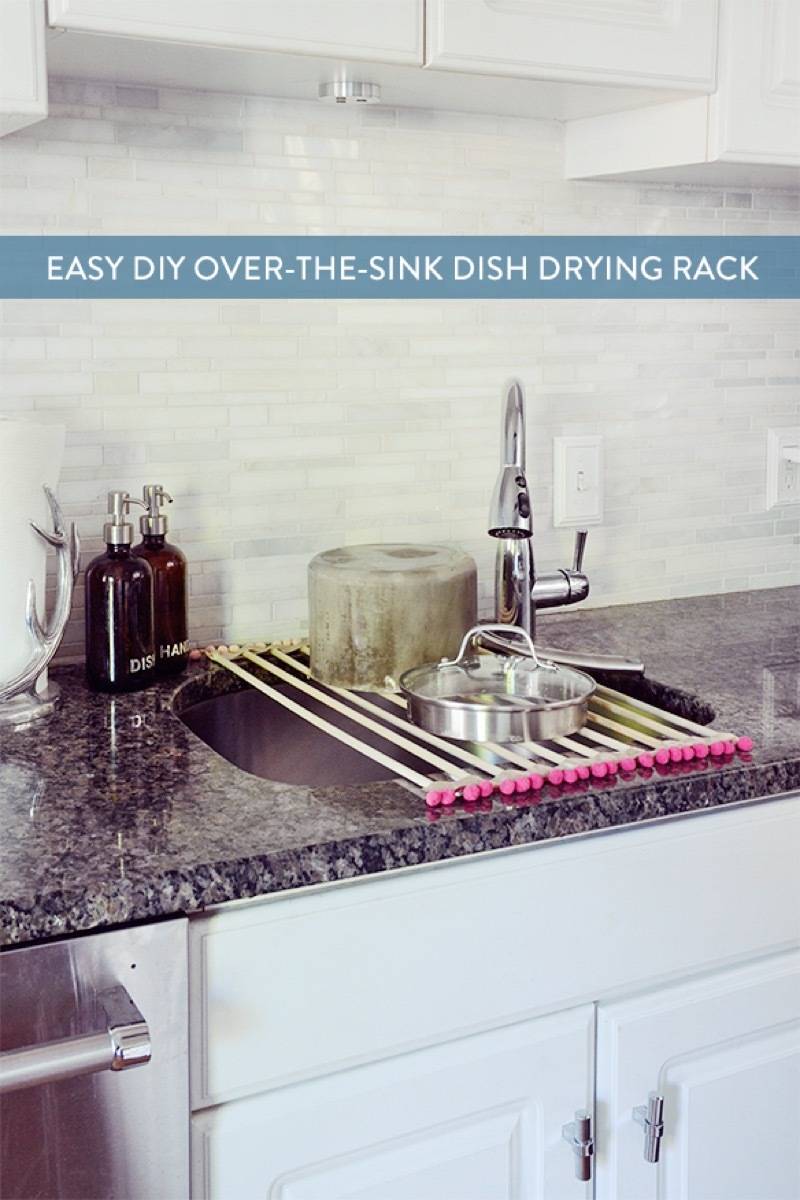
Photo: Faith Towers Provencher