Do you have a green thumb, enjoy gardening, or want to do your part for the environment? Then, composting is perfect for you! It’s not only a gardening technique but an awesome sustainability practice. For gardening lovers and environmentalists alike, composting combines recycling, regeneration, and resourcefulness all in one!
Composting harnesses the power of nature’s decomposition process, offering a simple way to reduce waste and nurture soil, and it allows us to create a deeper connection to the natural world.
Table of contents
Sustainability Matters
With all the negative effects of our carbon footprints, compositing empowers us to take practical action. The impact on greenhouse gas emissions is alarming. However, by composting at home, we get to make a positive impact – directing organic waste from landfills and instead transforming it into a rich resource for soil health and plant growth.
Whether you’re a seasoned gardener looking to improve your soil fertility or a beginner eager to start on a journey of sustainability, composting is for everyone. It’s a practice that takes proactive steps toward a greener, more resilient future.
Ready to go green? Let’s dive into what composting is all about and explore how you can try this method in your home.
So, What is Composting?
Composting is a natural process of decomposition. It works thanks to the magic of a diverse community of microorganisms, including bacteria, fungi, and invertebrates all working together.
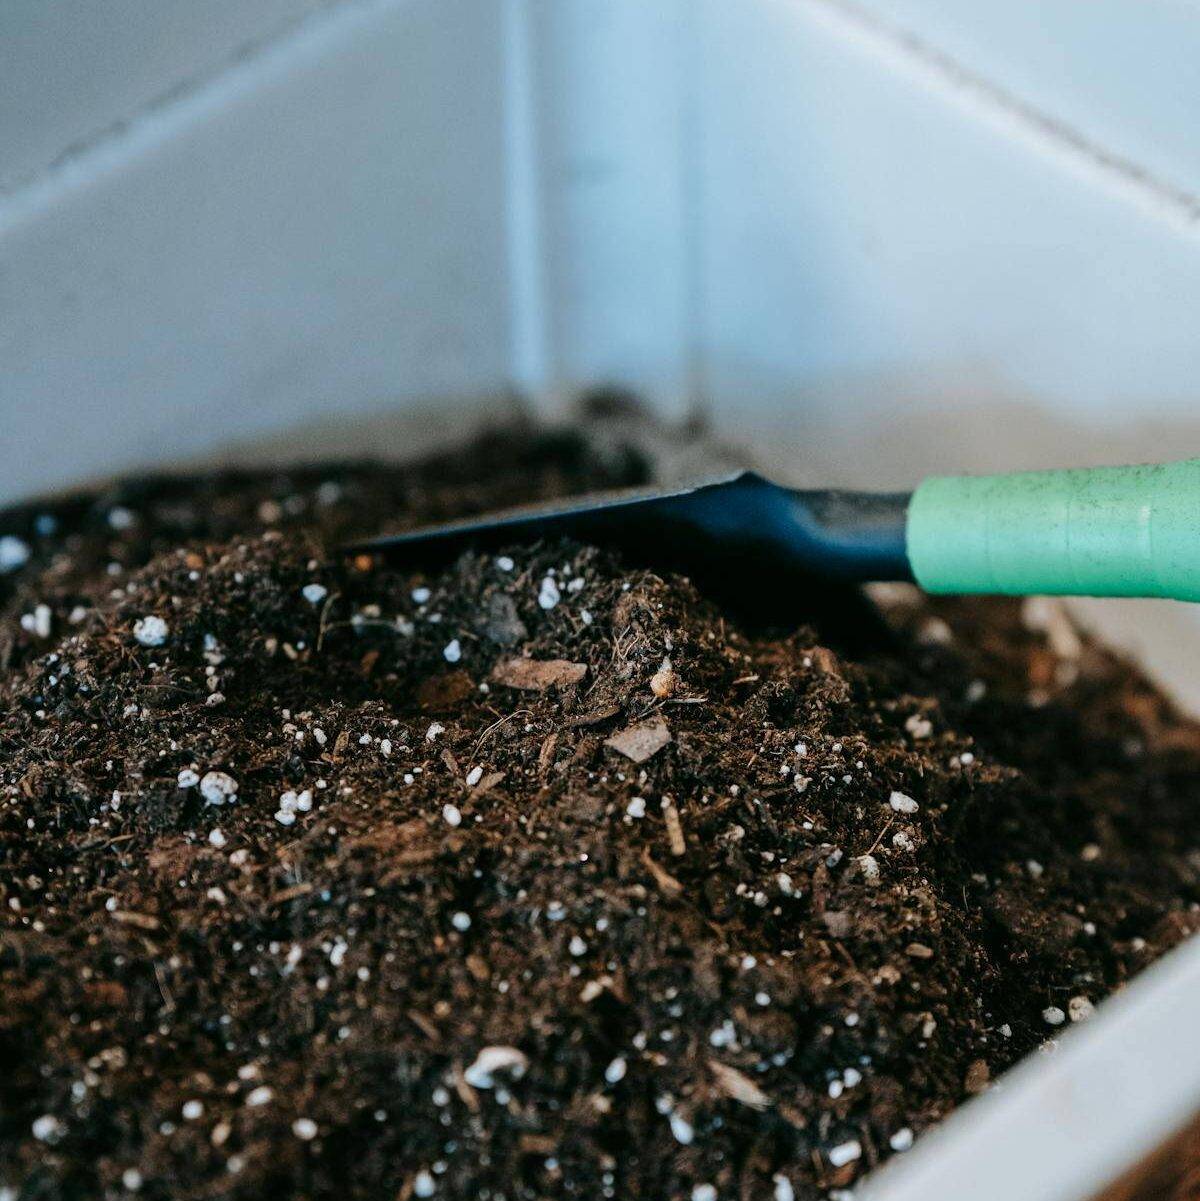
When organic materials such as food scraps, yard waste, and paper products mix together (and are provided with the right conditions of moisture, oxygen, and temperature), these microorganisms break down the materials into a dark, crumbly substance known as compost.
Compost is garden magic working as a special soil booster that helps boost plant growth. You can mix it into your garden soil or add it to the dirt when you’re planting flowers or vegetables. It also works as a natural mulch to keep weeds away.
The Benefits of Composting
Before we deep dive into the practical aspects of compositing, let’s take a look at some of its many benefits:
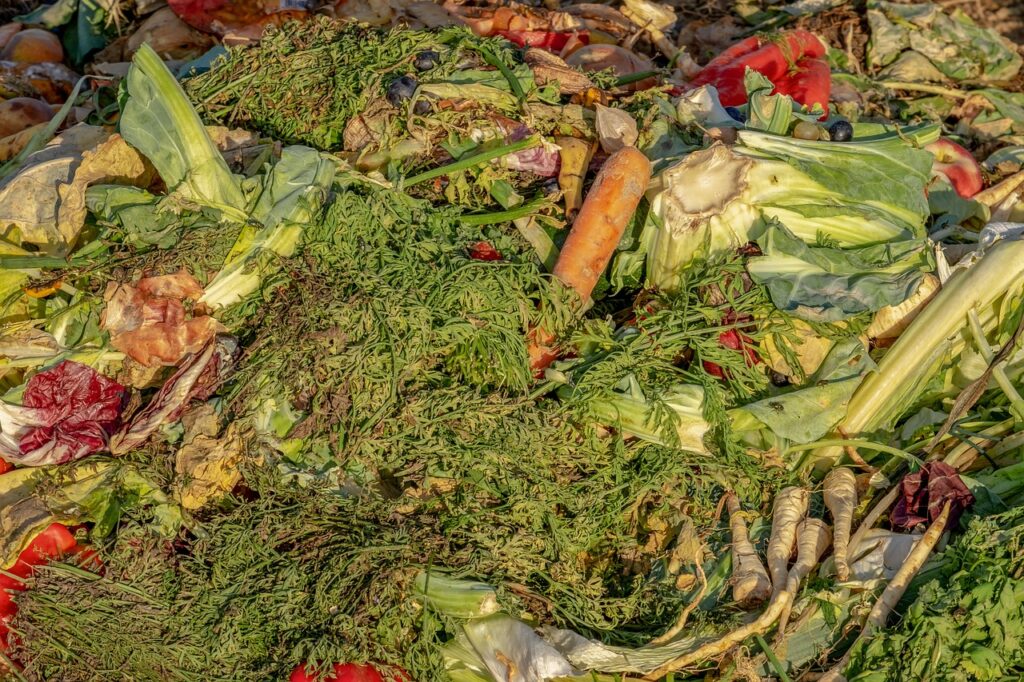
1. Waste Reduction: Composting is great for the environment! It redirects organic matter from landfills, lowering greenhouse gas emissions, reducing food waste, and conserving valuable landfill space.
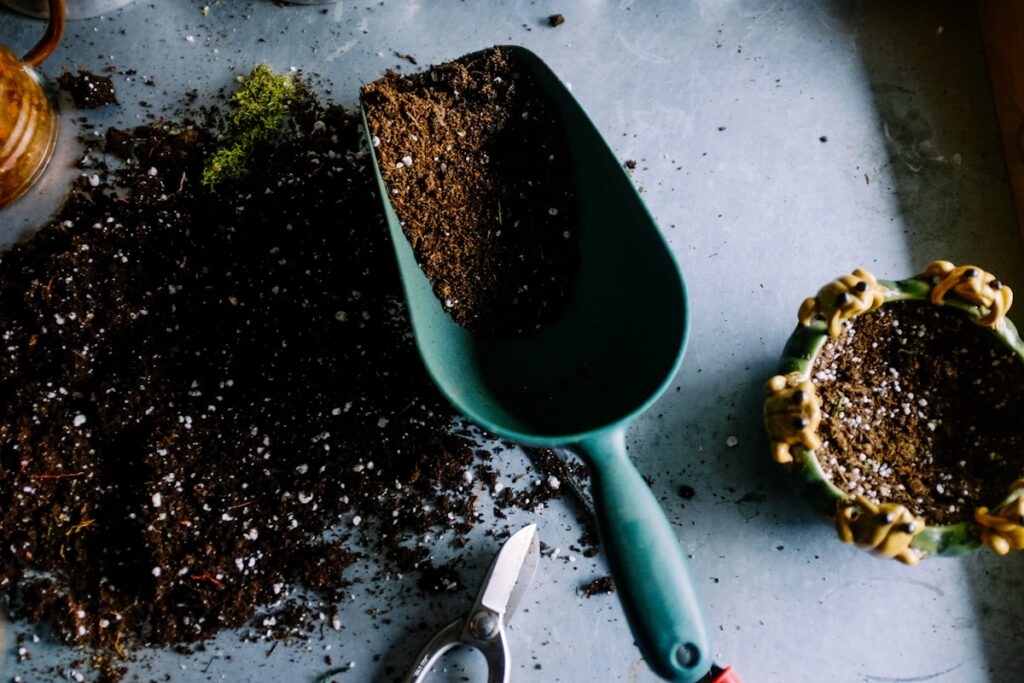
2. Soil Enrichment: Add some love to your soil. Compost enriches the soil with essential nutrients, improves soil structure, enhances water retention, and promotes healthy microbial activity, helping plants grow big and strong.
3. Carbon Sequestration: Composting stores carbon in the soil during a process called carbon sequestration. The carbon from organic waste gets trapped in the soil instead of being released into the air (another win for the environment!).
4. Water Conservation: When healthy soil is enriched with compost, it actually improves water retention. As a result, the process reduces the need for irrigation, which helps conserve water.
Step 1: Choose a Composting Method
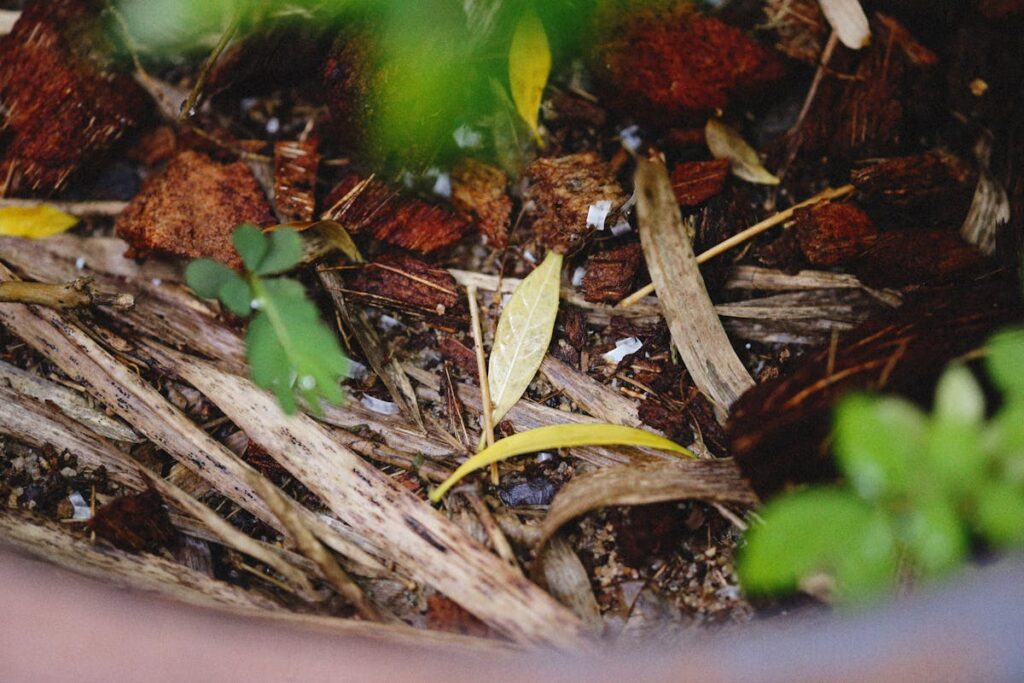
There are a variety of composting methods that you can try. It’s important to choose the method that works best for your space and lifestyle.
1. Backyard Composting
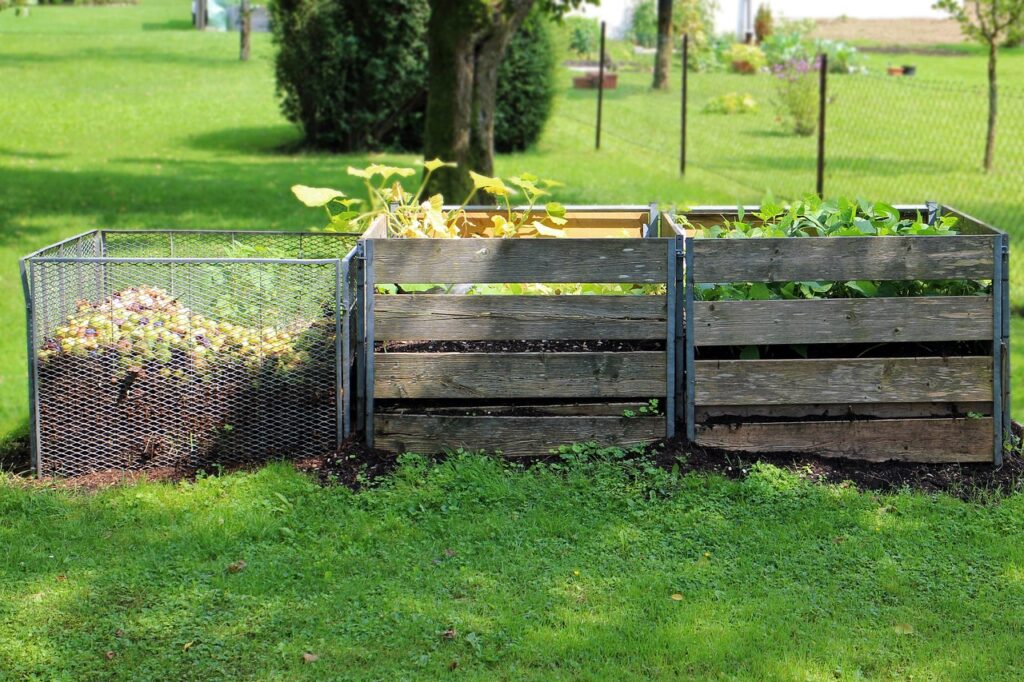
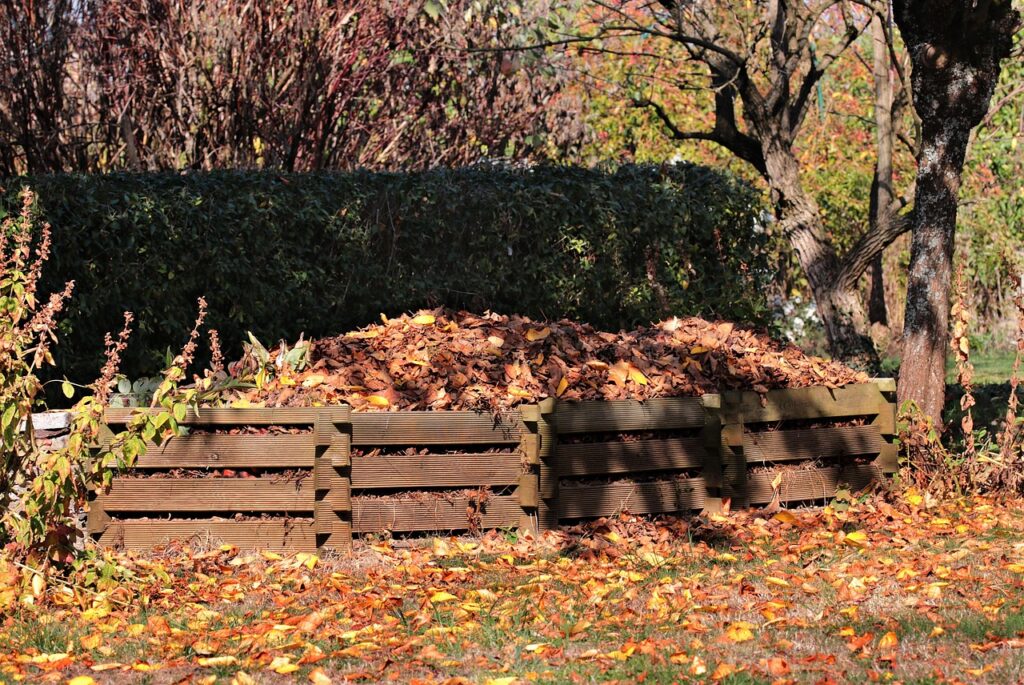
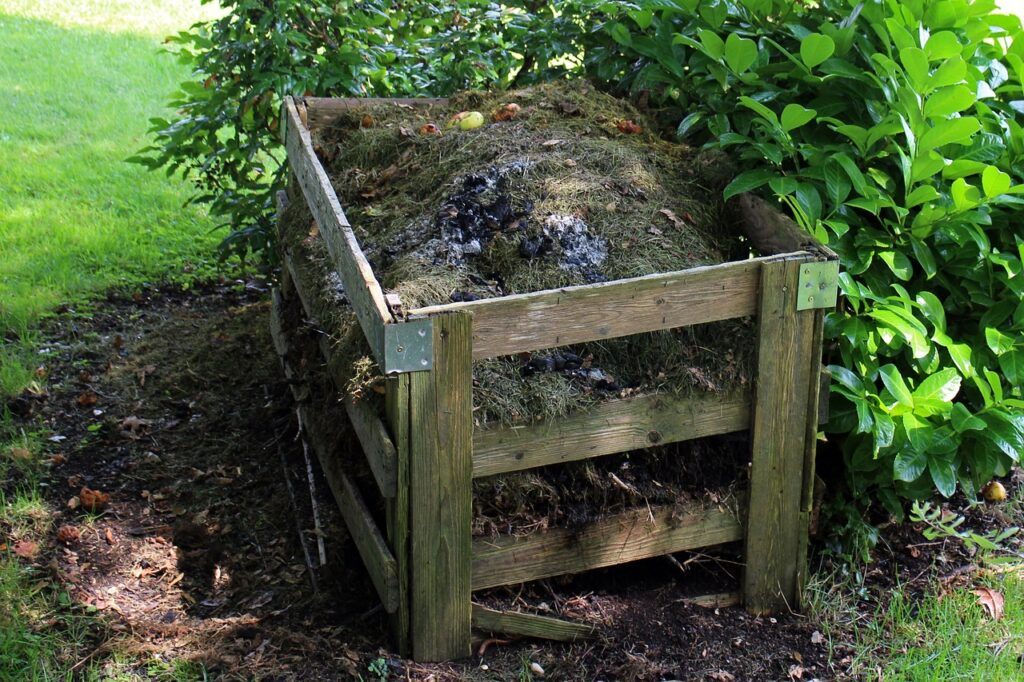
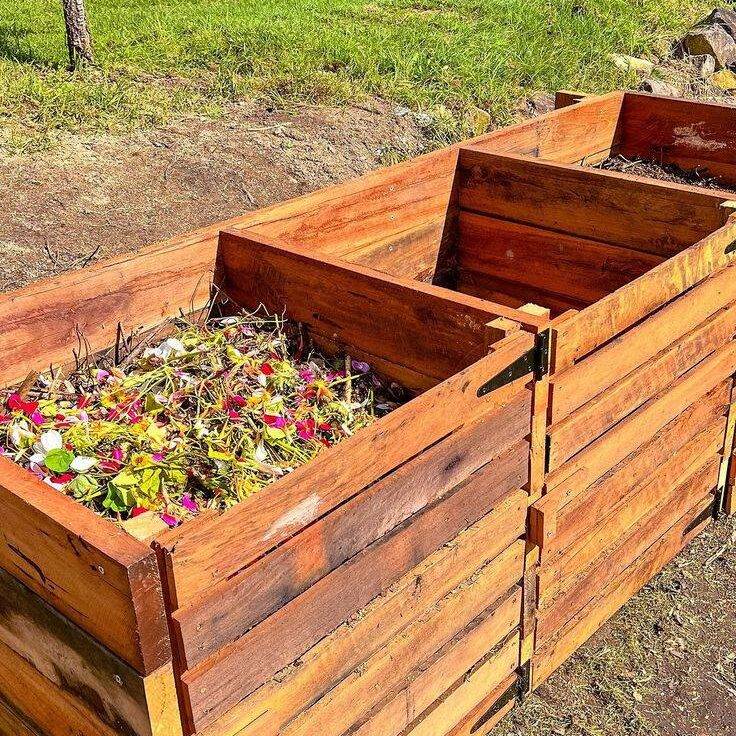
Backyard composting means you’re creating a pile or bin in your outdoor space. It’s a cost-effective method for homeowners. It also allows you to use a wide range of materials like kitchen scraps, yard waste, and garden debris.
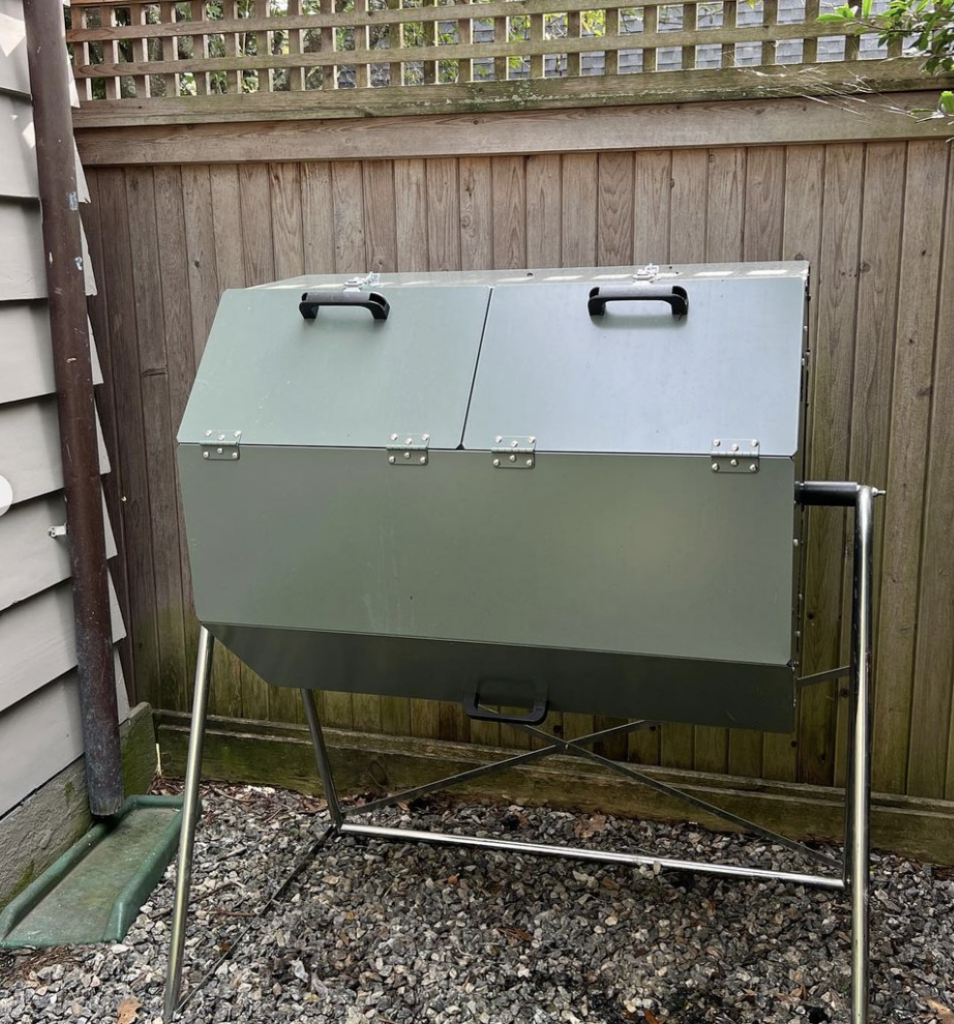
2. Composting Tumbler
A composting tumbler is a container that rotates, making it an easier option for mixing and aeration. Tumblers are a great choice if you have limited space or mobility issues since they require less bending and turning in comparison to traditional composters.
3. Vermicomposting
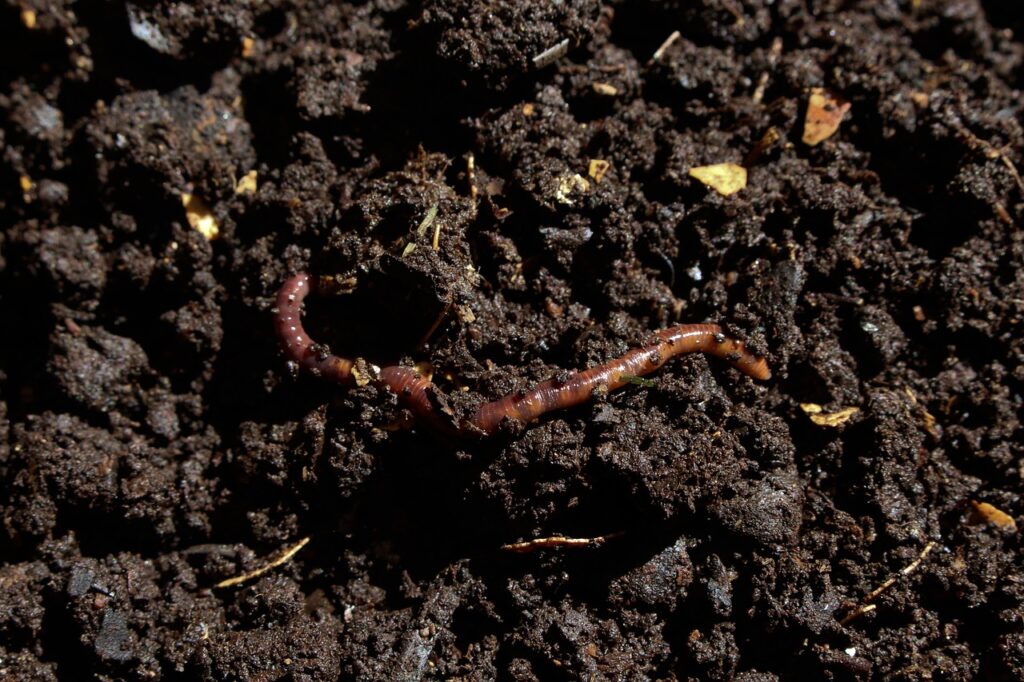
Vermicomposting uses composting worms, like red wigglers, to break down organic waste and turn it into a source of nutrients. Try vermicomposting if you have a small space, as it’s great if you live in an apartment or you don’t have much outdoor space. Fun fact: You can often find worms for sale at your local farmer’s markets.
4. Hot Composting
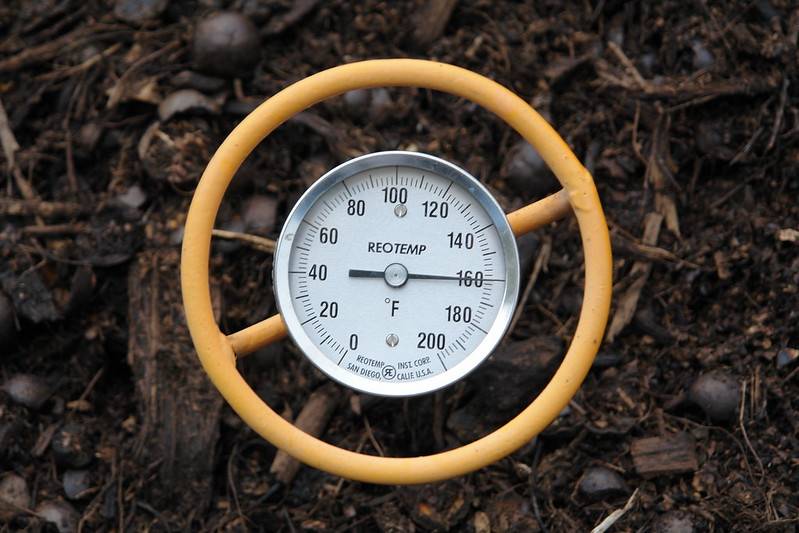
Turn up the heat! Hot composting is a method that involves creating a large composting pile that generates its heat through microbial activity, speeding up the decomposition process. Note that hot composting requires a little more effort and attention, but it results in faster composting times. Plus, the higher temps can kill weed seeds and pathogens.
5. Cold Composting
On the other end of the compositing spectrum is cold compositing. A slower and more passive method, cold composting requires minimal effort. All you have to do is simply pile organic materials in a designated area and allow them to decompose over time. Sure, it takes longer than hot composting, but it’s ideal if you are looking for a more hands-off approach.
Step 2: Gather Materials
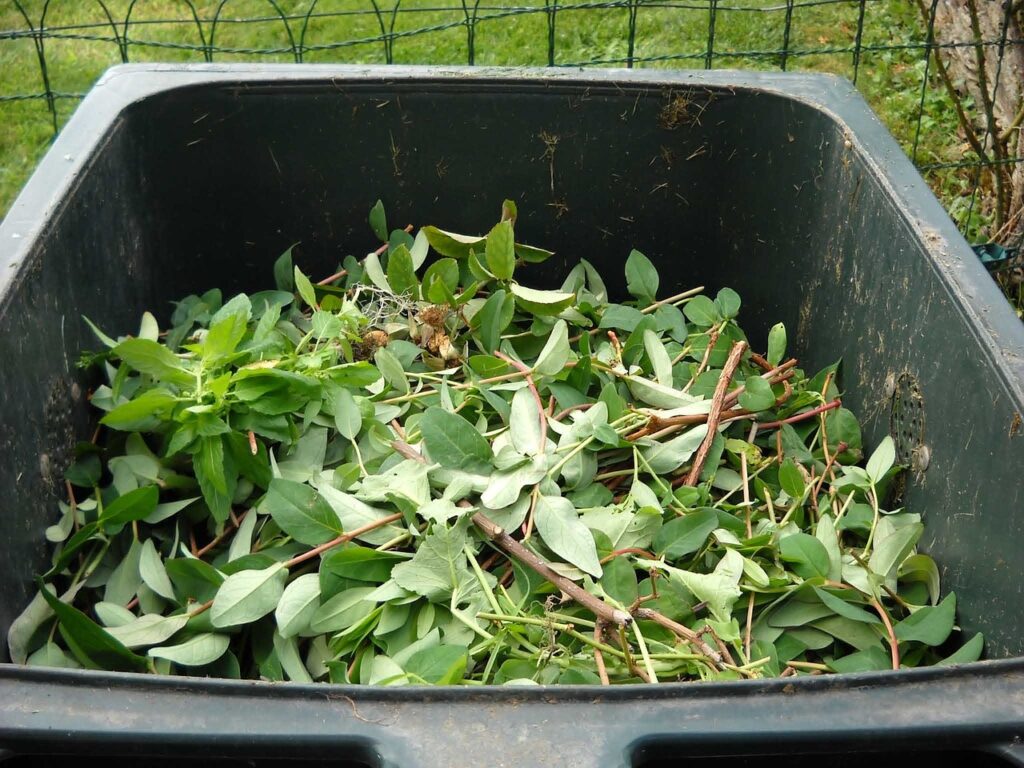
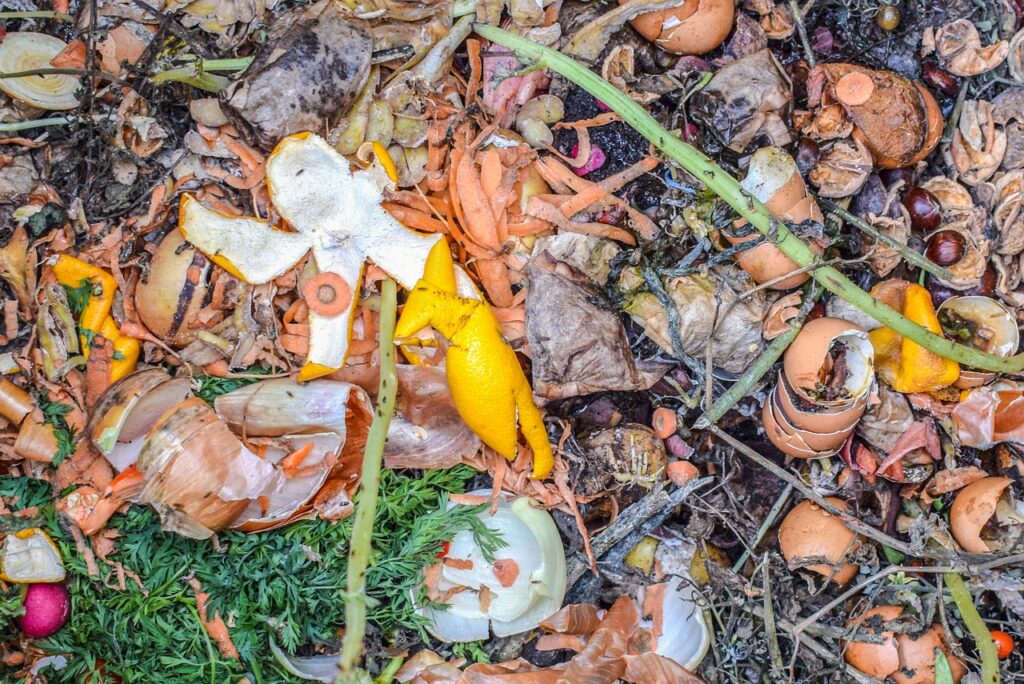
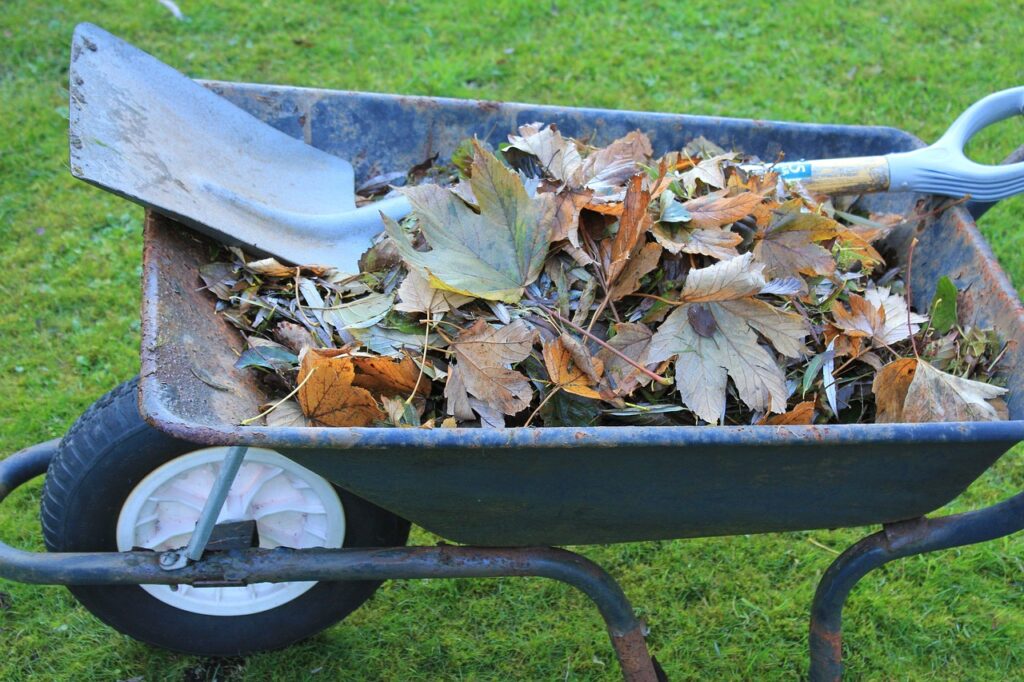
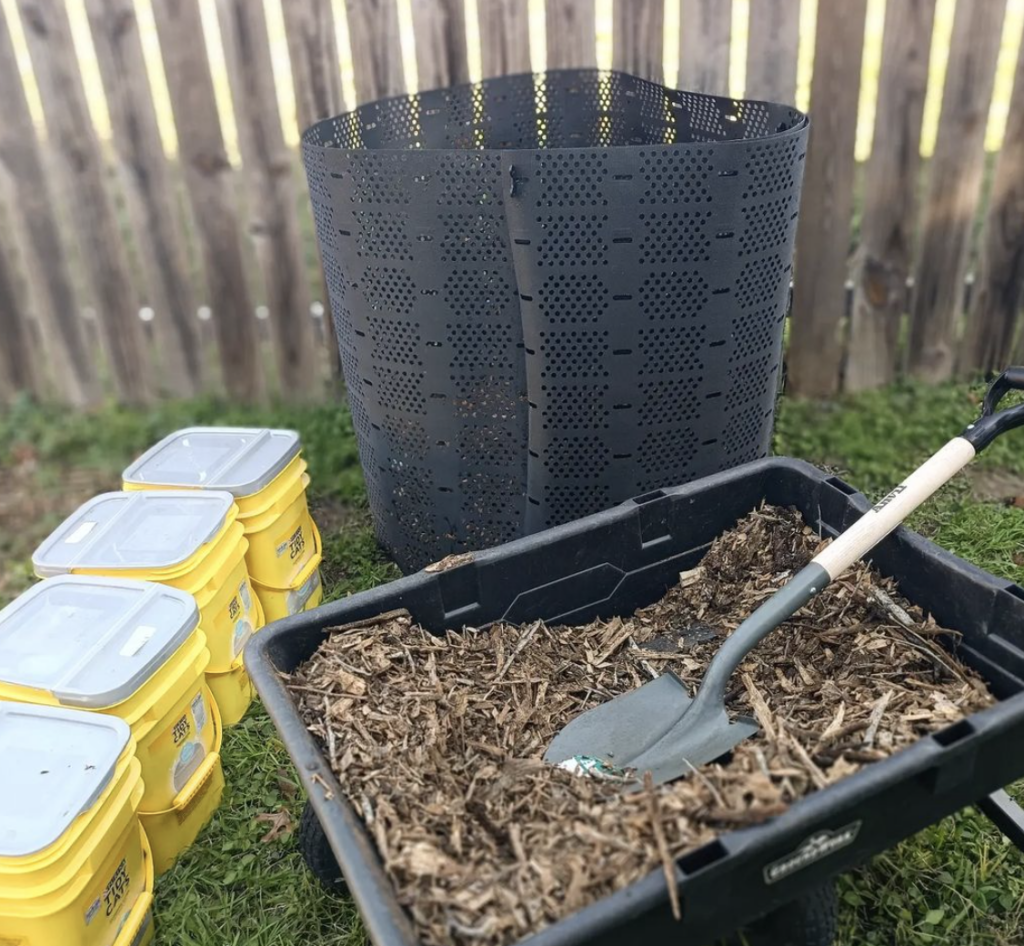
No matter what composting method you choose, you’ll need a good mix of green (nitrogen-rich) and brown (carbon-rich) materials to create balanced compost heaps. Your green materials include kitchen scraps (like vegetable scraps, banana peels, eggshells, or fish scraps), fresh yard waste, wood chips, and coffee grounds. On the other hand, brown materials are dry leaves, straw, and shredded paper. Wondering what else you can compost? 100 Things You Can Compost.
Step 3: Layer Up
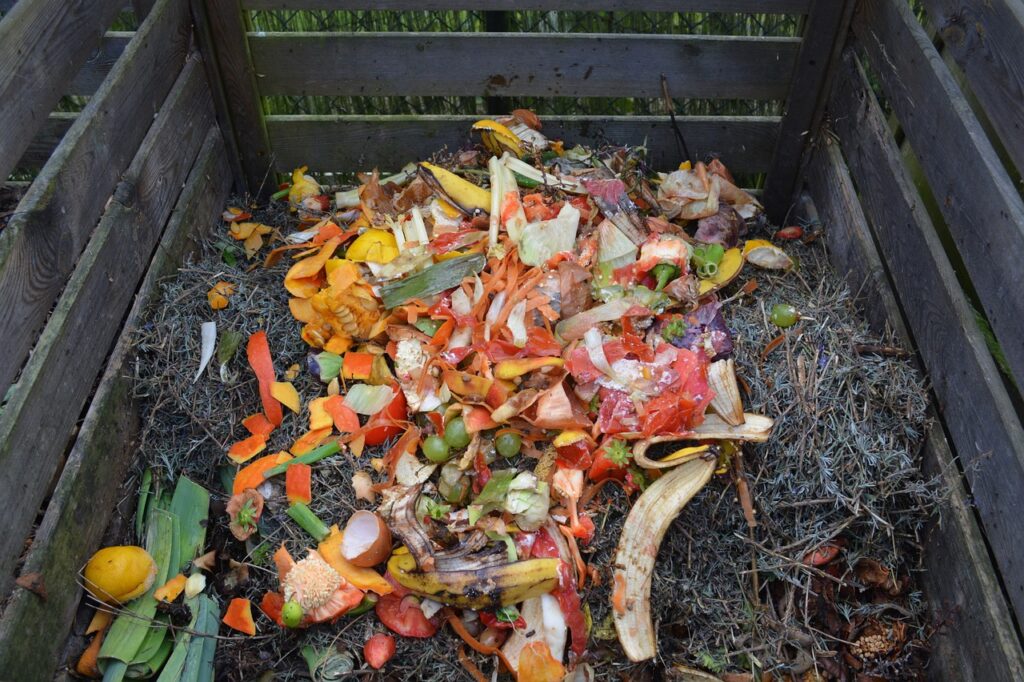
Now that you have your materials let’s start layering them into your bin, pile, or tumbler. You’ll start with the base layer of coarse materials (twigs or straw) to promote airflow, then alternate with layers of green and brown materials. Aim for a ratio of 50% for each type of material for optimal decomposition.
Step 4: Maintain It
It’s important to regularly maintain your compost. Here are a few tasks you can do to keep your pile healthy and productive:
- Turning: Turn your pile or mix the compost of the bin regularly – this helps aerate the materials and distribute moisture and microorganisms evenly.
- Monitoring: Keep an eye out for moisture level and temperature. The goal is to maintain a moist but not soggy compost. If you’re hot composting, temperatures should range between 110°F and 140°F.
- Balancing: Adjust the ratio of green and brown materials as needed to maintain balance and avoid issues with odor or slow decomposition.
Step 5: Harvest It
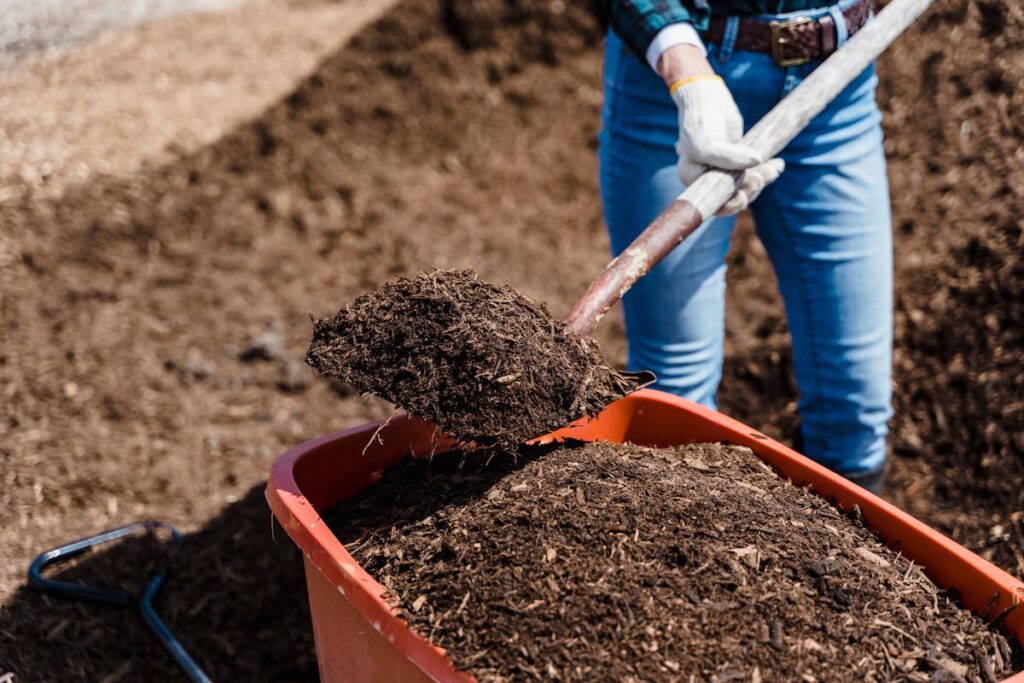
Over time (think weeks to several months), factors such as temperature, moisture, and size of your compost pile will contribute to your compost maturing into a dark, crumbly mix of goodness. At this point, your ready to add to your soil in your garden, flower beds, or containers. Simply sift or shovel the finished compost out of your bin or pile and apply it.
Building Your Own Bin
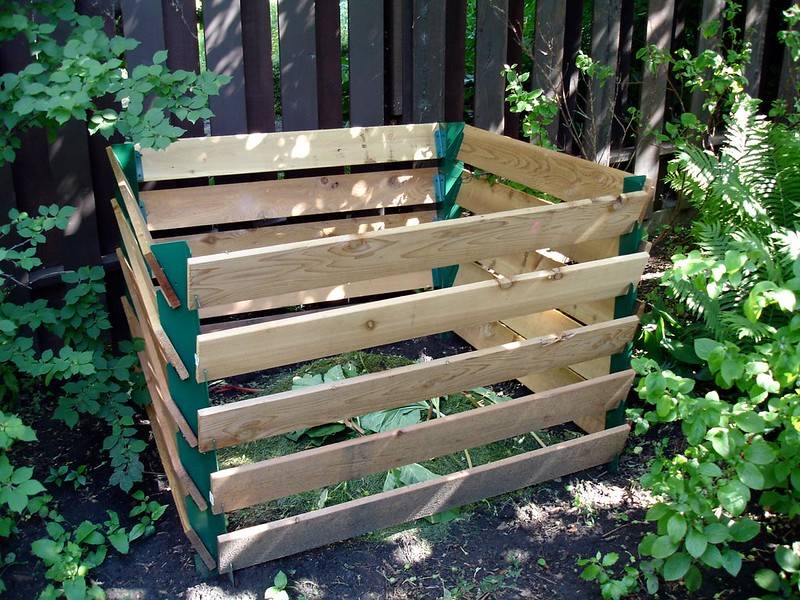
Remember when we listed all of the composting methods you could try? Well we saved one of the best for last (shoutout to the DIYers). If you prefer a hands-on approach or you have specific space constraints, building your own compost bin is a great choice. Not only does this method allow you to customize your bin, but it also gives you a little more ownership over the system.
Here’s what you’ll need:
- Wooden Pallets: Get four identical wooden pallets, preferably untreated and free from chemical treatments, to form the walls of your compost bin.
- Screws or Nails: Use screws or nails to secure the pallets together at the corners for a sturdy structure.
- Hardware Cloth or Chicken Wire: Line the interior walls of the bin with hardware cloth or chicken wire to contain the composting materials while promoting airflow.
- Hinges and Latches (optional): Add hinges and latches to create a hinged door on one side of the compost bin for easy access.
Construction Steps
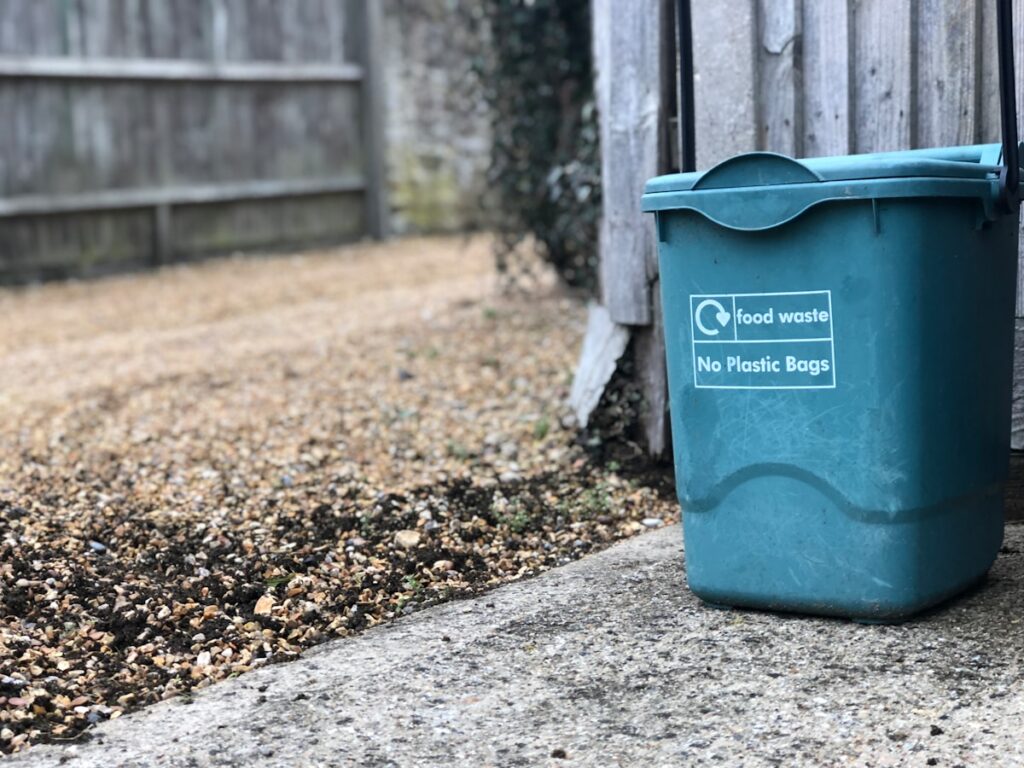
Pick a location
For easy access, choose a level, well-drained spot for your bin, ideally close to your garden or kitchen.
Assemble the Pallets
Stand your wood pallets upright in a square or rectangle, with the open sides facing forward. Make sure pallets are securely positioned.
Secure the Corners
Use screws or nails to fasten the corners of the pallets together for stability.
Line the Interior
Attach hardware cloth or chicken wire to the interior walls of the compost bin and secure it in place with staples or nails. This lining prevents your materials from spilling out while still allowing for airflow.
Add a Hinged Door (Optional)
As mentioned, if you’re feeling like adding a door, attach hinges and latches to one side of the compost bin.
Begin Composting
Now that your DIY compost bin is ready to go, start adding materials in alternating layers, following the steps we outlined earlier. Remember to turn the compost pile regularly to aerate the materials and promote decomposition.
Benefits of DIY Compost Bins
Building your own bin using wooden pallets is an affordable alternative to purchasing a pre-made system. A DIY compost bin can be easily customized to fit your space requirements and aesthetic.
Additionally, by repurposing wooden pallets and other materials, DIY compost bins are sustainable and can be created using materials you already have at home.
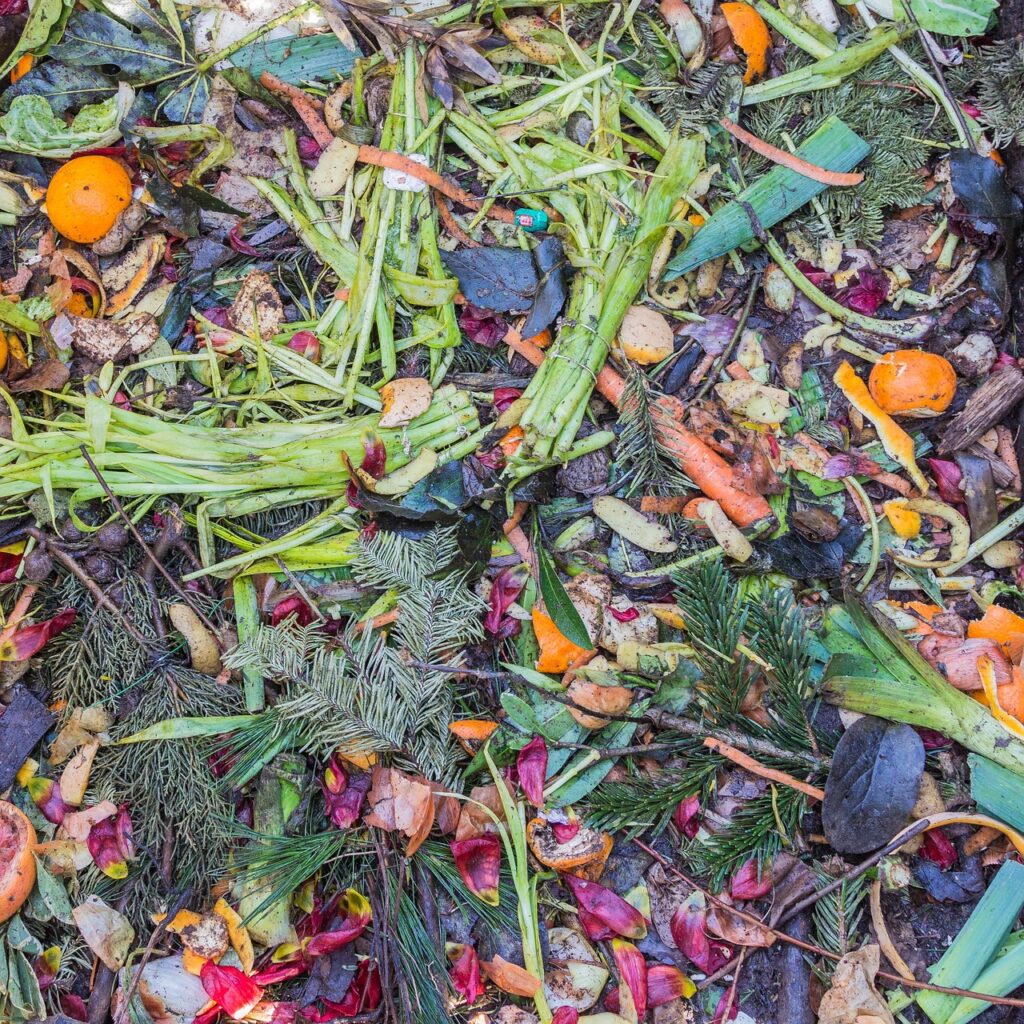
Composting is more than just a technique, it’s an enriching and environmentally friendly way to nourish your soil. Whether you’re a beginner, an urban dweller, or a seasoned gardener, it allows you to join efforts in preserving and restoring the planet by recycling (and reducing) waste.
So trust the composting process! Get started on your journey using this guide to boost your garden soil and help promote a greener planet.
Looking for more garden goodness?
