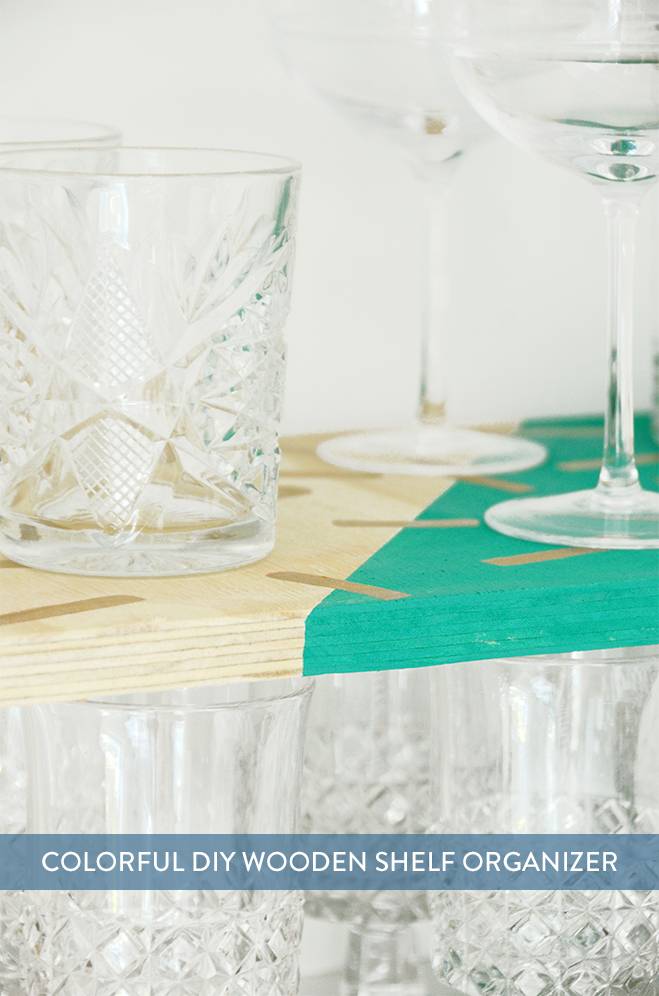
Don’t you hate it when your kitchen cabinets don’t have a shelf inside, so you end up using only the bottom half? All that wasted space could be used, if only you had an extra level…. so today we’re sharing an easy DIY that will help you take advantage of it – in style of course. No boring store-bought shelf risers here!
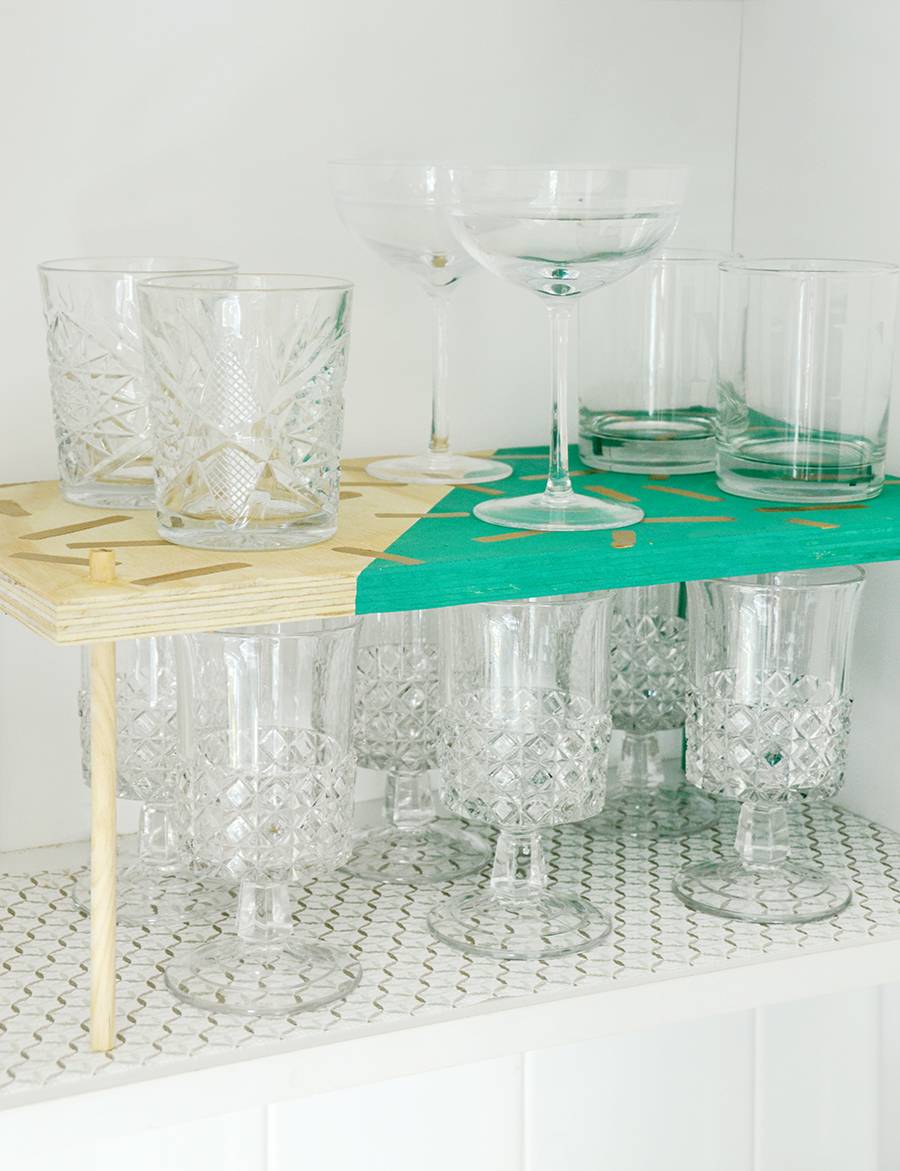
The final product is a lovely improvement over those boring metal organizers… and it will surely make you smile every time you grab a glass from the cabinet. So let’s get started!
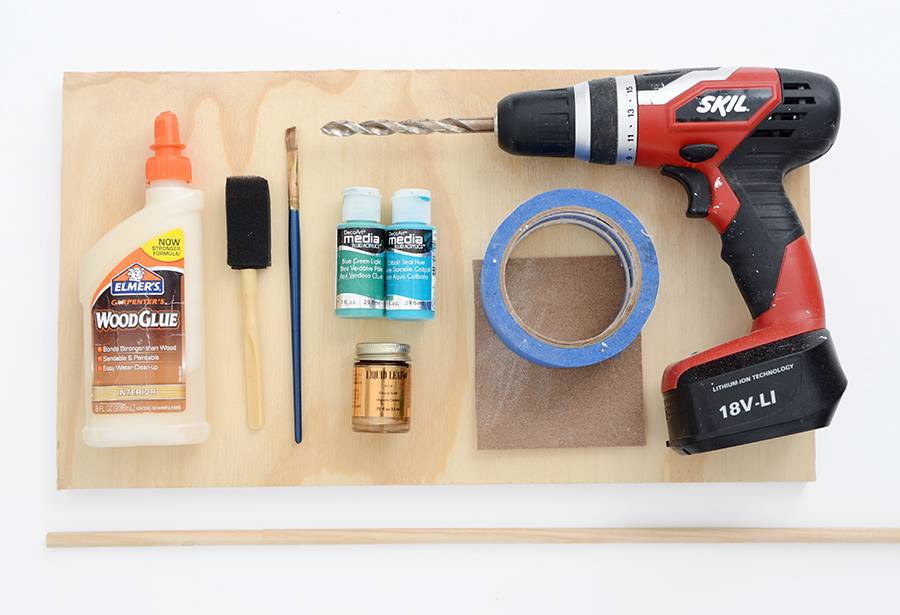
Here’s what you’ll need for your shelf organizer:
- 10×20 inch piece of wood
- 3/8 inch wide dowel rod, cut into 8 inch pieces
- Electric drill with 7/16 drill bit
- Wood glue
- Paint brushes
- Acrylic craft paint
- Gold Liquid Leaf
- Fine grit sandpaper
- Blue painter’s tape
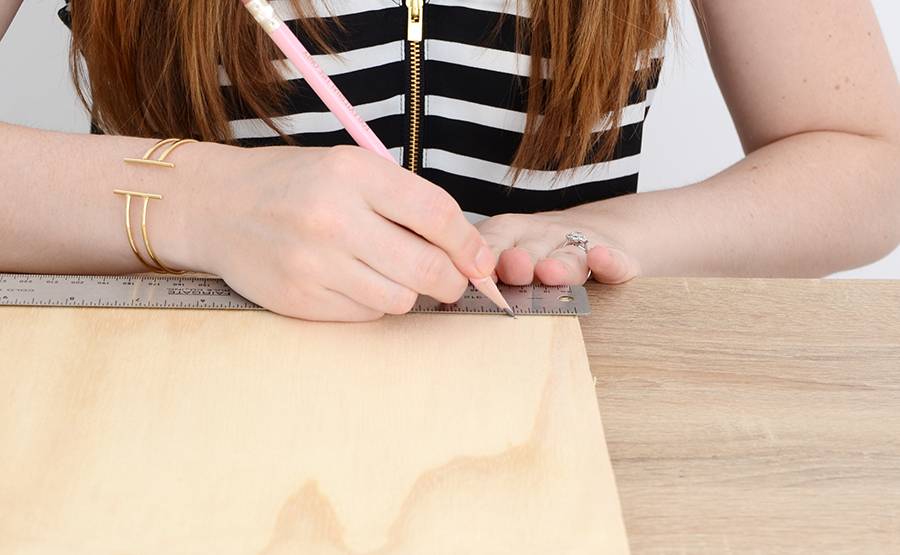
Begin by marking your drill holes in each corner of your wood. Measure an inch from each side.
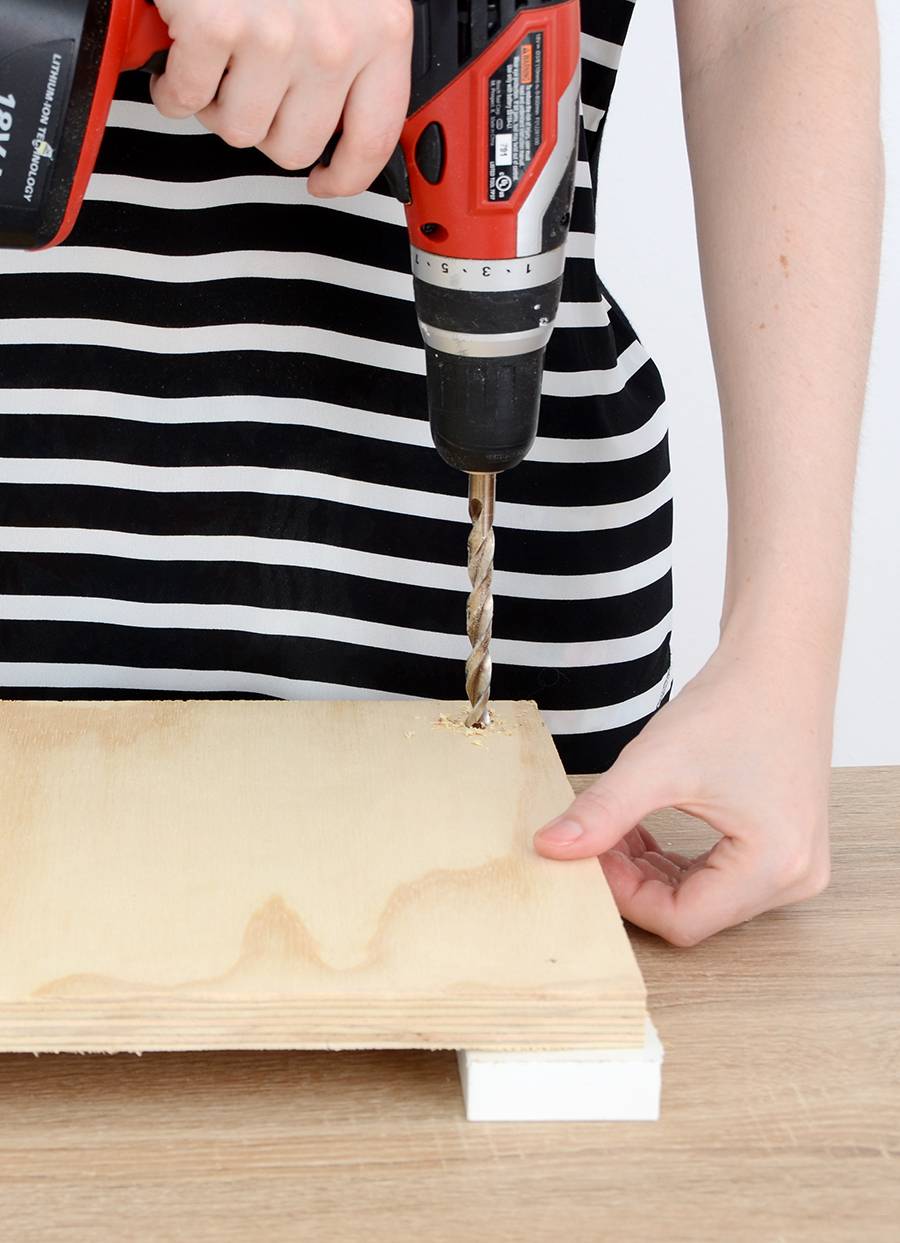
Place a piece of scrap wood underneath and drill holes at each of your four pencil marks. Make sure to drill squarely so the dowels will be at a perfect 90 degree angle.
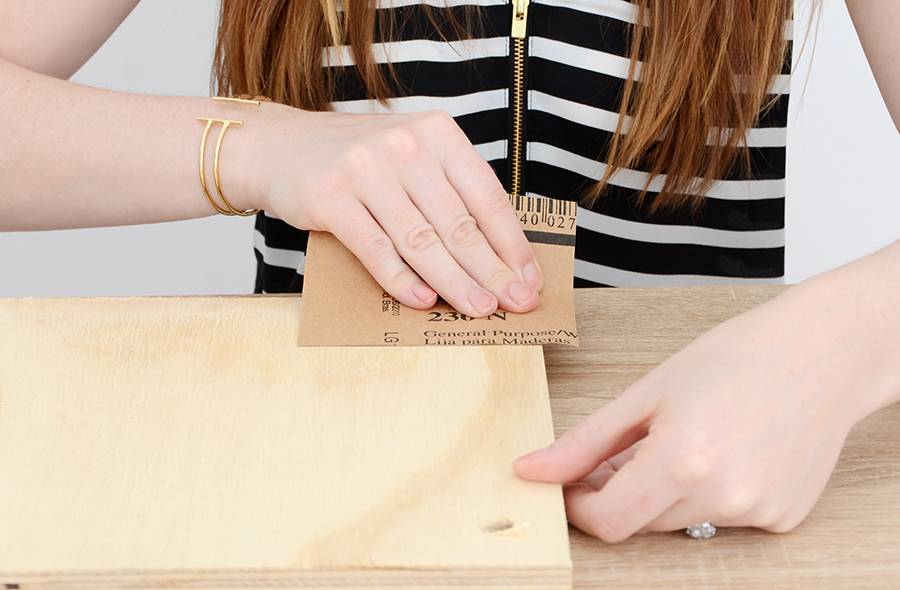
Sand the holes, and any rough edges around the perimeter of the wood. If you are sanding the flat surface of the wood, be sure to go with the grain.
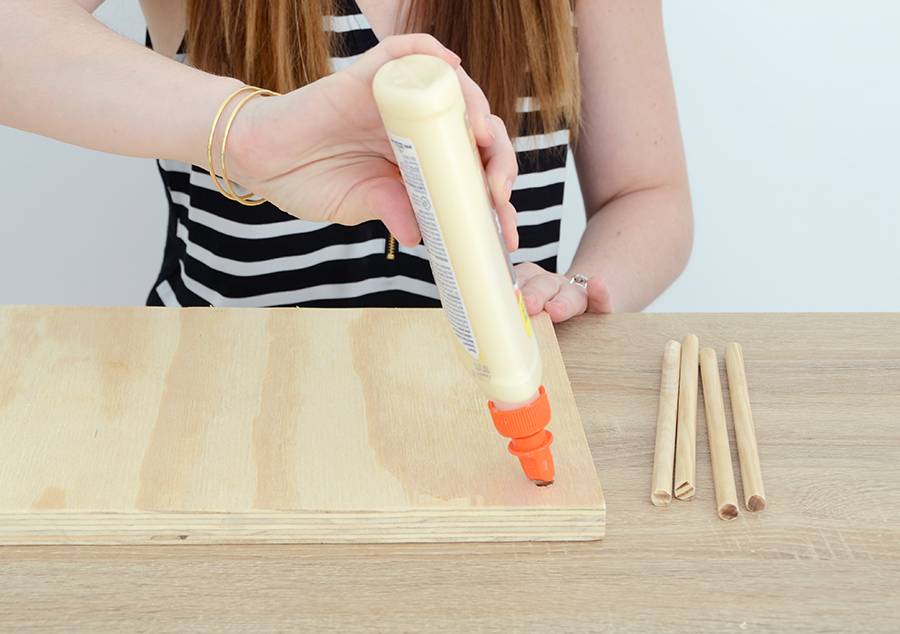
Cut your dowel rod into four 8 inch pieces if you haven’t already. Place a paper towel underneath the corner of the wood and squeeze a small dab of wood glue into the hole. Insert one dowel rod into the hole. If you have trouble getting it in, use a hammer to gently knock it into place. Do the same for the rest of the holes, working quickly. Then knock them through an extra half inch to get the look that I have. (This is optional, I just thought it would look cool!).
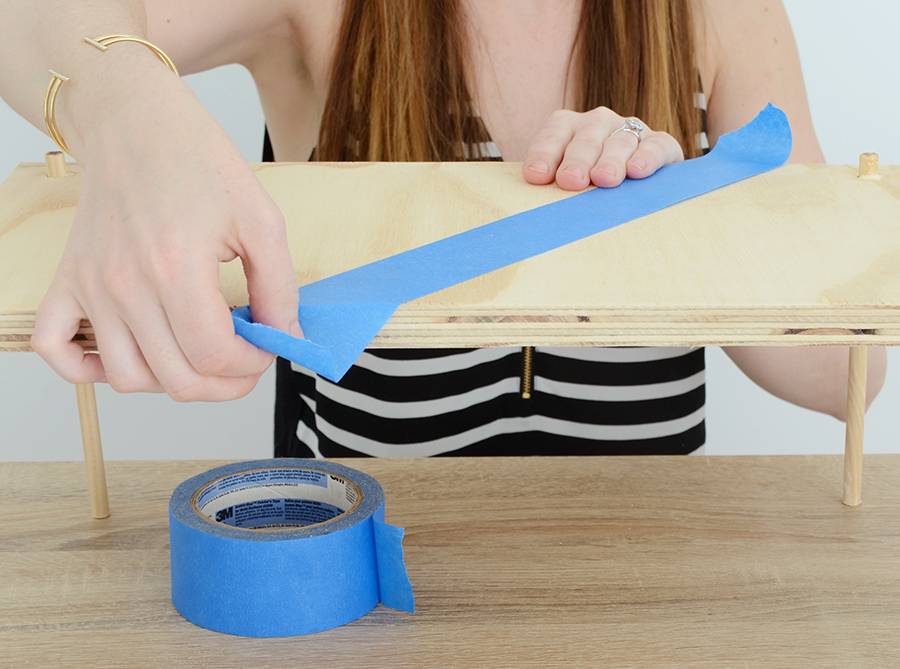
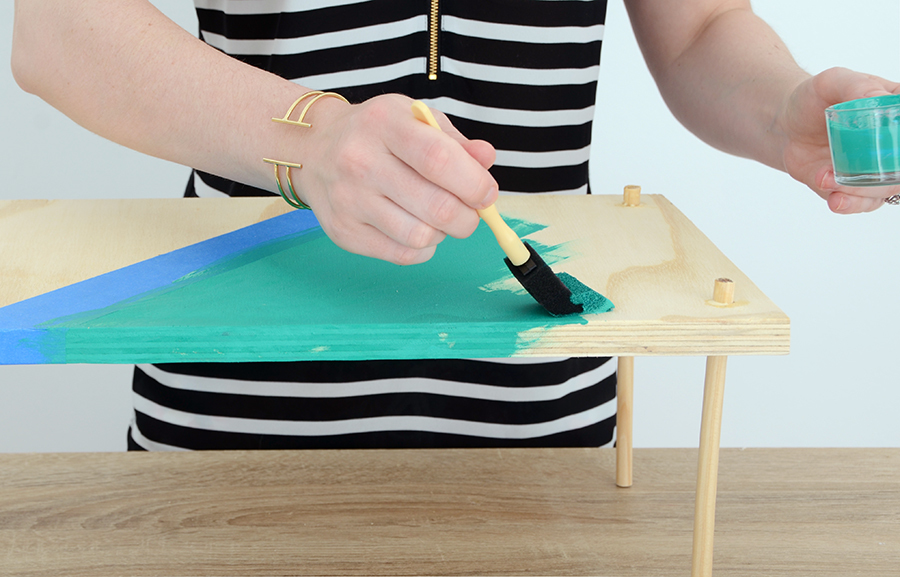
Let the glue dry for 20 minutes or so, and then set it upright. Use painter’s tape to mask off the areas that you would like to paint.
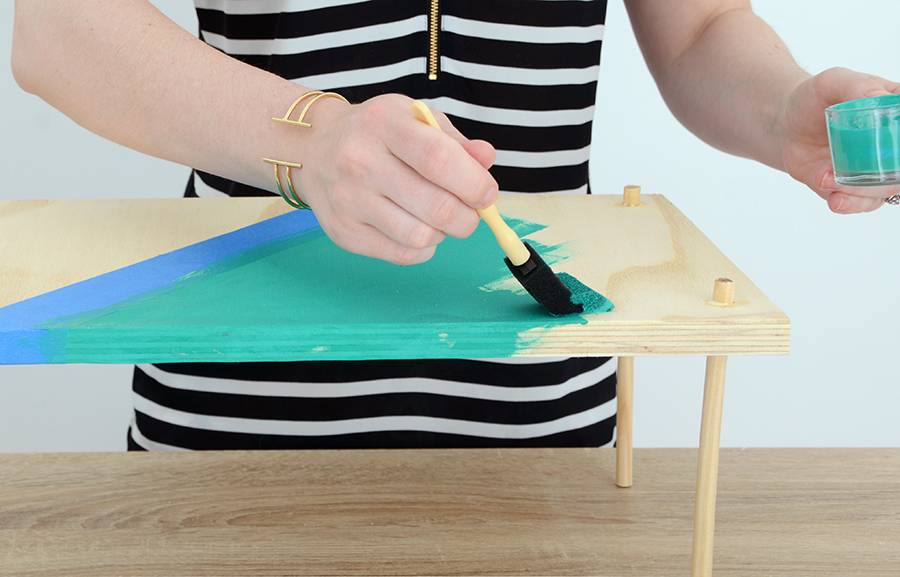
Use the acrylic craft paint to fill half of the piece with color. Don’t forget to do the underside too, because odds are it will be visible if you will be placing this on a higher shelf.
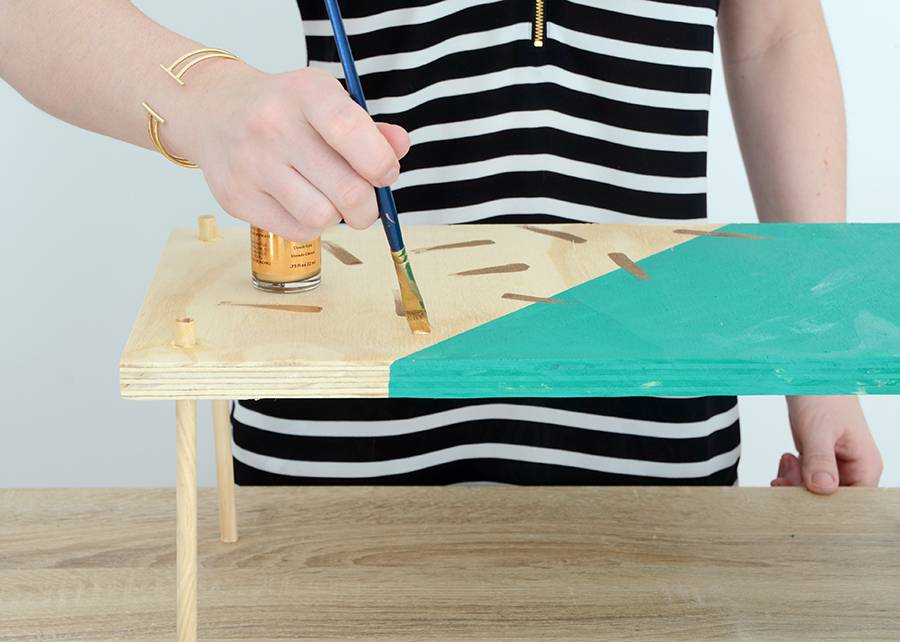
Peel the painter’s tape off right after you’ve finished painting. Let it dry for a bit, and then use an old paintbrush to apply gold Liquid Leaf in small streaks.
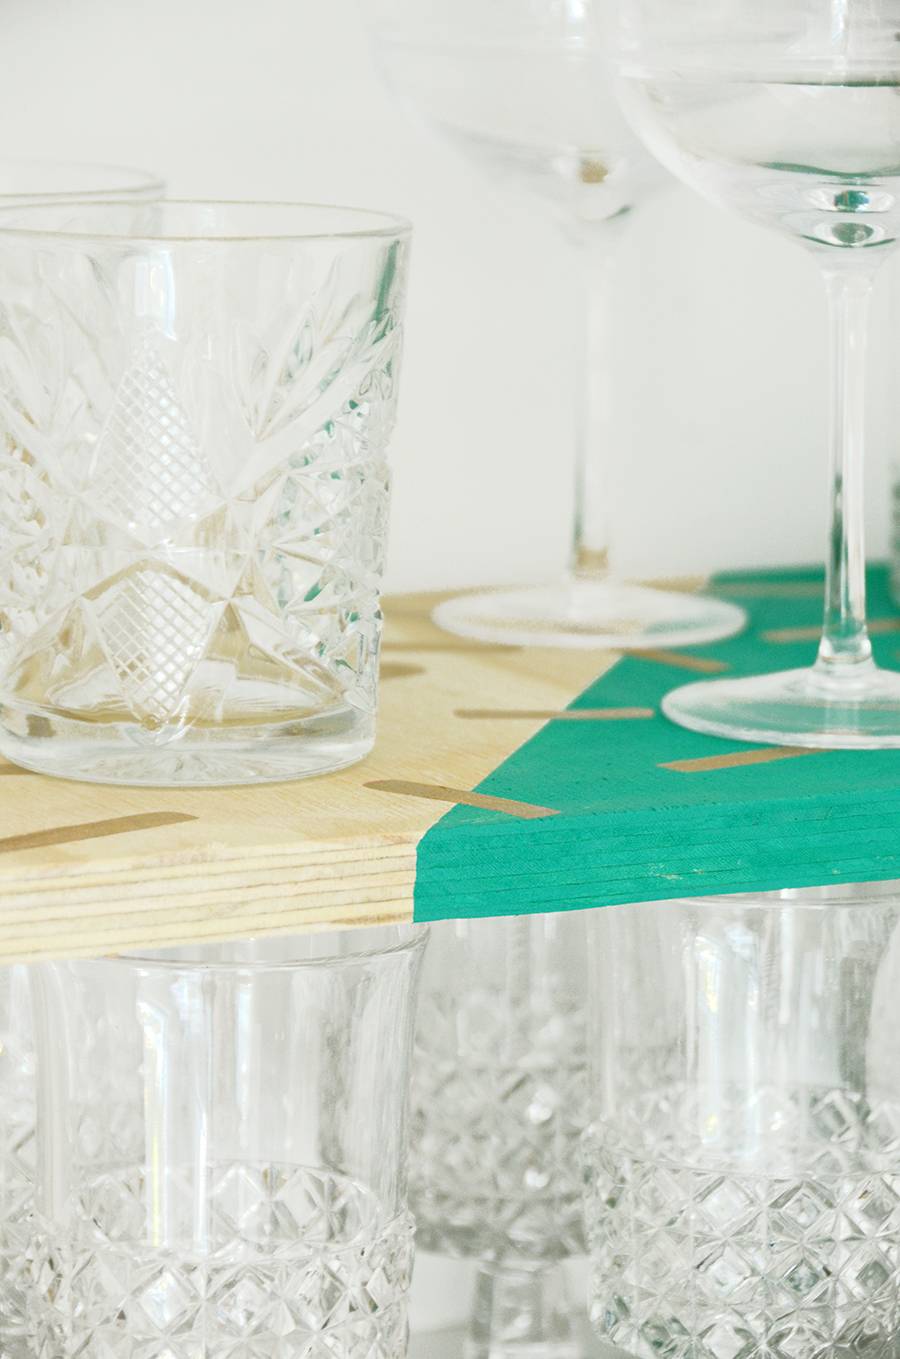
Let the gold leaf dry, then go fill your new shelf with glassware! The measurements can all easily be adjusted to fit your cabinets, so don’t feel like you have to match mine exactly. As long as all the dowels are the same length then you should be all set.
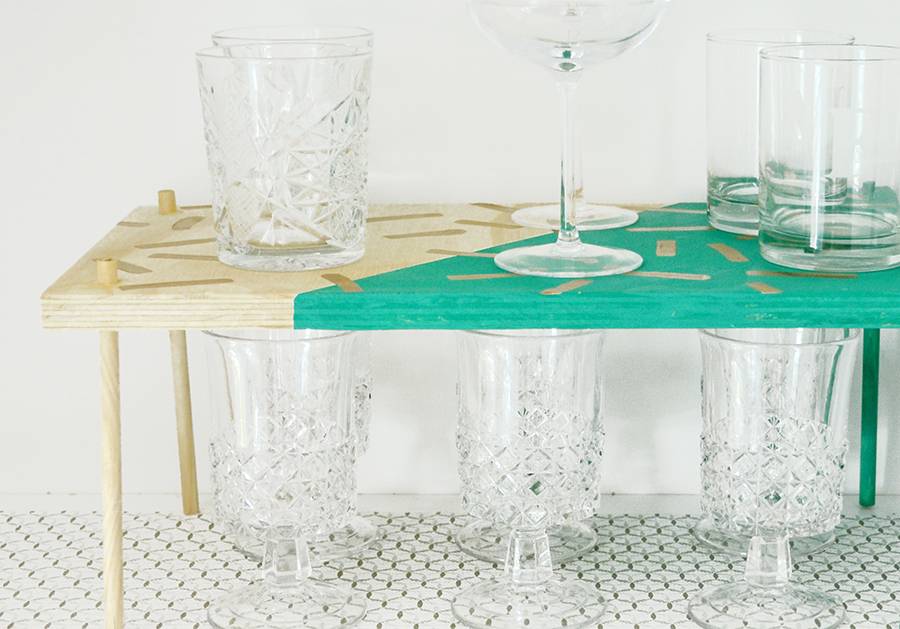
This organizer could also be handy for the pantry, especially if you have tall shelves and need some extra storage.
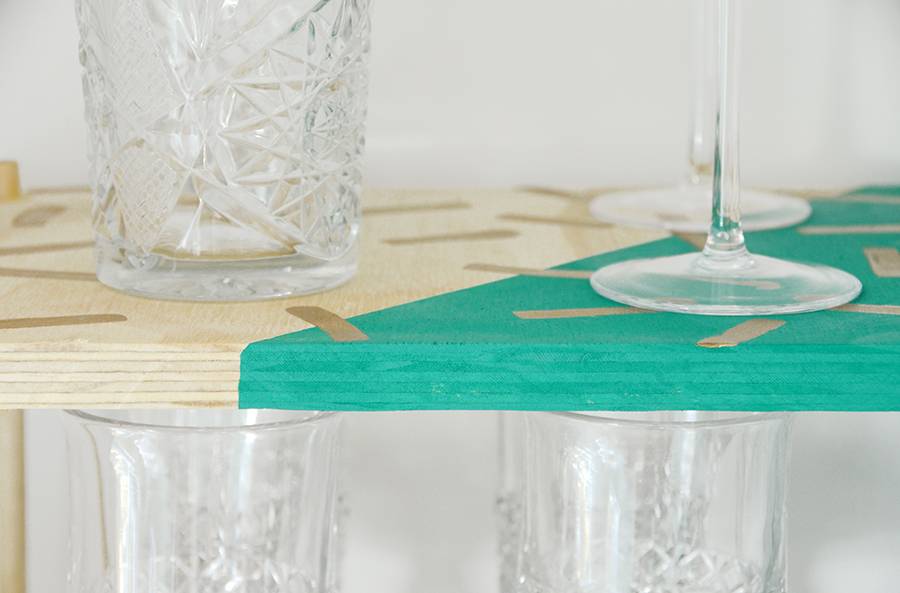
Feel free to get creative with the design too, using different colors and patterns. The sky’s the limit!
