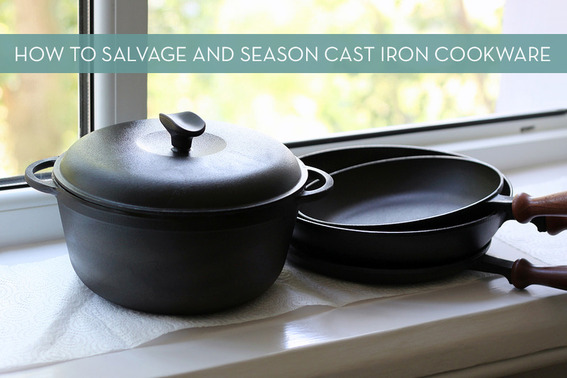
Antique cast iron cookware is the best there is. If you have an old piece, this guide will show you how to clean, restore, and season those worn cast iron skillets and dutch ovens so that they’re good as new.
Cast iron is incredible. It’s like nature’s non-stick surface. I have a 12” skillet, a round griddle for tortillas, and a large, rectangular griddle/grill pan, all of which I absolutely baby, adding flavor layer by layer, and avoiding soap, and many times water, at all cost.
So, I was stoked to find this cast iron Dutch oven at a thrift store for $4. All it needed was a little TLC and a round of seasoning, and I knew it would be my new best friend.
So, scour garage sales and your grandparents’ house for all the cast iron you can get your hands on. Don’t be afraid of the condition. This stuff is immortal, and anything can be salvaged and recycled. Then, follow these steps to get it into shape, and you’ll never reach for Teflon again.
What you’ll need to restore antique cast iron cookware:
- Cast iron skillet, griddle, or Dutch oven
- Electric drill and fine wire brush bit
or - Sand paper and steel wool
- Vegetable oil (pure veg, or canola or peanut) and coarse salt
- Vegetable shortening (or lard)
- Oven, cooking range, and sheet pan
- Heavy duty pot holders or oven gloves and tongs.
- Safety glasses, work gloves, and dust mask (latex gloves also recommended)
Tip: Cast iron gets hot ALL over, including the outside and handles. As such, you’ll need to allow sufficient cooling time on your cooktop, so don’t embark on this process if you’re expecting company and don’t want to leave it out.
Preparing the Cast Iron Skillet
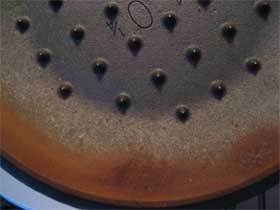
1. Assess the state of your cookware. Mine was very dry, a bit dirty, and had severe rust along the lid.
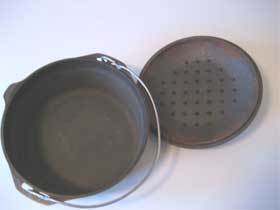
2. Then, wash thoroughly with soap and warm water. It’s okay to use soap at this point, since there’s not a useable layer of seasoning.
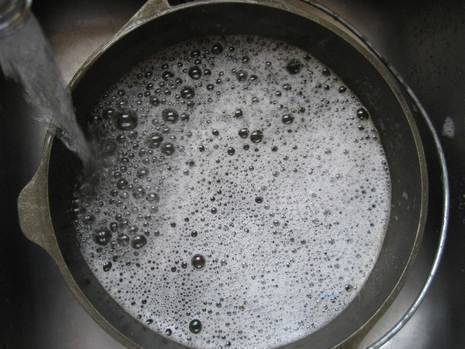
4. Dry completely. Donate an old towel to this process, as it will turn black.
Removing Rust from Cast Iron Cookware
5. The amount of rust will vary from piece to piece, but unless your cookware was perfectly cared for, there will be some, even if you can’t see it.
6. If the rust is minimal, a quick scrub with fine sandpaper and steel wool may be all that’s necessary. If the rust is significant, like mine, procure a fine wire brush designed for an electric drill. You’ll find these in the hardware store next to the saw blades and grinder attachments. They cost around $3.
7. Attach the brush to a drill. Use a heavy-duty, corded drill; a 7-volt Black and Decker won’t cut it for this job. Wearing safety glasses, gloves, and a dust mask, begin to remove the rust. Work slowly, and don’t dig into the surface, or it might not heat evenly. In the photo below, you can see where the rust has been removed.
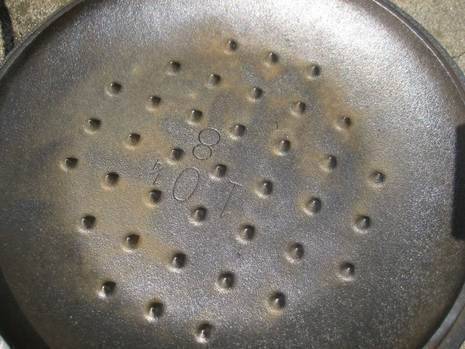
8. Once finished, clean all the dust off with a towel.
Cleaning the Cast Iron
9. Place the cookware on your cooktop and heat on high, and turn the exhaust fan on HIGH. Pour equal amounts of coarse salt (such as kosher salt or a coarse sea salt) and vegetable oil in the inside. Roll up a paper towel, and hold it with your tongs, and wearing your gloves, scrub the mixture until it turns brown and looks burnt, about 8-10 minutes. Don’t worry if you see some black specks.
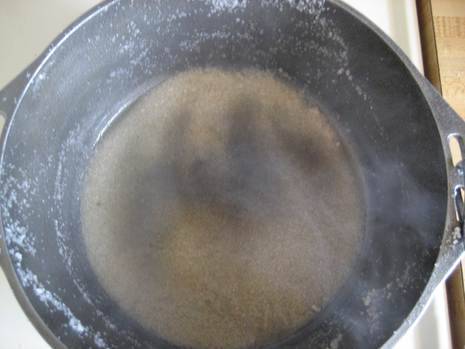
10. Remove from the heat and allow to cool thoroughly. Then wipe out the salt and oil. From this point on, do not use soap on your cast iron
Seasoning Cast Iron Cookware
11. Heat your oven to 220-240 F. Coat the entire piece of cookware with vegetable shortening, or if you’re okay with using animal products, you can use lard, or even bacon grease. I find shortening to be particularly gross (I refuse to cook with it), so I recommend using disposable latex gloves to eliminate oily and blackened fingers. Do not use a liquid oil for this, as it will only get sticky and gooey.
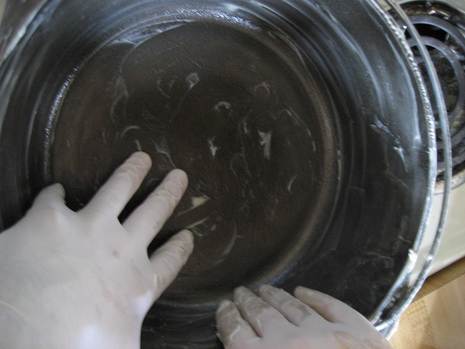
12. Place the cookware on the top rack of your oven, with a sheet pan underneath to catch any drips. Turn on the exhaust fan. After twenty minutes, wearing your safety gloves, take out the piece and wipe away any excess oil with a paper towel.
13. Bake for two hours, then turn off the oven and allow it to cool. If the piece is large, like mine, you may want to repeat the process with the cookware upside down.
Caring For and Cleaning Cast Iron
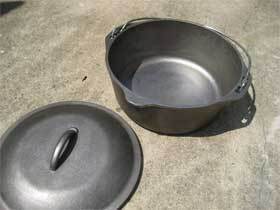
14. Your cookware is now seasoned and neither will it rust..
15. Use cast iron almost anytime you please. I don’t recommend using it for rice, pasta, or anything with a lot of liquid until it is VERY seasoned, as it may discolor your food or make it taste a bit like metal. Cast iron will work on ANY cooking surface: your range, oven, grill, camp stove, or wood burning fire.
16. After using, let the pan cool slightly, then wipe with a paper towel and a little coarse salt. If there’s food stuck to the pan, you can wash in warm water only, NO SOAP. Be sure to dry thoroughly, then rub in a little cooking oil all over the surface, including the outside, bottom and handle.
Savor your cookware, and your grandkids will be able to pass it along to theirs. Cheers.
Love kitchen-related DIY’s and tutorials? Try this easy garlic keeper project…
