Okay, show of hands… How many of us have sat down with chalk in hand in front of our new DIY chalkboards, ready to start lettering, only to realize that our chalkboard lettering skills stink? This morning at about 4:30am while I was surfing the webs –because that’s what I do when I wake up waaaay too early and I don’t want to get out of bed and my iPhone is within reach–I spotted a genius tutorial on Indie Craft Parade that shows how to letter like a total pro. Inspired, I started digging – and today I’m sharing three great tutorial for chalkboard lettering that’ll make it seem like you went to calligraphy school.
Chalkboard Lettering Tutorial #1
Transfer Technique
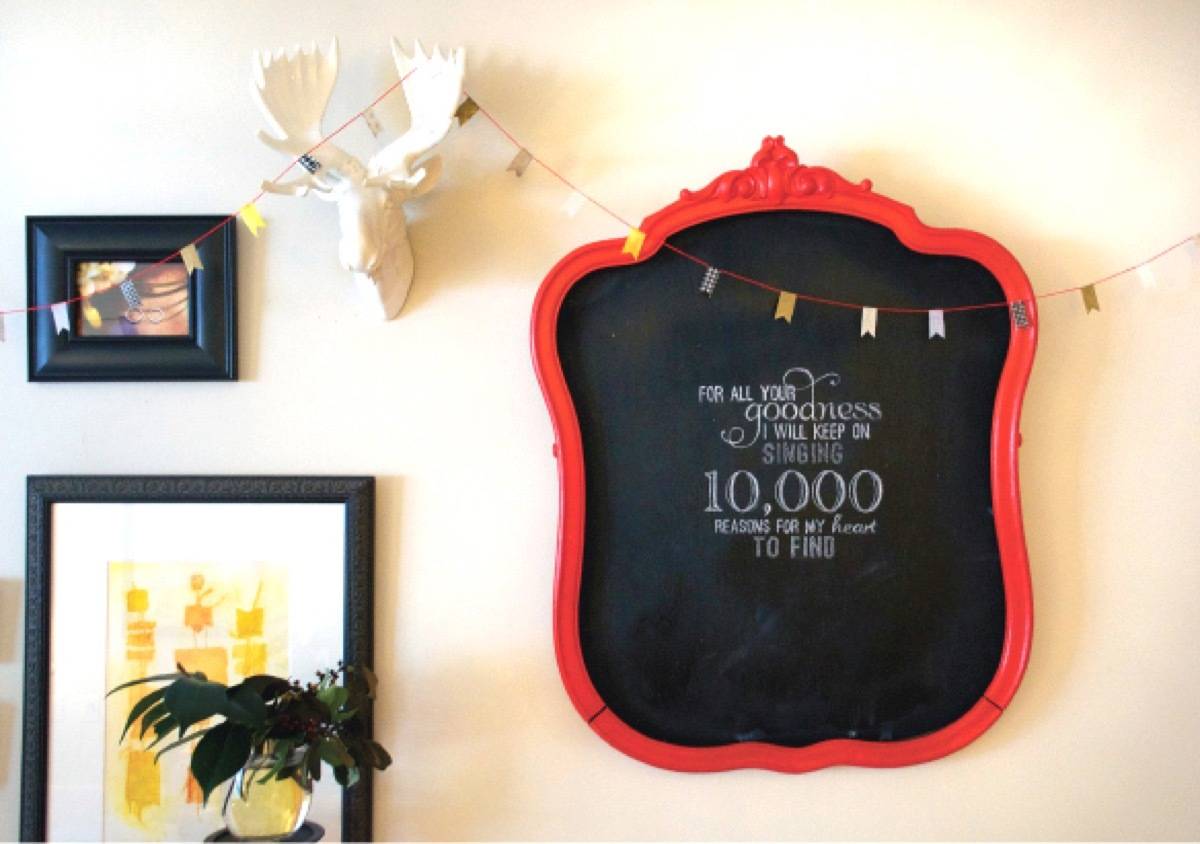
This first tutorial from Emily Jeffords is basically a transfer/tracing technique. It’s so simple and cool, you’ll wonder why you hadn’t thought of it first. And you never actually have to letter with the chalk itself!
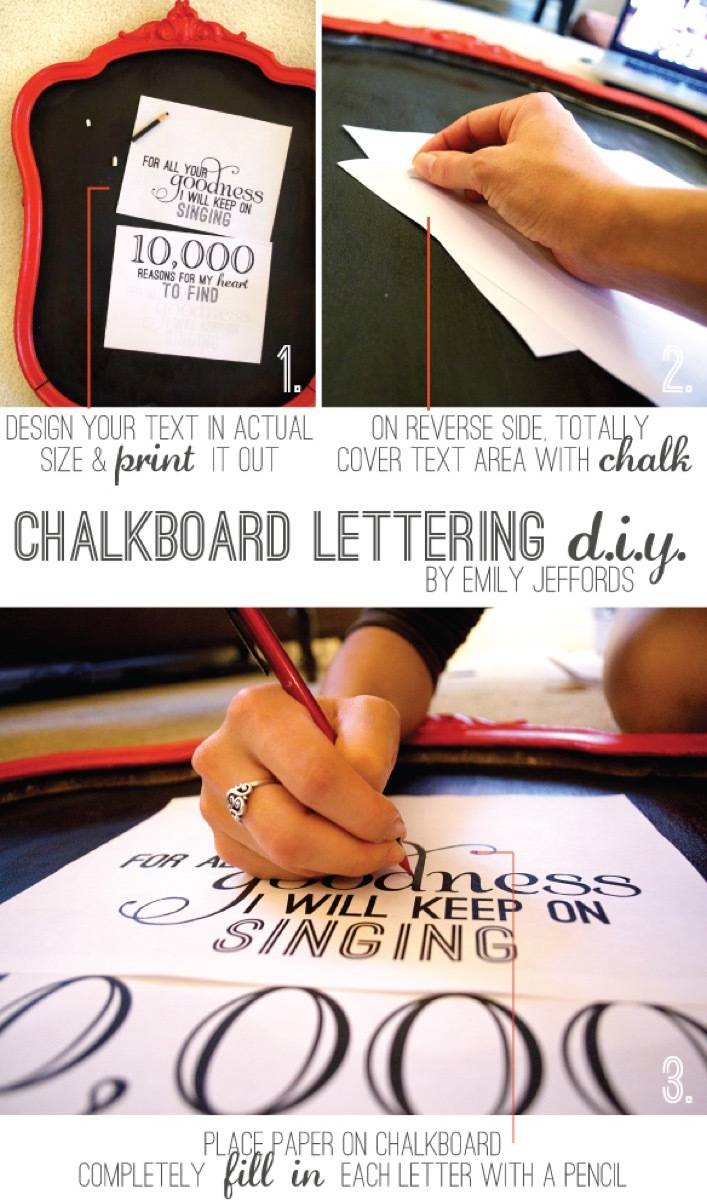
Visit Emily Jeffords blog for the rest of the tutorial! Seriously, why didn’t I think of this first?
Chalkboard Lettering Tutorial #2
Tips & Tricks
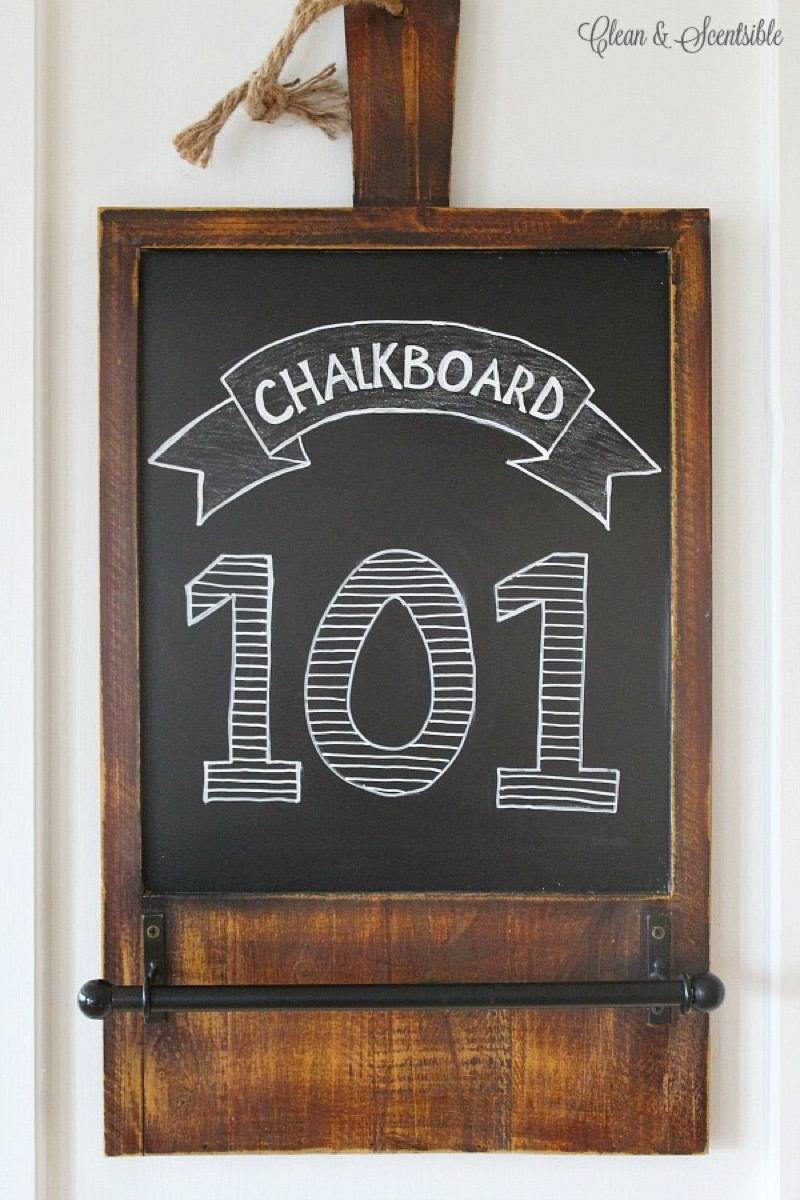
Now, although that’s a GREAT tutorial, you’ll want to check out Jenn’s tutorial for chalkboard lettering as well. She tells us how to season our chalkboard, what the best tool is for erasing, and when to use a ruler.
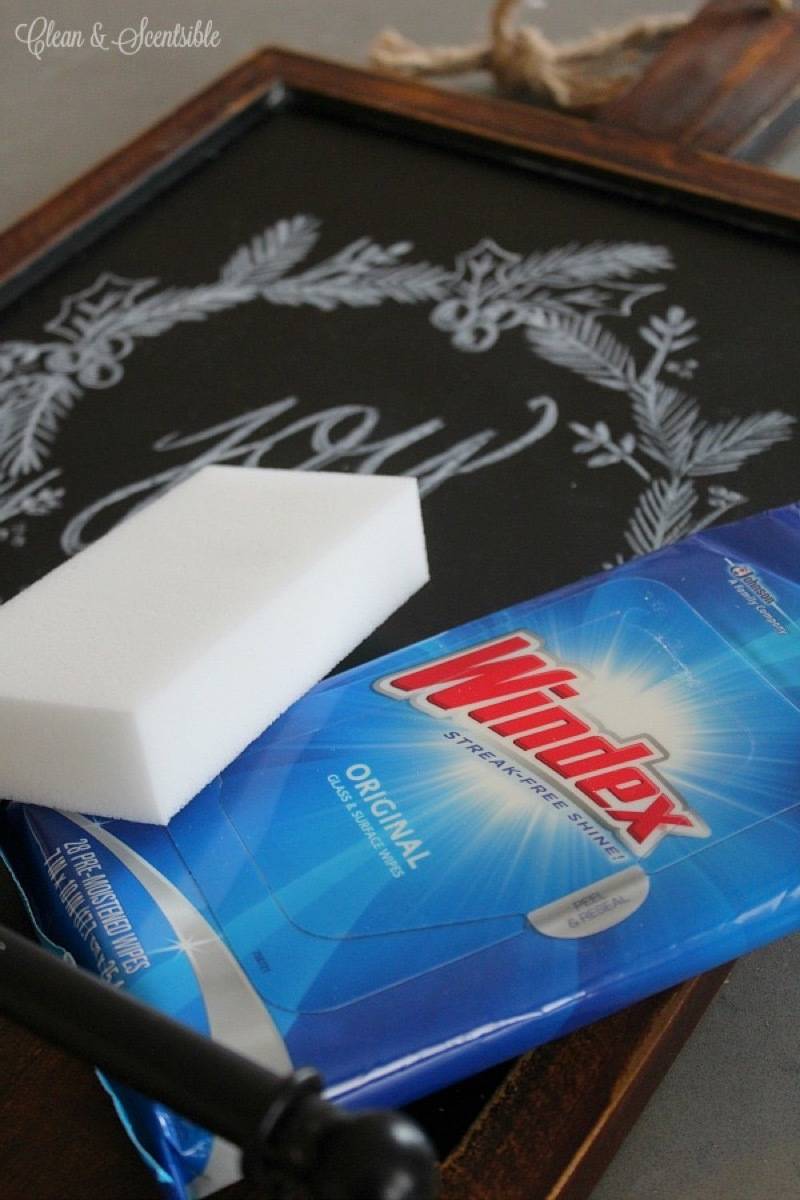
Visit Jenn’s blog for helpful tips on chalkboard lettering, like how to fix mistakes using a q-tip, and why you should keep a glass of water nearby.
Chalkboard Lettering Tutorial #3
Print Your Own
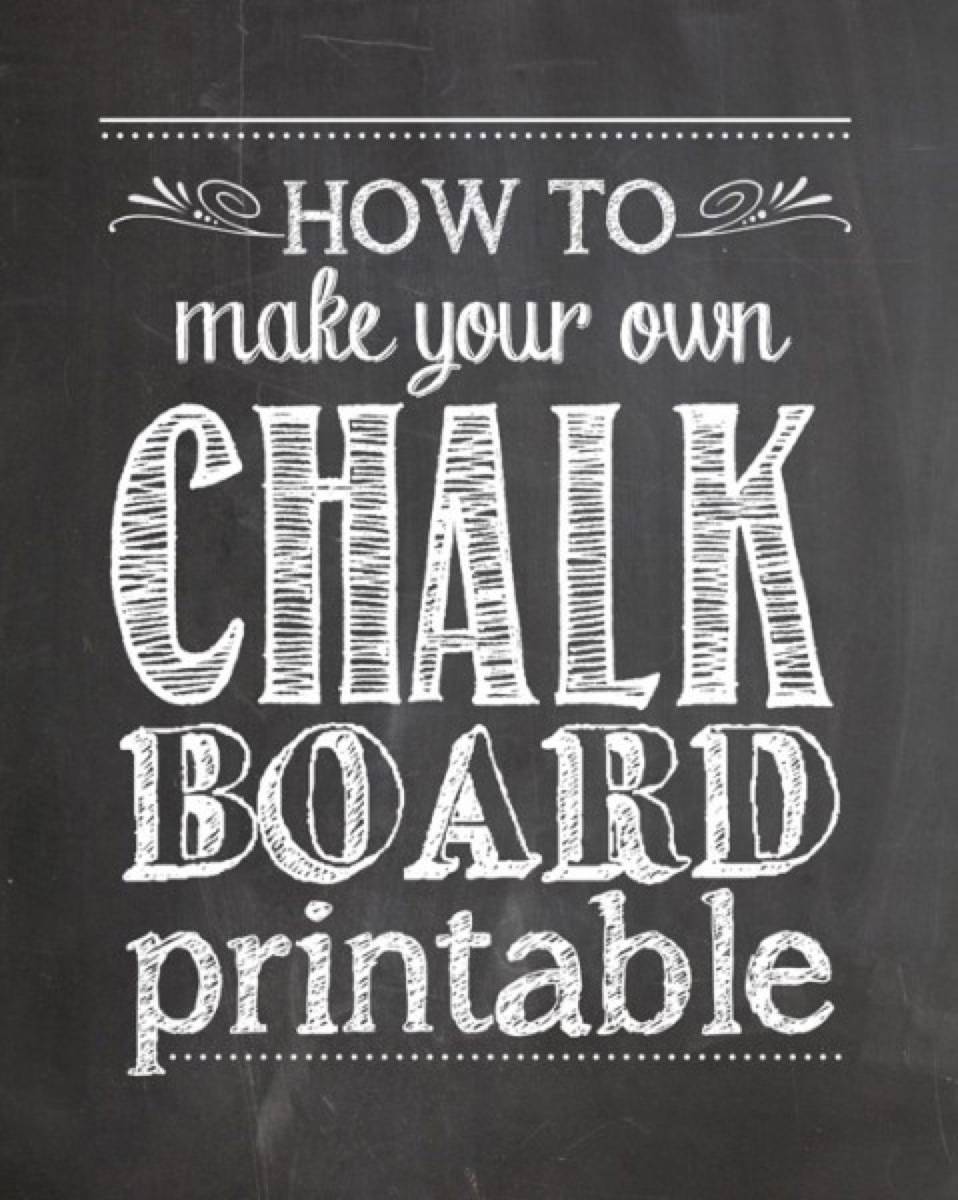
And finally – want the look but don’t want to bother with the chalkboard and chalk?? Then you’ll definitely want to check out Erin’s tutorial about how to make an 8 x 10″ chalkboard printable. She offers a handy chalkboard background, plus downloadable free fonts from dafont.com that suit the chalkboard style. Applied to some MDF, I’m guessing the results would fool most people–and no chalk dust!
Who’s ready to start chalk lettering?!
The Road to Civil War