I love black and white, and what better pattern to show off this high contrast combo then buffalo check (also known as buffalo plaid). For the last few years, I’ve been adding more and more of this (usually) red-and-black flannel pattern known to my fall/winter wardrobe and home decor. Last year, I decorated a whole Christmas tree for $10, and buffalo check was the main star.
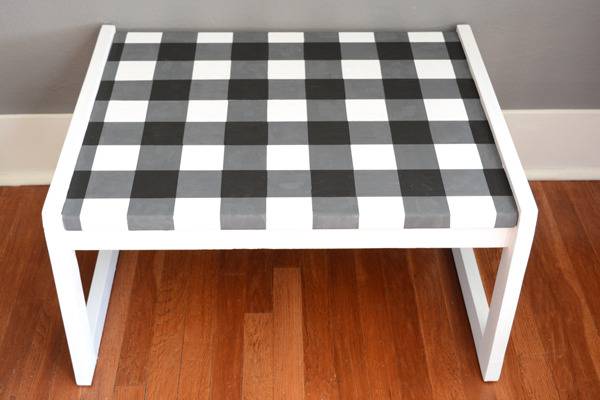
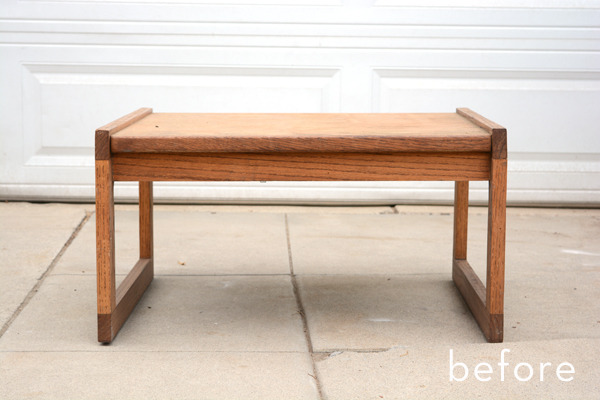
So, when I found this solid little table at a thrift store for $8, I decided to give it a giant gingham makeover.
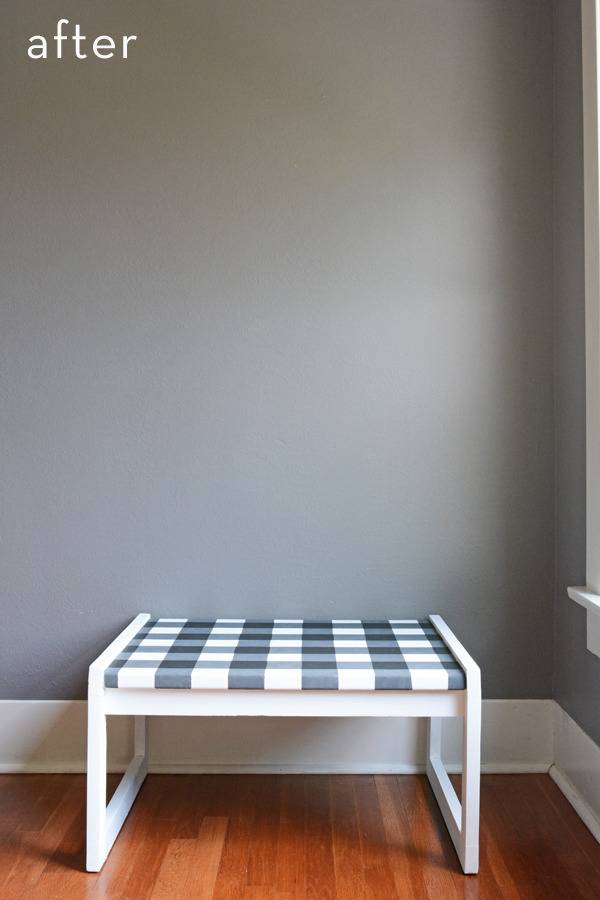
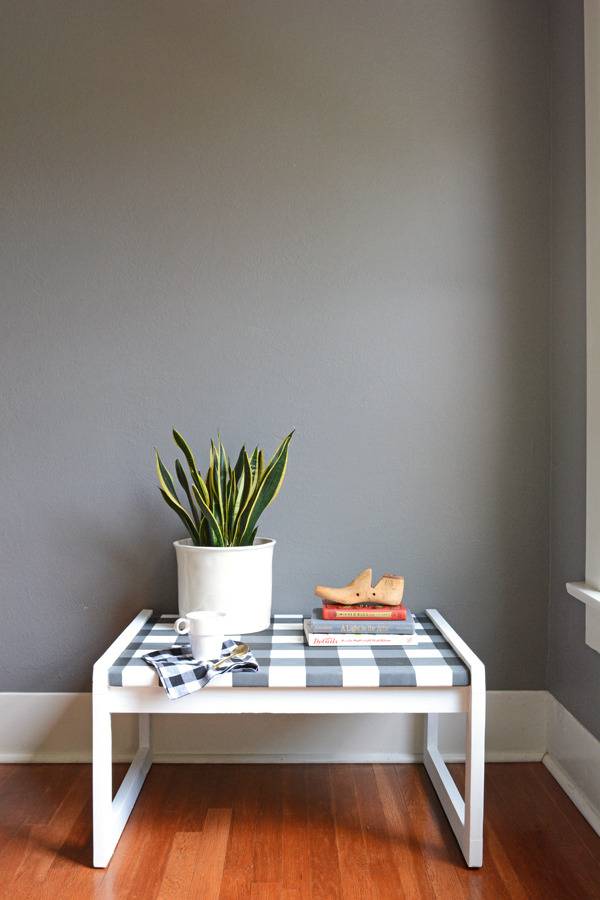
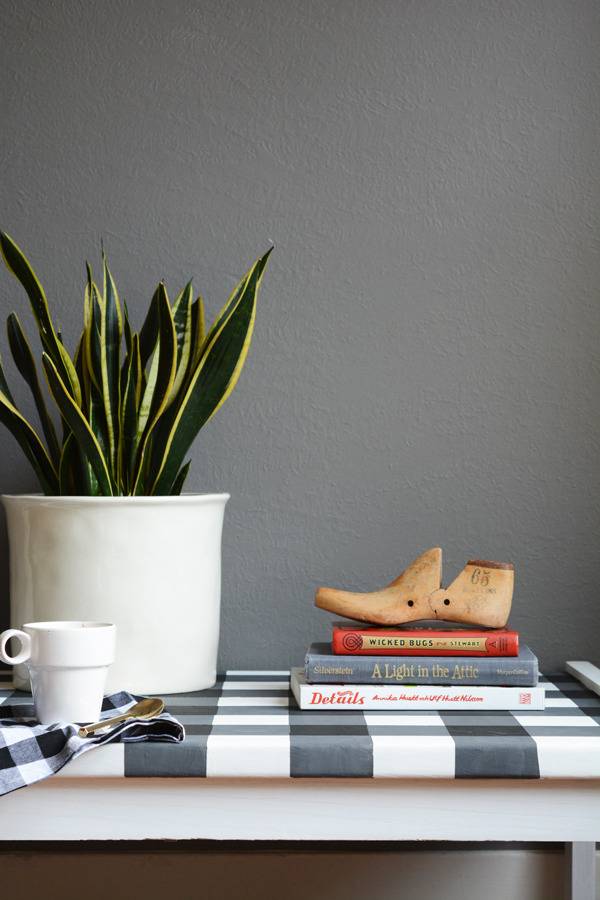
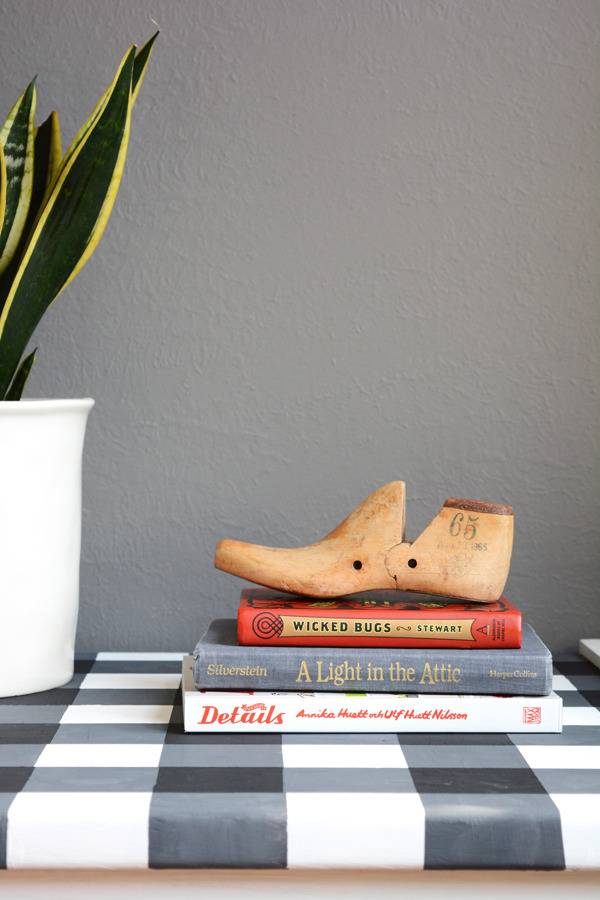
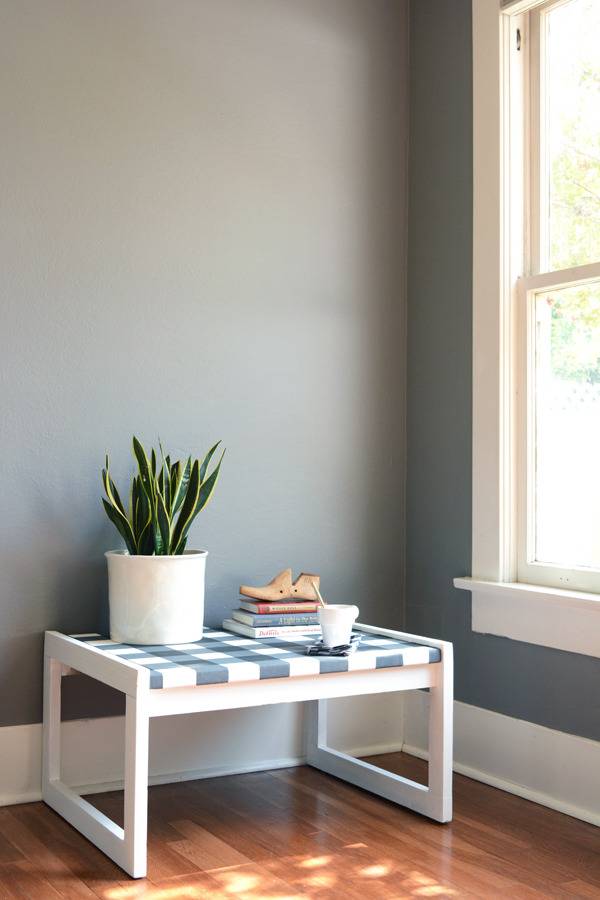
With some paint, tape and a little time, I was able to transform this boring side table into and graphic statement piece.
How to make a buffalo plaid painted coffee table
You will need:
- Paint in black, white, and grey (I used Americana Decor Chalky Finish)
- foam paint brushes
- drop cloth
- tape
- pencil and measuring tape
- sealer (I used Decor Art’s Creme Wax)
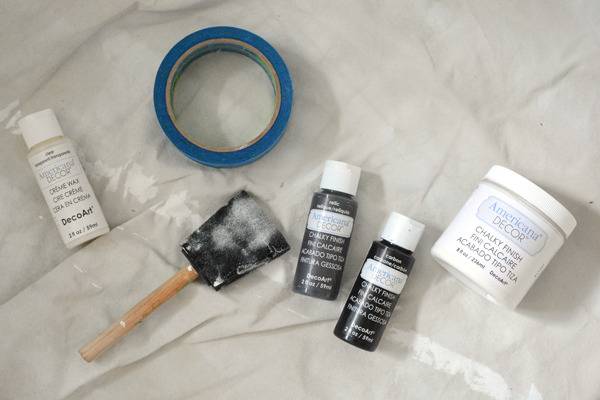
I’ve been wanting to play with chalk paint. As a avid DIYer, it might be hard to believe I’ve never used it. But, I always thought it was just for shabby chic furniture, and that just wasn’t me. But, I do know that chalk paint dries very quickly, and I knew that with all the taping and layers I’d have to paint with this piece, this might come in handy. And I’m happy to say that I like chalk paint!!! It does dry extremely fast.
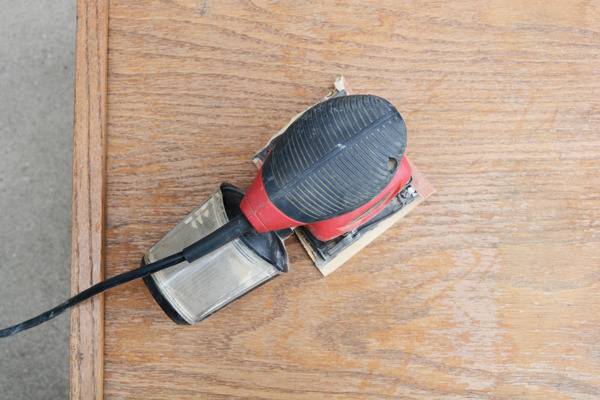
Start by giving the piece of furniture a good sanding. I used a power sander to make quick work of smoothing out the surface.
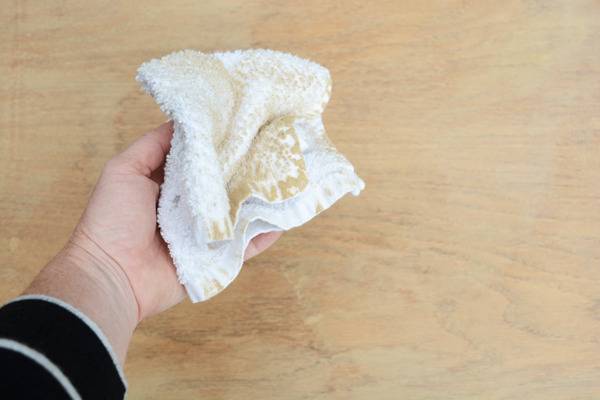
Remove all the dust from the piece of furniture.
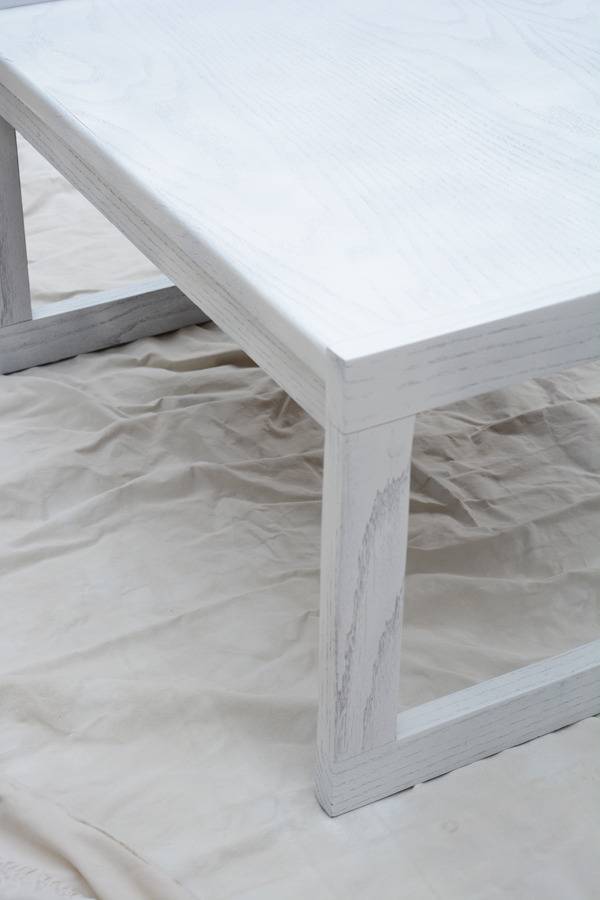
Prime the piece. I used a spray primer for a quick coat and a clean base for painting. Then paint the entire piece white, the top of the table and the legs. Allow it to dry completely.
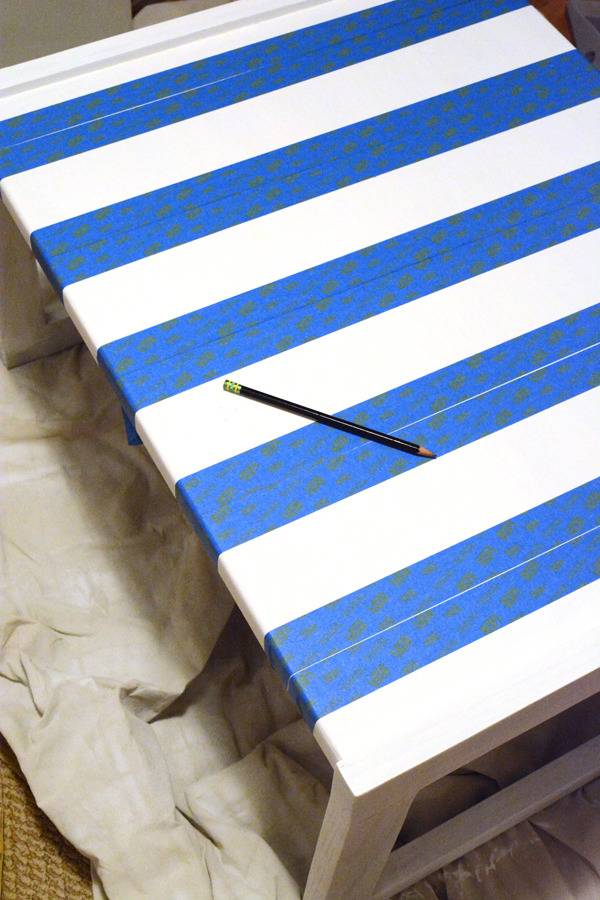
Using 1 1/2″ wide painter’s tape, tape off 3″ stripes across the top of the piece, leaving equal space between the stripes. This will create 3 x 3″ squares in the finished buffalo plaid pattern.
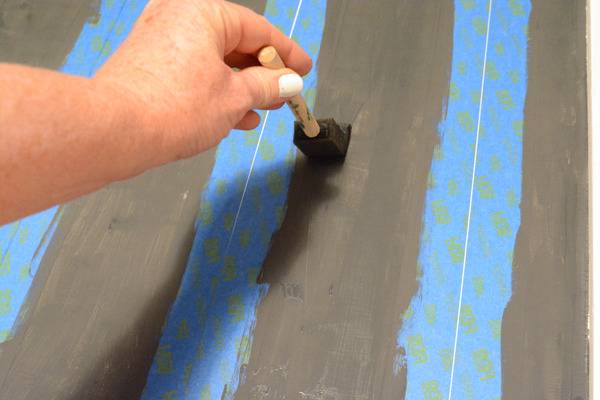
Paint the stripes grey (you could also use black if your alternating color is going to be red). Allow it to dry.
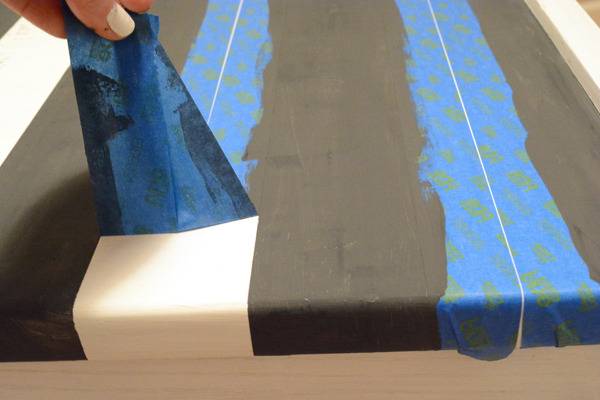
Remove the tape.
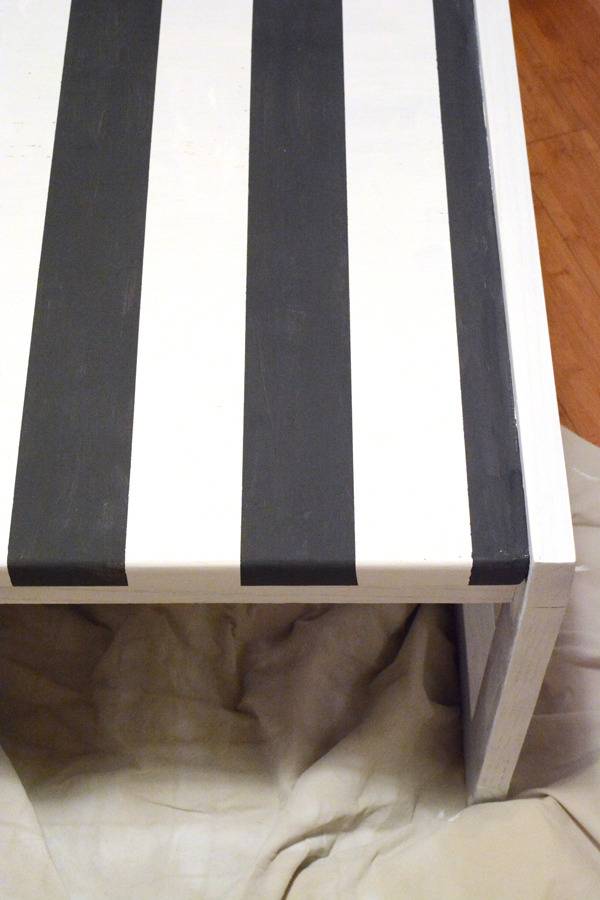
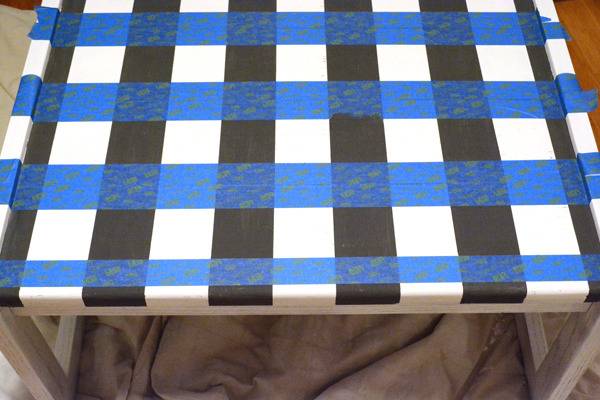
Now tape 3″ sections going the other direction on the table. I started at the center of the table, both directions, so that the lines would end the at the same point on either side of the table.
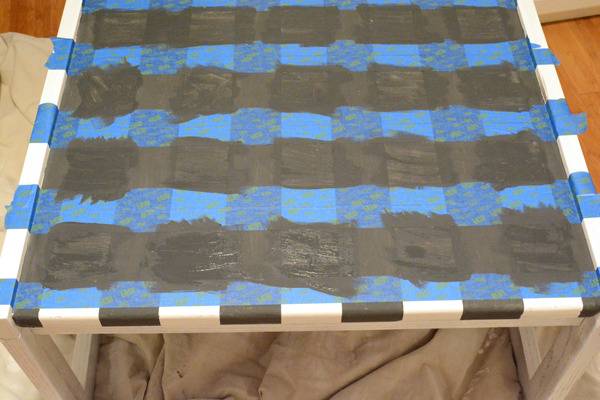
Now paint any square that are white with the grey paint as well. All it to dry completely.
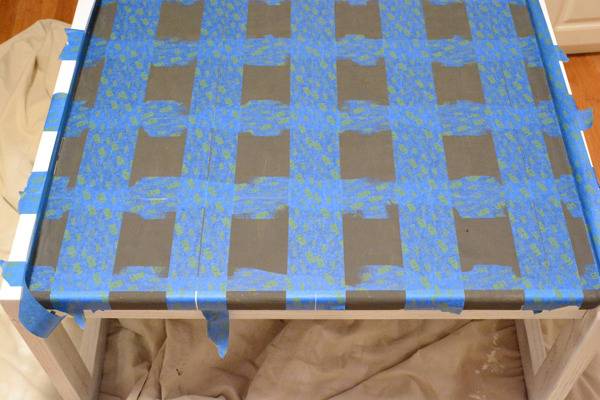
Then, tape over the sections you have just painted. Your tape lines will line up with the original tape lines again.
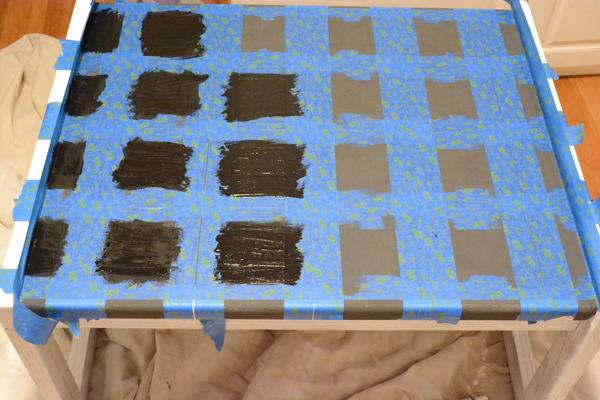
Finally, paint the squares that have been created by the grid of tape all black. When it is dry you can remove all the tape.
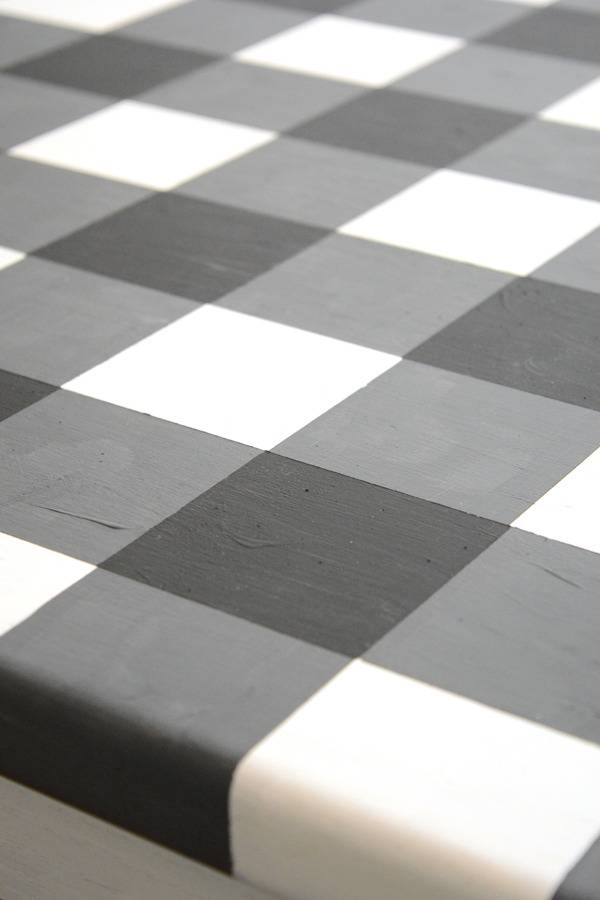
And lastly, you can seal the piece. I used a creme wax that you just brush on, but a water based sealer of anytime would work just fine.
This looks amazing, Jeran!
I love your site. And you are all so clever. I have to ask, what color is the wall painted behind your new table?
so much fun to see a pattern on a table like that. always wondered how to create this pattern…looks totally doable! love it Jeran!
Love it, always wonder how to do that. Thanks for the tutorial, I may try it.
Thank you for this tutorial. I’m going to give it a try!