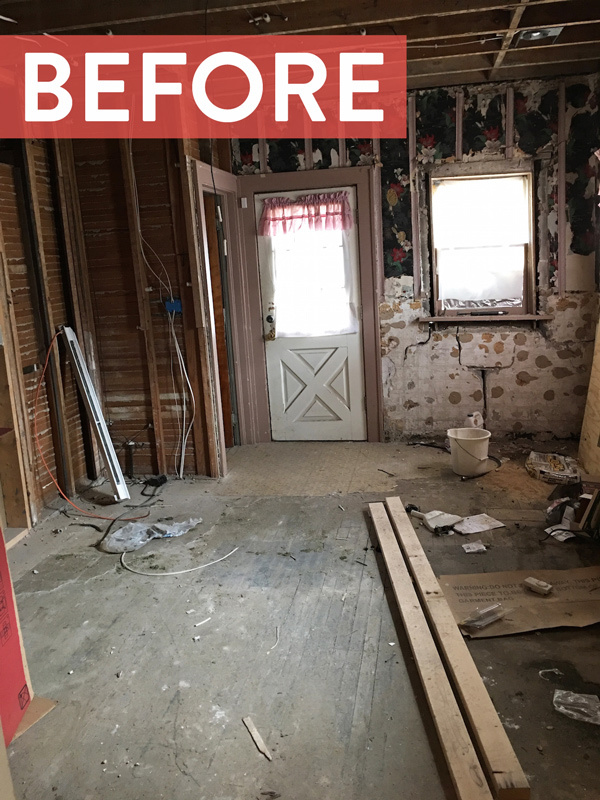
This little kitchen was the remaining evidence of an attempted house flip gone bad. The old home had great bones, but a few serious structural issues, discovered once the previous owner/flipper opened up all the old walls. The kitchen became too much for them to handle, and that’s when we stepped in.
When we found the house, we knew most of the renovation budget would go behind the walls (plumbing, electrical, structural repairs), so the kitchen finishes would have to happen on a serious budget. As you can see, this space would need everything, from the floors up. We planned on renting this home, but I always believe in making things as homey and cute as possible. We stuck to our budget by going with stock cabinets, stock countertops, vinyl floors while keeping things bright and functional. And, if I may say so myself, I think it turned out great! Read on to see how we did it.
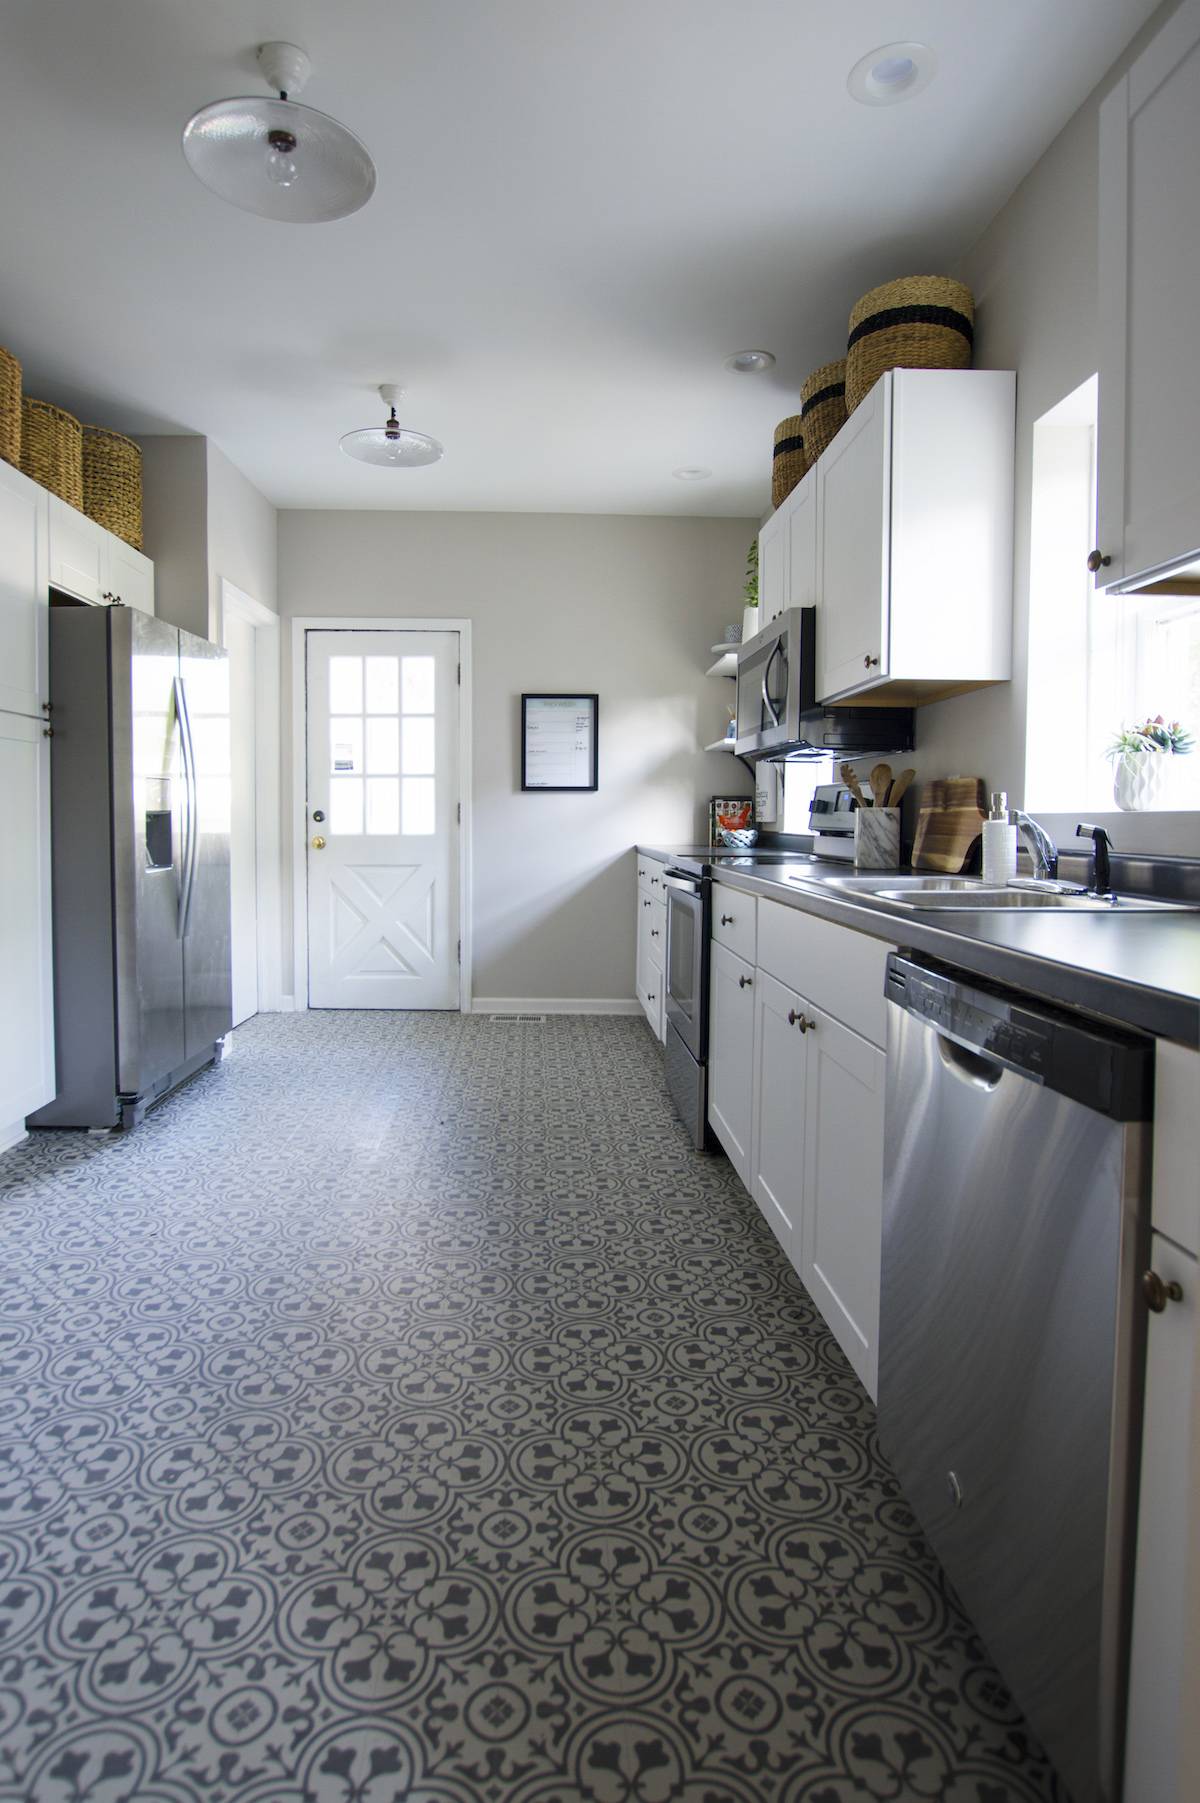
That’s much better right? The kitchen needed some framing work to get rid of a window, and we also needed to reconfigure the layout. It’s laid out as a galley kitchen, but it wasn’t clear what the previous owner was trying to accomplish. Here’s what the home looked like when we bought it:
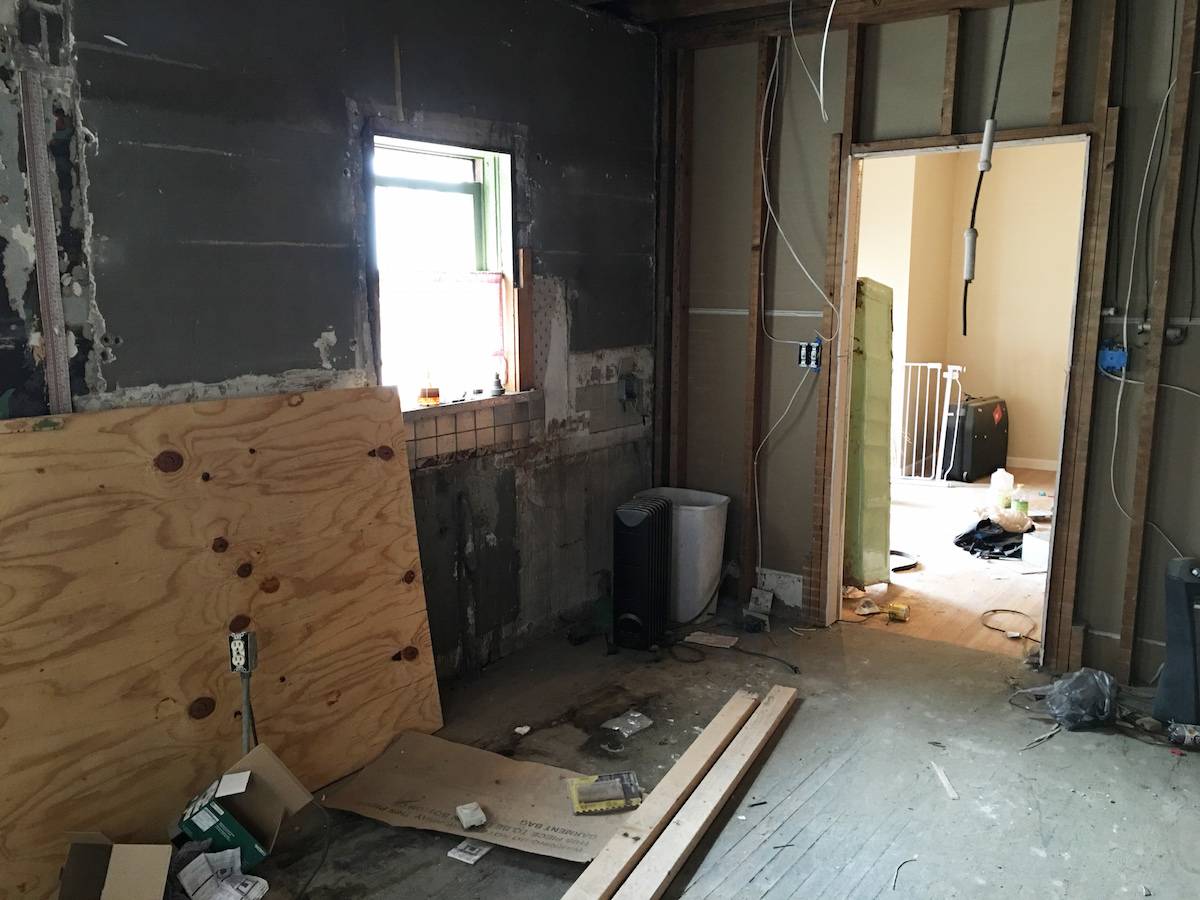
This poor kitchen was really trashed.
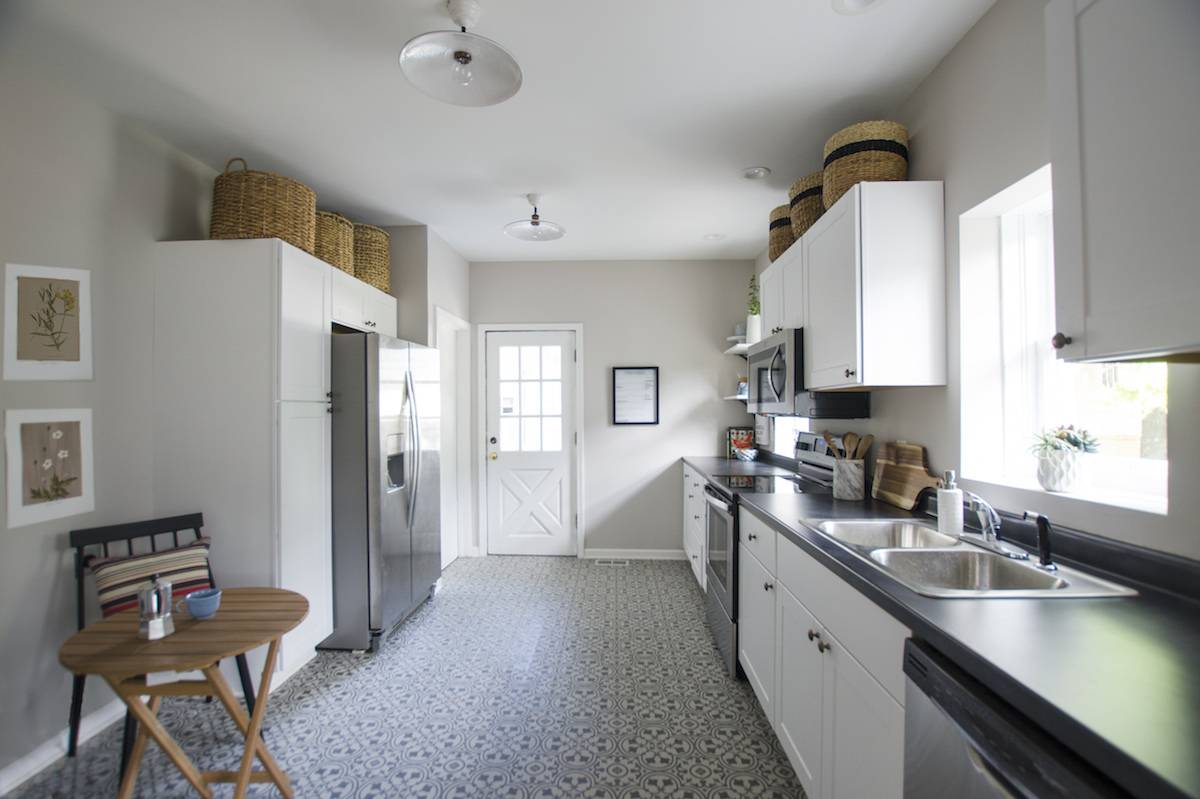
Thankfully, there are some great “stock” options out there to make a budget kitchen shine.
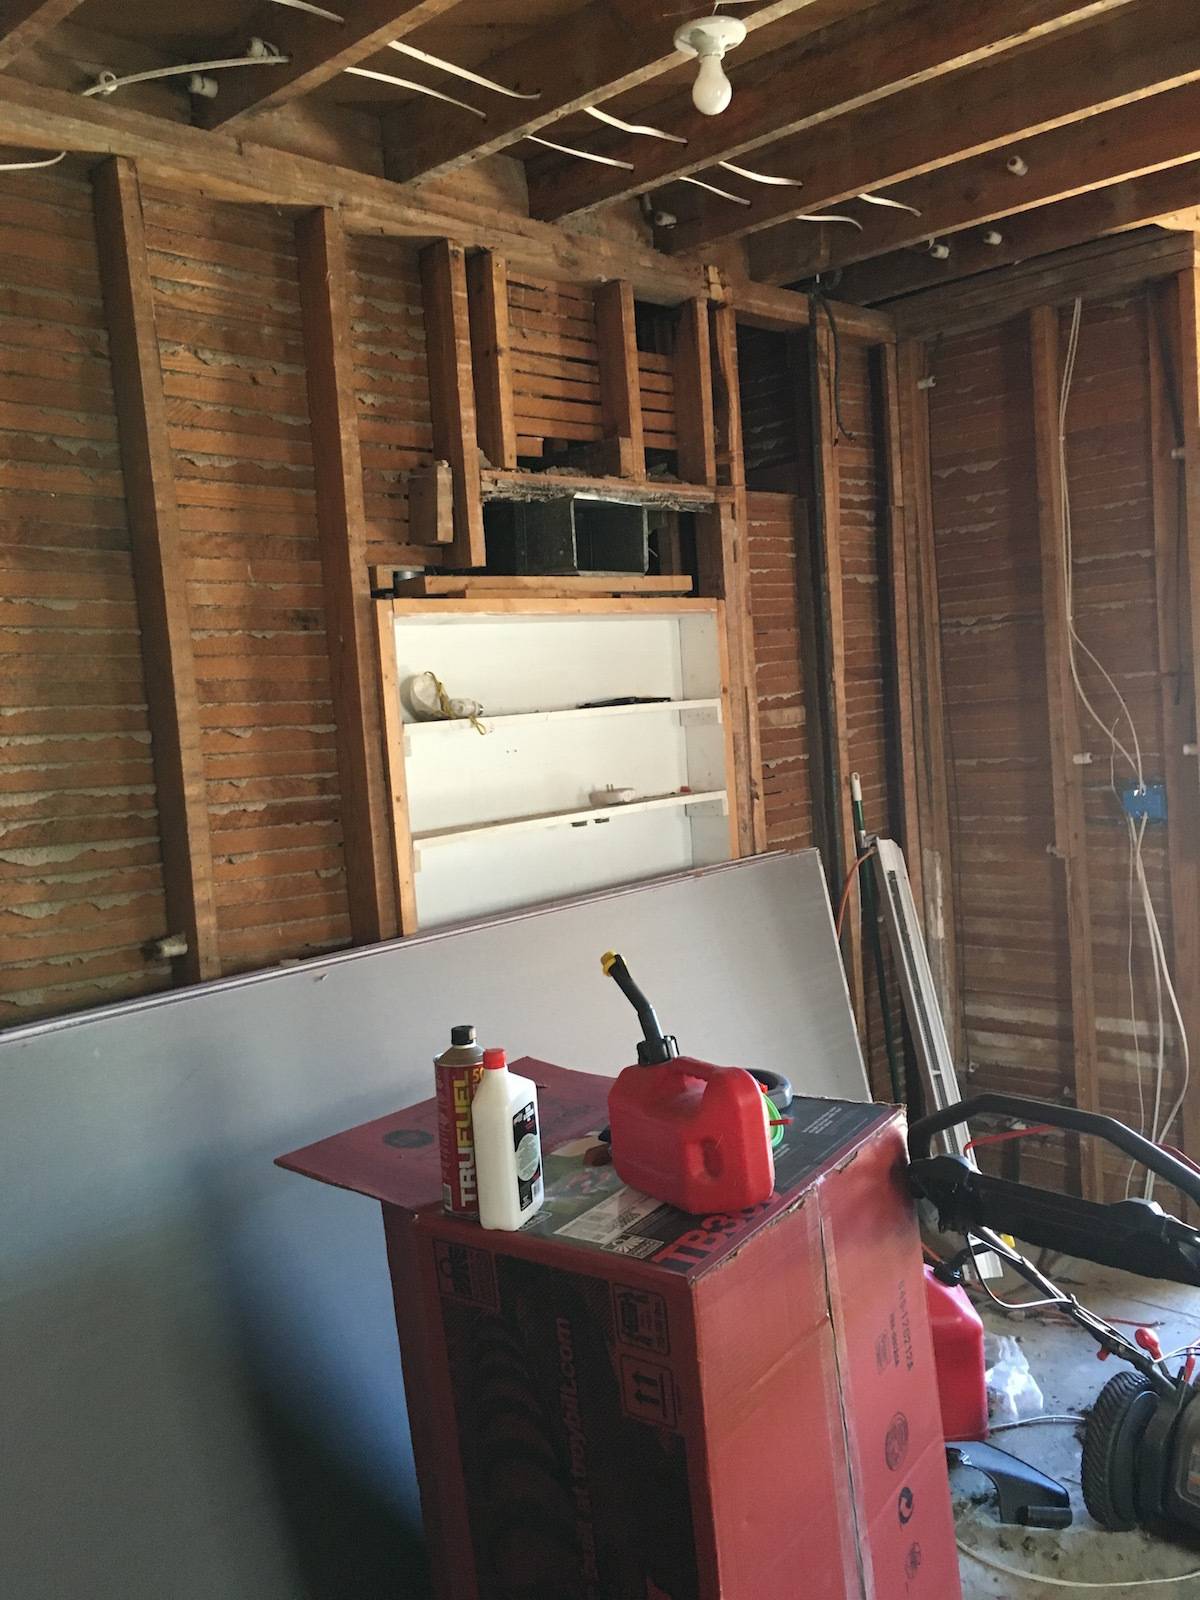
It looked like the previous kitchen had the range located on the opposite side of the wall. To gain the maximum amount of counter space we decided to move the fridge and the pantry to this side of the wall, opposite the sink.
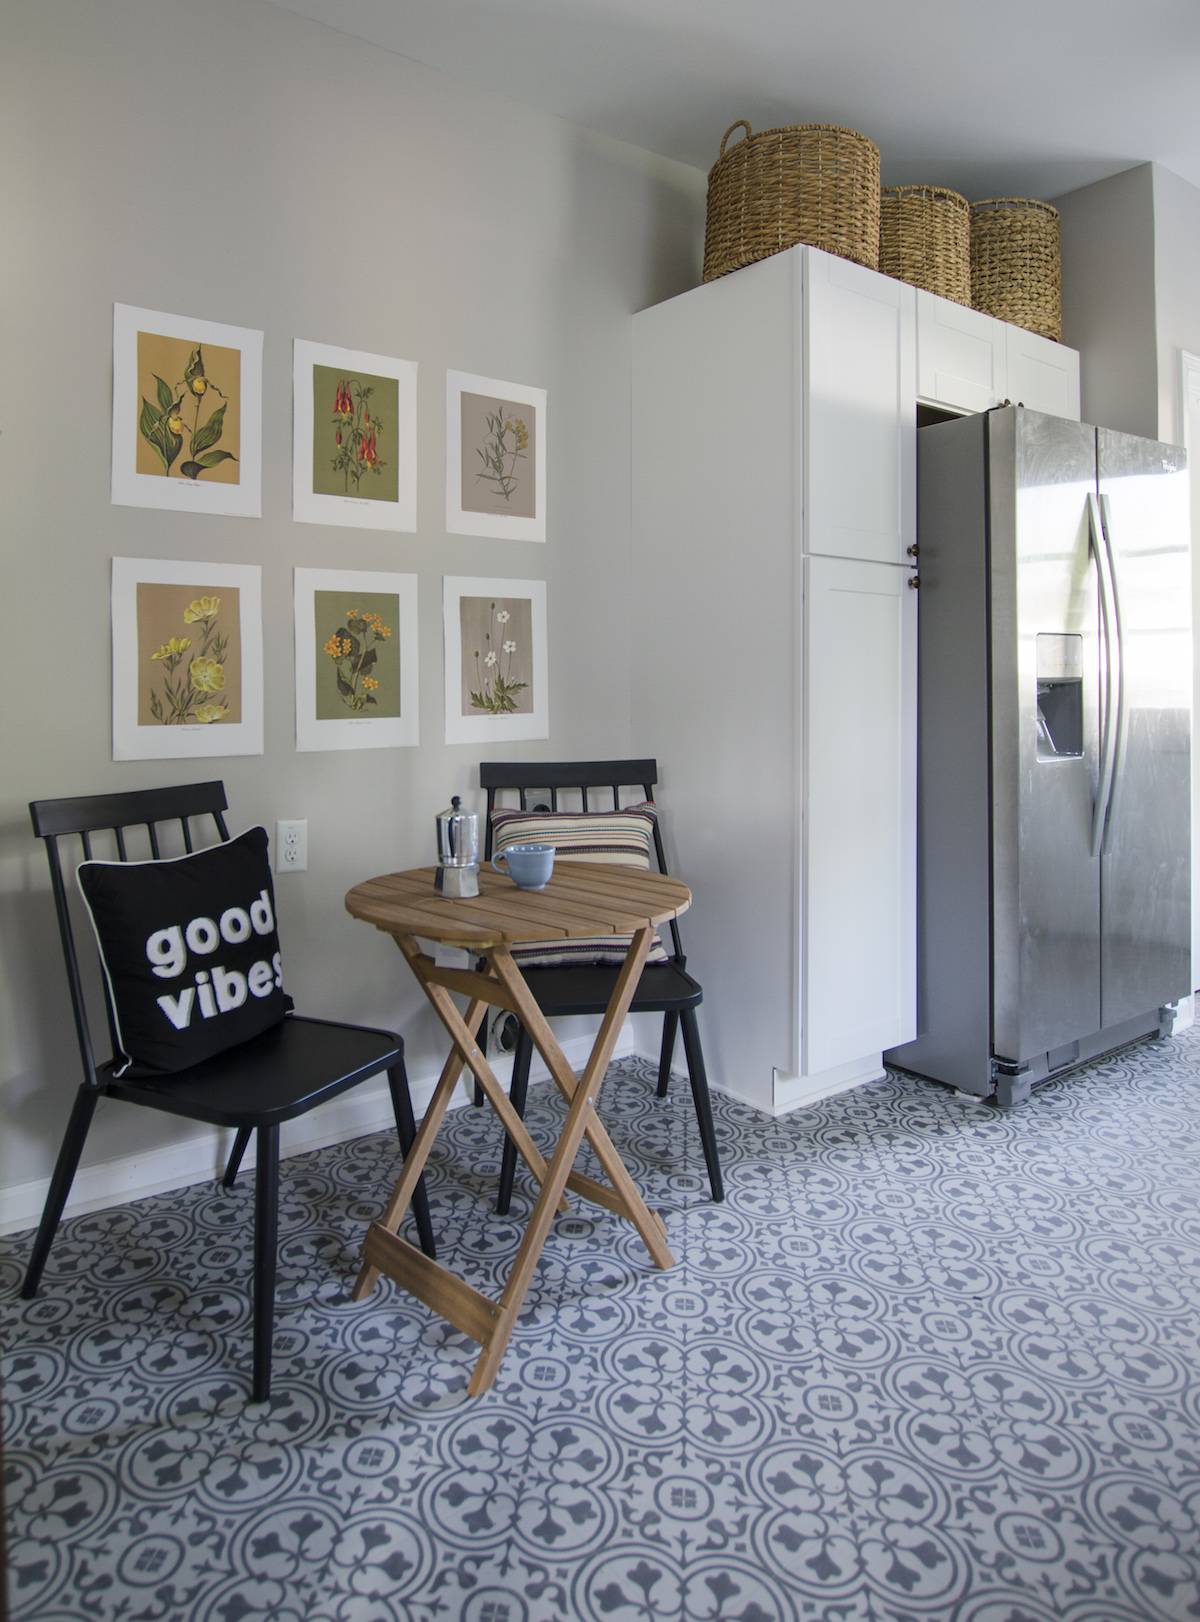
Once the kitchen was drywalled and painted, the real fun began. First, we had to decide between tile and vinyl flooring. The original hardwood floors were beyond salvaging, and installing new hardwood was outside our budget.
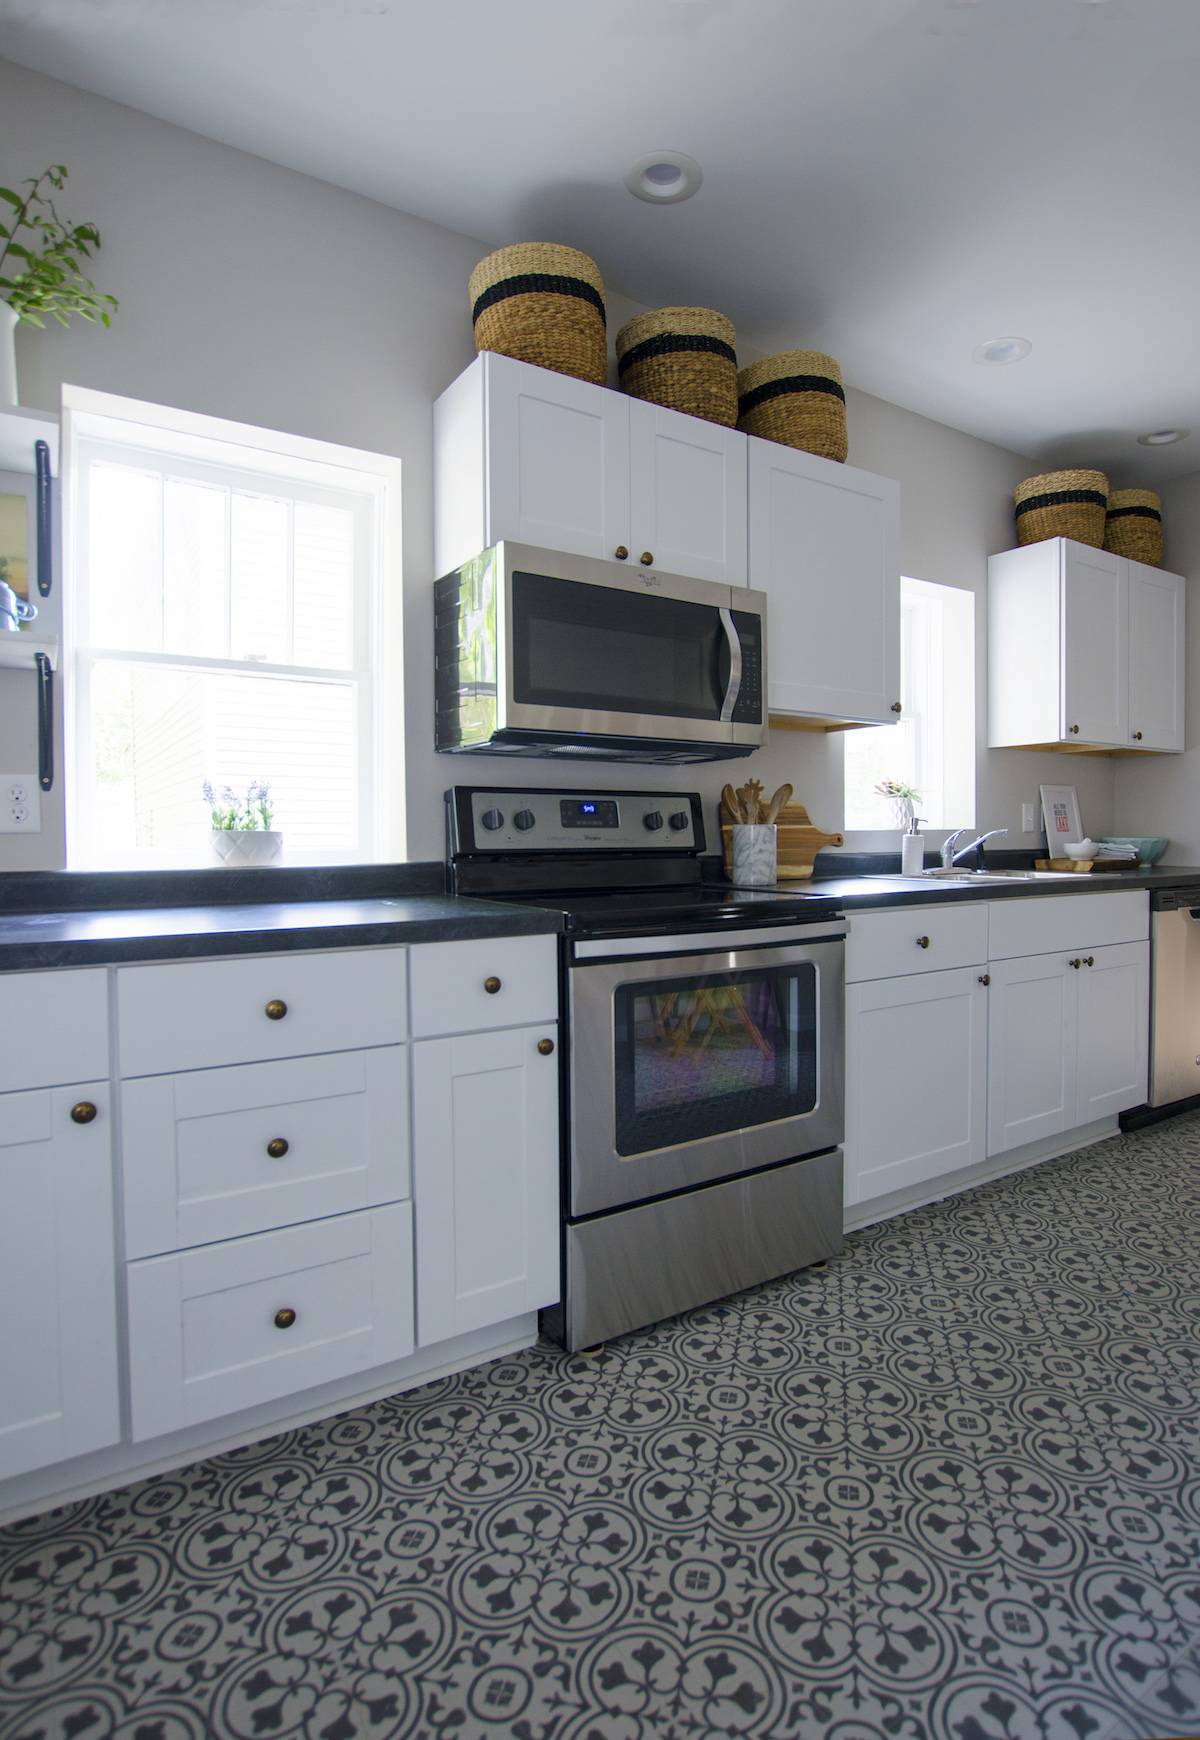
Tile, of course, was going to be more expensive than vinyl, but we were okay with that if it meant more durability. There were two “hiccups” to using tile. The first problem was the flooring transition from the dining room (real hardwood) to kitchen wasn’t going to be ideal. I really don’t like uneven floor transitions. The second problem was that all the budget-friendly tile options were, frankyl, ugly. Our budget was low here, people! So we decided to check out some higher-end vinyl and I found this patterned tile look from Mannington Floors. This pattern is called Deco Wrought Iron.
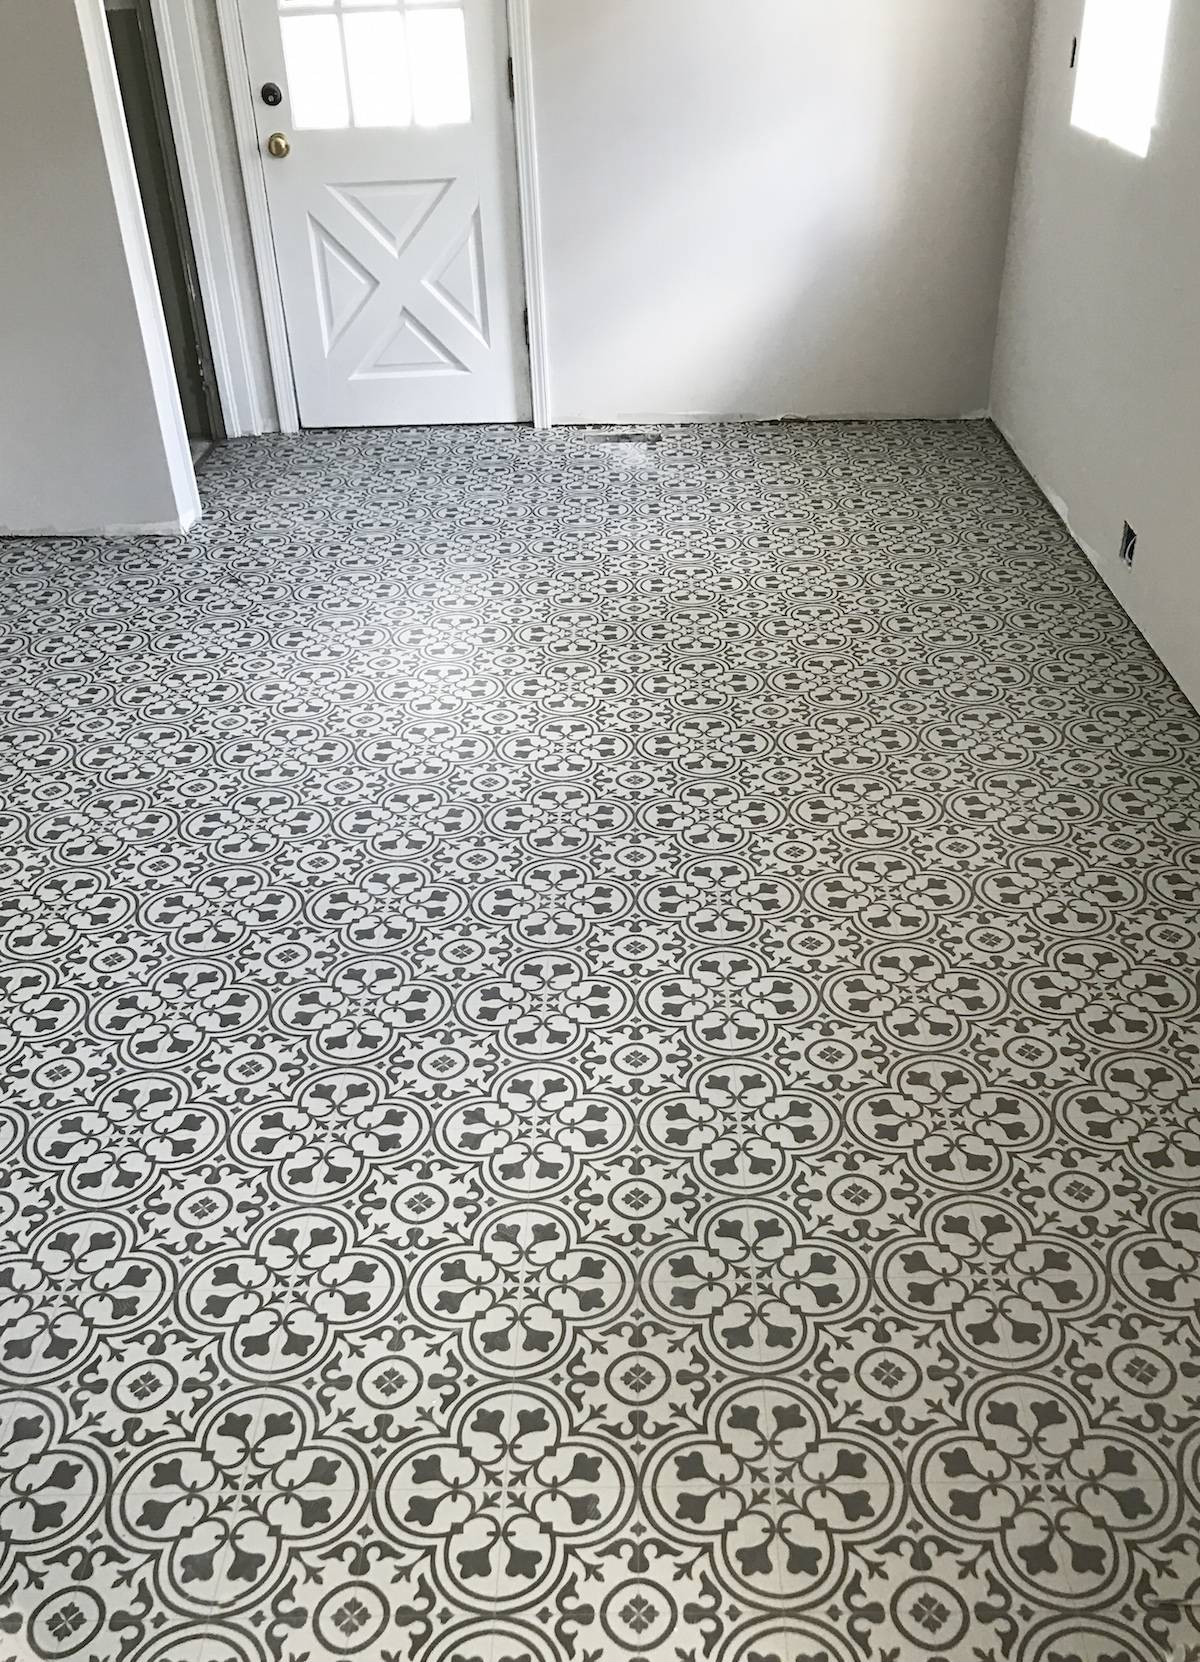
This is what it looked like on the day of install. It comes in silver, gold, and platinum. The total cost of this sheet of vinyl was $349. To make the floor level we had to lay down underlayment, and the total cost of the vinyl sheet, the underlayment, the glue, and the installation was a total of $694. Best. Decision. Ever. Tile was going to be very labor intensive and even using the cheapest tile would have cost over $1000. The patterned vinyl looks great for a great price.
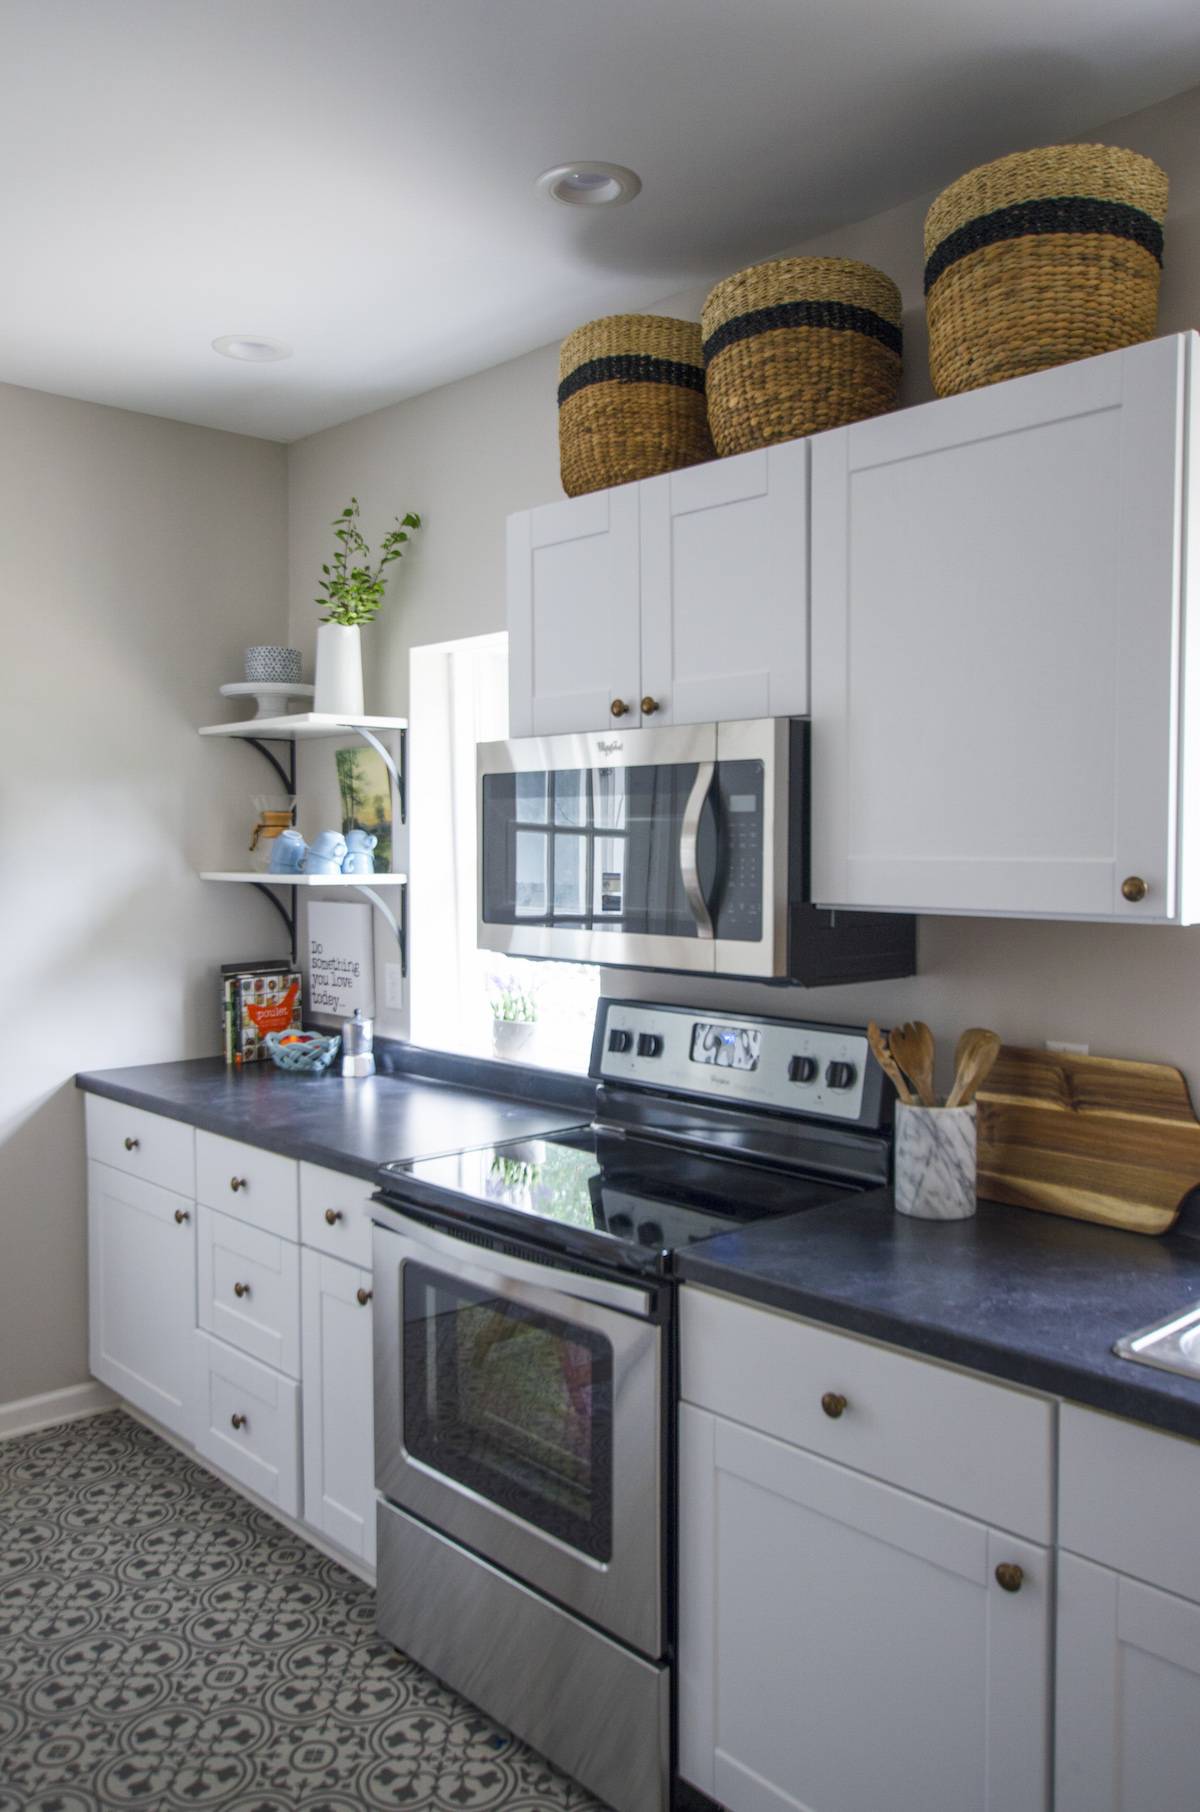
The kitchen cabinets were our next big purchase. My favorite stock kitchen cabinets are the white shaker style cabinets from Home Depot. They’re on a shelf in your local store right just now waiting to go in a kitchen! The total for all of our cabinets was $1,942.53.
All four of the appliances were bought for $1,800 total by simply walking through the clearance aisles at Lowe’s and Home Depot. They’re not all the same brand, but they are all the same stainless steel finish.
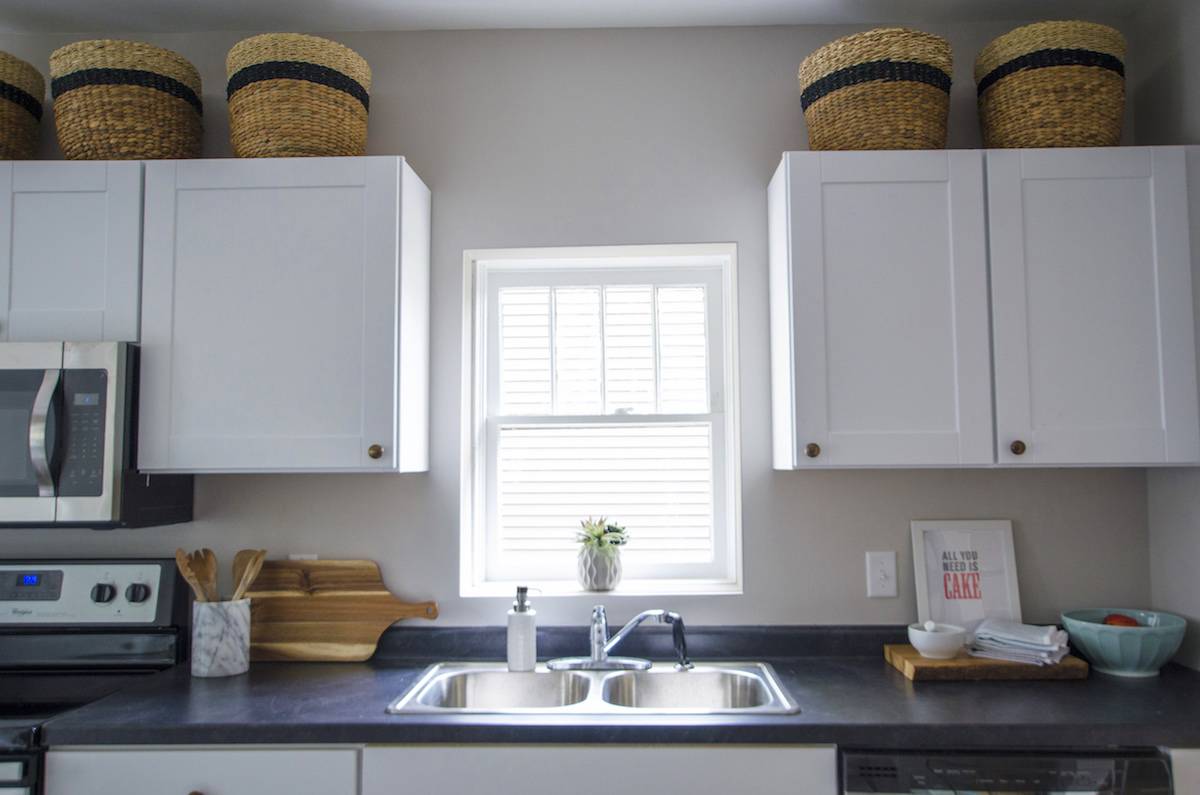
Of course I would have loved to hang cabinets all the way to the ceiling but it just wasn’t in the budget. If you have a kitchen with space above your cabinets, buy round baskets to fit above for extra storage and visual appeal. I bought these fun baskets at Target.
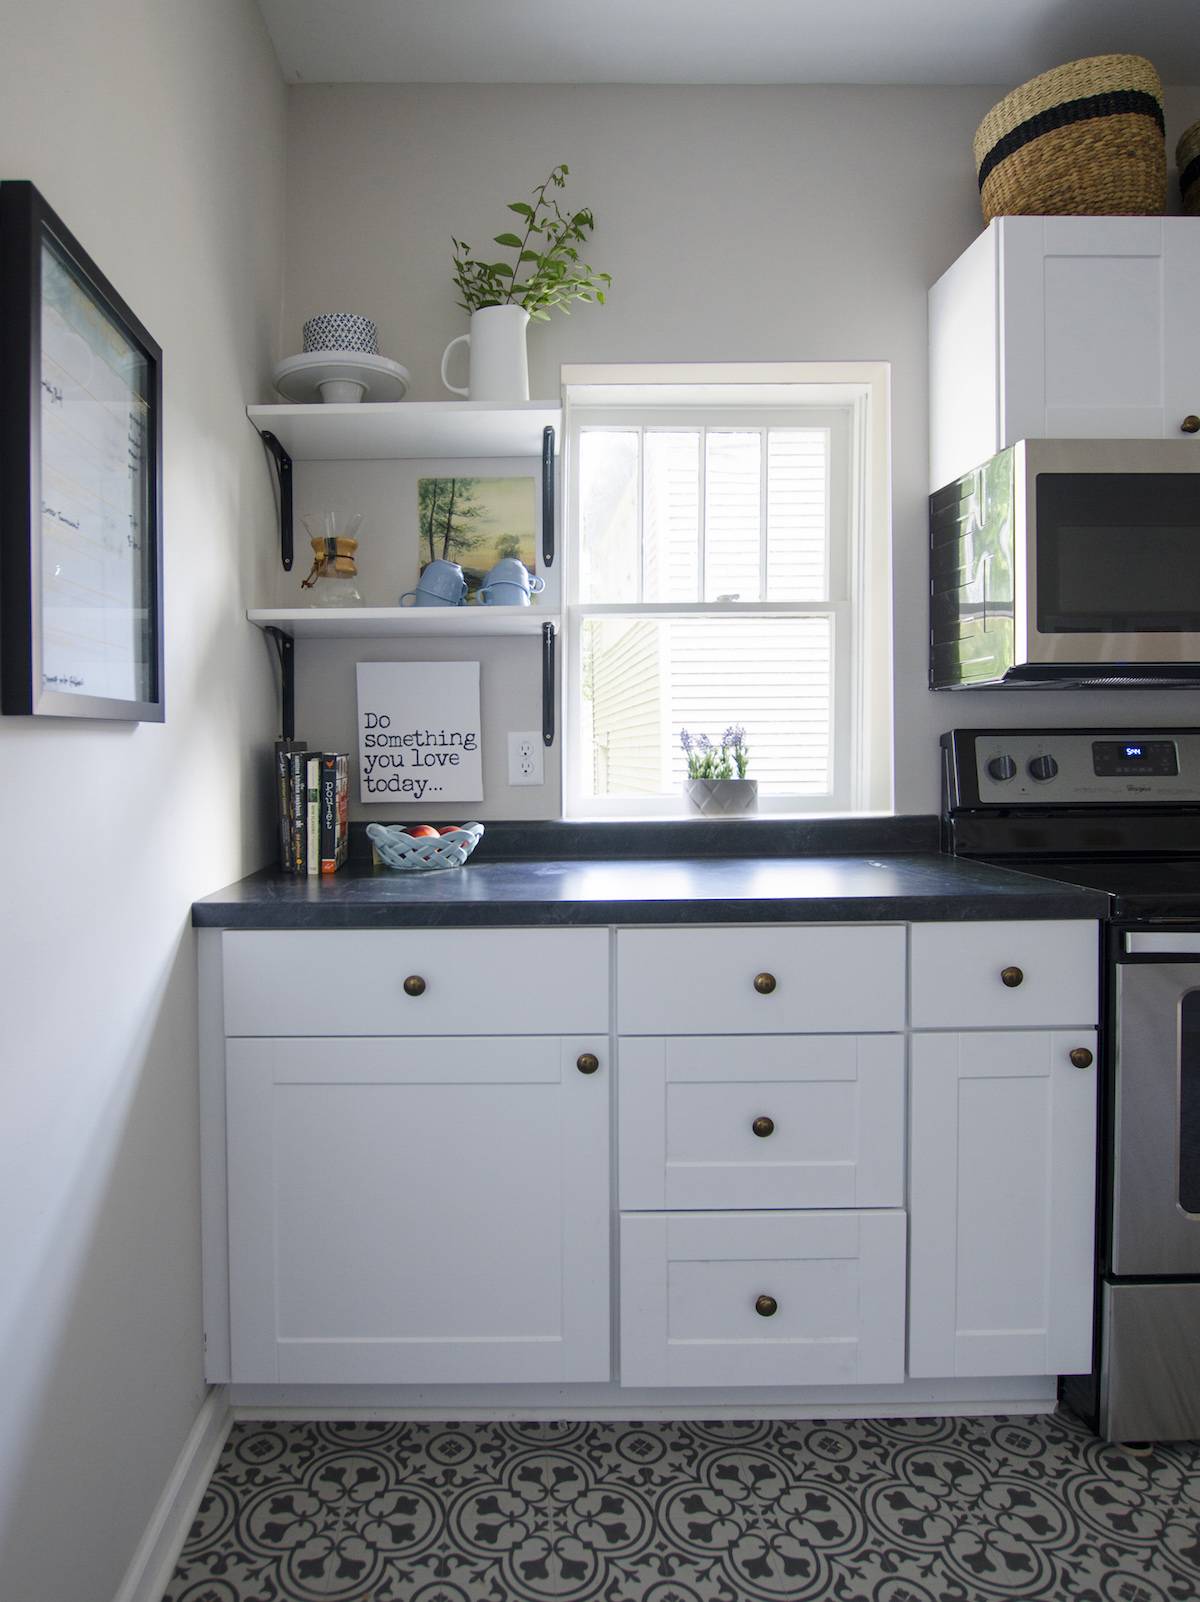
When planning our upper cabinets we had a little space next to the window too small to fit anything in. Actually, an 18-inch upper cabinet would have just barely fit, but it would have been too snug against the window. I think it’s extremely important to have plenty of space around windows in a kitchen design, so I opted to add some open shelves.
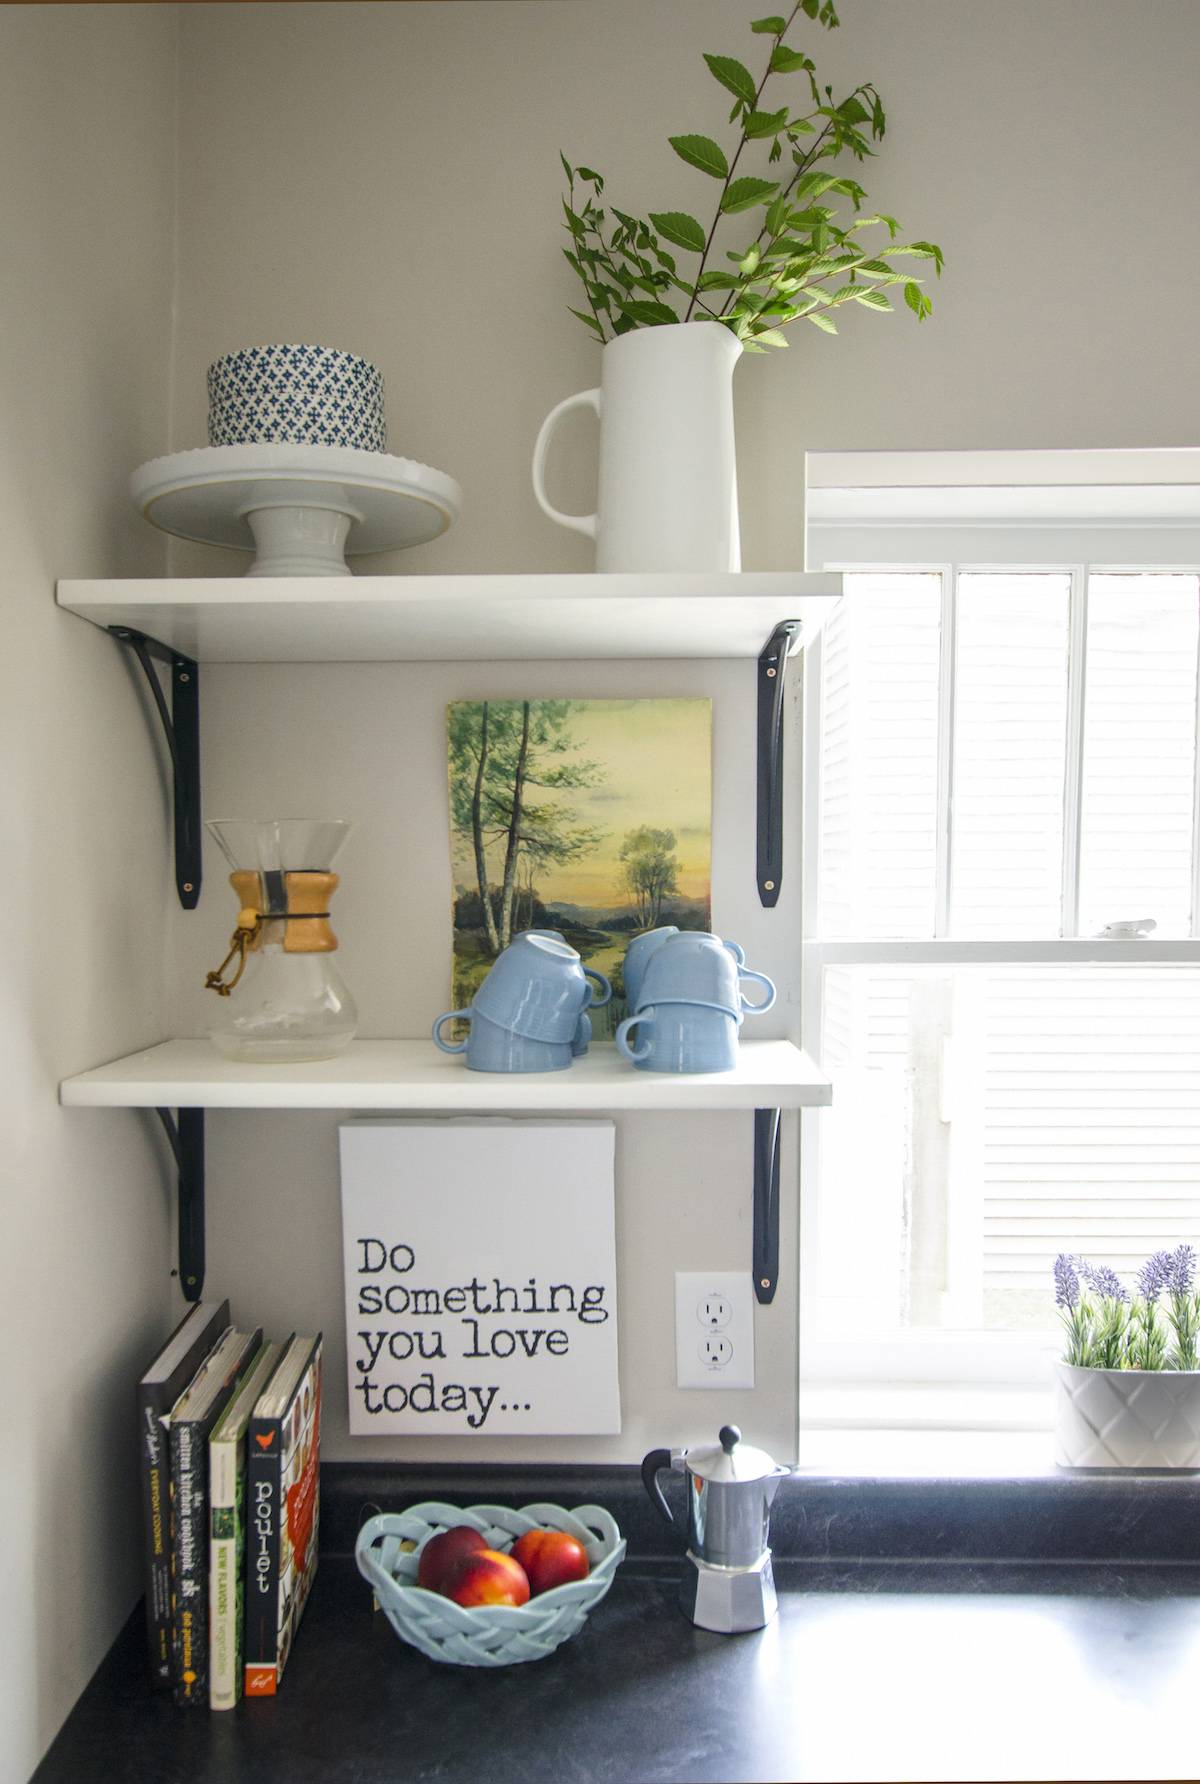
I used store-bought shelving and brackets from Menard’s for less than $20 total. Installing open shelving instead of an upper cabinet saved me over $100. Open shelving is extremely budget-friendly.
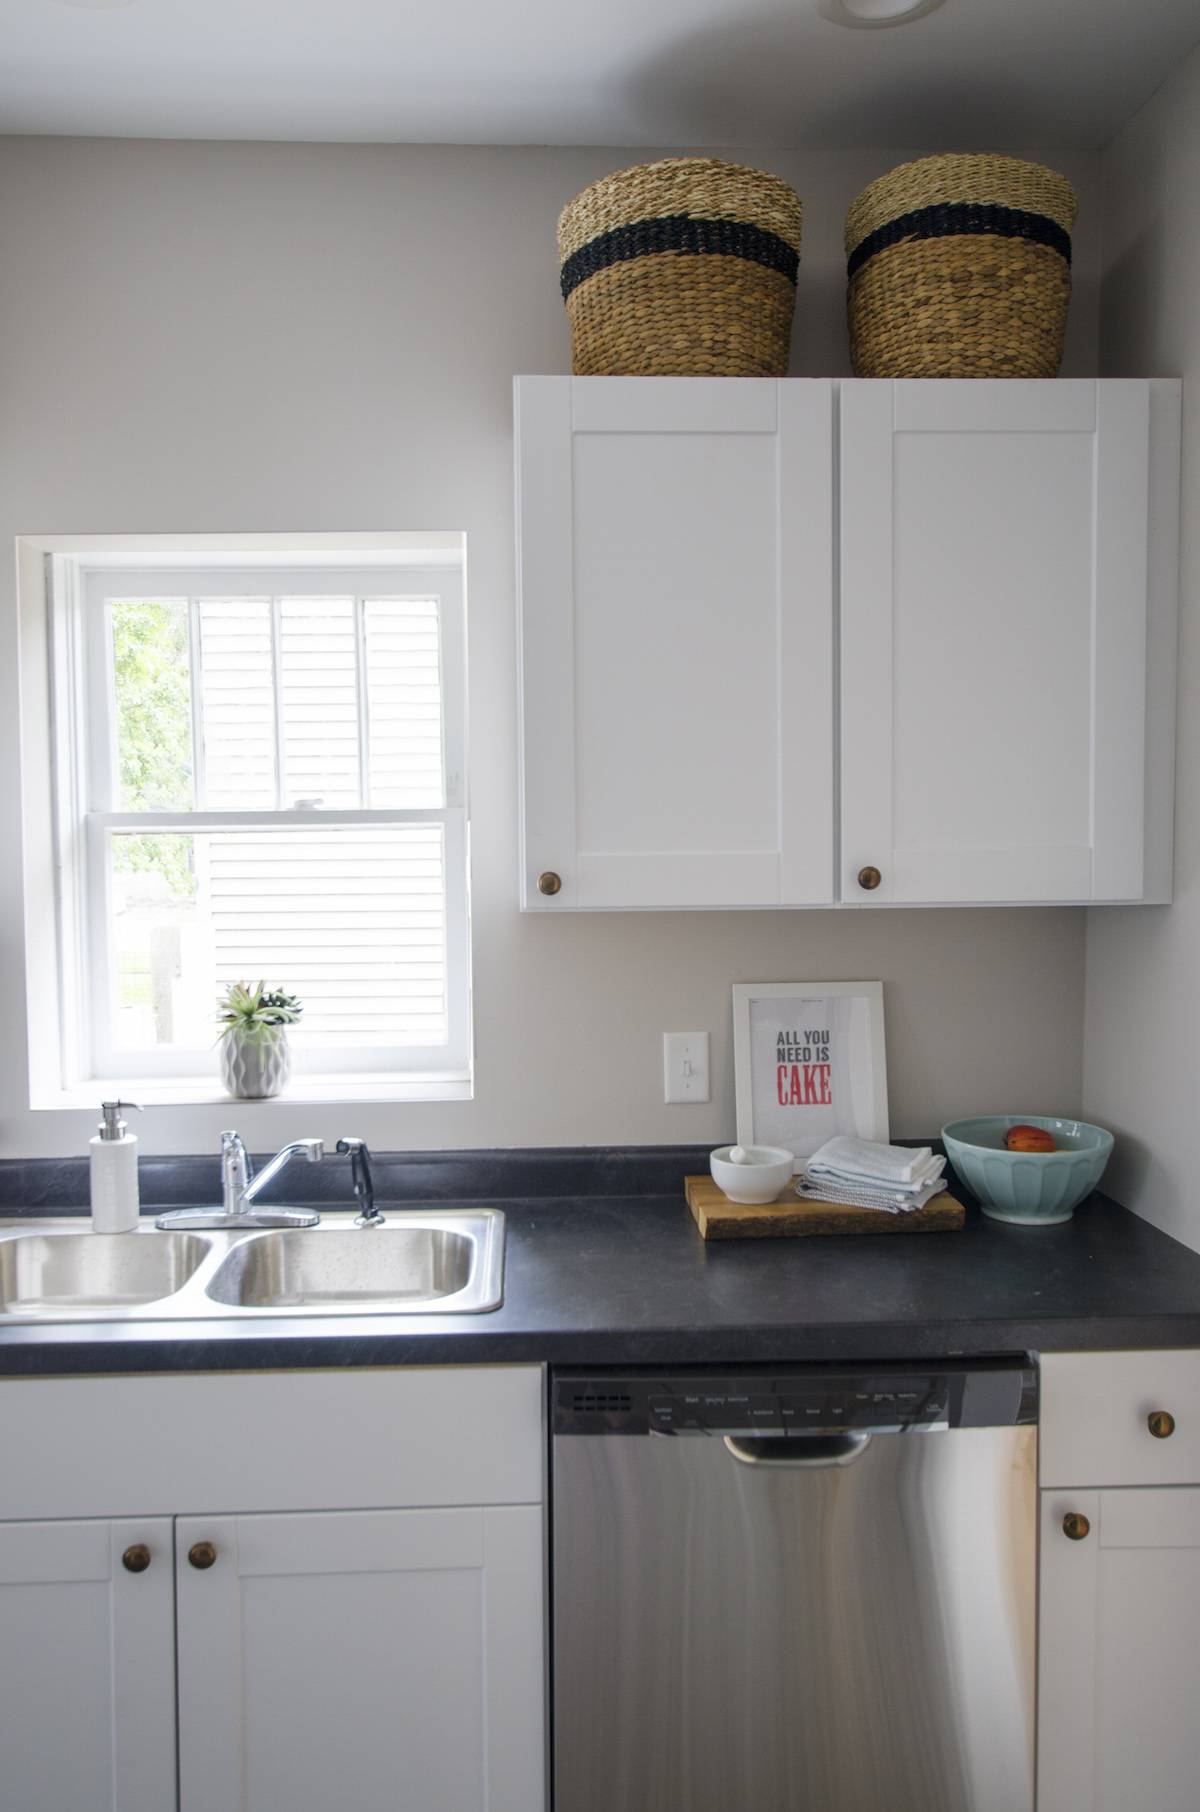
My favorite stock laminate countertops are also from Menards. The pattern is black with faint marbled swirls of white, and the price is pretty stellar. We needed one 960-inch piece and one 48-inch piece, for a total of less than $100. In my opinion, if you have to buy stock laminate countertops, go with something dark, since it works well with all types of kitchens.
To save money on knobs I bought bulk large package of twenty-five. I used the extra knobs to upgrade the stock bathroom vanities in the bathrooms.
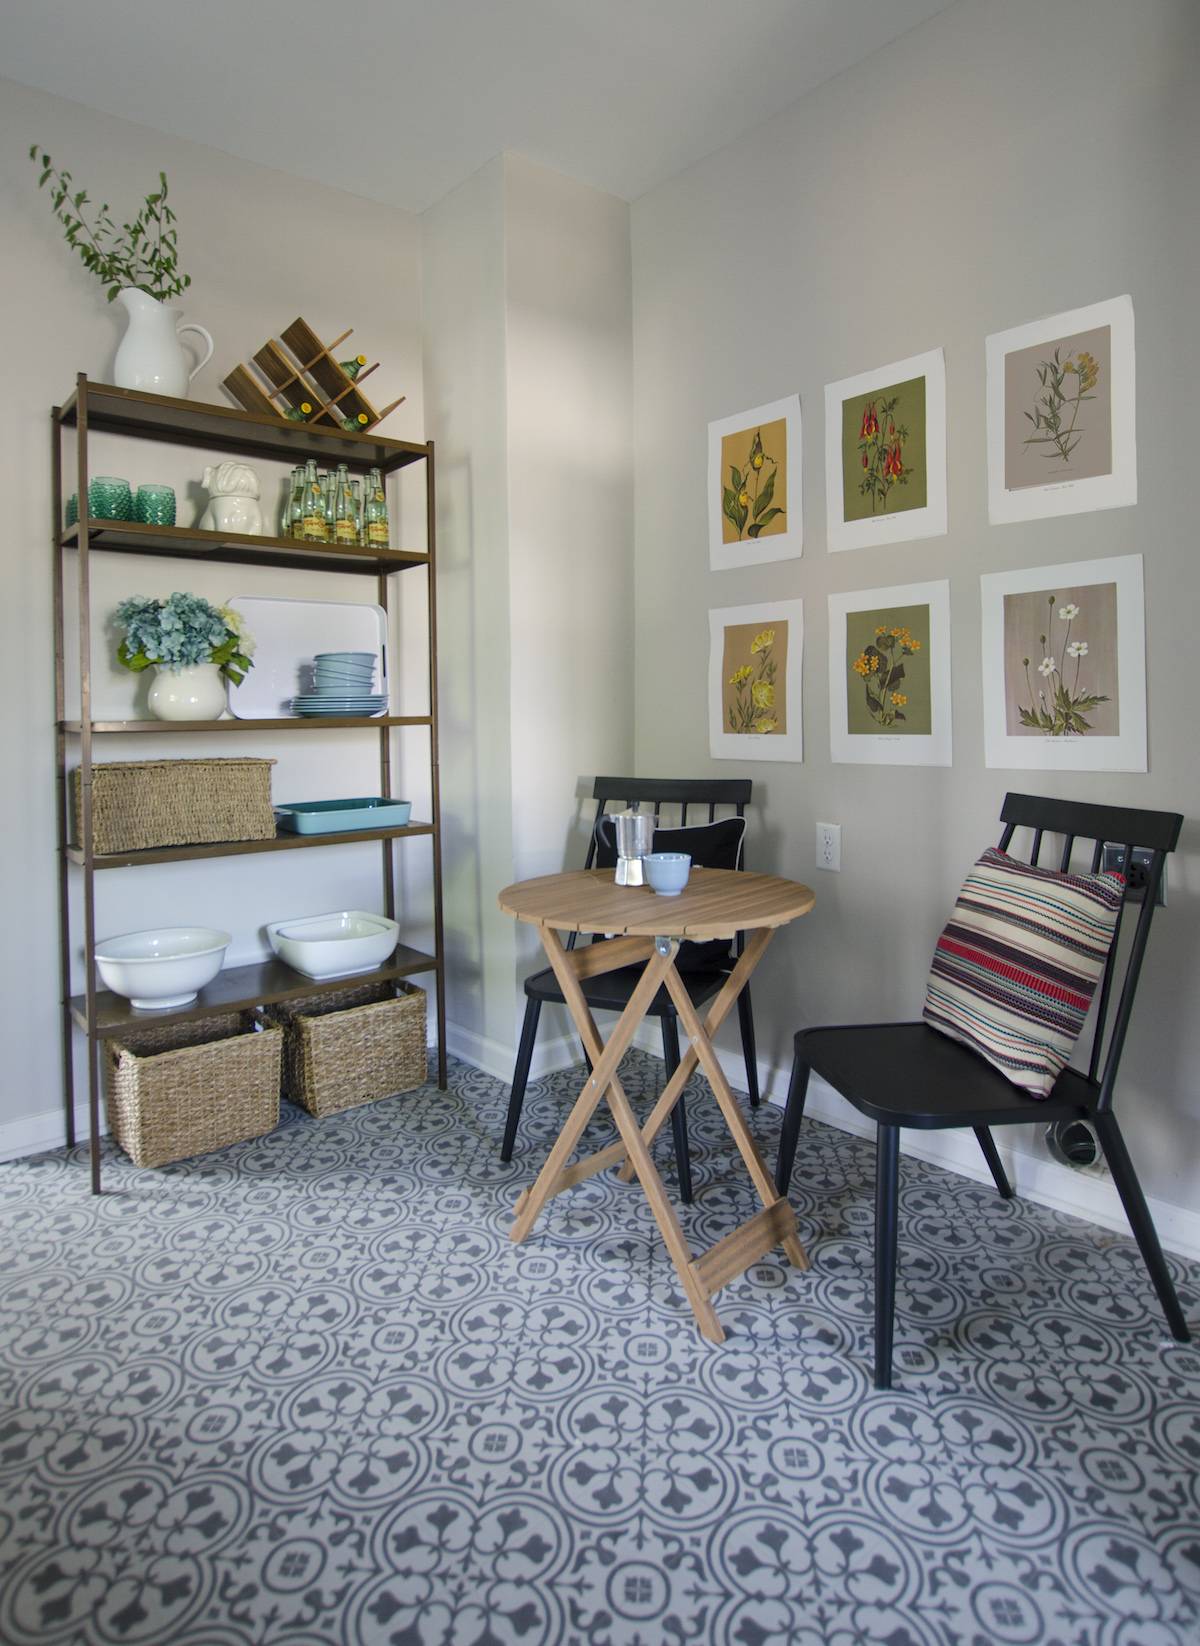
This little area is actually meant to be a laundry (we moved the laundry out of the dark, unfinished basement). If this were my house, I would have installed another cabinet for a stackable washer and dryer. But since we don’t know what kind of washer and dryer the renters will have, we left it open. If they don’t have one, they can always use this little area as an eat-in nook.
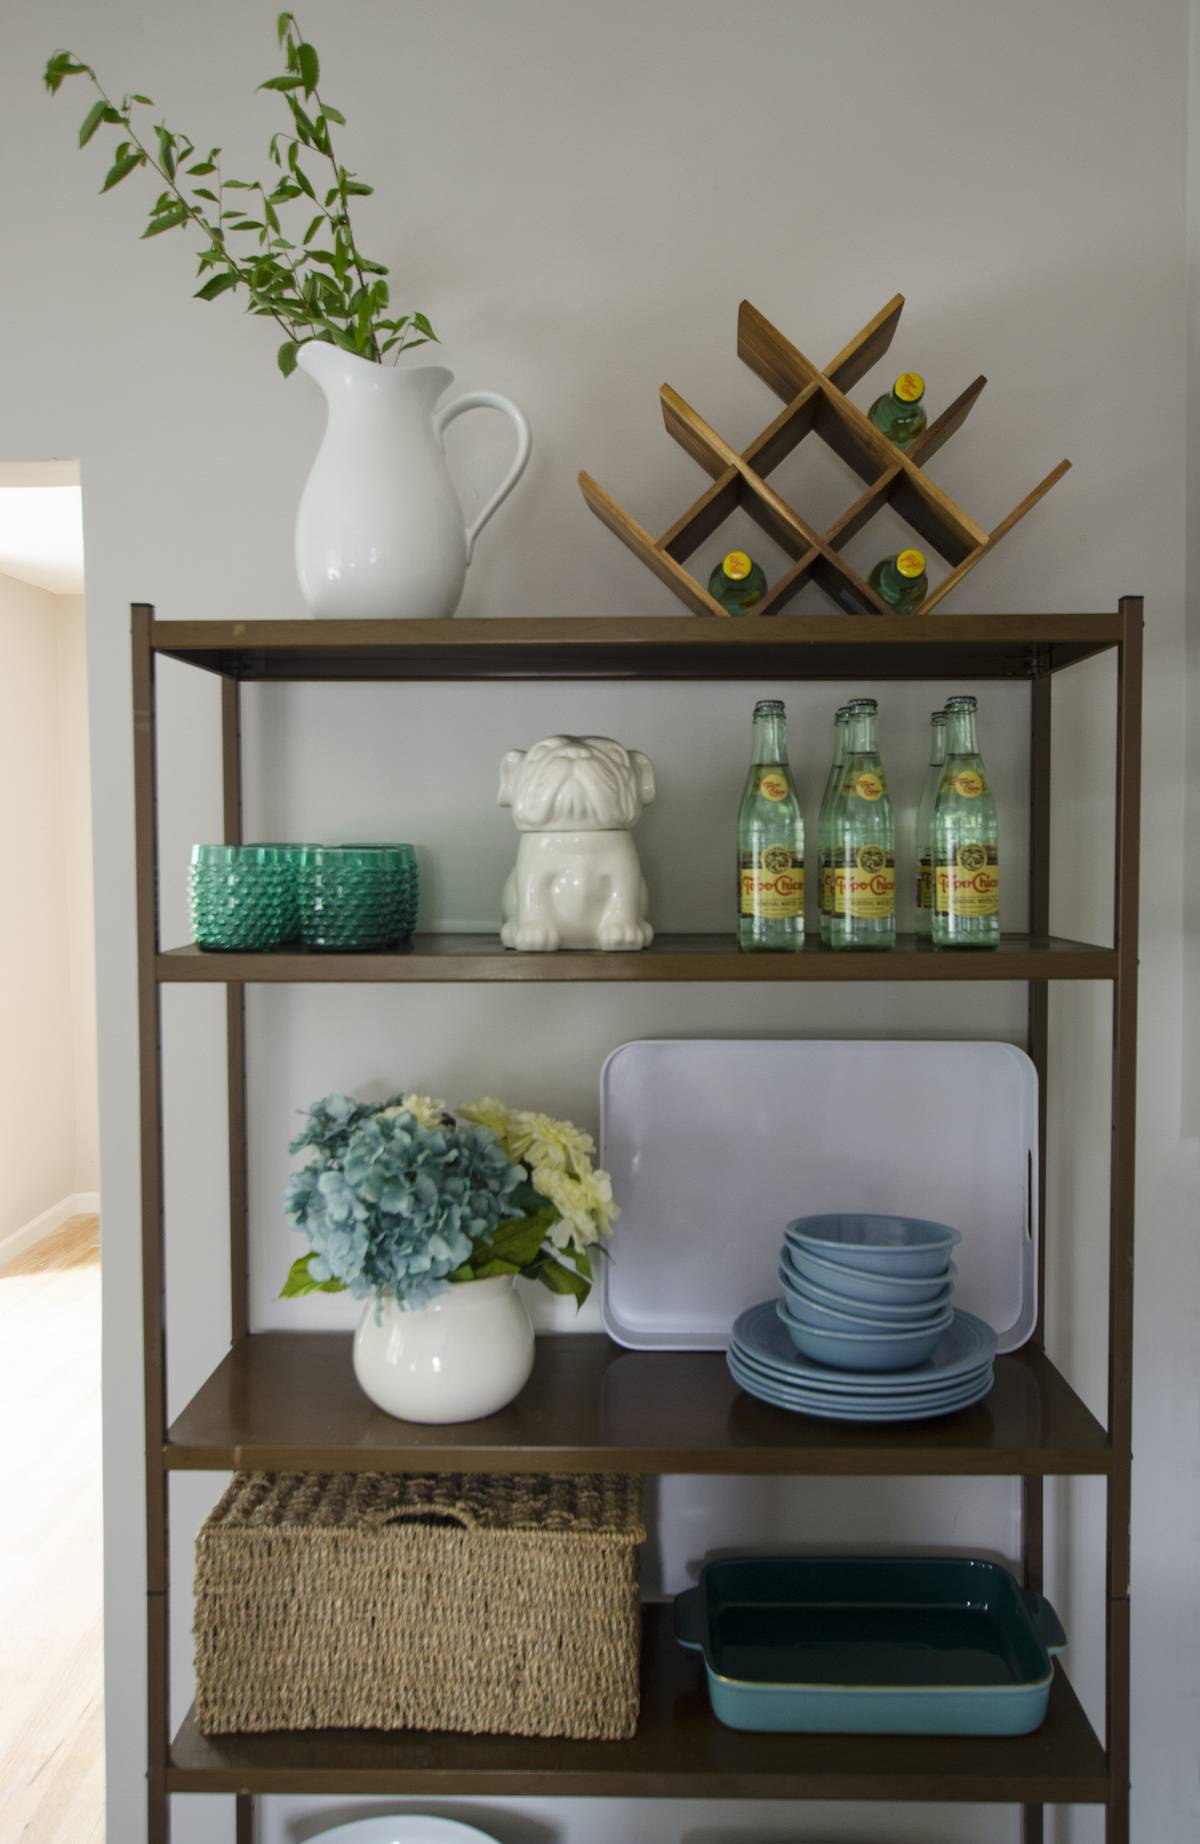
I love putting shelving units in kitchens. They’re extremely functional, and provide a great option for more storage. Instead of spending more money to fill a wall with cabinets, try a shelving unit to store miscellaneous kitchen items.
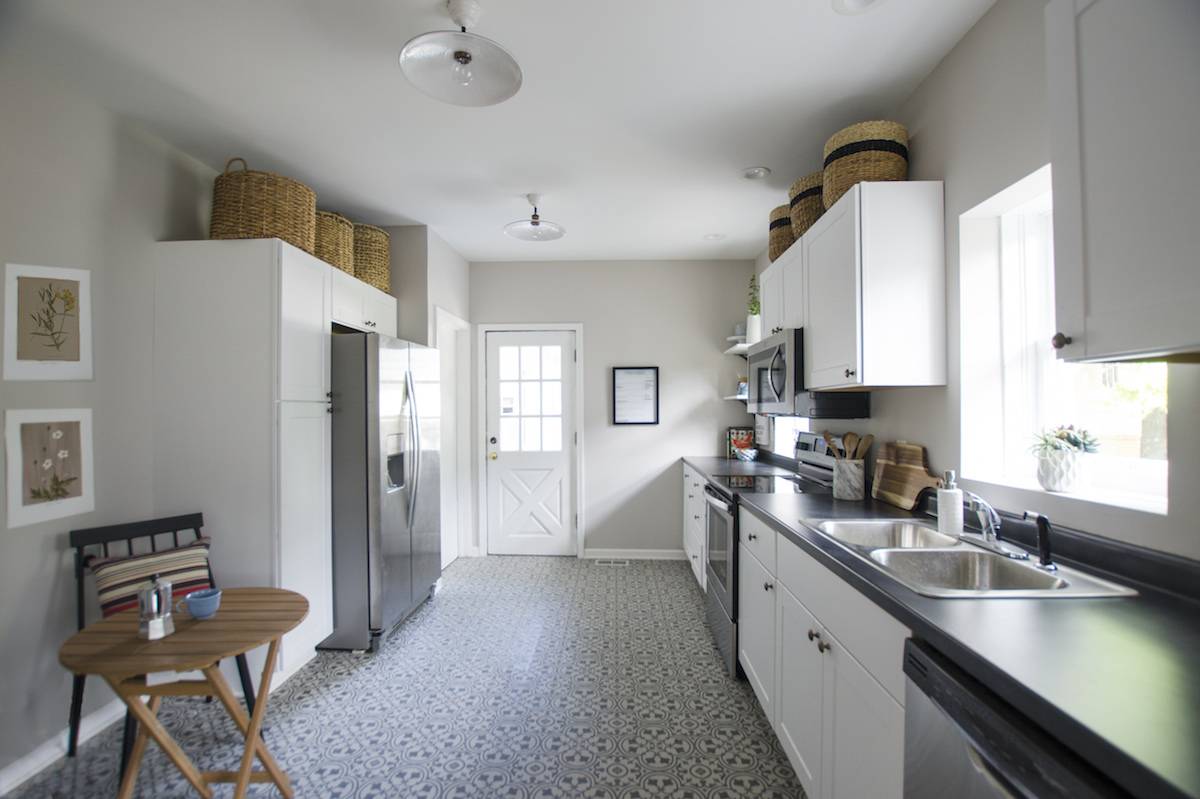
The grand total for cabinetry, countertops, flooring, appliances, and finishes for the kitchen was 4800.00! That’s a lot of money, but totally reasonable given the fact that we were starting from nothing. The cost of electrical, drywall, paint, and plumbing added a little more, but those costs were absorbed into the other house updates (we had to update drywall, electrical, paint and plumbing throughout).
It’s a perfect makeover. I’m in love with the way you choose the cabinets, the appliances, and the others and organize them. Plus, the tiles pattern is so beautiful yet cheap.