We’ve been painting rooms at Curbly for over a decade. And, we’ve gotten pretty good at it. We’ve done straight-forward walls and we’ve done full-scale murals – and almost everything in between. Through it all, we’ve learned that good prep, good paint, and quality tools are the magic trifecta.
We’re partnering with Purdy Paint Tools and sharing our favorite tips all through the reveal of the 2017 Curbly House’s sweet child’s bedroom. This is the first room we’re revealing , and we’re so inredibly excited, because it’s a perfect glimpse of all the goodness that’s in store for this complete home makeover.
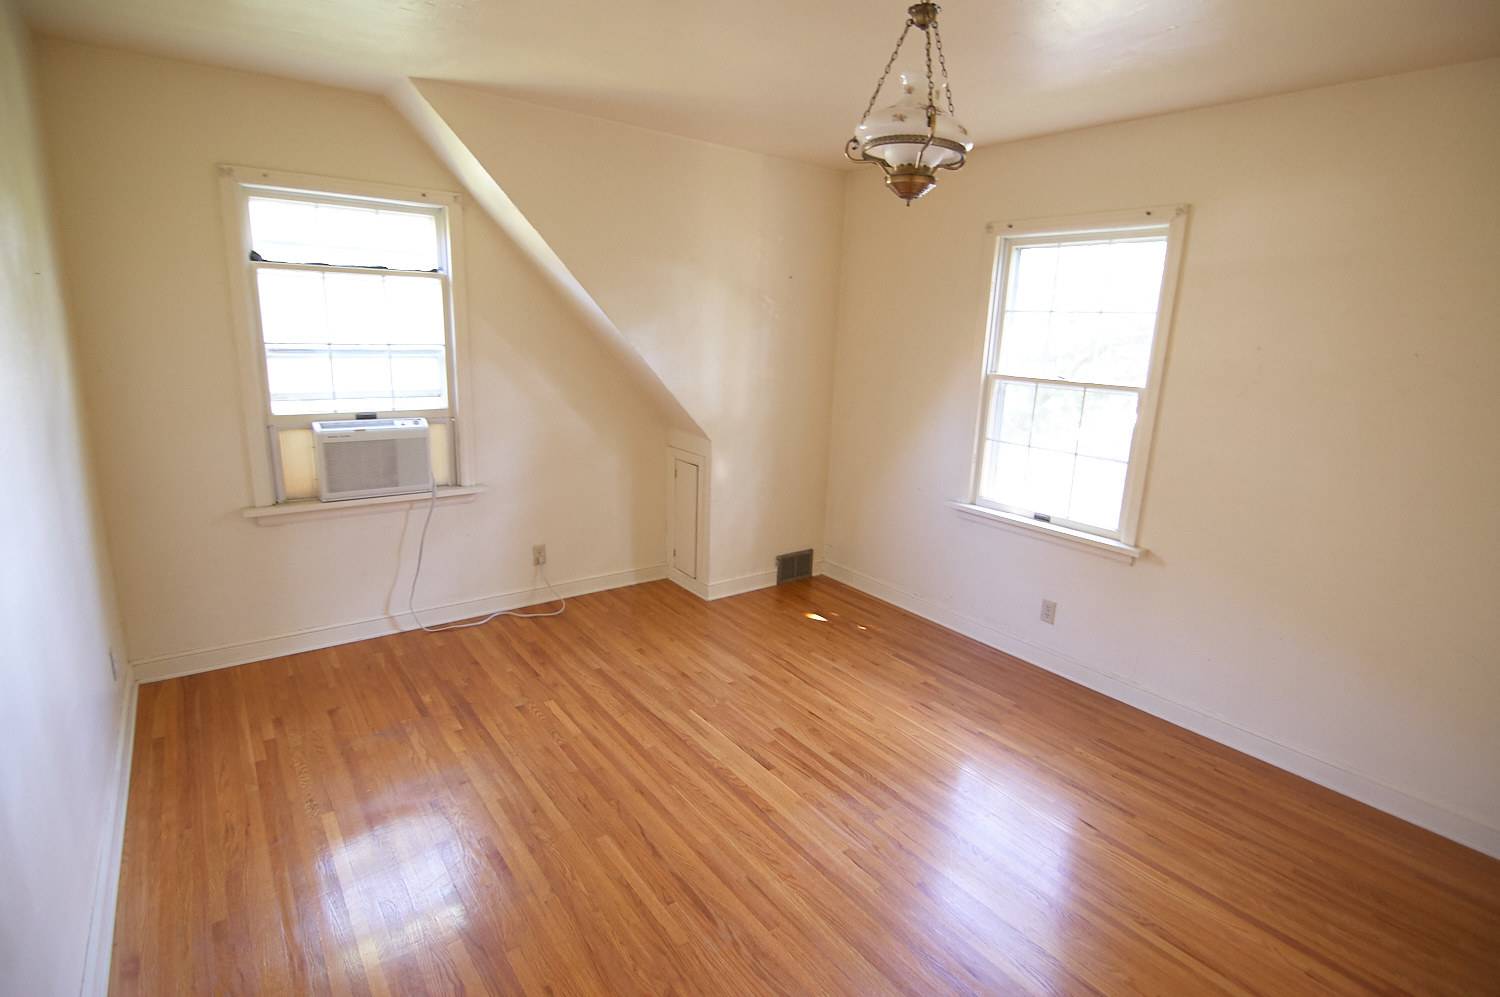
Where this room started
Before we get into the nitty gritty, let’s take a look at where this room began. By all accounts, there was nothing so sorry or sad about this room. It was very bland; the paint was a little worn, and the fixtures were a lot dated.
We began by washing the walls with a mild detergent to give the paint a clean surface to adhere to. Our initial plan was to paint only the walls, leaving the trim work alone (throughout the house), because it was in relatively good shape. We thought the new wall paint would make the old trim color pop nicely.
Boy were we wrong! Once we got the paint up on the walls, we realized that the trim looked a whole lot worse for wear. This is often the case with paint, and the real uncensored truth with makeovers. You waltz in fancy free with the wind at your back with a plan to make things beautiful in a matter of hours. And then suddenly you’re spun around and the wind whacks you in the face and is like, WHOOSH! Your list just got a lot longer, honey, because you must paint all the things!
And so, we did.
Then we decided that because the whole scope of the painting project had changed, we might as well make the room really special with a stenciled accent wall.
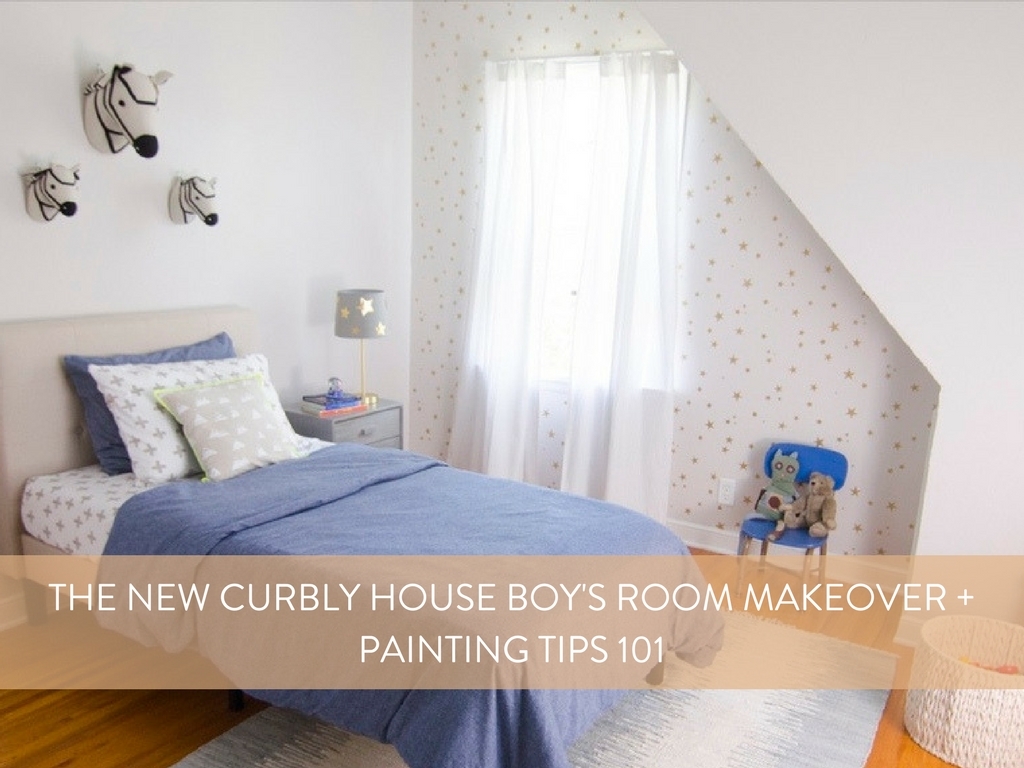
And I’m really glad we changed course, because here’s where we landed:
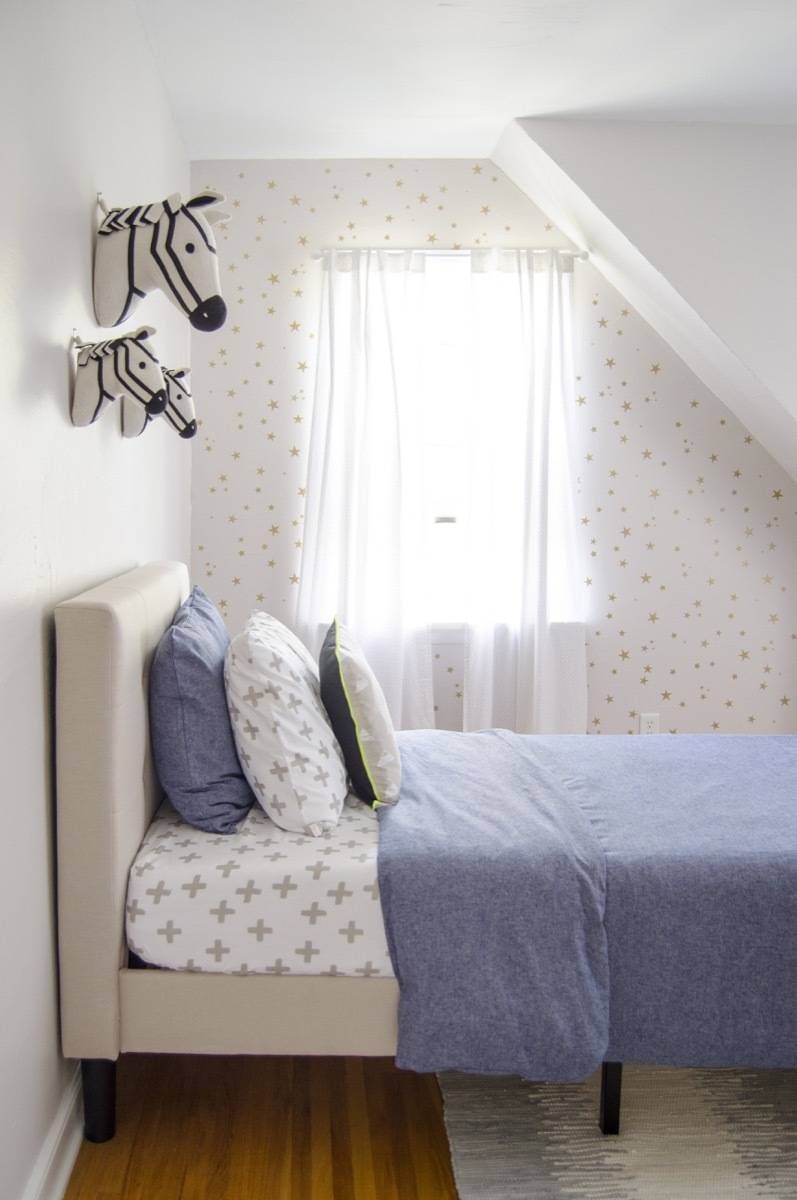
Scroll down for more gorgeous shots of this lovely little room! But first, here’s some Painting 101 Information for all you aspiring room-maker-overers.
Tips on painting interior walls
1. Create a fresh canvas for your paint. Prep, prep, prep! I know this step sounds tedious, but it can save you time and create longevity for your paint. Washing the walls with a mixture of water and tri-sodium phosphate (TSP) helps give you a fresh surface by removing any dirt and grease from the walls. Scrape off and spackle any areas of loose substrate, and prime using the product recommended by the paint manufacturer.

2. Good-quality paint is a no-brainer. It covers better and makes the paint work much faster. Our favorite paint is Sherwin-Williams Emerald line. It’s a super-low-VOC line that covers better than The Fugees cover Roberta Flack.
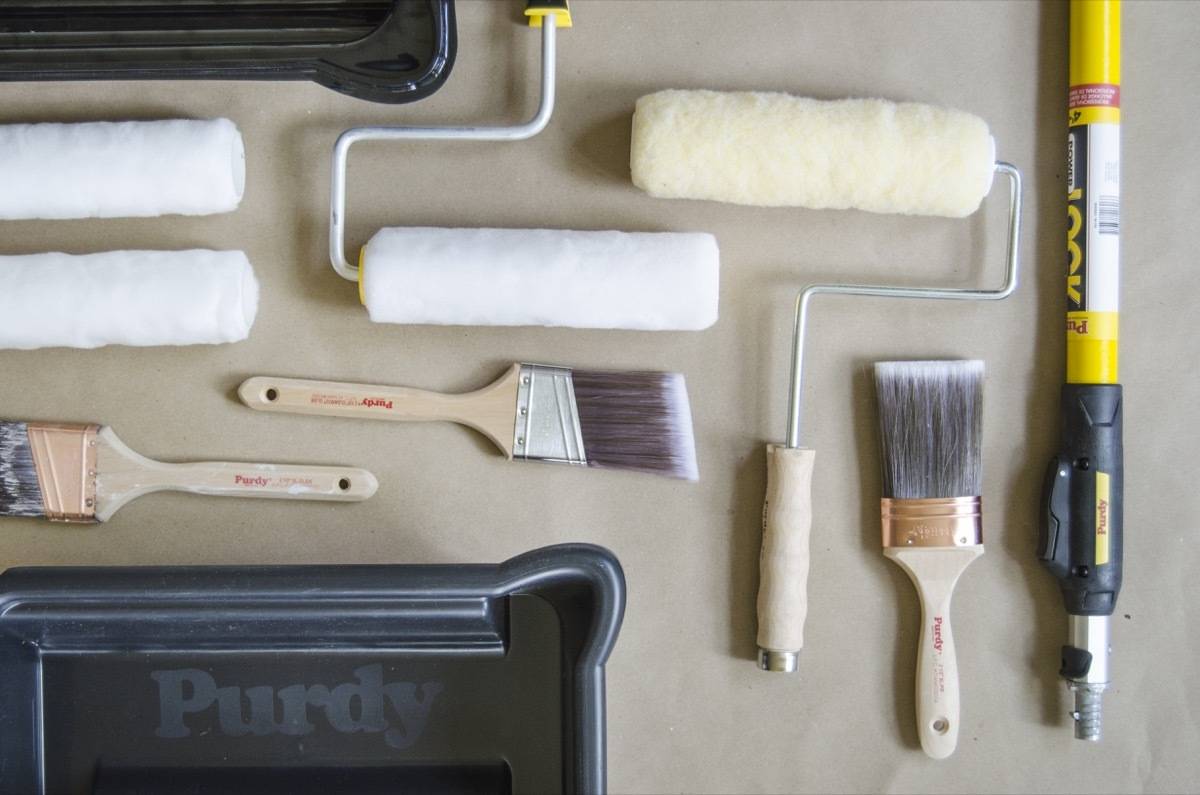
3. There’s no better partner to high-quality paint than high-quality tools. Good brushes and rollers help you get the excellent coverage you want so you don’t waste time applying multiple coats. The best brushes and roller covers we’ve used come from Purdy. The brushes are durable, they clean up nicely, and they hold their shape for repeated use. Their rollers come in a variety of different sizes and naps, making it easy to select the right one for the job.


4. Tape around trim using painter’s tape. Bruno is now to the point where he can paint an entire room without using any tape (he just cuts everything in by hand with a good brush – that’s why a high-quality angled Purdy brush is the perfect fit). I’m not there yet. I always take the time to tape my trim so that I have some leeway when cutting in. (I also think peeling off the painter’s tape after a job is one of life’s simple pleasures.)
5. Wash all brushes and roller covers immediately after you’re done with the job. If you are reusing the same brush or roller, you can also wrap them with plastic between coats and store them for a short period of time. You can use brushes (and most roller covers) time and time again if you take the time to thoroughly clean them after use.

Pro tips: don’t load paint higher than halfway up the bristles (keeps it from drying out and ruining the shape of the brush). When cleaning a brush, run it under water and brush against the sink basin to pull all the paint out.
My Purdy Painting Tools Checklist:
-
2.5″Clearcut Glide brush (excellent for cutting in)
-
2″ Nylox Elasco brush (ultra-smooth finish)
-
2.5″ XL Pip brush (versatile, easy to handle in tight spaces)

A Note About Stenciling
Stenciling a wall isn’t as hard as it might sound, and it gives you the freedom to bring pattern to a wall without the use of wallpaper.
I added a star stencil to accent one of the walls in the little boy’s room because I wanted to create a focal point. Given the lines of the ceiling (and the little bump-out), I knew wallpaper wasn’t a great option – too many cuts around the window trim and the ceiling line.
The stenciling took about two hours to complete and I think it went relatively quickly because I used a large stencil with a very flexible repeat. The pattern wasn’t so uniform and predictable that I had to match it up perfectly each time I placed it. This made my job so much easier, because every time I bumped into a wall or a ceiling, I could rotate the stencil or place in a position that worked for me.
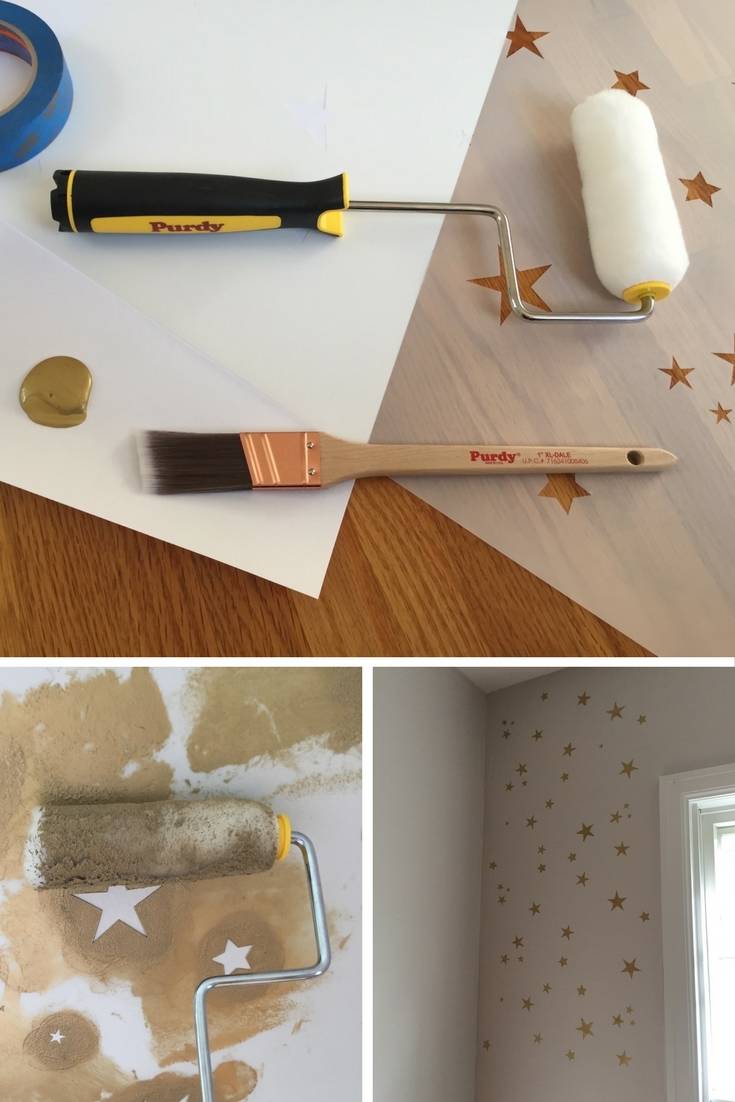
Here are my best stenciling tips:
- If you’re covering a wall, choose a large stencil (mine was 20″x20″). The less you have to move the stencil, the easier your work will be.
- Use painter’s tape along window and baseboard trim (or crown moulding). It helps keep those areas free of paint when you’re wrangling a stencil in tight areas.
- Spray the back of your stencil with re-positionable spray mount adhesive. This makes your the job a trillion times easier! You simply peel it up and reposition it quickly as you go. It also helps the back of the stencil stay paint free so you don’t have to wipe it down each time.
- Use a small low-to-medium-nap roller to apply the paint. These walls were slightly textured, so I used the Purdy WhiteDove 4″ Roller, which applied even coats and didn’t leave any lint on the stencil or the wall.
- If you’re painting with a smaller stencil, this is my favorite tutorial. It gives a great description of how to stencil an organic pattern without a marked repeat.
The accent wall is what makes the room. It’s sweet and playful, and it creates a natural nook in the space. The gold paint is warm and shimmery while still keeping the color palette soft and neutral.
Soft and neutral was the theme for this room, and we were able to add contrast to the space through the bedding, artwork, and decor. Have a look!
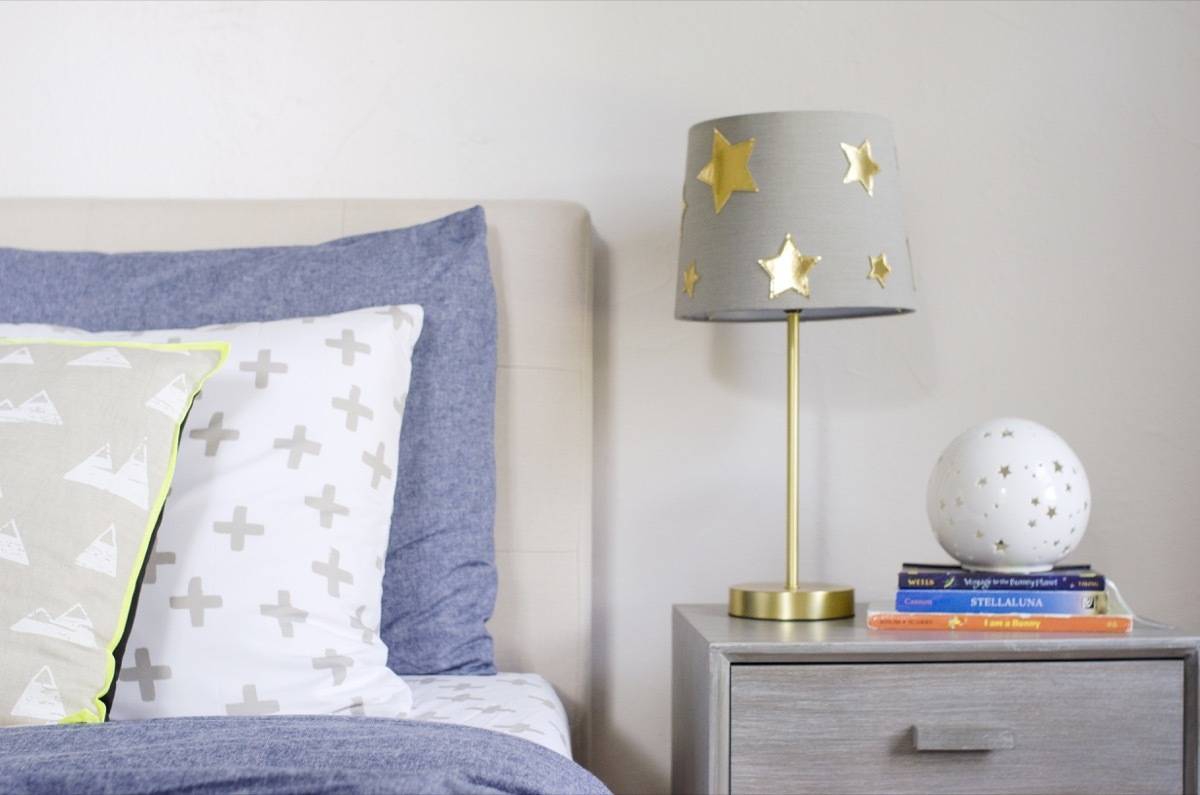


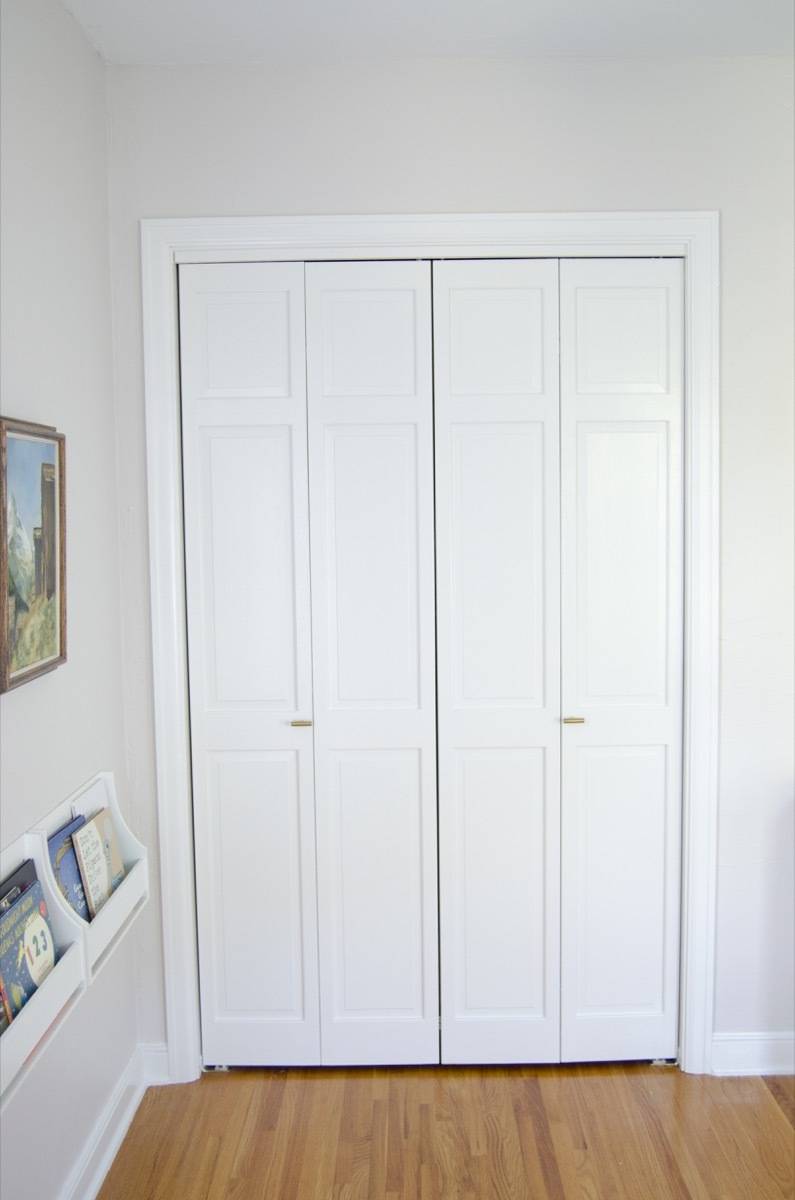
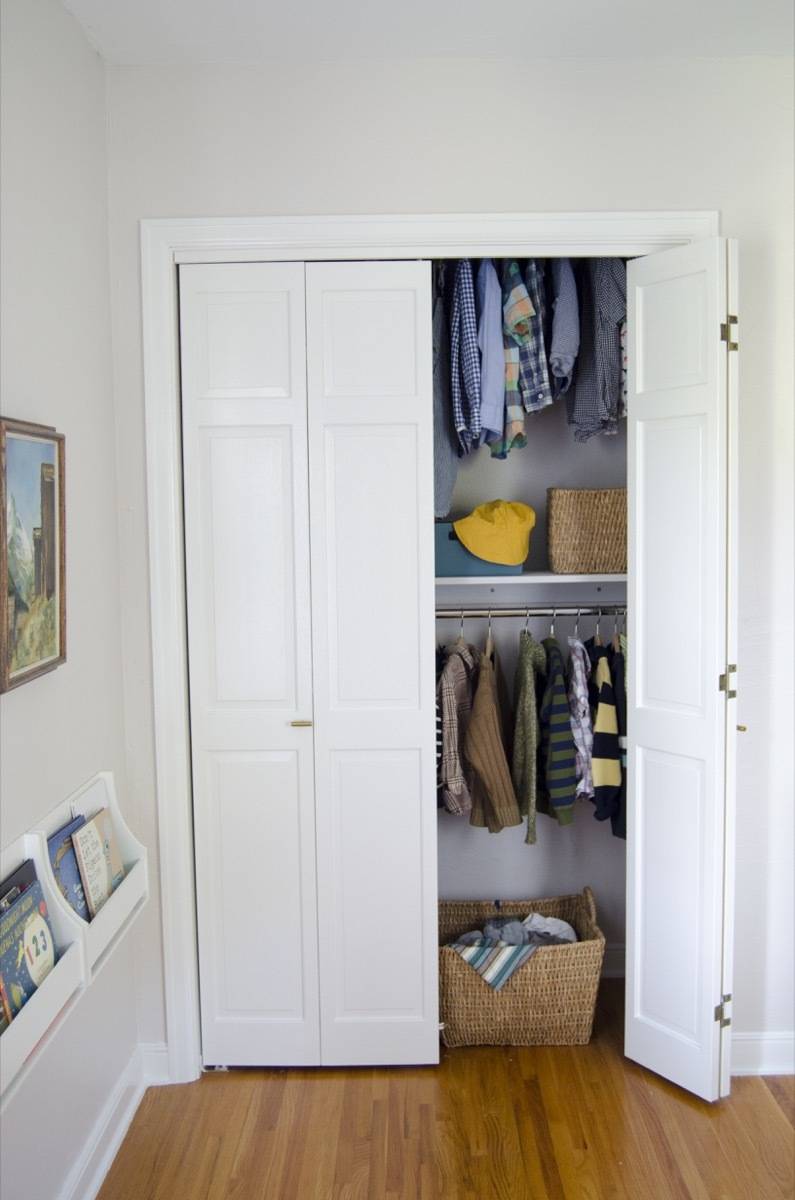
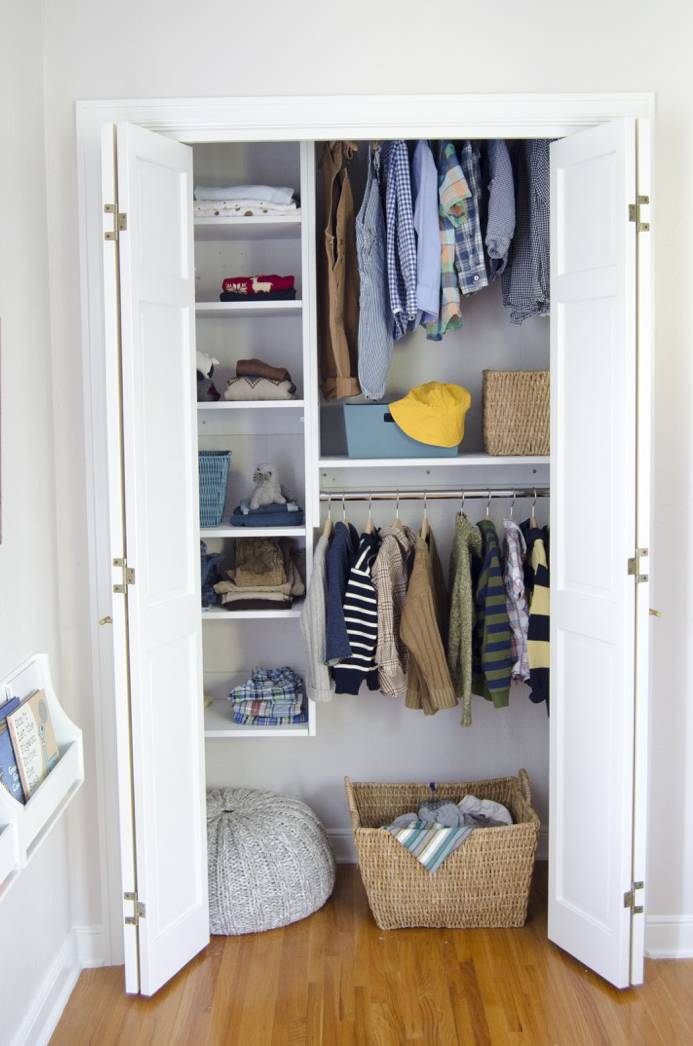
I love that the room has lots of open space for play. We were able to create a nice open space by going without a dresser.
We installed a closet system from Modular Closets, and the way it keeps everything organized and visible is my total jam.
Product list
- Wall Color: Sherwin-Williams Simple White (SW 7021)
- Star Accent Color: Martha Stewart Metallic Multi-Surface Gold Paint
- Star Stencil
- Rug: Safavieh Montauk Collection Handmade Flatweave Rug
- Pendant Light: Felton White Aluminum & Wood Pendant
- Bed: Zinus Upholstered Button Tufted Platform Twin
- Bedding: Plus Sign Sheets (Sheets) Chambray Cover (Duvet)
- Toss Pillow: Mountain Throw Pillow
- Curtains: Early Edition Black Dot Curtain
- Artwork: Vintage Paintings and Railway Map
- Animal Heads: Zebras
- Nightstand (Similar)
- Star Lamp
- Round Nightlight
- Bookshelf
- Chair: Vintage
- Baskets
- Wall Bookshelves
- Round Display Shelf
- Closet system: Modular Closets
This post is sponsored by Purdy, but all opinions are mine alone. Thanks for supporting the brands that make Curbly possible. We also received complimentary paint from Sherwin-Williams for use in this project.
Wonderful work on the transformation of this room. Makes me want to go back and try again on the rooms in my own home. Thanks for sharing all the DIY tips on products and methods to get it done ourselves.
Vavvv. Really interersting. I liked it. Thanks