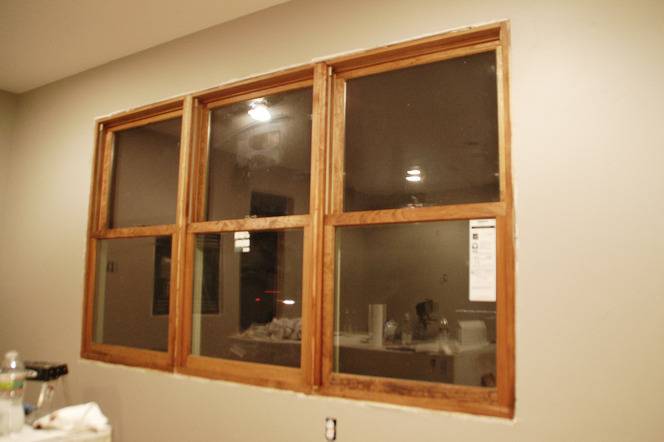
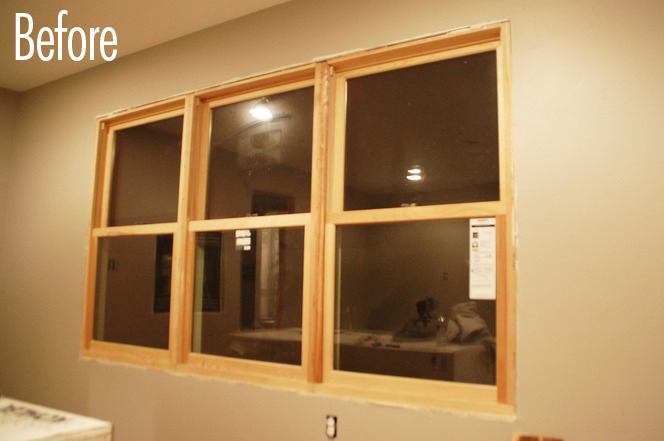
This, my friends, is a blank slate. It’s also a slightly fuzzy picture (sorry about that) of a very large unfinished window in a room I would one day like to sleep in instead of living in a garage. Ah, wishful thinking. But daydreaming aside, something had to be done with this thing and after a week of painting I was so ready to break out the power tools.
Unless you’re in the middle of new construction, I’d venture to say that “window trim” isn’t the first thing that comes to mind when you think of design elements of a room. The windows most of us are used to seeing in magazine spreads look like this.
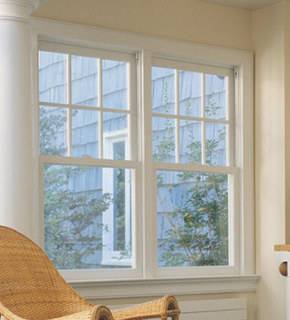
White casing, white trim. There’s absolutely nothing wrong with this window, which is probably why you don’t see much on window trim… why fix what isn’t broken?
Except I’m the person that tore three of the four exterior walls off of a perfectly good house and rebuilt them just for the fun of it, so I guess it shouldn’t be surprising that I took a look at our windows back when we didn’t have any walls and thought, “Hmmm….”
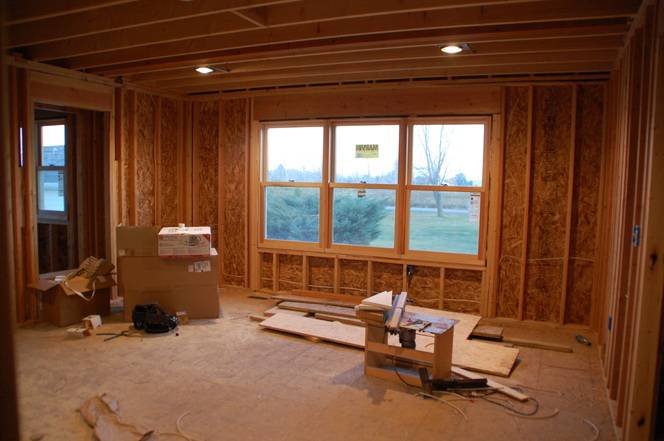
Two things you can pretty much count on making me drool: new power tools and exposed beams. Looking at the bare-bones construction of the windows made me think of those ancient cottages made with thick beams and walls of stone.
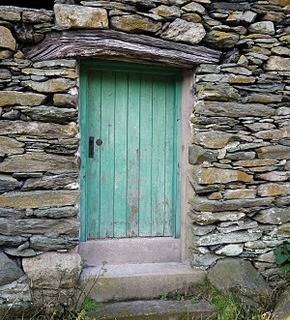
{image source}
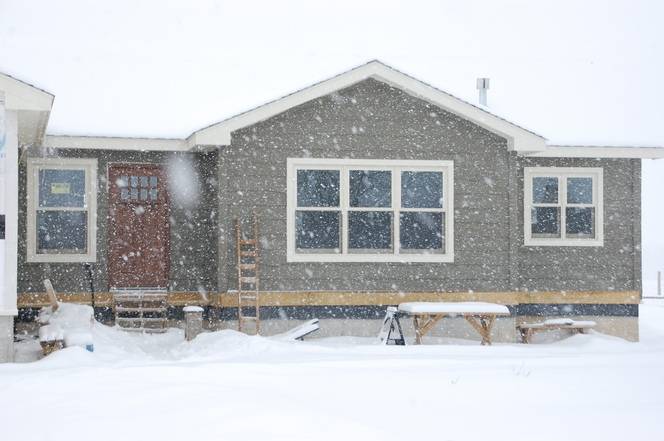
I found myself wishing I had a nice thick beam above the window I could leave exposed to add a little rustic touch to the bedroom. As you can see from the exterior, we’ve got a bit of a cabin-esq feel to the house.
Usually the words “I wish” are followed by me making some sort of mess or another, and this was no exception. To create my rustic header and window trim, this is what I used:
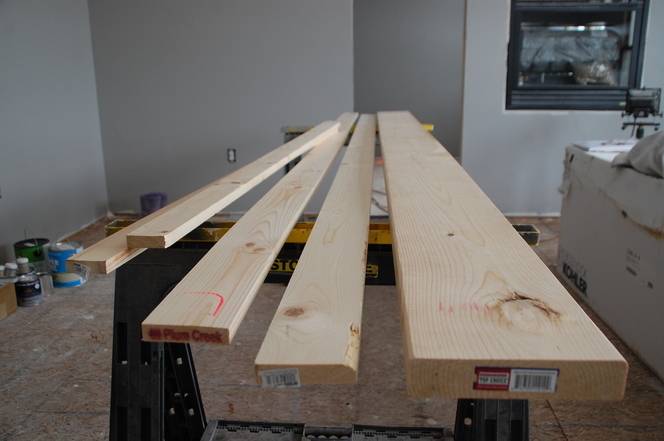
- 2x8x10′ pine board for header
- 1×4 construction grade pine for the casing around the window
- 1×3 construction grade pine for the trim between the windows
- 8 1/2×3″ galvanized lag screws and washers to attach header
- Miter saw for cutting the trim
- Finish nailer for attaching trim
- Various tools for distressing
Here’s how it all went down:
Prior to doing the heavy lifting with the header I stained the unfinished window. And I’m not going to lie, this is the first unfinished window I’ve stained and it took a little courage (read: wine) for me to take the first swipe. The grade of pine they use for windows took the stain fairly well though.
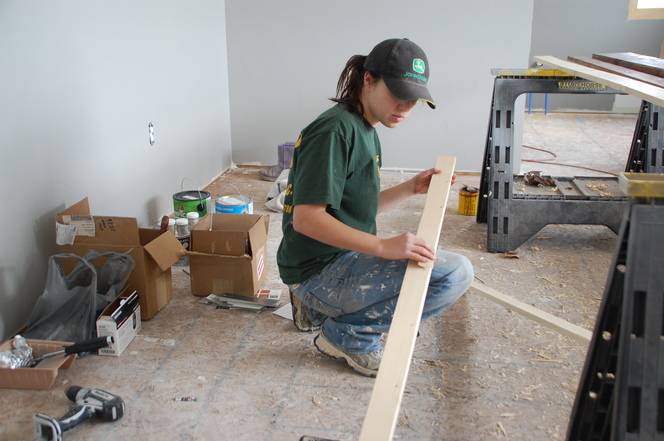
Then I started in on the header. To make it look more like an old beam, I used this wood scraper to take off the corners.
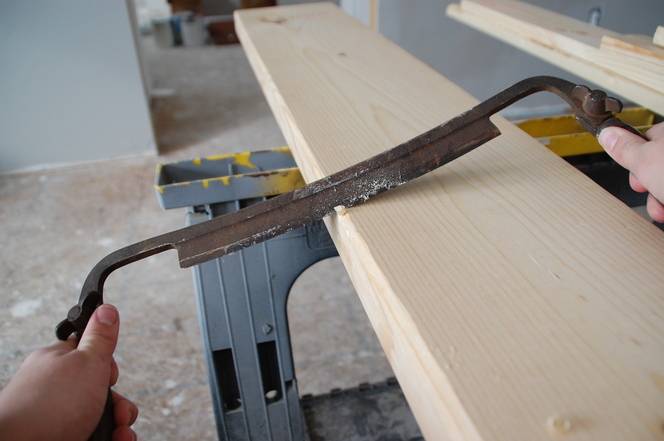
This isn’t super hard, but you either need someone holding the board down, heavy-duty clamps, or eight years of martial arts training so you can use one of your legs as a vise.
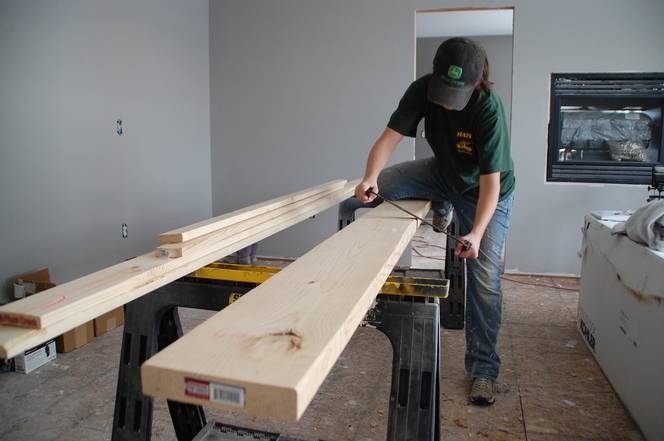
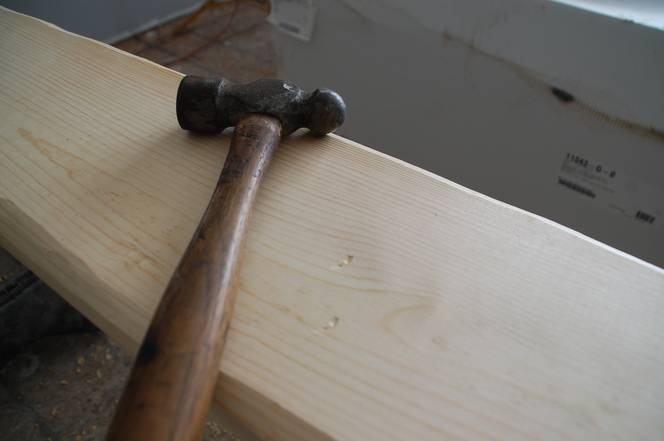
I also gave it just a few dents with an old hammer.
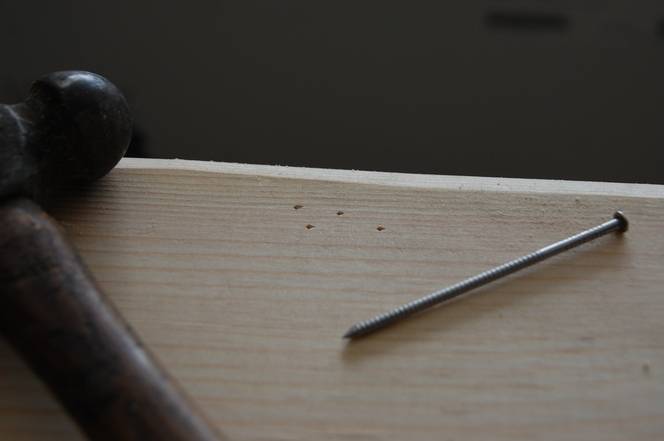
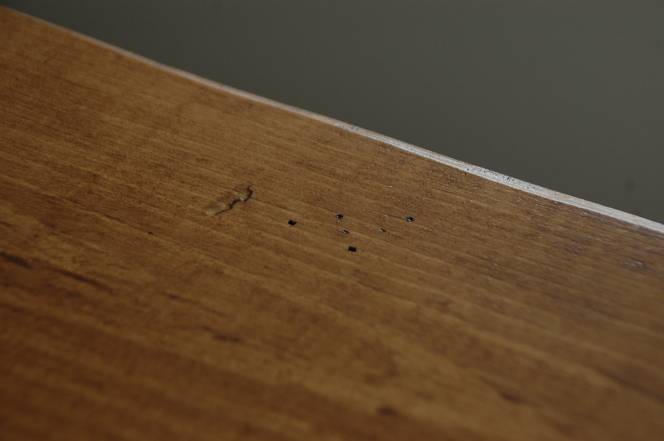
And then it was finished up with some “insect tracks”, made with a nail.
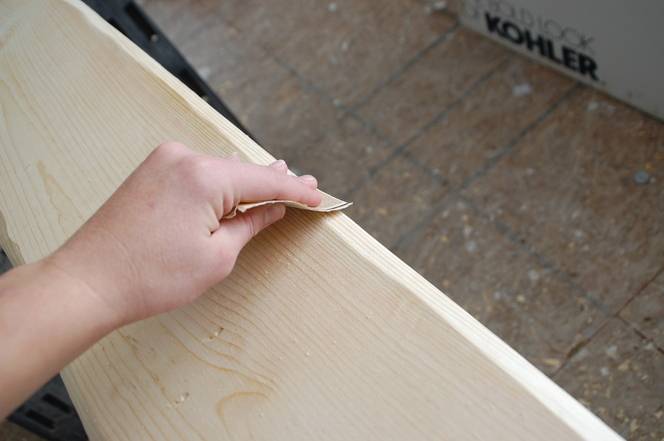
Then everything was sanded down which served the dual purpose of preping the wood for stain and making the edges looking more time-worn than sharp.
I went back and forth as to whether or not to use a wood conditioner before staining this. Pine very often doesn’t take dark stains well, and you may end up with splotchy parts. The unfortunate thing about a wood conditioner is that you have a limited time to work with it, and once it dries your wood won’t accept additional stain. My master plan for the color is a two step-two stain process… so I tested some spots on the back first to see how this board would do, and then decided to go conditioner-less. I live dangerously.
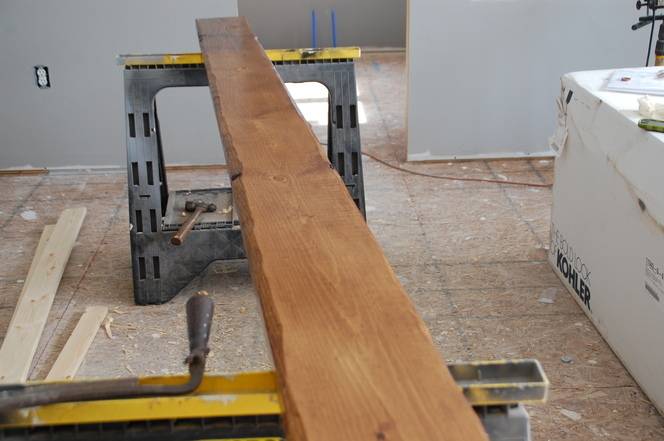
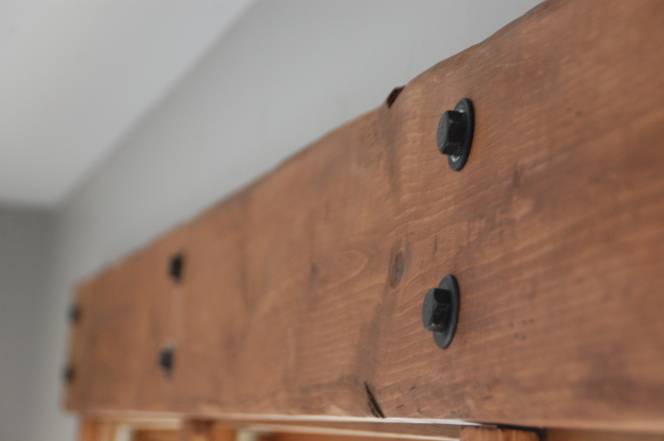
The first coat is Minwax Early American. Here are how some of the details turned out up close:
To attach the “beam” to the existing header behind the drywall I used 3″ lag screws. A standard 2x lumber is 1-1/2″ thick, and standard drywall is 1/2″ thick, which left an inch of penetration into the wood. (1/2″ lag screws are probably overkill for the size of the board, but I liked the look of them better)
I painted them black first with a little flat spary paint.
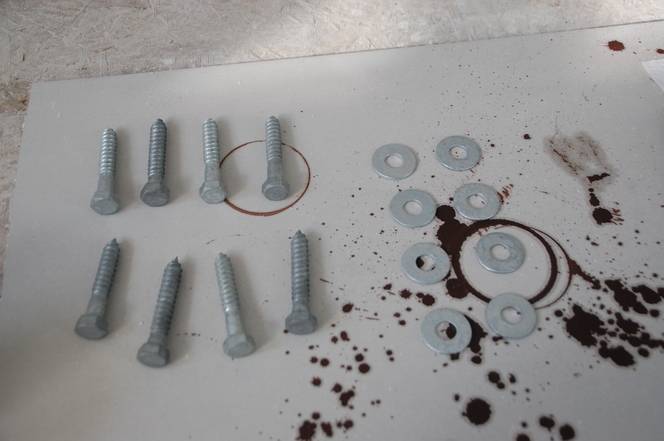
And while they were drying I marked the location of the screws and predrilled 3/8″ holes.
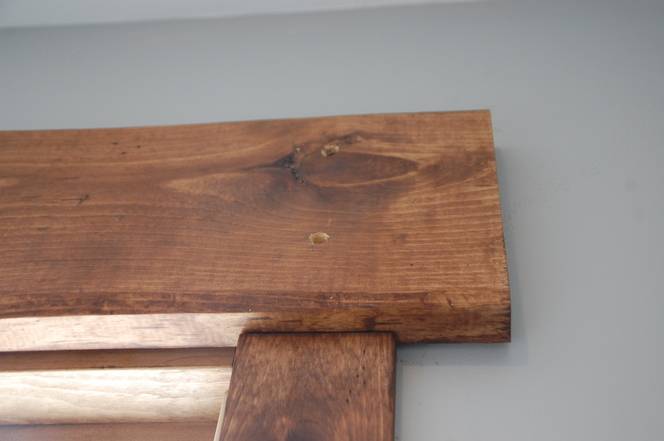
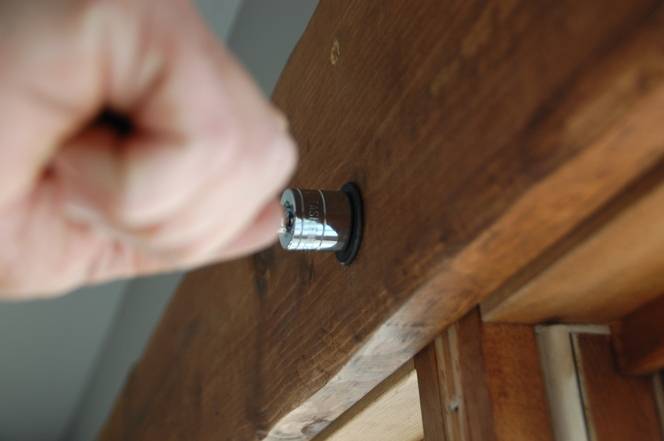
With some help, I got the header in place and pre-drilled through the wood and drywall. Then the lag screws went in, first with a drill and then hand tightened.
After the header was finished, the rest was pretty easy.
The trim got a light shaving on the edges and was sanded down to match the header without being as dramatic.
When we put the exterior trim on the windows– an adventure which only necessitated me throwing a hammer at my significant other once— we decided on using a butt-joint, where the edges of the boards are cut square instead of at an angle. We decided to continue that on the inside.
And here’s the finished window:
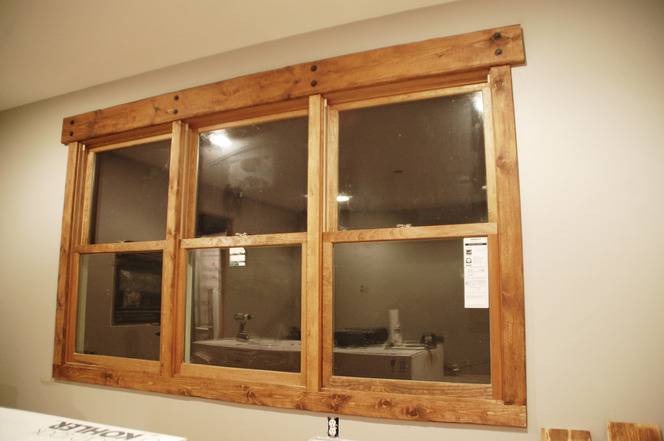
I can’t decide if I love it or not, but since the header probably cost $20 all togther and is held in with 8 lag screws, it’s pretty quick fix if I want to go back to traditional trim. Which, now that I think about it… nah, this is pretty sweet.
I adore this idea and I’ll be implementing it in the house we are currently building. You rock!
I love this look. I decided to do my base board trim like this as well as my windows. Wow, I bit off more than I can chew. I have already done the base boards, what do you think about just distressing the headers on the windows and not the other boards around the window. The wood that I’m using is white pine and staining with 2 red and 1 dark. So the other 3 sides of the windows will have a good wood grain and knots popping out. I need some opinions, please.
Did you only do one coat of early American and also did you poly at all?
We are adding various cedar details (gables, shutters, etc) to the exterior of our “new” house. I was planning on doing decorative headers just like these, but I hadn’t thought about the decorative fasteners – duh! It looks great. Thanks!