Anyone who lives near a university or remembers their own college days can attest to the massive amounts of furniture that sit curbside during early summer. I happen to live near one of the country’s biggest, which possesses a huge post-graduate population, and thus lots of transitions year round. On any given week, you can expect to find an entire room’s worth of furnishing within a few blocks.
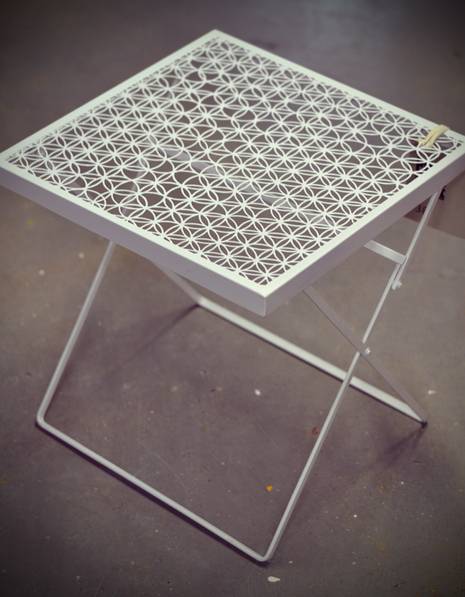
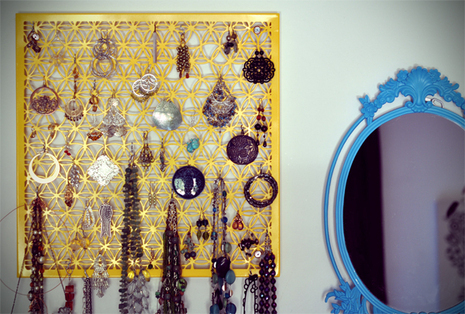
Of course, most of it is trashed and cheap laminate covered particleboard, but every once in a while, there are the gems. I found this foldable outdoor table (and the mirror in the photo next to it!) atop a pile of trashbags…with the price tag still on. It was a tiny bit bent, but no worries…I had other plans.

Materials and Tools
- Metal outdoor table or cafe table (check thrift stores or the summer stuff on clearance right now)
or, use a decorative perforated aluminum panel from the hardwarestore (these are used to cover radiators or vents.)
- Pliers, screwdrivers, metal files, and other tools necessary to disassemble the table
- 150-grit Sandpaper
- Spray metal primer
- Spray paint
- Wall anchors and screws
- Electric drill
- Finish washers
- Small s-hooks (in the hardware aisle)
1. Do any necessary disassembly to isolate the table top, and file down any sharp corners. Use the sandpaper to remove any rust or shiny coating, then spray with metal primer. If using a perforated aluminum panel, cut at a 45-degree angle and bend back the corners to get the unit off the wall. Alternatively, use thick rubber washers attached with nuts and bolts.

2. Once the primer has dried, spray on a coat of color.
3. Let the spray paint dry, then have a friend hold the piece on the wall, where you’ll want it to hang. Mark the best open spaces to secure it, drill holes, and insert anchors.

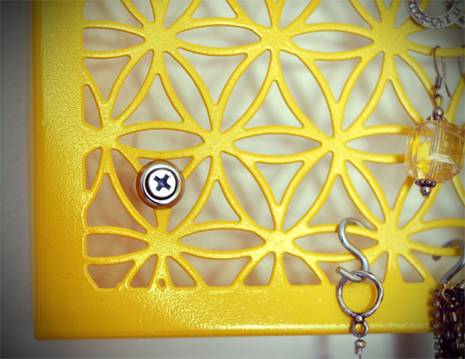
4. Making sure your screw is long enough to activate the anchor, place a finish washer on the screw, then screw into the anchor. Don’t screw in too tight, as it may bend the metal, and to maintain flexibility in case you need to retrieve something that’s fallen through a slot.
5. Use small s-hooks and clips to store your jewelry on the organizer, and never get things tangled again!
