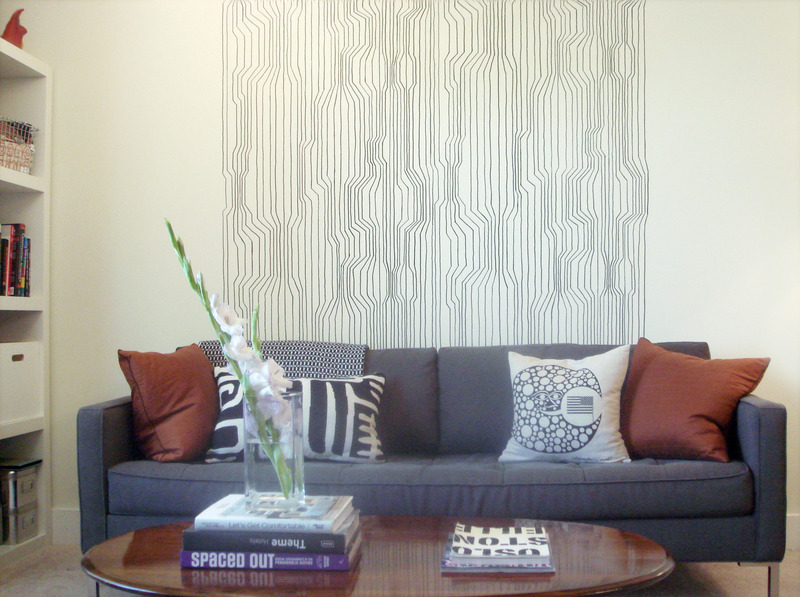
I have been pining over Harri Koskinen’s Frekvenssi wallpaper for Marimekko (pictured below) since I saw it ages ago in a magazine. I decided that I must use the wallcovering in my new place. Since I am currently renting, I thought of purchasing a bolt and framing it. Then, I thought of the cost and quickly changed my mind. I was determined to find a low cost way to use the wallcovering.
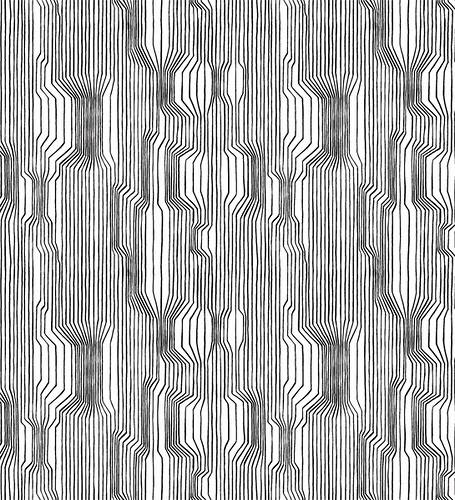
I looked at the sample realizing that the pattern is a series of lines which are drawn sketchy. I thought, hmm maybe I can draw the pattern directly on my wall. I thought, what if I create a template and transfer the image on the wall. Then simply draw the lines on a portion of the wall creating an accent panel. Aha! I had found my solution and weeks later I was thrilled with the results. How did I do it?
1. Choose carefully. Select a wallpaper for inspiration with a simple linework based pattern.
2. Things you need.
- Adobe InPhotoshop, Illustrator, AutoCAD and/or other comparable design software
- Access to large scale printer
- Sharpie or Similar Paint Markers
- Painters Tape
- Scraper or trowel or ruler
3. Determine the repeat (both vertically and horizontally). The repeat is typically the height of the wallcovering pattern which is repeated vertically on the wall. While I knew from the specs that the strip is 27″ wide, I needed to locate this point based on images from. Fortunately the match is straight across which means each strip is layed directly next to each other on the wall. Ultimately, I figured out both the veritcal and horizontal repeat in order to create my accent panel.
4. Create the linework for the image. Using AutoCAD and an image of the wallcovering, I traced the pattern, omitting a few lines – so I didn’t go crazy drawing too many lines on the wall. I also scaled the graphic up 50% which also reduces the amount of drawing. Note that if you are not savvy with AutoCAD, you can use a variety of software such as Adobe Photoshop or Illustrator.
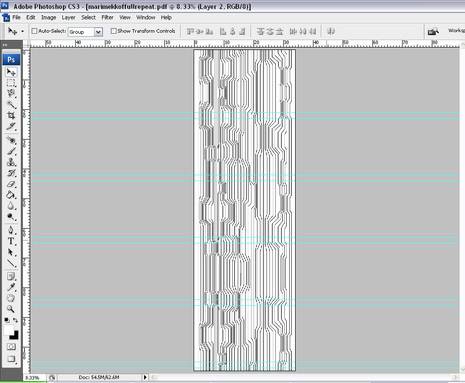
5. Plan out the template (s). Using AutoCAD, I could easily dimension the pattern to fit my wall. For example, the overall dimensions for my panel are 8′-7″ high (including the base) x 62″ wide. I chose 62″ for the overall width based on doubling the width of my strip which was 31″. Then I determined how many sheets I would need to form one 31″ w strip. I converted the panel drawing to PDF format and imported it into Adobe Photoshop to create the panels. My printer/plotter could only print 22″ x 34″ max, so I basically divided the panel into 5 sections for printing. I also added an overlap at the top and bottom of 2″ to ensure that each matched up.
6. Print out the sections of the template. Considering that I would be transferring the ink from the sheets onto the wall, I decided to print out two strips, which meant printing the 5 sections twice. Make sure that you label the sheets and clearly note the direction of the pattern on the back. It was a smart decision to print two templates as I ended up ripping the paper while scrapping to transfer the ink.
7. Assemble the template. I taped the sections together on the back side of the sheet.
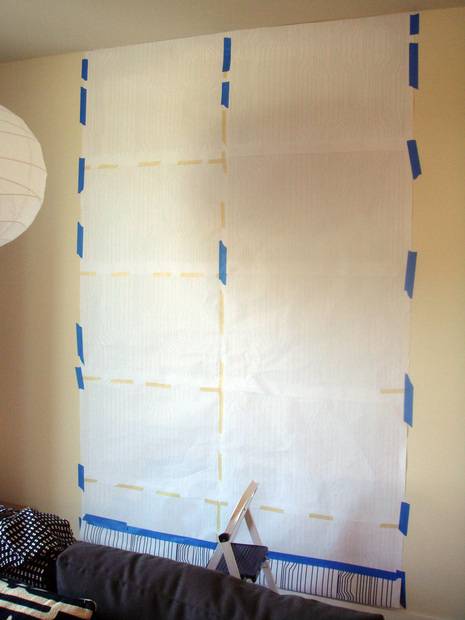
8. Apply template to wall. Using a level, I made sure that the pattern was straight. I used painters tape to tape the templates to the wall (with the printed side against the wall)
9. Scrape / rub the ink onto the wall. Use a scraper or a flat edged trowel and scrape up and down by section. Peel away the tape to make sure that you are covering the areas. When I was done, I removed the template from the wall.
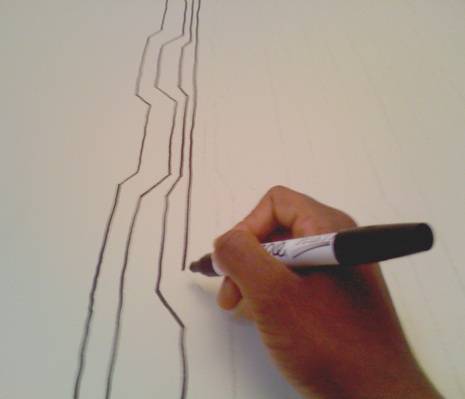
10. Draw the linework on the wall. Using a Sharpie paint pen, draw the linework carefully on the wall in sections. My experience drafting came in handy here, free hand drawing the lines. Tip: Buy several sharpies – I used 3 different ones and could have used at least 6. The issue is the point gets dull pretty fast.
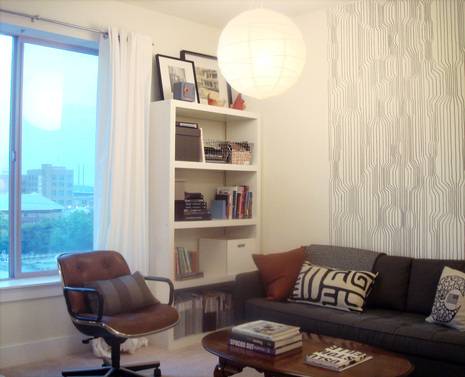
Done! The templating took about 5 hours including printing. Transfering and drawing the linework, which I completed on the same day, took my about 5 hours as well total. While my hand hurt a little when I was done, the effort was worth it. And the total cost, $20! Check out my blog for more images of my D.C. studio which is a work in progress, by clicking here.
Looking for more wallpaper ideas?
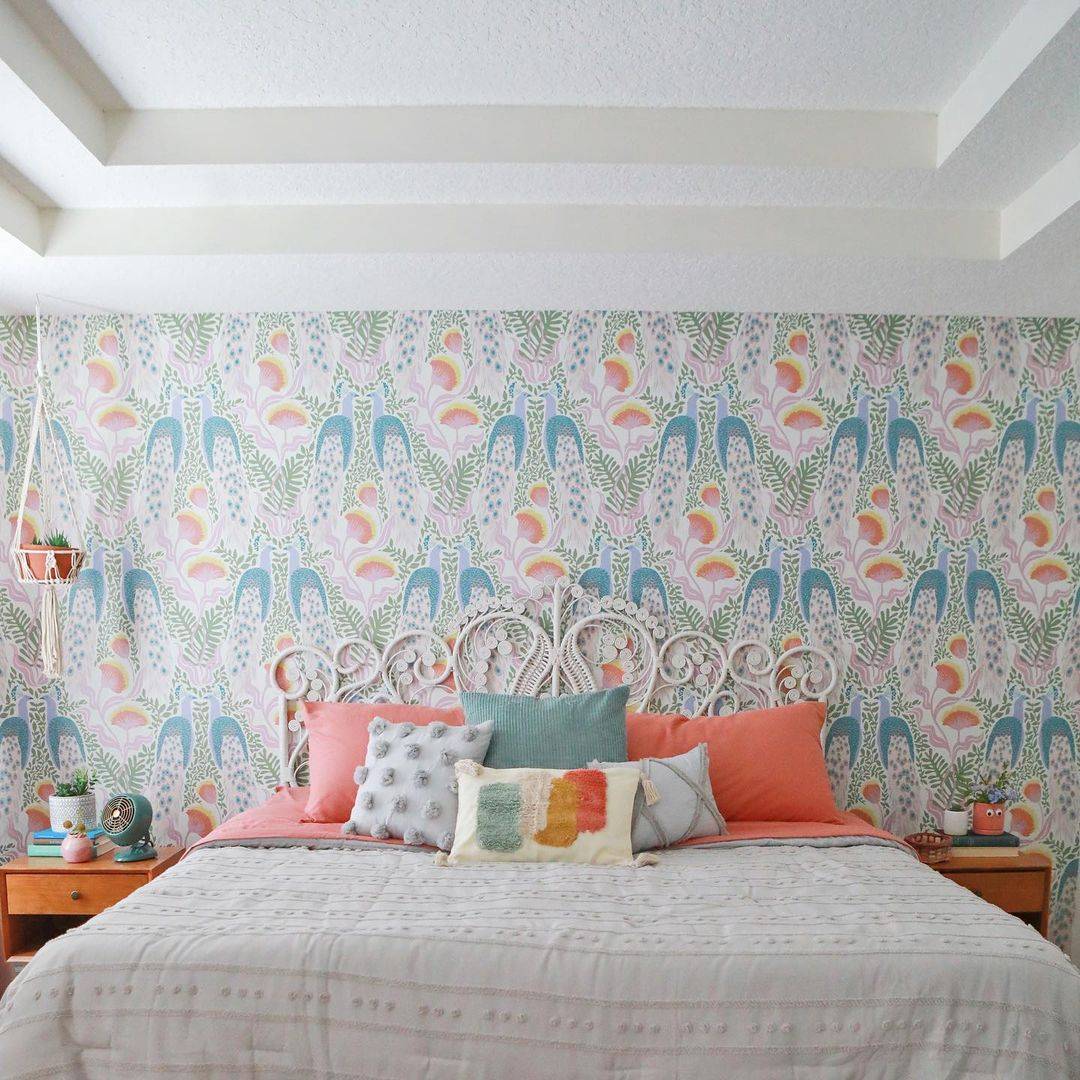 https://www.instagram.com/lyndsayalmeida/p/CtSDcyiOW5b/?img_index=2

Hey dummy, just use a projector.
A projector wouldn’t work for this kind of meticulous pattern but certainly would for a simpler pattern.
Taking a jpeg file to have it printed on a canvas sounds much simpler.
Love Marimekko. Would be great to repeat this but transfer to fabric rather than directly on the wall…attach it to a dowel and hang it like a tapestry so you can move it! I’d hate to do all of that meticulous work on a wall and then have to move and leave it behind!