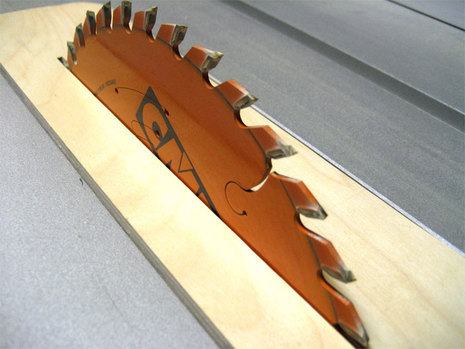
A custom, zero clearance insert plate for your table or band saw minimizes tearout and prevents those tiny bits from dropping into the blade throat. From Rockler.com, “A zero clearance insert is a substitute for the throat plate that came with your table saw. The opening in the insert is cut on the table saw to the exact width of the saw blade’s kerf, thereby preventing thin slices of wood from jamming in between the blade and the throat plate during a cut, and reducing the amount of tear-out that can happen with a standard insert.”
And you can get blanks for to make your own from such places as Rockler...except they cost around $25.00. Luckily, you can create your own out of plywood scraps, and have enough for every blade and dado combination you might have.
**These instructions are for a table saw insert, but the same approach can be applied to a band saw table insert.
1. Trace the throat plate that came with your saw onto 1/2″ plywood. (Check the approximate depth of your plate for the correct thickness of plywood.)

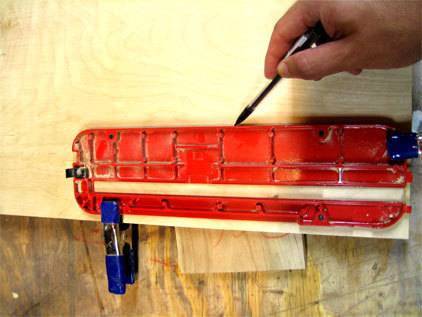
2. Cut out this rough shape with a jigsaw or bandsaw, and then use double sided tape to stick it to your original throat plate.
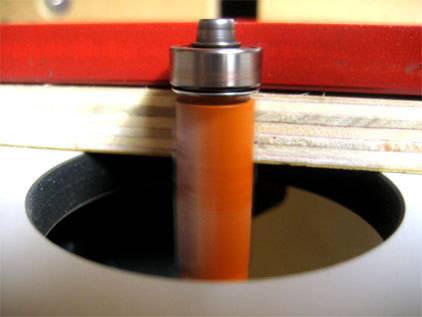
3. Using a pattern following bit with the bearing on bottom (top when table mounted), trace the throat place with a router to make an exact copy. Make several while you have the bit installed.

4. Drill a 1/2″ hole into the one corner (away from the blade), or use a sanding drum to create a half-circle in one edge, so that you can remove the insert.
5. Sand or plane the thickness of the insert, in small increments, so that it lies flush with your table top.
6. Use a scrap piece of dimensional lumber to clamp down the insert blank into the throat of the saw, staying clear of the blade.
7. Turn on the saw, and slowly raise your blade to full height, cutting a perfectly matched kerf to your blade.
8. Sand the top with a fine grit paper, and then add a light coat of paste wax to elimate friction.
9. Cut away.

Step 5 should be first. You need a small Brad in the outfeed side of the back arc to prevent lifting. You should use material that is slightly thinner and drill 4 holes for levelling screws. These screws are set screws that go above the tabs that the insert rests on. Now you are ready to cut.
Double sided tape!!?? Aren’t all tapes double sided? Some are even double stick!!
What did you do with the riving blade?
Hey John – This is an old saw (and old post) and mine didn’t have a riving knife. I have since upgraded saws, and understand their importance. A new version of this post should include content about installing a splitter.
Chris that would be great.
I imagine that I could remove the riving knife to make the plate and then extend the slot wit a router. I suppose that zero tolerance isn’t necessary so long as the full diameter of the blade is covered.
My saw is an ancient Sears model with about a 1/8″ height from lip to table top. Due to challenges keeping wood inserts intact, I started to make mine out of plastic cutting boards. Cheap and stabile. With a bit less flex than thin plywood. Works like a charm.
@Horus – That’s an awesome idea. Are the cutting boards only 1/8″ thick?